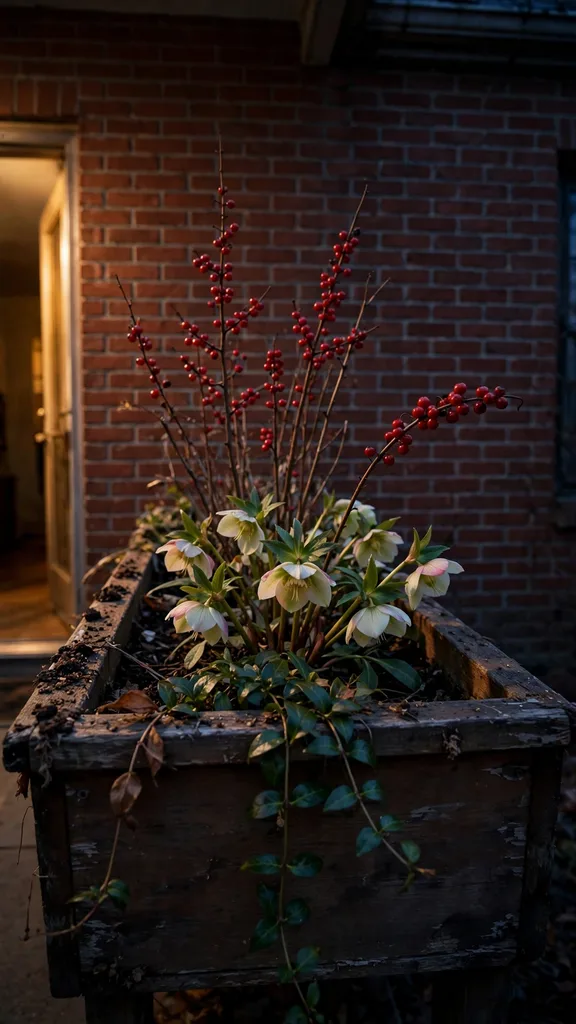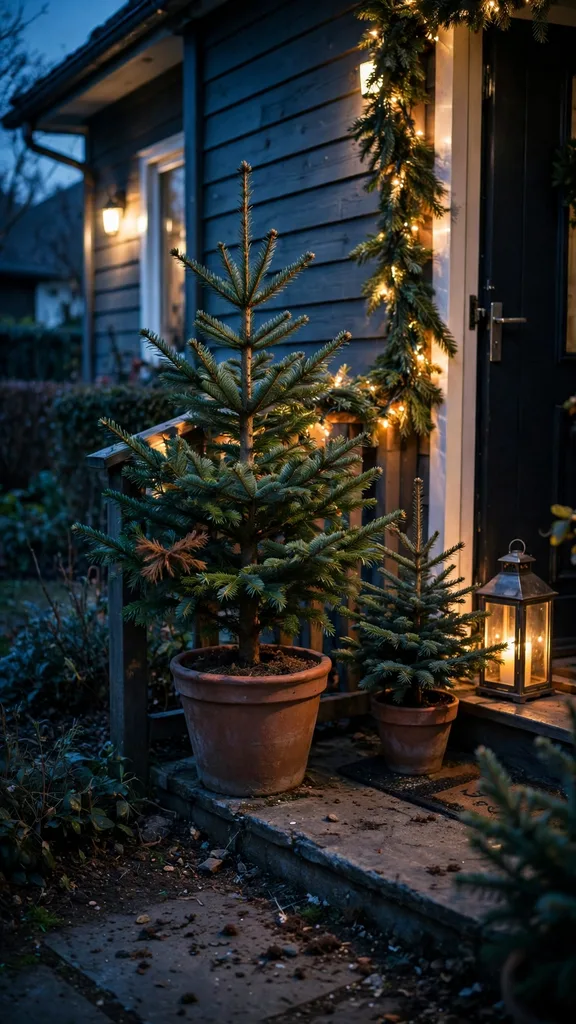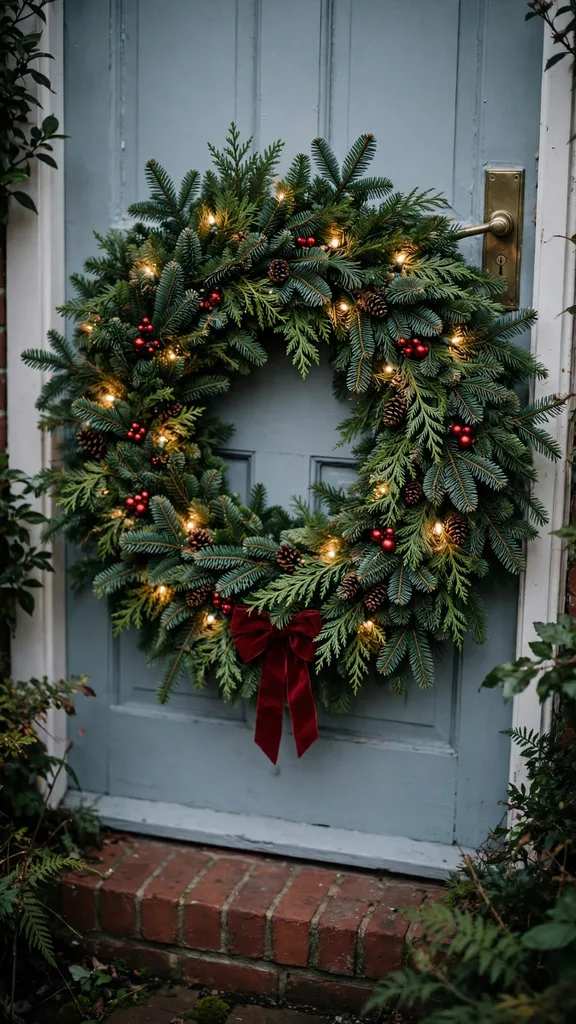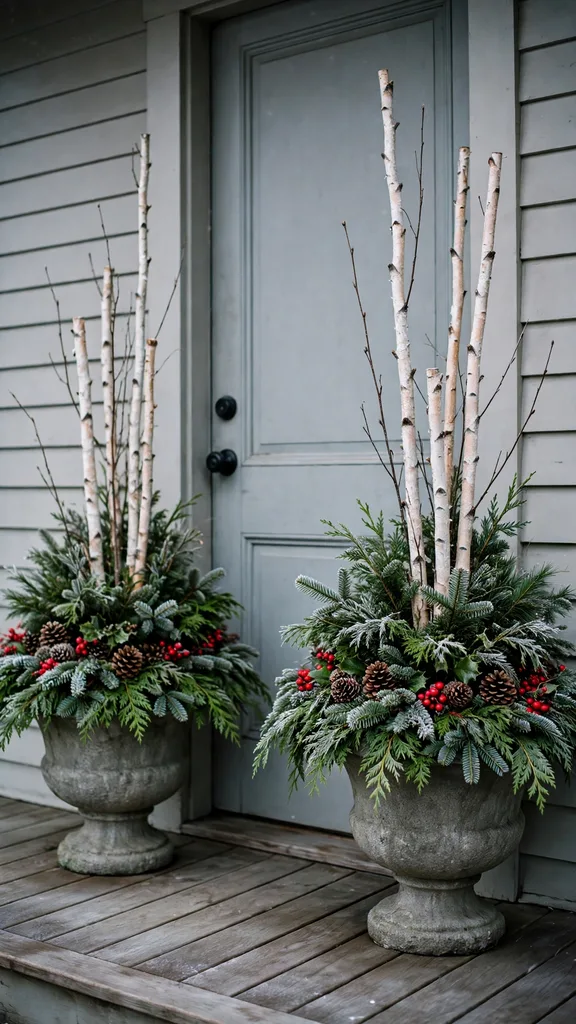

An outdoor Christmas urn earns its place when it still looks alive in January. The outdoor Christmas urns that last combine three things: a container that drains and resists frost, living evergreens chosen for container cold, and fresh greenery built to be watered and sheltered through winter. The 21 ideas below treat the urn as a container garden first and a decoration second, so the display survives wind, freeze, and thaw instead of fading after the first cold week.
Start with the container, then the plant, then the decoration. A beautiful arrangement in a sealed pot rots at the roots. A tender evergreen in an exposed pot browns by February. A fresh greenery build with no water plan dries out before Christmas dinner. Work in that order and every later idea gets easier, because the urn underneath already handles drainage, cold, and water.
I build my own urns in the last week of November and change nothing but the watering routine until February. The quick picks below point to the ideas that decide the season, and the numbered ideas follow the order of the work: container and soil first, living plants second, fresh greenery builds third, and winter care last.
| Need | Best Pick | Why It Works |
|---|---|---|
| An urn that survives freezing weather | 1. Choose Urns That Survive a Freeze Without Cracking | Thick stone, concrete, and fiberglass walls resist the expansion of freezing water |
| A living plant that survives container cold | 3. Pick Living Evergreens Two Zones Hardier Than Your Garden | Container roots reach air temperature, so the plant needs a colder rating than the garden |
| A fresh greenery build in one sitting | 8. Build the Classic Fresh Greenery Urn in 30 Minutes | Tall center stems, layered bough rings, and berries finish one urn fast |
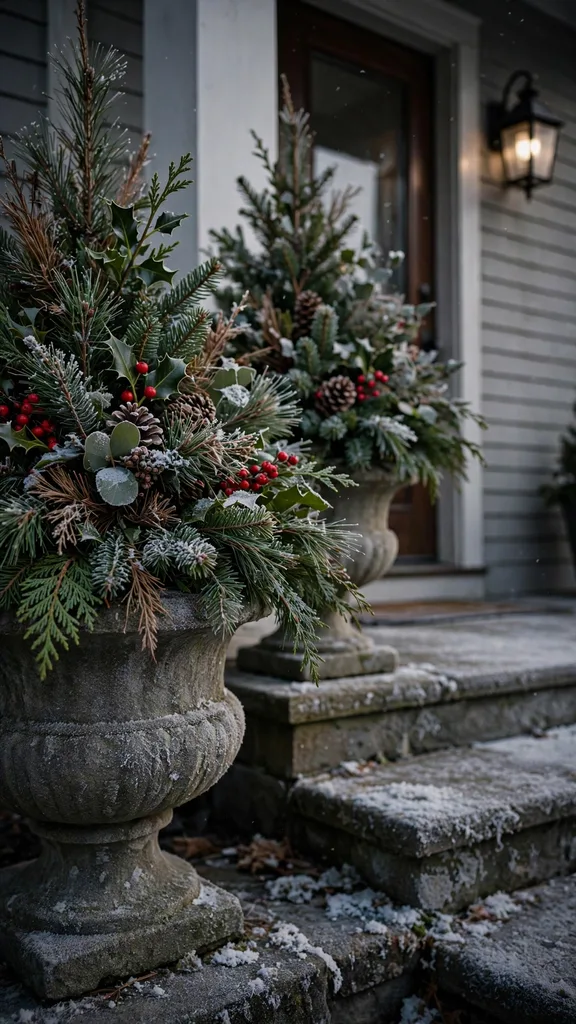
| A budget build with no arranging skill needed | 13. Fit the Cheapest Garden Center Planter Inside Your Urn | A planted nursery pot drops straight into the urn and hides under boughs |
| A display that survives a hard freeze night | 16. Protect Fresh Greenery From a Hard Freeze Night | A cloth cover and a wind screen slow the drying wind that browns cut greenery |
1. Choose Urns That Survive a Freeze Without Cracking
Pick the urn material for the coldest night your porch will see, not for the mild day you shop on. Thick stone, cast concrete, and fiberglass urns handle repeated freezing because their walls absorb the expansion of ice without splitting. Thick wood planters also survive winter when their boards drain freely and their joints stay tight. Thin glazed ceramic and thin terracotta fail first, because water trapped in the wall and in the soil expands against a brittle shell and opens a crack along the base.
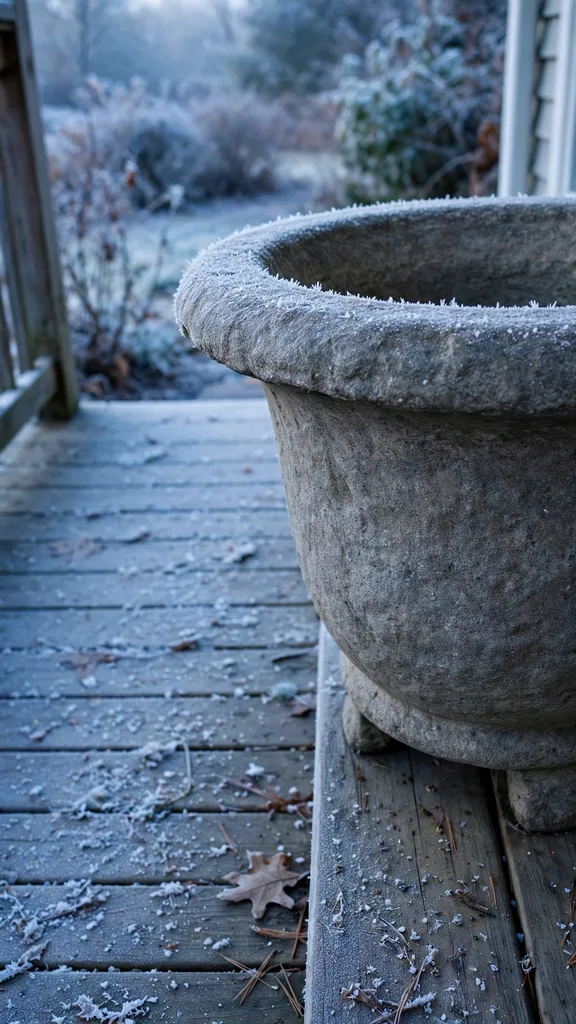
Lift the urn before you buy it and check the wall thickness at the rim and the base. A wall thinner than 2 cm on a large ceramic urn signals a short winter life outdoors. Set every urn on feet, bricks, or a low stand so water leaves the base instead of pooling under it and freezing the pot to the step. A pot frozen to its step cracks when someone lifts it or when the ice under it shifts.
2. Drill Drainage Before You Plant Anything
Drill drainage holes before soil or plants go near the urn. A large urn needs 3 holes of 2 cm diameter spaced across the base, and a small urn needs 1 hole of 2 cm diameter at the center. A drill with a masonry bit cuts stone and concrete, and a standard bit cuts fiberglass and wood. Work from the inside of the base outward so the exit edge stays clean and the hole keeps its full diameter.
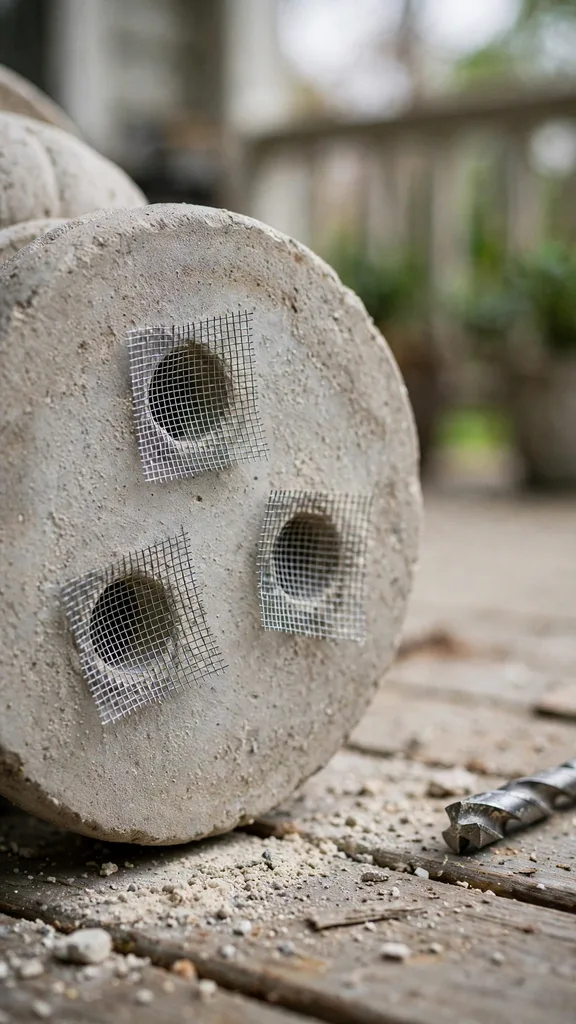
Cover each hole with a scrap of fine wire mesh or landscape fabric before soil goes in. The mesh keeps soil in the urn while water leaves freely, and it stops the hole from sealing with fine potting mix after the first heavy watering. Skip the old gravel layer at the bottom. A gravel layer raises the wet zone inside the pot instead of draining it, and roots sitting in that wet zone rot during a mild winter week.
3. Pick Living Evergreens Two Zones Hardier Than Your Garden
Container roots sit at air temperature in winter, so Penn State Extension’s overwintering guide recommends plants rated two zones colder than your garden zone. A garden in zone 6 needs container evergreens rated to zone 4. A garden in zone 5 needs container evergreens rated to zone 3. Read the tag rating as an in-ground rating and apply the two-zone shift before the plant goes into the urn.
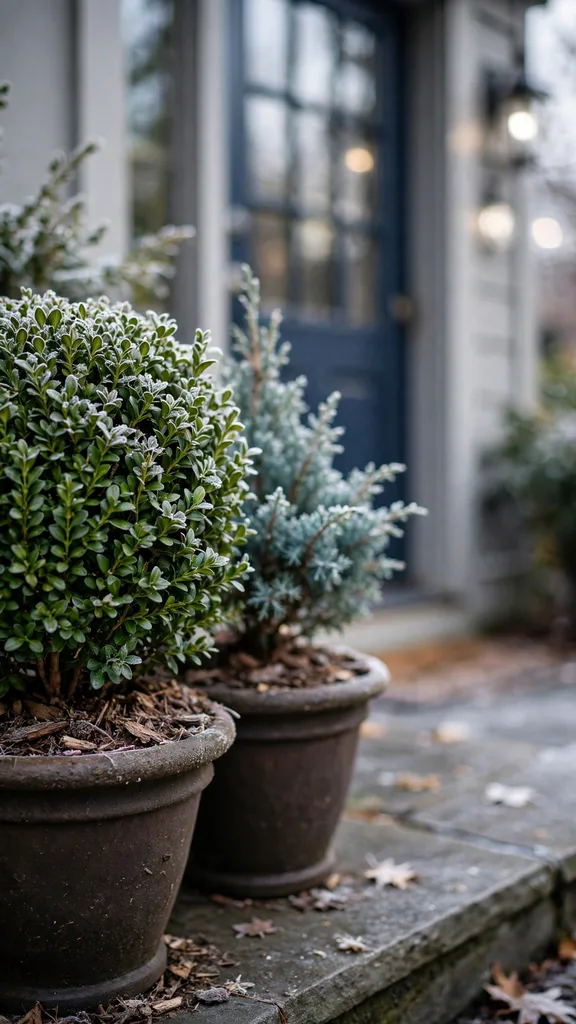
Boxwood, juniper, dwarf Alberta spruce, and yew anchor most living Christmas urns, and each one keeps its foliage through winter when its roots stay cold-hardy and moist. Boxwood gives a dense clipped shape for a formal door. Juniper gives blue green foliage and tolerates wind on an exposed step. Dwarf Alberta spruce gives a narrow cone that fits a tall urn without pruning. Yew tolerates shade on a north-facing entry and holds its needles through a dry cold spell better than most broadleaf evergreens.
4. Build the Soil Mix That Drains in Winter
Mix the soil for winter drainage, not for summer growth speed. Combine 2 parts standard potting mix with 1 part coarse bark chips and 1 part perlite, and blend the mix dry before it goes into the urn. Bark chips open air channels that stay open when the mix settles, and perlite keeps those channels from collapsing under winter rain. The mix should feel loose in the hand and release water within seconds of a heavy pour.
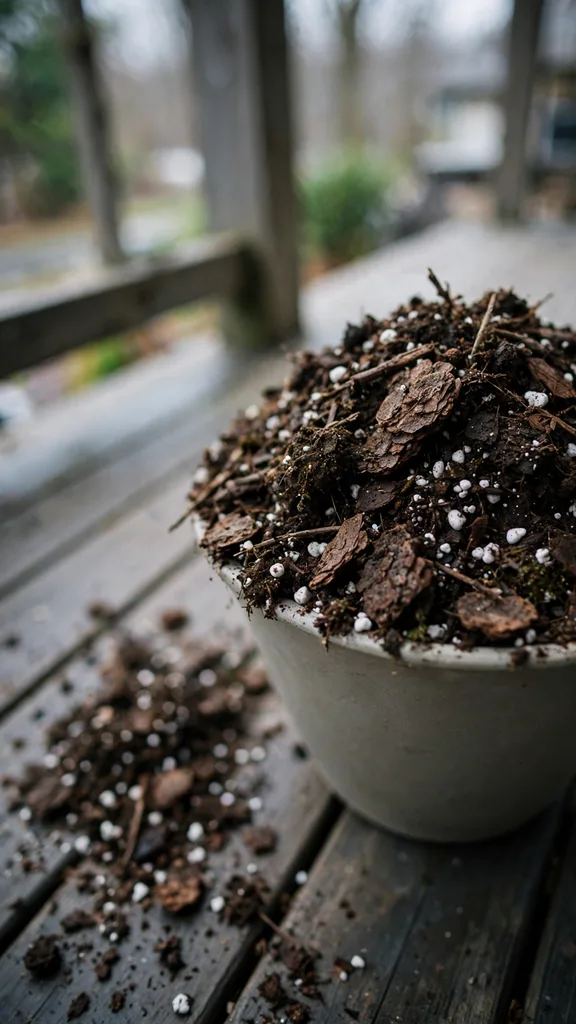
Leave garden soil out of the urn completely. Garden soil compacts in a container, holds water against the roots, and freezes into a solid block that starves the plant of air. Leave water-holding crystals out of the mix as well. Crystals swell with autumn rain, keep the root zone wet through mild spells, and add nothing once the soil freezes. Fill the urn to 5 cm below the rim so watering and mulch have room without spilling over the edge.
5. Water Living Urns Before the Soil Freezes
Water a living urn deeply in late autumn while the soil still accepts water, because Penn State Extension’s overwintering guide advises watering container plants well before the soil freezes and warns that dry soil freezes faster than moist soil. Soak the mix until water runs from the drainage holes, then let the urn drain fully before nightfall. A moist root zone freezes later and thaws more evenly than a dry one, and the plant enters winter with its foliage hydrated.
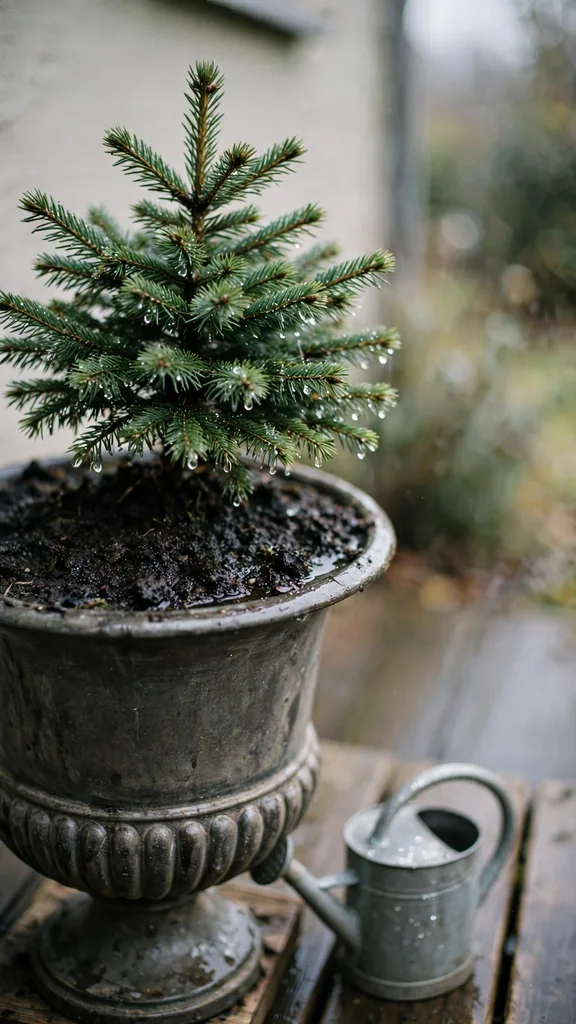
Check the soil on every mild winter day when the surface thaws. Push a finger 5 cm into the mix at the edge of the urn, away from the trunk. Water slowly when that depth feels dry, and stop as soon as water leaves the drainage holes. Water in the morning so excess moisture drains before the night freeze. A living urn needs winter water in small doses through the season, and one deep autumn soaking never carries an evergreen to spring on its own.
6. Wrap the Pot, Not the Plant, Against Hard Freezes
Wrap insulation around the pot wall, because the roots need the protection and the foliage tolerates cold air better than frozen roots do. Wrap the outside of the urn in 2 layers of bubble wrap, then cover the wrap with burlap for a tidy look and tie it at the rim. Burlap alone slows wind but adds little insulation, and bubble wrap alone looks unfinished at a front door. The two layers together slow the freeze reaching the root ball and slow the thaw that heaves soil.
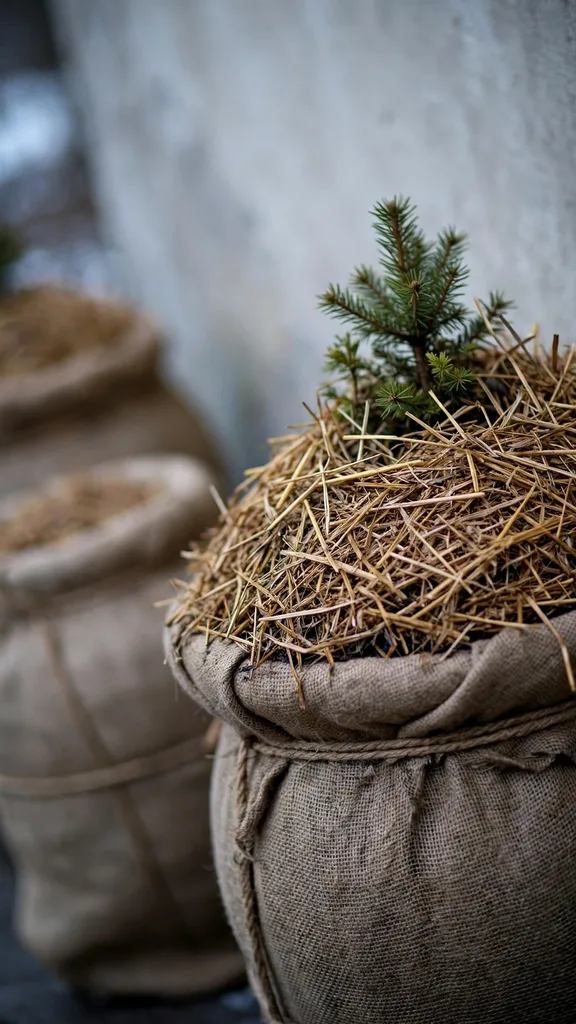
Follow the sunk-pot method for the most exposed urns, since Colorado State University PlantTalk’s winterizing guide describes sinking the pot into soil and mulching 6 inches (15.2 cm) to 12 inches (30.5 cm) deep over it, with monthly winter checks for moisture. Sink a nursery pot into a sheltered garden bed and mulch it deep, then set the urn over it for display. Group urns against a house wall on the sheltered side, pack straw or shredded bark between them, and mulch 15 cm deep over the soil surface inside each urn.
7. Flank the Door With a Matched Pair of Urns
Flank the door with two urns of the same size, the same material, and the same soil level, one on each side of the frame. Buy the pair together and plant them on the same day, because pair mates match in height, foliage color, and growth timing. Set one tall center stem or one living evergreen in each urn at the same height, and mirror the berry and cone placement from one urn to the other. A matched pair reads as a finished entry after a single building session.
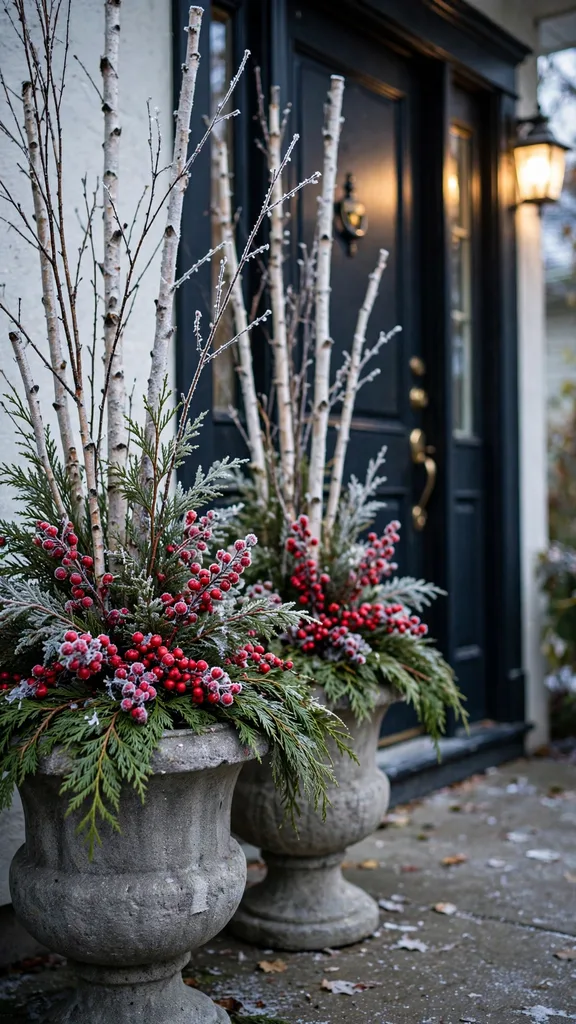
Measure the placement with a tape instead of judging it by eye. Set each urn the same distance from the door frame and the same distance out from the wall, and check the gap from the curb. Water both urns on the same pass every time so one side never dries ahead of the other. Swap the two urns every 2 weeks when one side of the door catches afternoon sun and the other sits in shade, because the sunny urn dries faster and its greenery fades first.
8. Build the Classic Fresh Greenery Urn in 30 Minutes
Build the classic fresh greenery urn from the center outward in a single 30 minute session. Fill the urn with moist soil mix to 5 cm below the rim and firm it lightly. Push 5 tall stems into the center at a depth of 15 cm, lean them slightly outward, and tie them together below the rim with garden twine so wind cannot splay them. Work in rings after the center stands firm, and keep each ring shorter than the one inside it.
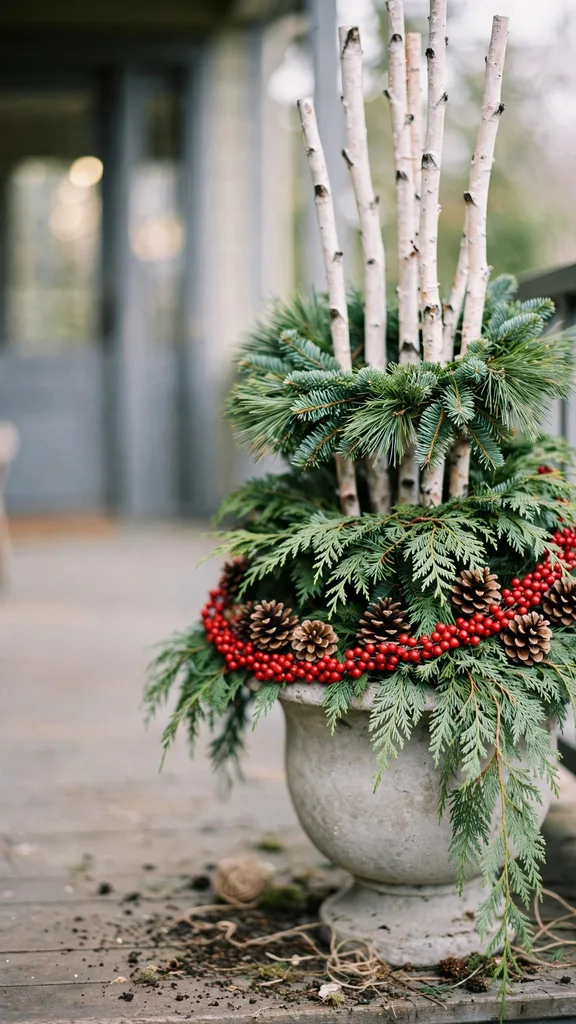
Set the outer ring of cedar boughs so the cut ends sit 10 cm deep in the soil and the foliage spills 15 cm past the rim. Fill the middle ring with pine and fir boughs angled upward at 45 degrees, overlapping each ring by half its length so no soil shows from the street. Push berry stems and wired pinecones into the outer ring last, at the same depth as the boughs, and step back to the curb before adding anything else. A build that reads full from the curb needs no more pieces.
9. Soak Cut Greenery Before It Goes Into the Urn
Soak cut cedar, juniper, pine, and fir boughs in a bucket of plain water for 12 hours before building. Cut stems drink during the soak and enter the urn hydrated, and hydrated foliage holds its color weeks longer than dry-cut foliage. Strip needles and leaves from the lowest 15 cm of each stem before soaking so no foliage sits in water and rots. Recut each stem at a sharp angle just before planting to open fresh water channels.
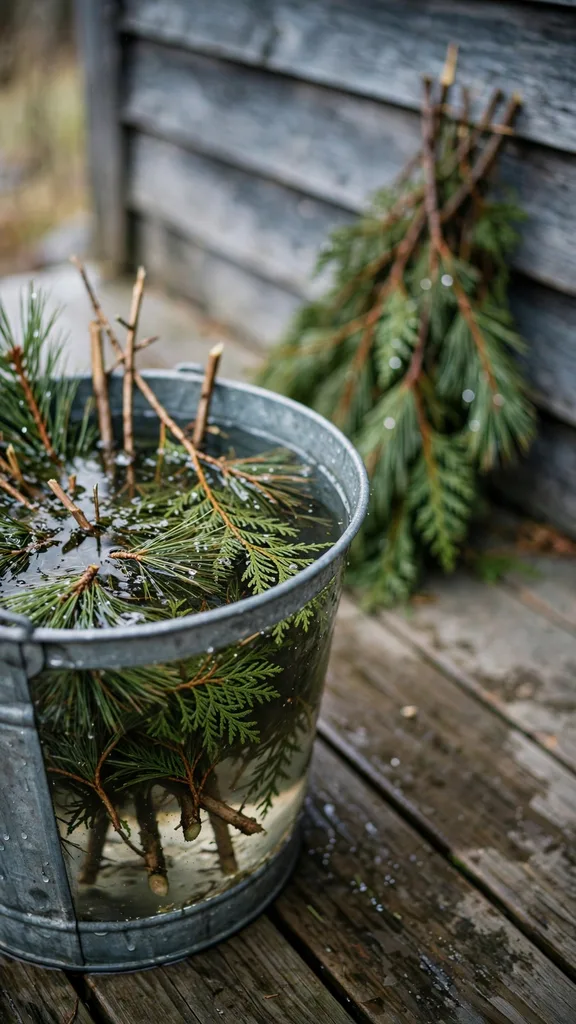
Sort the soaked boughs by length and stiffness before building starts. Long stiff stems belong in the center and the tall accents, flexible cedar sprays belong in the outer ring, and short dense fir pieces fill gaps near the rim. Discard any bough with brown needles across more than half its length, because brown foliage never greens again and it sheds needles onto the step within days. A soaked, sorted pile builds faster than an unsorted bundle and wastes fewer stems.
10. Set Tall Birch and Dogwood Stems Down the Center
Set 5 to 7 tall stems down the center of the urn for height that reads from the street. White birch poles give pale vertical lines against dark evergreen foliage, and red dogwood stems give strong winter color that holds through January. Cut the stems to a height of 90 cm to 120 cm above the rim for a standard urn, and push each stem 15 cm into the soil so wind cannot rock it loose. Tie the bundle at the rim with natural twine and hide the tie under the first bough ring.
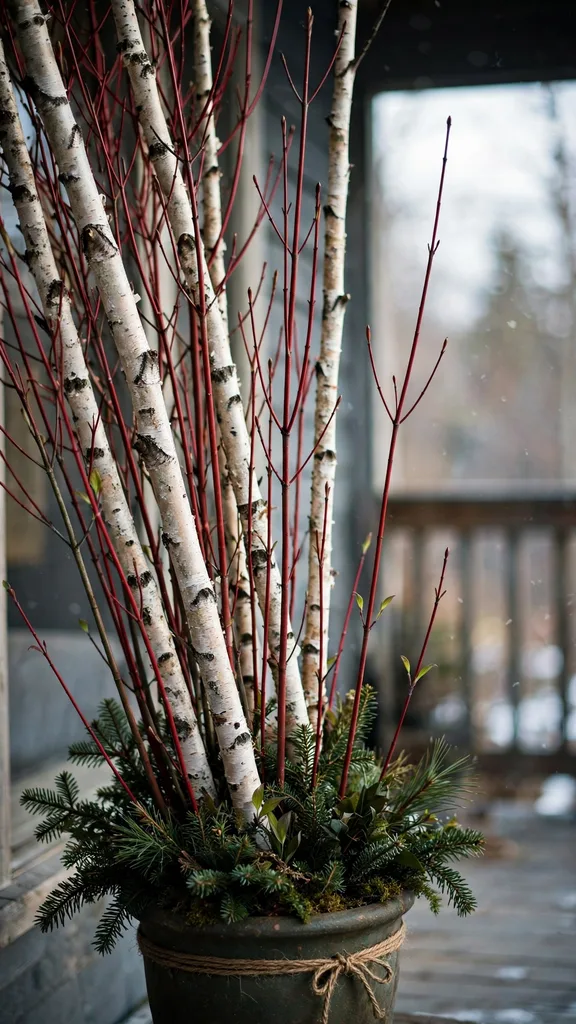
Vary the stem heights by 10 cm within the bundle so the top reads as a natural cluster instead of a flat cut. Lean the outer stems outward by a few degrees and keep the tallest stem near the center back, facing the door, so the arrangement reads full from the walk and from the street. Add stems in odd counts only. An even bundle splits visually into two groups, and an odd bundle reads as one intentional cluster.
11. Layer Cedar, Pine, and Fir for a Full Urn
Layer three evergreen types in the urn instead of filling it with one kind of bough. Cedar gives flat sprays that spill over the rim and soften the hard edge of the urn. Pine gives long needles and open texture in the middle ring, and its branches hold pinecones without extra wiring. Fir gives dense upright foliage near the center, and its short needles pack tightly enough to hide soil and stem ends from every angle.
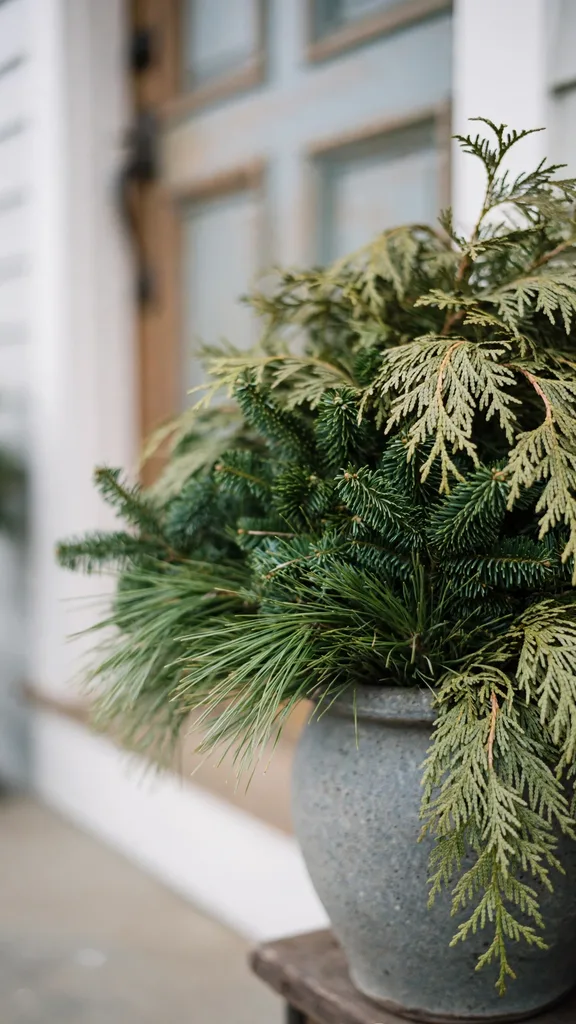
Place cedar in the outer ring with the sprays angled downward past the rim. Place pine in the middle ring with the branches angled upward at 45 degrees. Place fir in the inner ring close to the center stems, packed tight enough that a hand cannot reach soil through the foliage. Overlap each ring by half the bough length so the layers read as one mass. A single-species urn shows gaps after the first windy week, and a layered urn sheds a few needles without opening a hole.
12. Add Berries and Pinecones at the Outer Edge
Add berries and pinecones at the outer edge where the eye lands first from the walk. Winterberry stems give bright red fruit on bare stems, and 3 stems per urn supply enough color without crowding the boughs. Push each berry stem 15 cm into the soil at the outer ring and angle it outward so the fruit sits clear of the foliage. Wire pinecones to short wooden picks and push the picks into the same ring, with the cone scales facing outward.
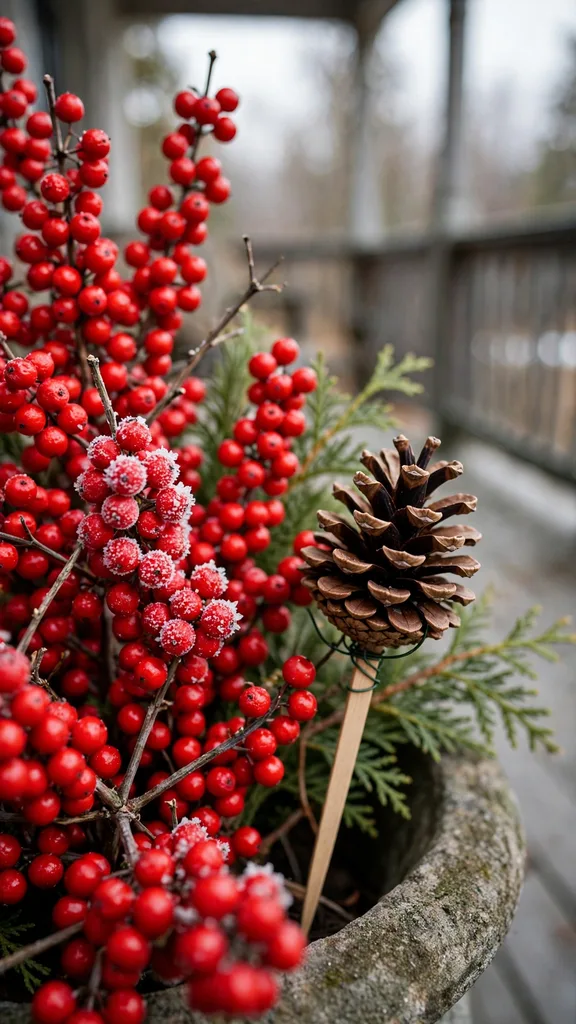
Expect birds to strip berries during a cold spell, and plan for that loss instead of fighting it. Set the berry stems deep enough that a bird tugging a stem cannot pull the whole arrangement apart. Keep 3 spare berry stems in a bucket of water in a sheltered spot and swap stripped stems during a weekly check. Pinecones survive bird visits untouched, so a cone-heavy outer ring still reads as decorated after the berries go.
13. Fit the Cheapest Garden Center Planter Inside Your Urn
Buy the cheapest planted container at the garden center and fit it inside your urn instead of building an arrangement from loose boughs. Choose a planted pot with a diameter 5 cm smaller than the inside of the urn so it drops in without forcing. Lift the nursery pot by its base, set it into the urn, and pack crumpled newspaper or bark chips around it until it sits level and cannot rock. Hide the nursery rim with a ring of cedar boughs pushed into the gap.
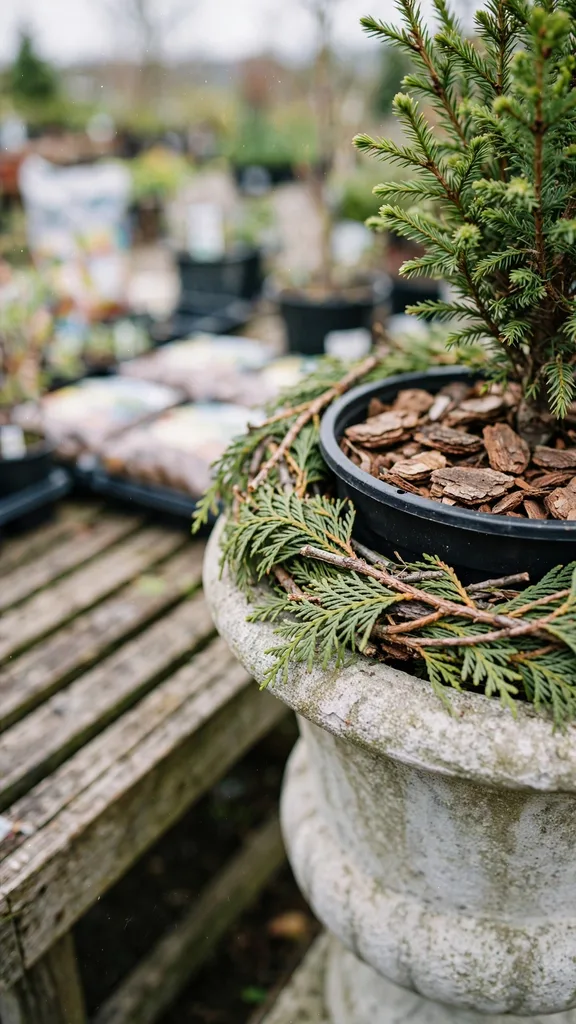
Keep the nursery pot intact inside the urn all season. The plant inside keeps its own root ball and its own drainage, and the urn acts as a decorative sleeve rather than a planter. Water through the bough ring into the nursery pot, and lift the whole pot out in late winter for composting or replanting. A fitted planter costs less than loose boughs, stems, berries, and cones bought separately, and it builds in minutes.
14. Light the Urn Without Cooking the Greenery
Light the urn with one short battery LED string per urn and keep the lights off the driest foliage. LEDs run cool enough to sit against cedar and pine without scorching needles, and a battery pack hides under the outer bough ring at the back of the urn. Run the string from the center stems outward so the brightest points sit near the tall stems and the light falls across the bough rings. Set the timer for 6 hours each evening so the display glows after dark and rests overnight.
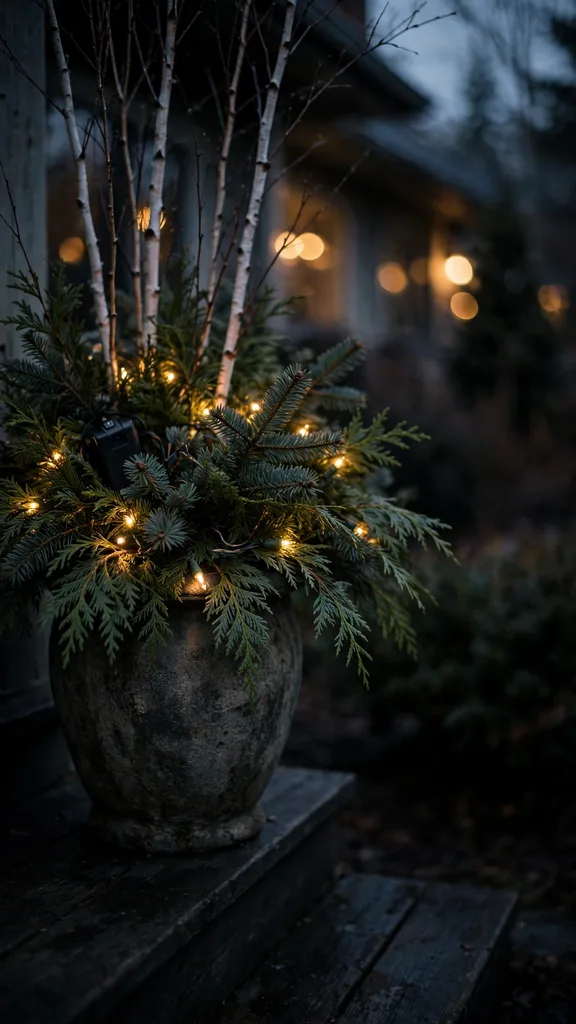
Keep incandescent strings out of fresh greenery urns completely. Incandescent bulbs heat the needles they touch, dry the foliage around them, and raise the fire risk on a dry January arrangement. Check the battery pack weekly and swap batteries before the string dims, because a half-lit string draws the eye to the dark half of the urn. Remove the string before composting the greenery in late winter so no wire ends up in the compost.
15. Fix a Lopsided Urn Before the First Wind
Fix a lopsided urn at setup, because a tall arrangement catches wind like a sail and a leaning urn falls hard. Level the urn with a flat stone shim under the low side and check the rim with a small level. Add 5 cm of gravel inside the base of a top-heavy urn before soil goes in, and pack the soil firmly around the center stems. A low center of gravity matters more than a heavy pot alone, and gravel at the base drops that center fast.
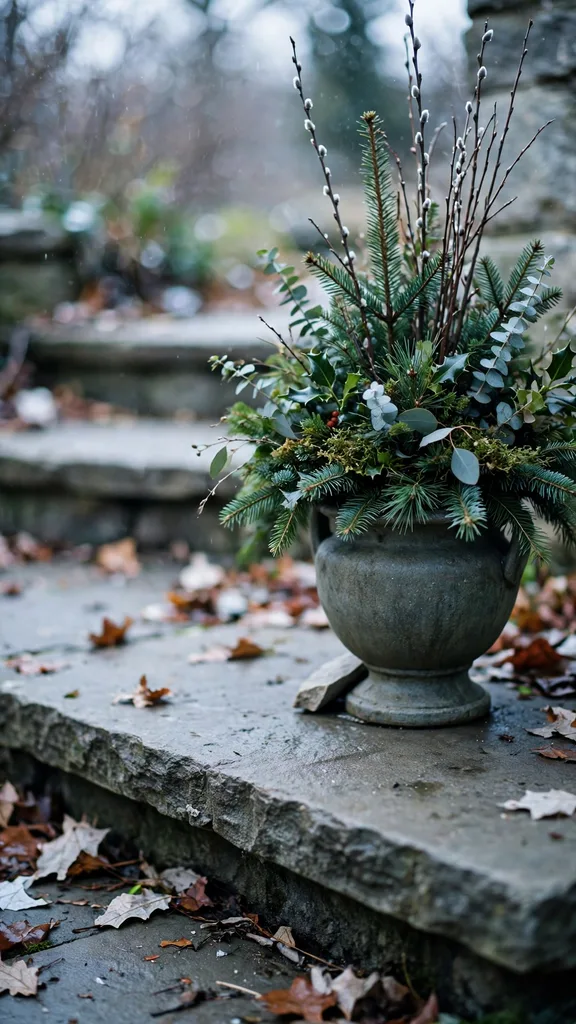
Test the finished urn with a firm push at rim height from the street side. A stable urn rocks slightly and settles back onto its base, and an unstable urn lifts one edge off the step. Move an unstable urn to a sheltered corner, shorten the center stems by 15 cm, or widen the base with a flat stone slab under it. A fallen urn breaks stems, scatters soil across the walk, and cracks a ceramic pot that would have survived the winter untouched.
16. Protect Fresh Greenery From a Hard Freeze Night
Cover fresh greenery with frost cloth before dusk on a hard freeze night, and remove the cover the next morning after the temperature rises above freezing. Frost cloth slows the drying wind that browns cut foliage, and it traps a thin layer of warmer air around the boughs overnight. Drape the cloth over the center stems and let it fall past the rim on all sides, then anchor the edges under the urn base or with stones so wind cannot lift it. A cover that blows off at midnight protects nothing.
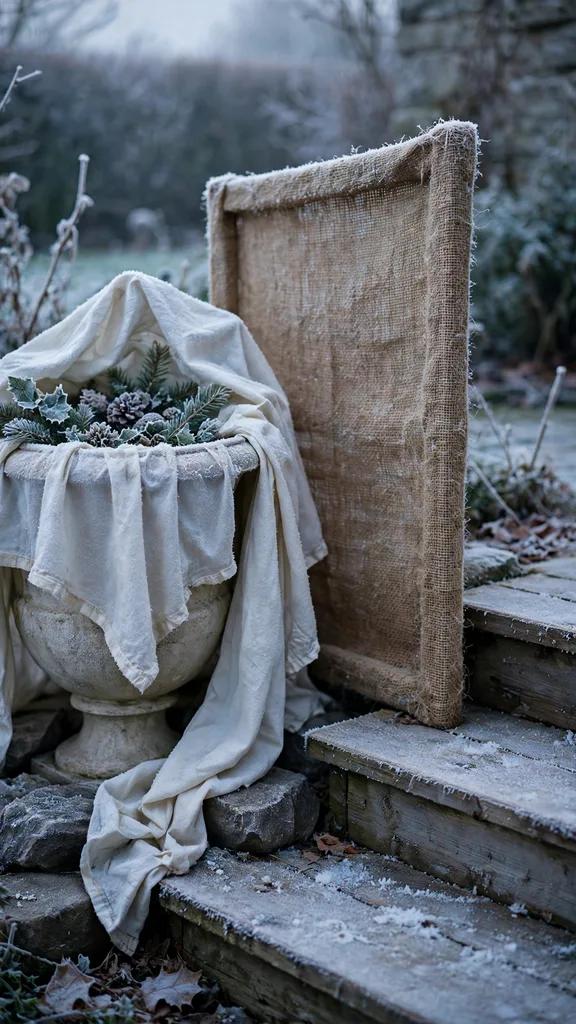
Use the same cloth cover that protects porch mums on a frost night, since the method transfers directly from a potted mum to a greenery urn. Add a burlap wind screen on the windward side of the urn for a long cold spell, with the screen standing 30 cm from the foliage so air still moves behind it. Water the soil on a mild day before the freeze arrives, because moist soil holds heat longer than dry soil and frozen roots cannot supply water to drying foliage.
17. Keep Cut Greenery Alive Through January
Keep cut greenery alive through January with water, shelter, and weekly replacement of spent pieces. Water the soil in the urn on every thaw day when the surface softens, and push a finger 5 cm deep to check before watering. Mist the foliage lightly on a calm mild morning, never during a freeze, because water on needles during a freeze adds ice weight and breaks stems. Move the urn against the house wall during a long windy spell and return it to the door after the wind drops.
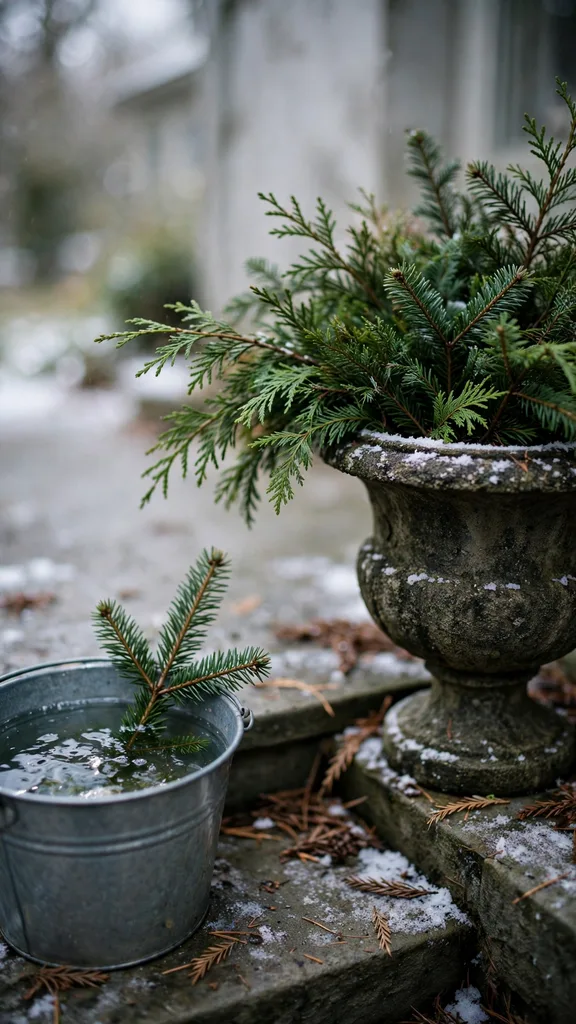
Replace browned boughs during a weekly check instead of waiting for the whole arrangement to fade. Pull a browned bough from the ring, trim a fresh bough to the same length, soak it for 2 hours, and push it into the same hole. A January urn with 3 fresh replacement boughs reads as a living display, and an untouched urn with browned rings reads as a leftover decoration. Store spare boughs in a bucket of water in a sheltered spot so replacements stay hydrated.
18. Plant a Living Urn That Returns Next Christmas
Plant a living urn around one permanent evergreen and treat the Christmas decoration as a seasonal layer on top of it. Set a dwarf Alberta spruce, a juniper, or a boxwood in the center of the urn in spring, and let it root through the growing season before its first Christmas. Add the tall stems, bough rings, berries, and lights around the living plant in late November, pushing decoration stems into the soil at the edge of the root ball without cutting into it. Remove the decorations in late winter and leave the living plant in place.
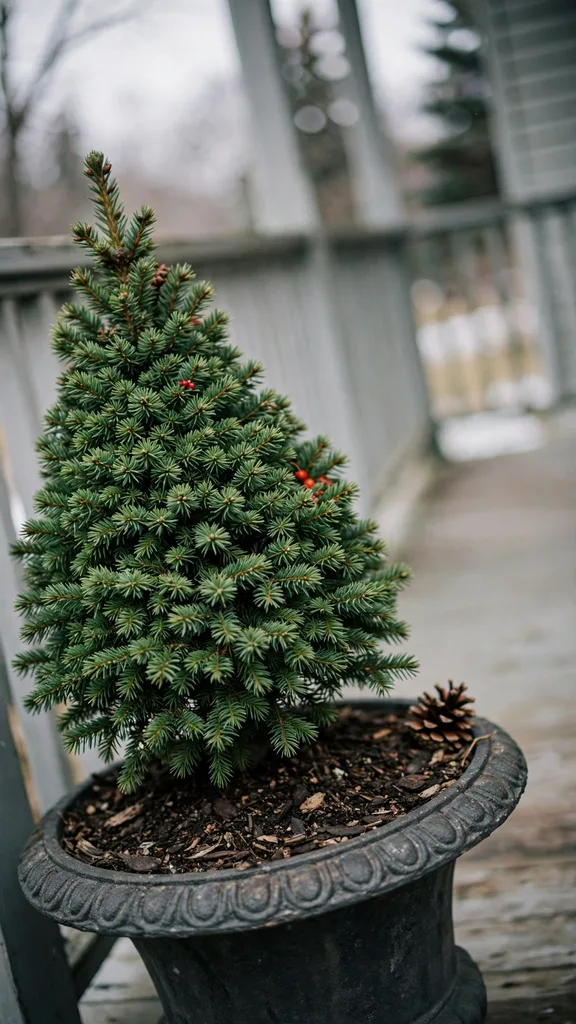
Feed the living plant in spring with a balanced slow-release fertilizer at the label rate, and water it through the growing season like any container shrub. Prune lightly after the spring growth flush to keep the shape compact, and check the drainage holes each autumn before the Christmas layer goes on. A living urn returns each Christmas with a larger, denser center plant, and the decoration work shrinks every year because the anchor plant already fills the middle of the urn.
19. Shrink the Urn Formula for a Small Stoop
Shrink the urn formula for a small stoop by cutting the piece count, not the layering order. Use one urn of 30 cm diameter instead of a pair, and keep the walkway clear by setting it tight against the wall on the hinge side of the door. Set 3 tall stems in the center, one ring of cedar at the rim, and 2 berry stems at the outer edge. A small stoop display needs fewer pieces because the viewer stands close to it, and every piece shows at arm’s length.
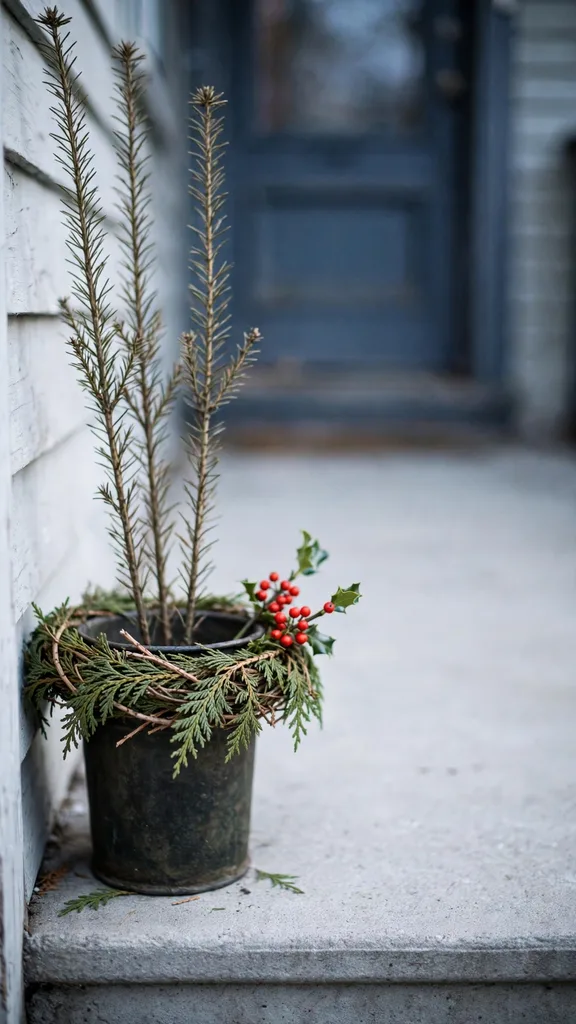
Measure the stoop before buying anything. A 30 cm urn on a 90 cm wide stoop leaves room for a foot to pass, and a 40 cm urn on the same stoop blocks the step. Keep the arrangement height below the door handle so the display never snags a coat sleeve or a delivery box. Water a small urn more often than a large one, because 30 cm of soil dries faster than a large urn in sun and wind.
20. Fill a Single Urn for a Narrow Entry
Fill a single urn for a narrow entry with a one-sided arrangement that faces the walk. Build the tall stems and the fullest bough rings on the street side, and leave the wall side flat with short cedar sprays tucked tight to the urn. A one-sided urn fits a passage too narrow for a pair, and it reads as complete from the only angle visitors see. Turn the flat side to the wall so no gap shows from the walk.
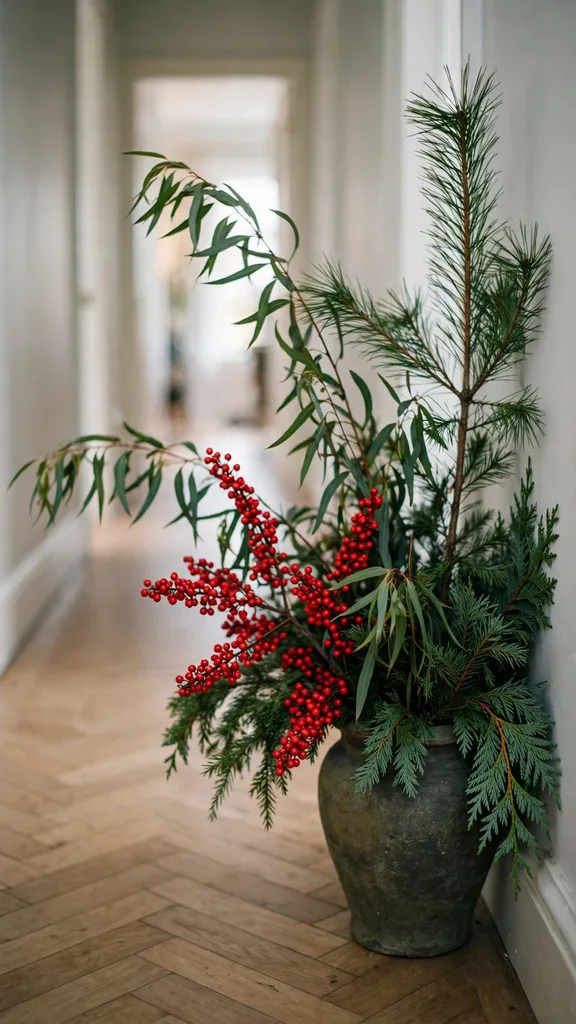
Anchor the arrangement against tipping, because a narrow entry funnels wind past the door. Set the urn against the wall, add gravel at the base, and tie the center stems to a small hook or a nail behind the urn when the wall allows it. Keep the tallest stems below the porch light so the light falls across the foliage instead of shining through bare stems. A single urn with a flat back and a full front earns the same welcome as a pair without blocking the passage.
21. Strip and Compost the Urn in Late Winter
Strip the urn in late winter, after the last hard freeze, and sort every piece before it leaves the porch. Pull the lights, wires, picks, and twine out first and store the lights for next season. Pull the berry stems and pinecones next, and save sound pinecones in a dry box for the next build. Cut the boughs into short lengths and add them to the compost pile, where evergreen foliage breaks down slowly and adds bulk through spring.
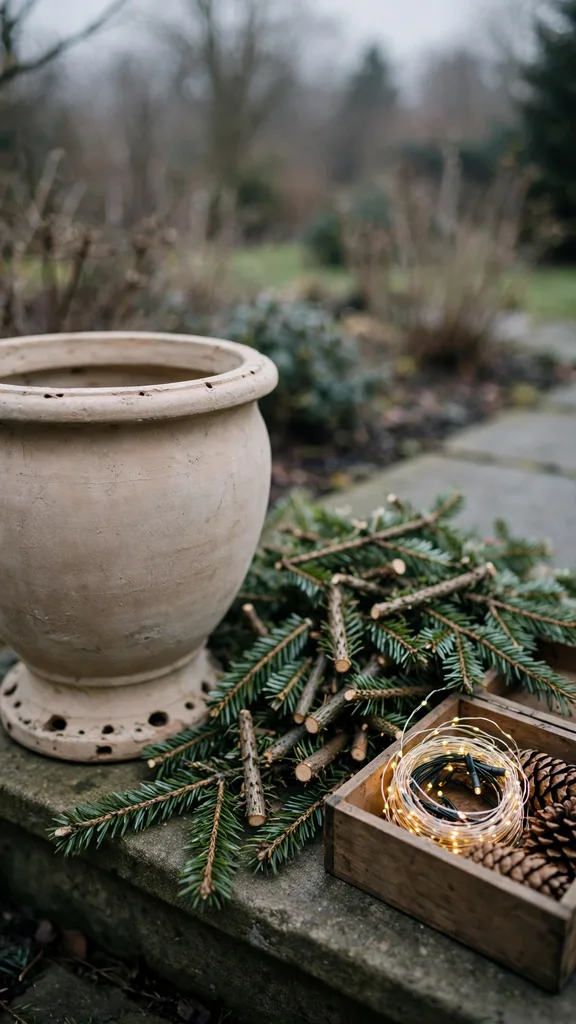
Leave a living center plant in the urn and clean the urn itself before spring planting. Scrub the inside walls, clear the drainage holes with a stick, and check the base for cracks that winter opened. Refill with fresh soil mix if the level dropped more than 5 cm during the season, because settled mix leaves the living plant sitting low and water pooling at the rim. A stripped, cleaned urn starts spring ready for a new season instead of carrying winter damage into it.
Frequently Asked Questions
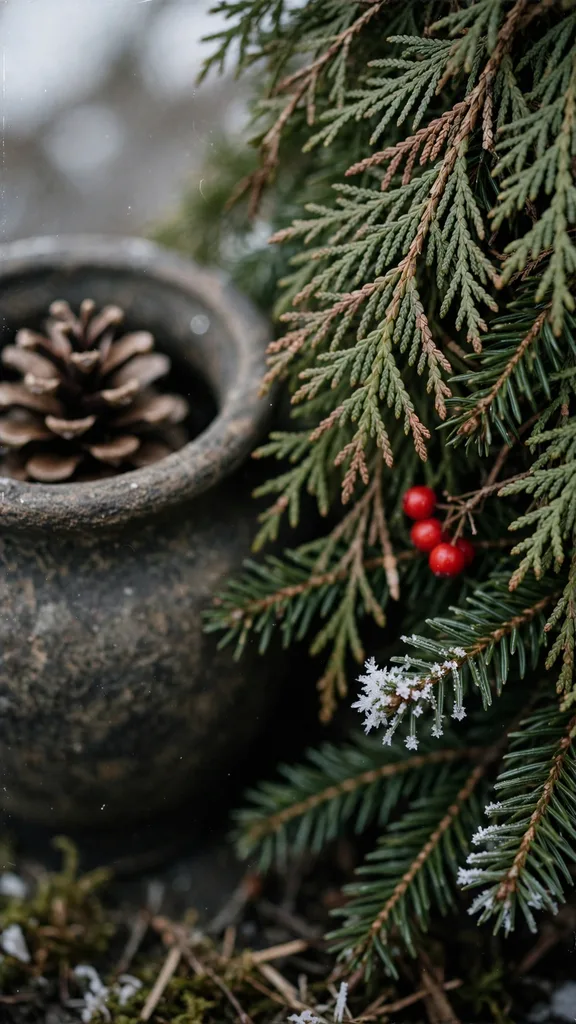
Yes, when the plant rating fits container cold. Container roots reach air temperature, so choose an evergreen rated two zones colder than your garden zone. Wrap the pot wall in insulation, mulch the soil surface, and water on mild days when the soil thaws. Boxwood, juniper, dwarf Alberta spruce, and yew hold foliage through winter under those conditions.
Water a living urn on mild days when the soil surface thaws, and skip watering while the soil stays frozen solid. Push a finger 5 cm into the mix at the edge of the urn. Water slowly when that depth feels dry, and stop when water leaves the drainage holes. Check monthly through winter at minimum, and check weekly during a dry windy spell.
An outdoor urn needs open drainage holes in the base, mesh over the holes to hold soil in, and feet or a stand under the base so water leaves freely. A large urn needs 3 holes of 2 cm diameter, and a small urn needs 1 hole of 2 cm diameter. Never let the urn sit in a full saucer through winter, because standing water freezes and cracks the base.
Fresh cut greenery stays presentable through Christmas and into January when it goes in soaked, stays watered on thaw days, and sits sheltered from drying wind. Cedar and juniper hold color longest, pine drops needles sooner, and fir fades first in a sunny spot. Replace browned boughs during a weekly check, and the arrangement stays fresh well past Christmas.
Thin glazed ceramic and thin terracotta crack first in freezing weather, because water trapped in the wall and the soil expands against a brittle shell. Thick stone, cast concrete, and fiberglass resist that expansion, and thick wood survives when it drains freely. Wrap any ceramic urn in insulation, set it on feet, and empty standing water from its saucer.
A Pair of Urns That Earns Its Place All Winter
A pair of urns earns its place when the container drains, the plant survives the cold, and the decoration accepts winter care without a rebuild. The ideas above follow that order on purpose. A matched pair at the door, a soaked greenery build, a fitted budget planter, and a weekly water and replacement check carry one display from late November through February without a second shopping trip.
Keep the living plants, the drainage, and the winter watering routine from this article, and use the wider seasonal planting ideas in the christmas garden ideas collection for the rest of the garden. A door display that survives winter sets the standard for the whole front garden, and the garden behind it deserves the same care.