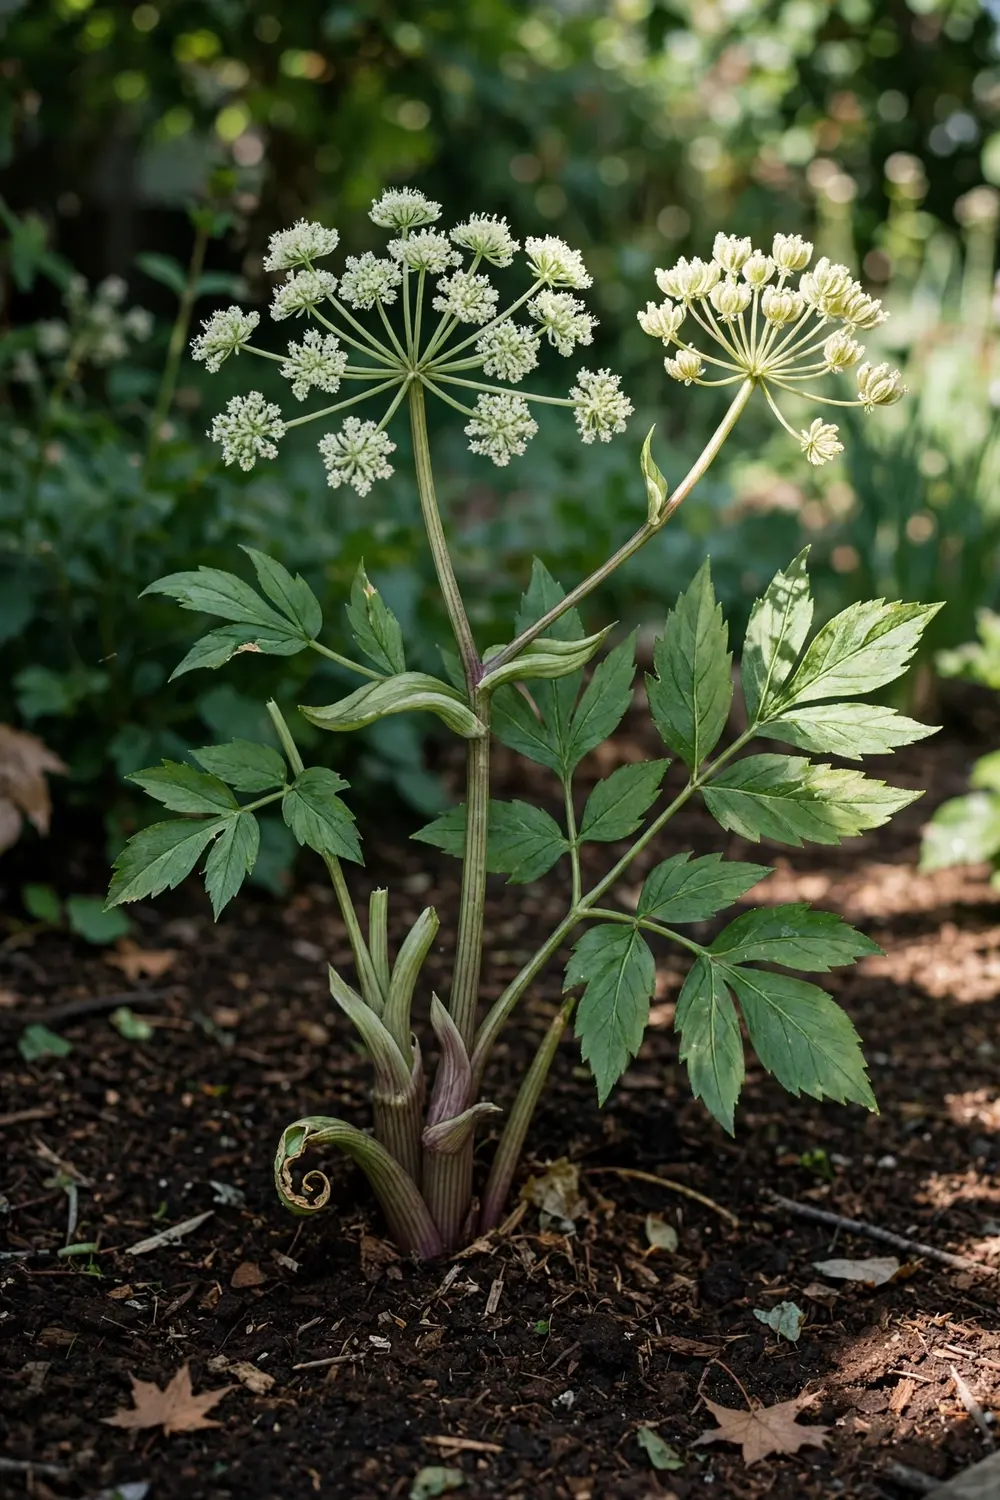

Dang gui feeds a global herbal trade measured in tens of thousands of tons a year, and the same plant grows in a home garden if you give it what it wants. Learning how to grow dang gui from seed is mostly about respecting two traits: the seed dies fast, and the plant dies after flowering. Give fresh Angelica sinensis seed cold, light, and consistent moisture, and expect sprouts in 21 to 60 days. Grow the seedlings on for one season, plant them out the following spring, and dig the roots in fall before the plant flowers. That last part is the rule that decides everything: once dang gui sets seed, the root is done.
This guide walks you through the full arc from seed to harvest in 14 steps, including how to tell real dang gui apart from the other angelicas sold under its name, and the honest answer on when the roots are worth digging. If you follow the timeline below, a packet of seed sown this fall becomes dried roots in your jar two autumns from now.
Step 1: Check Your Climate and Location First
Dang gui grows best where summers stay cool and the soil never fully dries out. It is hardy in USDA zones 5 to 9, and it prefers dappled shade or a woodland-edge spot over blazing full sun. Sheffield’s Seed Company lists the minimum hardiness zone as 7 for seed stock, while Gardening Know How’s dong quai guide puts the garden range at zones 5 to 9. The truth sits in the middle: the plant survives zone 5 winters, but it sulks in hot, dry summers.
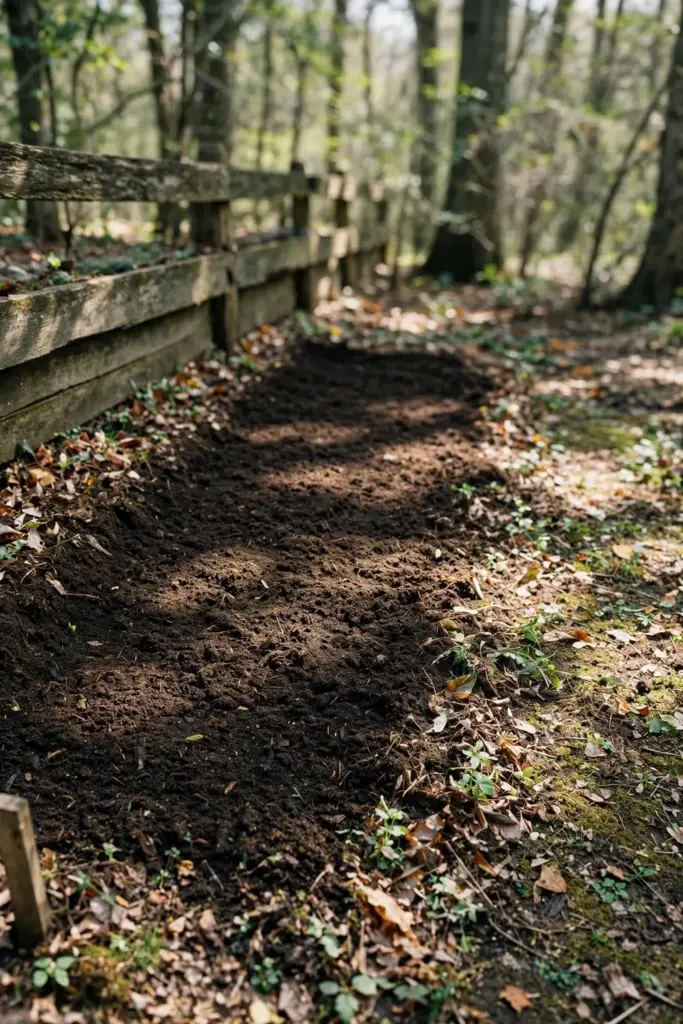
In the wild, Angelica sinensis grows in cool mountain forests of central China at 2,500 to 3,000 meters, in Gansu, Sichuan, Yunnan, and Shaanxi. You do not need a mountain, but you do need to imitate one: cool air, moist fertile soil, and afternoon shade in warm regions. If your summers regularly push past 90°F, site the bed on the north or east side of a fence or under high tree canopy.
Regionally, the Pacific Northwest and the Northeast are the easiest fits: cool summers, reliable rain, and natural woodland-edge conditions. In the Southeast and lower Midwest, heat is the enemy. Growers there do best treating dang gui as a fall-sown, shade-grown crop and accepting smaller roots. In zones 5 and 6, winter cold is not the problem; a mulch blanket handles it. The problem is always summer heat combined with dry soil, so plan your watering before you plant.
Here is the year-by-year arc so you can see the whole project at a glance.
| Year | Season | What happens |
|---|---|---|
| 1 | Fall | Sow fresh seed in a cold frame, or stratify in the fridge |
| 1 | Spring | Seedlings emerge; grow on in pots or nursery bed |
| 1 | Fall | Overwinter young plants in a cold frame |
| 2 | Spring | Transplant to the final bed, 18 to 24 inches apart |
| 2 | Summer | Vegetative growth; cut any flower stalks |
| 2 | Fall | Optional early dig of smaller roots, or leave for year 3 |
| 3 | Fall | Main harvest: dig roots before flowering |
Step 2: Make Sure You Are Growing the Real Dang Gui
This is the step most growers skip, and it is the most expensive one to get wrong. The name “dang gui” is attached to several different angelicas in commerce, and seed sellers and marketplaces sometimes mix them up. Buy seed labeled with the full Latin name Angelica sinensis and check it against this table before you spend a season growing the wrong plant.
| Species | Common names | Relationship to dang gui |
|---|---|---|
| Angelica sinensis | Dang gui, dong quai, Chinese angelica | The real thing: the TCM root herb, native to central China |
| Angelica acutiloba | Dong dang gui, Japanese angelica | A different species used in Japanese herbalism; sold on marketplaces as “danggui,” which causes real confusion at checkout |
| Angelica dahurica | Bai zhi | A different TCM herb; the white root, not dang gui |
| Angelica gigas | Korean angelica, giant purple angelica | Ornamental with purple stems; image results often mislabel it as dang gui |
| Angelica archangelica | European angelica, garden angelica | The big European species; most Western “how to grow angelica” guides cover this one, not sinensis |
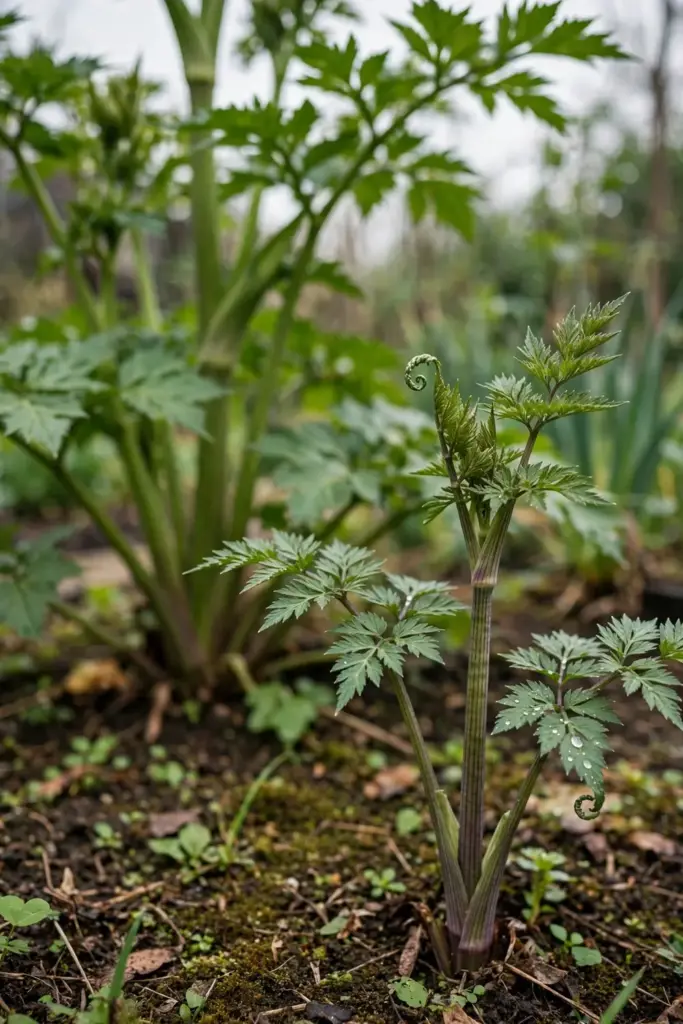
The quickest field check once plants are up: A. sinensis has purplish-green stems, finely divided aromatic leaves, and creamy-white umbels of 13 to 36 flowers. A. gigas shows deep purple stems and dark purple flower heads. A. archangelica is a giant by comparison, often topping 6 feet. If your “dang gui” grows 6 feet tall with greenish-yellow flowers, you bought European angelica.
Step 3: Source Fresh Seed
Dang gui seed loses viability fast, and this is the single biggest reason home growers fail at step one. The Plants for a Future database states it plainly: sow seed in a cold frame as soon as it is ripe, because the seed only has a short viability. Spring-sown seed still germinates, but rates drop noticeably.
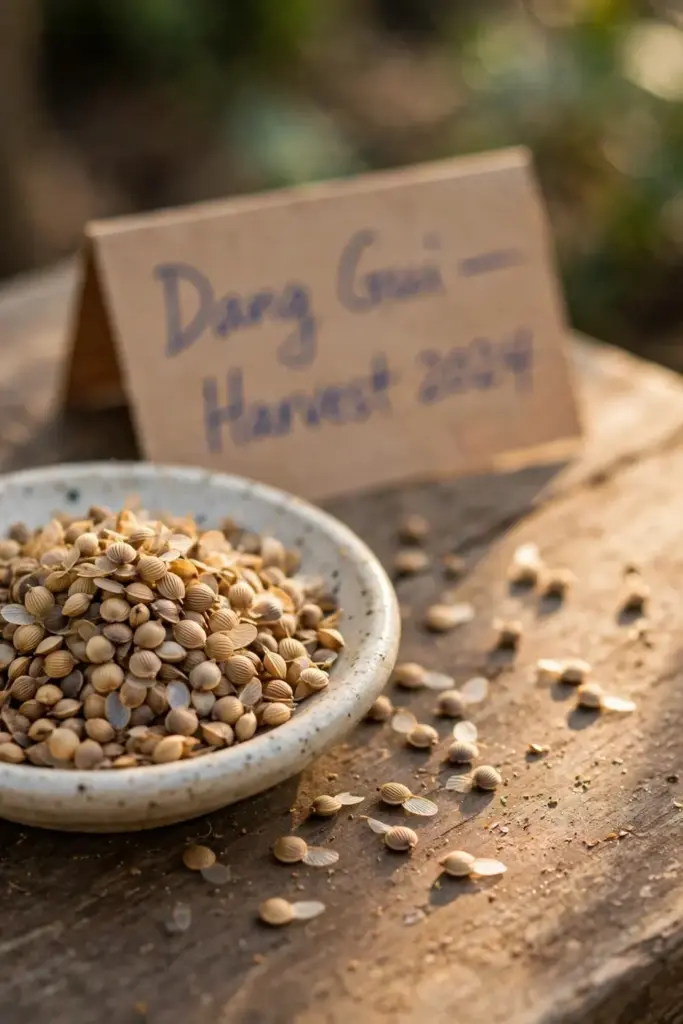
Buy from a seed seller who lists the harvest year, and buy only what you will sow this season. Avoid bulk bargain packets with no date; old angelica seed is the most common cause of a tray that never sprouts. If you harvest your own seed, collect the umbels in September or October when the fruits turn from green to tan, dry them in a paper bag for a week, and sow within weeks.
Step 4: Cold-Stratify the Seed
Cold, moist stratification wakes dang gui seed up and evens out the notoriously erratic germination. Mix the seed with damp sand or vermiculite in a zip bag and refrigerate it at 35 to 40°F for 10 to 30 days. One seed seller’s protocol uses a 10-day cold period and reports germination in 21 to 30 days afterward. A longer cold spell of up to 60 days also works and mimics what happens when seed overwinters in the ground.
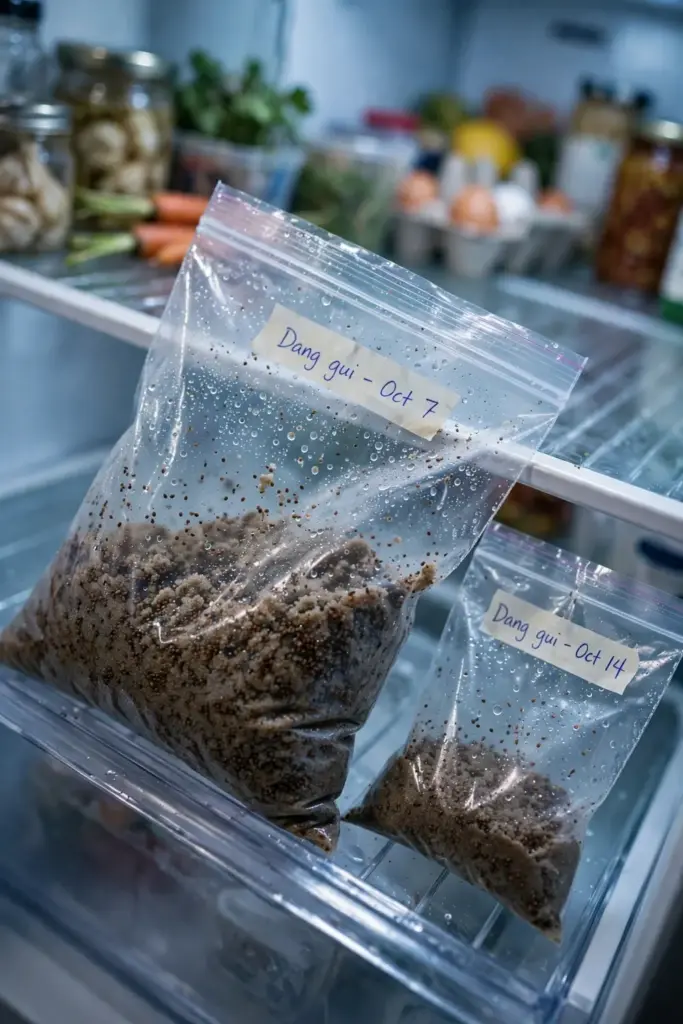
This is the honest version of the conflicting advice online. Sheffield’s reports that no stratification is strictly required and that germination happens in 30 to 60 days without treatment, while growers who stratify see faster, more even sprouting. Stratification is cheap insurance: it costs you a bag of sand and two weeks in the fridge, and it meaningfully raises your odds.
Step 5: Sow and Germinate With Light
Dang gui seed needs light to germinate, so surface-sow and press the seed into the mix rather than burying it. This is the detail that separates success from failure when you learn how to grow dang gui from seed: the seed sits on the surface, not under it. Cover with no more than a whisper of vermiculite, about 1/8 to 1/4 inch at most. Keep the tray at 55 to 65°F in bright, indirect light, and keep the mix consistently moist but never waterlogged. A humidity dome helps, but vent it daily.
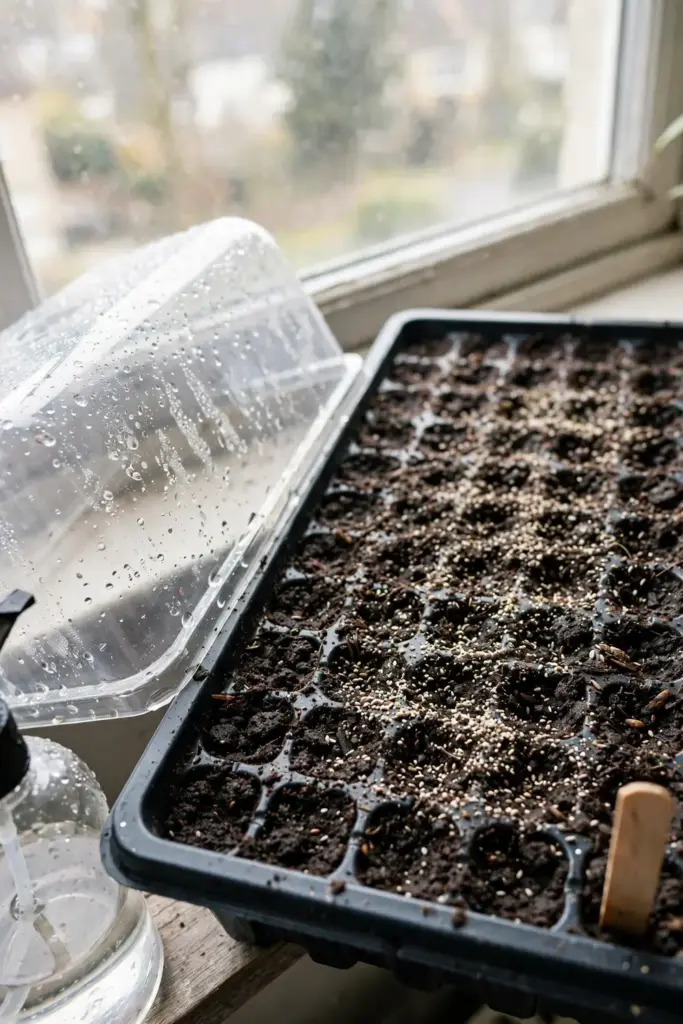
Expect sprouts in 21 to 60 days, and expect them to arrive unevenly. That erratic timing is normal for this species, not a sign you did something wrong. Fluctuating day and night temperatures improve results, which is one reason a cold frame or unheated porch works better than a constantly warm windowsill. Thin or prick out seedlings once they have two true leaves, handling them by the leaves rather than the fragile stems.
Two sowing routes work, and the choice depends on your winter. Here is how they compare.
| Route | How it works | When you see sprouts |
|---|---|---|
| Fall sowing outdoors | Sow fresh seed in situ or in a cold frame in fall; winter does the stratification | Seedlings emerge the second spring, slow and natural |
| Stratify, then spring sow | 10 to 30 days in the fridge, then sow indoors in late winter | Sprouts in 21 to 60 days, more even stand |
Fall sowing is the closest to what the plant does in the wild, but you wait a full year for germination. Fridge stratification plus spring sowing gives you seedlings months sooner and lets you control moisture. Either way, the seed must be fresh: this is the one input you cannot cheap out on.
Step 6: Grow Seedlings On Through Their First Year
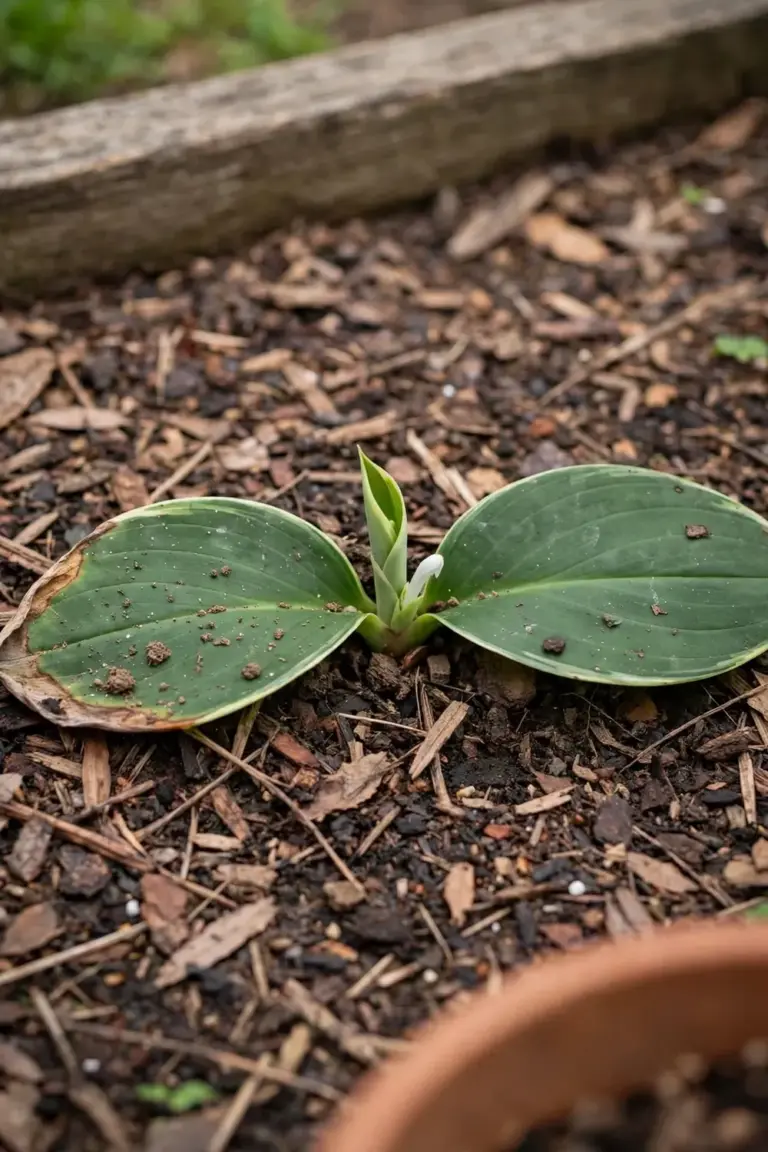
The first year is about building a strong crown, not about size. Grow seedlings on in individual pots or a nursery bed in dappled shade, and keep the soil evenly moist through the summer. Seedlings resent direct hot sun; the wild plant starts life on forest edges, and your seedlings want the same deal.
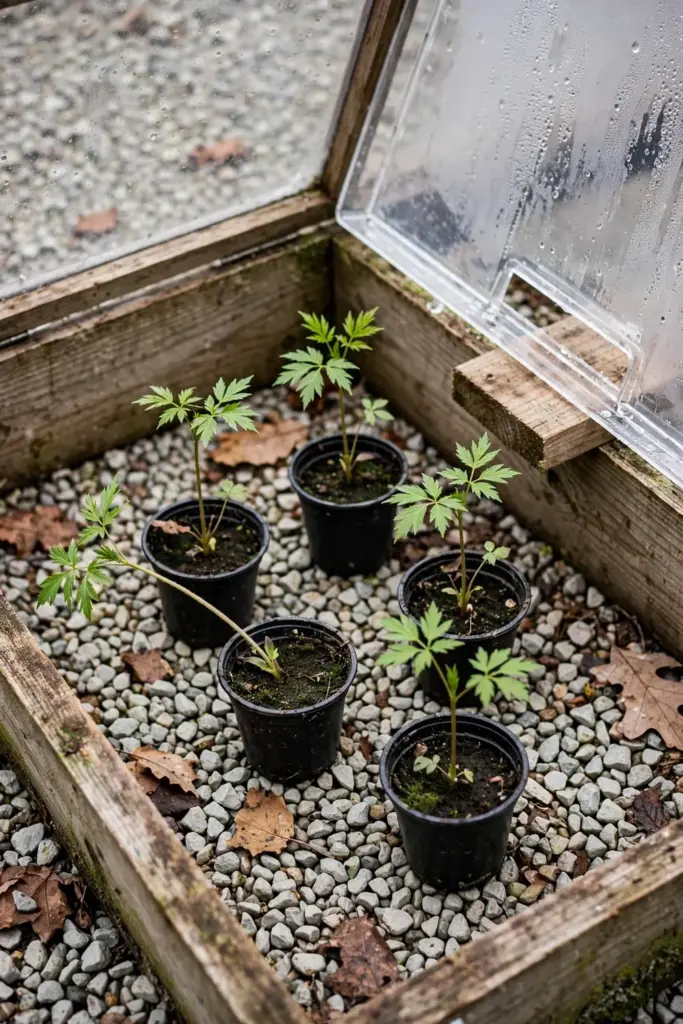
PFAF recommends growing the young plants on in a cold frame for their first winter and planting them out in spring. That single practice solves two problems: it protects small crowns from freeze-thaw heaving, and it gives you a spring transplant that is already hardened off. Feed lightly with diluted compost tea or a half-strength balanced fertilizer once a month during active growth. Skip heavy nitrogen; soft, overfed foliage is more disease-prone and does nothing for the root you are actually growing.
Pot size matters more than most growers expect. Start in 3 to 4 inch pots and move up to 1-gallon pots once the roots fill the first container. A seedling left too long in a small pot develops a coiled taproot that never straightens, and the adult root forks. Check by tipping the pot: if roots circle the bottom, pot up. Water from below when you can; wet crowns in stagnant air invite damping off, the classic seedling killer. A small fan on low nearby keeps air moving and stems sturdy, which pays off when the plants face real wind outdoors.
Step 7: Transplant to the Garden in Spring
Plant out in spring after the soil has warmed but before summer heat arrives, spacing plants 18 to 24 inches apart. Dig a deep hole and loosen the soil well below the root ball: dang gui makes a long taproot, and compacted ground forks or stunts it. Water the transplants in thoroughly and mulch with 2 to 3 inches of shredded leaves or straw, keeping the mulch a few inches away from the crown.
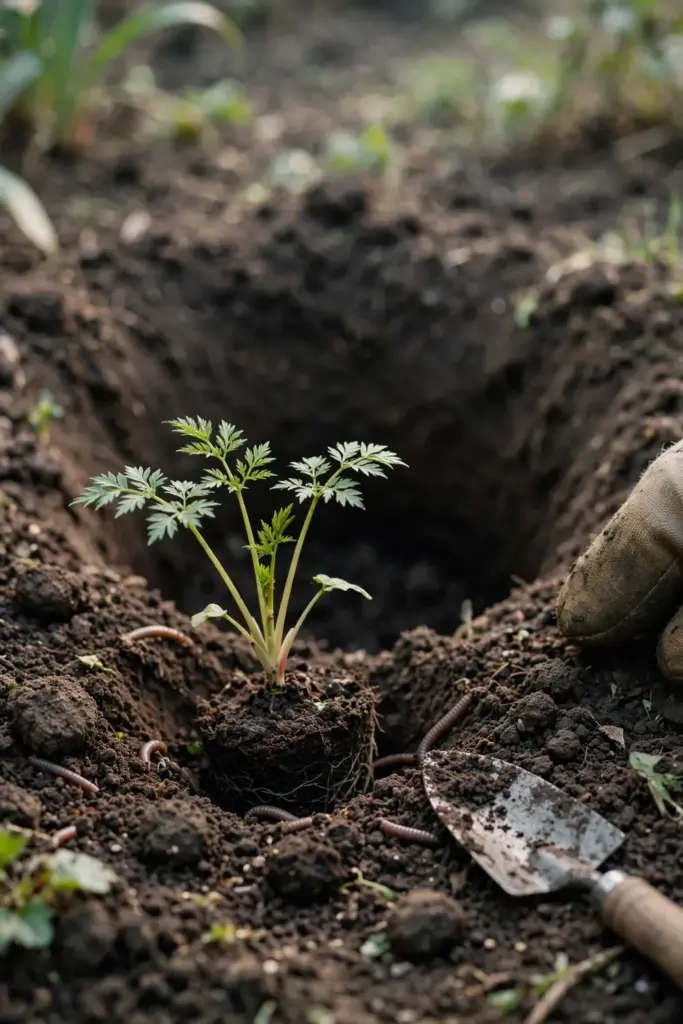
Handle the root ball gently. Gardening Know How warns that the extremely long taproots make transplantation difficult, which is why the pot-grown first year matters. Transplant once, into the final spot, and do not move the plant again.
Step 8: Give It Deep, Moist, Fertile Soil
Dang gui wants soil that holds moisture without holding water. Work several inches of compost into the top 12 inches of the bed before planting, and aim for a loamy, humus-rich texture. The plant tolerates sandy, loamy, or clay soils according to PFAF, as long as moisture is consistent. A soil pH anywhere from mildly acidic to mildly alkaline is fine.
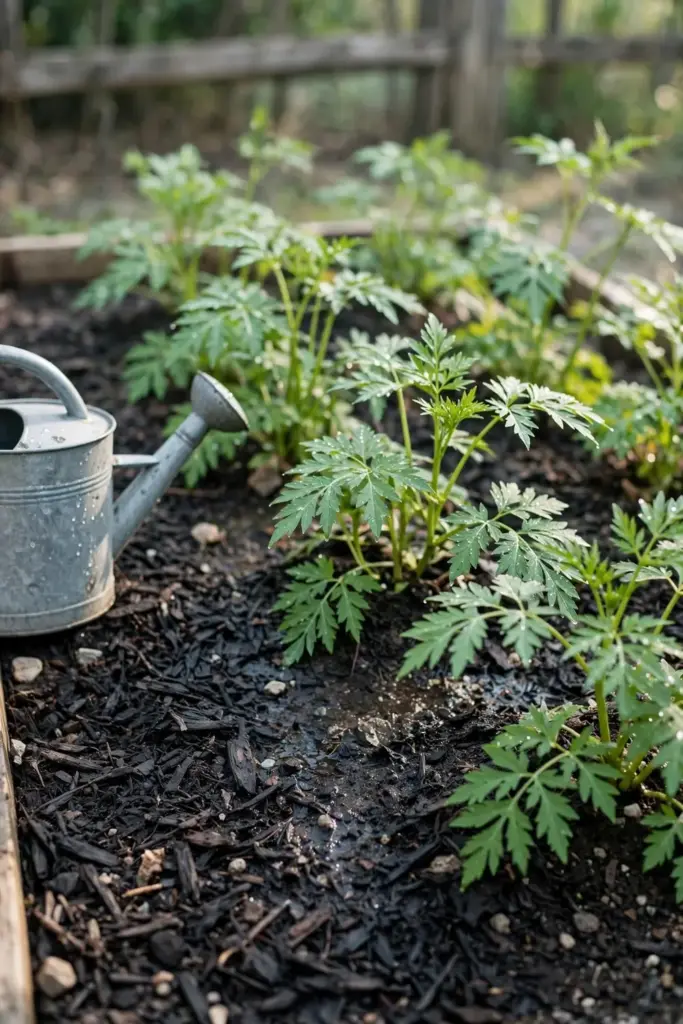
Water deeply and regularly, especially during dry spells. Aim for roughly 1 to 1.5 inches of water per week from rain plus irrigation during the growing season, delivered in deep soakings rather than daily sprinkles. The crown should never sit in a puddle, but a dang gui bed that dries out in July will stall. A 2 to 3 inch organic mulch layer is the easiest way to hold moisture and keep the root zone cool, which matters more for this species than for most garden herbs. Side-dress with compost in early spring of the second year rather than reaching for synthetic fertilizer.
Step 9: Watch for Pests and Diseases
Dang gui is generally pest-resistant, which is one of its quiet advantages. Aphids are the most common visitor; a strong jet of water or insecticidal soap handles them. Slugs may chew young foliage in wet springs. Fungal leaf spots can appear in crowded, poorly ventilated plantings, and the fix is cultural: give each plant its full 18 to 24 inches of space, water at the base rather than overhead, and clear dead foliage in fall.
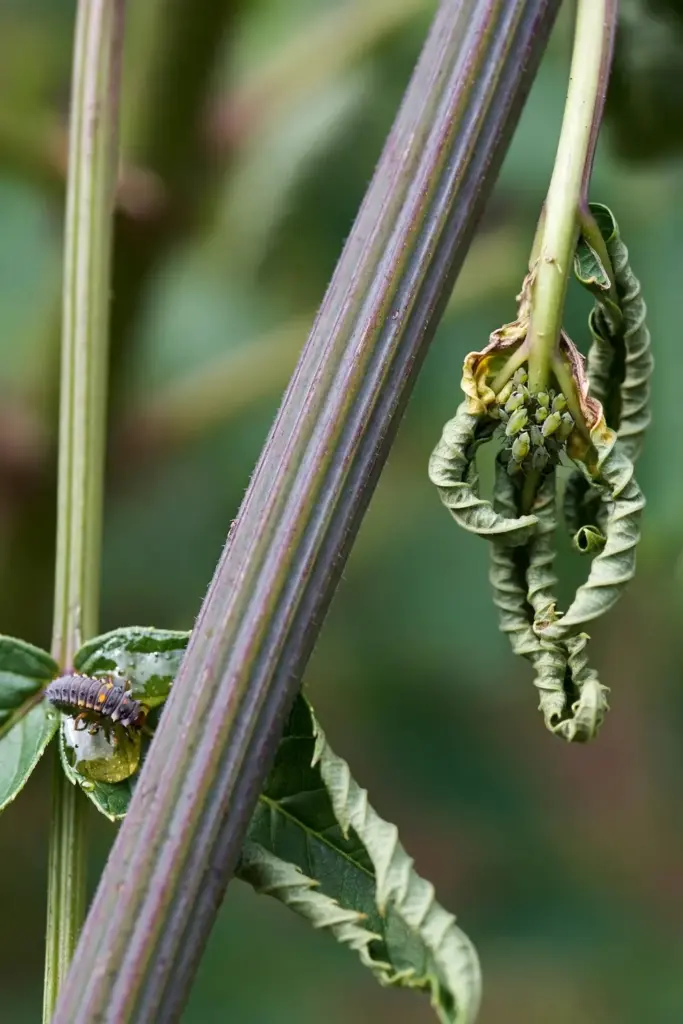
Deer tend to leave the aromatic foliage alone, though no plant is truly deer-proof in a hungry year. The bigger threat in most gardens is neglect during a dry August, not pests.
Step 10: Harvest Roots Before the Plant Flowers
This is the step that decides whether your dang gui is worth digging. Angelica sinensis is monocarpic: it grows vegetatively, then flowers, sets seed, and dies. Root quality peaks before flowering, and growers have two honest windows. Commercial growers in China run a 3-year cycle and dig roots in fall or winter of the third year. Home growers with smaller plants can dig usable roots in fall of the first or second year. Either way, the rule is the same: dig in fall, before any flower stalk appears.
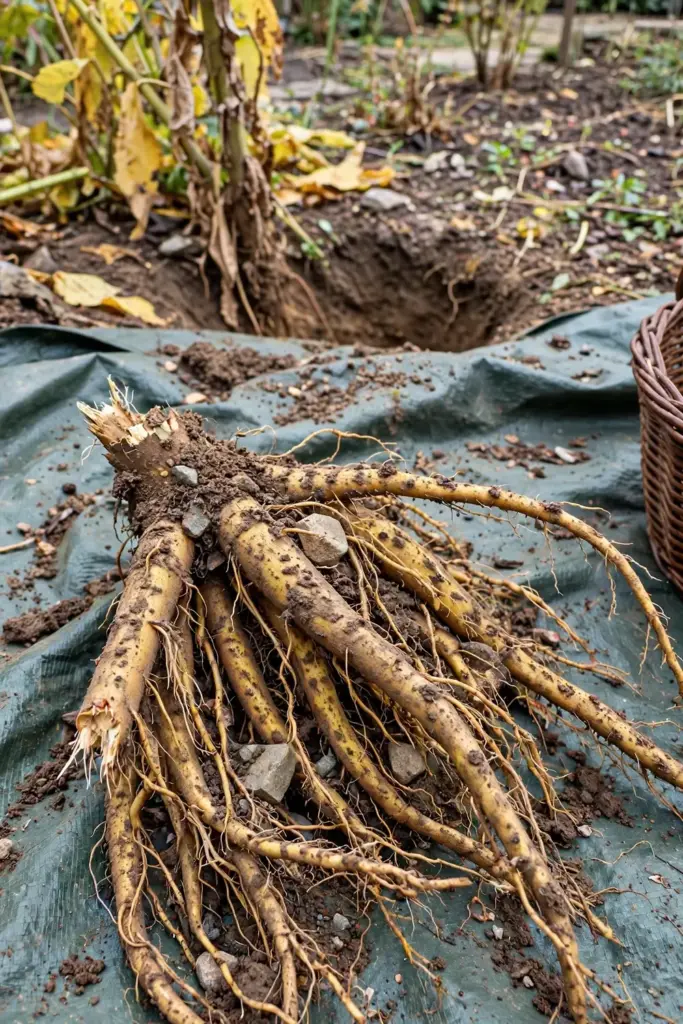
If a flower stalk starts to rise and you still want the root, cut the stalk off immediately. Removing flower heads redirects energy back to the root and can extend the plant’s life, a trick confirmed across angelica species. But know what you are doing: once the plant has fully flowered and set seed, the root is spent. Dig it, compost the top, and start fresh seed for the next cycle.
Loosen the soil deeply around the plant before pulling; the taproot breaks easily in heavy ground. Wash the roots gently, trim off the fine rootlets, and sort by size. The thick main root with its crown is the prime piece.
In the herbal trade, dang gui roots are traditionally graded into parts. The head (tou) is the thickest top section, the body (shen) is the middle, and the tails (xu) are the thin rootlets. Home growers do not need to grade for sale, but the distinction is useful: the thick crown end is the most substantial piece for drying, while the thin tails dry fastest and are the first to check for mold in storage. Sort your harvest into thick and thin pieces and dry them as separate batches.
Step 11: Dry and Store the Roots Properly
Spread washed roots on a clean rack in a well-ventilated spot out of direct sunlight. Good air circulation matters more than heat; a shaded porch or a room with a fan works. Turn the roots every few days until they are leathery and snap rather than bend when fully dry, usually 1 to 2 weeks for smaller roots and longer for thick ones.
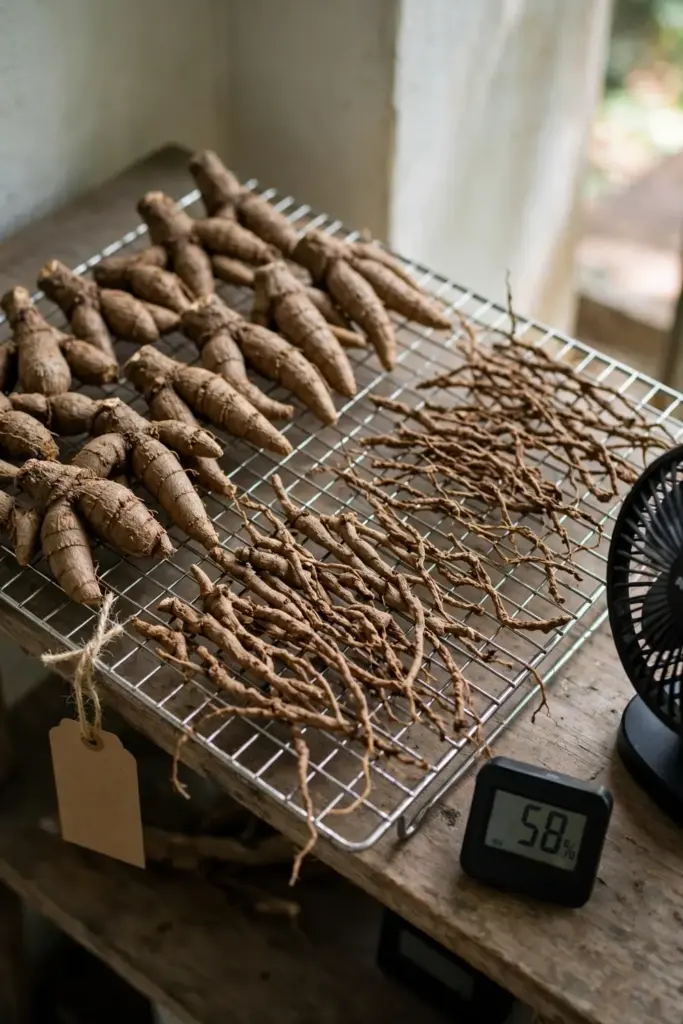
Store dried roots in airtight jars in a cool, dark place. Label the jar with the species, the harvest date, and the year. Properly dried roots keep for a year or more. A note on use: dang gui is a traditional herbal ingredient, not a casual kitchen herb. If you plan to consume it, talk to a qualified herbalist or healthcare professional first, especially if you are pregnant, nursing, or take blood-thinning medication.
Step 12: Growing Dang Gui in Containers
You can grow dang gui in a container, with one big condition: the pot must be deep. Use at least a 5-gallon container, 12 inches deep or more, filled with a rich potting mix amended with compost. The taproot will fill it. One plant per pot; crowding two in a container guarantees two stunted plants.
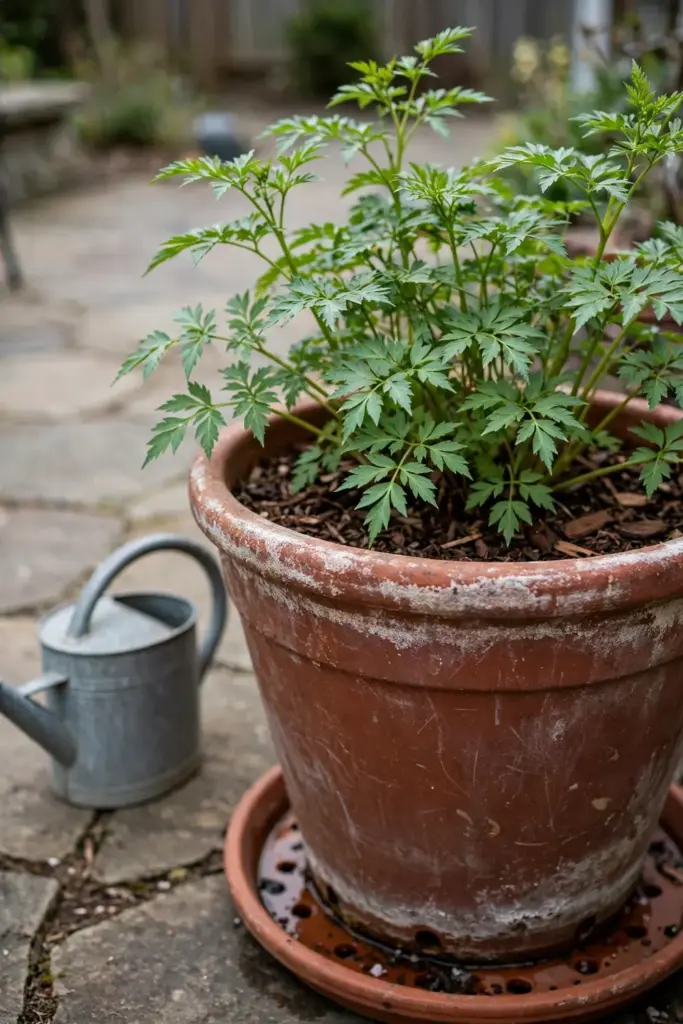
Container plants dry out faster than bed plants, so check moisture daily in summer and mulch the surface. In zones 5 and 6, move the pot against a sheltered wall for winter or sink it into the ground to protect the crown. Expect somewhat smaller roots than in-ground plants. Containers are best treated as a first-year nursery step or a trial, with the real harvest coming from the garden bed.
Step 13: Avoid These Common Mistakes
Sowing old seed. Year-old dang gui seed germinates poorly or not at all. Buy current-harvest seed every season.
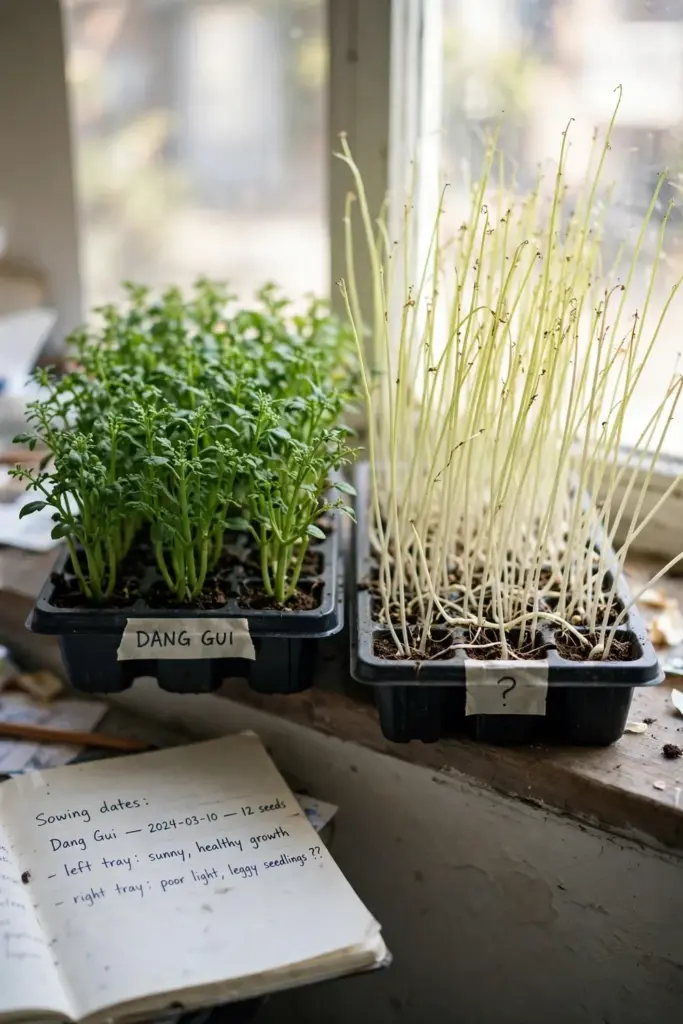
Burying the seed. Light is required for germination. Seed buried half an inch deep may never emerge.
Skipping the cold treatment. You can skip stratification, but germination gets slower and patchier. The fridge step is nearly free.
Planting in hot, dry sun. Dang gui is a cool-climate woodland-edge plant. Full blazing sun with dry soil produces a stunted plant that bolts early.
Letting it flower and hoping for the best. Once the flower stalk is up, the root’s prime is over. Either cut the stalk early or plan your dig around it.
Digging too early. A first-year seedling’s root is a thread, not a harvest. Give it at least one full growing season, ideally two.
Confusing it with European angelica. If your plant hits 6 feet, it is A. archangelica, and the root is not dang gui. Check the species table in Step 2 before you invest the season.
Harvesting in spring. Spring-dug roots are lower in the stored reserves the plant built up over winter and spent on new top growth. Fall digging, after the foliage yellows and dies back, catches the root at its peak. Mark your calendar when you plant: the dig happens 12 to 24 months later, in October or November.
Step 14: Troubleshooting When Things Go Wrong
Nothing sprouted after 60 days. The seed was probably old or buried too deep. Start over with fresh seed, surface-sow, and stratify for 2 to 4 weeks first.
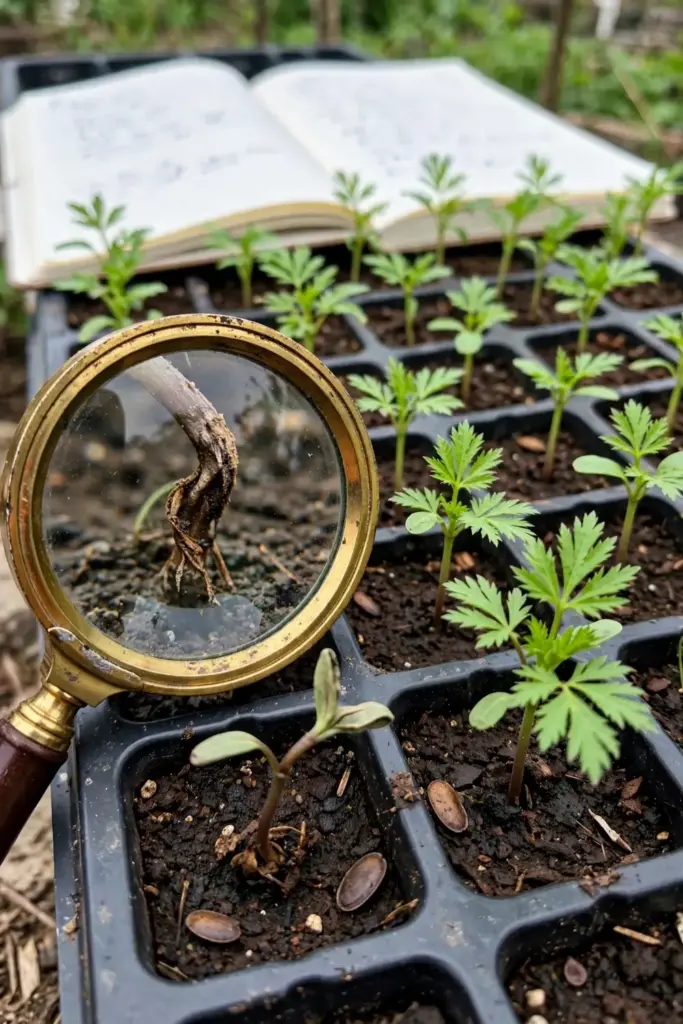
Seedlings damped off. The mix stayed too wet or the dome never vented. Use fresh sterile mix, water from below, and remove the dome once sprouts appear.
Plants wilt every afternoon. The site is too hot or the soil dries too fast. Mulch heavily, shift watering to deep morning soaks, and consider afternoon shade cloth in heat waves.
Leaves yellow in midsummer. Usually overwatering in heavy soil or nitrogen hunger. Check drainage first; if the soil smells sour, the roots are drowning. Side-dress with compost if growth is pale and slow.
Flower stalk appeared in year one. Stress bolting, often from heat or drought. Cut the stalk at the base. The plant may still produce a usable, if smaller, root that fall.
Roots forked or stunted. Compacted soil or a rock layer. Next planting, double-dig the bed to 18 inches and remove stones.
Frequently Asked Questions
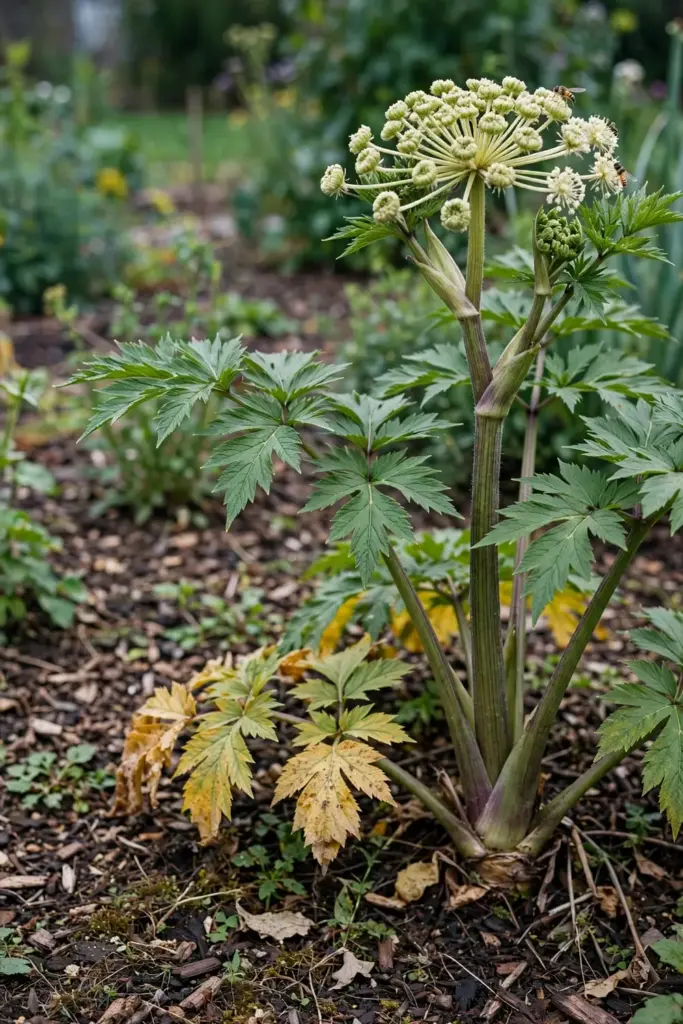
Yes. Dang gui (当归) and dong quai are two romanizations of the same Chinese name for Angelica sinensis, the root used in traditional Chinese herbalism. “Female ginseng” is a nickname only; the plant has no botanical relationship to true ginseng (Panax). When buying seed or plants, the Latin name Angelica sinensis is the only label that guarantees you have the right species.
Plan on 1 to 3 years. Germination takes 21 to 60 days after sowing, the seedling year builds the crown, and roots reach a useful size by the fall of the second year. Commercial growers in China run a 3-year cycle for maximum root weight. Home growers can dig smaller but perfectly good roots after two seasons. Anything less than one full growing season gives you threads, not roots.
It depends on whether it flowers. Angelica sinensis is monocarpic: an individual plant dies after it flowers and sets seed. If you cut flower stalks as they appear, the plant keeps growing vegetatively and behaves like a perennial. Let it bloom and it completes its life cycle in 2 to 3 years. Save seed from a plant you allow to flower, and sow a fresh batch each year for a continuous supply.
Not well as a permanent home. Seedlings start fine under grow lights, but mature plants reach 3 feet, need a deep root run, and want cool nights and seasonal change. Use indoors only for the germination and first-winter nursery stage, then move plants outside in spring. A cool greenhouse or cold frame is the better halfway house.
They are different species with different uses. Dang gui is Angelica sinensis, a 3-foot Chinese species grown for its root in traditional herbalism. European angelica is Angelica archangelica, a 6-foot giant grown for candied stems and gin flavoring. Most Western “grow angelica” guides describe the European species. If your seed packet or plant lacks the Latin name, assume nothing and verify before planting.
Dang gui is a traditional herbal ingredient with a long history of use in China, Korea, and Japan, but it is not a casual seasoning herb. Western sources advise against use during pregnancy or nursing, and the root contains coumarins that may interact with blood-thinning medication. These are cautions, not a diagnosis. If you plan to consume homegrown roots, consult a qualified herbalist or healthcare professional first.
Where to Go From Here
You now have the full arc: fresh seed, cold stratification, light-germinated sprouts, a nursery year, a garden bed with deep moist soil, and a fall dig before flowering. The species check in Step 2 is the one step worth re-reading before you buy anything, because a season spent growing the wrong angelica is the most expensive mistake a dang gui grower can make.
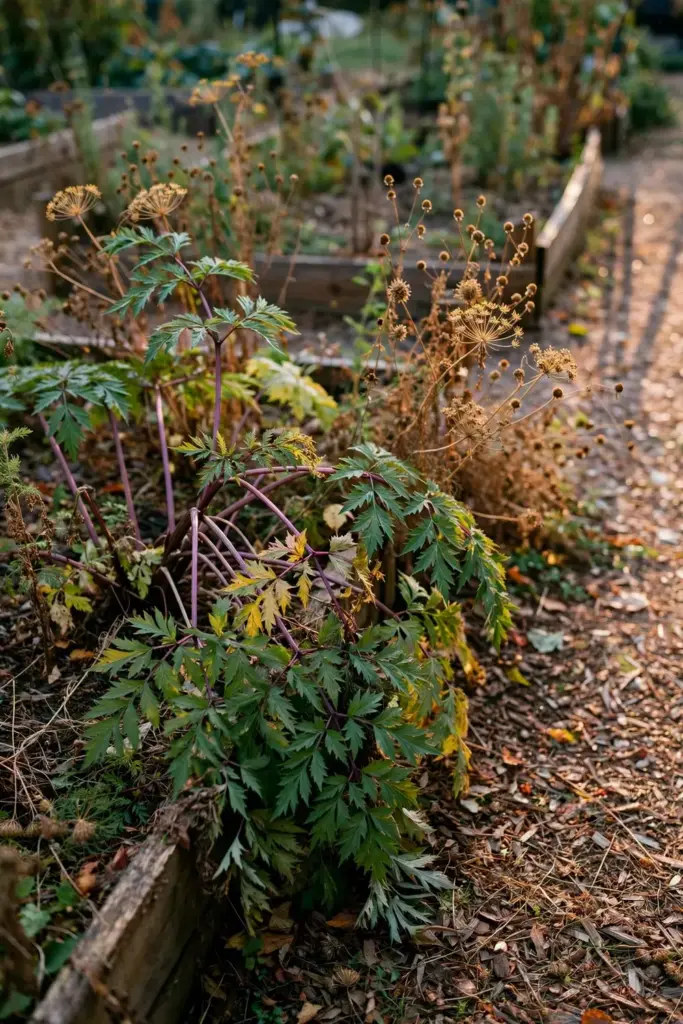
One more honest note for anyone still deciding whether to start: learning how to grow dang gui from seed rewards patience more than skill. The techniques are simple. The timeline is not. If you want roots this year, buy dried dang gui from a reputable herb supplier and grow something faster in the meantime. If you want the deeper satisfaction of a root you raised from a seed the size of a grain of rice, sow this fall and mark your calendar for two autumns out.
If you are building a Chinese medicinal herb garden, start with reliable seed: the herb seed buying guide covers how to judge seed sellers and harvest dates, the detail that decides dang gui germination. For the seed-starting fundamentals that apply to every herb on this site, the seed starting guide covers trays, mixes, and hardening off. If you are planning the wider herb bed, the best herbs for spring gardens guide helps you pick companions. And for the long game of building soil that holds moisture the way dang gui likes it, start with the soil health foundation guide.