
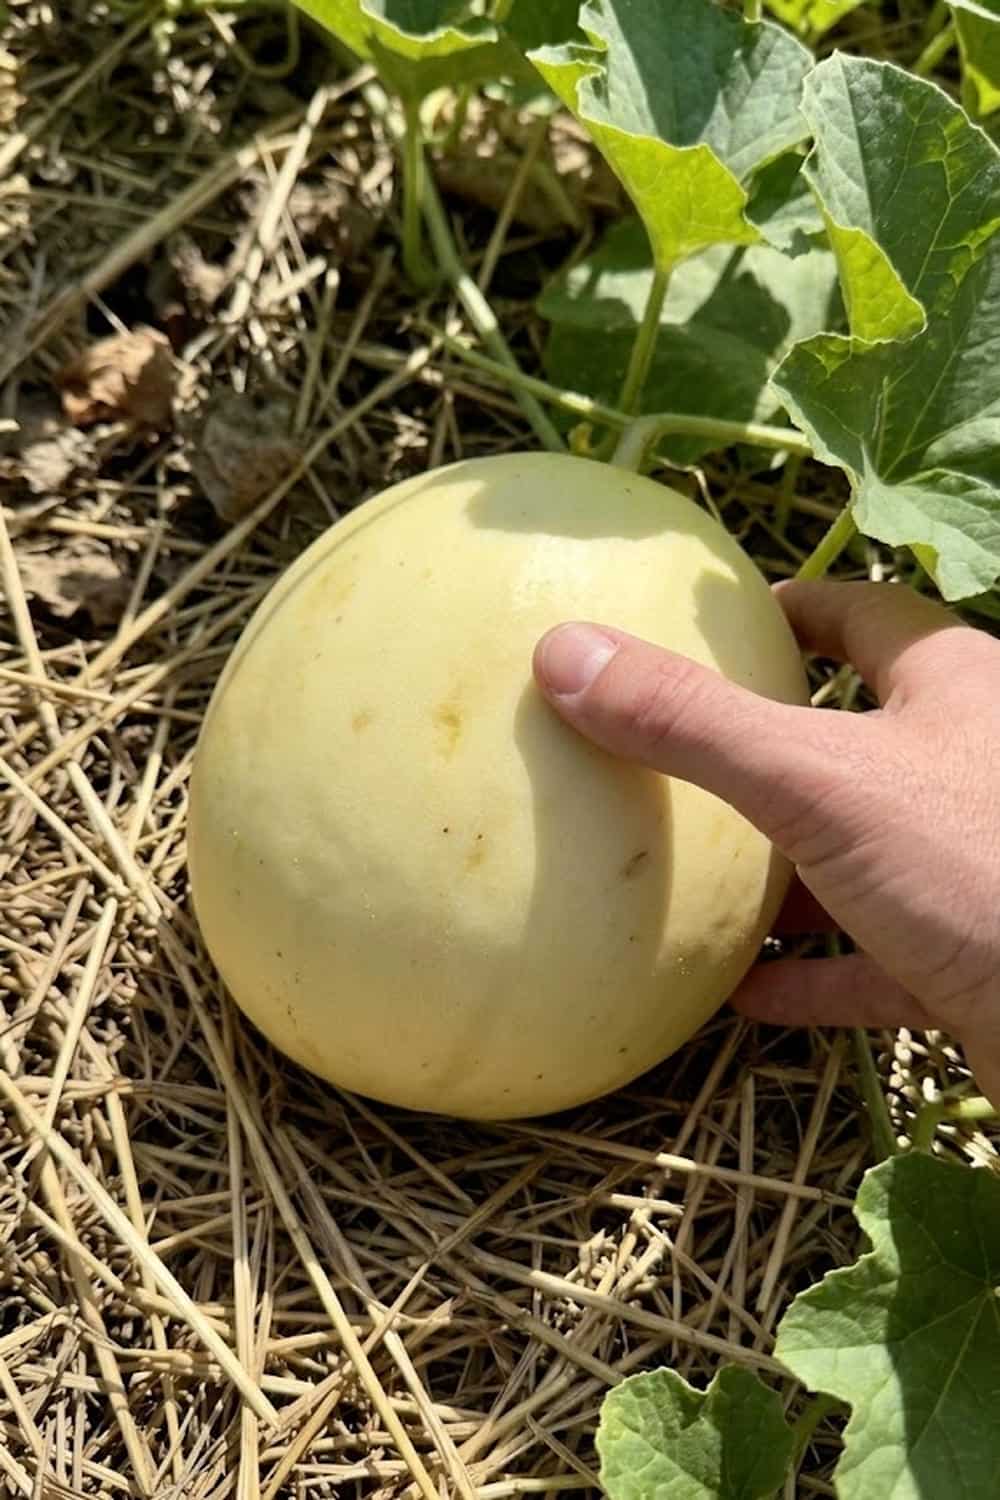

There is nothing quite like the anticipation of slicing into a homegrown melon, only to find the flesh bland, watery, and utterly disappointing. You invest months of back-breaking work, precious garden space, and careful watering, but the resulting fruit lacks that signature honey-like sweetness we all crave. This frustrating disappointment is all too common, leaving you tempted to stick to grocery store produce, even if it is picked green and lacks true flavor intensity. I have faced that exact letdown myself, but I discovered that the secret lies not in luck, but in precise, purposeful care throughout the entire process. Growing honeydew successfully means mastering a few critical techniques, from choosing the right variety to managing irrigation during the crucial final weeks, and in this guide, I’m sharing every secret I’ve learned to ensure your harvest is consistently spectacular.
Select the Best Honeydew Cultivars for Your Climate
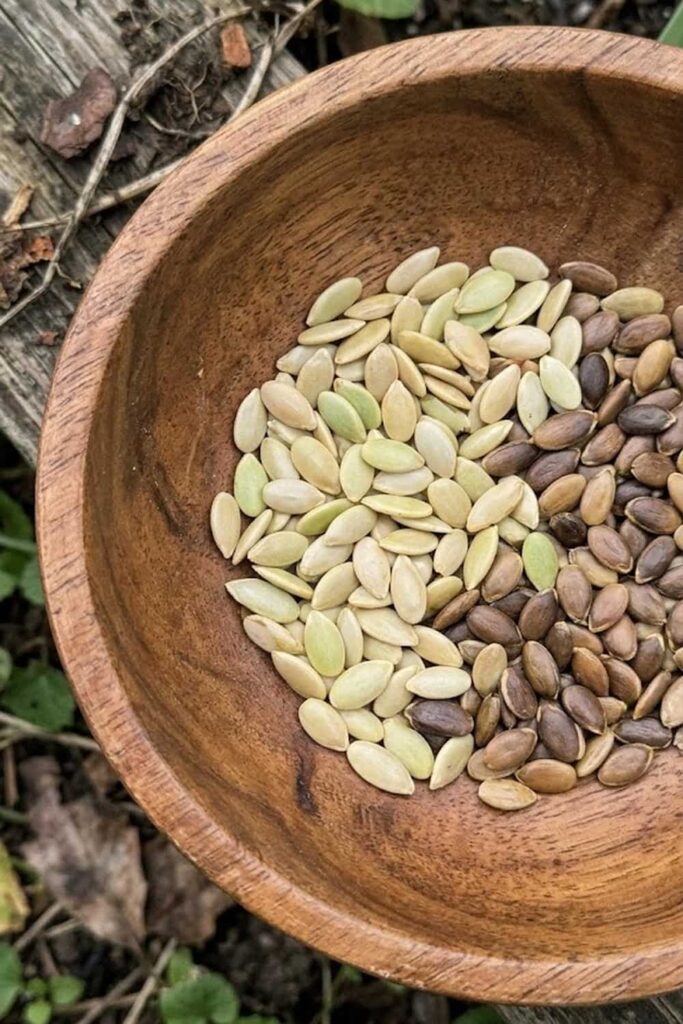
I’ve learned the hard way that a melon’s success often begins before the first seed is planted, starting with selection. Choosing a cultivar that doesn’t fit your local environment is the fastest route to failure. Honeydew melons (Cucumis melo inodorus) generally demand a remarkably long, frost-free growing season, typically spanning 80 to 100 days of consistent heat. If you, like me, garden in a region with a shorter season, this requirement seems intimidating. That’s why I recommend you look into short-season varieties like ‘Earlidew’ (approximately 75–80 days). Conversely, if you have ample warm days, a classic like ‘Tamdew’ (closer to 100 days) offers that quintessential flavor. Pay attention to disease resistance too; many modern cultivars are specifically bred to fight powdery mildew, which I find indispensable for late-summer protection. Investing in the best genetics for your specific climate ensures your care pays off at harvest.
Test Your Soil Mix for Proper pH Balance
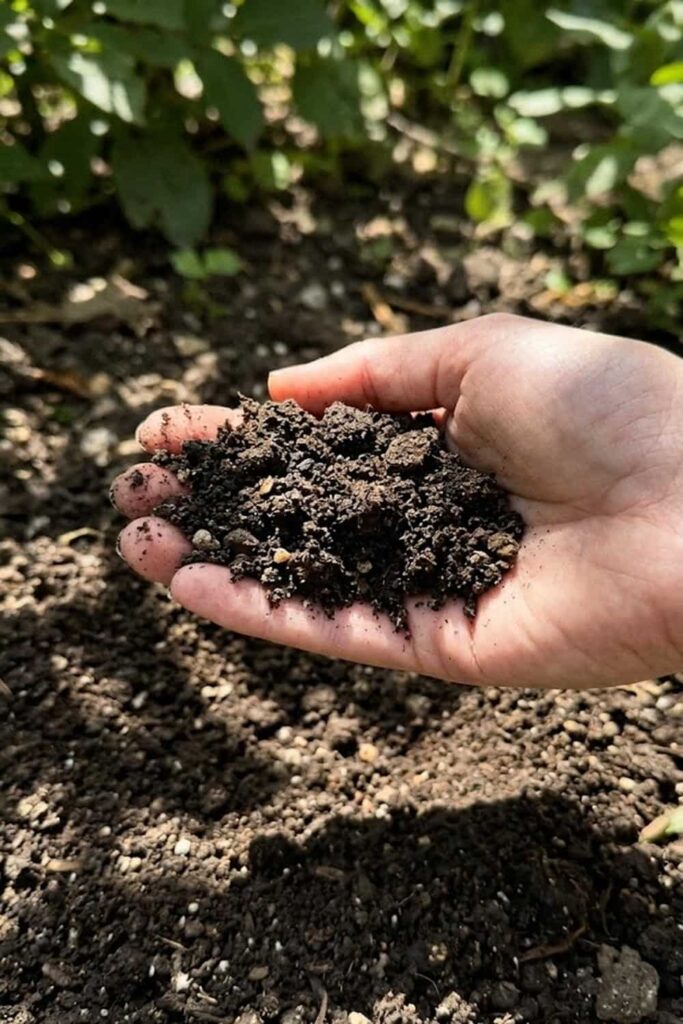
Your soil mix is the foundation of the entire melon endeavor, and you ignore its pH at your peril. I emphasize testing because I know these plants are highly sensitive to acidity. They fundamentally require a slightly acidic to neutral environment; specifically, a pH between 6.0 and 6.8 is the non-negotiable target. This range is critical because it’s where the extensive root system can maximize watering and nutrient absorption (especially micronutrients like calcium). If your soil is too acidic (a common issue in my own patch), you will see stunted growth, poor fruit set, and increased susceptibility to disease. Before you plant, invest in a reliable test kit; you will then have the data you need. To increase pH in highly acidic soil, you can amend the mix by fertilizing with agricultural lime, while you can decrease the pH by adding elemental sulfur to the top layer or mulching with acidic organic matter. Getting the soil mix right from the start avoids unnecessary problems later.
Monitor Soil Temperature Before Sowing Seeds
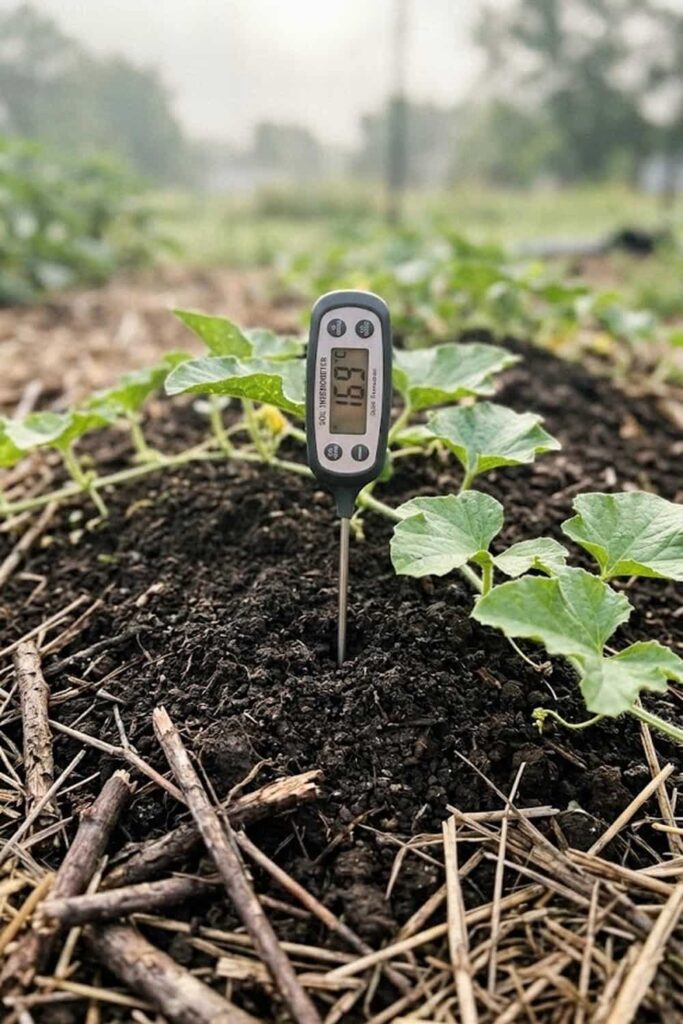
Wait for the heat. I understand your eagerness to plant melons as soon as the danger of frost has passed, but I have consistently found that rushing the process into cool soil only guarantees failure. Plants originating in tropical regions demand warm soil for successful seed germination and robust root growth. Therefore, you must rigorously monitor soil temperature using a simple thermometer probe (avoid the high-tech digital ones and stick to basic analog models, as they feel more reliable) pushed at least four inches deep into your prepared garden bed or mound. Your goal is a consistent reading above 65°F (18.3°C). Planting when the ground is colder almost always leads to damping off (a fungal disease that kills seedlings) or, if they survive, severely stunted plants that never recover their vigor. For me, waiting just one or two extra weeks ensures the ground is truly ready, providing the warm, stable temperature these heavy feeders fundamentally need to thrive from the moment they germinate, and it makes all the care you provide simpler and more effective.
Master the Mound Method for Superior Drainage
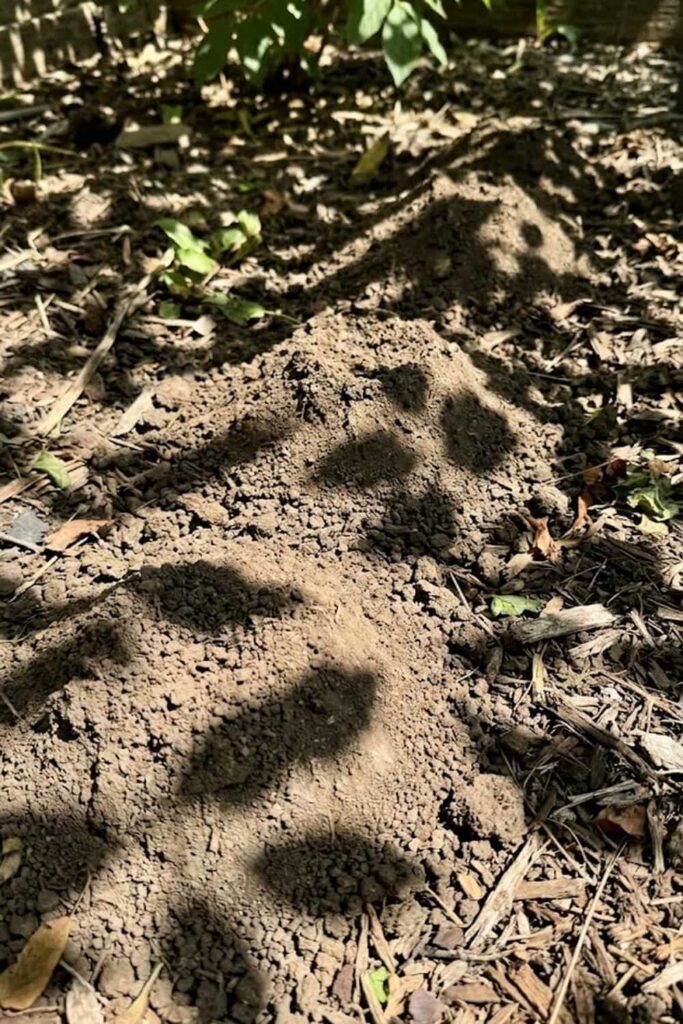
One of the most effective and reliable planting techniques I’ve found for ensuring success with honeydew is the classic ‘mound method.’ You don’t plant these melons in flat, low rows; you instead create distinct hills or mounds of amended soil mix. I prefer to build mine about 18 inches high and three feet across at the base, ensuring they are spaced four to six feet apart. The rationale behind this structured approach is pure and simple physics: it provides exceptional drainage, which is crucial for preventing waterlogging and the resulting disease problems these vines are prone to. Because the ground is raised, excess water runs away quickly, keeping the main root ball safe from saturated conditions, even during heavy summer storms. Furthermore, these raised hills absorb more solar heat than flat ground, warming your soil faster in spring and maintaining that critical warmth (which you’ve already monitored with your probe) throughout the lengthy growing season. Building these structures is some initial back-breaking work, but it pays substantial dividends by establishing the perfect low-moisture environment that enables healthy growth and high-yield fruit production.
Fertilizing Strategies for Heavy Feeding Vines
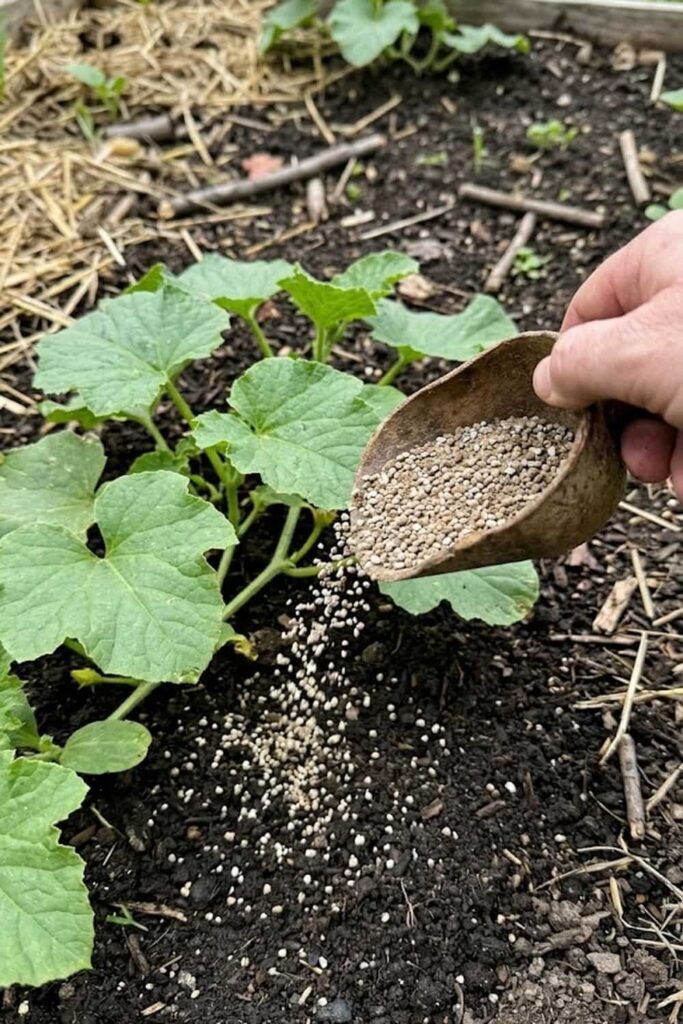
I know you want sweet melons, and while many gardeners think sweetness only requires watering management, the truth is it also requires a very specific fertilizing strategy. These vines are famously heavy feeders (much like tomatoes), demanding significant nutrients to build the complex sugars that define a perfect homegrown melon. To begin, you want to amend the soil mix heavily with rich, finished compost (I build mine high on each mound for immediate accessibility). But the strategy shifts once they start growth. Initially, you should provide consistent nitrogen for lush vine development, but you must strictly avoid high-nitrogen formulas after flowers appear. Excessive nitrogen then only promotes leaf growth at the expense of fruit, leaving you with vigorous vines but very bland, underwhelming fruit. At that critical flowering stage, I switch to fertilizing with a potassium and phosphorus-rich formula to support bloom protection and complex sugar synthesis. This precise, two-phase nutritional approach provides the extensive energy reserve your vines need to successfully navigate their incredibly long growing season and develop that signature, honey-like flavor intensity.
Watering Schedules to Prevent Root Rot
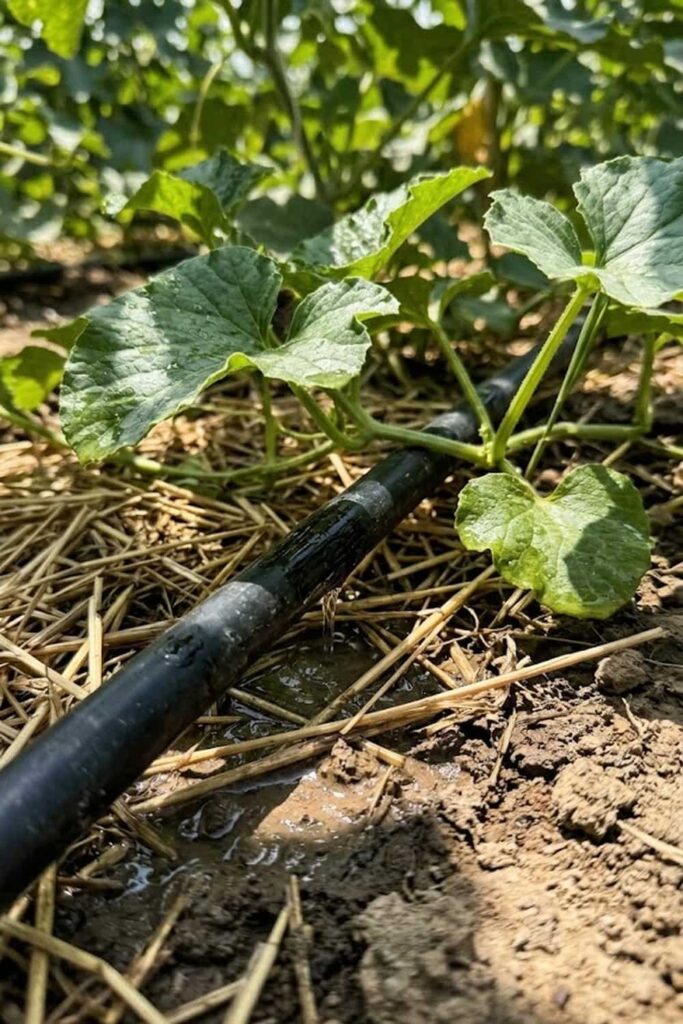
I have found that mastering watering is perhaps the most difficult aspect of achieving a sweet harvest, but you must understand that waterlogging is a primary enemy of the honeydew. These are thirsty vines, but their extensive root systems easily succumb to a condition known as root rot if they are forced to sit in saturated, cold soil. The care required is nuanced; you need to provide consistent moisture without drowning the plant, as poor drainage is a persistent issue in many home garden mixes (which is why we master the mound method earlier!). My personal approach is to use a black drip irrigation hose directly under a layer of organic mulch; this method delivers slow, deep moisture exactly where the roots need it, fundamentally bypassing the wet foliage that invites disease. For me, watering deeply but less frequently—ensuring the top three inches of soil mix dry out completely—encourages deep root penetration. Furthermore, you must aggressively reduce watering as the fruit approaches full size; this crucial strategy forces the vines to concentrate sugars rather than water, directly increasing that signature honey-like flavor at harvest.
Protection Tactics Using Breathable Row Covers
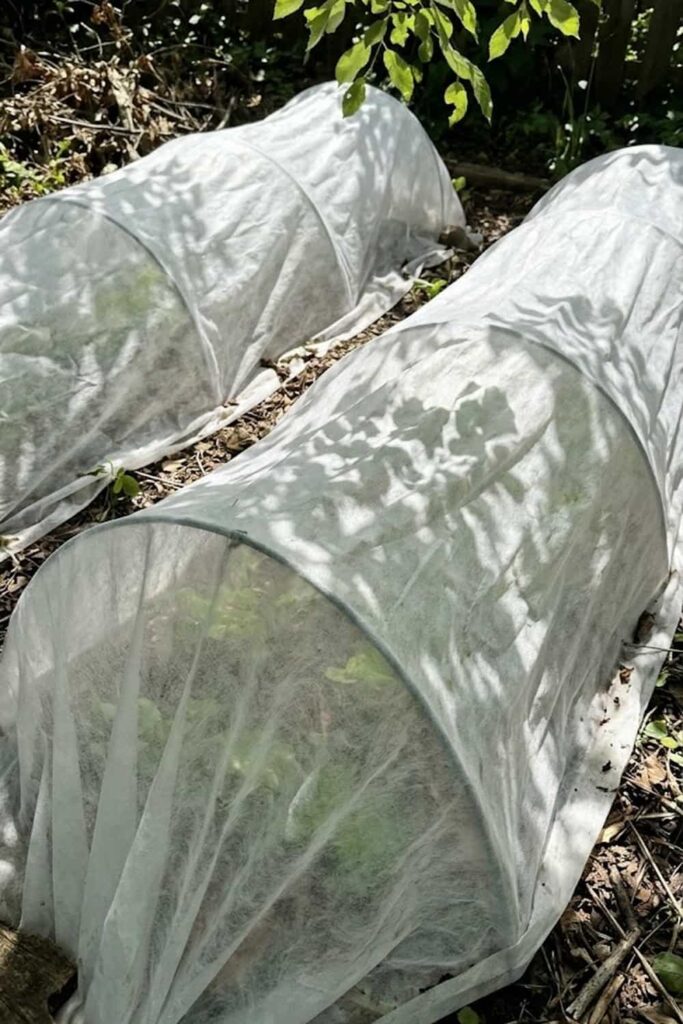
I have consistently found that floating row covers provide the single best protection for a successful honeydew crop, and I recommend you integrate them from day one. In my early years, I would lose countless seedlings to unpredictable late frosts or sudden infestations of the dreaded cucumber beetle, which can decimate young vines in a single afternoon. These breathable, lightweight polyester or polypropylene covers act as a fundamental physical barrier, maintaining an internal environment slightly warmer than the surrounding air (critical for germinating in warm soil!) while aggressively blocking these devastating pests. For me, installing these covers right after planting is non-negotiable care, allowing the vines to establish healthy, unchecked growth for the first few weeks. There is a catch, however: you must understand the vital role of pollination. For self-pollinating plants, you would keep them covered constantly, but honeydew requires insect pollination. Therefore, the absolute moment I see the first female flowers appear (easily identified by the tiny fruit at the base), I immediately remove the covers to allow bees full access, moving my focus from pest prevention to monitoring pollinator activity.
Pollination Success Through Bee Monitoring
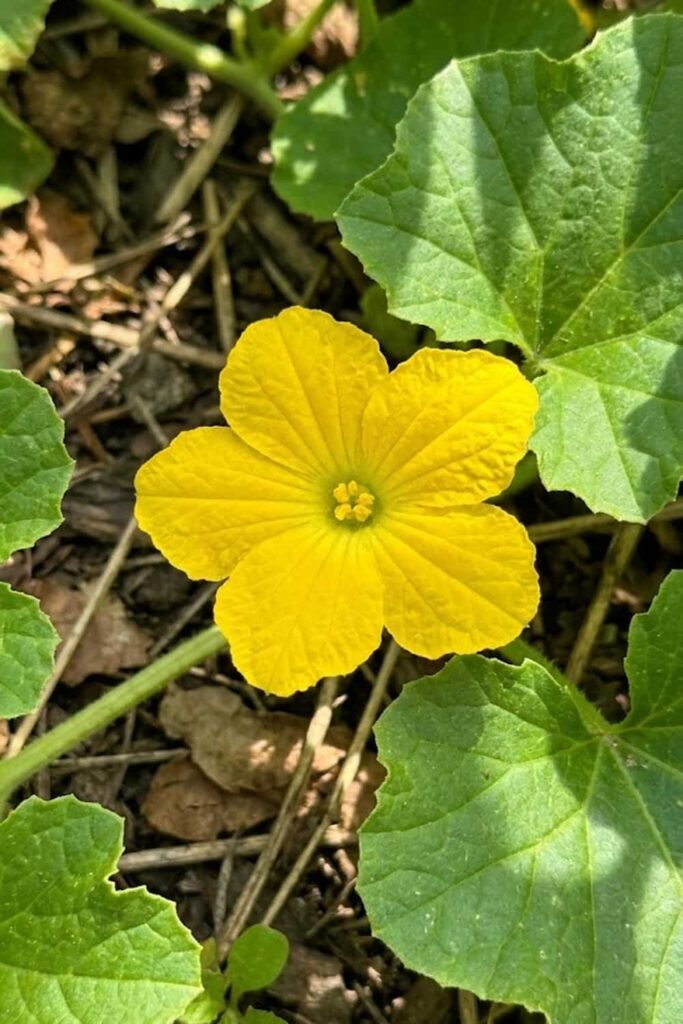
I have experienced the heartbreak of seeing plenty of flowers but absolutely no melons, and it almost always comes down to a lack of successful pollination. Honeydew vines (Cucumis melo inodorus) are not self-fertile; they fundamentally require external assistance from insects—primarily bees—to transfer pollen from the male flowers to the female ones. My process involves intensive monitoring once the flowers begin opening, specifically looking for distinct native bees or honeybees working the blooms. Female flowers are easily identified by the presence of a tiny, immature fruit at their base, which will only mature if effectively pollinated. If your garden lacks sufficient bee activity, which is an increasingly common problem, you may need to care for this yourself by hand-pollinating. I manually transfer pollen by picking a fresh male flower, removing its petals to expose the pollen-covered anther, and then gently rubbing it inside the center of an open female flower. For me, this simple intervention during a slow bee season guarantees fruit set and avoids the common disappointment of a flower-filled vine that produces absolutely nothing for harvest.
Mulching to Maintain Consistent Humidity and Heat
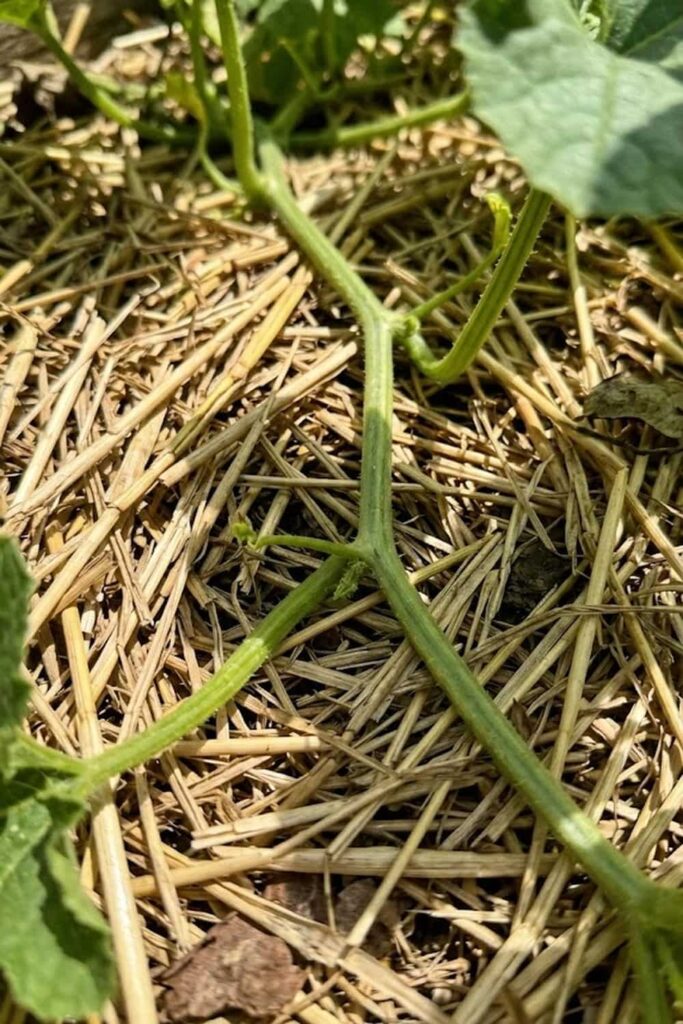
I know you want to reduce your workload, and the single best way to do that while simultaneously helping your vines is through mulching. In my experience, these heat-loving cucurbits respond dramatically well to a thick layer of organic mulch. Mulching provides dual benefits that are critical for long-season success: it fundamentally suppresses weed growth (which competes for vital moisture and nutrients!) and it stabilizes the environment near the roots. A layer of straw, shredded leaves, or even black plastic fundamentally insulates the soil, keeping it several degrees warmer than bare ground—a critical factor when you are monitoring that 65°F minimum soil temperature we discussed. Furthermore, mulch drastically reduces soil moisture evaporation, which is essential for consistent watering and reducing stress on the vines. For me, this stabilized environment prevents the wild moisture fluctuations that cause fruit cracking. Additionally, because the mulch keeps the heavy developing honeydew off the bare soil, it provides excellent protection against ground rot and soil-borne diseases, ensuring a cleaner, healthier harvest.
Pruning Vines for Fruit Size and Quality
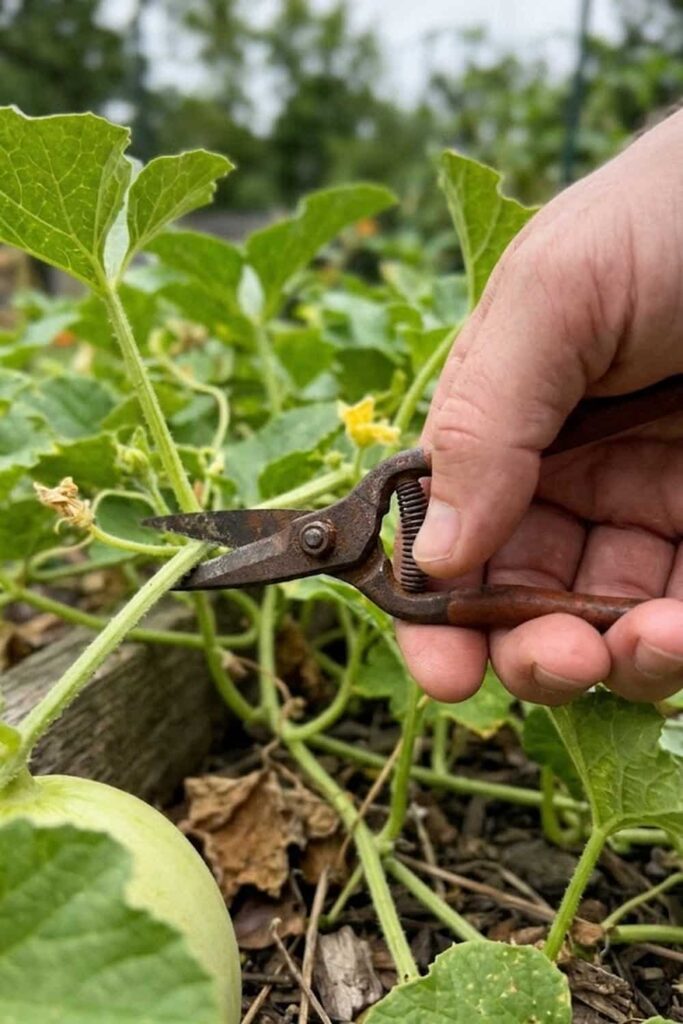
I used to just let my melon vines go wild, thinking more leaves meant more energy for the fruit, but I have consistently found that strategically pruning is crucial for increasing both fruit size and quality. When you allow the main vine to sprawl indefinitely, it consumes substantial resources creating excessive foliage rather than directing that energy toward developing the complex sugars required for a truly sweet melon. The required care involves identifying the primary structural components. I recommend that you pinch back the main growing tip once it reaches about 5 feet in length; this action forces the production of lateral (side) vines. These side branches are where the vast majority of the female (fruit-bearing) flowers are produced. Furthermore, as the growing season progresses, I will aggressively trim back any secondary or tertiary vines that do not have developing fruit. This deliberate structural management focuses the plant’s entire reserve energy purely on ripening a smaller number of high-quality, large, and exceptional-tasting honeydew melons, rather than countless tiny, bland ones. It’s a precise control tactic that I wouldn’t garden without.
Vertical Support for Small Space Gardening
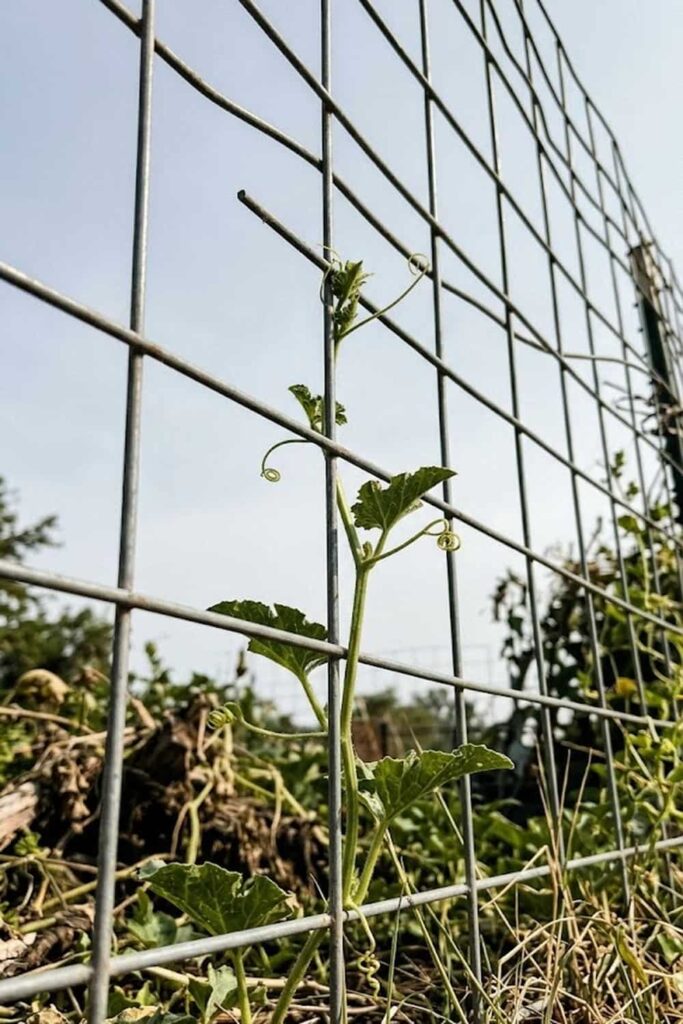
I have successfully grown heavy honeydew melons even in tiny backyard plots, and the secret I recommend is moving from horizontal sprawl to vertical support. While traditional methods require massive spacing (often 6 feet between mounds), utilizing a trellis fundamentally transforms your spatial efficiency. You can easily construct robust vertical structures using cattle panels, sturdy A-frames, or heavy-duty nylon netting, which I find indispensable for maximizing sun exposure in a restricted area. Vertical care not only maximizes square footage but also provides a significant advantage in prevention strategy. By elevating the vines and fruit off the damp ground, you fundamentally increase ventilation around the dense foliage, which I’ve consistently found is the most effective control against common soil-borne fungal issues and ground rot. In my own garden, I use soft fabric strips to tie the main stem to the structure, and as the melons develop, I create small nylon “hammocks” or slings to support the weight of the ripening fruit, preventing them from detaching prematurely and ensuring each one has perfect 360-degree light for uniform sugar development.
Disease Control for Powdery Mildew Prevention
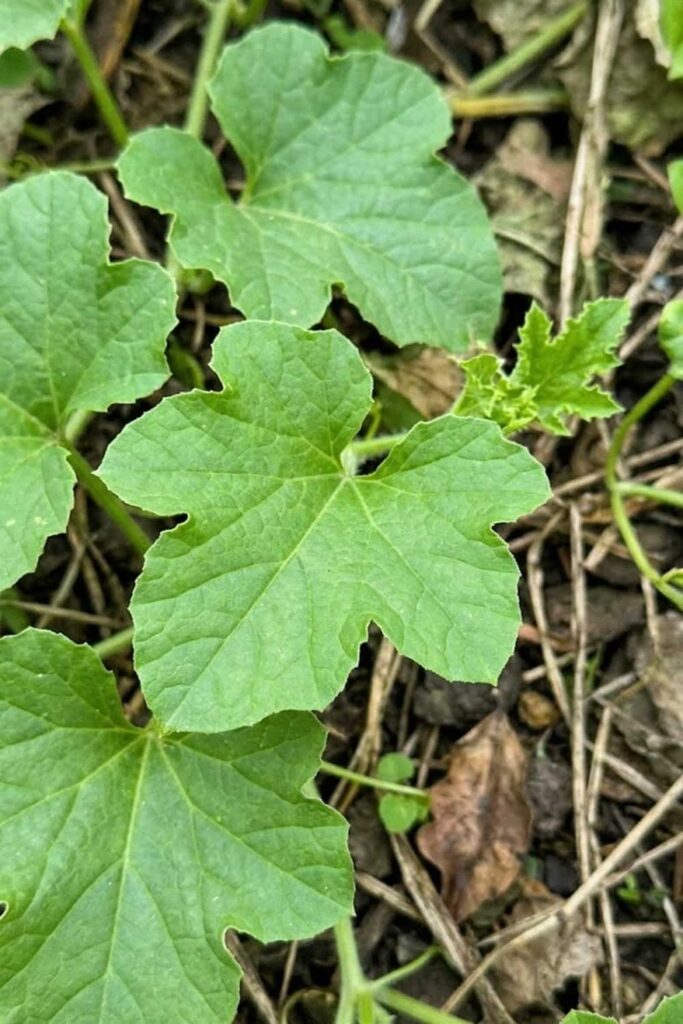
I have consistently found that powdery mildew is the most devastating disease issue for the honeydew gardener, and you must understand that effective prevention strategy is far superior to trying to cure an outbreak. This pervasive fungal pathogen (Erysiphe cichoracearum), easily identified by the white, dusty spots it causes on the large melon leaves, fundamentally thrives in high humidity and temperatures between 70°F and 80°F. My personal protocol begins with structural care; I always master the vertical support method, which drastically improves ventilation throughout the heavy canopy. This critical airflow minimizes humidity buildup, fundamentally hindering spore development. Furthermore, you must aggressively practice water control by utilizing drip irrigation rather than overhead watering, as constant leaf wetness invites infestation. To further support plant protection, I strongly recommend you grow mildew-resistant cultivars. In my own garden, I supplement this control with a weekly preventative spray of an organic, potassium bicarbonate-based fungicide, which fundamentally creates an inhospitable, alkaline surface on the foliage that prevents spores from germinating and decimating your potential harvest.
Pest Control for Cucumber Beetle Management
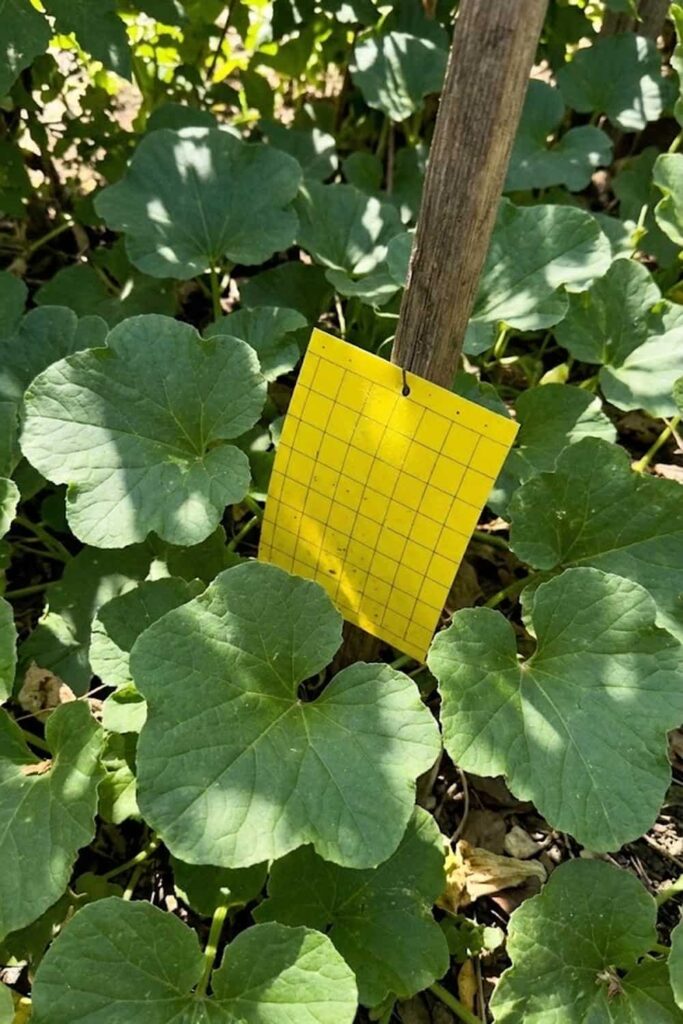
I have consistently found that the cucumber beetle is the primary vector for devastating bacterial wilt (Erwinia tracheiphila), and you must understand that effective control requires a multi-pronged prevention strategy to keep them from decimating your melons. These small (approximately 1/4 inch) striped or spotted yellow pests fundamentally attack young, vulnerable seedlings and transmit the wilt pathogen as they feed. I recommend you implement physical barriers immediately after planting, such as lightweight row covers; these prevent the adult beetles from accessing the vines during their initial, rapid growth phase. In my own garden, I supplementary control their population by monitoring early in the morning, which is when the beetles are most sluggish and easily hand-picked or knocked into a container of soapy water for removal. You can also utilize organic pest control measures, such as monitoring with yellow sticky traps to track adult populations. For me, integrated management is critical, as severe bacterial wilt ( easily identified when random secondary vines suddenly wilt while the rest of the plant appears healthy) has absolutely no cure and fundamentally guarantees the premature death of your entire vine before harvest.
The Ripening Dry-Down: Reducing Water Intake
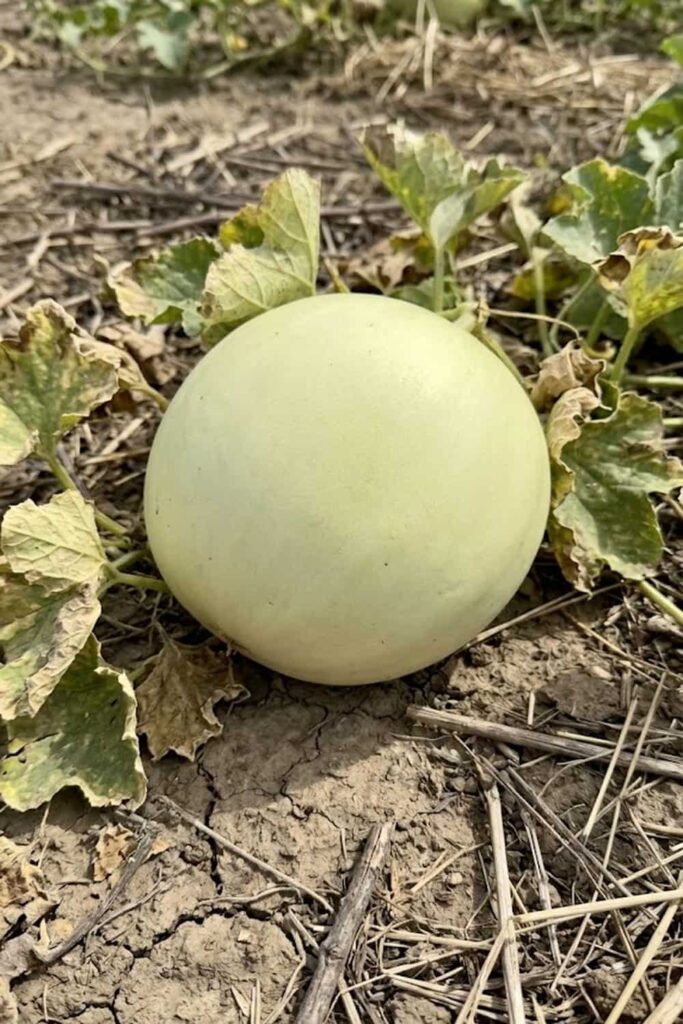
I have successfully grown heavy honeydew melons, and the singular secret I recommend to ensure intense sweetness is a technique I call the ‘Ripening Dry-Down,’ which fundamentally requires significant watering reduction. As your melons approach their final, full size (roughly 10 to 14 days before harvest), you must understand that the massive vines fundamentally shift their primary function from hydration to sugar concentration. If you maintain heavy, consistent watering during this critical phase, you directly cause the fruit to become bland, watery, and utterly disappointing. The required care involves intensive monitoring. I personally recommend you reduce irrigation significantly; I only provide minimal water if I observe the massive leaves beginning to wilt early in the morning—not later in the heat of the day. This precise water control forces the plant into a controlled state of stress, which I’ve consistently found is the most reliable way to force those complex sugars to fundamentally concentrate within the luscious flesh. This is when I use soft fabric strips to tie the main stem to the structure, and I allow the ground—whether it is raised on mounds or flat ground—to fundamentally dry out, providing the essential low-moisture environment that enables maximum sugar synthesis before your perfect harvest.
Harvesting at the Peak of Sugary Maturity
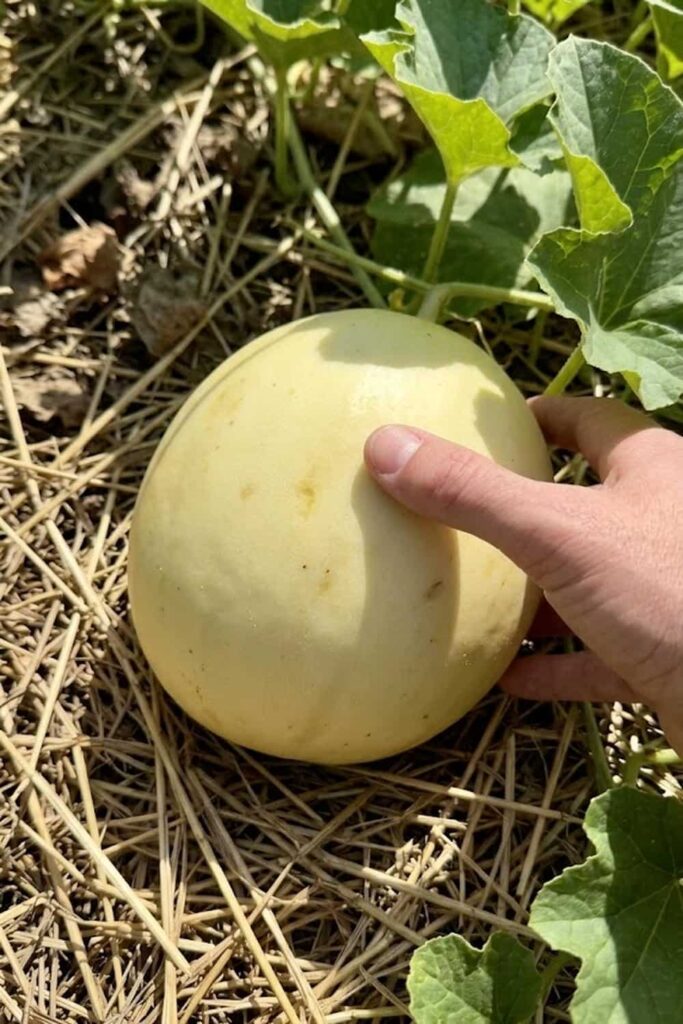
I have found that harvesting is perhaps the most difficult aspect of achieving a perfect honeydew, as these melons require you to fundamentally ignore the ‘slip test’ used for other varieties like cantaloupe. Unlike those cousins, honeydew will not separate from the vine when ripe; you must identify the subtle cues of mature fruit to avoid picking a bland, underdeveloped melon. Your care protocol fundamentally requires close monitoring of the rind. First, look for a dramatic color shift: the skin fundamentally changes from a fuzzy, pale green to a smooth, non-netted, and distinctly creamy-yellow hue. Furthermore, I recommend that you gently press the blossom end (the bottom opposite the stem); a fundamentally mature honeydew will feel slightly soft and yield minimally to gentle pressure, rather than feeling rock hard. I also utilize a specialized ‘waxy’ test; when truly ready for harvest, the rind develops a subtle, waxy texture that fundamentally replaces its dull sheen. By mastering these precise, subtle signals, you guarantee you are picking a melon at its absolute peak of honey-like sweetness, fundamentally maximizing the results of your extensive care and patience throughout the lengthy growing season.
Proper Storage to Maintain Fruit Freshness
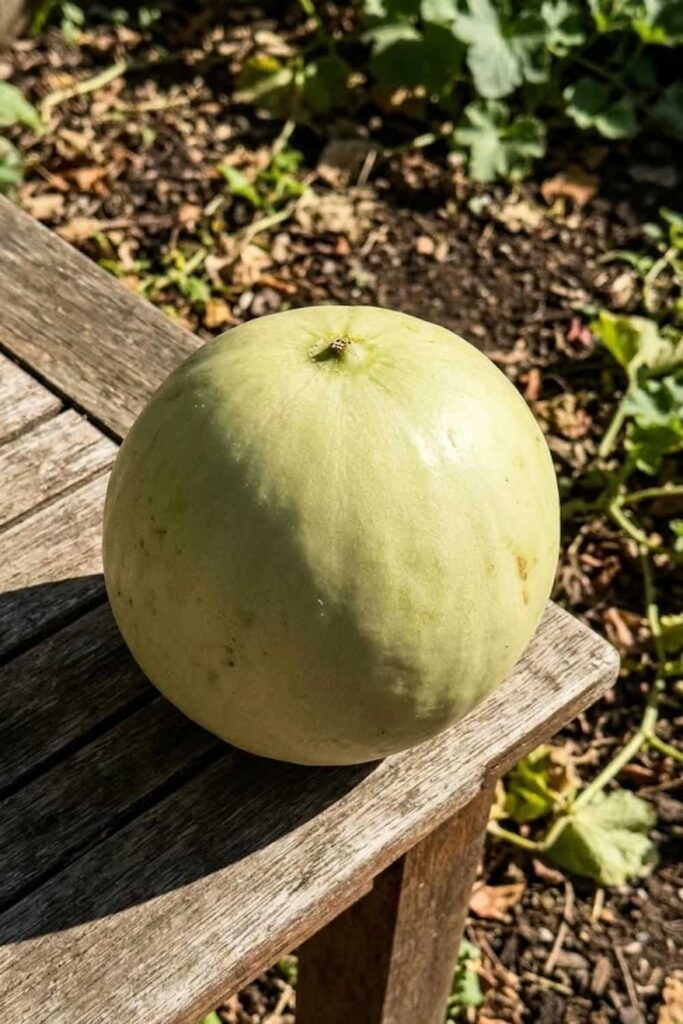
I know you want to savor that homegrown sweetness long after harvest, but I have consistently found that proper storage is critical because these melons fundamentally lose flavor rapidly if mishandled. After harvesting, I immediately move my honeydew to a cool, shaded area. For me, the required care involves understanding that honeydew (Cucumis melo inodorus) is a climatic fruit, meaning it will continue to ripen and soften slightly after picking, but it will not fundamentally increase its sugar content. You must avoid storing a fully mature melon in the refrigerator immediately, as extreme cold temperatures (below 40°F) fundamentally cause ‘chilling injury,’ which destroys the complex aroma compounds and creates soft, sunken spots on the rind. In my own garden, I supplementary care for them by providing a temporary home on a cool porch where the temperature remains between 50°F and 60°F. If you supplementary provide this short, cool-but-not-cold environment, you will find that a properly stored honeydew fundamentally maintains its honey-like flavor and succulent flesh for up to two weeks, providing a rewarding extension to your laborious growing season and ensuring every slice is a sweet, reflective memory.
Ventilation Needs for Post-Harvest Curing
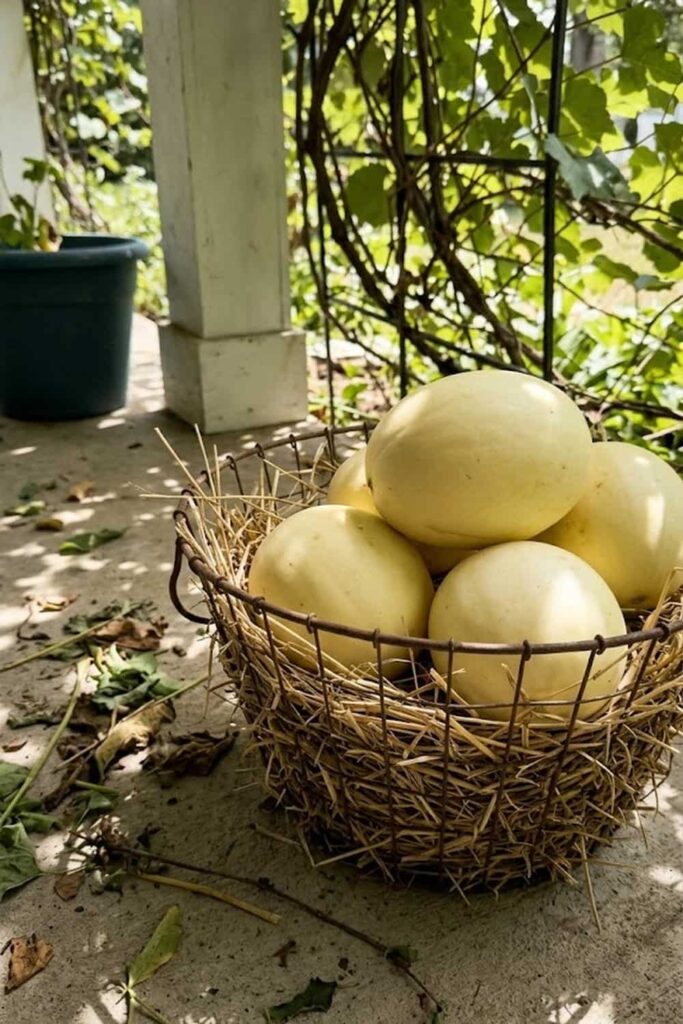
I have found that curing your melons post-harvest fundamentally enhances their texture and prepares them for extended storage, but you must prioritize exceptional ventilation throughout the process to avoid spoilage. Curing is the non-negotiable step that allows the melon to fundamentally shift excess internal moisture, which I’ve consistently found prevents the developing fruit from becoming soft and spongy. My personal protocol involves moving the fresh melons to a fundamentally dry, well-ventilated location where they can Supplementary provide that low-moisture environment that enables maximum quality; I avoid low-airflow spaces or direct sunlight. I recommend that you store the honeydew (Cucumis melo inodorus) in a shaded, airy spot where temperatures remain above 50°F (10°C). By providing these non-negotiable structural conditions (which you supplementary provide through vertical spacing when growing on mounds or with trellising!), you fundamentally maintain perfect care. I know you want sweet melons, and providing adequate air movement after harvest prevents catastrophic soil-borne disease issues that would otherwise decimate your hard-earned harvest and allow you to fully enjoy your reflective garden victory for weeks to come.
FAQ: Common Honeydew Growing Questions
- How long does it take to grow honeydew fruit?
- Most varieties require 80 to 100 days of frost-free weather to reach maturity.
- Can you grow honeydew melons in containers?
- Yes, if you use a 5-gallon pot and provide a trellis for vertical growth.
- Why is my honeydew melon not sweet?
- Bland fruit usually results from overwatering during the final 2 weeks of ripening or a lack of potassium in the soil.
- How do you tell if a honeydew is ripe on the vine?
- The rind will shift from a fuzzy green to a smooth, waxy, creamy-white or yellow color.
Summary Table: Honeydew Growth Requirements
| Factor | Requirement | Purpose |
| Soil pH | 6.0 – 6.8 | Nutrient uptake |
| Light | 8+ Hours Full Sun | Sugar production |
| Water | 1-2 inches/week | Vine health |
| Temperature | 70°F – 90°F | Optimal growth |
Conclusion: Reaping the Rewards of Patient Gardening
I have found that successfully harvesting a honeydew melon is one of the most rewarding victories in the home garden. It is a long, demanding journey—often lasting over 100 days—that requires you to be patient, observant, and technically precise with your care strategies. By following these 17 proven secrets, from balancing your soil mix and monitoring temperatures to mastering the ripening dry-down, you fundamentally eliminate the guesswork that leads to bland, watery fruit. This process fundamentally transforms you from a casual grower into a successful melon specialist. When you supplementary provide this intense focus, you guarantee that the next melon you cut open will be fundamentally brimming with that rich, honey-like sweetness that only homegrown produce can achieve, providing a deeply reflective, satisfying conclusion to your sustainable “garden life” efforts.








