
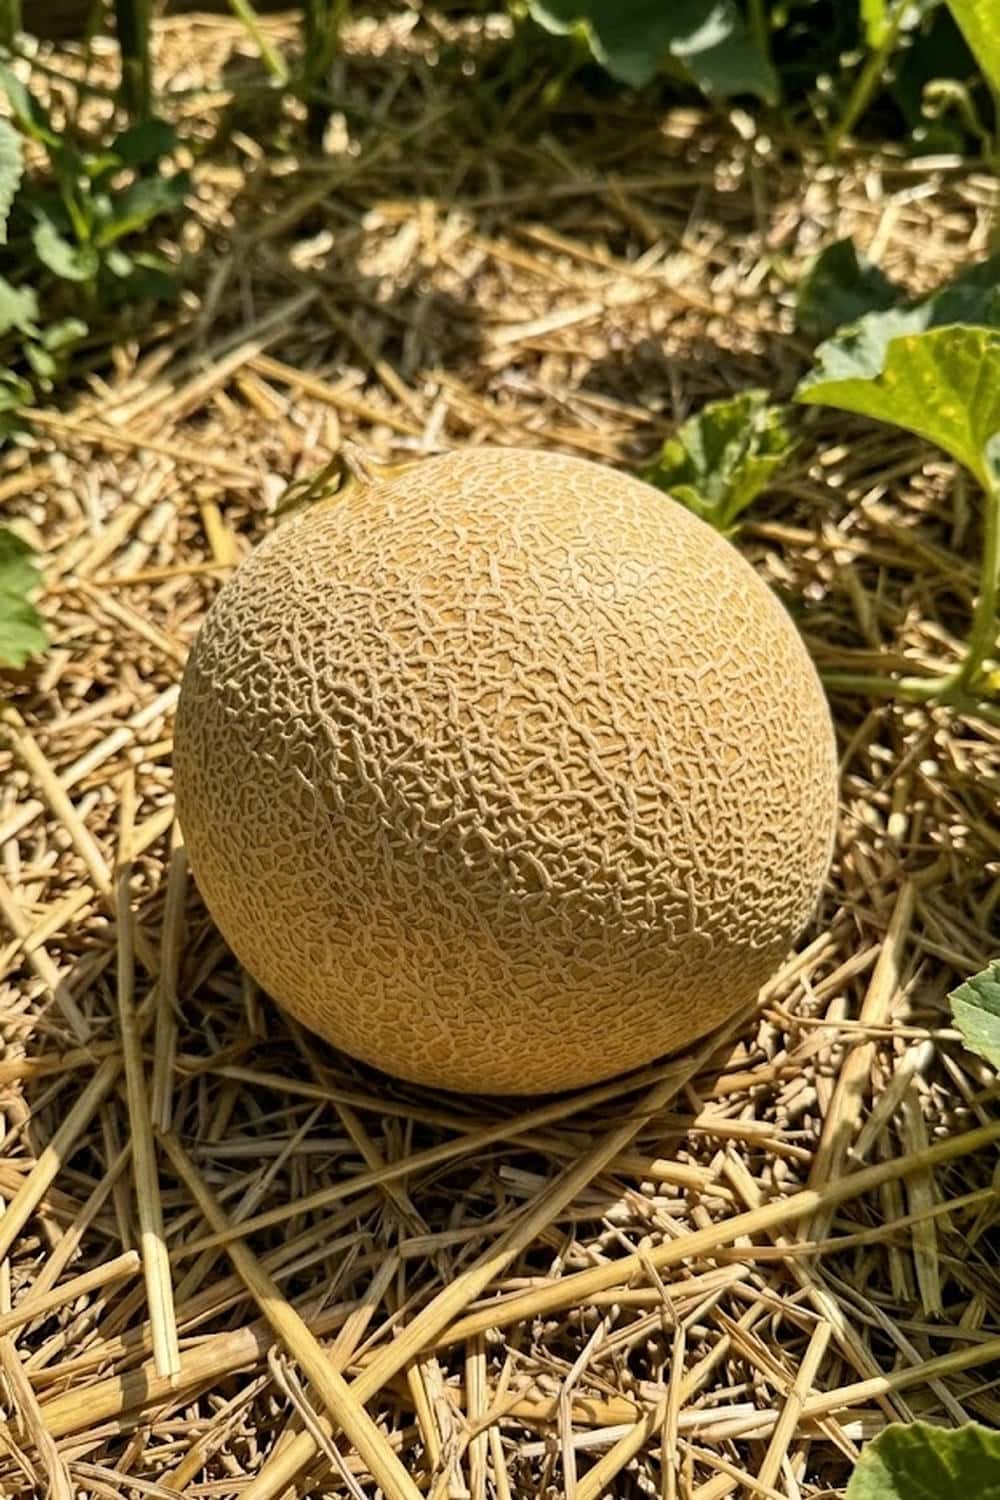

You have probably experienced the disappointment of dedicating months of your valuable gardening time to a melon vine, only to be rewarded with a bland, mealy, or completely flavorless fruit. There is nothing more aggravating than watching a healthy looking plant fail to deliver on its promise. I know that feeling of frustration well; it makes you want to give up on growing melons altogether. Fortunately, I have discovered that the secret isn’t magic, but rather a specific series of steps that align with the unique needs of this hybrid variety. In my years of trial and error, I’ve found that the definitive guide to grow Galia melon fruit requires attention to detail, especially during the early developmental stages. This first section addresses the absolute essentials you must grasp before you even think about putting a seed in the ground.
1. Choose F1 Hybrid Seeds for Maximum Yield
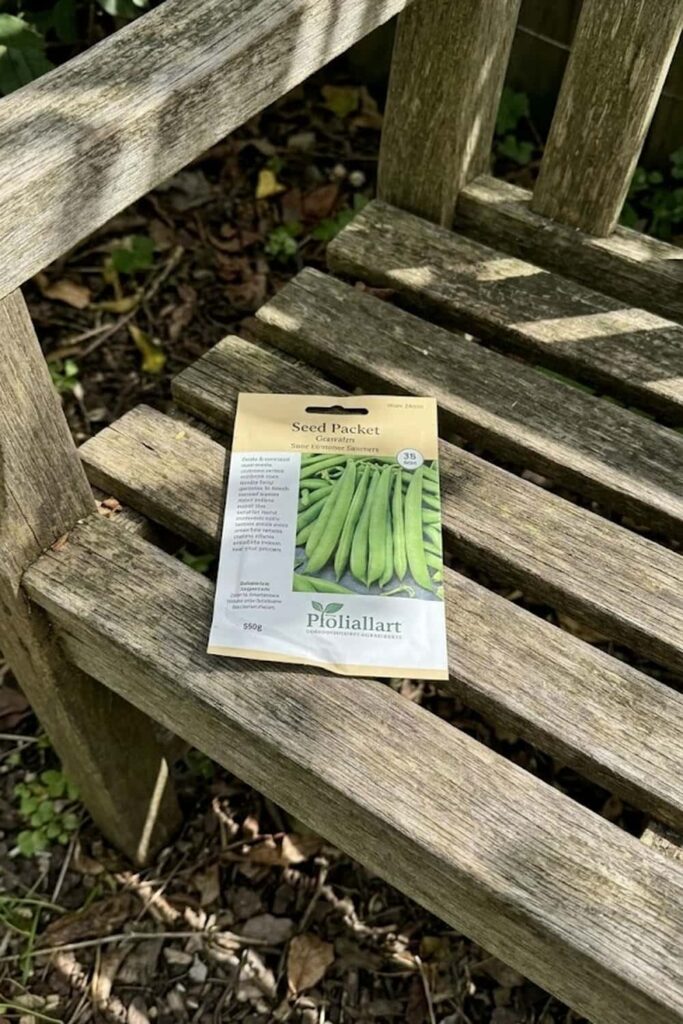
You might be tempted to save seeds from a delicious store-bought melon, but I strongly advise against it if you want to grow Galia melon fruit that actually tastes good. I made this mistake early on, and the resulting plants were erratic, disease-prone, and produced small, bitter fruits that looked nothing like the parent. Genuine Galia melon fruit is an F1 hybrid, a specific cross between a netted, green-fleshed cantaloupe and a smooth-rinded honeydew. This hybridization is what gives it that incredibly aromatic, sweet, and succulent green flesh, a flavor profile often measuring a whopping 18° on the Brix scale, indicating very high sugar content.
When you purchase certified F1 seeds, you aren’t just buying a seed; you are purchasing specific traits like resistance to serious issues such as Fusarium wilt and Powdery mildew (Sphaerotheca fuliginea). You can’t get that reliable performance from saved seeds, which often revert to less desirable parental traits. If you are serious about growing a high-quality melon, start your planting journey with the right genetics, even if it costs a bit more.
2. Soil Mix Preparation for Dessert Melons
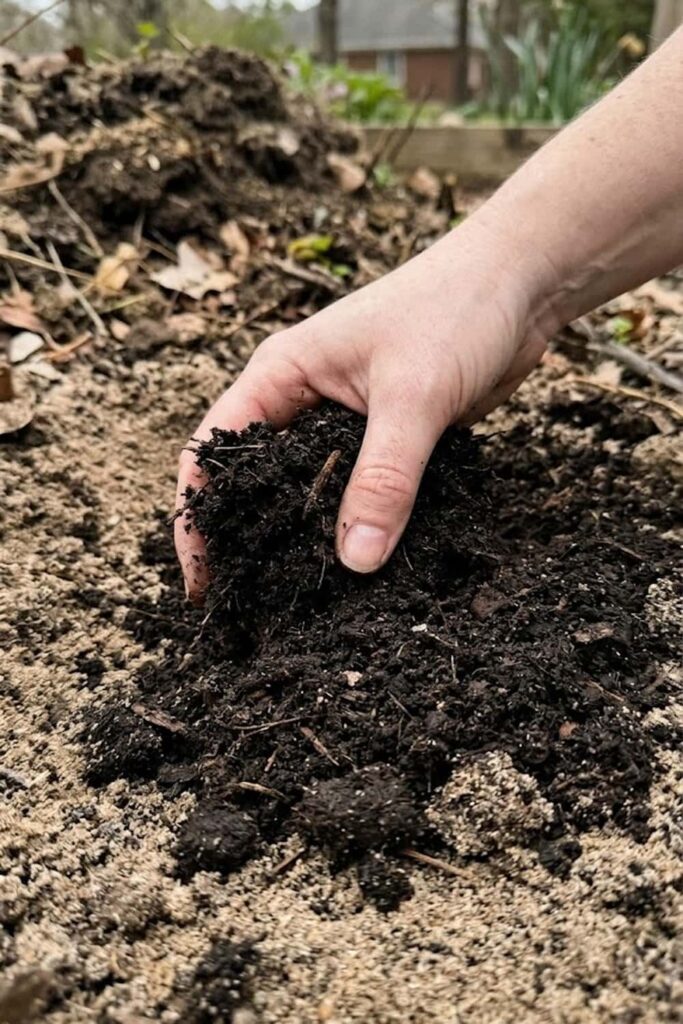
You can’t just dig a hole in clay soil and expect a Galia to thrive. I can tell you from personal experience that melons are incredibly finicky about their root environment. I’ve found that the ideal soil mix must be warm, incredibly rich in organic matter, and, most importantly, very well-drained. Galias are native to the high solar radiation areas of Israel, and they despise “wet feet.” In my own garden, I aim to create a sandy loam rather than a heavy clay. I generally start with a mix of pH 6.0–6.5.
Before you plant, I recommend preparing “hills” or mounds of soil. I make mine about one foot high and two feet across. This technique is not just tradition; it provides two critical benefits: it significantly improves drainage by raising the root zone above any potential waterlogging, and it helps the soil warm up much faster in the spring sun, which is absolutely vital. Within these hills, you must incorporate a copious amount of well-rotted manure or finished compost. Melons are “heavy feeders,” and they rely on that constant source of nitrogen, phosphorus, and potassium (NPK) to develop both strong vines and high total soluble solids (TSS), or sugar content, later in the season. A weak soil mix always leads to a weak, flavorless melon.
3. Timing Your Sowing with Frost Dates
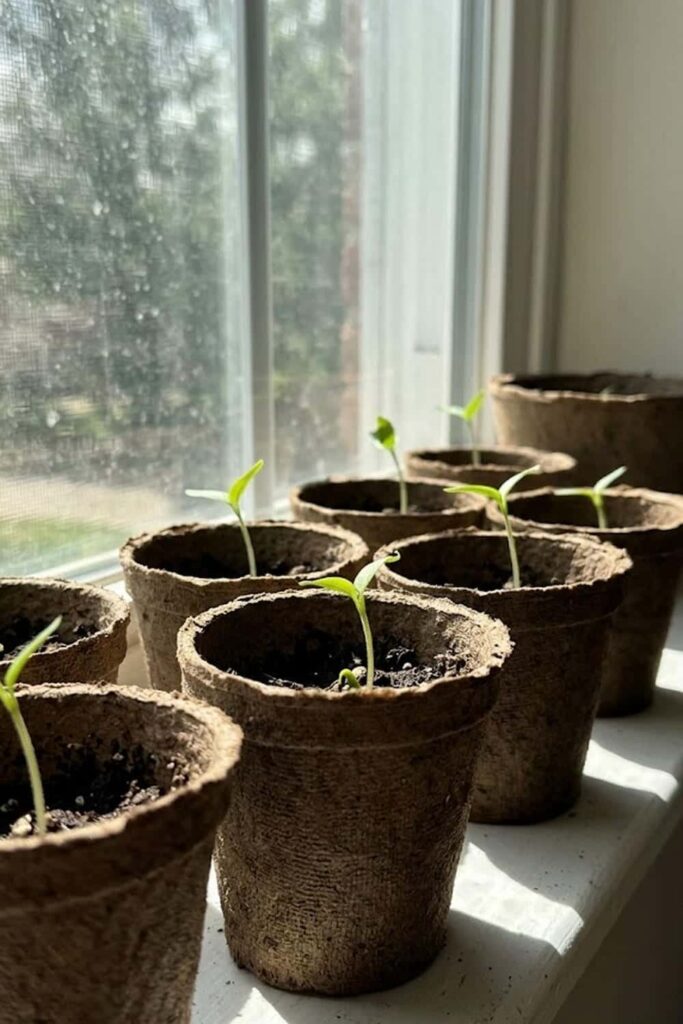
You must respect the melon’s absolute intolerance for cold. Timing is everything when you are working to grow Galia melon fruit in a climate that isn’t the Negev desert. In my region, I know that if I direct-sow melon seeds before the soil temperature has reached at least 70°F (21°C), the seeds will just sit there and rot, and any seedlings that do emerge will be stunted for life. I learned the hard way that starting too early outdoors is a guarantee of failure.
Instead, I always start my Galia seeds indoors. But I am very specific about the method: I use biodegradable peat pots. You should never use traditional plastic cell packs for melons. Their roots, specifically the crucial xylem vessels, are incredibly sensitive, and they will go into severe transplant shock if you disturb them during the repotting or transplanting process. By using peat pots, you can plant the entire pot directly into the garden hill when the time is right, without disturbing the delicate Cucurbitaceae root structure. Start your seeds indoors only 3–4 weeks before your average last frost date. If you start them earlier, they will become root-bound and weak before the garden soil is warm enough, defeating the purpose. A seamless, stress-free start is a key secret to a healthy, productive vine.
4. Light Requirements and Solar Radiation
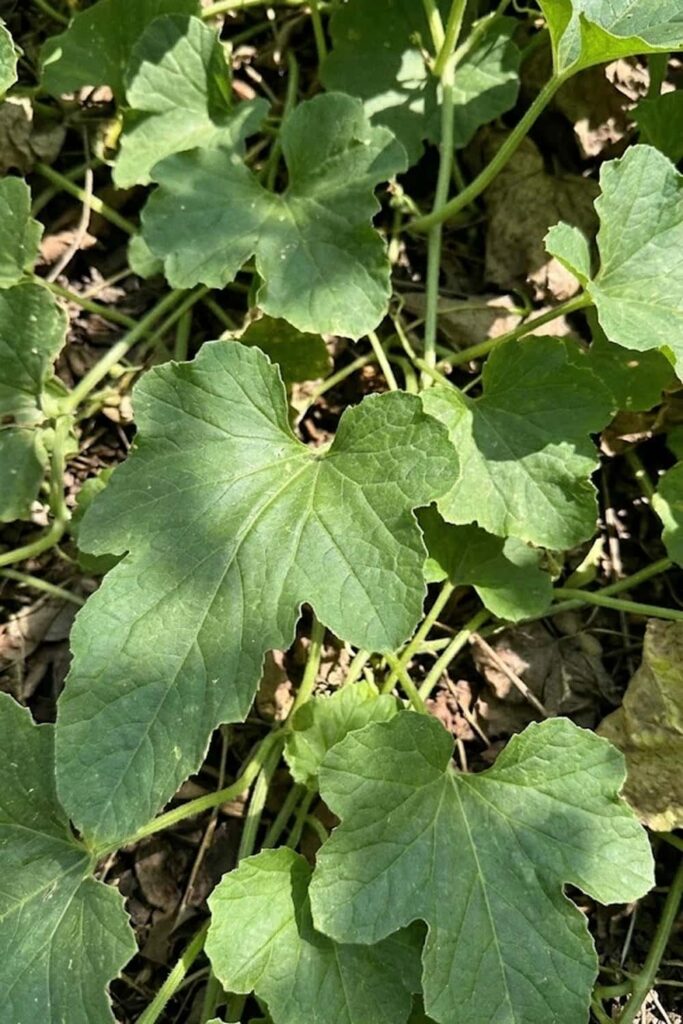
You cannot compromise on sunlight if you want a Galia melon fruit that tastes like the tropics. In my view, people often underestimate just how much energy these plants need to generate sugar. Think of sunlight as the fuel for photosynthesis, which creates the glucose that eventually sweetens the fruit. In my garden, I make sure my melon hills are placed in a spot that receives a minimum of 8 hours of direct, unobstructed sunlight every single day. If you have any morning shade from a tree or afternoon shadow from your house, you must choose another location or expect bland fruit.
I have found that high solar radiation is just as important as the total hours of light. The Galia thrives on intense heat and bright, clear sky days. I once tried to grow Galia melon fruit in a partially shaded corner, and the result was disastrous: I got lots of lush green vine growth, but the plant barely produced any female flowers, and the few melons that did develop never reached their full size or sweetness. This experience taught me that sunlight isn’t just about growth; it is directly related to fruit production and flavor concentration. If you can provide that consistent, intense light, the vine will have all the energy it needs to build complex sugars, rewarding you with the true taste of a dessert melon.
5. Watering Strategies to Avoid Rind Splitting
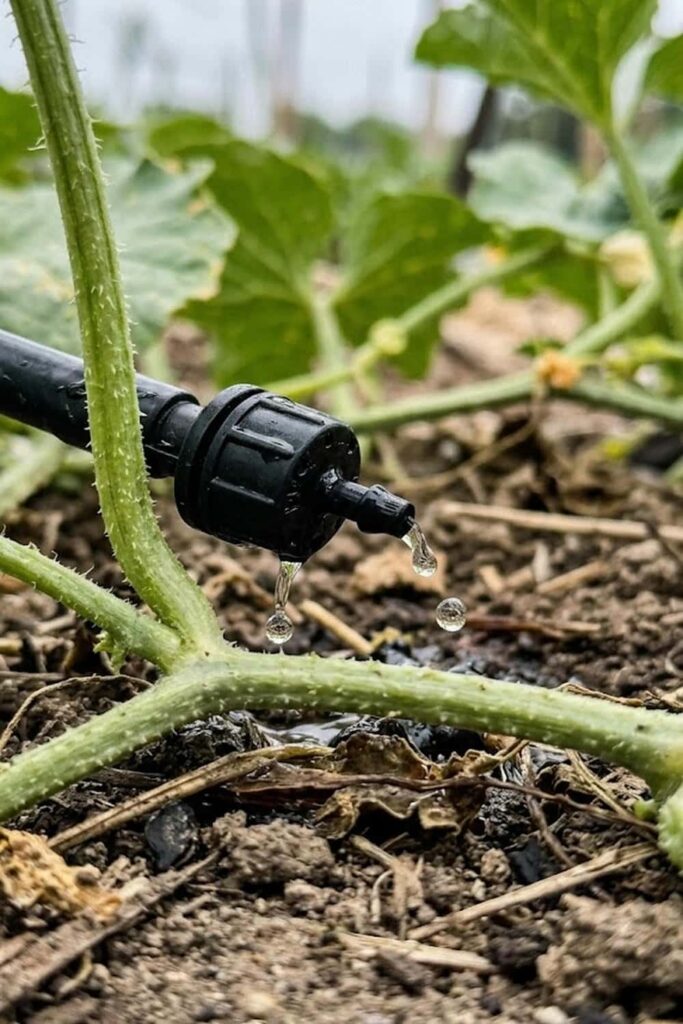
You must develop a watering discipline that balances consistency with deep hydration. I believe that people often kill their melon vines with well-intentioned overwatering. Watering a Galia is not like watering your lawn; it requires a strategic approach. I always water at the base of the plant using a black drip irrigation hose. In my experience, this is the single best way to ensure the water reaches the deep root system where it is needed, without wetting the leaves. Wet foliage is a primary cause of powdery mildew, so avoiding overhead watering is your first line of protection.
My definitive guide for watering focuses on the fruit development stage. While the vines are growing, you must provide constant moisture. However, once the fruit has set and starts to reach its full size, you must reduce the amount of water you provide. I’ve seen this mistake too often: gardeners continue to water heavily up until harvesting, which creates two major problems. First, it makes the melon taste watery and bland, Diluting the concentrated sugars you worked so hard to create. Second, a sudden surge of water right before ripening often causes the inner fruit to expand too fast, resulting in a disastrous rind splitting that rots the melon overnight. Learning to taper off the water is an essential skill for finishing a perfect fruit.
6. Mulching for Heat Retention
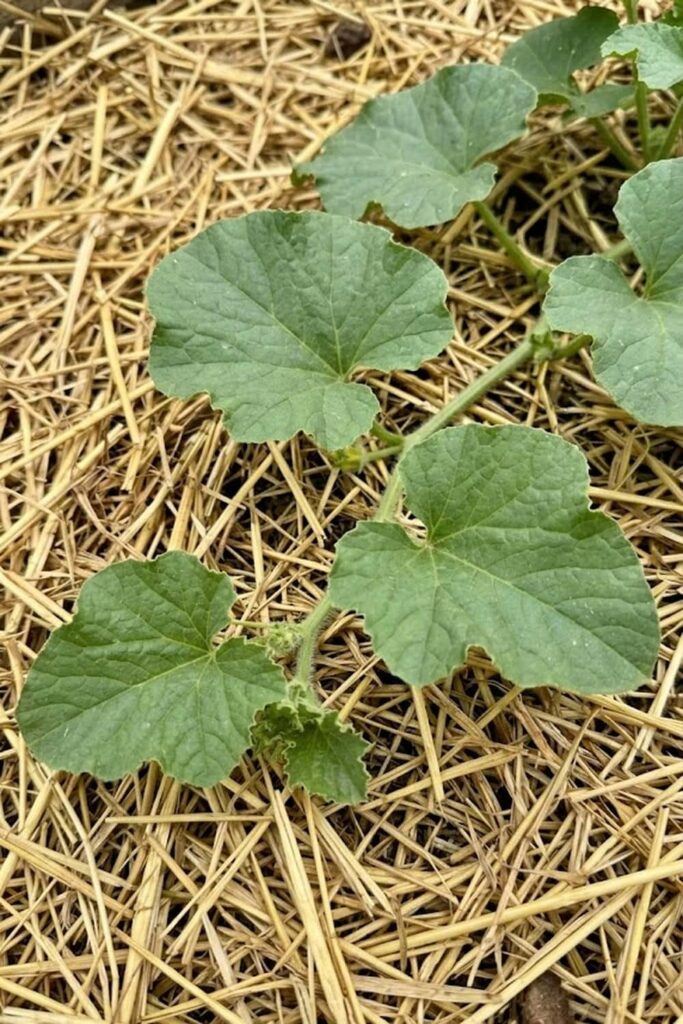
You should immediately apply a thick layer of mulch around your melon hills after transplanting. I believe that mulching is an absolute necessity for growing Galia melon fruit, not just an optional gardening tip. In my experience, the primary benefit of mulching, especially early in the season, is soil temperature regulation. As I have mentioned before, Galias absolutely despise cold roots. I’ve found that using either black plastic mulch or a robust layer of organic straw significantly warms the root zone by trapping the sun’s energy. This added warmth is crucial for the strong initial growth that Cucumis melo requires to establish a productive vine.
Furthermore, a good mulch provides essential care by preventing the developing fruit from resting directly on damp soil. I can tell you from personal experience that there is nothing more disheartening than lifting a perfect looking, golden-tan melon only to find its belly has rotted through from contact with wet ground. A protective barrier of dry straw or black plastic provides the necessary protection for the delicate rind. While black plastic is arguably better at heating the soil, organic mulch like straw or wood chips eventually breaks down, feeding the microclimate of your soil mix and improving its structure. Choose the method that fits your aesthetic, but you must mulch if you are serious about plant protection.
7. Fertilizing for High Sugar Content
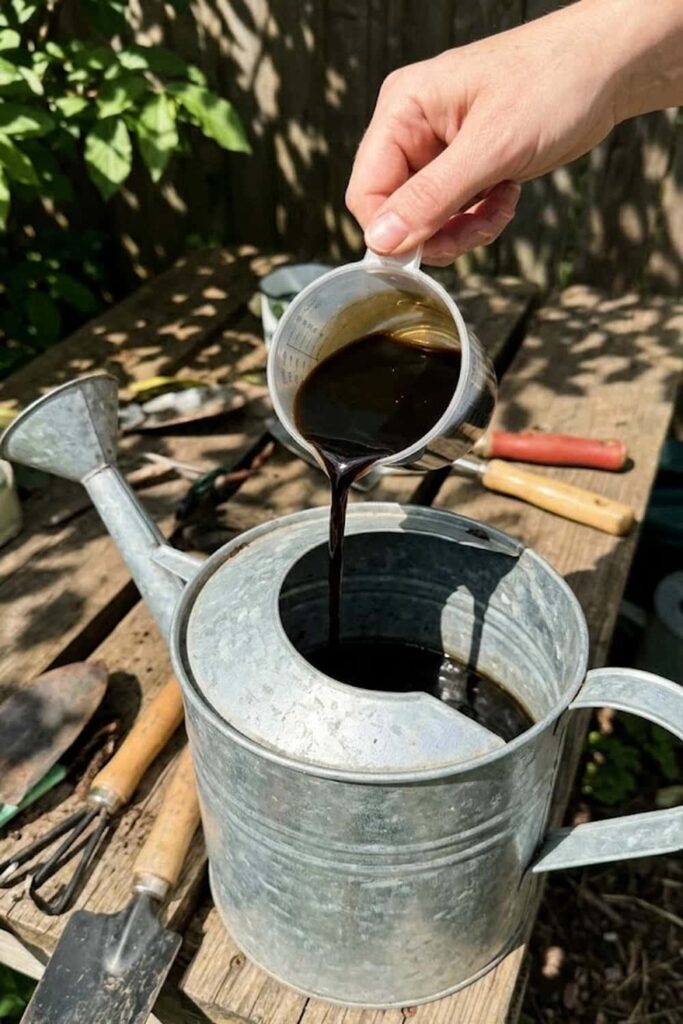
You cannot assume that a single application of compost is enough to produce the extremely sweet Galia melon fruit you desire. I believe that people often forget that melons are gluttons for nutrition. Fertilizing is not just about plant growth; it is about providing the building blocks for those complex, aromatic sugars. If you want that juicy green flesh to have the highest possible Brix rating—indicating maximum sweetness—you must feed the plant strategically throughout its lifecycle. I have found that a common mistake is continuing to provide high nitrogen feed once the plant starts to bloom.
Instead, I use a specific two-stage fertilizing regimen. For the first few weeks, I focus on strong vine establishment by providing a balanced fertilizer rich in nitrogen. However, everything changes once I see the first female flowers appear. At this critical juncture, I immediately switch to a high-potassium, low-nitrogen liquid feed, like a good quality comfrey tea or a specialized organic liquid sea kelp. Potassium is directly involved in translocation; it helps the plant efficiently move sugars from the leaves (where they are created) into the developing fruit (where they are stored). I believe that this simple switch, which focuses on potassium rather than green growth, is the difference between a pretty vine with bland fruit and a productive vine with melons so sweet they taste like a dessert.
8. Vertical Care: Trellising Large Fruits
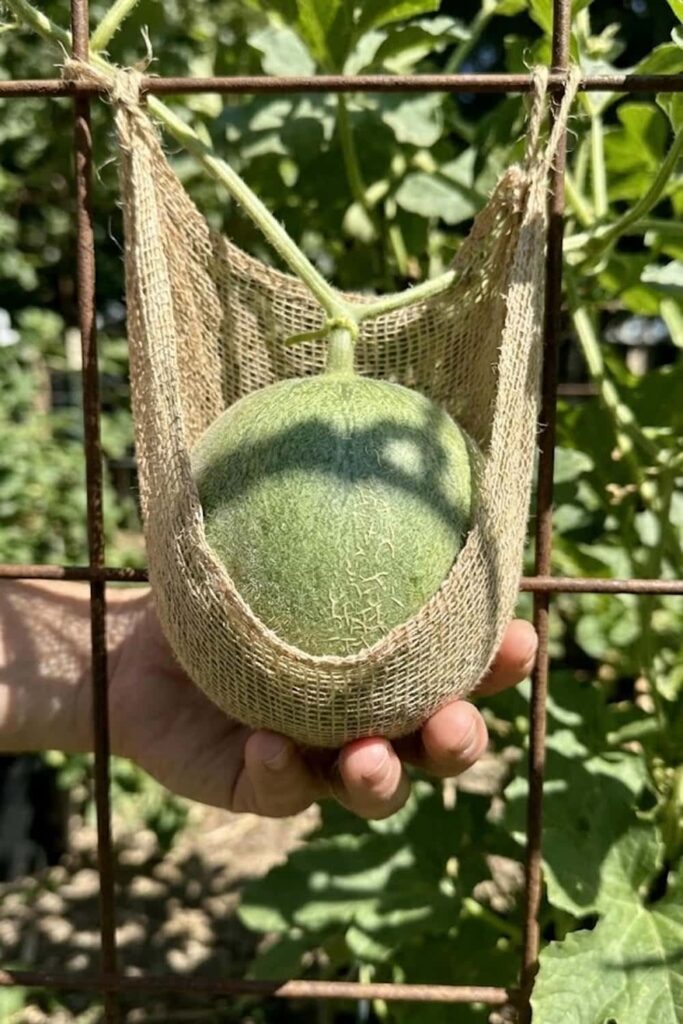
You do not need an acre of land to successfully grow Galia melon fruit. In my view, one of the best ways to maximize your space, especially in smaller suburban gardens, is to utilize vertical trellising. This approach provides numerous benefits. First, it significantly improves ventilation, as air can circulate freely around all parts of the plant, drastically reducing the humidity levels that often cause powdery mildew to thrive. Second, it keeps the foliage and developing melons off the damp ground, providing immediate plant protection from soil-borne diseases.
I believe that many people avoid vertical growing because they are worried the melons will break the vines as they mature. I know that feeling of doubt well, but I have found a simple solution. Since Galia melons can weigh 3 to 5 pounds at maturity, you cannot expect the vine alone to support that weight. Instead, I always provide a simple support sling for each developing fruit. I use either old mesh onion bags or simple squares of soft fabric. I loosely cradle the young melon in the fabric and then tie the corners securely to the main trellis structure. This removes all stress from the main stem and ensures the plant can focus its energy entirely on ripening the fruit. This method allows you to plant much closer, perhaps 12 inches apart rather than 4 feet, maximizing your yield per square foot.
9. Monitoring for Pollination Success
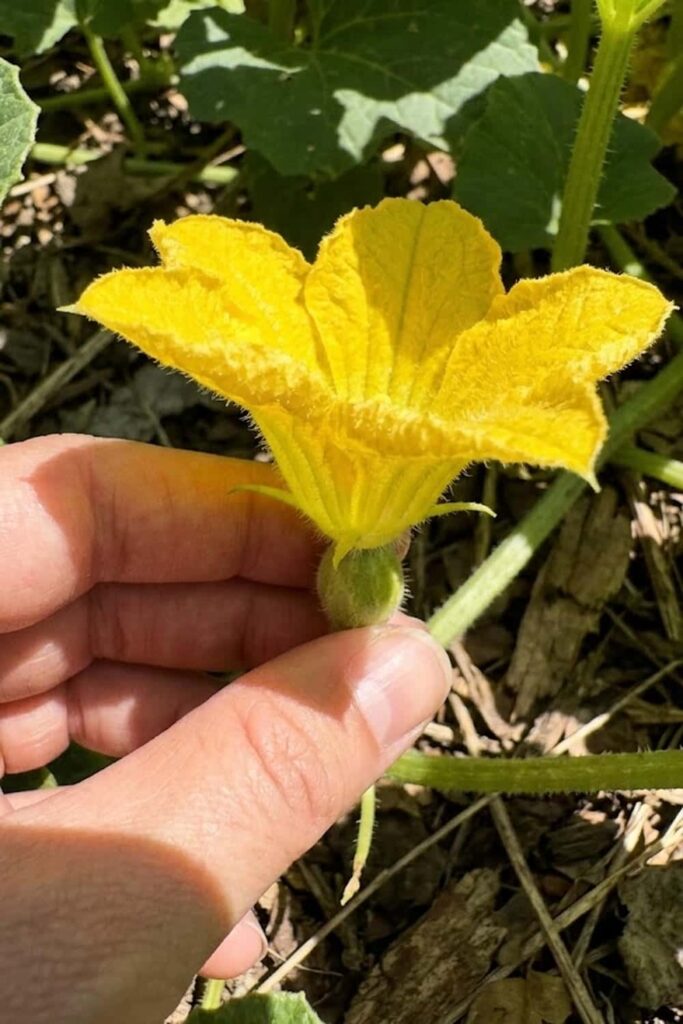
You must become an active monitoring presence in your garden if you expect a consistent fruit set on your Galia vines. While some commercial hybrids might advertise parthenocarpy (fruit set without pollination), I believe that true Galia melon fruit requires cross-pollination. This family (Cucurbitaceae) is predominantly monoecious, meaning each plant produces separate male and female flowers. I can tell you from personal experience that sometimes, the bees just don’t cooperate, especially during cool or overcast weather when they are less active.
I have found that the best way to ensure success is to perform hand-pollination yourself. I dedicate time in the early morning, around 8 a.m. to 10 a.m., when the flowers are newly opened and the pollen is most viable. First, identify a female flower (it has a tiny, fuzzy melon or baby pepo at its base). Then, pick a healthy male flower (which only has a slender stem). Carefully strip away the petals of the male flower to expose the central, pollen-covered stamen. Then, gently rub the stamen inside the center of the female flower, ensuring a thorough transfer. I believe that this simple, attentive care can mean the difference between a season with dozens of melons and a season with none. You should always aim for maximum fruit set, even if you eventually pruning some fruits to improve quality.
10. Prevention of Common Fungal Pathogens
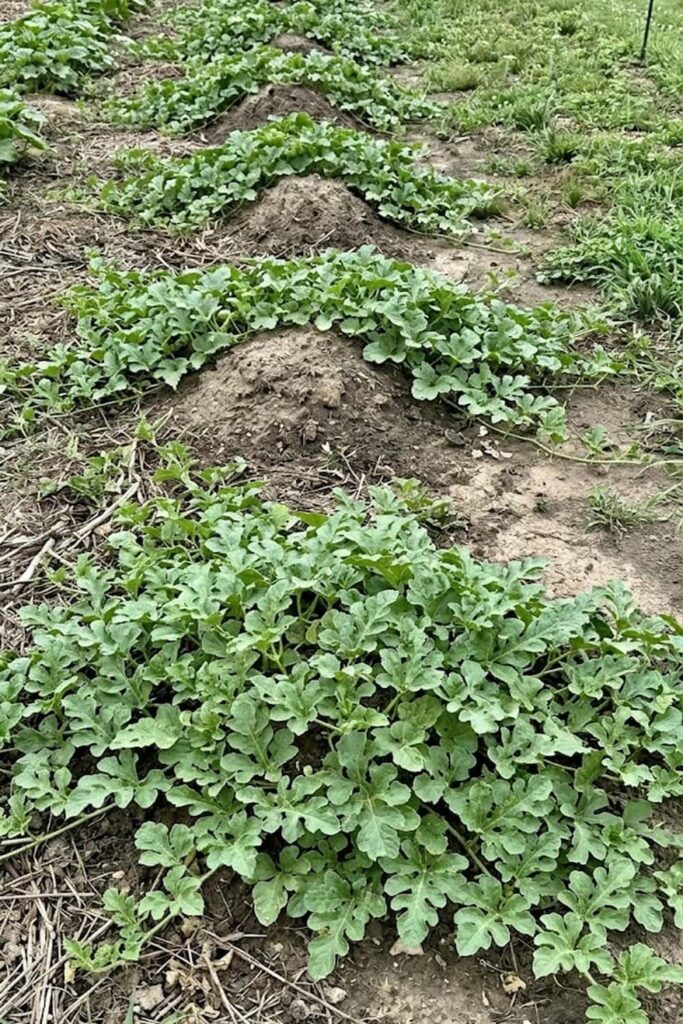
You must realize that powdery mildew (Sphaerotheca fuliginea) is the single biggest threat to growing Galia melon fruit in humid climates. I can tell you from personal experience that this insidious fungus can appear seemingly overnight, covering your entire lush vine in what looks like a dusting of white flour. If you don’t take immediate action, it will halt photosynthesis, causing the leaves to wither and die, which drastically reduces the sweetness and ultimate quality of your melon.
I have found that successful fungus control relies heavily on a proactive prevention strategy. I ensure there is proper ventilation by spacing my melon hills at least 4 feet apart, or by utilizing vertical trellising as I described previously. Furthermore, I never use overhead watering, as constant moisture on the leaves is exactly what encourages mildew spores to germinate. I believe that an ounce of prevention is worth a pound of cure, so you must also monitoring the leaves daily. If I see even the smallest spot of mildew, I immediately apply an organic fungicidal spray, such as a solution of neem oil or a 1:10 mixture of milk and water, ensuring thorough coverage on both the top and bottom of the leaves. Consistency in disease control is the only way to finish a healthy crop.
11. Pest Control for Cucumber Beetles
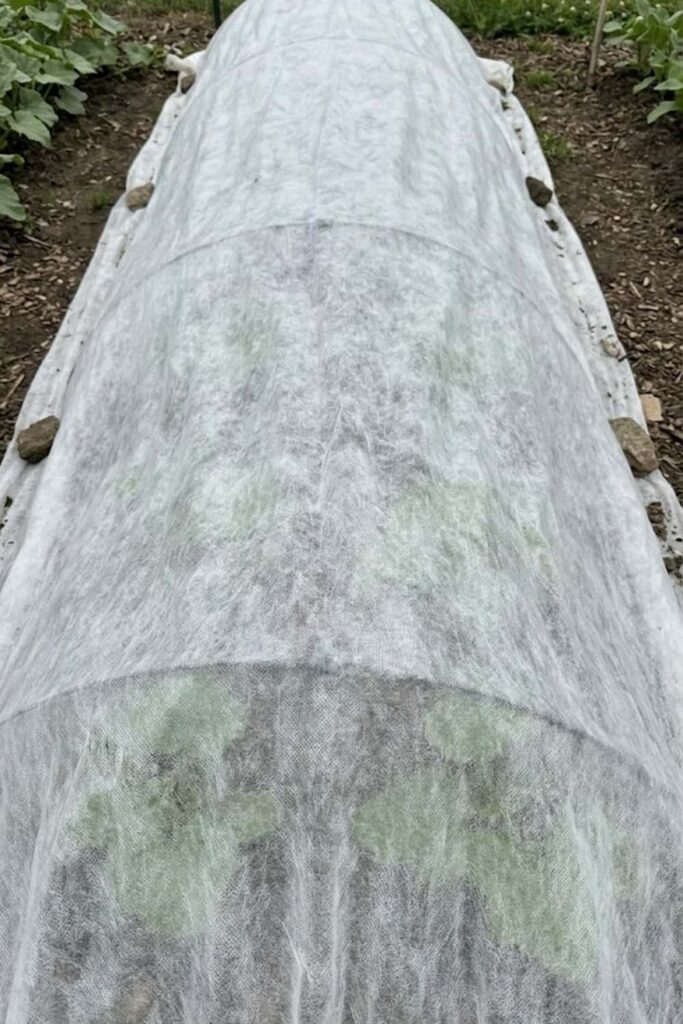
You do not want to ignore the presence of striped cucumber beetles (Acalymma vittatum). I believe that these small, yellow-and-black insects are the most devastating cause of sudden vine collapse in Cucurbitaceae. I know that feeling of helplessness when you see a perfectly healthy, productive Galia vine simply wilt and die within 24 hours. The primary problem isn’t the physical feeding damage, although they do chew holes in the leaves; the issue is that they are the primary vectors for a bacterial wilt (Erwinia tracheiphila) that has no cure. If you let them establish themselves on your plants, you are essentially gambling with your entire harvest.
I have found that the most effective way to control these pests is by denying them access. I always utilize floating row covers immediately after I plant my melon seedlings. These lightweight, spun-polyester fabrics provide excellent protection by creating a physical barrier that the beetles cannot penetrate. I make sure to anchor the edges securely with soil or staples, otherwise, the insects will find a way in. This is a crucial early-season care step because the bacterial wilt is much more likely to kill young, vulnerable plants. You must, however, remove the row covers once you see both male and female flowers appearing. This is necessary because, as I have mentioned, melons require bee activity for successful pollination.
12. Pruning for Fruit Quality
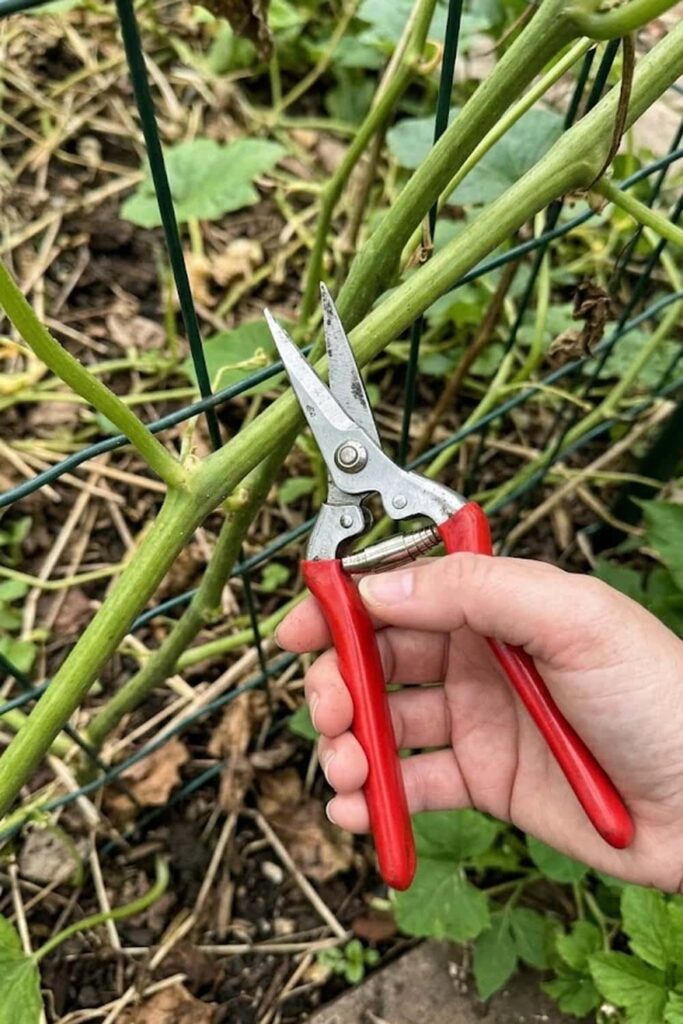
You may feel reluctant to cut back a healthy, growing plant, but I assure you that pruning is a requirement for growing Galia melon fruit with that concentrated, tropical sweetness. I know that feeling of hesitation; it feels wrong to remove potentially productive parts. However, you must realize that a single melon vine has only a finite amount of energy to produce glucose (sugar) through photosynthesis. In my experience, if you let the plant try to ripen every single female flower it produces, you will end up with dozens of small, watery, and completely flavorless fruits. This is a classic cause of gardener disappointment.
Instead, I have found that a strategic, curated approach is essential for finishing a high-quality product. Pruning isn’t about hacking the plant; it’s about care for the final outcome. I always start by allowing the main vine to develop until it has established a few healthy, strong lateral runners. I then monitoring for the first female flowers to open and set. Once I confirm that 2 or 3 fruits have set and are developing nicely, I make a crucial decision. I immediately begin pruning away all new runners, secondary laterals, and any subsequent female flowers that appear on the vine. I believe that this simple, focused act directs 100% of the plant’s resources into ripening those specific, initial fruits, maximizing their sugar content and ensuring they reach their full, glorious Brix degrees.
13. Humidity and Ventilation in Greenhouses
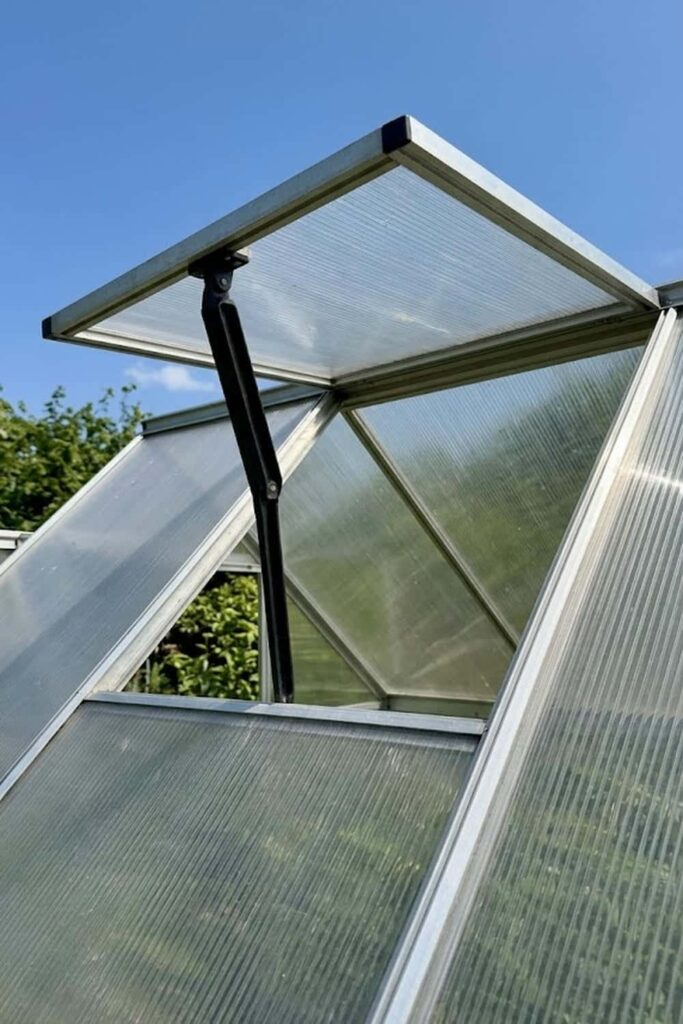
You must provide exceptional ventilation if you are attempting to grow Galia melon fruit inside a greenhouse or polytunnel. I know that feeling of excitement when you realize you can extend your growing season, but I have found that structured environments can be a double-edged sword. While they provide the intense heat that Cucumis melo loves, they also easily trap stagnant, moist air. I can tell you from personal experience that high humidity (above 70%) is a primary cause of blossom end rot and fungal diseases that can decimate your crop.
To provide proper care, you must maintain an active airflow regimen. I have found that it is essential to open greenhouse vents and doors wide by 9 a.m. every morning, regardless of the outside temperature, to flush out the damp air that accumulates overnight. In my own greenhouse, I have experienced that using a small, solar-powered circulation fan is the single best investment for growing a high-quality melon. It prevents the dangerous air stratification that allows mold to settle on the leaves and ensures a more consistent environment. Remember, the definitive guide for structured growing focuses not just on heat, but on managing the relationship between heat and moisture.
14. Harvesting at the “Full Slip” Stage
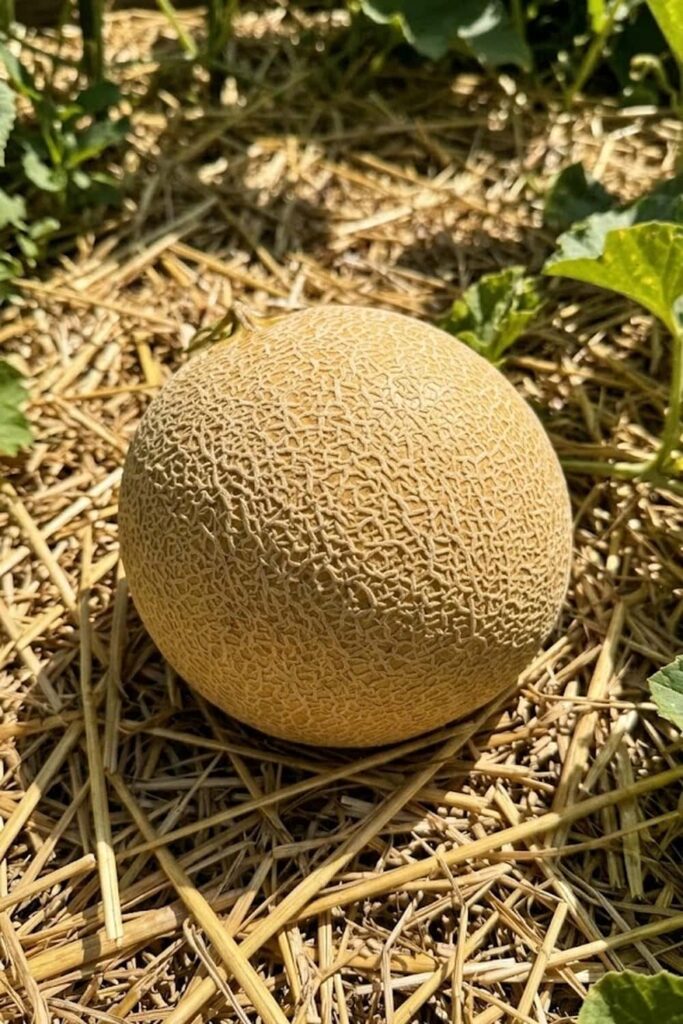
You must develop the patience to wait for the exact moment of peak maturity before harvesting your Galia melon fruit. I know that feeling of anticipationwell; it’s tempting to pick the first melon that looks roughly the right size. I can tell you from personal experience, however, that a Galia picked even two days early will be bland, mealy, and incredibly disappointing. Unlike some fruits, melons do not increase in sugar content once they are removed from the vine. This is a critical factor for success.
I have found that the definitive guide to harvesting focuses on two infallible tactile and visual cues. First, you should monitoring the rind color. It must change from its immature green to a solid, warm golden-tan hue beneath the distinctive netting. Second, and most importantly, you must look for the “full slip.” This occurs when the stem where it connects to the fruit starts to develop a small crack and completely separates, or “slips,” from the melon with a very gentle tug. In my garden, I once picked a fruit that required a forceful pull to disconnect; it looked ripe but tasted awful. Wait for the natural, effortless slip, and you will be rewarded with a complex, aromatic flavor measuring that perfect 18° Brix rating.
15. Storage and Post-Harvest Cooling
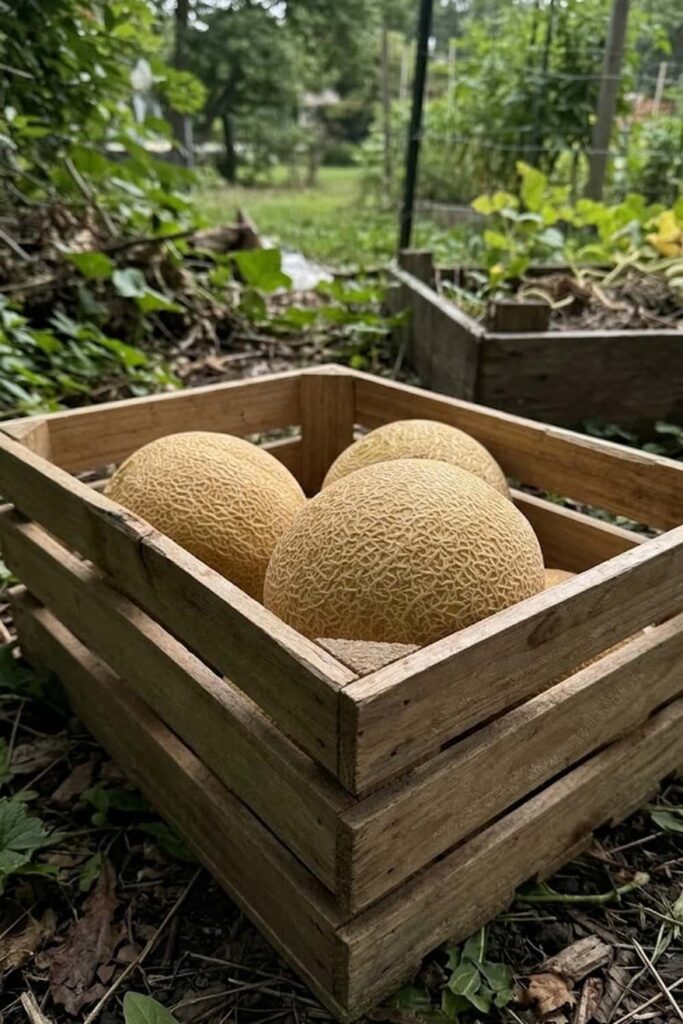
You cannot expect Galia melon fruit to have the same long shelf life as a traditional cantaloupe or honeydew. I have found that this hybrid’s unique green flesh structure is highly Succulent, but it degrades relatively quickly after harvesting. You must provide immediate post-harvest care to preserve that peak flavor you worked so hard to grow. I can tell you from personal experience that leaving a ripe Galia on the counter in a warm kitchen for even a few hours will noticeably degrade its texture.
I have found that the definitive guide for storage begins with immediate cooling. I always place my ripe melons directly into a cool, ventilated area—about 45°F to 50°F (7°C to 10°C)—as soon as I harvest them. While a standard refrigerator is slightly too cold for ideal, long-term storage, it is far better than a warm counter. In my garden, I once stored three ripe Galias in a cool, shaded root cellar for nearly two weeks, and they maintained excellent quality. However, for the best dessert experience, you should plan to consume your ripe Galia melon fruit within 5 to 7 days of harvest. Refer to the table below for a direct comparison of proper storage parameters.
Melon Storage Guidelines
| Melon Type | Ideal Storage Temperature | Estimated Shelf Life (Post-Harvest) | Visual/Tactile Ripeness Cue |
| Galia Hybrid | 45°F–50°F (7°C–10°C) | 5–7 Days | Golden-tan rind, full slip |
| Cantaloupe | 36°F–41°F (2°C–5°C) | 10–14 Days | Tan rind, full slip |
| Honeydew | 45°F–50°F (7°C–10°C) | 14–21 Days | White/yellow rind, no slip |
FAQ: Your Growing Questions Answered
You likely have specific, detailed questions about growing Galia melon fruit that the main guide has not yet addressed. I know that feeling of uncertainty when a particular challenge arises in your own garden. In my view, the success of your harvest depends on your ability to troubleshoot and adapt. I have found that structured answers to direct questions can provide the immediate care your plants need. Please refer to this curated section of frequently asked questions to gain deeper knowledge and ensure a productive season.
How to grow Galia melon fruit in a greenhouse?
You must provide exceptional ventilation and rigorous monitoring for pests and diseases like powdery mildew. Galias absolutely love the concentrated heat of a greenhouse, but they despise stagnant, humid air, so you must open vents daily and ensure proper plant spacing.
Can I grow Galia melon fruit from store bought seeds?
You should only plant seeds purchased from a reputable seed supplier. I have found from personal experience that saving seeds from a Galia melon fruit (which is an F1 hybrid) will always result in erratic, non-standard plants that produce lower quality fruit than the parent.
How do I grow Galia melon fruit to be sweeter?
You must provide intense, consistent sunlight (at least 8 hours daily), reduce watering significantly during the final week before harvesting, and switch to a high-potassium organic fertilizer once the fruits have set to promote sugar concentration.
What is the best way to control pests on Galia vines?
You should implement a proactive strategy beginning with monitoring and utilizing physical barriers like floating row covers early in the season to exclude cucumber beetles and aphids. Practice good garden hygiene and never overwater, which attracts disease.
How much space do I need to grow Galia melon fruit?
You must provide structured space. While vertical trellising allows you to plant Galias just 12 inches apart, if you are growing them on the ground, you should allow at least 3 to 4 feet between plants on mounded hills to ensure proper care and access.








