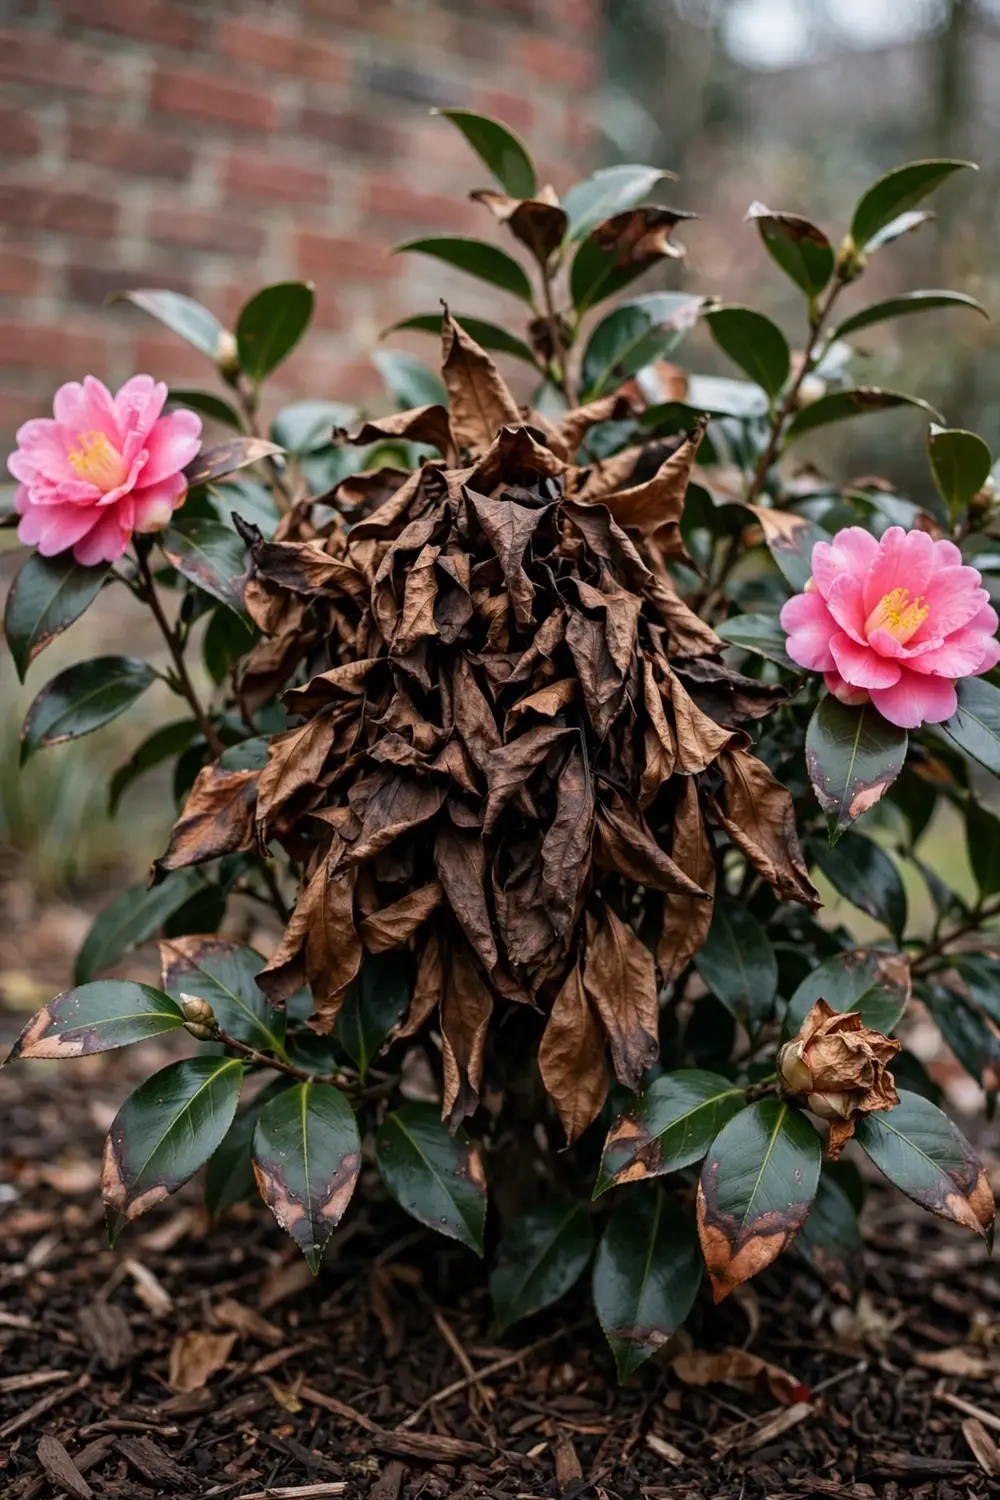

Why is my camellia turning brown? Start with location. 9 causes cover nearly every case. Leaves, flowers, buds, and the whole plant brown for different reasons. Find where the brown sits, then match the pattern. Most cases need one fix, not a spray program.
I have learned that the camellia I check by where the brown sits answers faster than the one I feed first.
This article covers ornamental camellias. The tea plant is Camellia sinensis, a different use of the same genus. In Australia the harsh side is the north and west, the reverse of northern-hemisphere advice. A camellia against a north or west wall cops the worst sun. The rest of this page runs the pattern first, then one cause at a time, then the fix order. Work the pattern table before you touch a spray bottle.
1. Why Is My Camellia Turning Brown? Start With Where the Brown Sits
The location narrows the cause before anything else. Leaves point to sun, frost, water, or soil. Flowers point to frost, sun, or gray mold, while buds point to swings in temperature or moisture.
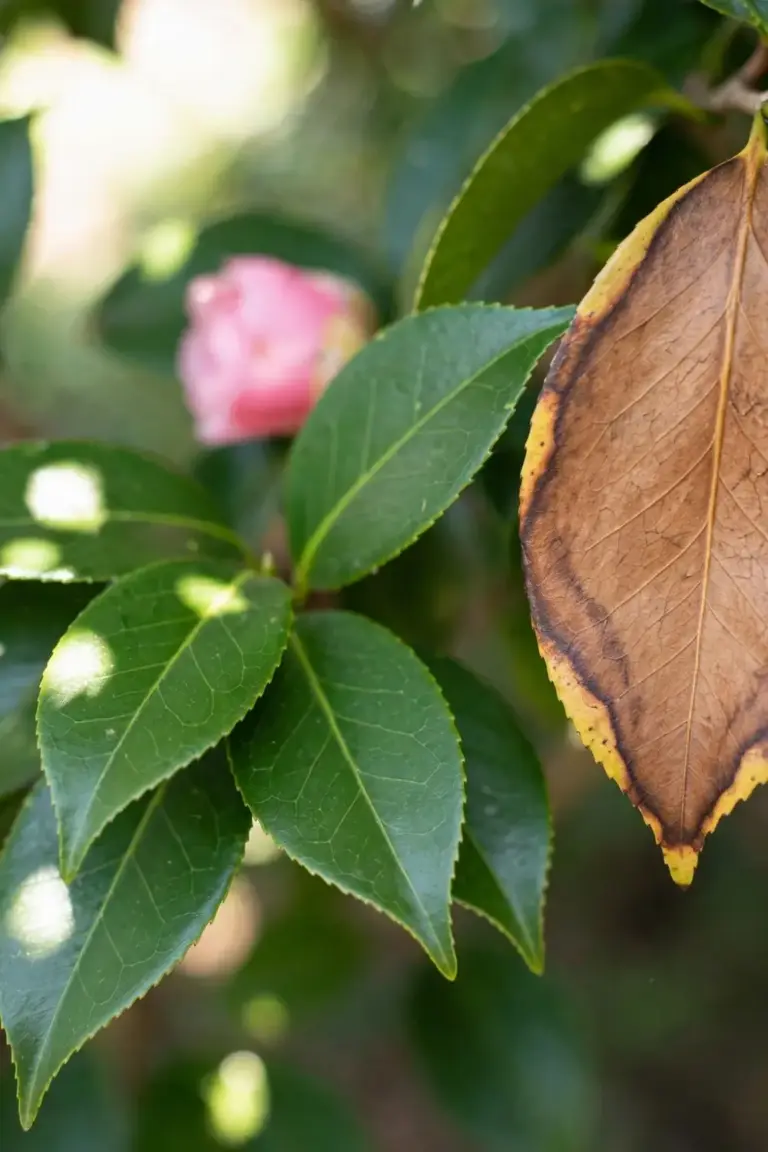
Walk the plant and read the brown like a map. Sunburn sits on the sun side, frost on exposed edges and outer buds, water trouble across the whole plant at once, soil trouble as yellow between green veins, and pest trouble as a black coating or sticky leaves. Each pattern points to one cause. Learn the five patterns and the diagnosis gets fast.
Whole-plant browning with no new growth is the one pattern that means act fast. A few brown leaves deep inside a green plant is usually shed. The table in the next section turns these patterns into causes.
Read one leaf closely before you judge the plant. A single scorched leaf on the sun side tells a different story from every leaf yellowing at once. The first is local damage. The second is a system problem: water, roots, or soil. Photograph the worst leaf and the whole plant on the same day. The pair shows the pattern better than either photo alone, and it gives you a baseline to compare against in two weeks.
2. Match the Pattern to the Cause
The pattern table is the spine of this diagnosis. Find your row, then read that cause section. Do not start with a spray. Start with the row.
| Where | What It Looks Like | Most Likely Cause | First Fix |
|---|---|---|---|
| Leaves, sun side | Scorched or bronzed patches on the side facing the sun | Sunburn | Shade the plant or move it |
| Leaves, exposed edges | Brown edges and tips after a cold night | Frost | Wait, then prune dead wood in spring |
| Leaves, whole plant | Wilting while the soil stays wet | Overwatering and root rot | Stop watering and check drainage |
| Leaves, whole plant | Wilting while the soil stays dry | Drought | Water deeply and mulch |
| Leaves, between veins | Yellow between green veins | Soil pH lockout | Test soil pH |
| Leaves, coated black | Black sooty coating, leaves sticky | Scale insects and sooty mold | Check leaf undersides |
| Flowers | Mushy brown blooms in wet weather | Gray mold or frost | Remove spent blooms and bin them |
| Buds | Brown tips, then buds drop | Bud drop | Steady water and hold nitrogen feed |
| New plant | Browning after moving | Transplant shock | Steady water and one season |
| Old inner leaves | A few leaves at a time, deep inside | Natural shed | Nothing, prune spent growth later |
Use the table as a first pass, not a verdict. A plant can show two patterns at once: sunburn on the sun side plus drought across the whole plant, or scale under the leaves plus a pH lockout in the soil. When two rows fit, fix the water row first. Water trouble kills fastest, and a water fix often clears half the symptoms on its own. Recheck the plant two weeks after the first fix, then work the next row if brown remains.
3. Read Sunburn on the Sun Side
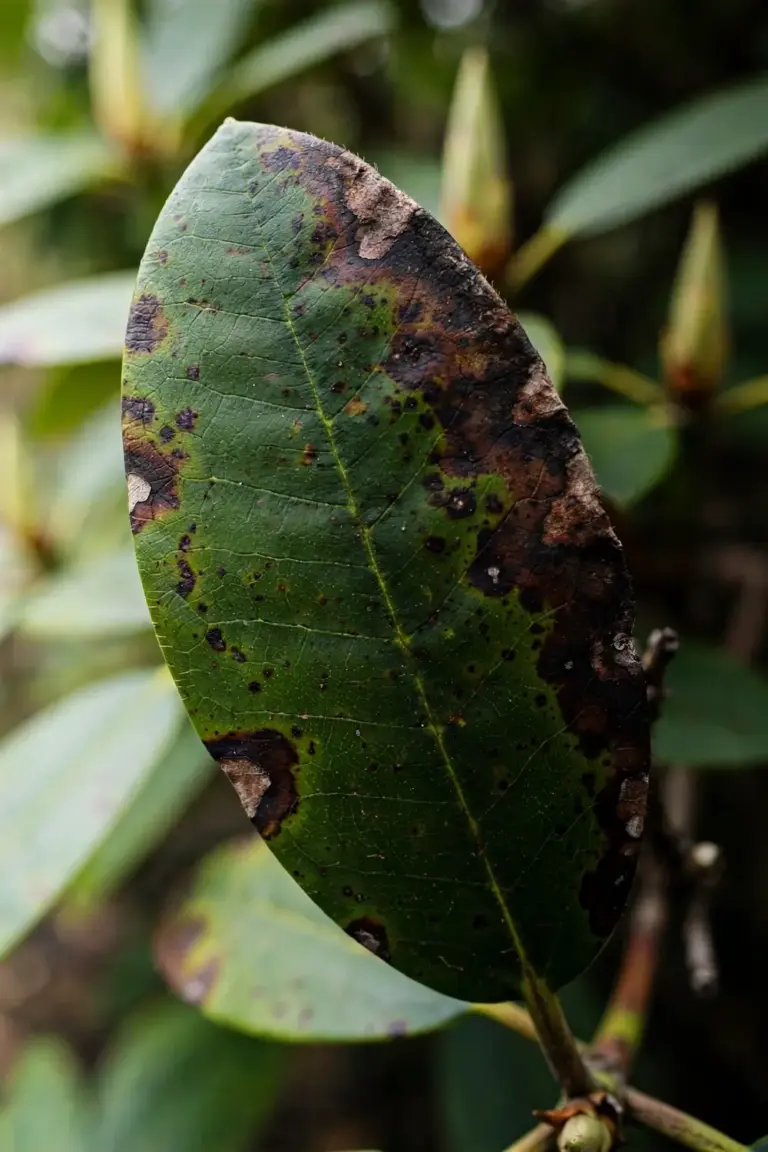
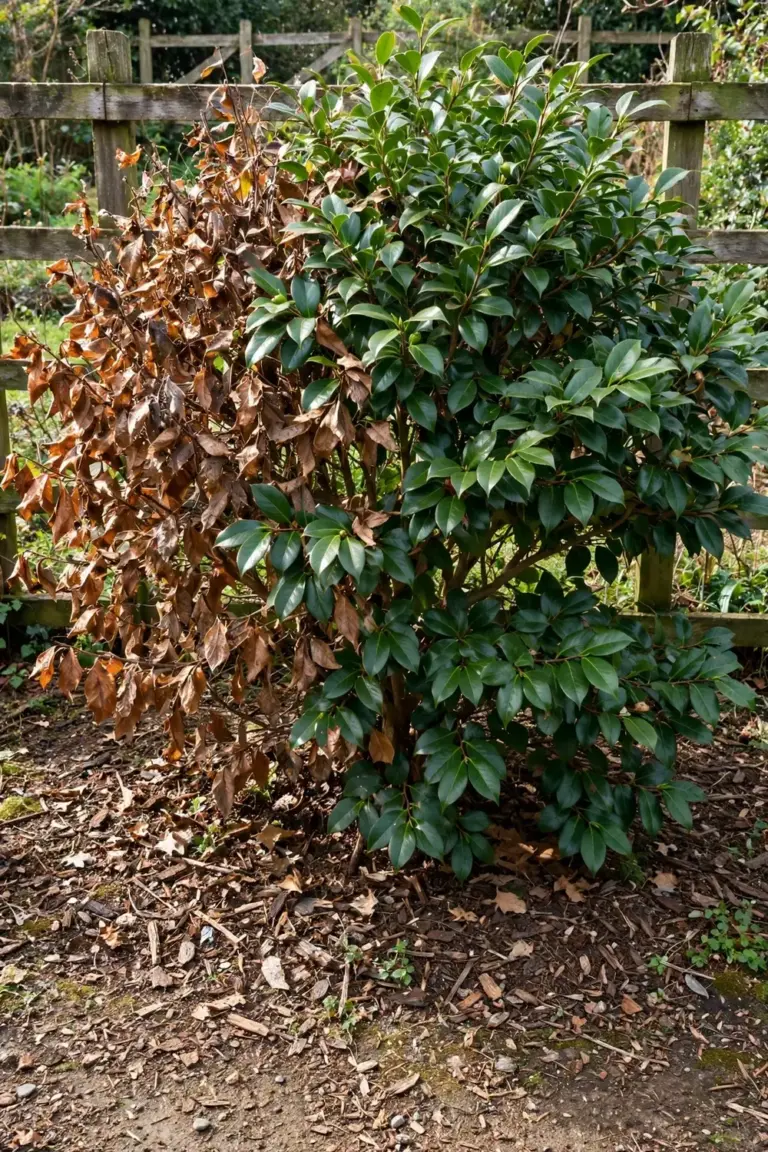
Sunburn browns the sun side first. The scorched patch sits on the side facing the sun, and the shaded side stays green. That split is the diagnosis. A disease does not respect the sun line. Sunburn does.
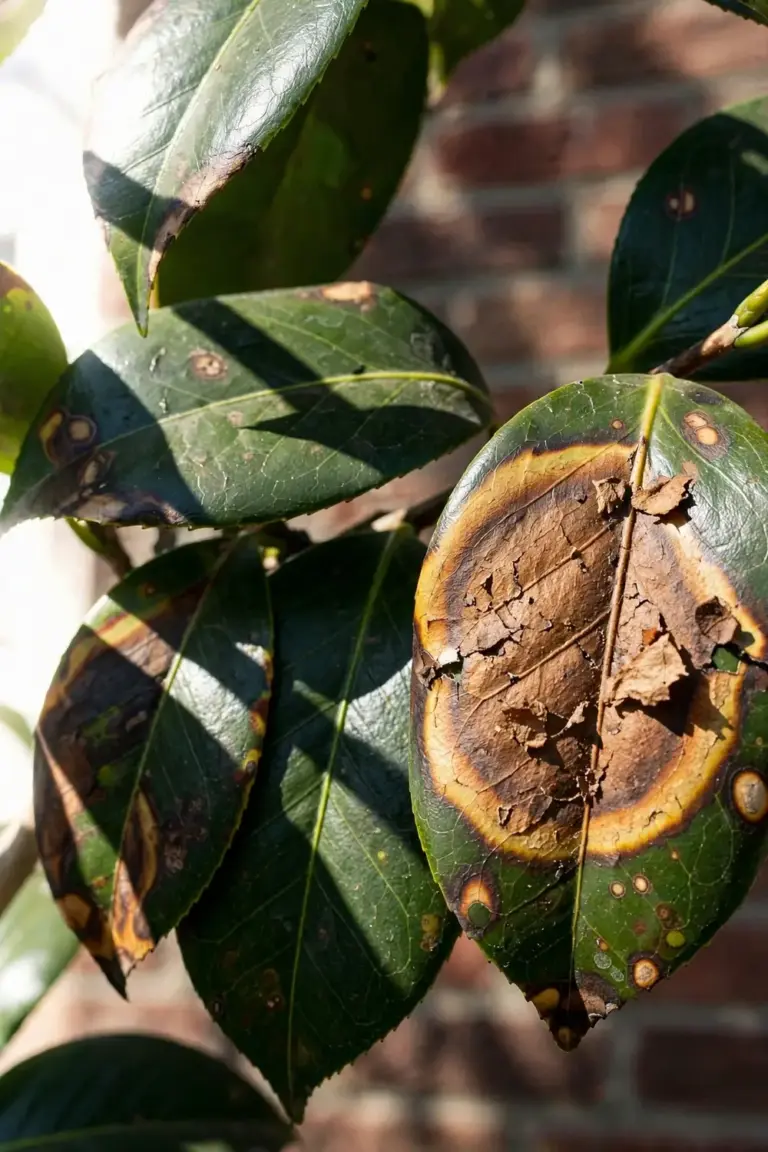
Camellias against a north or west-facing wall get sunscald in Australia. Camellias Australia notes that leaves develop scorched or bronzed areas on the side of the plant directly exposed to the sun, and leaf-spotting fungi may infect the damaged leaves. Once the leaves have turned brown, they will not recover. The brown tissue is dead. New growth replaces it.
Sasanqua types endure more sun than japonica types. Camellias Australia notes that sasanquas, reticulatas, hybrids, and many darker-flowered japonicas endure more exposure, provided the soil stays good, water stays adequate, and mulch covers the roots in warmer months. A camellia moved from shade to sun is the classic victim. Sunscald hits transplanted camellias hardest in their first summer.
Fix sunburn with shade, not feed. Shade cloth over the plant through the hottest weeks stops new damage. A move to a spot with morning sun and afternoon shade suits most camellias. Mulch keeps roots cool. Leave scorched leaves on the plant until new growth replaces them. The damaged leaves still feed the plant.
Do not confuse sunburn with disease. Sunburn has no spots that spread, no fuzzy growth, and no smell. The brown area is dry and papery, and it stops at the shade line. A fungal leaf spot keeps growing past the shade line and shows rings or fruiting bodies. If the brown keeps spreading after you shade the plant, the cause is not sun. Recheck water, pests, and soil pH in that order.
4. Read Frost on the Exposed Edges
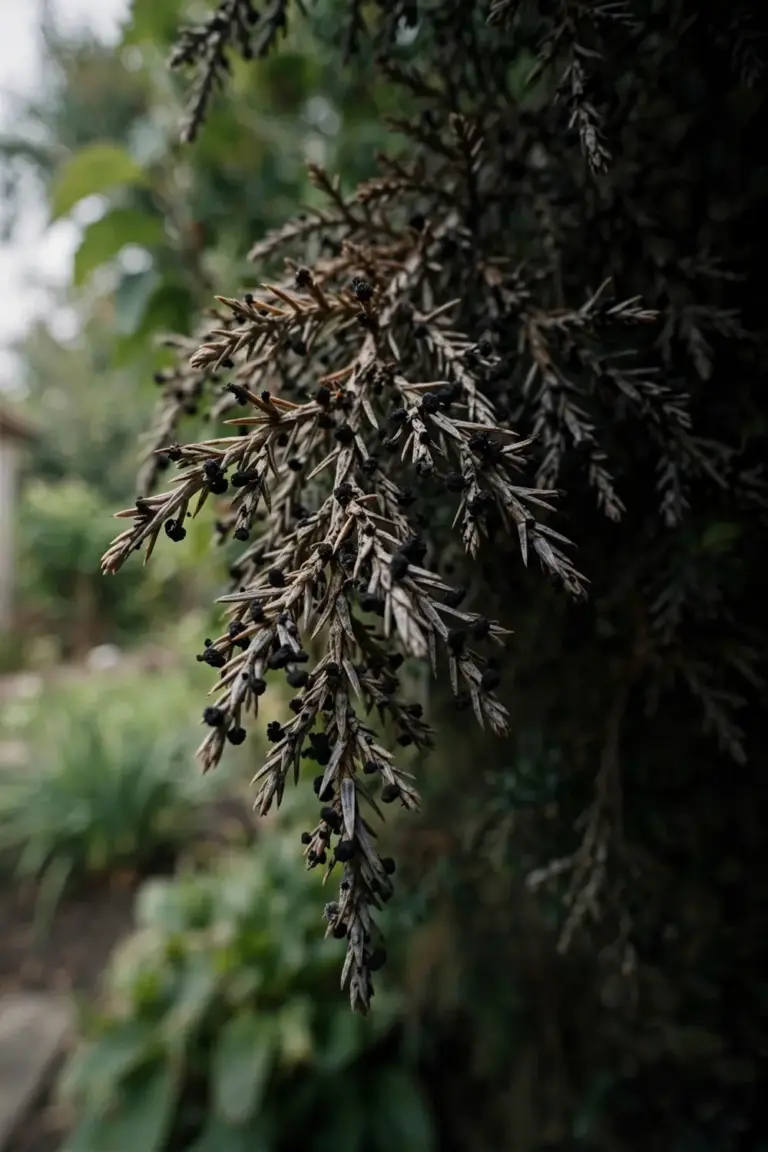
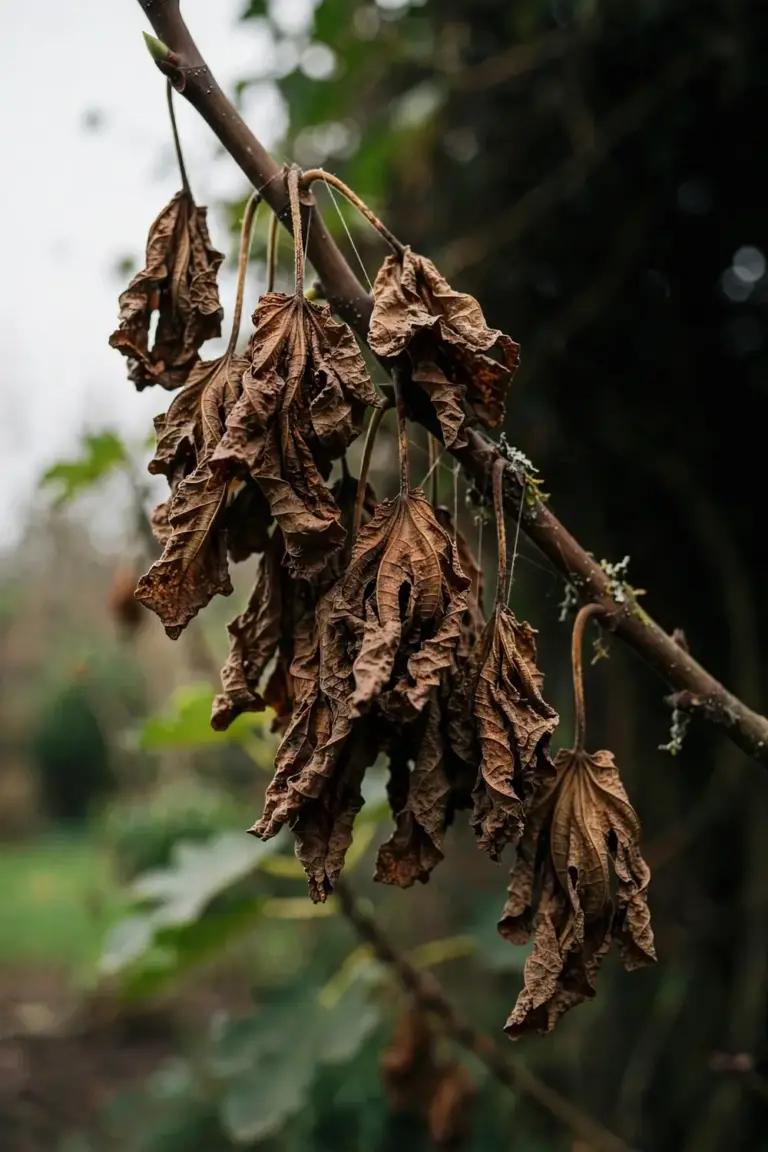
Frost browns the exposed edges first. Leaf tips and outer buds cop the cold, and the sheltered inside stays green. Flowers turn brown and papery after a frosty night. The damage shows within days of the cold snap.
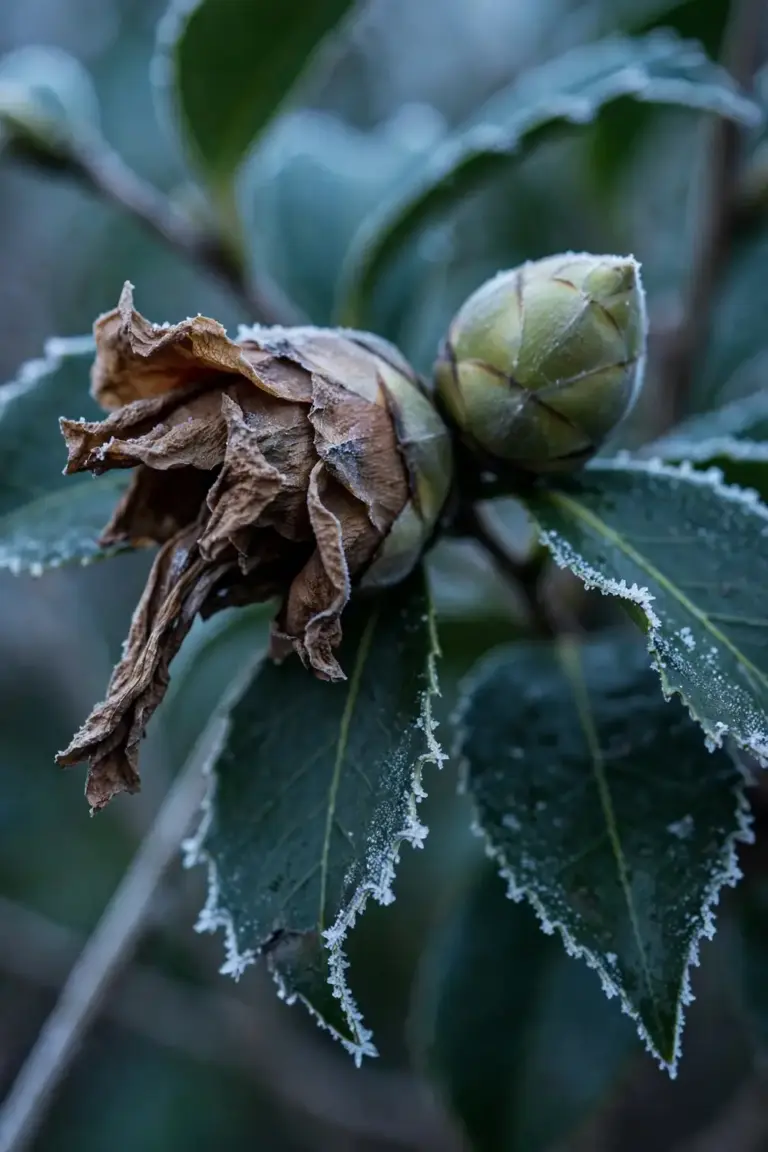
Camellias in full sun are less dormant during winter warm periods, and sudden temperature drops can cause severe flower bud and leaf injury, according to the University of Georgia Extension camellia culture guide. A warm week followed by a sharp frost is the worst sequence. Buds that swelled in the warmth freeze hardest. Inland and tableland gardens in Australia cop this pattern most.
Do not prune frost damage in winter. The dead tips shelter the live wood behind them through the next frost. Wait until spring growth shows, then cut back to green wood. A camellia that looks dead in July can push new shoots in September. Judge the plant by new growth, not by brown leaves.
Cold wind does as much damage as cold air, because a camellia on an exposed ridge browns faster than the same plant behind a fence, even at the same overnight low. Wind strips moisture from leaves while the roots sit in cold soil and cannot replace it. A windbreak, a fence, or a neighboring shrub cuts the damage. Site the plant out of the prevailing winter wind, not just out of the frost hollow.
5. Check Water Before You Blame Disease
Too much water rots camellia roots. The plant wilts while the soil stays wet, and leaves yellow and drop. That combination is the signature. A dry plant wilts too, but its soil is dry. Check the soil before you water again.
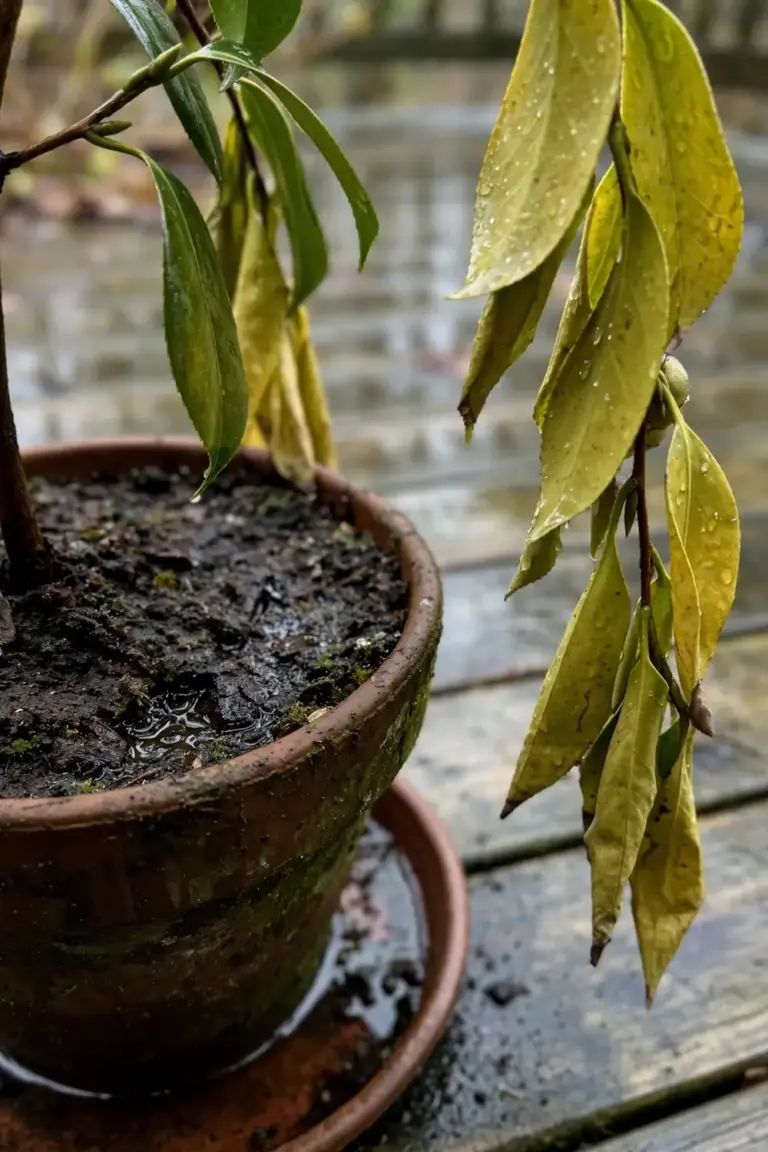
Camellias do not tolerate poorly drained soils, notes the same UGA guide. Roots standing in water starve for air. The root tips die first. The plant cannot drink, so it wilts in wet soil. Leaves yellow from the base up. The plant drops leaves to cut water loss.
Run the finger test. Push a finger 5 cm into the soil near the root zone. Wet soil at that depth means do not water. Dry soil at that depth means water deeply. A pot with no drainage hole drowns a camellia in weeks. Lift the pot and check the base. Water must leave the pot freely.
Root rot gets pointers only here. Improve drainage around the plant. Lift a potted camellia onto feet so water runs out. Stop feeding a drowning plant. Fertilizer on damaged roots burns what is left. Fix the water first, then judge recovery over weeks.
Pots drown faster than garden beds. A pot holds a small soil volume, and one blocked drainage hole floods the whole root ball. A garden bed drains sideways as well as down. Check pot drainage every spring, when roots can clog the holes. A saucer under the pot holds water against the base. Empty the saucer after watering, or remove it entirely through winter.
6. Check Drought on the Whole Plant
Too little water browns leaf edges first, then whole leaves, and the plant drops buds to save itself. The whole plant shows the stress at once, unlike sunburn, which shows on one side only. Dry soil confirms the call.
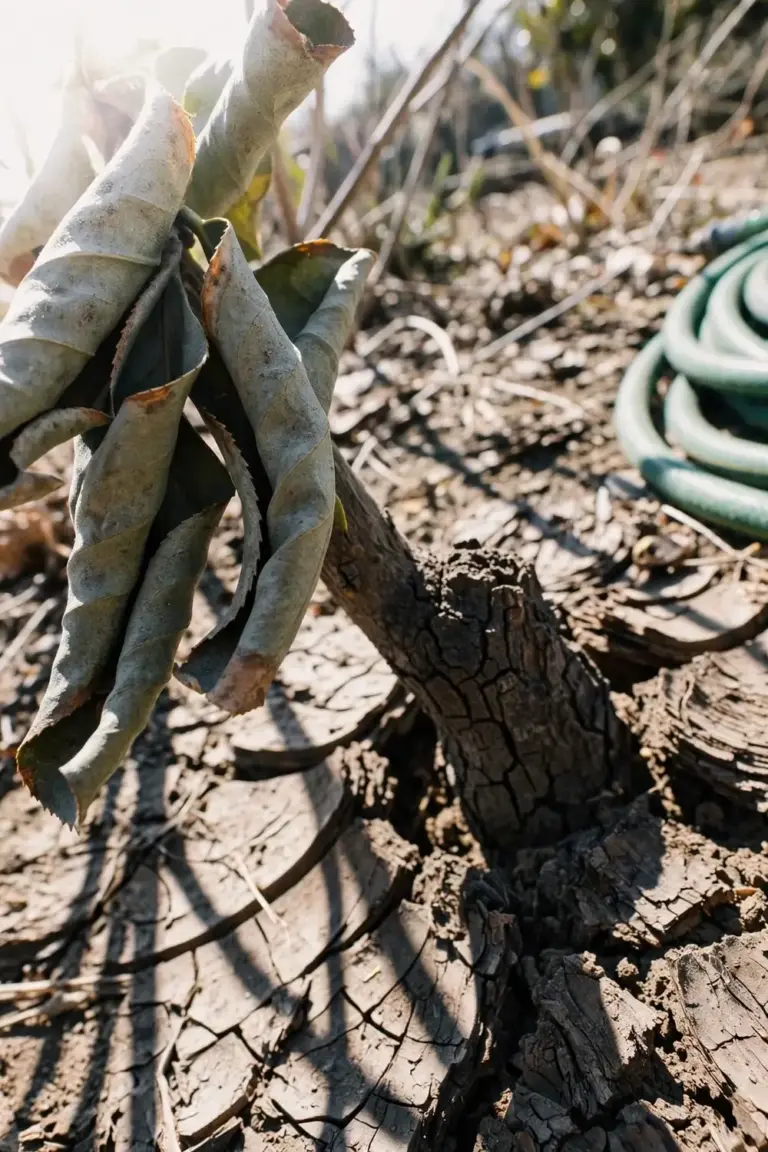
Moisture swings cause bud drop. Camellias Australia notes that large fluctuations in temperature or moisture cause buds to drop before opening. A dry autumn followed by a sudden soak stresses the plant the same way a drought does. Steady moisture beats bursts. The plant wants even soil moisture through bud formation and flowering.
Water deeply and mulch. A deep soak wets the root zone, while a shallow sprinkle wets the surface only. Mulch holds soil moisture between waterings, but keep mulch off the stems: mulch piled against stems holds damp against bark and invites rot. A 5 cm layer of bark or leaf mulch, clear of the trunk, does the job.
Heatwaves punish camellias twice. The air dries the leaves while the soil dries the roots. A plant that coped with a 30-degree day can scorch on a 40-degree day with a hot wind. Water the evening before a forecast heatwave, not during it. Wet soil overnight gives the plant a full tank for the hot day. Shade cloth over the plant through a heatwave week saves more leaves than any amount of watering during the heat itself.
7. Rule Out Petal Blight Because It Is Not in Australia
Petal blight is the famous camellia disease, and it is not the one browning flowers in Australia. Ciborinia camelliae is not established in Australia. Camellias Australia states that petal blight is not in Australia at present. The greatest risk is an illegally imported plant or contaminated soil on shoes. An Australian gardener reading about petal blight online is reading about a disease on another continent.
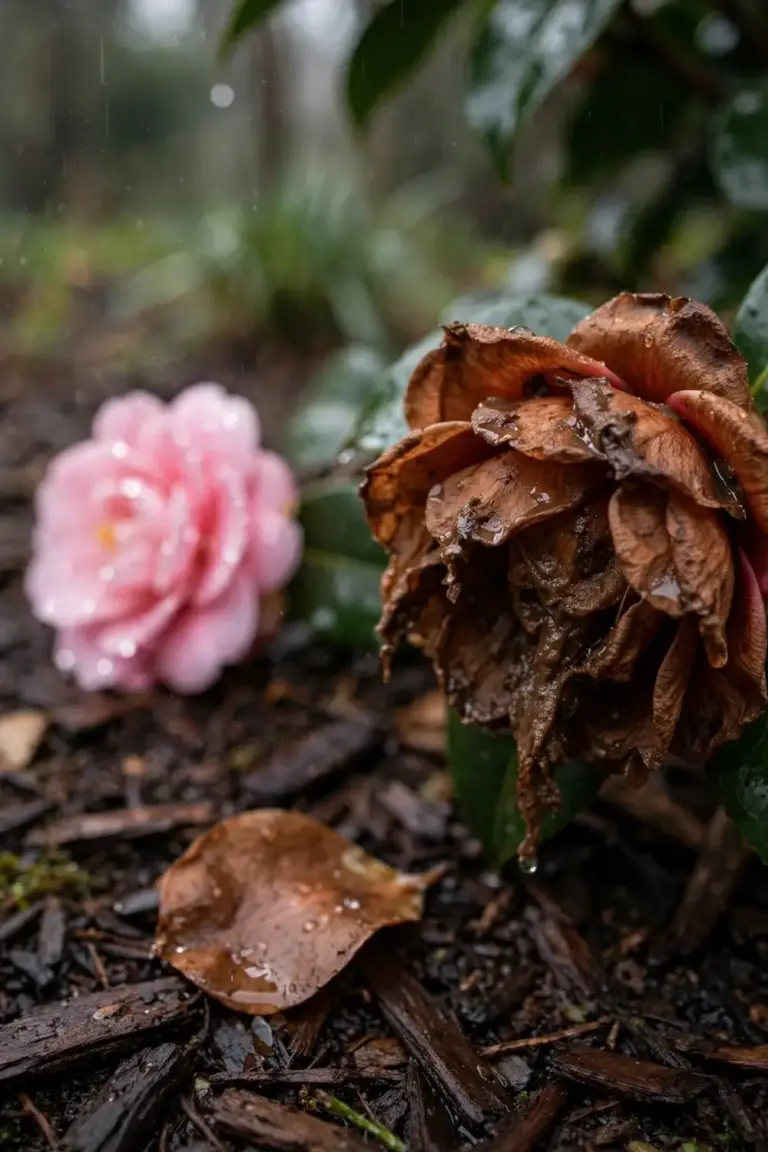
Brown mushy flowers in Australia are frost, sun scorch, or gray mold. Gray mold is Botrytis cinerea. Gray mold spreads in wet weather and turns blooms soft and brown. Frost turns blooms brown and papery. Both look like petal blight at a glance. Neither needs a fungicide program. Sanitation handles both.
Where petal blight does occur, sanitation is the control. Spots spread fast across petals until the whole flower turns brown and dead, and hard black sclerotia form on fallen petals, according to the University of California IPM petal blight guide. The same guide directs growers to pull off infected flowers as they appear, collect fallen blossoms, and dispose of them in a covered location away from the plants. The guide also directs growers to keep a 4-inch layer of mulch beneath and somewhat beyond plants to suppress the disease, and never to add camellia petals or leaves to mulch used around camellias.
Treat suspect flowers as a biosecurity matter. Bin suspect blooms. Do not compost them. Sclerotia survive composting. If a flower shows the full petal blight pattern of fast-spreading spots and hard black bodies on fallen petals, call the Exotic Plant Pest Hotline on 1800 084 881. Reporting protects every camellia in the country.
8. Test Soil pH When Leaves Yellow Between the Veins
Camellias want acid soil, and alkaline soil locks iron away from their roots. Leaves turn yellow between green veins while the soil tests rich. That pattern is iron chlorosis: the iron sits in the soil, the roots cannot take it up, and the pH is the lock.
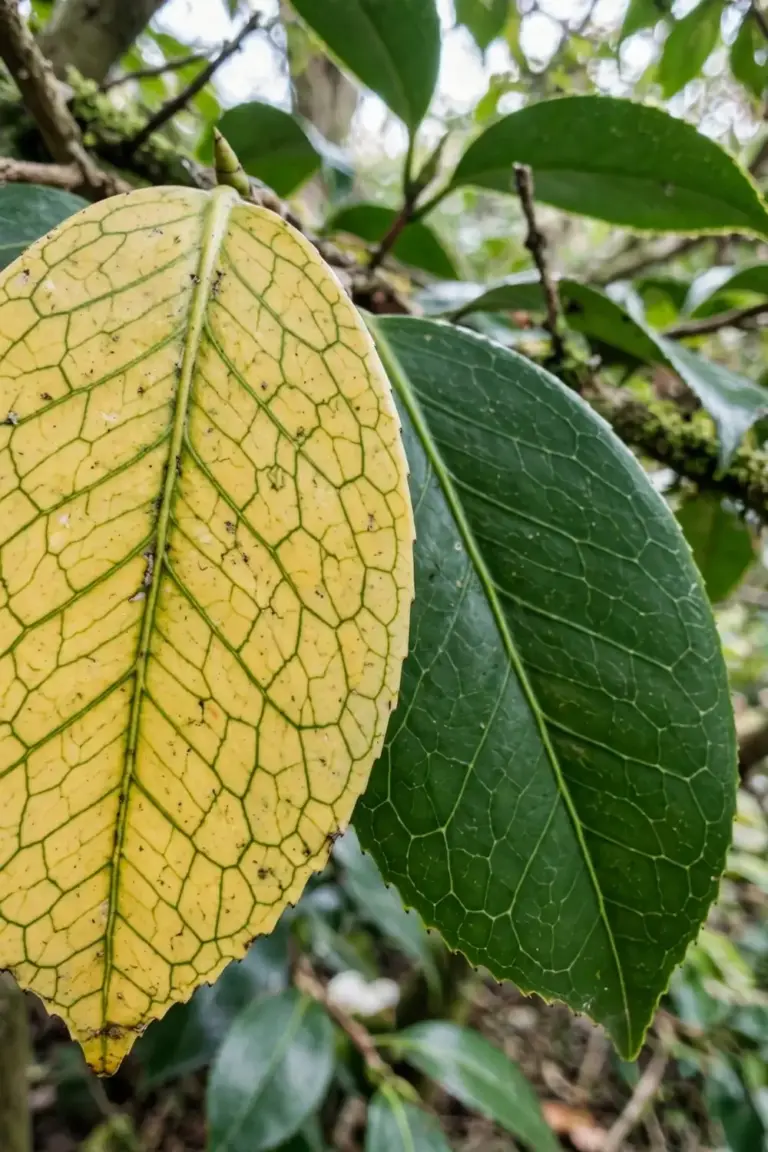
Camellias want acid soil. Oregon State University Extension lists camellia at a suggested soil pH of 5.0 to 6.5 in its acidifying soil guide. Camellias Australia keeps the target band tighter, at 5.5 to 6.5. Limestone soils and hard tap water push pH up over time. A camellia planted beside a concrete path or a limestone wall cops alkaline leachate with every rain.
Test pH before you feed. A soil test shows the number. Guessing burns roots. Iron chelate sprays green the leaves for weeks, and the yellow returns because the pH never moved. The fix is the pH, not the iron. A soil test sets the amount of amendment. The soil health guide covers testing and building acid soil in detail. Test first, amend to the tested need, and retest after one season.
A test also shows what else is off. pH is one number on the report. Phosphorus, potassium, and organic matter sit beside it. A camellia in soil that tests acid and still yellows has a different problem, usually water or roots. Read the whole report before you buy anything. One test answers the pH question and rules out three other guesses at the same time.
9. Look Under the Leaves for Scale and Sooty Mold
Scale insects feed under the leaves and excrete honeydew. Sooty mold fungi grow on the honeydew and coat the leaf black. The black coating wipes off with a finger. The scale stays put. That pairing is the diagnosis.
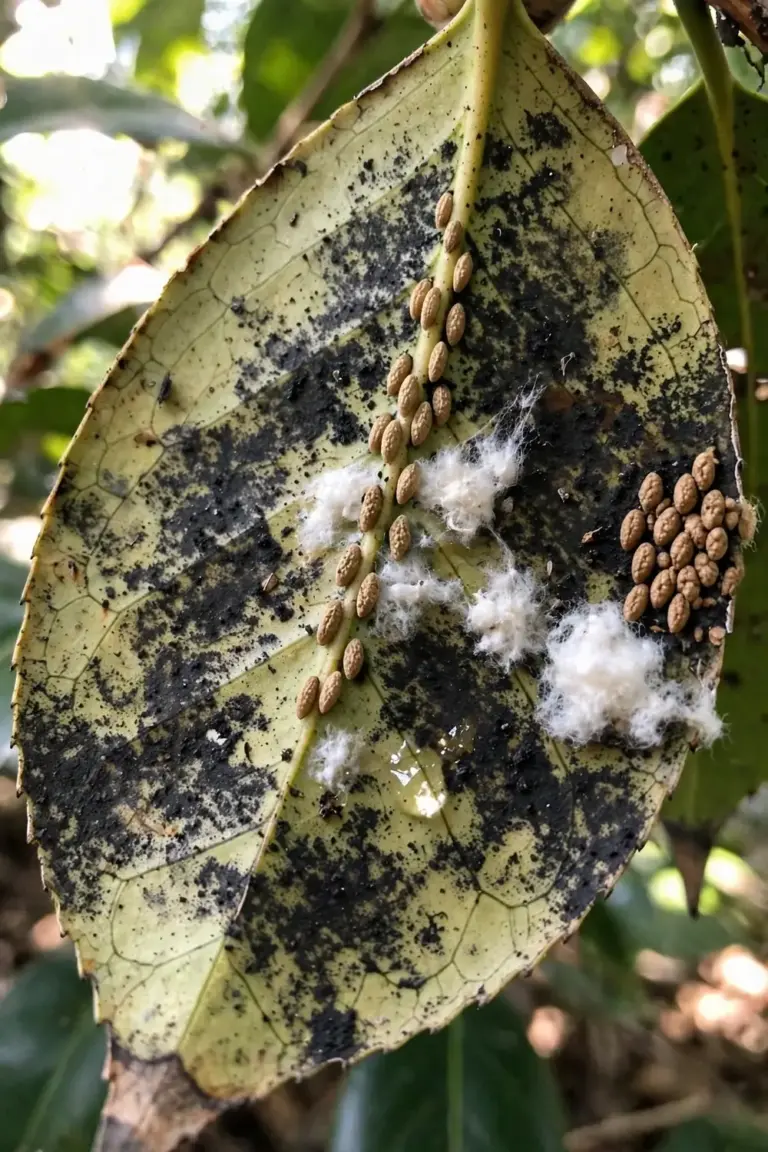
Cottony camellia scale sits on the undersides of foliage, and mature females show white cottony egg sacs, according to the University of Maryland Extension cottony camellia scale guide. The same guide notes that moderate to heavy infestations produce honeydew, which supports the growth of sooty mold, and heavy or prolonged infestations can cause leaf yellowing and a decrease in vigor. Dieback is not common. The insect is the problem. The mold is the symptom.
Check the undersides first. Flip three leaves from different sides of the plant. Look for oval bumps, white cottony sacs, and sticky residue. Ants on the plant often point to honeydew. Wasps and flies gather around heavy infestations. The plant may look black and ruined while the scale colony stays small and hidden under the leaves.
Treat scale with pointers, not a spray program. A strong jet of water knocks crawlers off. Horticultural oil or insecticidal soap applied per the label kills crawlers while conserving beneficial insects. Spray the undersides, where the insects feed. The organic pest control guide covers oil and soap timing in detail. Sooty mold fades once the honeydew stops. Wash the coating off with water and a soft cloth after the scale is gone.
Leave a light infestation to its predators when the plant still grows well. Ladybirds, lacewings, and tiny parasitic wasps eat scale crawlers, and a broad spray kills them too. A few scale bumps on one branch are a food source for the predators that keep the next outbreak down. Spray when the colony spreads across the plant, the honeydew drips, or the leaves yellow. A small colony on a vigorous plant is a watch item, not a spray item.
10. Give a Newly Moved Camellia One Season
A moved camellia browns while its roots re-establish. The plant drops leaves and buds in its first season after moving. The root ball lost fine roots in the move. The plant cannot supply its full canopy yet. It sheds growth to match the roots it has left.
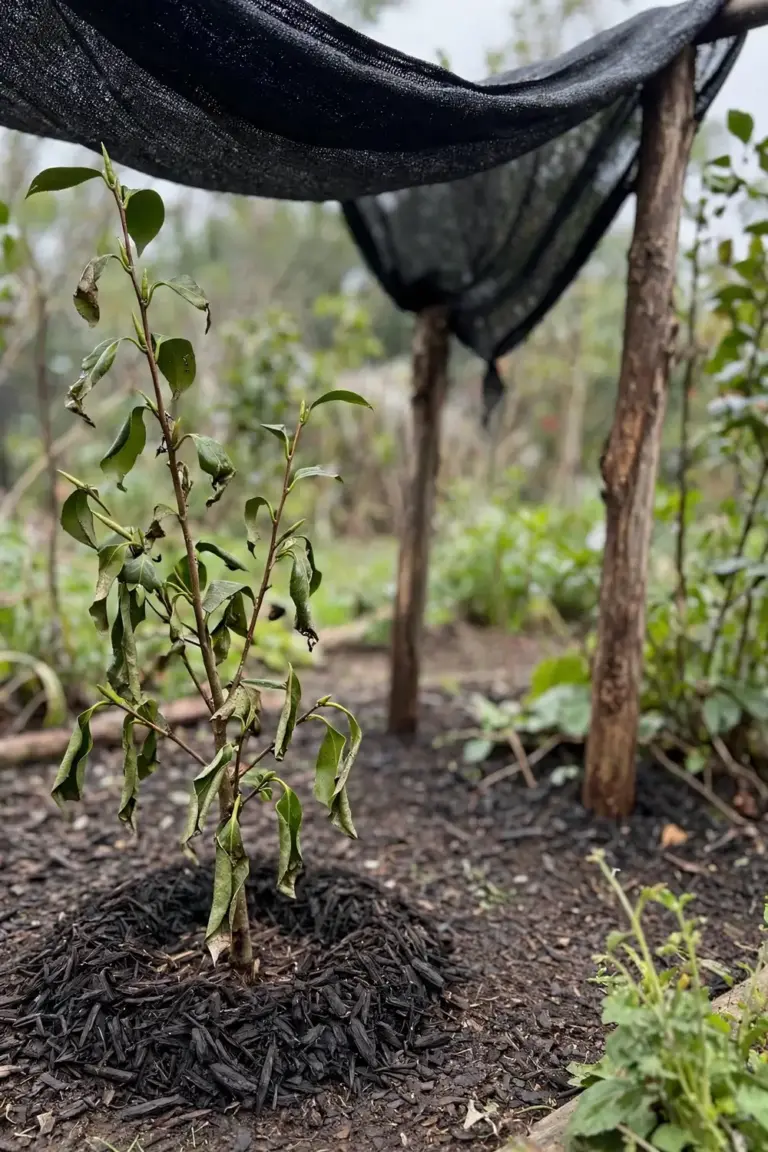
Sunscald hits transplanted camellias hardest. Camellias Australia notes that sunscald is a particular problem on camellias transplanted from shaded to sunny locations. A plant that grew in shade has thin leaves built for low light. Full sun scorches those leaves in days. The same plant, moved in winter and shaded through its first summer, adjusts.
Give the plant one season before you judge it. Water steadily through the first summer. Shade cloth over the plant through the hottest weeks stops new scorch. Hold nitrogen feed. New foliage growth at the expense of flowers is the last thing a moved plant needs. New shoots in spring are the sign the move worked.
Planting depth matters as much as water after a move. A camellia planted too deep suffocates its surface roots. The root ball surface should sit level with the surrounding soil, never buried under a mound of fresh soil or mulch. A buried root ball browns from the base up and never recovers until the soil level comes off. Check the depth before you blame the move itself.
11. Let Spent Flowers Brown and Drop
Old inner leaves brown and drop on their own. A few leaves at a time, deep inside the plant, is normal shed. Camellias replace old leaves through the year. The shed leaves sit inside the canopy, away from the sun. New growth at the tips stays green.
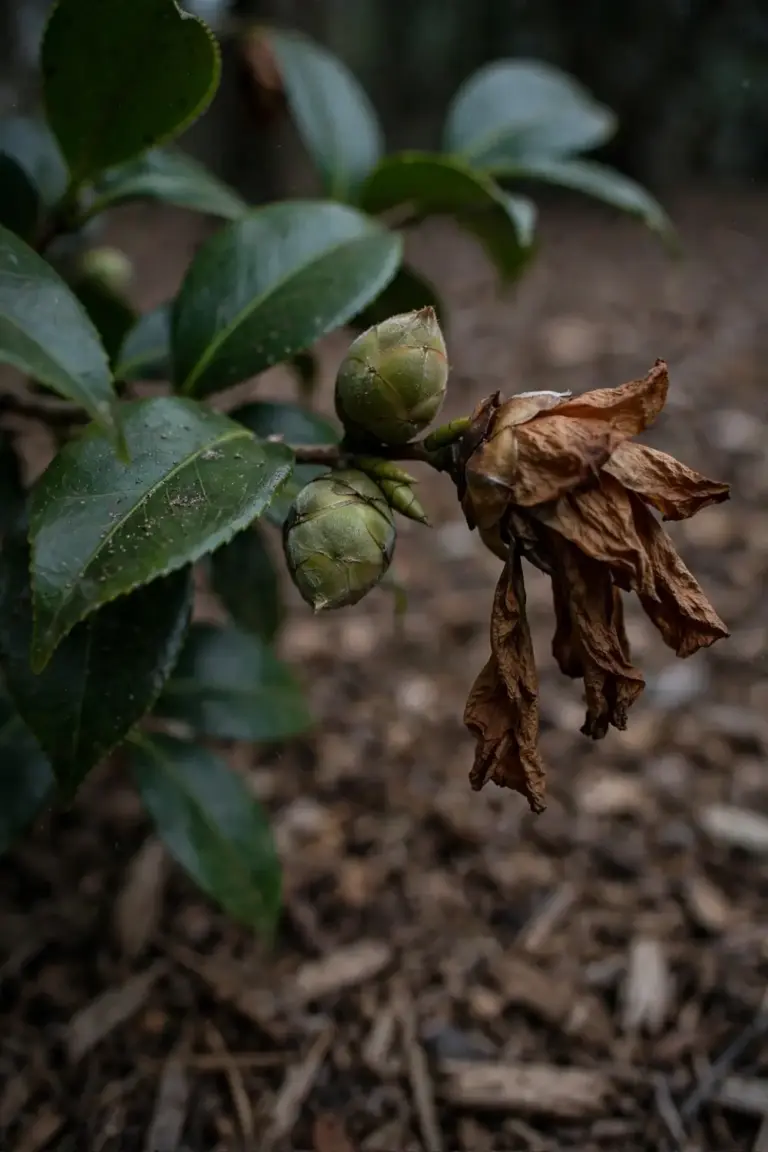
Buds drop naturally too. Camellias produce more buds than can become flowers and shed the excess ones, notes Clemson Extension. A plant that drops a third of its buds and flowers the rest is behaving normally. A plant that drops every bud has a water, temperature, or feeding problem. The difference is the share, not the fact of dropping.
Spent flowers brown and drop after blooming, and the brown bloom is finished, not diseased. Pick spent blooms off to keep the plant tidy and to cut gray mold food. Bin the spent blooms. The spring pruning guide covers dead wood and spent growth after flowering. Prune brown leaves and spent flowers in spring, not in winter frost.
12. Run the Fix Order: Water, Sun, Pests, pH
Check in this order: water, sun, pests, pH. The order rules out the cheapest causes first. A finger test costs nothing. A pH test costs a kit. A spray costs the most and helps least when the cause is water.
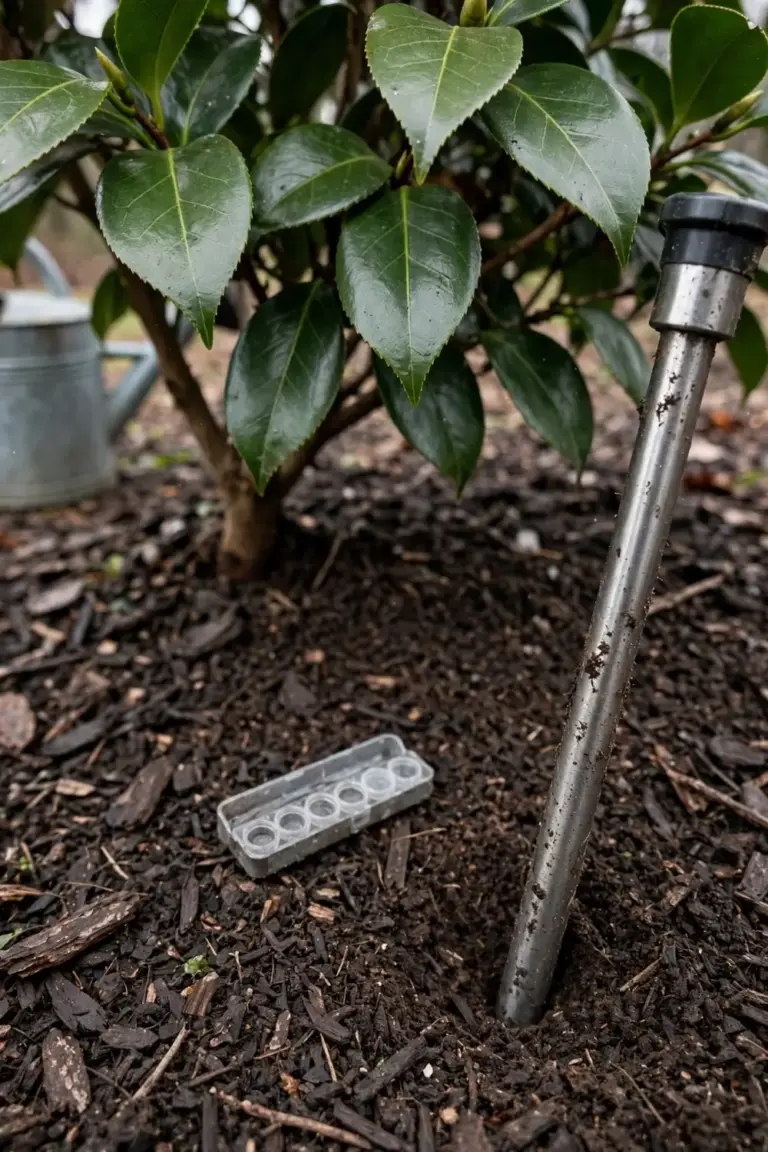
First, run the finger test. Push a finger 5 cm into the soil. Wet soil means hold water. Dry soil means water deeply. Second, check the sun side, since brown on the sun side only means shade the plant. Third, flip three leaves and check the undersides for scale, because sticky leaves and a black coating mean scale. Fourth, test soil pH, since yellow between green veins means test before feeding.
Worry when the whole plant browns at once and no new growth follows. Worry when stems go soft and the soil smells sour. Those two patterns mean root rot or severe stress, and the plant needs drainage fixed now. Do not spray before you identify. A spray on a water problem wastes money and kills beneficial insects. Fix one cause, then wait two weeks and look again.
Keep a dated note of what you changed. One line covers it: date, cause, fix. A note stops the second-guessing that kills more camellias than any disease. Without a note, a gardener sprays in week one, feeds in week two, and moves the plant in week three, and no one knows which change worked. One fix at a time, written down, turns a guess into a test.
13. Frequently Asked Questions About Camellia Browning
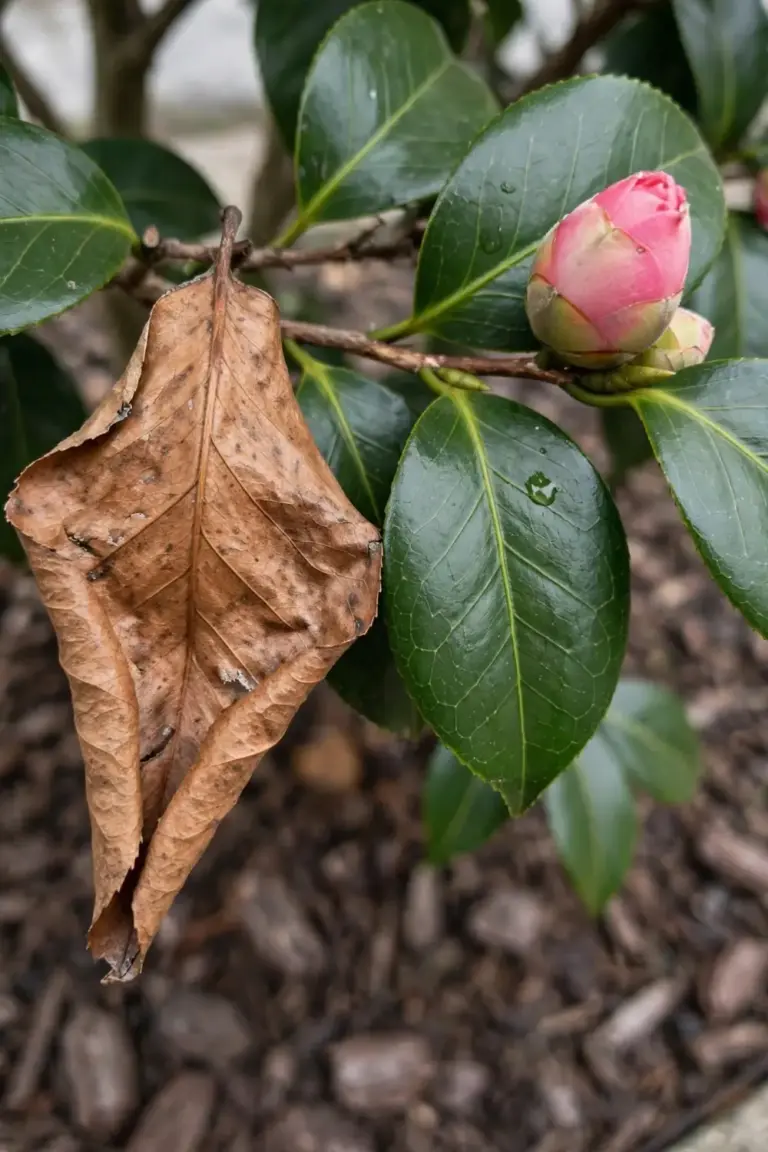
No. Brown leaf tissue is dead, and dead tissue never greens up. The plant grows new leaves to replace the brown ones. Leave scorched leaves on the plant until new growth replaces them, since the damaged leaves still feed the plant. Prune fully brown leaves and dead wood in spring, once new growth shows where the live wood starts. Judge recovery by new shoots, not by old leaves.
Yes. Pick brown blooms off the plant and bin them. Spent blooms feed gray mold in wet weather. Picking them off keeps the plant tidy and cuts disease food. Do not compost brown blooms. Bin them. A compost heap keeps fungal bodies alive. Wash your hands and tools after handling suspect blooms. New buds open clean once the spent blooms are gone.
Bud drop follows swings in temperature or moisture. A dry autumn, a sudden soak, or a hot spell during bud formation all trigger it. Freezing temperatures drop buds before opening. Excess nitrogen feed pushes foliage growth at the expense of flowers. Camellia bud mites slow buds and drop them too. Steady water, a mulch layer, and no nitrogen push through bud season cut most bud drop.
No. Petal blight is not established in Australia. Camellias Australia states that the disease is not in Australia at present. Brown mushy flowers in Australia are frost, sun scorch, or gray mold. Sanitation still helps: bin spent blooms and keep mulch under plants. If a flower shows fast-spreading spots plus hard black bodies on fallen petals, call the Exotic Plant Pest Hotline on 1800 084 881 and do not compost the flowers.
Camellias need acid soil. Oregon State University Extension lists camellia at a suggested soil pH of 5.0 to 6.5. Camellias Australia keeps the target band at 5.5 to 6.5. Above that band, iron locks away and leaves yellow between green veins. Test pH before feeding. A soil test sets the amendment amount. Guessing burns roots. Retest after one season to confirm the pH moved.
14. Start With the Pattern, Then Fix One Cause
Brown on a camellia is a pattern, not a verdict. The location names the cause. The cause names the fix. Most camellias need one change: shade, water, drainage, or a pH test. A spray is the last move, not the first.
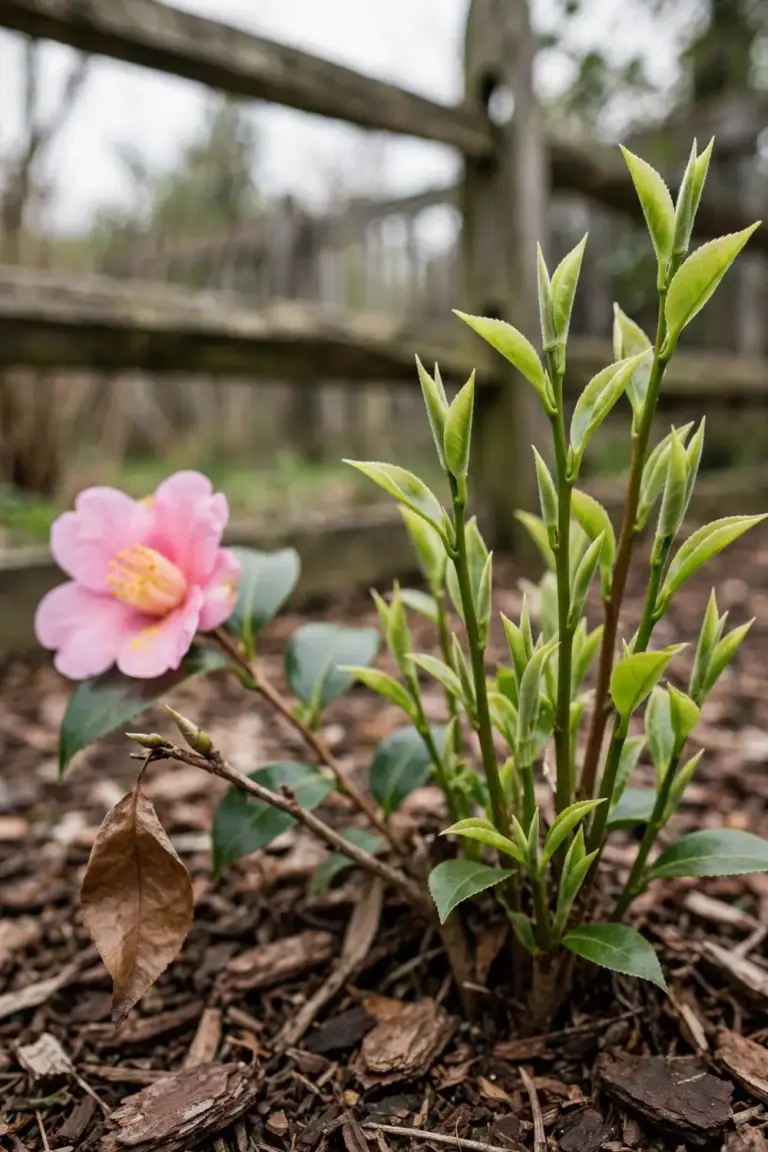
Walk out now. Find where the brown sits. Run the fix order: water, sun, pests, pH. Fix one cause, then wait two weeks and look again. The plant tells you whether the fix worked, because new green growth is the answer.