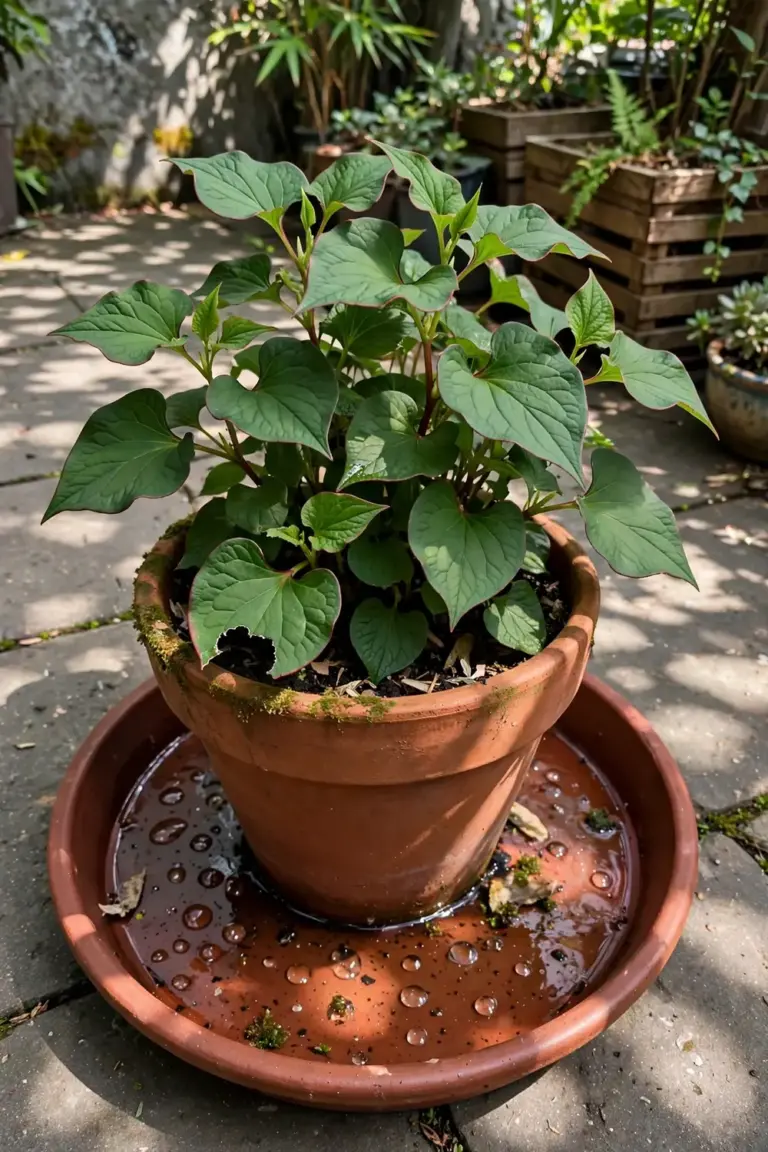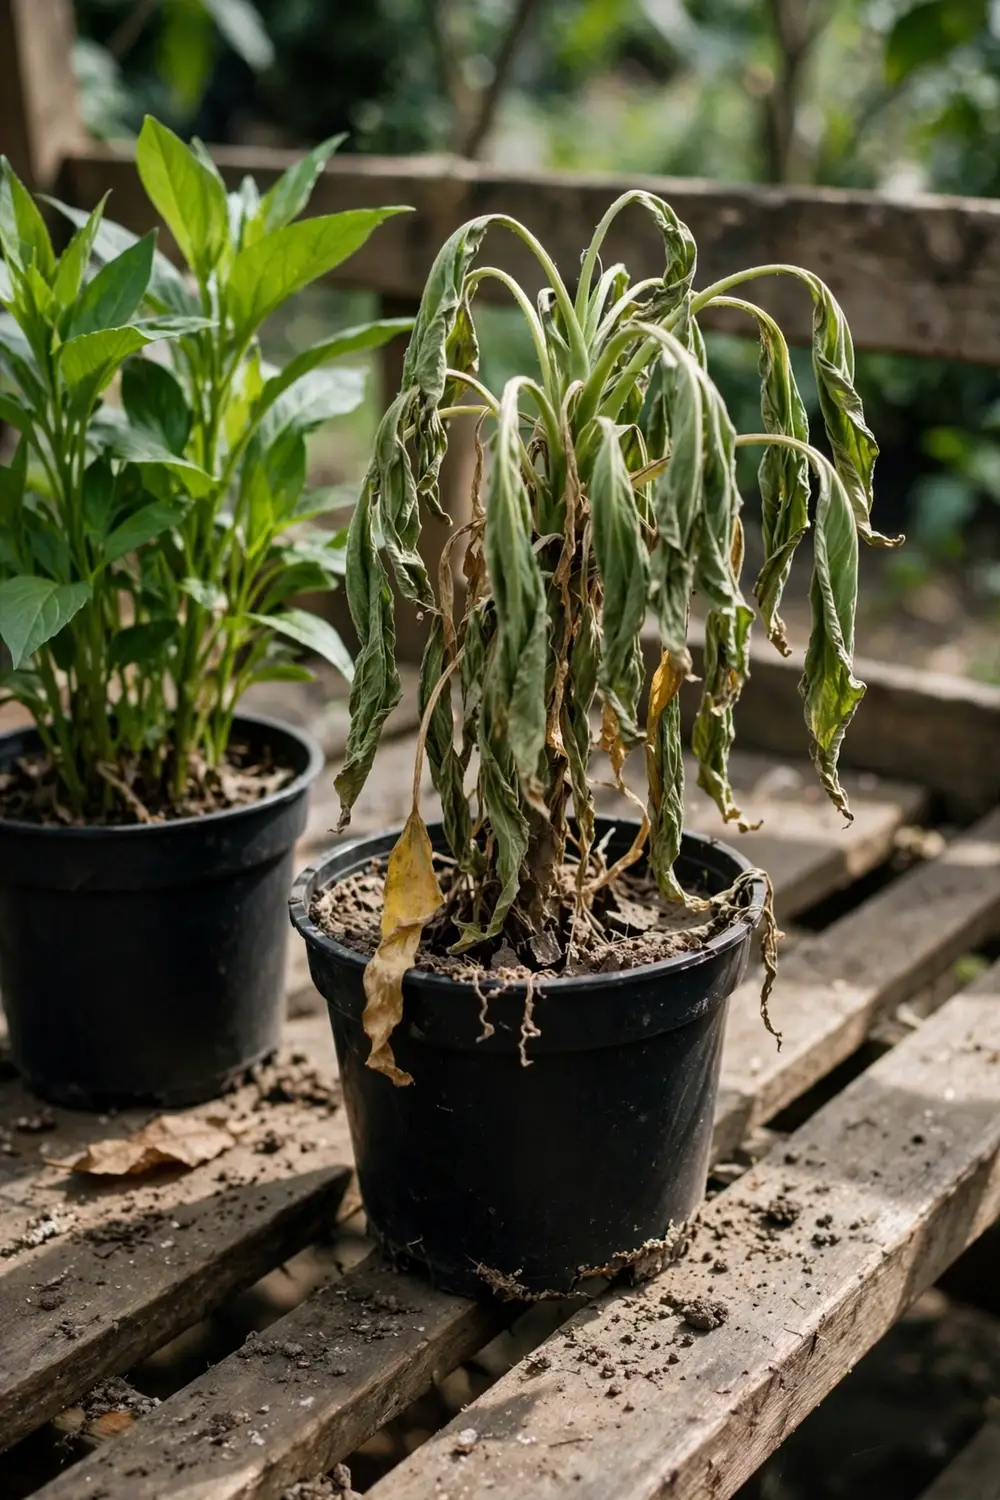

Your Bunnings plant died after repotting because repotting stacked 5 shocks at once within hours: a new home, disturbed roots, a new mix, new light, and new watering. Seven fixable reasons sit behind most deaths, and this page walks through each one with its fix. I have learned that the Bunnings plant I leave alone for a week outlives the one I repot on day one.
The Honest Frame: It Is Usually the Repot, Not the Shop
Most Bunnings plants die after repotting because the repot itself went wrong. The plant left a greenhouse or a shadehouse, rode home in a car, and landed in a new pot, a new mix, and a new light level within hours. Each change alone is survivable. Stacked together on day one, they overwhelm a plant that had no time to adjust.
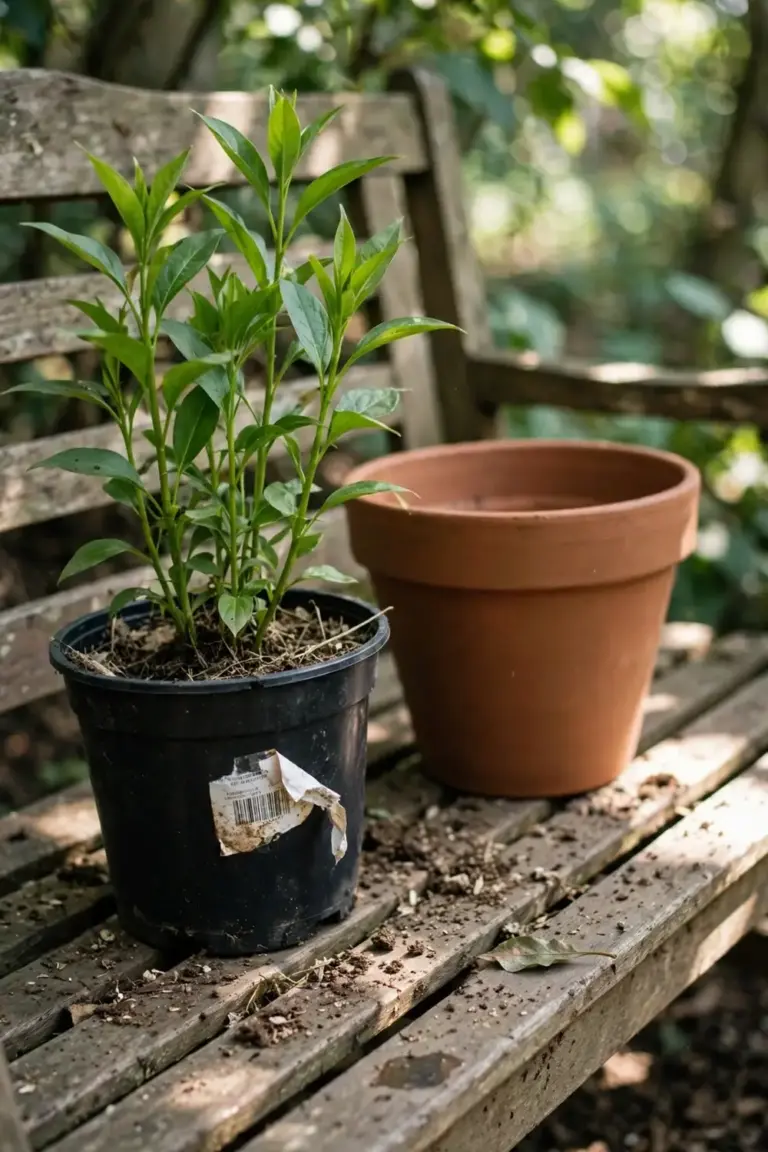
Bunnings is a retailer, not a grower. The plants on its benches grew under nursery conditions: shade cloth overhead, steady watering, and shelter from wind and heat. Your living room, balcony, or garden bed runs on different light, different air movement, and different watering. That gap between nursery conditions and home conditions is the shock. The plant is not defective, and the shop did not sell you a doomed plant.
One more honest point shapes this page. The seven reasons below are repotting reasons. A plant that was already failing before you touched it needs a different diagnosis. The buying checks near the end help you spot a stressed plant on the shelf before it comes home.
Match the symptom to the reason first. The table gives the fastest path to the right fix.
| Symptom | Most Likely Reason | First Fix |
|---|---|---|
| Wilts within a day or two of repotting | Repotted on day one with no acclimatisation | Move to bright shade, check soil moisture, wait |
| Wilts with wet mix that never dries | Pot far too big | Check roots, move to a smaller pot with drainage |
| Mix stays soggy or sets like concrete | Wrong mix in the pot | Replace with a free-draining potting mix |
| Stem base rots or leaves yellow from the bottom | Roots damaged or crown buried | Lift, replant at the old depth, trim rotted roots |
| Leaves droop, then yellow, then drop | Watered on a schedule, not by soil check | Check soil with a finger before every watering |
| Leaves scorch or bleach on the sun side | Light shock after shadehouse conditions | Move to bright indirect light, harden off slowly |
| Leaf edges brown after feeding | Fertilizer too soon on damaged roots | Flush with plain water, stop feeding until new growth |
1. Repot on Day One With No Acclimatisation
Repotting on day one kills plants because it stacks every shock into a single afternoon. The plant already spent the day leaving the nursery, riding in a car, and arriving in a room with different light, temperature, and humidity. Pulling it out of its pot and disturbing its roots in the same afternoon adds the largest shock on top of the move. A week of quiet adjustment first costs nothing and prevents most early deaths.
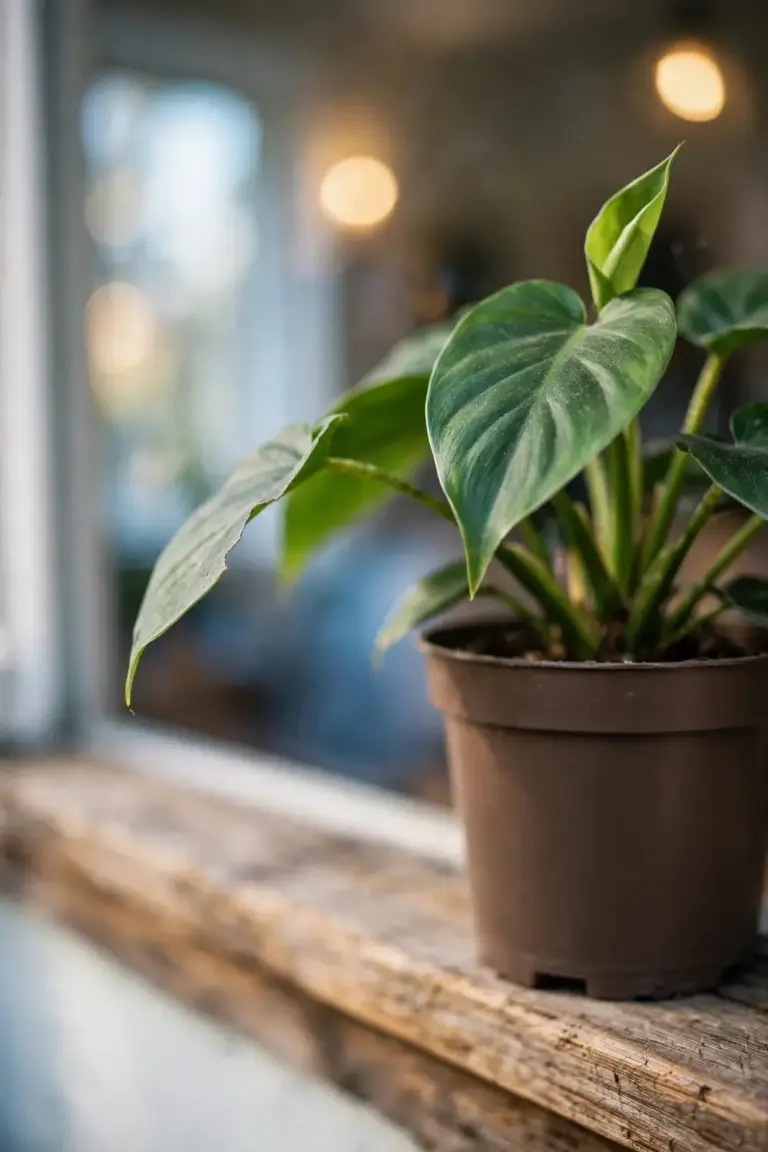
Nursery plants grow under shade cloth and steady watering. A home runs brighter or darker, drier, and draftier. Leaves grown in shade carry thinner tissue and less protective wax than leaves grown in sun, so a sudden move into direct sun scorches them. Sudden moves also drop leaves, wilt stems, and stall growth while the plant rebuilds tissue for the new conditions. Acclimatisation means giving the plant days to grow that tougher tissue before you add root disturbance.
Wait one week before repotting a new Bunnings plant. Set it in bright indirect light, away from heaters, air conditioners, and cold drafts. Water it only when the top of the mix feels dry. Watch for new growth. New growth means the plant settled. Repot only after that week, and only if the plant actually needs a bigger pot.
Skip the repot entirely if the plant looks healthy in its nursery pot. A nursery pot is not a problem by itself. Roots poking from the drainage holes, mix that dries within a day, or a plant that topples over all signal a real need. A healthy plant in a sound pot gains nothing from a same-day upgrade, and the repot only adds risk.
2. Jump to a Pot Far Too Big
A pot far too big kills plants because the extra mix holds extra water that the roots cannot drink. A small root ball sits inside a large volume of damp mix. The mix stays wet for days. Wet mix starves roots of air, and airless roots rot. Root rot then looks like underwatering: the leaves wilt because dead roots cannot take up water. The owner waters again, the mix stays wetter, and the rot spreads.
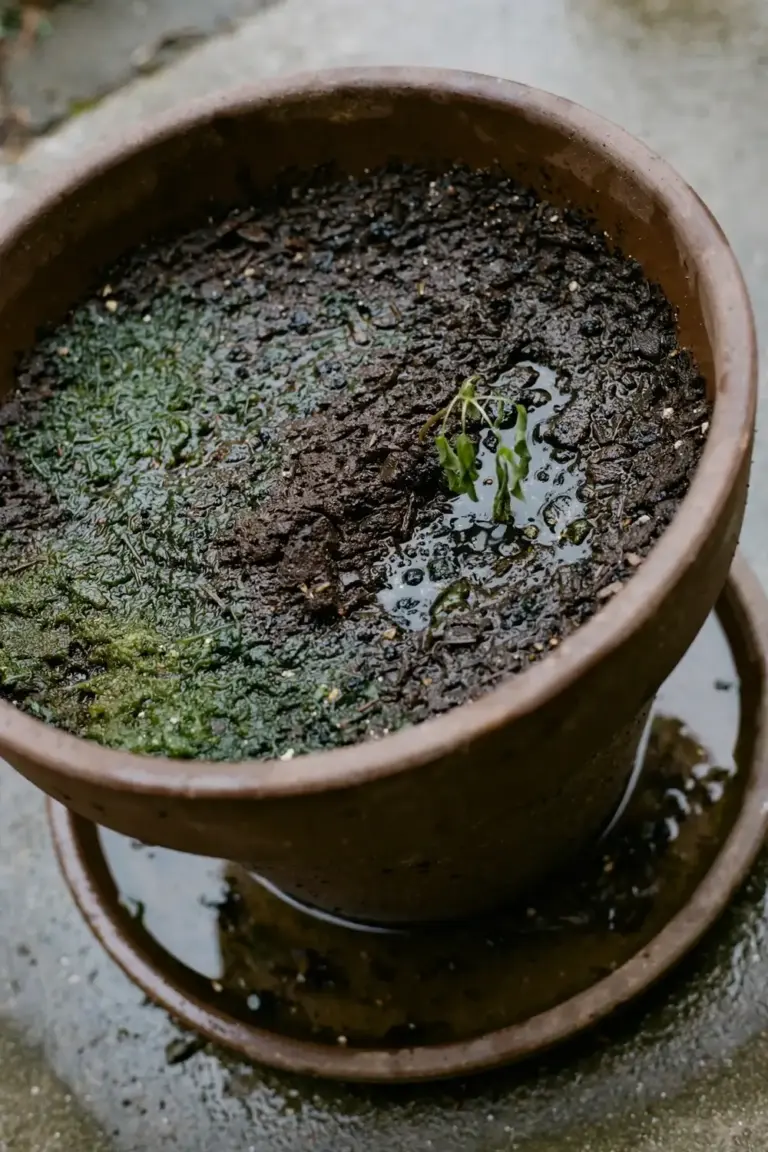
The Louisiana State University AgCenter repotting guide gives the fix as a measurement. The new pot should allow only 5.1 to 10.2 cm of new space between the root ball and the sides of the pot. The same guide states that over-potting a plant can lead to root rot from overwatering. One pot size up is the rule. Two or three sizes up is a drowning hazard.
Measure before you buy the pot. Slide the plant out of its nursery pot and measure the root ball across. Add 5.1 to 10.2 cm for the new pot diameter. A 14 cm nursery pot moves into a 19 to 24 cm pot, not a 30 cm one. The plant will need the bigger pot later. It earns the upgrade by filling the current one with roots first.
Check the drainage hole before you fill the pot. A pot without a hole traps every watering. Drill a hole in a plastic pot, or use the pot without holes as a cachepot with the draining nursery pot sitting inside it. Empty the cachepot after every watering. Standing water in the saucer keeps the mix wet from below and restarts the rot cycle.
3. Fill the Pot With the Wrong Mix
The wrong mix kills plants because garden soil and cheap heavy mixes behave nothing like potting mix in a container. Garden soil compacts in a pot. Compacted soil holds water at the top, drains slowly, and sets hard when it dries. Roots in compacted soil get too little air when wet and cannot push through when dry. A pot full of garden soil is a pot full of future root rot.
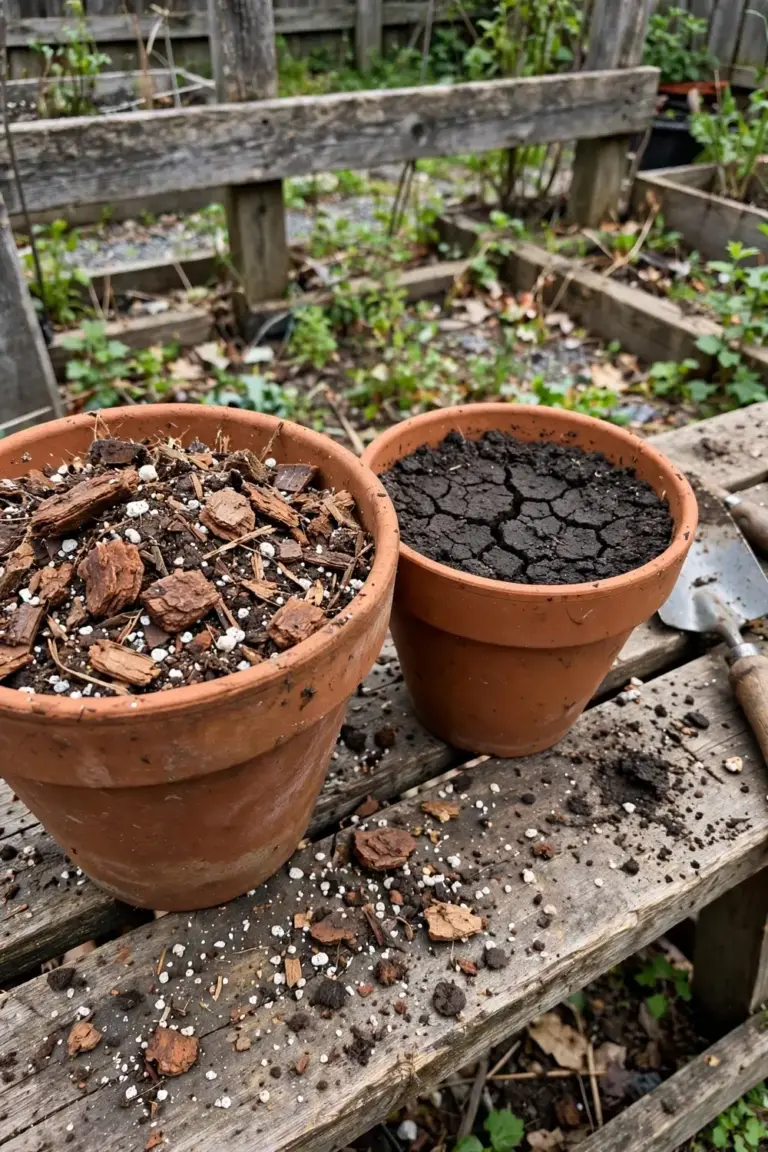
Use a potting mix labelled for containers, not garden soil and not topsoil. The same LSU guide advises buying the best possible soil mix when repotting and avoiding dark, powdery, heavy potting mixes. A good mix feels light and loose in the hand. It holds its structure when squeezed and springs back instead of clumping into a brick. Perlite, bark, and coir in the mix keep air channels open between waterings.
Keep the old nursery mix around the root ball. Stripping every trace of old mix off the roots tears fine root hairs, and those hairs do the actual water uptake. Shake off only the loose mix that falls away on its own. Place the intact root ball into the new pot and fill the gap around it with fresh mix. The roots then grow outward into the new mix on their own schedule, without a bare-root shock.
Match the mix to the plant. Cacti and succulents need a gritty, fast-draining mix with extra perlite or coarse sand. Orchids need bark chunks, not soil at all. Ferns and tropical foliage plants want a mix that holds moisture but still drains. One bag of all-purpose potting mix suits most leafy houseplants. The bag label names the plant types the mix serves. Read it before you buy.
Handle potting mix with care. NSW Health warns that Legionella longbeachae lives in soil and potting mix, and advises wetting down the mix to reduce dust, wearing gloves and a protective mask such as an N95 or P2 respirator, and washing hands after handling mix or soil. Open the bag outdoors or in moving air. Wet the mix before you scoop it. Wash your hands after the job, before eating or drinking.
4. Damage the Roots or Bury the Crown
Root damage kills plants because torn roots cannot take up water while they heal. Teasing a root-bound ball apart with force rips the fine feeder roots off the root ball. Cutting circling roots with a dirty blade crushes tissue and opens wounds to rot. Leaving a tight circling mat untouched is also a failure: the roots keep circling in the new pot, strangle each other, and never grow outward into the fresh mix. Both extremes kill the plant for opposite reasons.
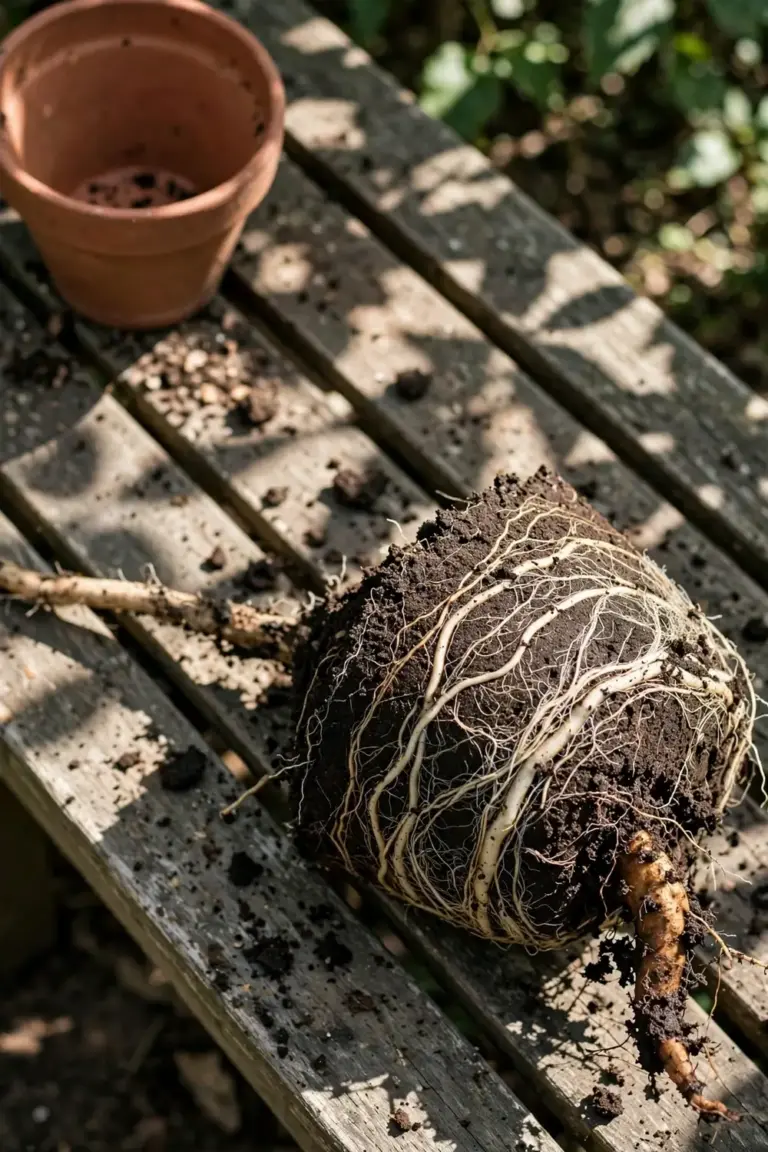
Loosen the root ball with fingers, not force. Squeeze a plastic nursery pot to free the ball, then slide the plant out. Tease the outer roots apart with fingertips until the mat loosens. Cut only the roots that circle the bottom in a solid ring, and cut them with clean, sharp scissors. Trim brown, mushy roots back to firm white or tan tissue. Healthy roots look firm and pale. Mushy roots are dead and belong in the bin.
Plant at the same depth the plant grew at before. The crown, the point where stem meets roots, must sit at the mix surface, not below it. A buried crown stays damp, rots, and kills the stem from the base upward. A crown set too high exposes roots to air and drying. Set the root ball so its top sits level with the new mix surface, then fill around it and firm the mix gently with fingertips.
Water once after repotting to settle the mix around the roots. Water until it runs from the drainage hole, then empty the saucer. Do not water again until the top of the mix dries, because a freshly repotted plant drinks slowly while its roots heal. Flooding it daily drowns the wounds you just made.
5. Water on a Schedule Instead of Checking the Soil
Watering on a schedule kills plants because the schedule ignores the soil. “Every Sunday” waters a pot that may still be wet from last Sunday. Wet mix plus a fresh watering equals rot. The opposite failure also kills: a plant left dry for two weeks because the calendar said “not yet” drops leaves and desiccates roots. The calendar never sees the soil. Your finger does.
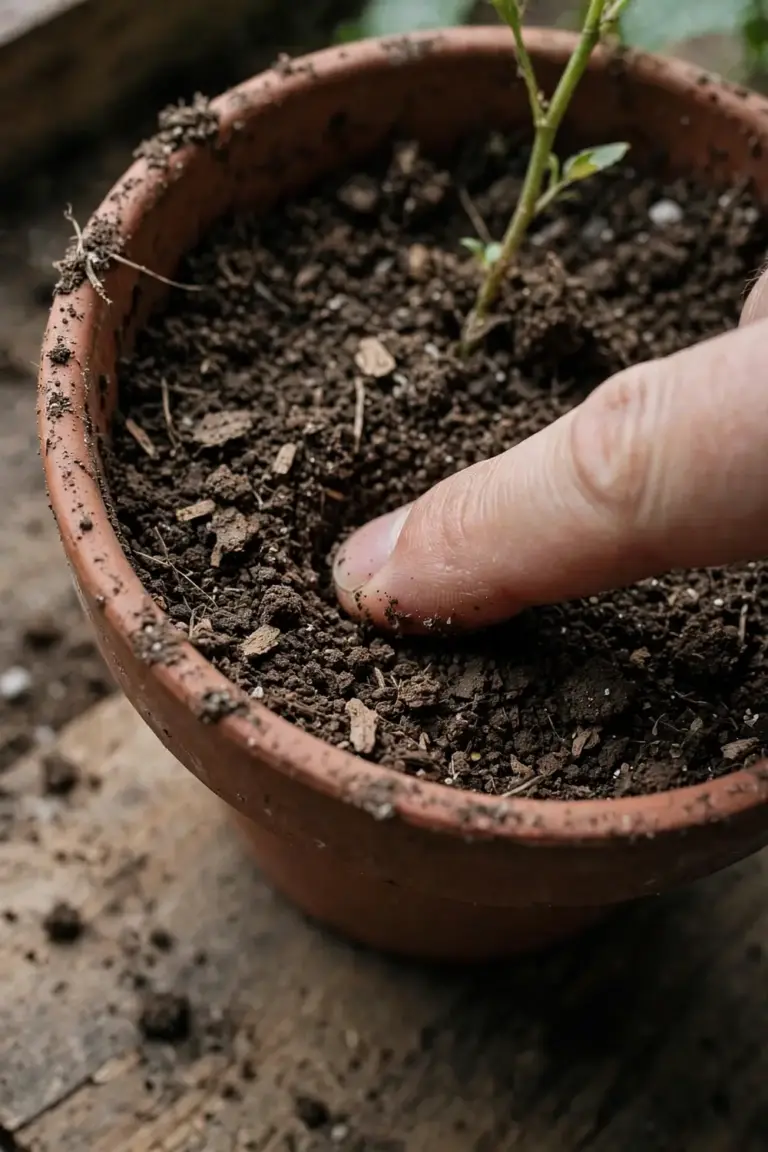
Check the soil before every watering. Push a finger 2 to 3 cm into the mix. Water only when that top layer feels dry. Lift the pot after watering and note its weight, then lift it again in three days. A light pot means dry mix. A heavy pot means wet mix. The lift test beats any calendar within a week, and it works in every season.
Learn the two different wilts. A thirsty plant wilts with dry mix and perks up within hours of watering. A rotting plant wilts with wet mix and stays limp after watering because dead roots cannot drink. The fix for the first is water. The fix for the second is air: stop watering, check the roots, and repot into drier mix if the roots are mushy. Watering a rotting plant because it looks thirsty is the most common fatal mistake in this whole list.
Adjust for the season and the spot. A plant in a sunny window in January drinks faster than the same plant in a dim corner in July. A terracotta pot dries faster than a plastic pot because the clay breathes. A large pot dries slower than a small one. The finger check folds all of these variables into one answer. The calendar folds in none of them.
6. Feed a Stressed Plant Too Soon
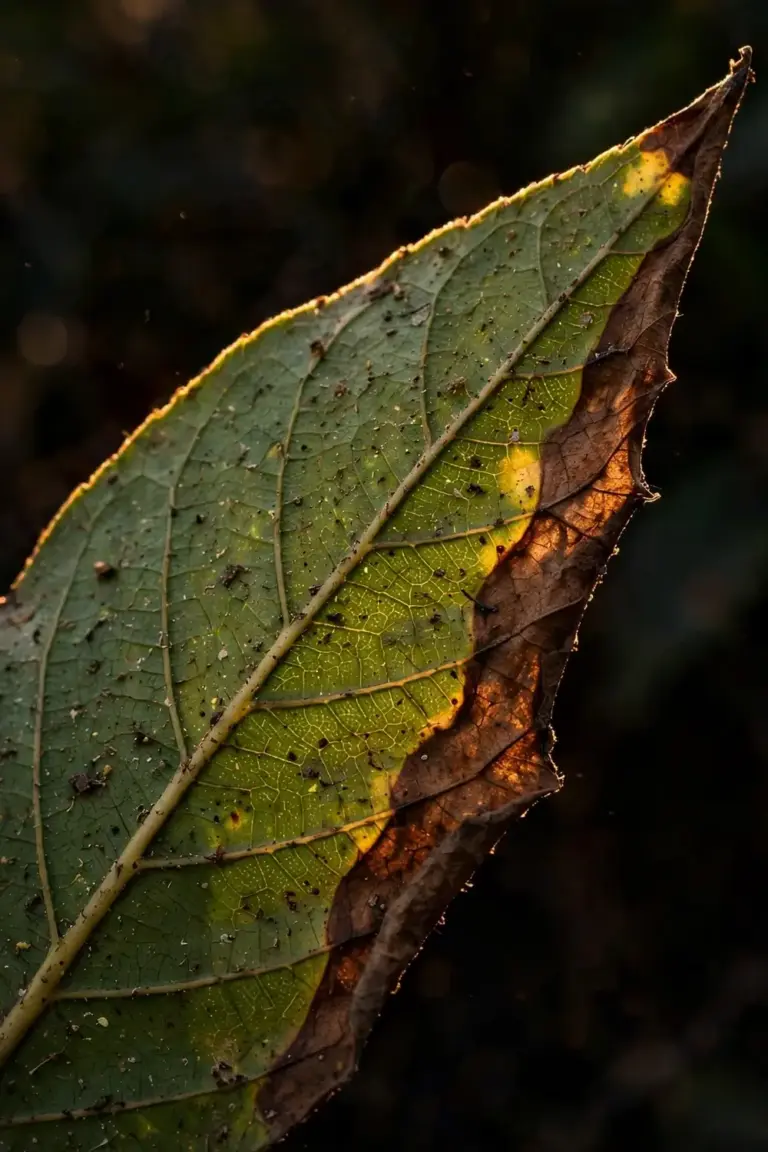
Feeding a stressed plant kills it because fertilizer salts burn damaged roots. Repotting tears fine roots. Fertilizer dissolved in water meets those open wounds and draws water out of the root cells by osmosis. Leaf edges brown, tips crisp, and the plant drops leaves. The owner sees the decline, feeds again “to help it recover,” and burns the roots a second time. The plant was hungry for time, not for fertilizer.
Fresh potting mix already carries enough nutrients for the first weeks after repotting. Most bagged mixes include a starter fertilizer charge. A newly repotted plant needs no extra feed while it heals. Wait for new growth before you feed. New leaves mean new roots, and new roots can handle fertilizer.
An NC State Extension acclimatisation guide states the mechanism plainly: excess fertilizer causes burned foliage, general loss of color, foliage drop, and in severe cases plant death. The same guide recommends stopping fertilizer addition while a plant acclimatises. A stressed plant and a fertilized plant are a bad combination in every season.
Hold all fertilizer for at least four weeks after repotting. When new growth appears, feed at half the label rate first. Half strength tests the roots without overwhelming them. Full strength returns only after the plant shows steady growth on the half-strength feed. Never feed a wilting plant, a dry plant, or a plant standing in wet mix. Water first, wait for recovery, then feed later.
7. Repot in the Wrong Season
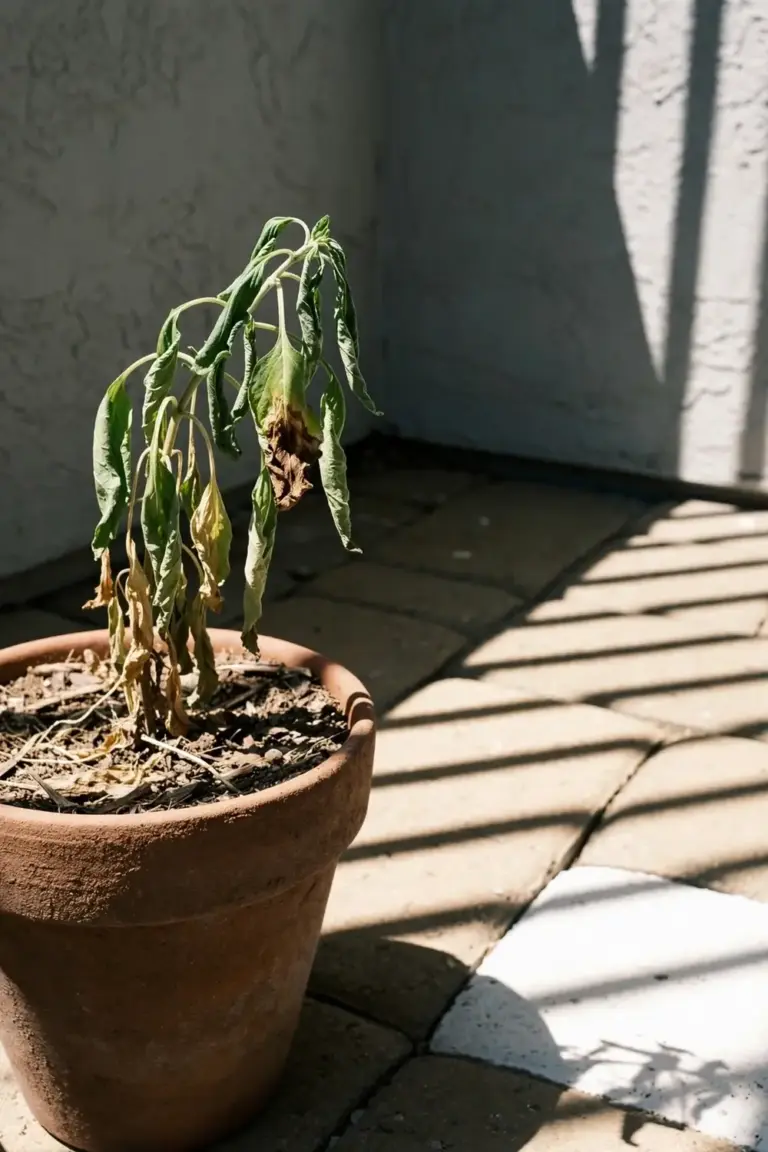
Repotting in the wrong season kills plants because the plant cannot regrow roots fast enough to recover. Summer heatwaves push a repotted plant into water stress at the exact moment its roots are damaged. The leaves lose water faster than torn roots can replace it. Winter dormancy is the opposite failure: the plant sits in cold, wet mix for weeks with no root growth at all, and rot moves in while the plant sleeps. Both seasons punish a repot.
Repot in spring or early autumn in Australia. Spring growth pushes new roots into the fresh mix within days. Early autumn still carries enough warmth for root growth before winter slows the plant down. September through November and March through April suit most potted plants across the southern states. Tropical plants in the far north tolerate repotting through more of the year because their winters stay warm.
Skip the repot during a heatwave week. A forecast of several days above 35 degrees is a stop sign. Hot wind strips moisture from leaves faster than damaged roots can supply it. Wait for a mild stretch. The plant survives another week in its old pot far better than it survives a heatwave repot.
Skip the repot in the coldest weeks of winter. A dormant plant cannot heal root wounds. Cold mix stays wet, and wet mix in a dormant pot breeds rot. Emergency repots still happen in winter when the mix is already rotting. In that case, repot into barely damp mix, water lightly, and keep the plant warm and bright until growth resumes.
Australia’s spread makes one national date impossible. Tasmania and Victoria run cooler, so spring repotting waits until October and autumn repotting finishes by late March. Queensland and the Northern Territory stay warm longer, so autumn repotting stretches into May and winter repots carry less risk. Read your local forecast, not a calendar month. A mild week in your suburb beats a perfect month on a national chart.
Run the Rescue Protocol for a Wilting Repotted Plant
A wilting plant after repotting needs rescue in a fixed order. Work through the steps in sequence. Do not skip ahead to feeding or repotting again. Each step removes one stress before the next step adds any.
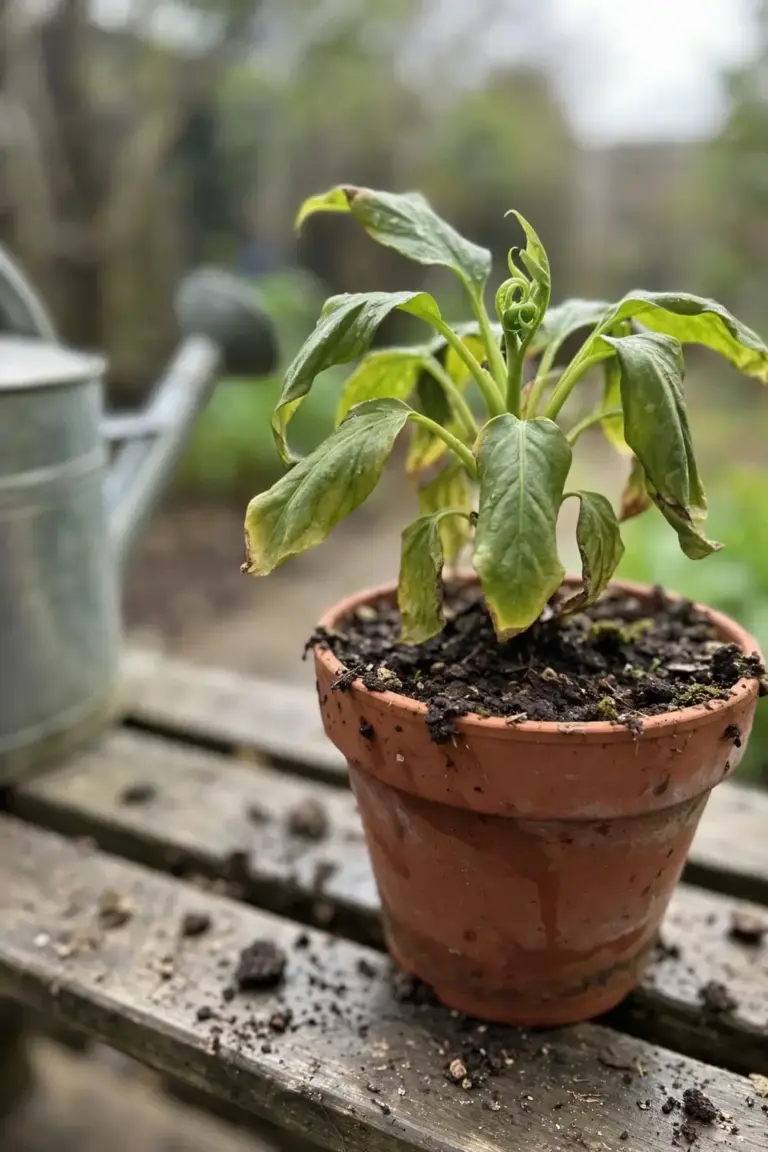
First, check the soil moisture. Push a finger 2 to 3 cm into the mix. Dry mix means water now, slowly, until water runs from the drainage hole. Wet mix means stop watering entirely and move to the next step.
Second, move the plant to bright shade. Bright indirect light near a window, out of direct sun, gives the plant light for recovery without heat stress. Keep it away from heaters, air conditioners, and cold drafts. A stable spot beats a perfect spot.
Third, do not feed the plant. Fertilizer on damaged roots burns them. The plant needs water and time, not nutrients, and feeding waits until new growth appears.
Fourth, do not repot the plant again. A second repot doubles the root damage. One repot per recovery is the rule. The plant heals in the pot it sits in now.
Fifth, wait. A mildly shocked plant perks up within a few days. A badly shocked plant drops leaves and looks worse for a week before it turns. Bare stems with firm tissue can still resprout. Soft, black stems cannot. Prune only the tissue that is clearly dead and dry, and leave the rest alone. For pruning technique on damaged growth, the site’s spring pruning techniques guide covers clean cuts and timing.
Check Before You Buy the Next Bunnings Plant
Buying checks prevent the next death before it starts. A plant that is already stressed on the shelf rarely recovers after a repot. Five checks take two minutes and save the plant, the pot, and the mix.
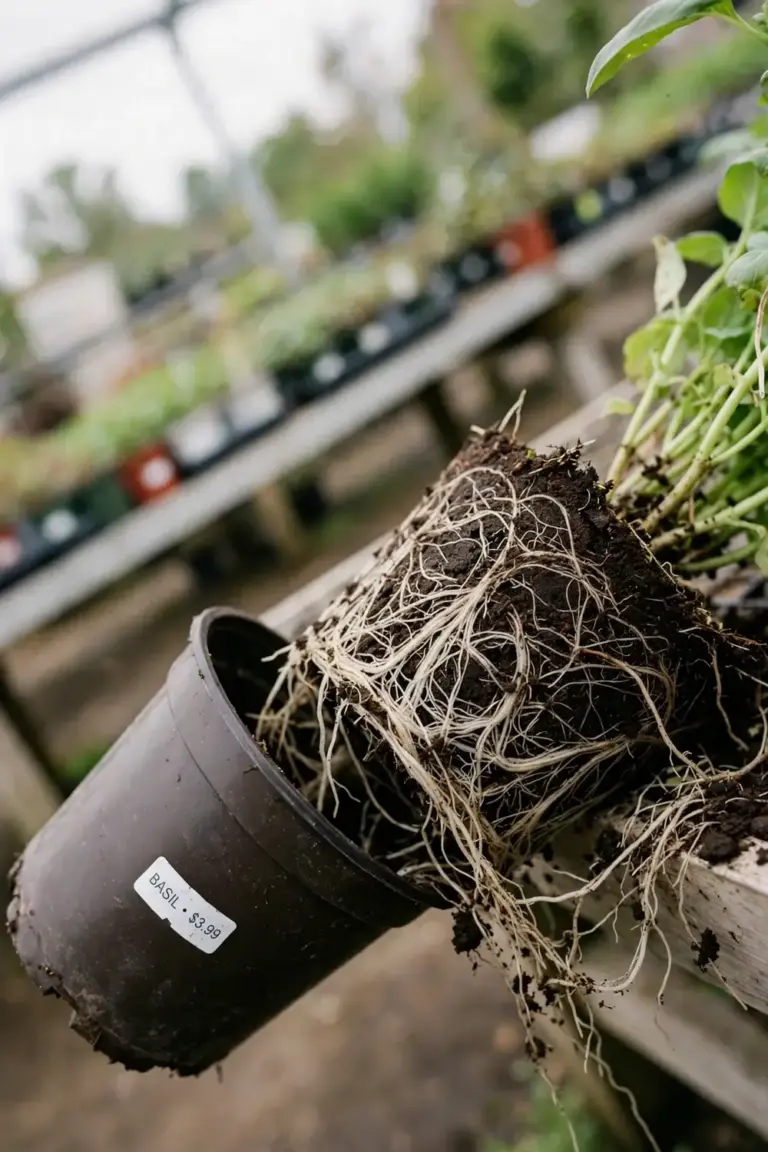
Check the roots first. Slide the plant partway out of its pot in the store. White or tan roots circling lightly mean a healthy plant that will appreciate a repot after a week at home. Black, mushy roots or a root ball that smells sour mean rot already started. Leave that plant on the shelf.
Check the mix moisture. Bone-dry mix that pulls away from the pot edge means the plant sat unwatered. Sodden mix that squelches means it sat in water. Both extremes stress the plant. A lightly moist mix with a firm root ball is the plant to buy.
Check the leaves. Yellow lower leaves on a shade plant can mean overwatering. Brown crispy leaf edges can mean fertilizer burn or sun scorch. Spots, sticky residue, or fine webbing can mean pests. Turn a few leaves over and look at the undersides. A clean plant with one or two yellow lower leaves is normal, while a plant covered in spots or insects goes back on the shelf.
Quarantine the new plant at home for a week. Keep it away from your other plants while you watch for pests. Check the leaf undersides and stem joints every few days. A week of separation stops a hitchhiking pest from reaching the whole collection. For identification and organic-first treatment if you find something, the site’s organic pest control for beginners guide covers the common culprits.
Keep the receipt. Bunnings’ Perfect Plant Promise guarantees all plants except seedlings for 12 months, and a dead plant returns with the receipt or tax invoice for a refund, as Homes to Love reports from Bunnings’ own policy. The guarantee is a safety net, not a plan. A plant that dies because of the repot still teaches the same lesson whether or not the shop refunds it.
FAQ: Bunnings Plants After Repotting
Mild transplant shock lasts a few days to two weeks. The plant wilts, drops a leaf or two, then steadies as new roots grow. Severe shock after heavy root damage lasts longer, and the plant may drop most of its leaves before resprouting. Bright shade, correct watering, and patience carry most plants through. A plant with firm stems can still recover after losing leaves.
Water once after repotting to settle the mix around the roots. Water slowly until it runs from the drainage hole, then empty the saucer. Do not water again until the top 2 to 3 cm of mix feels dry, because a freshly repotted plant drinks slowly while its roots heal. Daily watering on wet mix drowns the wounds and starts rot. The finger check decides every watering after the first one.
A plant with root rot can recover if firm roots remain. Slide the plant out, trim mushy black roots back to firm tissue with clean scissors, and repot into fresh, barely damp mix. Skip fertilizer until new growth appears. A plant with no firm roots left rarely recovers, and replacing it costs less than weeks of nursing a stump. Keep the receipt for the guarantee if the plant fails.
Yellow leaves after repotting usually mean root trouble. Wet mix suffocates roots, and damaged roots cannot take up nutrients, so the plant sheds older leaves first. One or two yellow lower leaves during recovery are normal. Widespread yellowing with wet mix points to overwatering or rot. Check the soil moisture, check the roots, and correct the water before you reach for fertilizer.
Repotting in summer works in mild weather and fails in heatwaves. Spring and early autumn remain the safest windows in Australia. A summer repot during a mild stretch needs bright shade for a week and careful watering while the roots heal. A repot during a heatwave week risks leaf scorch and fast wilting because torn roots cannot keep up with water loss. Wait for cooler days.
Start With the Week, Not the Pot
The repot is the last step, not the first. Buy a healthy plant, give it a week in bright indirect light, and repot only when it actually needs a bigger pot. One pot size up, a free-draining mix, the crown at the surface, water by finger check, and no fertilizer for four weeks cover most of what a repotted plant needs. Soil health underpins all of it: the site’s soil health guide explains how living soil and good structure keep roots fed and aerated. A plant that survives its first repot goes on to survive every repot after it.