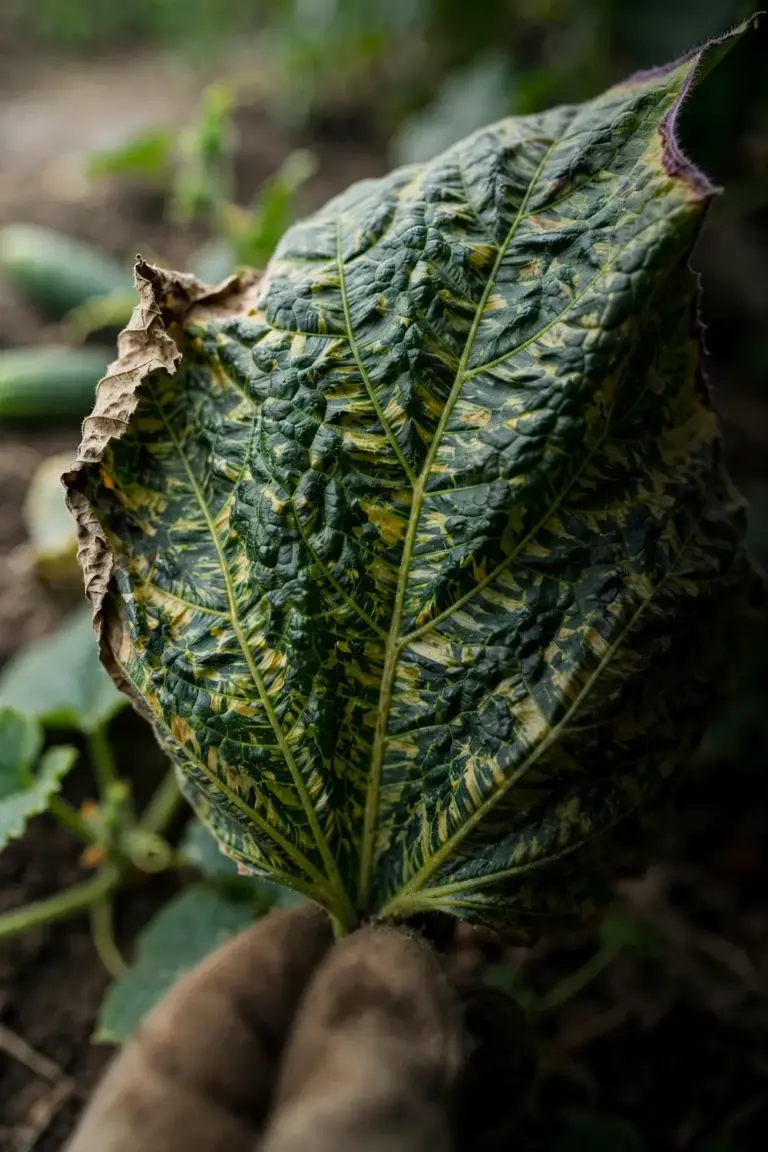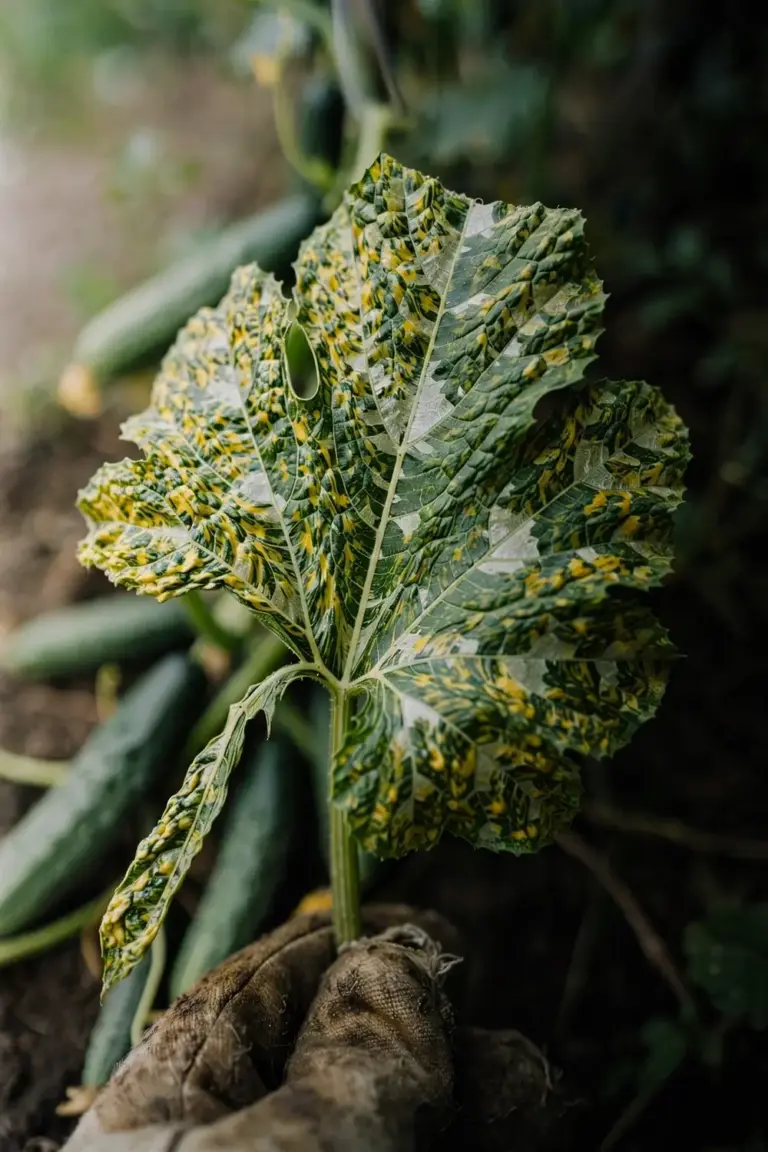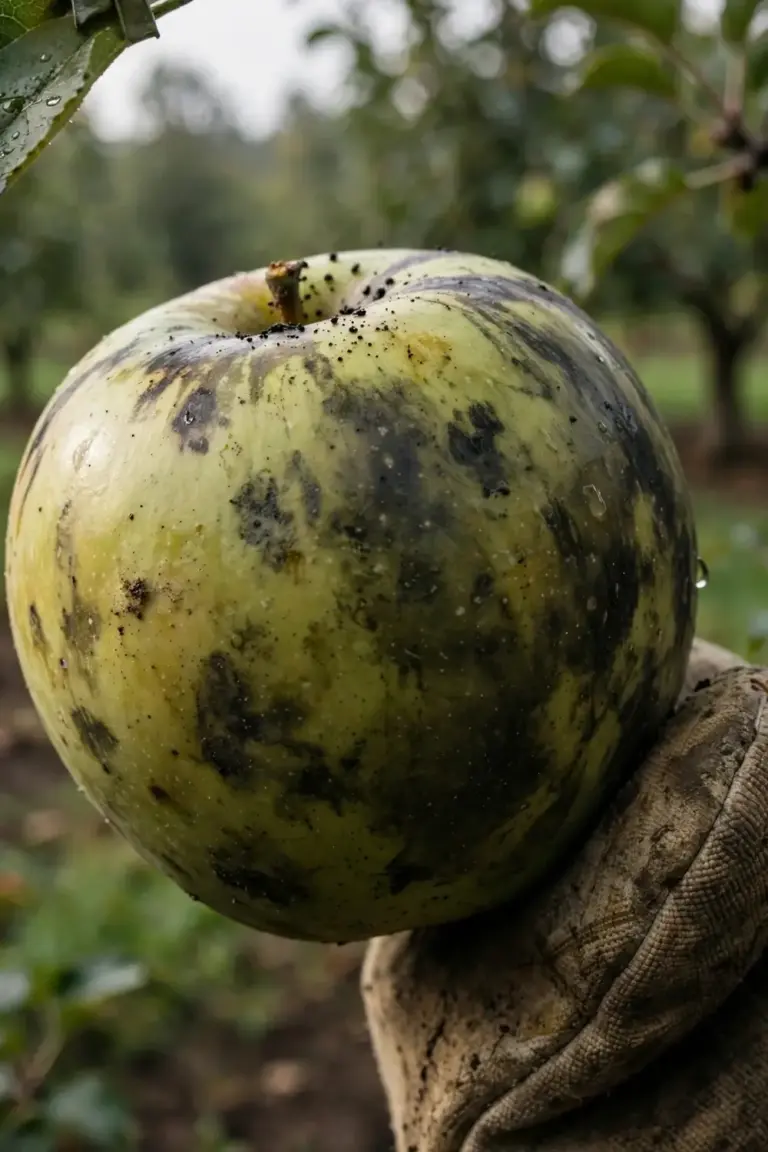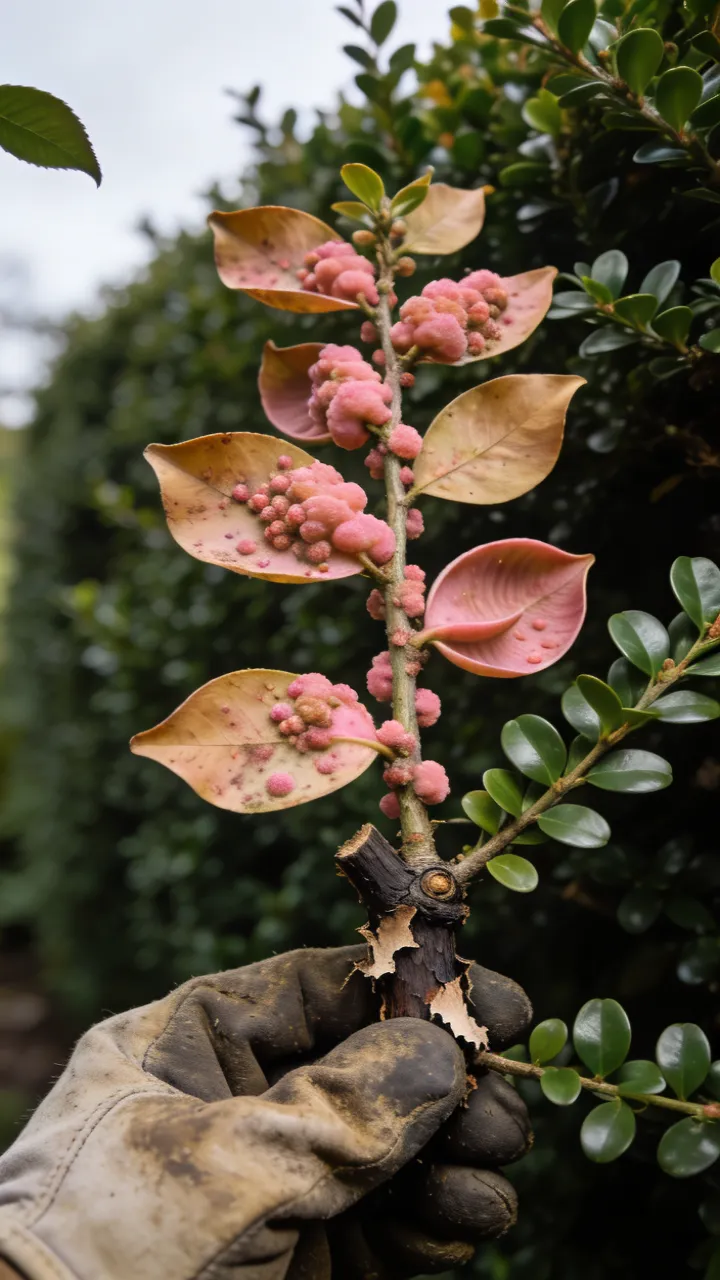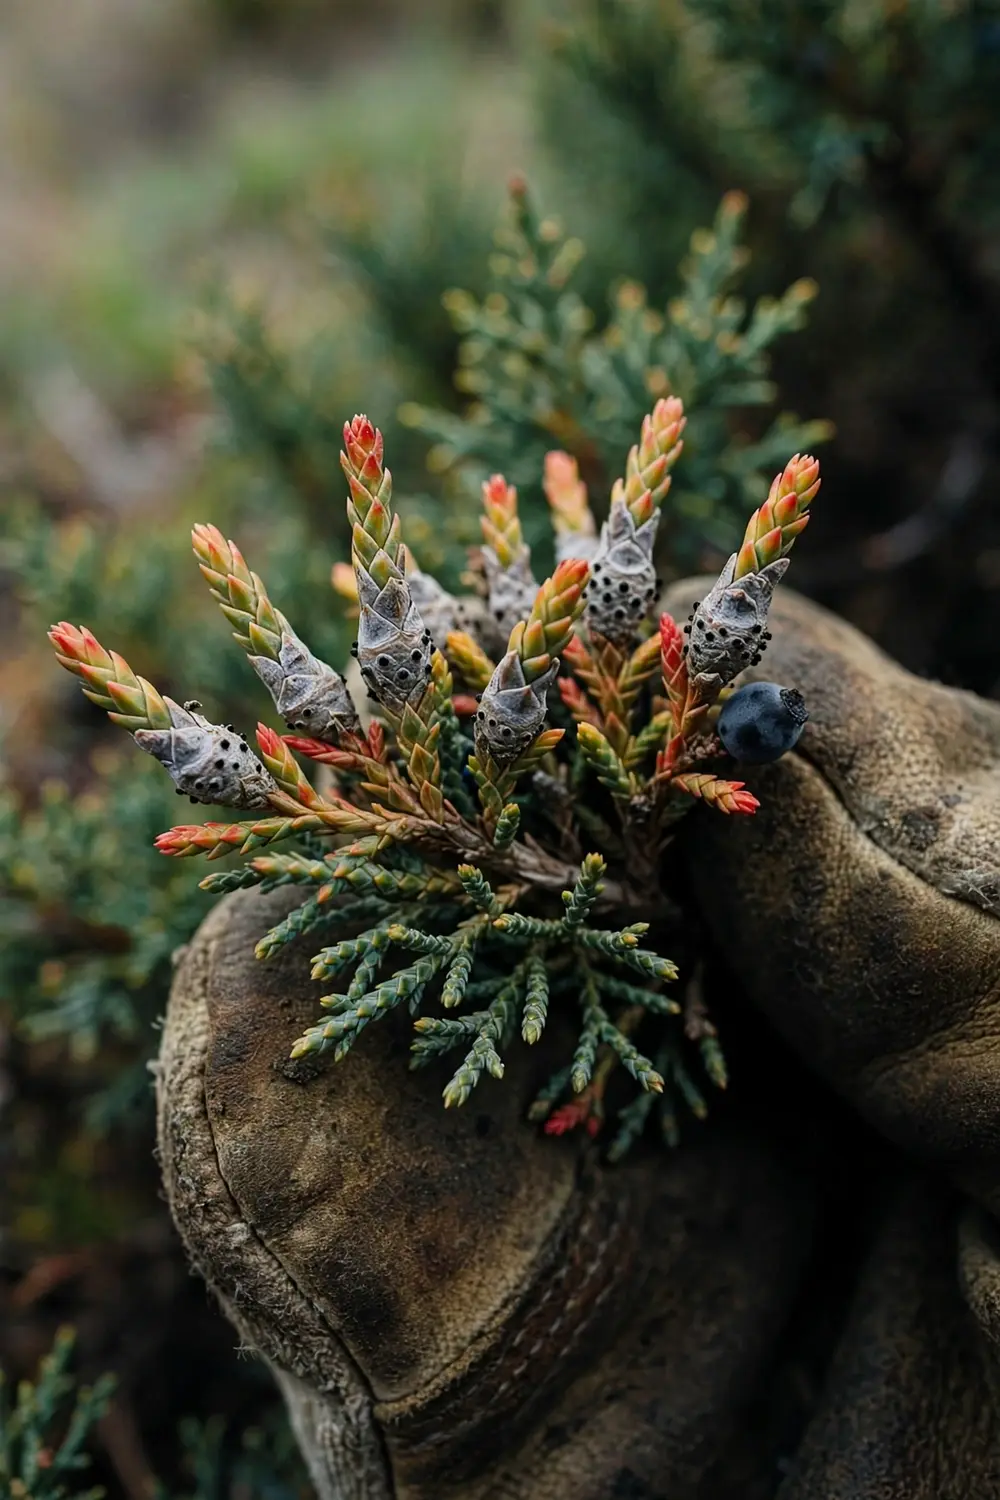

Kabatina tip blight and Phomopsis tip blight both kill juniper shoot tips, and the 8 strategies below stop the pair at the pruning cut. The two fungi look alike on dead tips. The canker location and the season separate them.
Dead tips turn dull green, then red or yellow, and drop their foliage while the rest of the plant keeps growing. A juniper with brown tips in early spring usually carries Kabatina tip blight from a fall wound infection. A juniper with brown tips on fresh spring growth usually carries Phomopsis tip blight.
The rest of this page runs the order a gardener should follow. Identify which fungus you have first, then decide whether treatment earns its effort, then work the 8 steps from the first cut to the next planting. I have learned that the canker location tells you more than the dead tips do.
What Kabatina Tip Blight Actually Is
Kabatina tip blight is a fungal disease of junipers. The fungus Kabatina juniperi causes Kabatina tip blight.
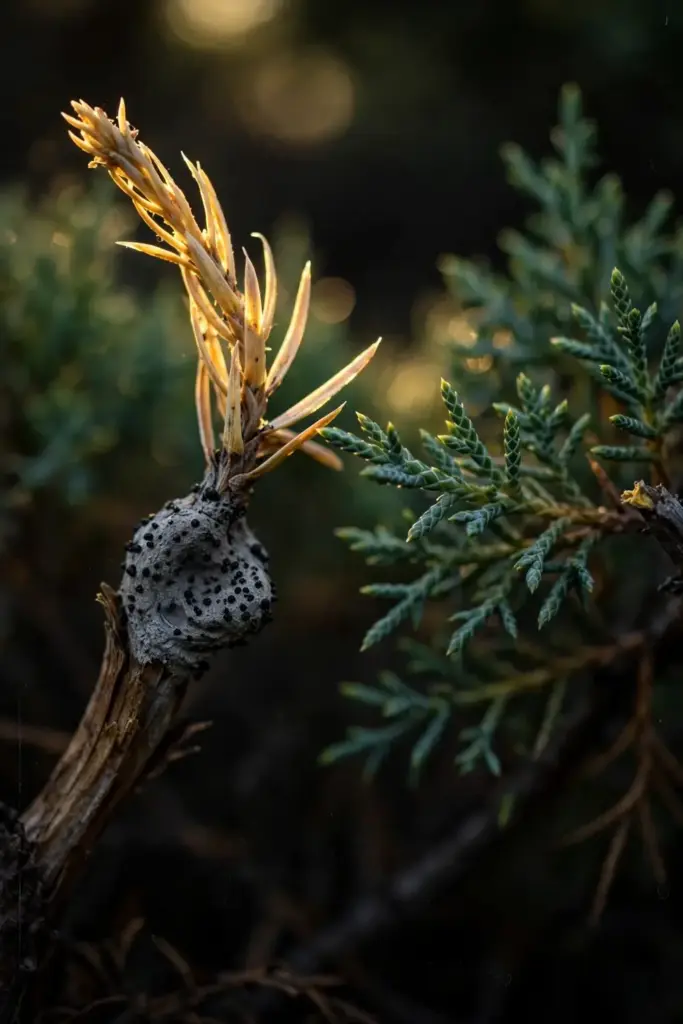
The University of Illinois Extension guide to Kabatina tip blight states that Kabatina juniperi kills juniper tissue that is at least one year old. The fungus cannot push through healthy tissue. Kabatina juniperi enters juniper tissue through wounds from insects, mechanical damage, or weather.
Kabatina tip blight never travels alone in the literature. The Iowa State University guide to Kabatina and Phomopsis tip blight treats the two fungi as a pair. The two fungi cause similar symptoms in the affected plants. The two diseases differ by the time of the year when they occur and their development on the plant.
Junipers take the worst of it. The same fungi also strike arborvitae, cypress, and related evergreens. The Virginia Tech publication on juniper tip blights lists juniper, arborvitae, cypress, Cryptomeria, Chamaecyparis, and Thuja among the hosts. A home gardener with one brown-tipped juniper should check every evergreen in the same bed.
The damage stays modest in a home garden. The Iowa State guide states that the damage these fungi cause on junipers in natural or landscape settings is not very significant. The same guide warns that the disease can be devastating in a nursery setting. Seedlings and young grafted stock suffer the heaviest losses. An established juniper in a home garden usually loses tips and keeps its shape.
How to Identify Kabatina Tip Blight on Shoot Tips
Kabatina tip blight shows on one-year-old wood in late winter and early spring. The infection happened the previous fall.
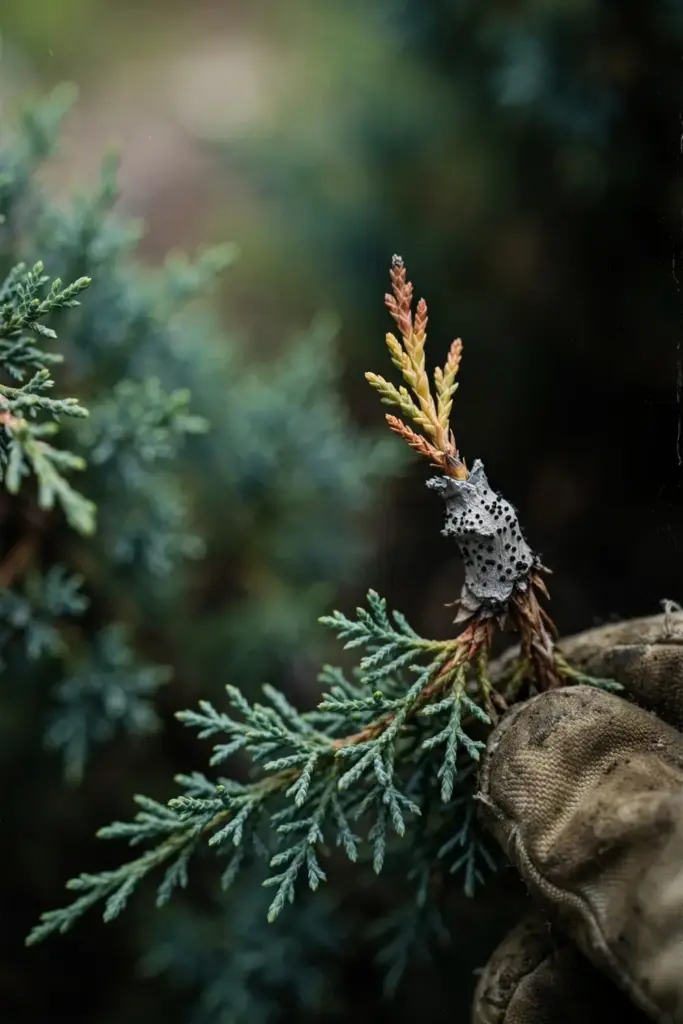
The Iowa State guide describes symptoms that begin with the last 2 to 6 inches of the branch tips turning a dull green that transitions into a red or yellow color. Gray to silver lesions develop at the base of the infected tip. Dead tips eventually break off from where the lesion is. The dead foliage drops and leaves a bare shoot end behind.
The University of Kentucky fact sheet on Phomopsis and Kabatina twig blight adds the timing that confirms the call. Kabatina twig blight develops on older branches that are at least 1 year old. Yellow to brown symptoms are evident in late winter or early spring following infections from the previous autumn. The pathogen requires a small wound for infection, such as those due to mite or insect feeding or winter injury.
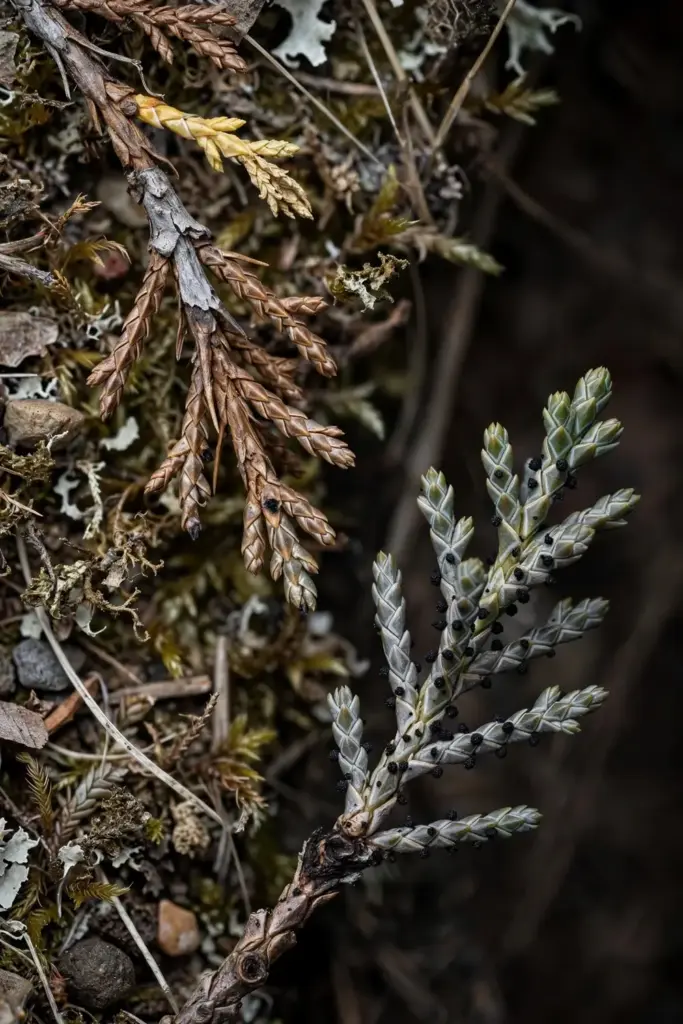
Look for the fruiting bodies with a hand lens. The Kentucky fact sheet describes Kabatina fruiting bodies as acervuli that appear white to gray at first and later turn black. The acervuli sit at the base of the infected tissue. A dead tip with pale gray lesions and darkening dots at the base fits Kabatina tip blight. A dead tip with no fruiting bodies needs a second look before you call it blight.
The canker location settles the field call. The Illinois guide states that if the canker is on last year’s growth, one year old, then it is Kabatina. Find the boundary between dead and live tissue. Check whether the dead wood behind that boundary grew last season or this season. Last season’s wood points at Kabatina tip blight.
How to Identify Phomopsis Tip Blight on New Growth
Phomopsis tip blight attacks new succulent growth in spring and summer. The fungus behind it is Diaporthe juniperivora, long known as Phomopsis juniperovora.
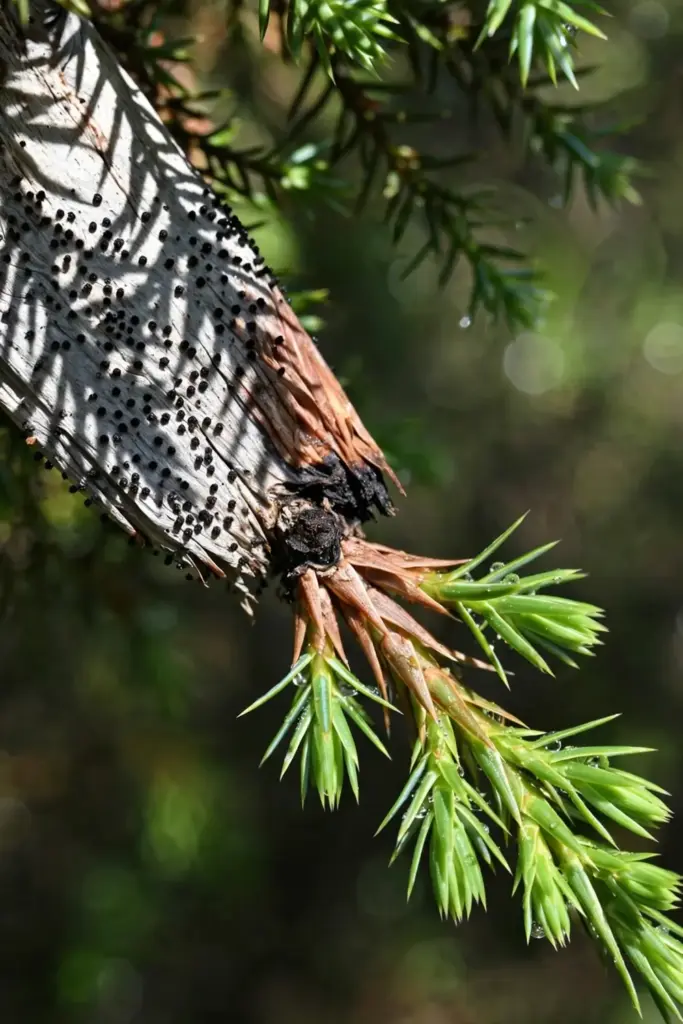
The Kentucky fact sheet states that Phomopsis primarily infects succulent new growth during wet weather in spring as temperatures rise from 60 degrees Fahrenheit to 80 degrees Fahrenheit, with an optimum of 75 degrees Fahrenheit. Dieback occurs on new growth and can extend downward, stopping at the previous season’s wood. Small cankers may be visible at this juncture. The dead tissue turns ash gray, and black pycnidia appear as tiny black specks at the base of ash gray infected shoots.
Symptoms usually show by midsummer. Young succulent growth is especially susceptible to infection, while mature, nonwounded shoots are not. Infections may continue through summer when conditions are favorable and young succulent tissue is present. A juniper that keeps losing fresh tips through the warm months fits Phomopsis tip blight.
The canker location gives the same field test in reverse. The Illinois guide states that if the canker is on the new season’s growth it is Phomopsis. Find the boundary between dead and live tissue on a blighted shoot. Fresh growth behind that boundary points at Phomopsis tip blight. One-year-old wood behind that boundary points at Kabatina tip blight.
Spore shape cannot settle the call in a home garden. The Illinois guide states that it takes microscopic inspection to separate the spores of Kabatina from Phomopsis. A home gardener works with canker location, growth age, and season instead. Those three field signs separate the pair without a lab.
Which Junipers Get Hit Hardest by Tip Blight
Young plants and stressed plants get hit hardest by tip blight. Nurseries lose more plants than home gardens do.
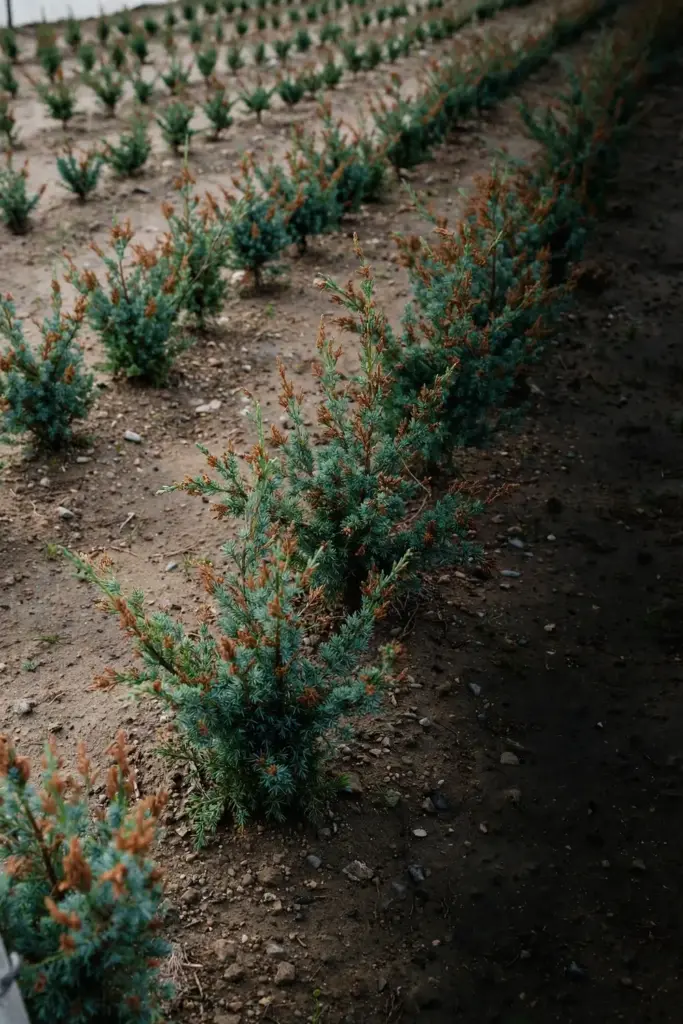
The Iowa State guide states that Phomopsis tip blight can be particularly devastating in nursery settings when it affects seedlings of young grafted stocks. The same guide states that the damage in natural or landscape settings is not very significant. A home gardener with one established juniper faces tip loss, not tree loss. A nursery with a bench of seedlings faces plant loss.
Stress opens the door. The Kentucky fact sheet states that Kabatina infections are more common in damaged, stressed, or nonvigorous plants. A juniper that suffered winter injury, shearing wounds, insect feeding, drought, or tight crowding catches Kabatina tip blight more readily than a vigorous plant. A healthy juniper with intact foliage resists infection because Kabatina juniperi cannot enter unwounded tissue.
Resistant varieties change the odds at planting time. The Virginia Tech publication lists juniper varieties with resistance to one or both fungi. Juniperus chinensis Pfitzeriana Aurea resists both Kabatina tip blight and Phomopsis tip blight. Juniperus chinensis Robusta Green and Wintergreen resist Kabatina tip blight. Juniperus communis Depressa resists Phomopsis tip blight. A gardener replacing a chronically blighted juniper should buy from that list rather than replanting the same susceptible variety.
Repeated years of infection reshape the plant. The Iowa State guide states that after repeated years of infection the branches can result in witches’ broom formation. Dense tufts of short twiggy growth sprout behind dead tips. A witches’ broom marks a juniper that has carried tip blight for several seasons. The plant usually survives, and the broom itself is dead-end growth that pruning can remove.
Kabatina Tip Blight vs Phomopsis Tip Blight
Check the canker location first, then the season. Those two field signs separate the pair faster than any symptom list.
| Feature | Kabatina Tip Blight | Phomopsis Tip Blight |
|---|---|---|
| Pathogen | Fungus. Kabatina juniperi | Fungus. Diaporthe juniperivora, long known as Phomopsis juniperovora |
| Growth attacked | One-year-old wood and older twigs | New succulent growth of the current season |
| Infection season | Late summer and autumn, through wounds | Spring and summer, when young foliage is wet |
| Infection temperature | Wet and warm weather from 65 degrees Fahrenheit to 80 degrees Fahrenheit, optimum 75 degrees Fahrenheit | Wet spring weather from 60 degrees Fahrenheit to 80 degrees Fahrenheit, optimum 75 degrees Fahrenheit |
| First symptoms | Late winter and early spring | Midsummer |
| Tip dieback | Tissue dies from the infection site upward to the branch tips | Dieback on new growth extends downward and stops at the previous season’s wood |
| Fruiting bodies | Acervuli, white to gray at first, later black | Pycnidia, black, visible as tiny specks without a hand lens |
| Canker location | On last year’s growth | On the new season’s growth |
| Fungicide timing | Fall applications, if any are used | Early spring applications at 10 to 14 day intervals, if any are used |
| First move | Prune in dry weather. Destroy prunings. Protect wounds | Prune in dry weather. Destroy prunings. Protect new growth |
The Illinois guide carries the field rule in one sentence. If the canker is on the new season’s growth it is Phomopsis. If it is on last year’s growth, one year old, then it is Kabatina. That rule works in a home garden without a microscope. Spore shape needs a lab, and a home gardener never needs it.
A third fungus can mimic both. Sclerophoma pythiophila attacks shoots weakened by winter injury and produces similar tip dieback. Microscopic examination separates Sclerophoma pythiophila from the pair. A home gardener treats a Sclerophoma suspect the same way: prune in dry weather, destroy prunings, and protect wounds.
Cercospora twig blight stays separate from the pair. Cercospora twig blight targets the oldest needles on the lowest branches inside the plant. Tip blight targets shoot tips at the branch ends. A juniper with browning deep inside the canopy and clean tips points away from Kabatina tip blight and Phomopsis tip blight.
Winter injury, drought, and dog urine also brown juniper tips. None of them leaves fruiting bodies on the dead tissue. Look for the black dots at the base of the dead tip before calling it blight. A dead tip with no fruiting bodies and no sharp boundary between dead and live tissue points at weather or urine damage instead.
Juniper midge larvae mine inside shoots and mimic tip blight. The Virginia Tech publication notes that exit holes from juniper midge larvae are visible with a hand lens. A shoot with a clean round exit hole and no fruiting bodies points at the midge. A shoot with fruiting bodies and no exit hole points at the fungi.
Pine tip blight stays a separate problem. Diplodia tip blight on pines attacks pines and spruce, not junipers. The two diseases share the tip blight name and nothing else. A juniper with brown tips never needs a pine treatment.
Why Wounds and Wet Weather Drive Tip Blight
Wounds open the door. Wet weather pushes the fungi through it.
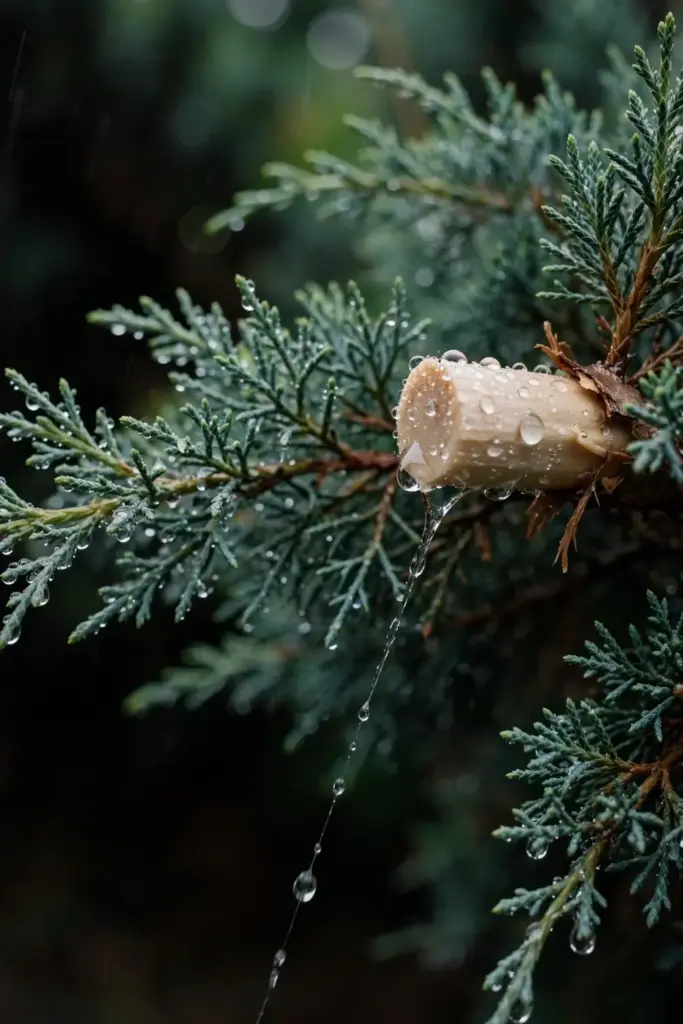
Kabatina juniperi enters juniper tissue only through wounds. The Illinois guide states that the fungus seems unable to attack through healthy tissue. Insect feeding, hail, shearing, pruning cuts, and winter drying all leave the small wounds Kabatina juniperi needs. A juniper with intact foliage and no wounds resists Kabatina tip blight even when spores land on it.
The Kentucky fact sheet gives the infection window. Kabatina infects through wounds in one-year-old growth in late summer or autumn when weather is wet and warm from 65 degrees Fahrenheit to 80 degrees Fahrenheit, with an optimum of 75 degrees Fahrenheit. Symptoms stay hidden through winter. Yellow to brown symptoms show in late winter or early spring. A fall wound decides a spring symptom.
Phomopsis runs the mirror-image window. Phomopsis infects succulent new growth during wet spring weather from 60 degrees Fahrenheit to 80 degrees Fahrenheit, with an optimum of 75 degrees Fahrenheit. Warm wet weather and young foliage arrive together in spring. Mature needles resist infection. Young needles catch it.
Wet weather carries spores from dead tips to fresh wounds. The Iowa State guide states that disease is more prevalent in moist and warm conditions. Rain splash and overhead irrigation move spores across a plant. A sprinkler that wets juniper foliage every evening keeps the infection route open. Dry foliage breaks the route.
That mechanism sets the whole management approach. Pruning removes infected tips. Sanitation removes the spores. Dry foliage and wound care close the door. Fungicide sits last because the fungi infect through wounds on a schedule that sprays struggle to match.
What Makes Tip Blight Worse in a Home Garden
Tight spacing makes tip blight worse. Crowded junipers hold wet foliage for hours after rain or irrigation. The Kentucky fact sheet recommends pruning and spacing plants for improved air circulation to dry needles and reduce humidity within canopies. Sunlight and moving air dry foliage fast. Shade and still air keep it wet.
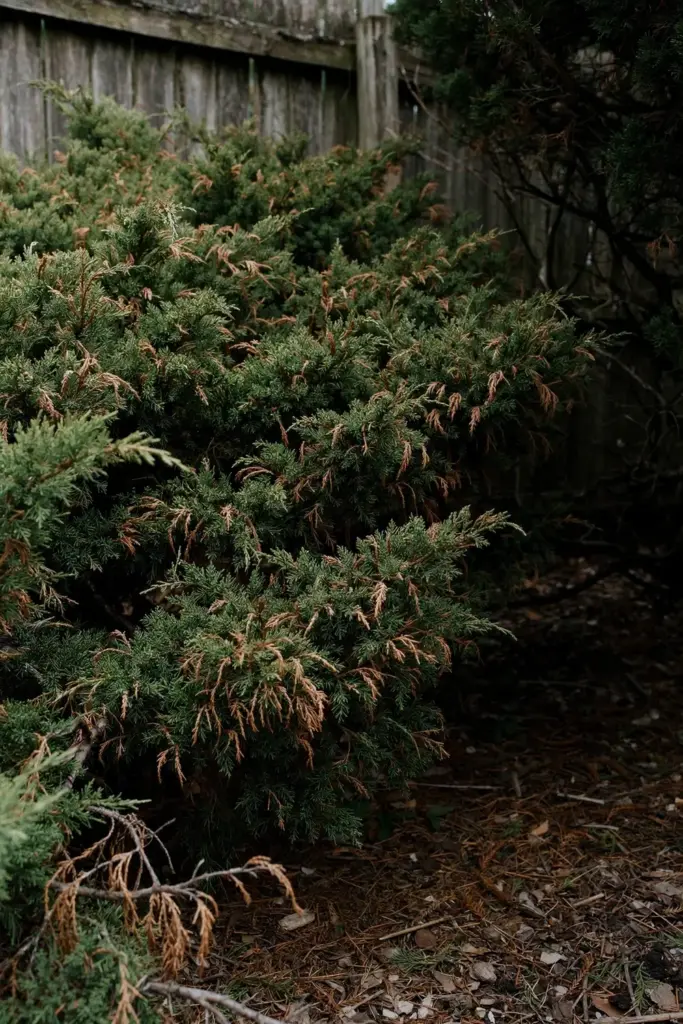
Overhead irrigation makes tip blight worse. Water that hits the canopy moves spores and keeps needles wet through the infection window. The Kentucky fact sheet advises watering early in the morning so foliage can dry more rapidly when overhead irrigation is used. A soaker hose or drip line keeps water at the roots and leaves the canopy dry.
Shearing makes tip blight worse. Shearing wounds hundreds of shoot tips at once. The Kentucky fact sheet advises avoiding excessive shearing. A sheared juniper in wet autumn weather offers Kabatina juniperi a whole hedge of fresh wounds. Hand pruning a few branches leaves fewer wounds than shearing a whole hedge.
Dead tips left on the plant make tip blight worse. The Virginia Tech publication states that viable spores of these fungi have been recovered from branches that have been dead for as long as two years. A dead tip left through two seasons feeds spores into the next two infection windows. Every dead tip that stays on the plant works as inoculum.
Winter drying makes tip blight worse. Drying winds and frozen soil desiccate foliage and crack shoot tips. The Kentucky fact sheet lists winter injury among the wounds that open the door for Kabatina juniperi. A juniper on an exposed windy corner with no winter protection collects wounds all winter and shows tip blight in spring.
Stress makes tip blight worse. Drought, poor drainage, and overcrowding weaken the plant. The Kentucky fact sheet states that Kabatina infections are more common in damaged, stressed, or nonvigorous plants. A juniper growing in soggy soil or deep shade has less energy to wall off infection. Site problems feed tip blight as surely as wet weather does.
Step 1: Decide Whether Treatment Is Worth It
Count the damage before you reach for a spray. A juniper with a few dead tips earns pruning. A juniper with a few dead tips does not earn a fungicide program.
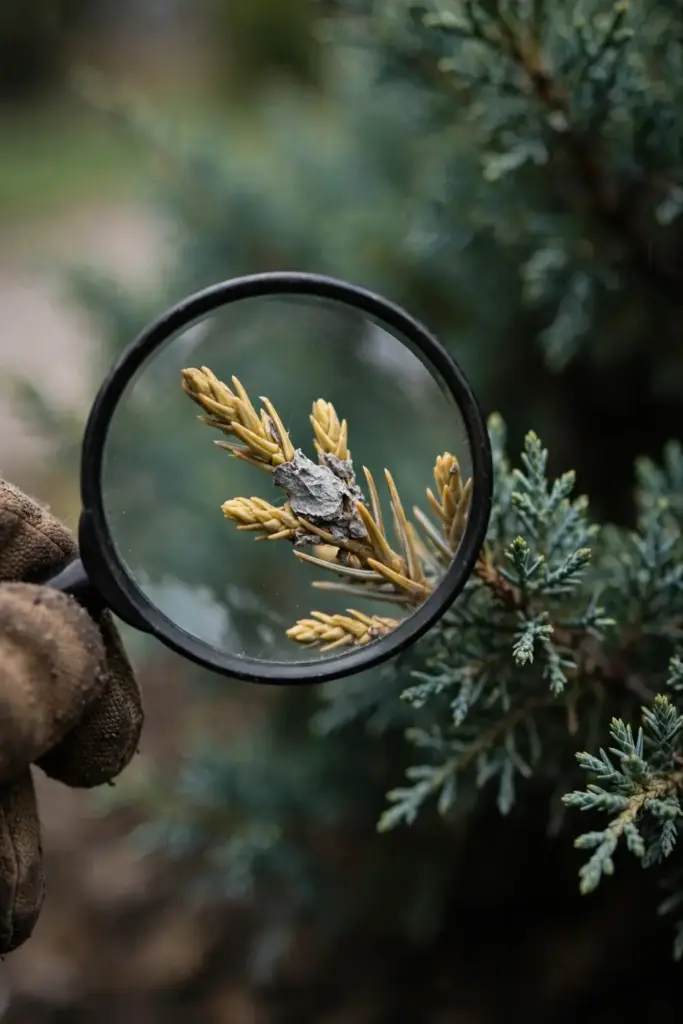
The Iowa State guide states that no chemical control is required for these tip blights. The same guide states that the damage on junipers in natural or landscape settings is not very significant. A home gardener with an established juniper gains little from spraying. Pruning and sanitation carry the whole job.
The Illinois guide takes the same line for Kabatina tip blight. The Illinois guide states that there are no effective fungicide controls for Kabatina tip blight. Management is to keep plants healthy and avoid injury as much as possible. Prune out all dead and dying stems and twigs. Resistant varieties are available. That is the whole Kabatina program in three moves.
Use a simple triage rule. A juniper with scattered dead tips earns pruning in dry weather and a sanitation cleanup. A juniper that loses tips every spring despite pruning earns a site review: spacing, drainage, irrigation, and winter exposure. A juniper in a nursery bed or a row of young grafted stock earns stricter treatment, since the Iowa State guide calls nursery damage devastating. A home juniper almost never earns removal for tip blight alone.
Skip the spray aisle on the first visit. Prune first, clean up second, fix the site third, and let the spray question wait until those three jobs are done. A spray program that skips them buys little.
Step 2: Prune 2 Inches Into Healthy Wood in Dry Weather
Cut at least 2 inches below the infection, into live wood. That clearance is the working rule.
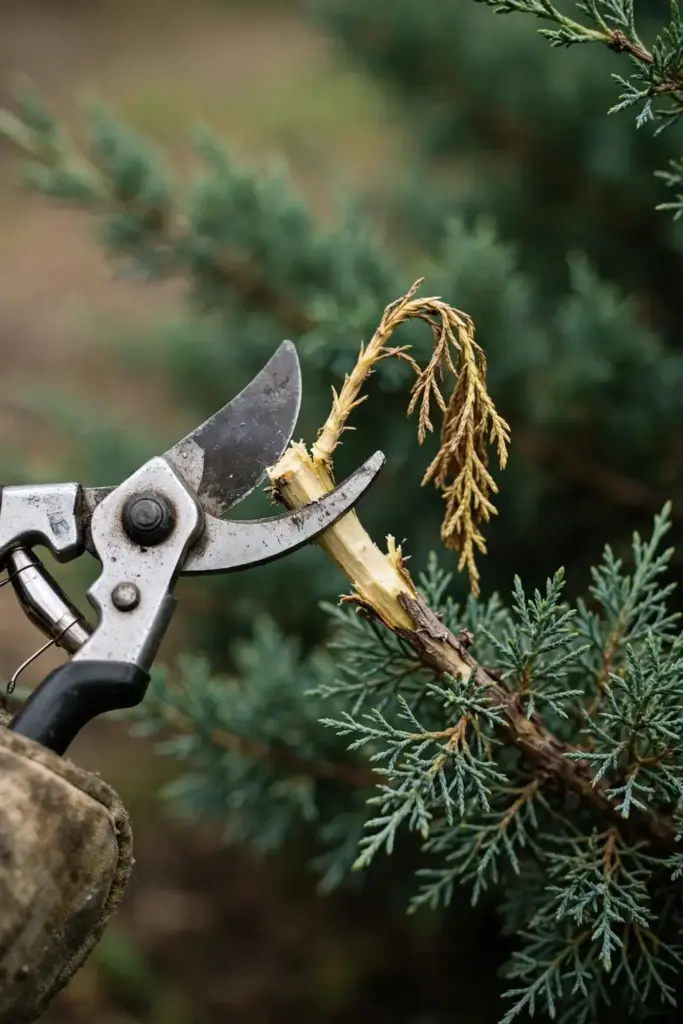
The Kentucky fact sheet advises pruning infected twigs back to live wood at least 2 inches below infections when conditions are dry to minimize the spread of fungal spores. A cut that stops at the dead tissue leaves infected wood behind. A cut 2 inches into green wood removes the fungus with the tip.
Prune on a dry day. Wet foliage spreads spores from the blade to the next cut. Dry weather limits that spread. Spring pruning techniques cover clean cut placement for garden shrubs in full. A clean cut heals faster than a ragged tear, and a fast-healing cut closes the wound before the next infection window.
Work from the healthiest branches toward the worst ones. Cut the lightest damage first and the heaviest damage last. That order keeps the blade away from heavy spore loads until the end of the job. Cut each blighted tip back to a healthy side branch or to the main stem. Leave no stub of dead wood behind the cut.
Use sharp blades. The Kentucky fact sheet advises making pruning cuts with sharp blades to reduce damage at the cut end. A sharp blade crushes less tissue than a dull blade. Crushed tissue heals slowly and invites infection. A sharp cut seals fast.
Step 3: Disinfect Tools Between Every Cut
Disinfect the blades between every cut. A dirty blade carries spores from a blighted tip to healthy wood.
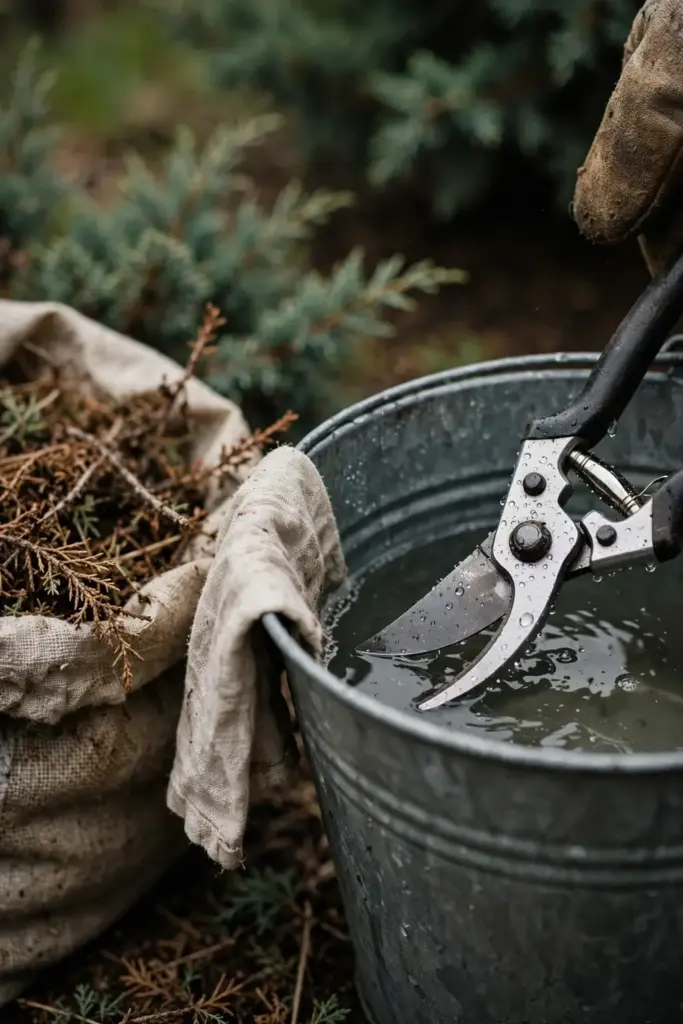
Dip or wipe the blades with a household disinfectant between cuts, and keep the bucket or spray bottle within arm’s reach of the plant. A bucket left at the shed does not get used, while a spray bottle clipped to the belt gets used on every single cut.
Wipe the blades clean before disinfecting. Sap and debris shield spores from the disinfectant. A rag wipe followed by a disinfectant dip covers the blade. Let the disinfectant sit on the blades for a few seconds before the next cut.
Wash and oil the tools when the job ends. Disinfectant corrodes steel over time. A wash with soap and water followed by a light oiling keeps shears and saws in working shape. Dry the tools before storage. A tool that goes away wet comes back rusted.
Step 4: Destroy Every Cutting
Burn prunings or bag them for trash. Never leave blighted tips on the ground under the plant.
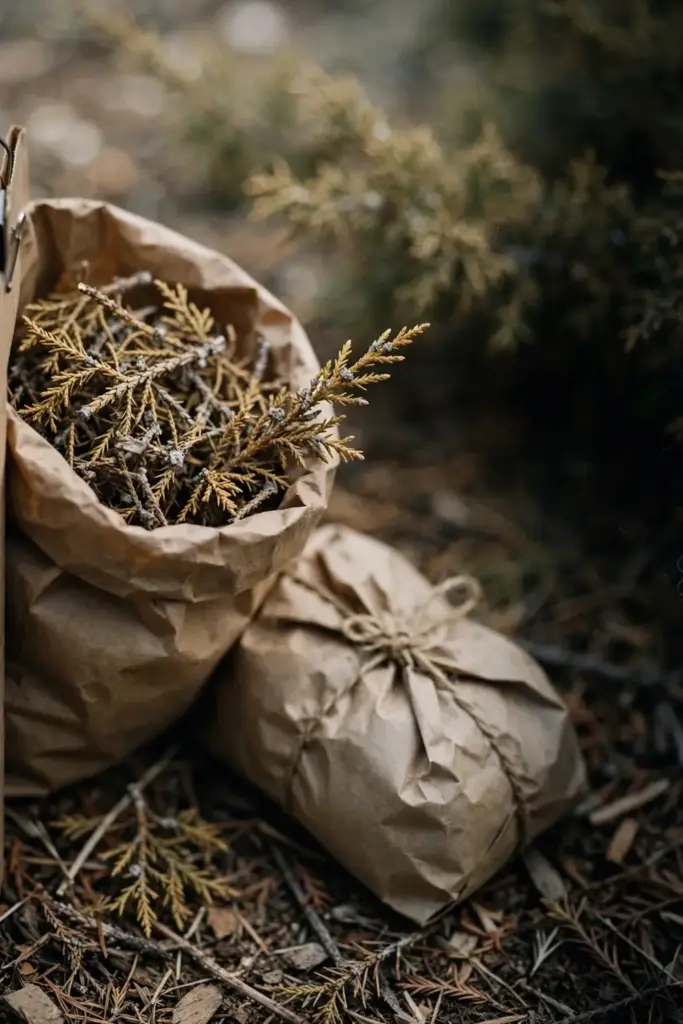
The Virginia Tech publication advises removing all blighted twig tips and burning or burying them to eliminate the sources of infection. The same publication states that viable spores have been recovered from branches dead as long as two years. A pruned tip left on the mulch stays infectious through two more seasons. A pruned tip burned or buried stops feeding spores.
Carry a bag or a tarp to the plant and drop every cutting straight into it. Do not drag prunings through the bed on the way out. Dragging smears spores across healthy foliage. A bag that leaves with the cuttings keeps the bed clean.
Clean the ground under the plant. Fallen blighted tips carry spores. Rake the ground under a heavily blighted juniper and remove the debris. Keep blighted prunings out of the compost pile. A compost pile runs too cool to kill fungi in thick wood, and the pile then feeds spores back into the garden.
Work the sickest plant last when several junipers share a bed. That order keeps the blade and the bag away from healthy plants until the end of the job. Change gloves before touching a healthy plant after handling blighted wood.
Step 5: Keep Foliage Dry and Open the Canopy
Dry foliage breaks the infection route. Open spacing and morning watering keep foliage dry.
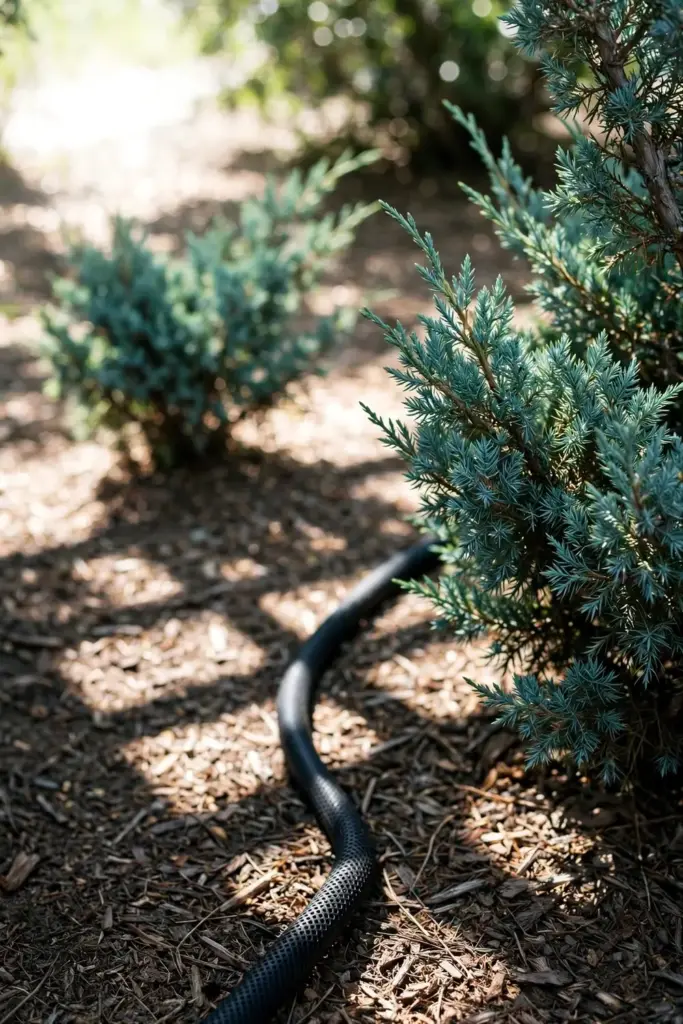
Water early in the morning when overhead irrigation is used. The Kentucky fact sheet advises watering early in the morning so foliage can dry more rapidly. Morning water dries in the sun. Evening water sits on needles all night. A sprinkler that runs at dusk keeps foliage wet through the whole infection window.
Switch to ground-level watering where you can. A soaker hose or drip line puts water at the roots. The canopy stays dry. Dry needles catch fewer spores than wet needles. A juniper bed on drip irrigation loses the splash route entirely.
Thin the canopy for air and sun. The Kentucky fact sheet advises pruning and spacing plants for improved air circulation to dry needles and reduce humidity within canopies. Open the center of a dense juniper so air moves through it. Space new plants so their canopies never touch at maturity. The Iowa State guide makes the same point: adequate space allows for good ventilation and sun exposure.
Cut back neighboring plants that shade the juniper. Shade holds moisture and slows drying. A juniper in full sun with moving air dries fast after rain. A juniper under a dense overhang stays wet for hours. Sun and air are the cheapest fungicides in the garden.
Step 6: Protect Junipers From Wounds and Winter Drying
Wound prevention is Kabatina prevention. Every wound is a future infection site.
Guard against mechanical injury as much as possible. The Kentucky fact sheet gives that order plainly, and the practice behind it is simple: keep string trimmers and mower decks away from juniper stems, keep foot traffic off low creeping junipers, and a nicked stem in autumn becomes a Kabatina canker by spring.
Skip shearing in wet weather. Shearing wounds hundreds of tips at once, and wet weather carries spores straight into those wounds. The Kentucky fact sheet advises avoiding excessive shearing. Hand prune a few branches instead of shearing a whole hedge. A juniper that needs a formal shape earns a dry-day shearing and a dry week after it.
Manage the insects that wound foliage. The Kentucky fact sheet names juniper midge and spider mites as pests that create the wounds necessary for infection. A midge outbreak leaves entry points across the plant. A mite outbreak does the same. Treat a heavy pest outbreak on its own schedule rather than letting the wounds accumulate.
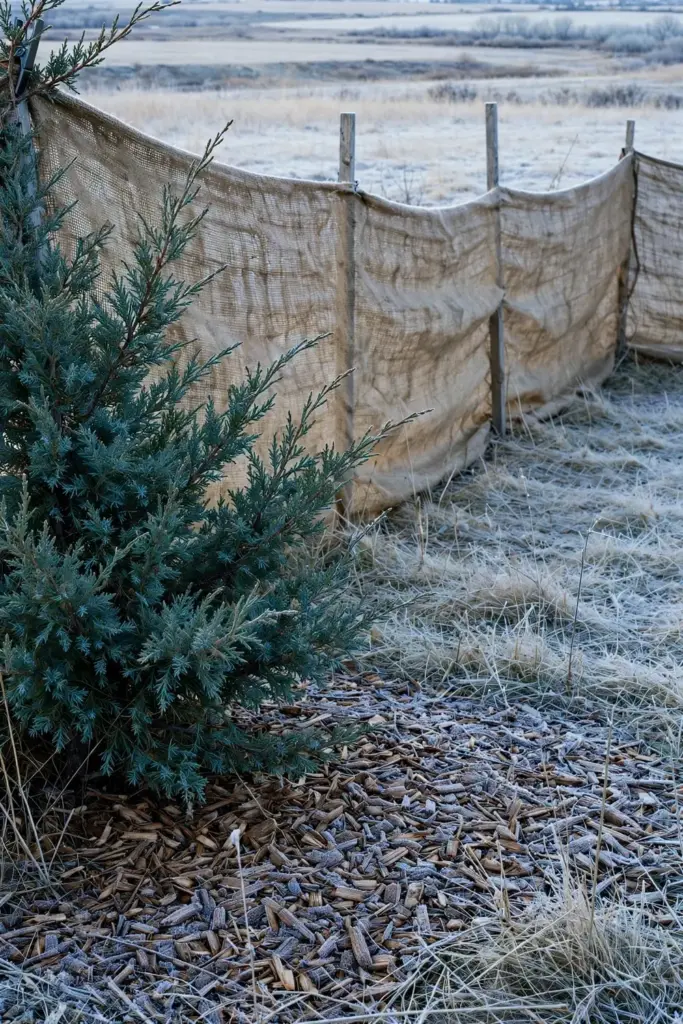
Protect junipers from winter drying. Drying winds and frozen soil desiccate foliage and crack shoot tips. A windbreak, a burlap screen on the windward side, or a sheltered planting site cuts winter drying. The Kentucky fact sheet lists winter injury among the wounds that open the door for Kabatina juniperi. A juniper that enters spring with intact foliage enters spring with closed doors.
Step 7: Time Any Fungicide to the Fungus You Have
Fungicide is the last tool, not the first. The sources disagree on its value, and the honest answer reports both sides.
The Illinois guide states that there are no effective fungicide controls for Kabatina tip blight. The Kentucky fact sheet states that no fungicides are registered to manage Kabatina infections. Early season applications of an approved fungicide can protect new shoot growth from Phomopsis infections, and the Kentucky fact sheet draws that line clearly. Phomopsis gets fungicide options. Kabatina gets none registered.
The Virginia Tech publication reports the other side. The publication states that the fungicides thiophanate methyl and mancozeb are registered for control of both Phomopsis and Kabatina tip blights. Timing of application differs because the fungi have different infection periods. Treatment for Phomopsis tip blight should begin in early spring and continue at 10 to 14 day intervals. Spring treatments are not effective for Kabatina tip blight. Fungicide applications should begin in the fall for Kabatina tip blight.
The home default follows the Iowa State guide: no chemical control is required. An established juniper in a home garden gains little from a spray program. A spring spray aimed at Kabatina tip blight misses the fall infection entirely, and a fall spray aimed at Phomopsis tip blight misses the spring infection entirely. A spray at the wrong season wastes money and leaves the fungus untouched.
A nursery or a high-value planting may still justify a spray program. Follow the product label for rate and timing. Start Phomopsis sprays in early spring. Start Kabatina sprays in fall. Check with a local Extension office for currently recommended fungicides. Never carry a seller recommendation into the garden without an Extension check. The label sets the legal rate for the crop and the state.
Step 8: Plant Resistant Junipers Next Time
The cheapest tip blight control is the juniper you plant, because resistant varieties stop most infections before they start.
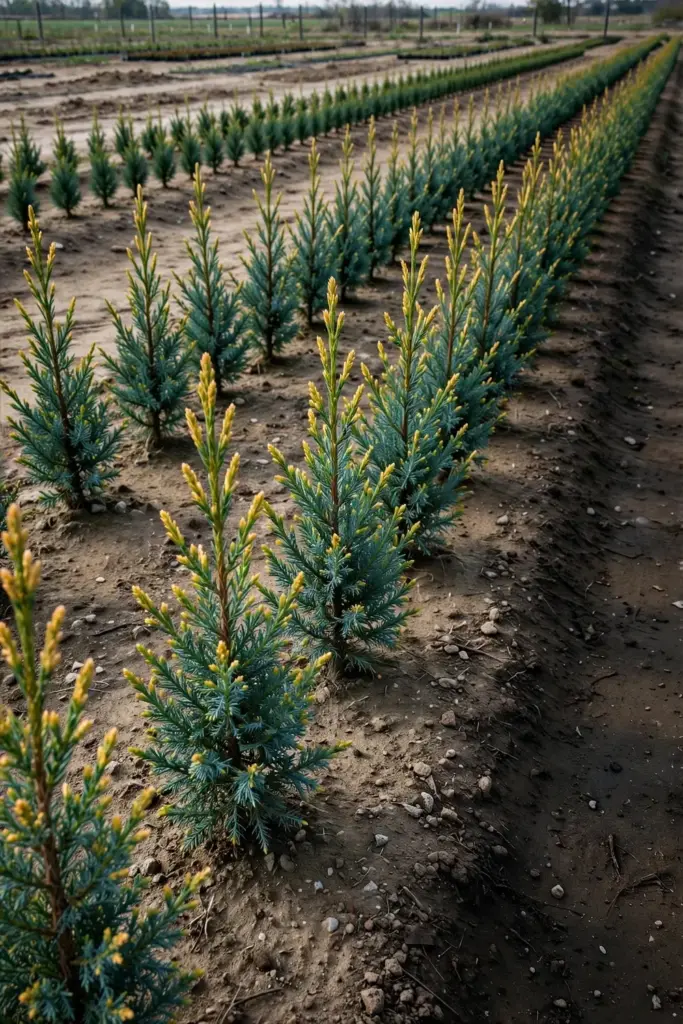
The Virginia Tech publication lists resistant varieties for both fungi. Juniperus chinensis Pfitzeriana Aurea resists both Kabatina tip blight and Phomopsis tip blight. A gardener who wants one variety that covers the pair should start there. A variety that resists one fungus and not the other still leaves half the problem open.
Juniperus chinensis Robusta Green and Wintergreen resist Kabatina tip blight. Juniperus communis Depressa resists Phomopsis tip blight. The Virginia Tech tables list further resistant varieties across Juniperus chinensis, Juniperus communis, Juniperus horizontalis, Juniperus sabina, Juniperus squamata, and Juniperus virginiana. A nursery tag that names the variety lets a buyer check that list before buying.
The Kentucky fact sheet warns that few cultivars are resistant to both diseases. Avoid planting highly susceptible cultivars. Select cultivars that are known to be resistant. A susceptible juniper in a wet shady corner will need pruning every spring. A resistant juniper in the same corner will need far less.
Buy clean stock. Inspect every plant before buying. Reject plants with dead or dying twig tips. A nursery plant with brown tips brings tip blight home in the pot. Site new junipers with sun, air flow, and good drainage. Space them so the canopies never touch at maturity. A resistant variety in a dry sunny site faces the next spring with its best armor on.
Living With Tip Blight Damage You Cannot Prune Out
Some damage stays. A juniper with a few dead tips still holds its shape. A juniper with witches’ brooms still grows.
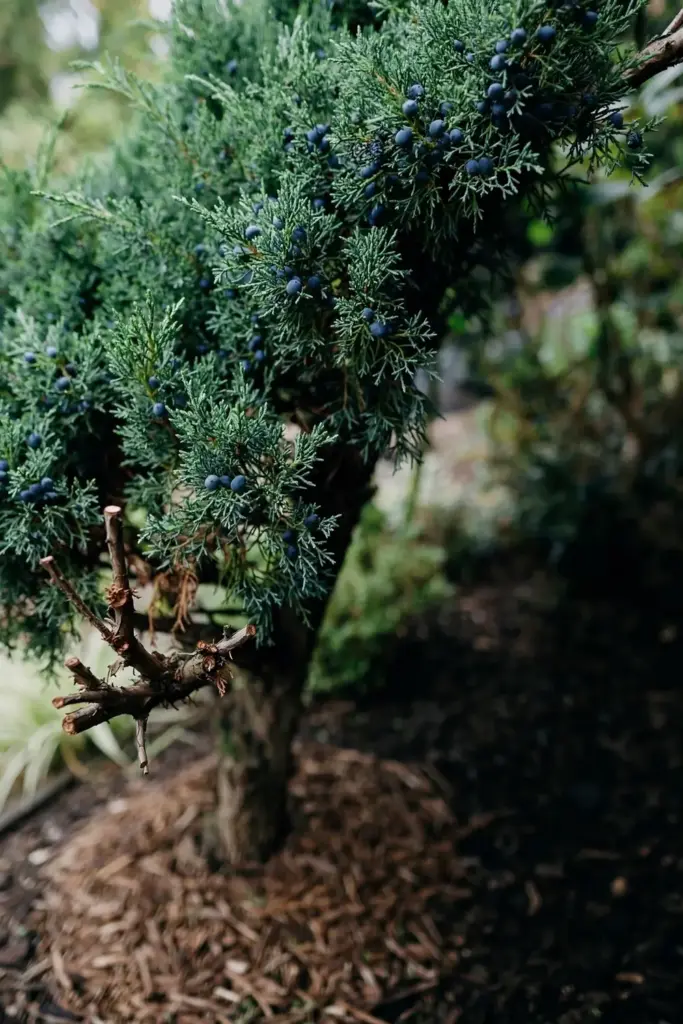
Dead tips fall on their own over time. The Iowa State guide states that dead tips eventually break off from where the lesion is. A juniper that drops its dead tips in late spring looks ragged for a few weeks and then greens up behind the damage. Patience covers that window. The plant replaces lost tips with new growth through the season.
Prune out witches’ brooms in dry weather. Dense tufts of short twiggy growth mark branches that carried tip blight for several seasons. The broom itself is dead-end growth. Cut the broom back to healthy wood and destroy the cuttings. A juniper pruned clean of brooms looks like itself again within a season.
Keep a juniper with light canopy loss. Prune dead wood in the dormant season, keep the foliage dry, and protect the plant from new wounds. Scout the plant each spring for fresh dead tips. A juniper that loses a few tips a year and holds a full canopy earns its place.
Replace a juniper that returns blight every year despite pruning and sanitation. The problem is usually the site: deep shade, poor drainage, constant wet foliage, or a wind tunnel that dries and wounds the plant every winter. A resistant variety in the same spot faces the same spring with better armor. A susceptible variety in a better site faces the next spring with a dry canopy. Fix the site or change the variety. Doing neither and expecting a different result wastes another season.
General conifer needle disease care follows the same order: cut, disinfect, destroy, then replant resistant. The guide to stop needle blight and save conifers covers that order for needle diseases across evergreens. Scattered branch dieback without tip symptoms points elsewhere, such as Cytospora dieback on shrubs. Match the treatment to the disease the field signs name.
Frequently Asked Questions
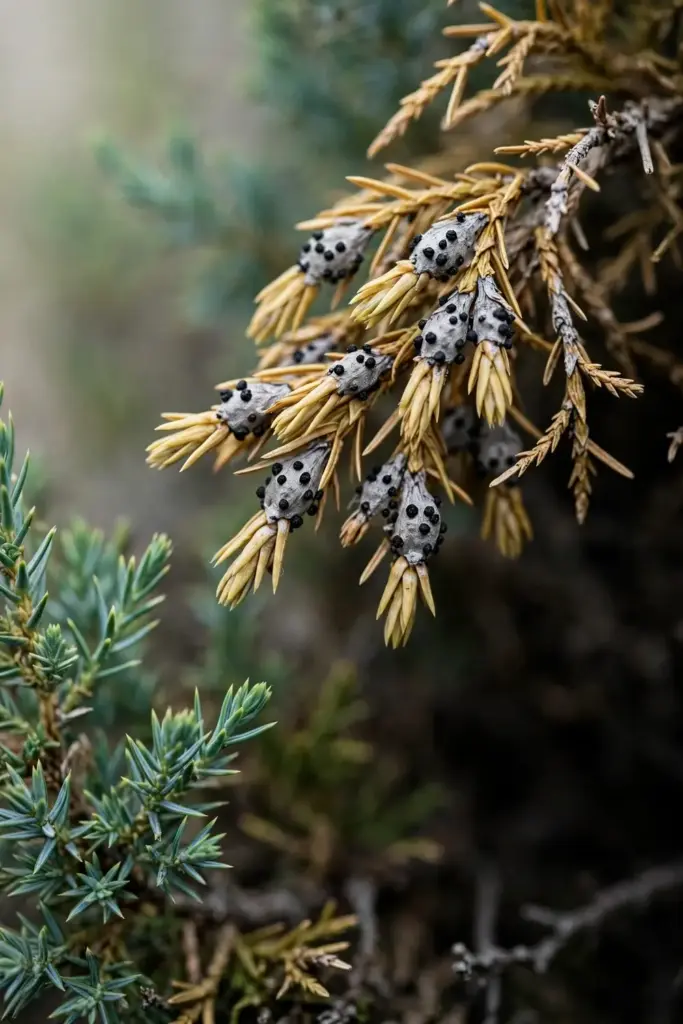
Kabatina tip blight rarely kills an established juniper. The fungus kills shoot tips and leaves the main branches alive, though repeated years of infection thin the canopy and build witches’ brooms. Seedlings and young grafted stock in nurseries die more readily. A home juniper with scattered dead tips usually survives, so remove a juniper only when the whole canopy dies back year after year despite pruning.
Check the canker location. A canker on the new season’s growth means Phomopsis. A canker on last year’s growth means Kabatina. Check the season too. Kabatina shows in late winter and early spring after a fall infection. Phomopsis shows by midsummer on fresh growth. Spore shape needs a microscope. Canker location, growth age, and season separate the pair in a home garden without a lab.
Most home gardeners should skip the spray. Illinois Extension reports no effective fungicide controls for Kabatina tip blight. Kentucky reports no fungicides registered to manage Kabatina infections. Virginia Tech reports thiophanate methyl and mancozeb registered for both fungi, with fall timing for Kabatina and spring timing for Phomopsis. Iowa State reports no chemical control is required. Pruning and sanitation carry the home job.
Prune in dry weather. Wet foliage spreads spores from the blade to the next cut. Cut at least 2 inches below the infection, into live wood. Disinfect tools between cuts. Destroy every cutting by burning, burying, or bagging for trash. Dormant season pruning works for cleanup. Active season pruning works when fresh damage shows. The dry day matters more than the month.
Brown tips do not always mean tip blight. Winter injury, drought, and dog urine also brown juniper tips, and none of them leaves fruiting bodies on the dead tissue. Juniper midge larvae leave exit holes visible with a hand lens. Check for black fruiting bodies at the base of the dead tip, since a dead tip with no fruiting bodies and no sharp dead-to-live boundary points at weather or urine damage instead.
Plant Juniperus chinensis Pfitzeriana Aurea for resistance to both fungi. Juniperus chinensis Robusta Green and Wintergreen resist Kabatina tip blight. Juniperus communis Depressa resists Phomopsis tip blight. Few cultivars resist both diseases, so Pfitzeriana Aurea earns the first pick. Buy clean stock with no dead twig tips. Site new plants with sun, air flow, and good drainage.
Where to Go From Here
Start with the walk. Check every juniper for dead tips, gray lesions, and fruiting bodies at the base of the damage.
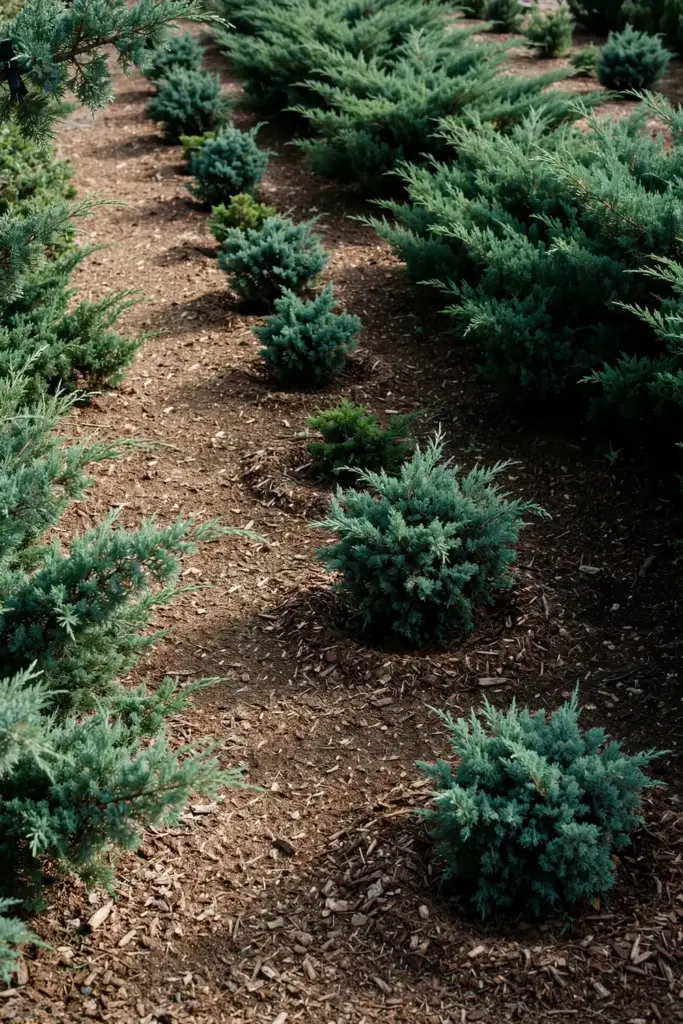
The order is identify, decide, prune, disinfect, destroy, dry the foliage, protect from wounds, spray only with the right timing, and plant resistant. One next action beats ten good intentions. Walk the junipers today. Find the canker location on one dead tip. Prune on the next dry day.