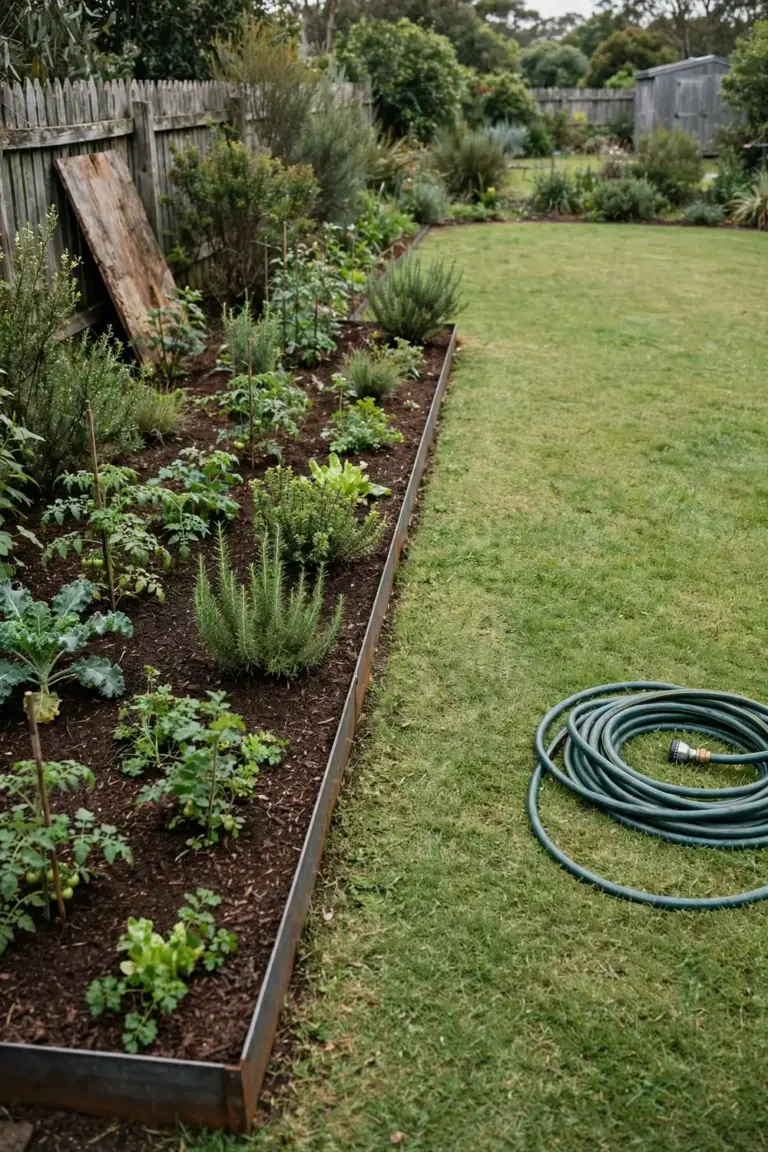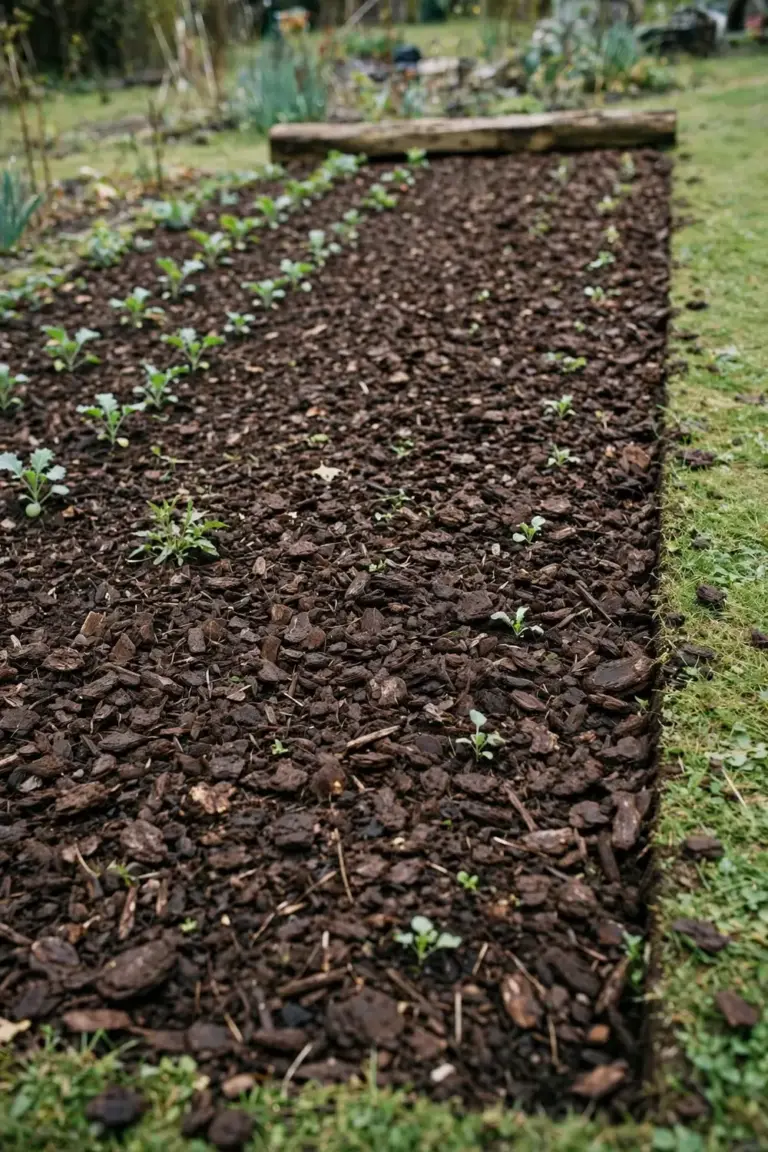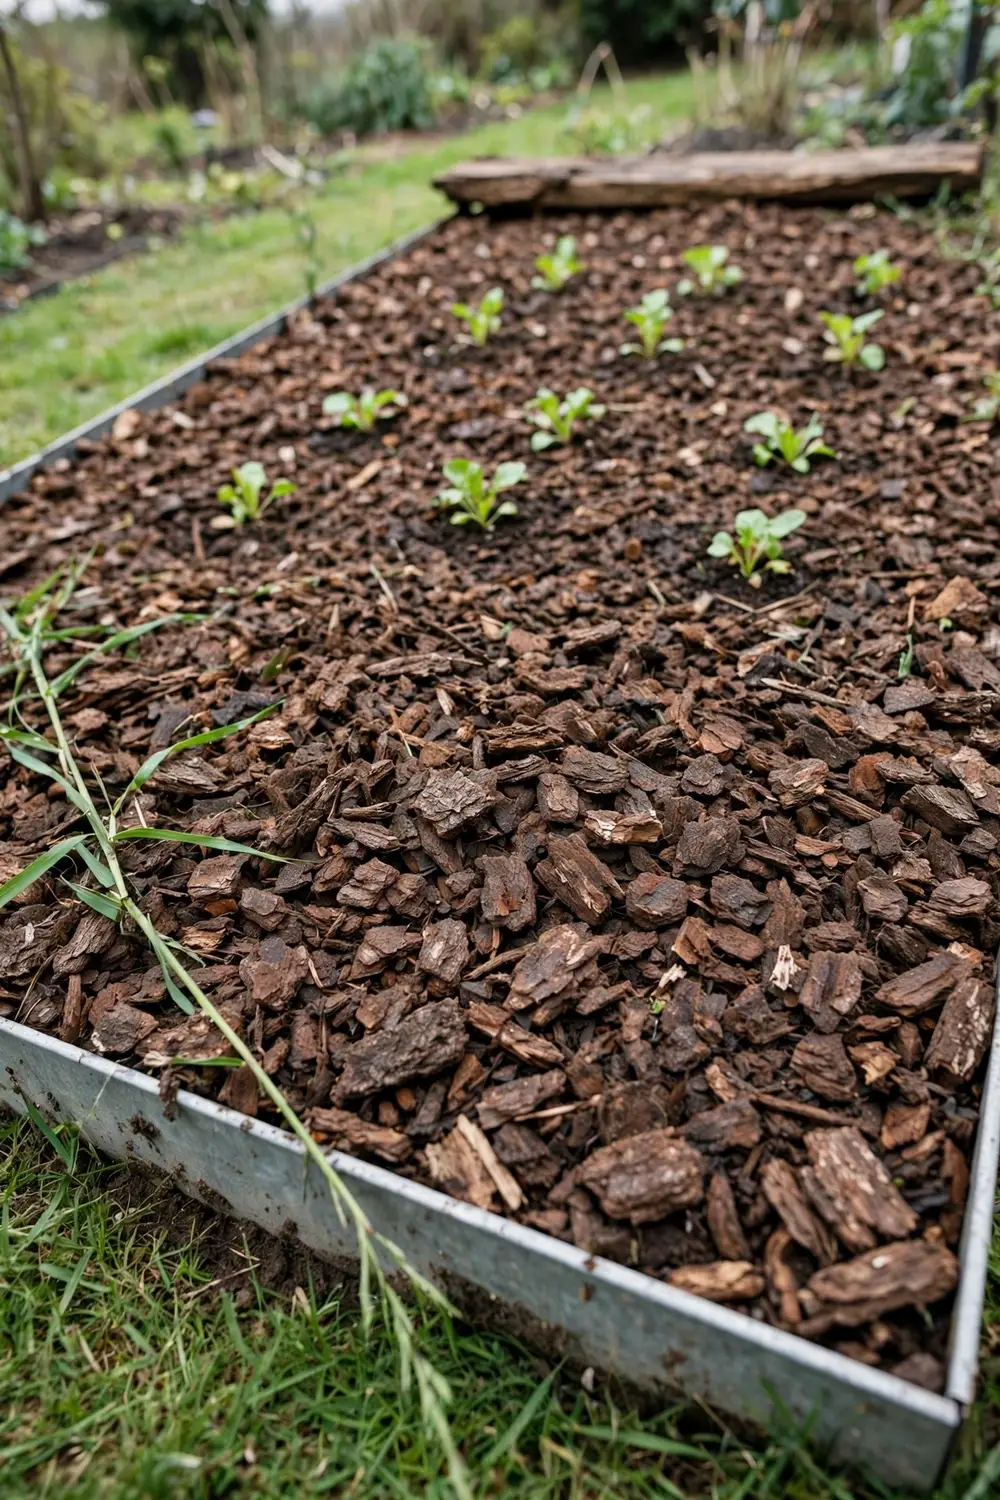

Four kill methods turn lawn into a garden bed. Pick from the grass you have, then edge the new bed deep. Sheet mulch kills most lawns in about 6 months with the least digging. Digging clears a bed in one hard weekend. Solarizing needs peak summer sun, clear plastic, and four to six weeks under it.
That is how to replace your lawn with a garden bed. The rest of this page is six moves, from the kill method to the first-season rhythm. I have learned that the bed I edge deep in the first week stays a bed, while the one I edge later turns back into lawn.
Lawn here means the grass you are removing. Garden bed means the planted replacement. The job has three parts: kill the grass, stop it from coming back, then plant by job. Work them in that order. A bed planted over live couch grass becomes a weeding job, and a bed with no edge becomes lawn again within a season.
1. Pick the Kill Method From the Grass You Have
Match the method to the grass. Couch and kikuyu spread on surface stolons and underground rhizomes, so a method that kills only the top growth fails. Buffalo spreads on above-ground stolons and dies under a long smother. Fine-leaf grasses and annual weeds with shallow roots die under any method. Name the grass before you pick the method.
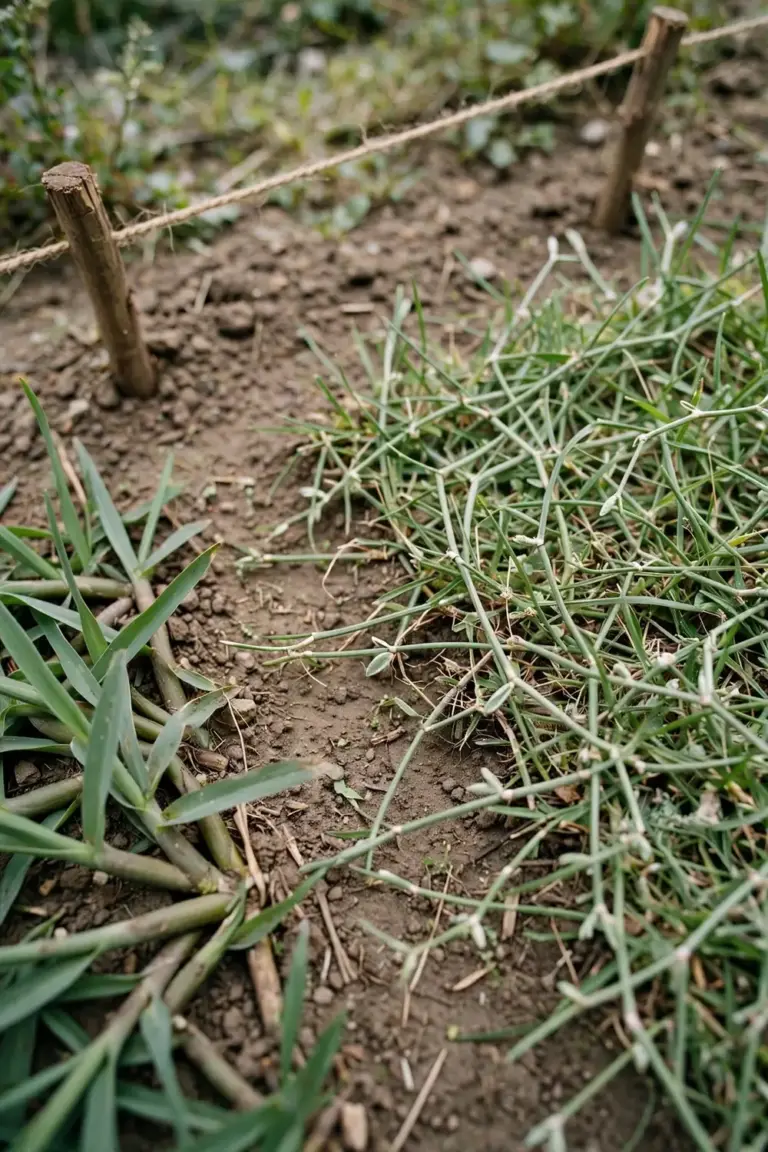
Time decides the rest. A weekend free means digging. Months of patience means smothering. Peak summer sun and a bare month means solarizing. Herbicide is the last resort, and it works as a spot follow-up after one of the other methods, not as the whole conversion.
The wrong pick costs a season. Solarizing couch grass in partial shade leaves the rhizomes alive. Smothering for six weeks instead of six months leaves the roots alive. Digging a big bed alone in one weekend leaves half the turf flipped and still growing. Pick the method that fits the grass, the season, and the time you have.
Measure the bed before you order materials. Mark the outline with pegs and string, then pace the length and width. Mulch volume follows a simple sum: area times depth. A 10 square metre bed at 10 cm of mulch needs 1 cubic metre. Cardboard comes from appliance boxes and bike shops. Ask for big flat sheets. Small boxes mean more seams, and every seam is a place light leaks in.
Mixed lawns need the method for the toughest grass in them. A lawn that is half buffalo and half couch gets the couch method. A lawn with a nutgrass patch gets the smother method plus a patrol, since nutgrass tubers outlast most single passes. Do not pick the easy method and hope the tough grass behaves. It will not.
Timing flips with the hemisphere. United States sources say start in fall for spring planting. In Australia that means start in late summer or autumn for winter or spring planting. Smothering started in March is ready by spring. Solarizing needs the hottest weeks, so run it in mid-summer. Digging works any time the soil is moist enough to cut.
Start small if this is your first conversion. A bed 2 m by 3 m teaches you the whole job: the kill, the edge, the soil, the planting, the patrol. A 20 m strip teaches the same lessons with ten times the digging. Convert the first bed, run it a season, then convert the next strip with the lessons fresh. The lawn is not going anywhere. The bed you finish beats the bed you start and abandon.
2. Compare the Four Kill Methods
Each method kills grass a different way: smothering starves it of light, solarizing cooks it with trapped heat, digging removes it, and herbicide poisons it. The table below sets the four side by side. Read the table, then read the detail under it, method by method.
| Method | Effort | Time | Best For Grass |
|---|---|---|---|
| Smother With Cardboard and Mulch | Low | About 6 months | Couch, kikuyu, buffalo, any lawn |
| Solarize Under Clear Plastic | Low | 4 to 6 weeks | Shallow-rooted grasses in full sun |
| Dig the Turf Out | High | A weekend | Small beds, any lawn |
| Herbicide Spot Follow-Up | Low | Weeks | Runners that escape the other methods |
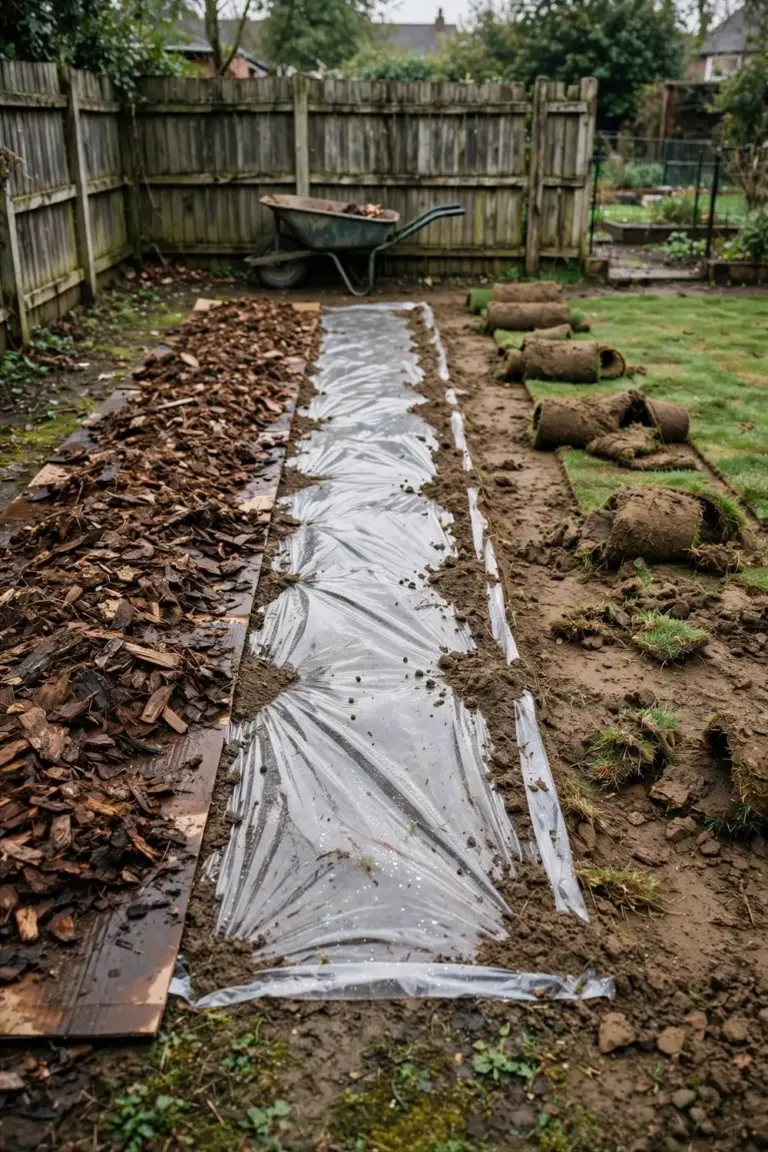
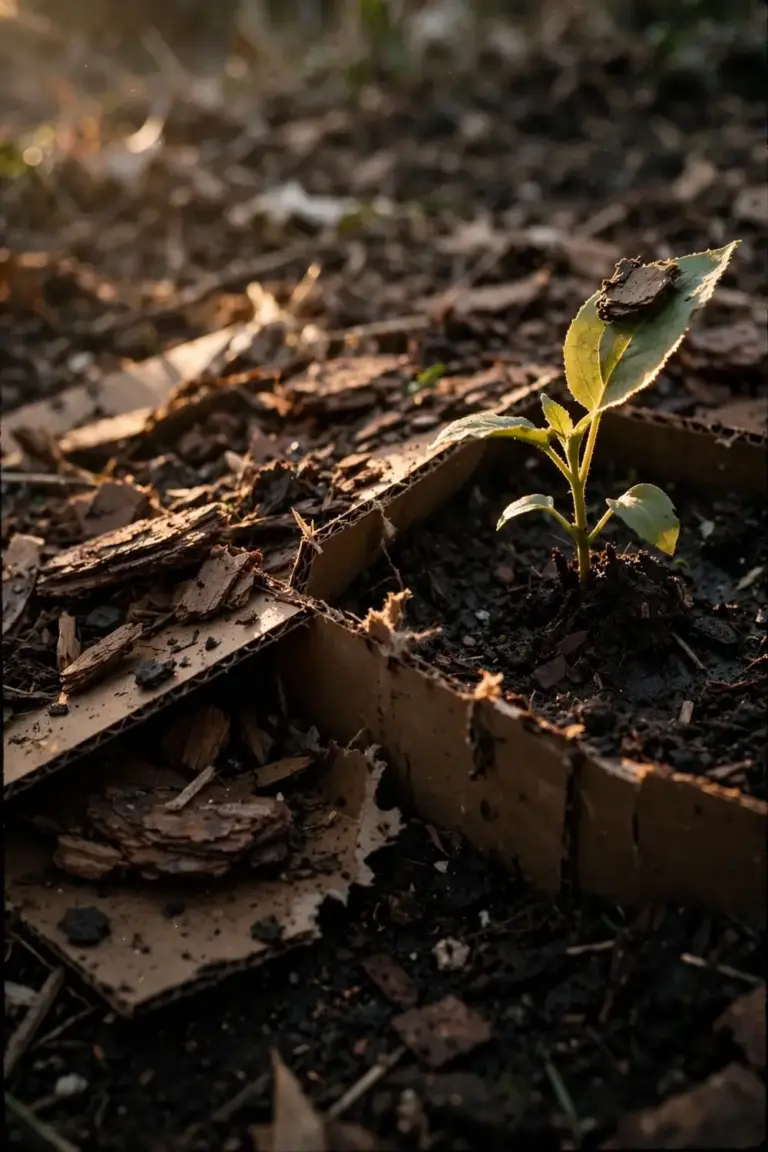
Smothering is the default for most Australian lawns. Mow the lawn on its lowest setting and rake the clippings off. Spread compost 5 to 8 cm deep over the area. Lay one layer of plain brown cardboard over the compost, with tape, labels, and staples removed, and overlap the sheets so no seam shows bare soil. Wet the cardboard, then cover it with mulch 10 to 13 cm deep. Wait about six months before planting, so the cardboard breaks down fully. If you plant sooner, cut through the partly broken-down cardboard to set each plant. Those layer depths and the six-month wait follow the UC Master Gardener sheet-mulch steps for killing a lawn. Penn State Extension’s sheet-mulching guide sets the same shape: smother the lawn with cardboard and mulch, rest the new bed for a few months before planting, and vary the mulch depth by what the bed will grow.
Solarizing suits a sunny bed in peak summer. Mow short, then water the soil 30 cm deep. Cover the wet soil with clear plastic, seal the edges with soil or timber so no breeze lifts it, and leave it for four to six weeks. UC Agriculture and Natural Resources notes that the top 15 cm of soil reaches 43 to 52 degrees Celsius under the plastic, and that heat kills weeds, insect pests, and soil pathogens. Solarizing needs full sun and moist soil. Shade, dry soil, and a torn sheet all weaken the kill. Deep rhizomes near the surface die. Rhizomes deeper down may survive, so check the bed after you lift the plastic and dig out any green runners.
Solarizing also resets the weed seed bank near the surface, which is a bonus smothering does not give. The same heat that kills grass kills many weed seeds in the top few centimetres. The deeper seeds survive, so the first season still needs weeding. Treat solarizing as a head start, not a finish. The bed you solarize in January still wants a mulch layer and a weekly patrol once it is planted.
Digging suits a small bed and a free weekend. Cut the turf into strips with a flat spade, lift each strip, and shake the soil off back into the bed. Stack the stripped turf upside down in a pile to rot, or bin it. Digging removes the grass in a day. It leaves the soil bare, so mulch the bed at once or weeds move in within weeks. Before you dig, lodge a Before You Dig enquiry. Essential Energy notes that Before You Dig Australia is a free service, that plans typically arrive within minutes but to allow up to two business days, and that in New South Wales a Before You Dig enquiry is required before mechanical excavation deeper than 150 mm or hand excavation deeper than 300 mm. A spade hits a cable or pipe faster than you expect, and the enquiry costs nothing.
Digging also lets you see what the lawn hid. Tree roots, buried rubble, old irrigation pipe, and a hard pan all show up under the turf. Tree roots stay, so cut around them and let the bed follow the root line. Rubble and pipe come out. A hard pan gets forked through before the compost goes on. The dig pass is the only time you see the soil profile before the bed covers it, so look at it while you have the chance.
Herbicide is the last resort. If you use it, follow the label. Spray on a calm day, keep it off plants you want to keep, and keep children and pets off the area until the label says it is safe. This page does not rate products. Herbicide earns its place as a spot follow-up: one spray on the runners that escape the smother, the dig, or the solarize pass. A whole bed sprayed as the conversion is the expensive way to buy a dead patch that weeds recolonize first.
Spray only on actively growing grass. Dormant or drought-stressed grass takes up little chemical, so the spray does little. A calm morning after rain, with no rain forecast for the rest of the day, is the window. Mark the sprayed runners with a stake so you can check them a fortnight later. Green regrowth gets a second pass. Brown and dead gets pulled.
Australian gardeners call the layered version no-dig. Esther Deans popularised it in Sydney in the 1970s with lasagne layers of newspaper, lucerne hay, compost, manure, and straw, built straight over lawn. The shape matches smothering: a light-blocking base, organic layers on top, time to rot. No-dig suits a bed you will plant with vegetables or flowers, where the layered organic matter becomes the growing medium.
3. Stop the Lawn From Coming Back
A killed lawn comes back from the edges. Couch and kikuyu runners cross a bare soil line within weeks. Buffalo stolons creep over it. The fix is a barrier and a patrol, installed the day the bed is made, not after the first runner appears.
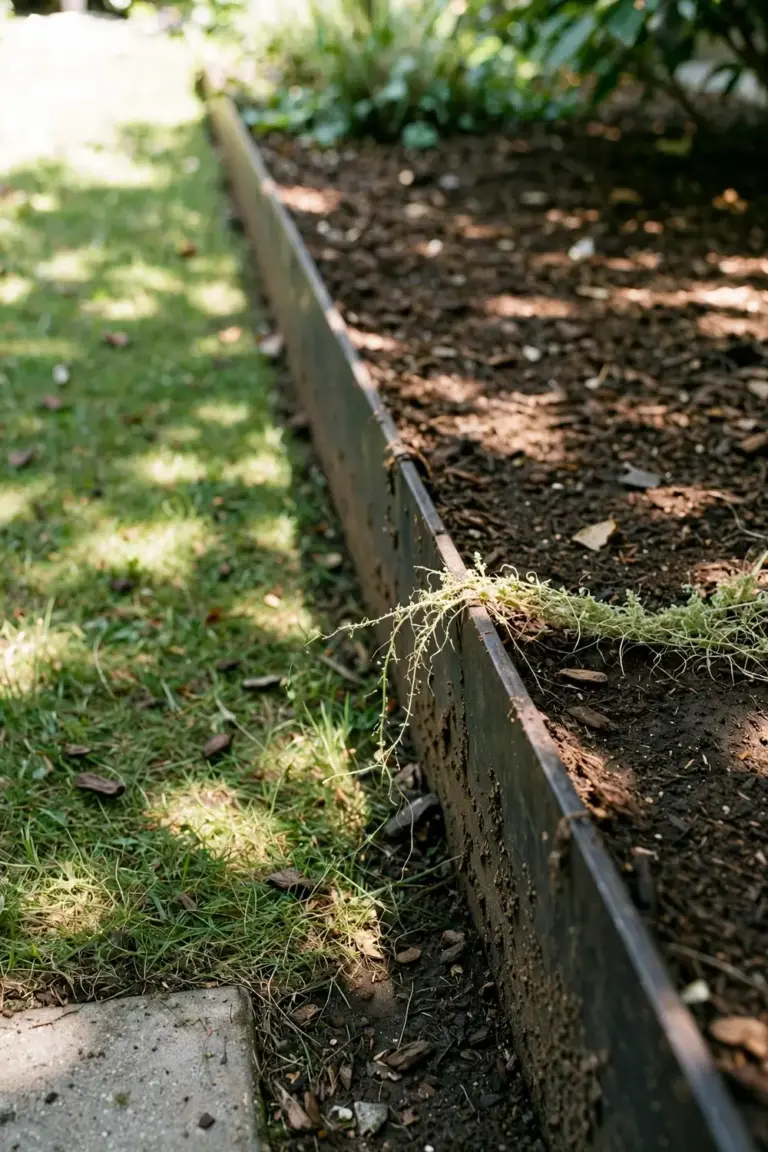
Set a hard edge around the whole bed. Sink a barrier of metal, thick plastic, or concrete 15 cm into the soil, with 5 cm standing above the surface. The below-ground part blocks rhizomes. The above-ground lip blocks surface stolons and gives the mower and the line trimmer a clean line. A mowing strip of pavers or gravel beside the edge does the same job and keeps the mower off the bed soil. Love The Garden’s couch grass guide recommends a durable root barrier of thick plastic, galvanised iron, or steel, and checking garden bed edges every few weeks in warmer months to catch creeping runners early. That check is the patrol. Walk the edge weekly in the first season. Pull every runner that crosses the line, roots and all.
Watch the two entry points. Runners come over the top of a low edge and under a shallow one. A barrier that stops 5 cm short of the surface lets stolons over. A barrier that stops 5 cm short of the rhizome depth lets couch under. Check the corners twice. Corners collect soil and mulch, and runners use the buildup as a bridge. Scrape the buildup back each time you patrol.
A mowing strip pays for itself. Lay one row of pavers or a 20 cm band of gravel along the lawn side of the edge. The mower wheel rides the strip and cuts the grass flush with the barrier, so no long blades flop over the lip and root on the bed side. The strip also shows the line. A bed edge you can see is a bed edge you keep. A bed edge hidden under grass is a bed edge runners cross unseen.
Runners that already crossed need digging, not pulling. Pulling snaps the stolon and leaves the node. The node resprouts. Slide a fork under the runner, lift the whole length, and follow it back to the lawn side. Bin the lifted runner. Composting it risks planting it again, since couch nodes survive a cool compost heap.
Mulch the bed after planting. A mulch layer blocks light for weed seeds and keeps the bed soil damp. It does not stop runners. Runners push through mulch from the side. The barrier stops them. The mulch stops seeds. Both jobs matter, and neither replaces the other.
4. Prepare the Soil in the New Bed
Lawn soil is not bed soil. Years of mowing and foot traffic compact the top layer. Grass roots hold it in a tight mat. The new bed needs loose, open soil that roots can move through and water can drain into.
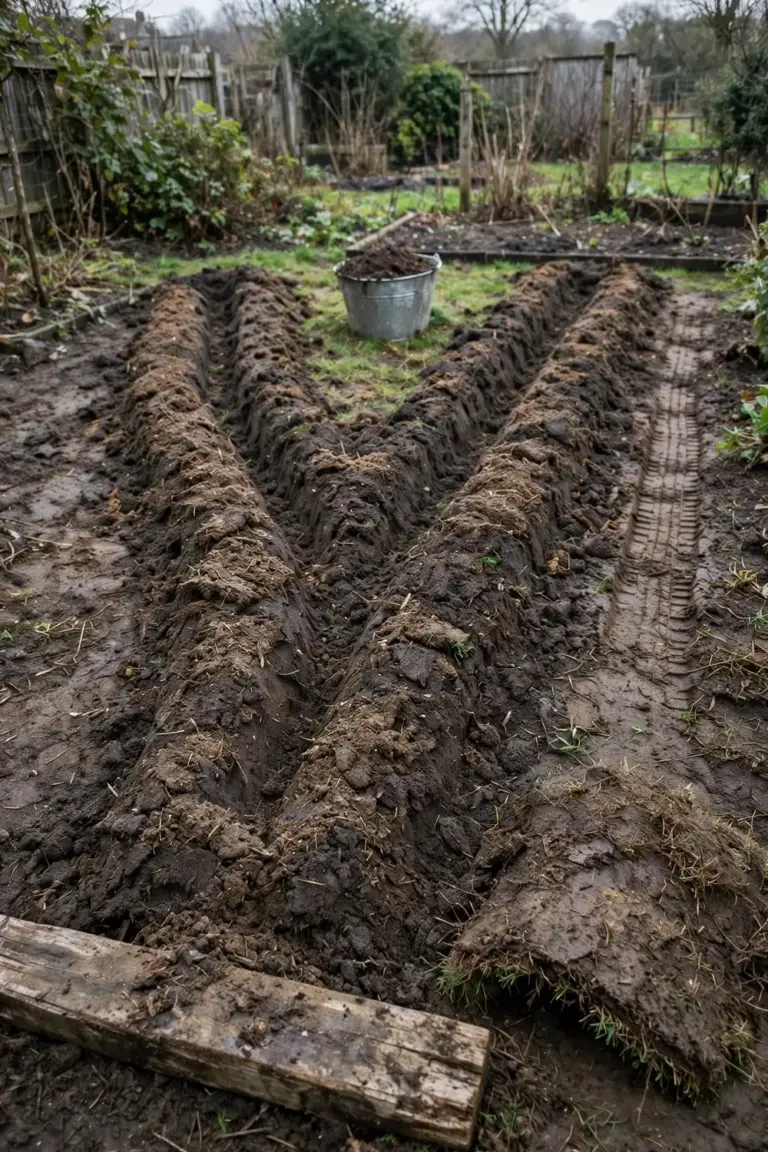
Fork the bed after the kill. Push a garden fork into the soil and lever it back, working across the whole bed in rows. Break the mat and lift out dead turf chunks and any thick root masses. Spread compost 5 to 8 cm deep over the forked soil and work it into the top 15 cm. Rake the surface level. The compost feeds soil life and opens the structure, and the forking lets water in. Building soil health is the slow part of this job, and compost is the fastest honest way to start it.
Sandy soil needs the same treatment with a different reason. Western Australian sand drains fast and holds little water or food. Compost and mulch hold both. Clay soil needs the same treatment with the opposite reason. Clay holds water and stays wet. Compost opens it and lets roots breathe. Compacted lawn soil anywhere needs forking first. Compost on top of a compacted pan sits there. Fork the pan first, then add the compost and work it into the top 15 cm.
Test the soil only if you plan to feed it. A simple pH test tells you whether the bed sits acid or alkaline. Most vegetables and flowers grow well in soil near neutral. Natives vary. Do not chase a number the plants do not need. Compost, mulch, and time fix more beds than any bag of amendment. Fall garden bed prep covers the seasonal side of this work: soil tests, compost, mulch, and cover crops for beds that rest between plantings.
Test drainage with a hole and a bucket. Dig a hole 30 cm deep, fill it with water, and let it drain. Fill it again and time the second drain. Water that drops 2 to 3 cm an hour suits most garden plants. Water that stands for hours means the bed needs forking and compost, not plants yet. Water that vanishes in minutes means sand, and sand wants compost and mulch to hold moisture.
Raised beds skip the digging. Set a timber or steel frame over the lawn, lay cardboard on the grass inside it, and fill with soil and compost. The cardboard kills the grass under the frame while the plants grow above it. Raised beds suit poor soil, bad drainage, and gardeners who want to garden standing up. They cost more in materials and dry out faster in summer, so they want mulch and regular water.
5. Choose Plants by Job
Plant by job, not by catalogue. A bed earns its keep when every plant has a reason to be there. Three jobs cover most conversions: food, habitat, and looks. Pick one job per bed and let it set the planting.
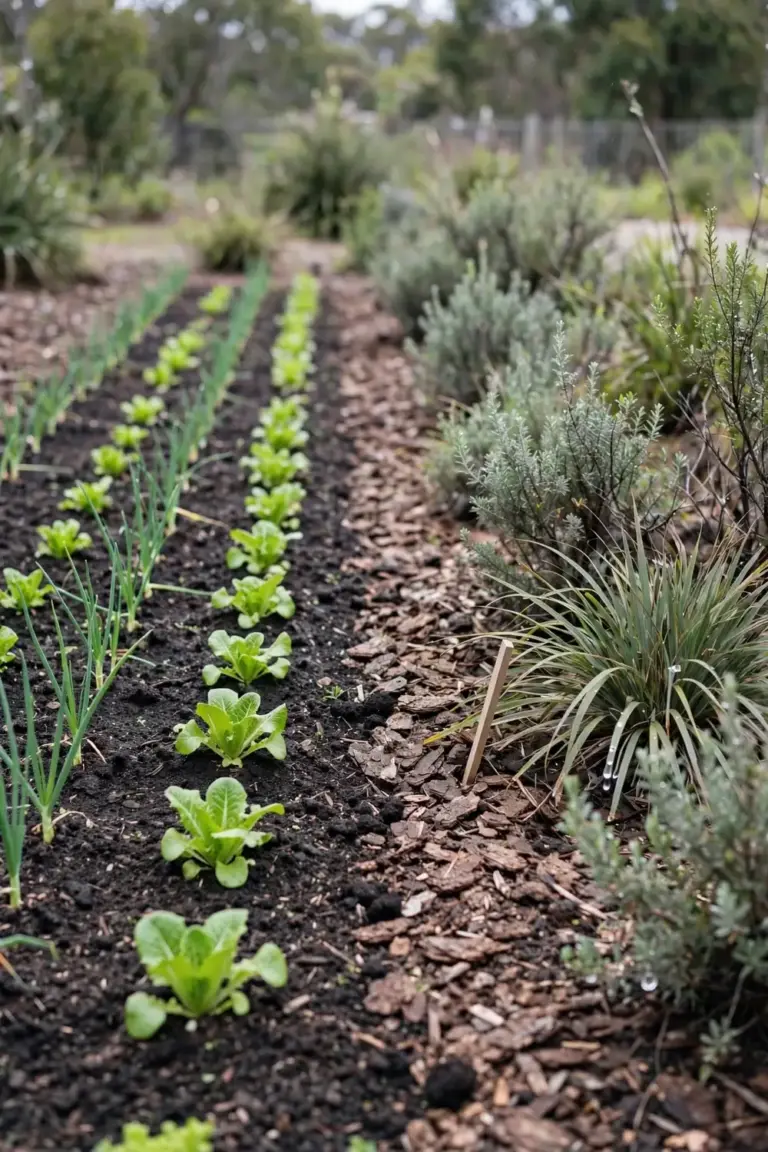
A food bed wants sun and rich soil. Vegetables and herbs want full sun. Put the tallest plants on the south side in the southern hemisphere so they do not shade the short ones. Start with fast crops that pay back in weeks: lettuce, radish, spring onion, beans. Companion planting helps a small food bed, since good neighbours shade the soil, fix nitrogen, and confuse pests. Keep the paths wide enough for a wheelbarrow. A food bed you cannot reach is a food bed you do not harvest.
A habitat bed wants natives and layers. Groundcovers, shrubs, and one small tree give birds and insects food and shelter at three heights. Local natives suit the local soil and rainfall, and they need less water once settled. Correa, westringia, and lomandra cover the low layer in many Australian gardens. A lilly pilly or a small grevillea anchors the middle. Leave some leaf litter. Litter feeds soil life and shelters insects. A habitat bed is not a tidy bed. It is a working bed, and it looks better in its second year than its first.
An ornamental bed wants shape and repeat. Pick one shrub as the anchor, repeat one groundcover, and leave space between plants for their mature size. Lavender, salvia, and lomandra repeat well across Australian beds. A bed planted edge to edge on day one looks full and then chokes. Space plants for the size they reach in two years. Mulch the gaps. The gaps close on their own.
Buy plants for the soil you have. A bed on sandy soil suits plants that cope with fast drainage. A bed on clay suits plants that cope with wet winters. The nursery label tells you the plant’s needs. Match the label to the bed, not the bed to the label. Read the mature size on the label, not the size in the pot. A shrub that reaches 2 m wide in a 20 cm pot is not a small shrub. It is a big shrub that is young.
6. Run the First-Season Rhythm
The first season sets the bed. New plants need steady water while their roots settle. Runners need weekly patrol. Mulch needs topping up as it settles. None of this is hard. All of it is regular.
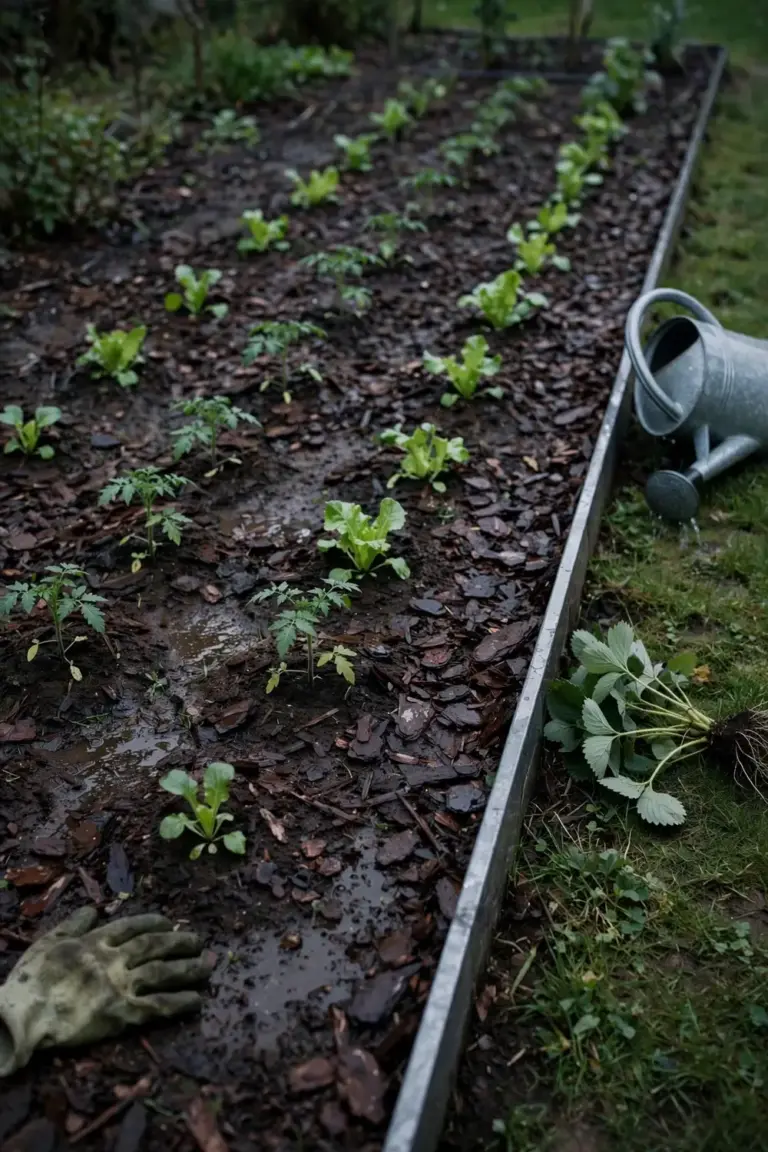
Water new plants at the root zone, not over the leaves. Check the soil with a finger before you water. Water when the top 3 cm feels dry. Deep watering twice a week beats a daily sprinkle. A sprinkle wets the mulch and leaves the roots dry, while a deep soak reaches the root zone and pulls roots down.
Patrol the edge every week, pull every runner that crosses the barrier, and pull weeds before they seed. A weed that seeds in the first season becomes a hundred weeds in the second. The weekly pull takes ten minutes on a small bed, but an hour when skipped for a month. The bed rewards the week you show up and punishes the month you skip.
Top up the mulch as it settles. Cardboard beds sink as the layers rot. Add mulch to hold the depth at 8 to 10 cm. Keep mulch off plant stems. Mulch piled against a stem holds moisture against bark and rots it. Leave a clear ring around each stem, wide as a hand.
Watch for the two first-season failures. Plants that wilt every afternoon need water, shade, or both. Plants that yellow from the base up may sit too wet. Lift the mulch and check the soil. Wet soil needs less water, more air, and a pause before the next watering. Dry soil needs a soak. The finger test answers both in seconds.
A heatwave is the first season’s hardest week. Water deeply the evening before the heat arrives so the root zone is wet when the hot day starts. Drape shade cloth over new transplants for the worst afternoons and lift it once the heat breaks, since plants in a fresh bed have shallow roots and little shade of their own. A week of 40 degree days can kill a transplant that a week of 30 degree days would only stress. The shade cloth comes off after the first season, once the plant’s own leaves do the job.
The second season runs easier. The soil has loosened, the mulch has settled, and the plants shade their own ground. The edge patrol drops to fortnightly. The watering drops to dry spells only. The bed stops being a conversion project and becomes a garden bed. That is the moment the conversion has worked.
Frequently Asked Questions
Digging clears a bed in a weekend. Solarizing takes four to six weeks in peak summer sun. Smothering takes about six months for the cardboard to break down and the grass to die. Pick the method that fits the time you have, then add the planting on top of that wait.
Yes, once the cardboard softens. Cut a cross through the cardboard at each planting spot, fold the flaps back, and set the plant into a pocket of compost. Water it in. Keep the flaps tucked under the mulch around the stem. Planting sooner works for transplants, while seeds need a compost layer on top.
Couch can push through gaps, seams, and thin spots, and its rhizomes can survive under a short smother. Overlap every sheet so no seam shows bare soil, run the smother a full six months, and patrol the edges weekly after planting. Pull every runner that appears, roots and all, before it seeds or spreads.
No. Mow the lawn short, water the soil 30 cm deep, and lay clear plastic over the wet soil with the edges sealed. The heat kills the grass and the weed seeds near the surface. Lift the plastic after four to six weeks, dig out any green runners left alive, and plant at once.
Fast crops pay back first: lettuce, radish, spring onion, and beans grow in a fresh bed while slower plants settle. Natives and shrubs suit the second planting, once the soil has loosened and the mulch has settled. Start with plants that forgive a rough bed, then add the long-lived ones.
Replace Your Lawn With a Garden Bed, One Bed at a Time
The plants are the easy part. The kill is the part that decides whether the bed stays a bed. Pick the method from the grass you have. Smother couch and kikuyu. Dig a small bed in one weekend rather than starting a big strip you cannot finish. Solarize a sunny patch in peak summer. Edge the bed deep the day you make it. Patrol the edge weekly in the first season. Compost the soil, mulch the surface, and plant by job. The lawn becomes a bed when the grass stays dead and the edge holds. Everything else is gardening.