
Mummy berry turns blueberry fruit into hard, shriveled mummies, and the 10 strategies below break its cycle before next spring. Mummy berry is a fungal disease of blueberry. Monilinia vaccinii-corymbosi causes mummy berry.
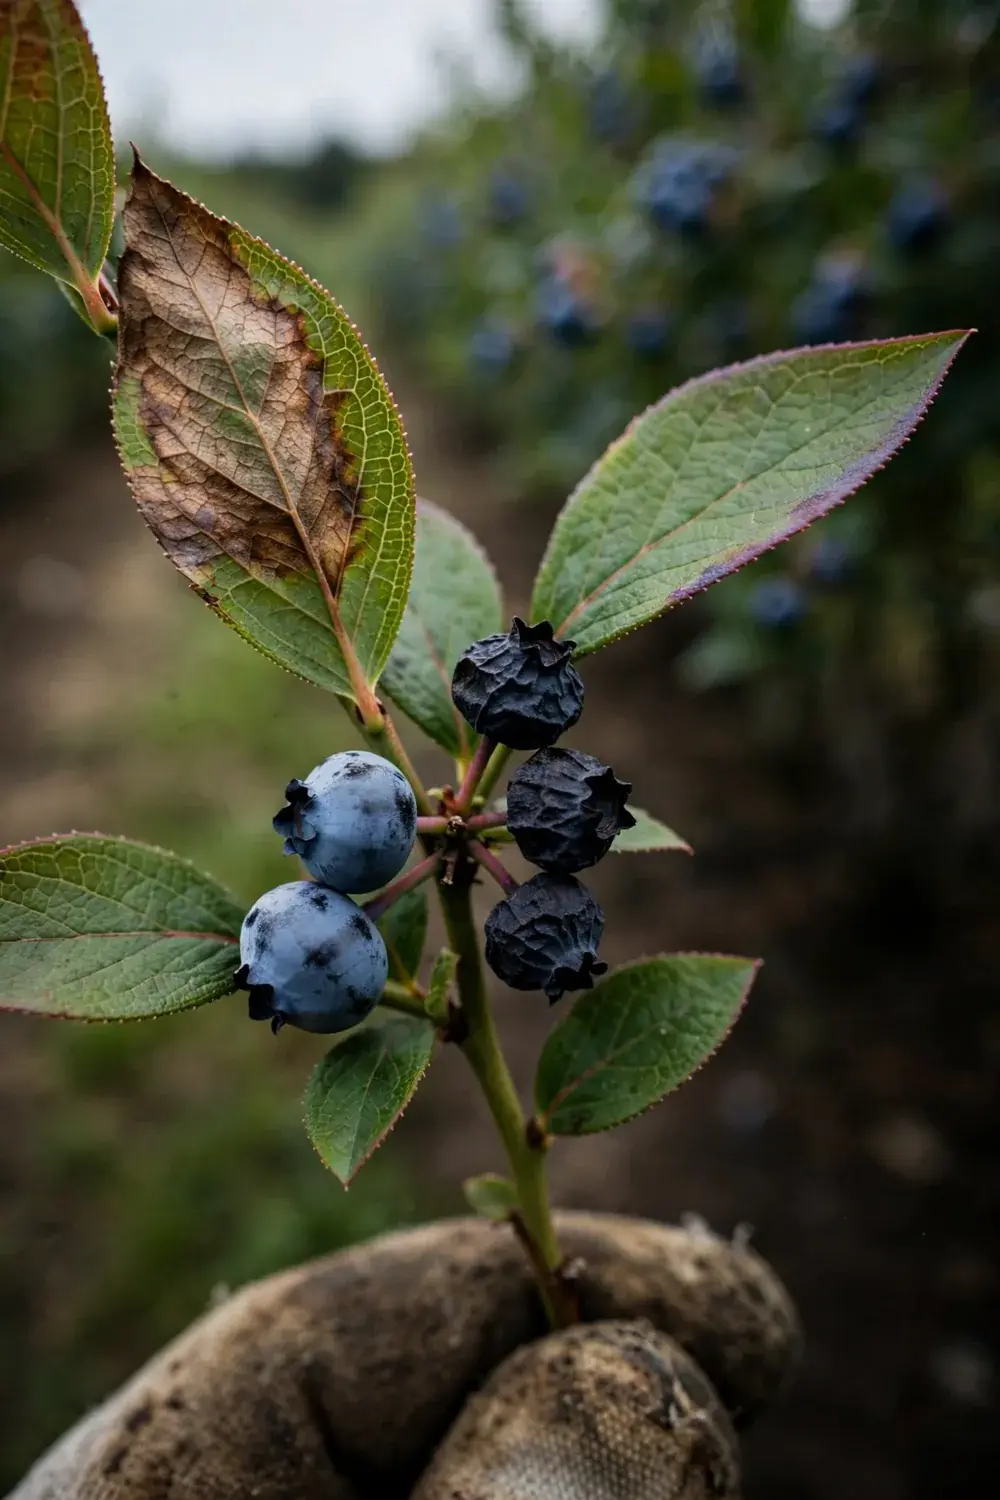
At harvest, infected berries look pinkish-tan and feel rubbery, then shrivel, drop, and harden into gray-black mummies on the soil. The shift from healthy-looking green berries to rubbery pinkish-tan fruit happens fast, and it happens while the rest of the bush looks fine. By harvest time, infected fruit already carries the fungus, and no spray saves it. The bushes survive. The fight moves to next spring.
I have learned that the ground under the bushes tells the story first, because the mummies left on the soil set up next spring. The rest of this page follows the order that works. Identify mummy berry first, then learn its two-phase cycle, then work the 10 steps from sanitation to bloom-time sprays.
What Mummy Berry Actually Is
Mummy berry is a fungal disease of blueberry. Monilinia vaccinii-corymbosi causes mummy berry. The disease moves through two phases on the same bush: shoot and blossom blight in spring, then fruit infection through bloom.
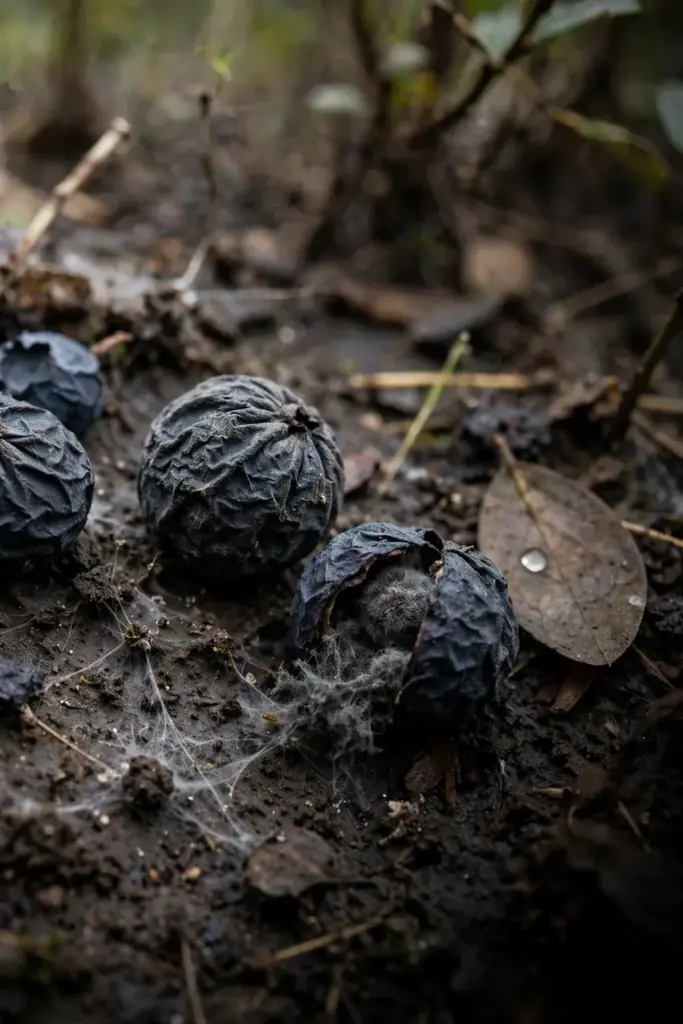
Mummy berry overwinters in mummified fruit on the ground. Spores in infected berries stay viable in or on the soil for several years, according to Penn State Extension. In spring, cup-shaped fruiting bodies grow on the mummies and release spores that infect young shoots.
Each Monilinia species stays loyal to its own host. The species that attacks one Vaccinium host does not attack another, per Pacific Northwest Extension handbooks. That loyalty matters for diagnosis. A mummy-berry-like disease on a different Vaccinium host comes from a different Monilinia species, and the control plan still starts with the same sanitation.
Brown rot on stone fruit comes from the same genus, Monilinia, and it stays a separate disease on separate hosts. Mummy berry stays on blueberry. The two diseases share a genus, and they never share a host list.
Home plantings feel mummy berry first because the bushes sit close together and the ground under them holds last year mummies. A single bush in an open yard still catches it when spores blow in from nearby plantings. The disease needs blueberry hosts, wet spring weather, and mummies on the ground. Remove one of the three, and the cycle breaks.
The fungus spreads only where blueberry hosts grow. A garden without blueberry bushes never sees mummy berry, and a garden with one infected bush can see it spread to every bush on the block. The spores travel on wind, rain, and pollinators, so a clean bed beside a dirty bed still faces pressure. The answer stays the same in every case: clean the ground, and keep it clean.
How to Identify Mummy Berry on Shoots and Blossoms
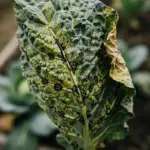
Look for sudden wilting on new leaf clusters and flower clusters in spring. A leaf cluster that browns along its veins and collapses within days fits mummy berry.
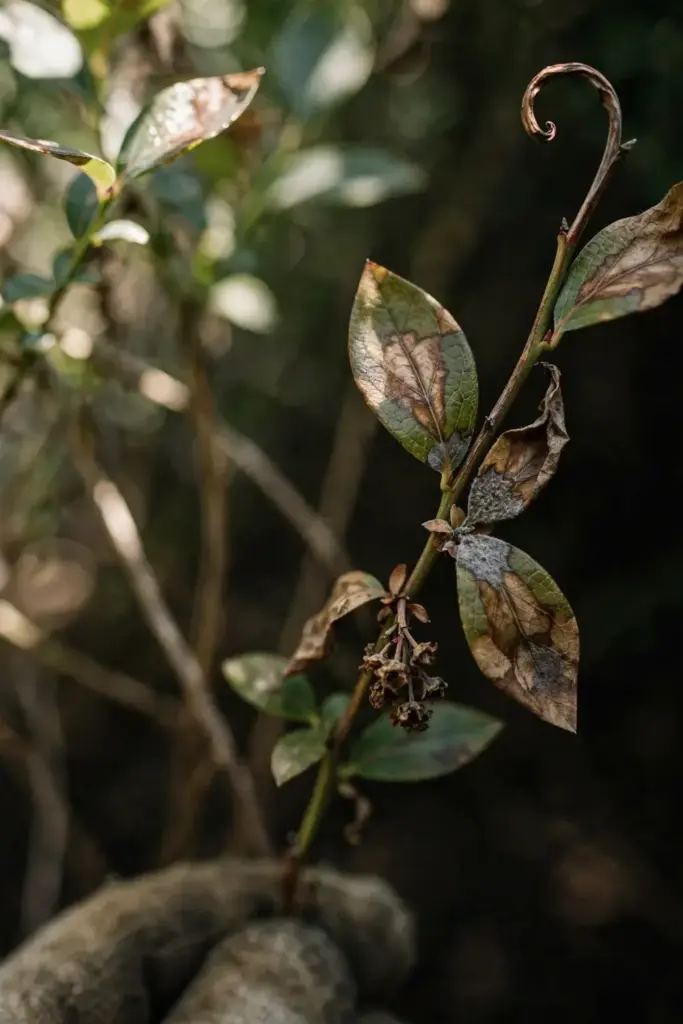
UMass Amherst describes browning along the major leaf veins on newly emerging leaf clusters, leaves that wilt fast, and twig tips that bend like a shepherd’s crook. A light gray powdery layer of spores develops at the leaf base. Dead tissue along the midrib often forms an oakleaf-like pattern.
Flower clusters brown and wither as if frosted. The look matches blossom blight on fruit trees at first glance, and the spore layer at the leaf base separates the two. Frost injury and Botrytis shoot blight look close too, and the differential section below sorts them out.
Scout from bud break. Blighted shoots keep producing conidia while they stand, and each blighted shoot feeds the bloom-time fruit infection. Clip blighted shoots when you find them, and bin the clippings. A shoot left standing through bloom spreads spores to every open flower near it.
How to Identify Mummy Berry on Fruit
Cut a suspect green berry open. White fungal growth inside a green berry confirms mummy berry before the skin shows anything.
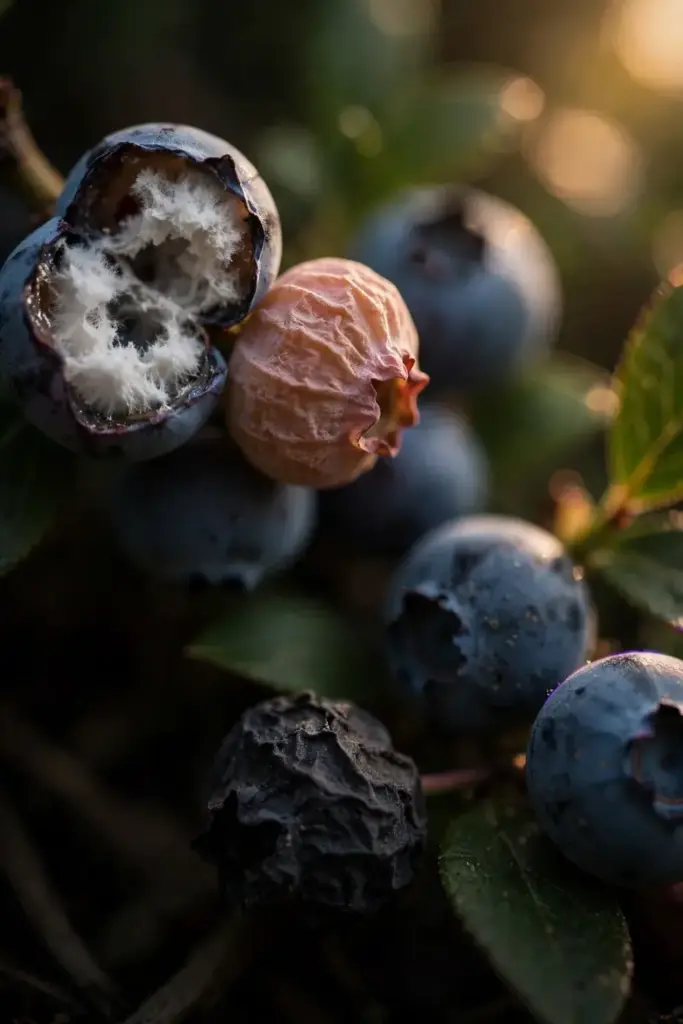
Infected green berries look healthy from outside. As berries ripen, infected berries turn pinkish-tan and slightly ridged, feel rubbery, and hold a gray to black fungal mass inside, per UMass Amherst. Infected berries fade, shrivel, and fall to the ground. After the skin weathers off, the mummified berries look like tiny black pumpkins.
Mummies feel hard and dry. Healthy berries beside them stay plump and blue. Bitter rot leaves its own mummified fruit, and the bitter rot fruit guide shows how that rot differs. Do not eat mummies. Mummy berry fruit is inedible.
Sort at the bush. Drop mummies into a bag, and never drop them onto the soil. A mummy tossed on the ground joins next spring’s inoculum. A mummy in the bag leaves the garden for good. The harvest bag carries two loads: clean fruit for the kitchen, and mummies for the trash.
Which Blueberries Get Hit Hardest
Highbush blueberry takes the hardest hit in home gardens. Rabbiteye blueberry follows, and lowbush blueberry carries mummy berry as a secondary host.
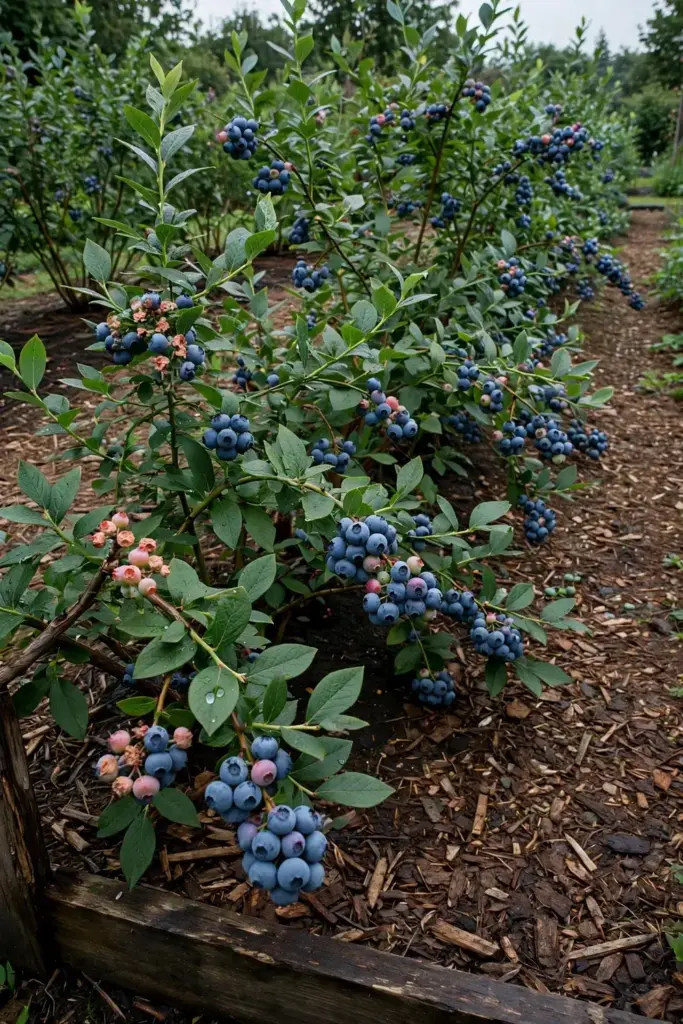
Penn State Extension lists highbush, lowbush, and rabbiteye blueberries as hosts of mummy berry. Highbush plantings dominate home gardens, so highbush losses show first. Rabbiteye plantings in warm regions carry the same cycle. Lowbush plantings, wild or cultivated, carry it too.
Variety choice shifts the odds. The Bluetta, Collins, Coville, and Darrow varieties may have some resistance, while Berkeley, Bluecrop, Blueray, Earliblue, Jersey, and Weymouth sit on the susceptible list, per Penn State Extension. Resistance differs between the shoot-blight phase and the fruit-infection phase, and resistance in one phase does not predict resistance in the other, per UMass Amherst. A variety that resists shoot blight can still lose fruit.
New plantings start with variety choice and clean ground together. A resistant variety on ground that already holds mummies still faces spores in spring. A susceptible variety on clean ground starts ahead of a resistant variety on dirty ground. Ground hygiene decides more than the catalog name.
Mummy Berry vs Botrytis Blight vs Frost Injury vs Phomopsis Twig Blight
Split a suspect berry. The split-berry check separates mummy berry from its look-alikes faster than any leaf sign.
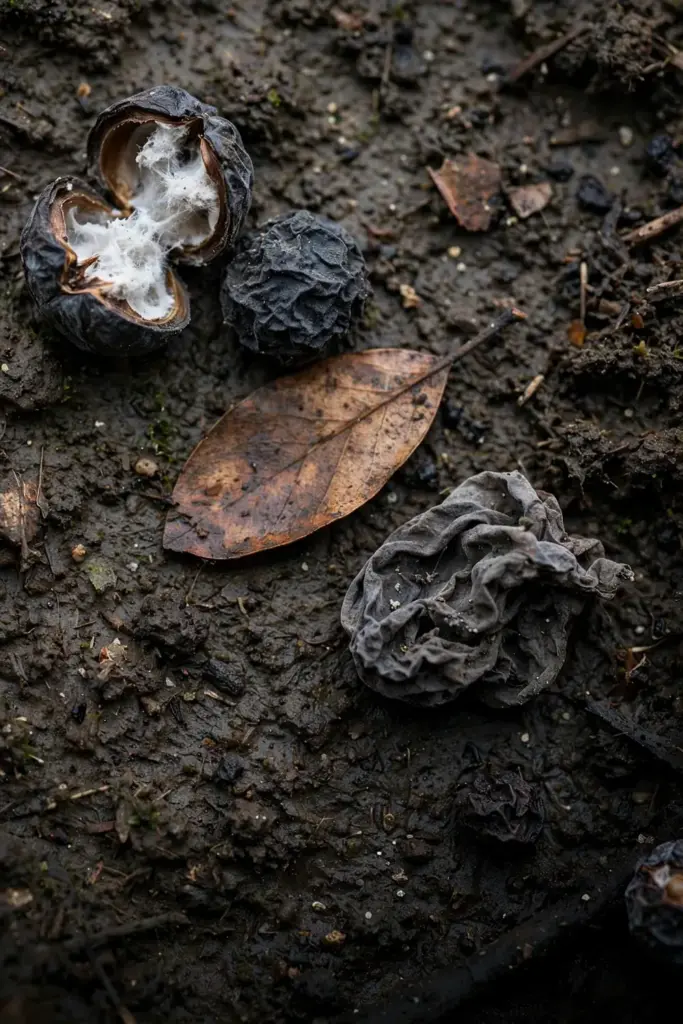
Plant Health Australia separates mummy berry from Botrytis blight and Phomopsis blight by the gray to tan powdery spore layer along the pedicel and the absence of stem cankers. The same fact sheet separates mummy berry from frost injury by the split berry: mummy berry berries look rotten and hollow inside, while frost-injured berries are rarely white inside.
| Sign | Mummy Berry | Botrytis Blight | Frost Injury | Phomopsis Twig Blight |
|---|---|---|---|---|
| Shoots and blossoms | Sudden wilt, oakleaf vein necrosis, gray powdery spore layer at leaf base | Blighted shoots and blossoms in wet weather, gray mold on soft tissue | Blackened shoots after a cold night, no spore layer | Wilting shoots above stem cankers |
| Fruit | Pinkish-tan, ridged, rubbery, then hard gray-black mummies | Soft rot, often after harvest, no hard mummies | Dark, shrunken, hollow when split, rarely white inside | Fruit rot on shoots with cankers |
| Spore layer | Gray to tan powdery spores along the pedicel | Gray mold on the fruit surface | None | None |
| Stem cankers | None | None on woody stems | None | Woody stem cankers present |
| Split-berry check | White fungal growth in green fruit, rotten hollow in ripe fruit | Soft decay through the flesh | Hollow, dark, rarely white | Rot spreading from the stem end |
| Overwintering form | Hard mummies on the ground | Dormant mycelium and sclerotia in debris | None, cold damage does not carry over | Cankers on wood |
Botrytis blight spreads through wet blossoms and soft fruit, and the Botrytis blight control guide covers its airflow and sanitation plan. Phomopsis twig blight stays a separate disease with its own cankered wood. Frost injury stays weather damage, and it never carries over to the next season.
Check more than one sign. One sign misleads. Three signs settle it. A shoot with oakleaf necrosis, a spore layer along the pedicel, and a split berry with white fungal growth inside means mummy berry. A shoot with cankers and no spore layer means Phomopsis twig blight. A dark hollow berry with no spore layer after a cold night means frost injury.
Lab tests settle the hard cases. A sample sent to a diagnostic clinic comes back with a name, and the name decides the spray plan. Field signs settle most cases, and the lab settles the rest.
Why the Two-Phase Cycle Matters So Much
One cycle drives the whole disease, and breaking it at the ground breaks next year. The cycle runs in two passes: spring shoot infection, then bloom-time fruit infection.
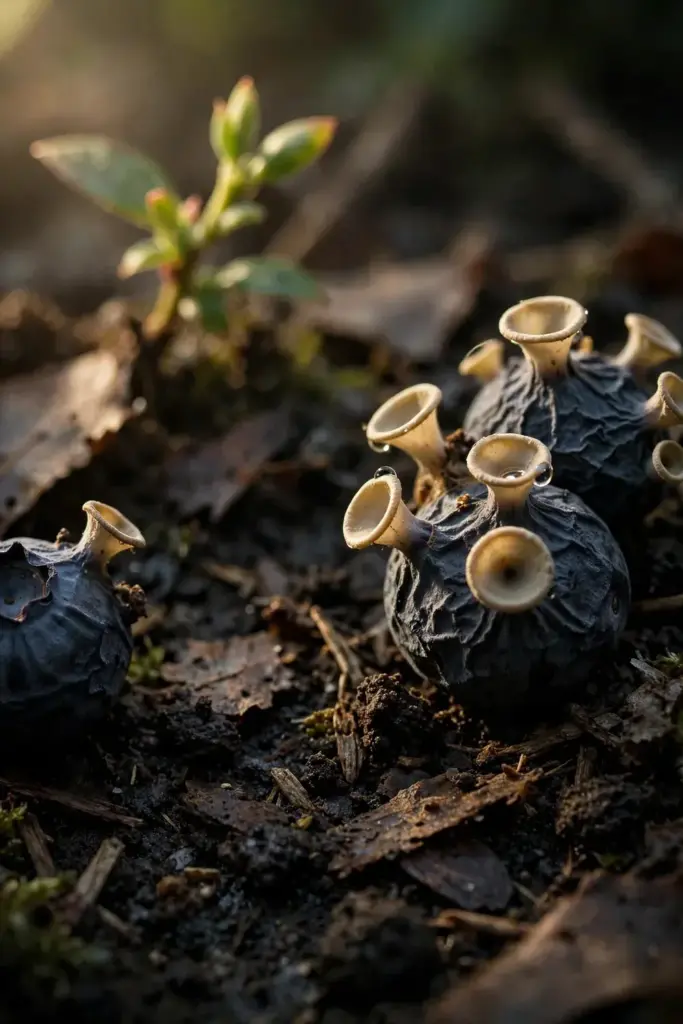
Apothecia release ascospores in spring. Ascospores infect young shoots, and the infection moves fast on soft spring growth. Blighted shoots produce conidia. Bees carry conidia to open flowers. Conidia colonize the ovary. Infected berries mummify and overwinter, and the ground under the bush holds the starting dose for next spring. Each step feeds the next, and the chain breaks wherever the work lands hardest.
Cornell berry researchers describe infected shoots as fragrant and sugar-secreting, which draws pollinators to them. The fungus mimics a flower to catch a ride. That mimicry explains why pollinators spread mummy berry while they pollinate.
Bees carry conidia and pollinate at the same time. Killing bees would cut pollination and leave the fungus in the soil. The answer targets the fungus on the ground and the flowers, and it leaves the bees alone.
The two passes explain the timing. Spring work stops the first pass, while bloom work stops the second. Miss spring, and bloom sprays carry the whole load alone. Miss bloom, and the fruit infection runs unchecked through harvest. Work both passes, and the cycle breaks at both ends.
What Makes Mummy Berry Worse in a Home Garden
Wet springs on low ground with leftover mummies set up the worst years a blueberry bed can face. Mummy berry grows more severe in low-lying areas and in years with moist spring conditions, per Penn State Extension.
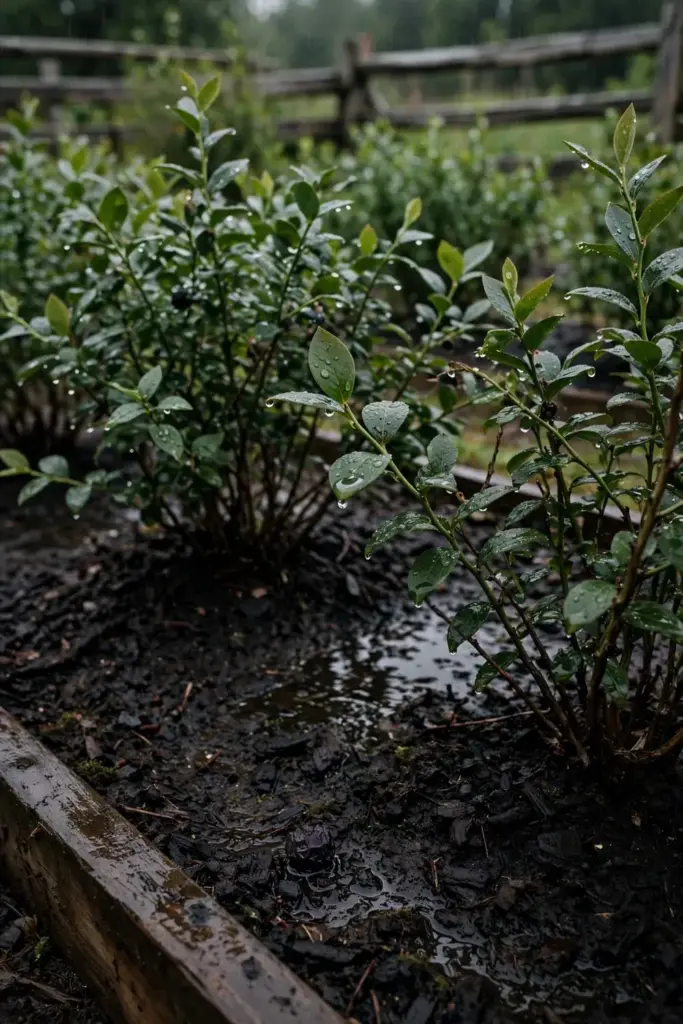
Dense canopies hold moisture and slow drying. Overhead watering wets blossoms and leaves. Rain, wind, and bees move spores to blossoms, per UMass Amherst. A bed that held mummy berry last year starts this year with spores already on the ground.
Susceptible varieties raise the risk further. A susceptible variety on low, wet ground with last year mummies still under it faces the worst odds. Each risk factor alone stays manageable. Stacked together, they build a bad year.
A bed with a mummy berry history needs the full plan every year. One clean season does not clear the ground for good. Spores in infected berries stay viable in or on the soil for several years, so the sanitation steps repeat each spring until the ground runs clean.
Step 1: Accept That This Season Is Already Lost
Stop trying to rescue this season. Spend the effort on next spring.
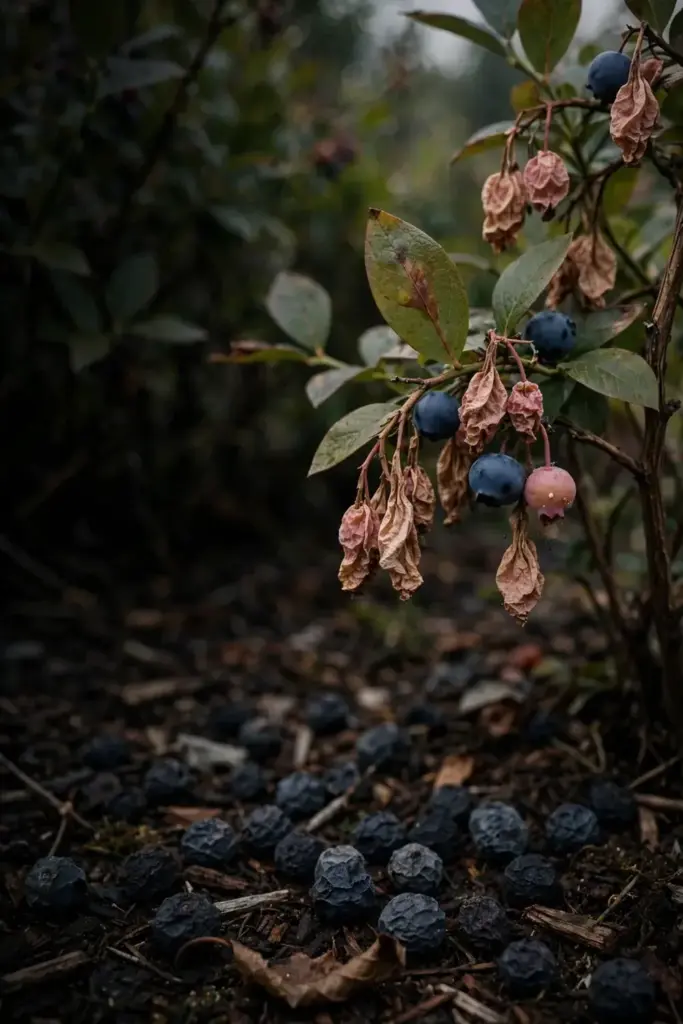
By the time most gardeners notice mummy berry near harvest, the current season crop cannot be saved, per UGA Extension. Once the fungus colonizes the ovary, no spray reverses it. Rescue sprays waste money and risk bees, and they save no fruit.
Put the season in the loss column and start the sanitation plan now, while the mummies still lie in plain sight under the bushes. Rake the mummies, mulch the ground, and mark the spring spray window on the calendar. A lost season buys a clean start when the work starts now.
Mark the worst bushes with tape, so spring scouting starts there. The bushes that lost the most fruit this year hold the most mummies under them, and spring work starts at the tape and moves outward from the worst ground.
Step 2: Rake Up and Destroy Every Fallen Mummy
Rake every fallen mummy off the soil before bud break, then destroy them. Mummies on the ground grow apothecia in spring.
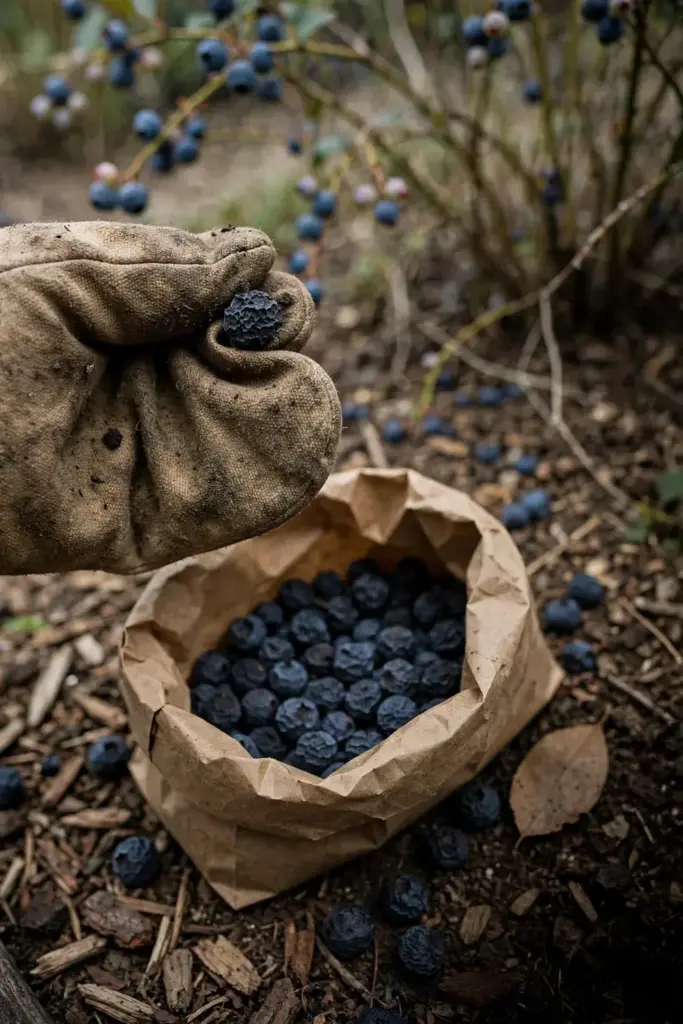
Rake under each bush and between rows. Pick the mummies into a bag, and keep them off the soil. Bagged mummies go in the trash, or burn them where burning is allowed. Burying works too, and the next step covers the depth.
Do not compost mummies. Composting keeps the spores in the garden. Bagged mummies leave the garden for good. The harvest bag carries two loads: clean fruit for the kitchen, and mummies for the trash.
Rake twice: once after leaf fall, and again before bud break. The fall pass clears the bulk. The spring pass catches the stragglers that dropped late. Two passes leave fewer mummies than one pass, and each mummy left behind grows cups in spring.
Step 3: Bury the Mummies You Cannot Pick Up
Bury the mummies you cannot pick up under at least 5.1 cm of soil or fresh mulch. Penn State Extension calls for covering old berries with at least 5.1 cm of soil by disking between rows or adding 5.1 cm of new mulch.
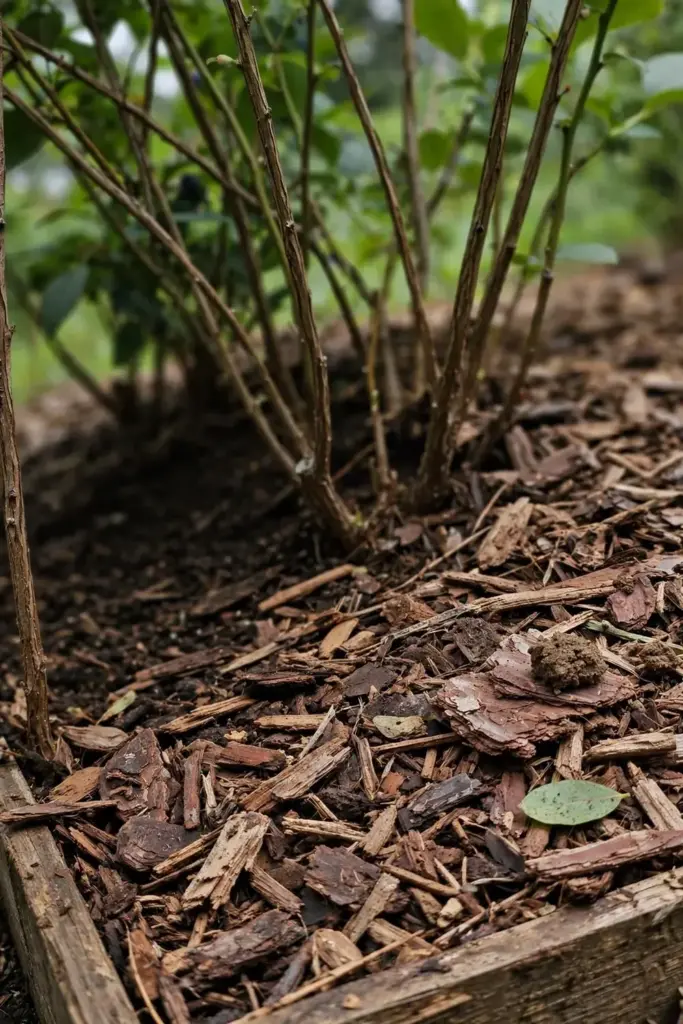
Apply the layer before bud break, before apothecia release spores. Fresh mulch over raked ground seals the stragglers. Soil works the same way between rows.
A thin layer fails. Cups push through a skim of mulch and release spores on schedule. Measure the layer, and top it up where it runs thin. Foot traffic thins mulch along the paths, so check those strips first.
Step 4: Cultivate Shallowly Before Bud Break
Cultivate shallowly between rows and under bushes before bud break, turning just the top layer of soil. Shallow cultivation breaks up apothecia and buries mummies.

Penn State Extension lists clean cultivation as a control: remove and dispose of fallen leaves and old berries, and cultivate between rows and under plants. An application of urea fertilizer or a shallow cultivation before bud break kills some exposed apothecia.
Stay shallow. Blueberry roots run near the surface, and deep cultivation cuts them. A light pass with a trowel turns the top layer and leaves the roots alone.
Penn State Extension advises cultivation between rows and under plants after each hard rain, per the same Penn State Extension guidance. Rain exposes fresh mummies and settles mulch. A pass after a hard rain re-buries them.
Step 5: Time the Urea Treatment With Care
Use urea only when apothecia start to emerge, and keep it off standing water. Timing decides whether urea works at all.
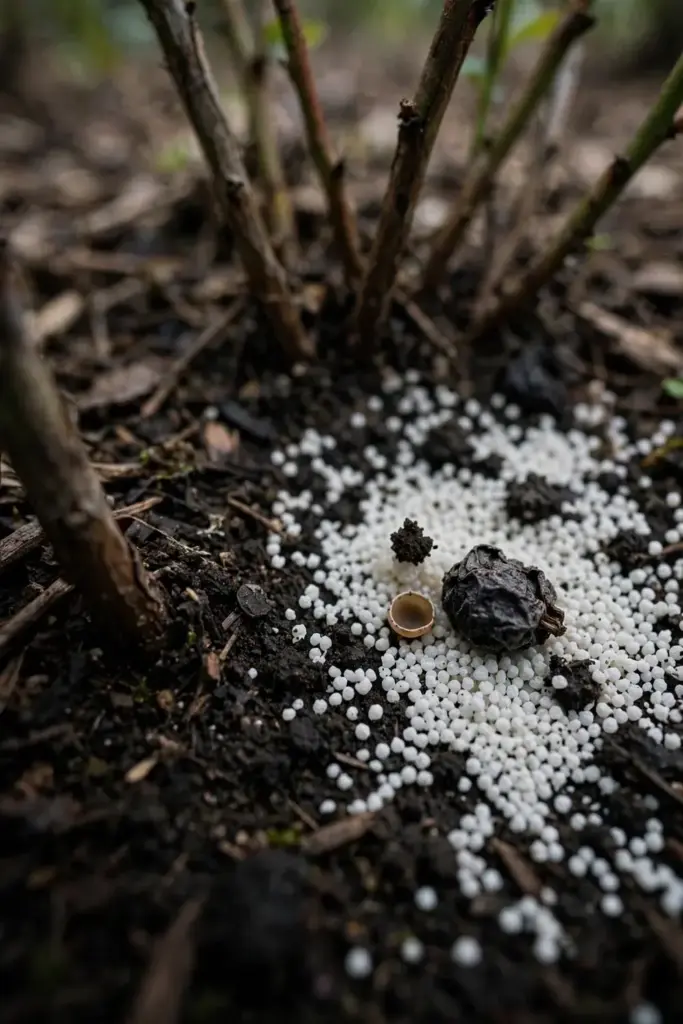
Combining cultivation between rows with 50% urea prills in spring destroys mummies, per UMass Amherst. Apply the urea as apothecia start to emerge in spring, and never before blueberry bud break. Urea stays off areas with standing water, where it causes fertilizer burn.
A mistimed application misses the cups. Watch the ground under the bushes as bud break nears, and treat when the cups first show. Skip the treatment when the ground stands wet.
Urea is a supplement, and it never replaces raking and mulching. Raking removes the bulk. Mulch seals the rest. Urea burns the apothecia that escape both. A bed that skips raking and leans on urea alone keeps most of its mummies.
Step 6: Hand-Pick Infected Fruit on Small Plantings
On a small planting, hand-pick infected fruit through the season. Hand-picking suits a few bushes, and it fails on a large row.
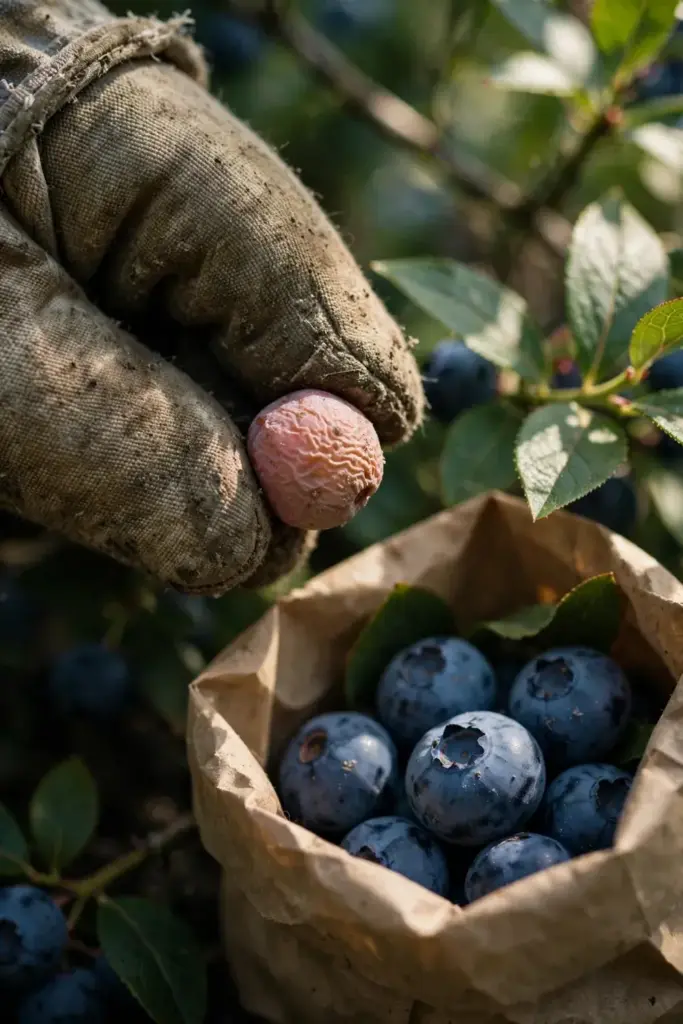
In very small plantings, infected fruit can be hand-picked and mummies raked up and removed, per UMass Amherst. Pick infected berries into a bag, and keep them off the soil. Check the bushes each week while fruit colors.
A dropped infected berry reseeds the ground. The bag leaves the garden. The ground under a hand-picked bush stays cleaner each week.
Hand-picking trains your eye. You will spot shoot blight early next spring, and you will know which bushes need the closest watch. The weekly walk doubles as scouting, and scouting catches the next outbreak early.
Step 7: Plant Resistant Varieties for the Next Round
When you add bushes, plant varieties with some resistance. Resistance helps, and it never replaces sanitation.
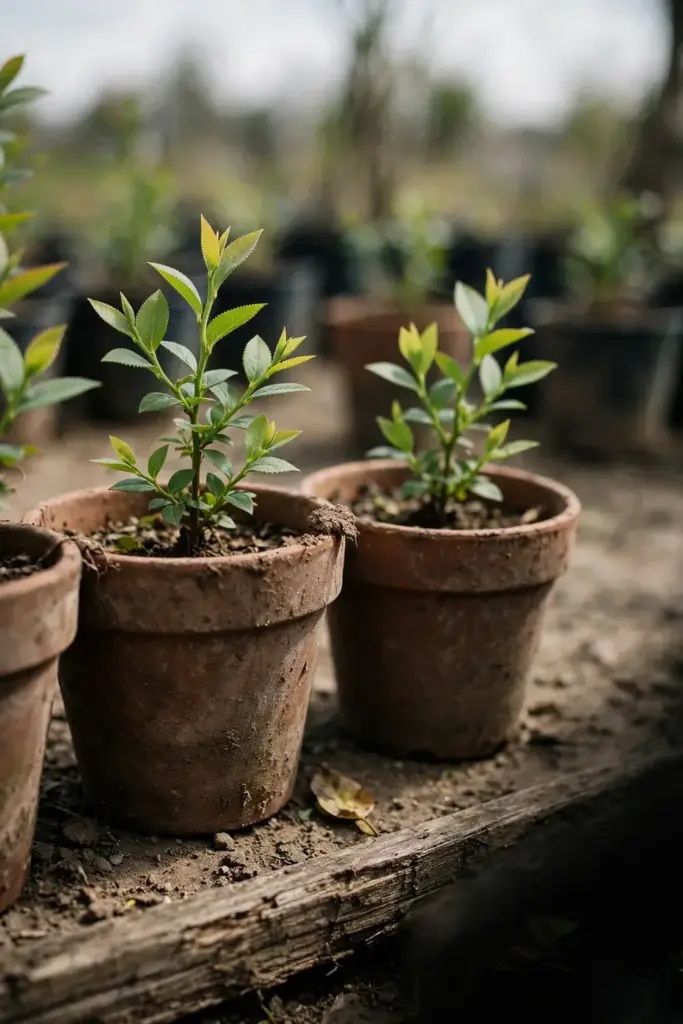
The Bluetta, Collins, Coville, and Darrow varieties may have some resistance, per Penn State Extension. Check catalog claims against Extension lists before buying, since marketing names shift. A resistant variety on clean ground starts ahead.
Resistance differs between phases. A variety that resists shoot blight can still lose fruit, per UMass Amherst. Plant the resistant variety, and run the sanitation steps anyway.
Order resistant varieties early. Nurseries sell out of the named varieties first. A spring planting on clean ground with a resistant variety and fresh mulch starts the new bed ahead of the cycle.
Step 8: Fix the Site and the Airflow
Give bushes air, drainage, and space. Mummy berry grows more severe in low-lying areas, per Penn State Extension.
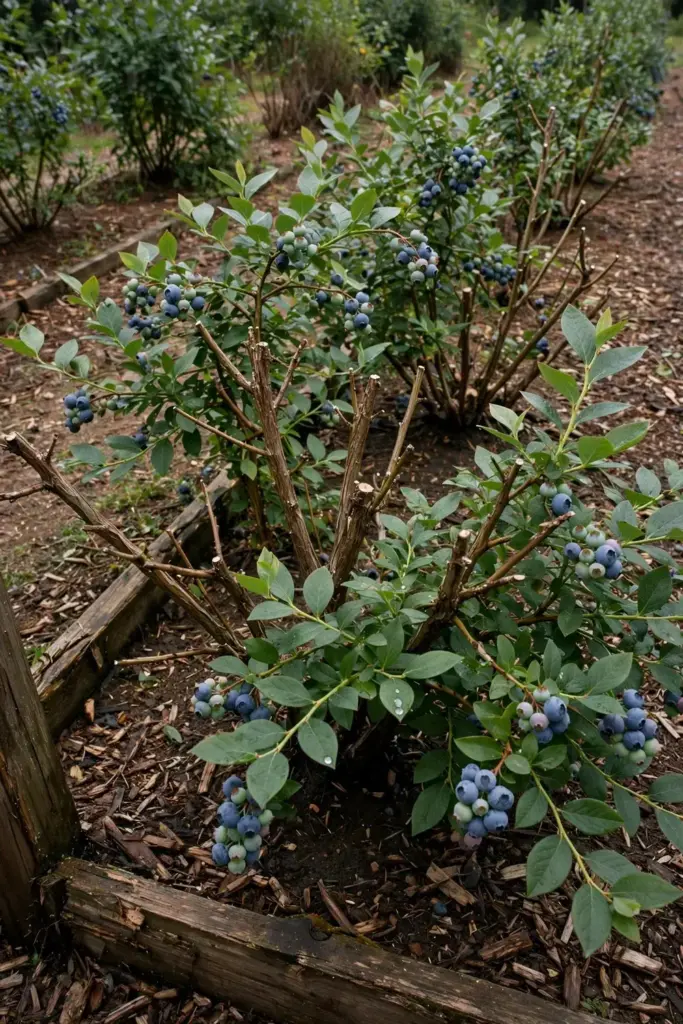
Plant on high ground with drainage that never ponds. Space bushes so air moves between them. Open centers dry faster after rain. The spring pruning techniques guide shows the cuts that open a bush.
Water at the base. Overhead watering wets blossoms and leaves, and wet blossoms catch spores. Drip lines or soaker hoses keep the foliage dry.
New beds go on high ground. Old beds get drainage work. A bed that ponds after rain holds spores in wet soil, and wet soil grows apothecia on schedule. Fix the drainage, and the bed dries faster after every storm.
Step 9: Watch Forsythia Bloom as Your Spring Alarm
Use forsythia bloom as the spring alarm. When forsythia opens, apothecia release spores.
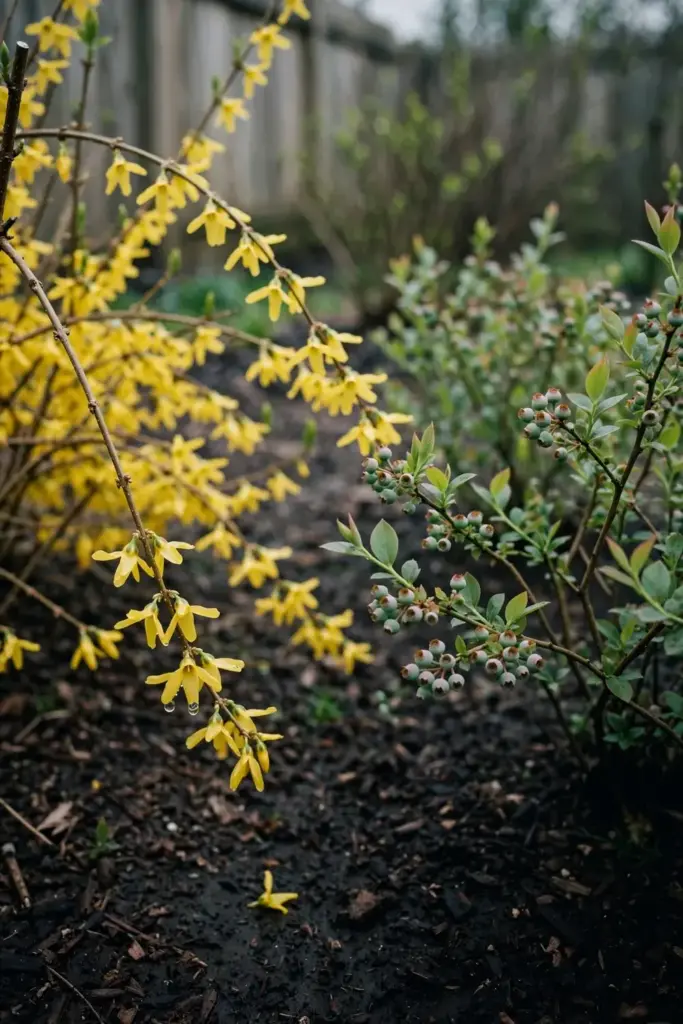
Apothecia form around the time forsythia blooms, per UMass Amherst. Apply the mulch layer in early spring before spore release, at forsythia bloom. Scout the bushes from bud break for wilting clusters.
A missed forsythia bloom means cups already release spores. Set the alarm a week early, and walk the rows when the first yellow flowers open.
Scout records help. Write down the forsythia date each year, and the mummy count at spring raking. The records show whether the plan works. A falling mummy count means the ground runs cleaner each year.
Step 10: Use Sprays Last, With Labels and Bees in Mind
Spray only as a timed shield, and read the label first. Sprays protect healthy flowers. Sprays never cure infected fruit.
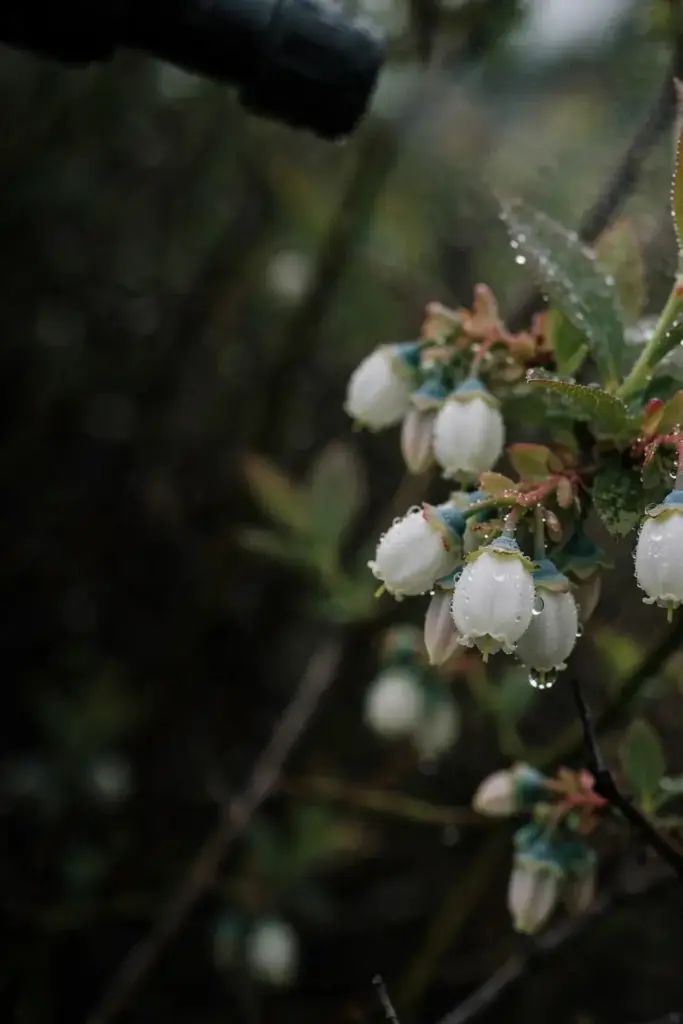
Fungicides go on at bud break, with follow-up at 10- to 14-day intervals through bloom, per Penn State Extension. UGA Extension places the window from soon after bud break at green tip or less than 5% open bloom through the end of bloom, with Captan 50WP every 7 to 10 days through bloom. A product with Bacillus subtilis, sold as Serenade, gives fair control at the shortest labeled intervals.
Insecticides never go on during bloom. Insecticides harm the bees that pollinate blueberry flowers, per UGA Extension. Read the label for the home-garden rate, and check local Extension guidance before spraying. Sanitation carries the plan, and sprays back it up.
Spray in calm weather, and keep the spray off open water. Wear the protective gear the label lists. A notebook entry with the spray date and the product name keeps the next application on schedule. A timed shield needs a steady hand and a label in reach, and it needs the bees left alone.
Living With Mummy Berry Damage
Keep the bushes. Mummy berry costs fruit, and it leaves the bushes standing. Wild blueberry Extension guidance notes no long-term damage to plants from mummy berry.
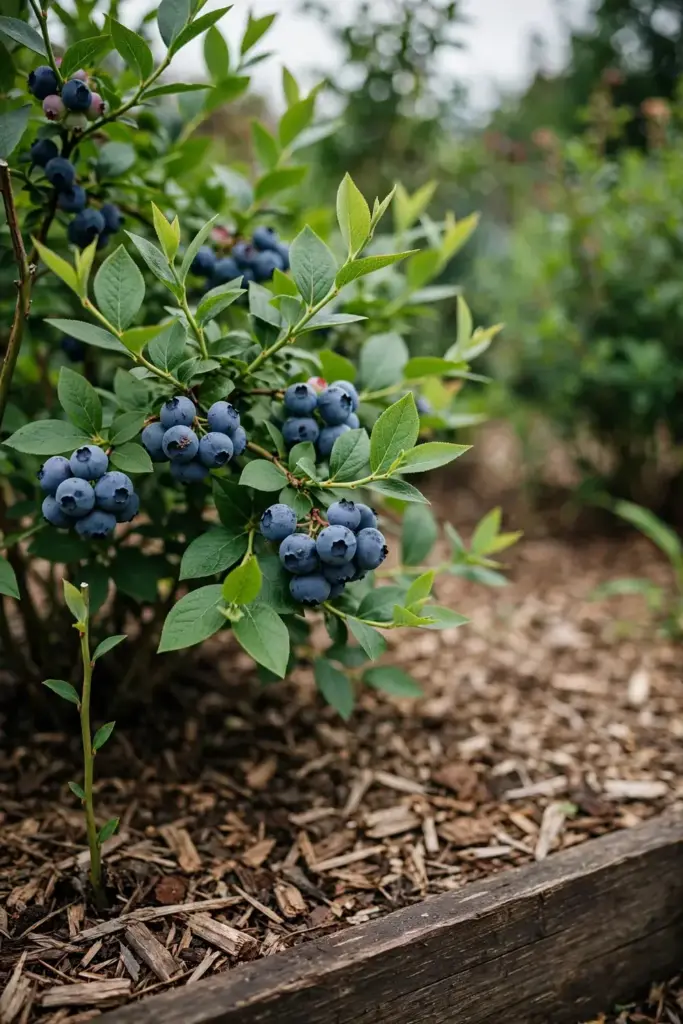
Pick the healthy berries and leave the mummies. Wash the harvest. Clip blighted shoots when you see them, and bin the clippings. A bush that lost fruit one year crops again the next, once the ground runs clean.
Mummy berry does not end a blueberry planting. The bushes leaf out again next spring. The ground decides the next crop, and the ground is the part you control.
When a bush crops poorly year after year despite clean ground, replace it with a resistant variety. A fresh bush on clean ground with fresh mulch starts ahead of the cycle. The old bush leaves the garden with its mummies, and the new bush takes its place.
Keep notes through the season. A short note on which bushes lost fruit, and when the first blighted shoot showed, guides next spring’s scouting. The note takes a minute, and it saves a walk.
Frequently Asked Questions About Mummy Berry
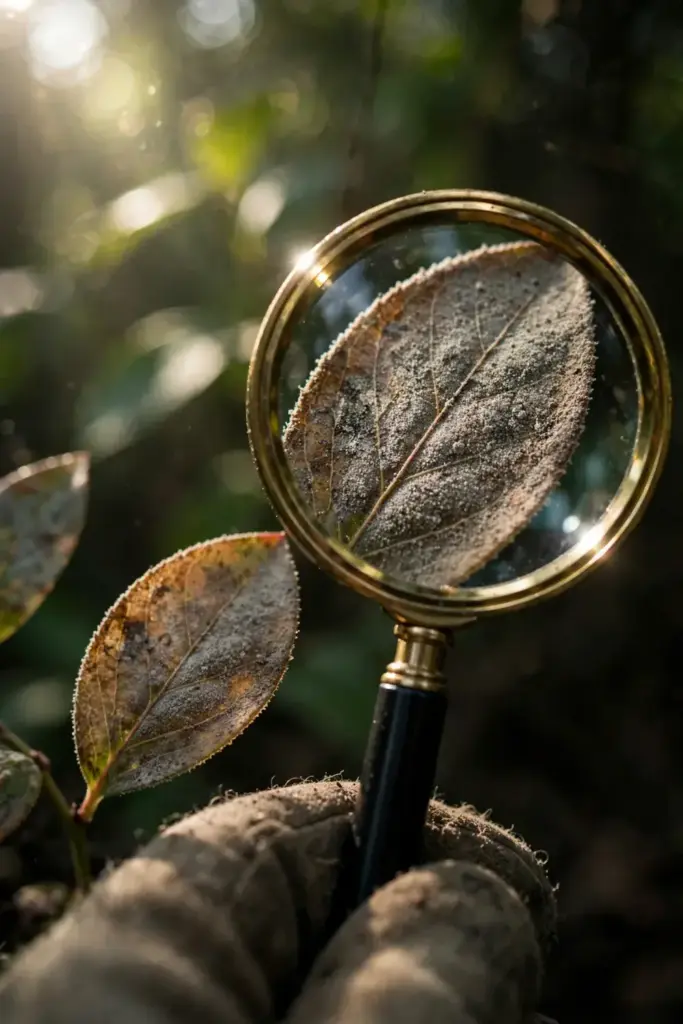
No. Infected berries are inedible, and mummies belong in the trash. Healthy berries on the same bush stay edible. Pick the plump blue berries, leave the shriveled ones, and wash the harvest. Mummy berry harms fruit quality, and it never makes healthy berries unsafe. When in doubt, cut the berry open. White fungal growth inside means the bin, and clear flesh means the bowl.
No. Mummy berry costs fruit, and the bushes survive. Blighted shoots die back, and the bush leafs out again. The disease steals the crop, and it leaves the plant standing. A bush that loses fruit one year can crop again the next, once the ground runs clean. The long view matters more than one bad harvest. Sanitation this year protects next year fruit, and the bush itself needs no rescue.
No. Composting keeps the spores in the garden. Mummies carry the fungus through winter, and compost returns the spores with the finished compost. Bag mummies and trash them, burn them where burning is allowed, or bury them deep under soil or mulch. Keep mummies out of the compost pile and off the soil surface. Clean ground is the whole point.
No. Insecticides never go on during bloom, and they do not stop mummy berry. Bees carry conidia to flowers, and bees also pollinate the flowers. Killing bees would cut the crop without touching the fungus in the soil. The fungus overwinters in mummies on the ground, and sprays aimed at insects miss it entirely. Target the fungus. Clean the ground, bury the mummies, and shield the flowers with a labeled fungicide at bloom.
Split a suspect berry. Mummy berry berries look rotten and hollow inside, while frost-injured berries are rarely white inside. Check the shoots too. Mummy berry shows an oakleaf-like pattern along the midrib and a gray powdery spore layer at the leaf base. Frost injury blackens shoots after a cold night with no spore layer. The split-berry check settles most cases. A lab confirms the rest.
Where to Go From Here
Walk the rows today. Pick up every mummy, and mark forsythia bloom on the calendar.
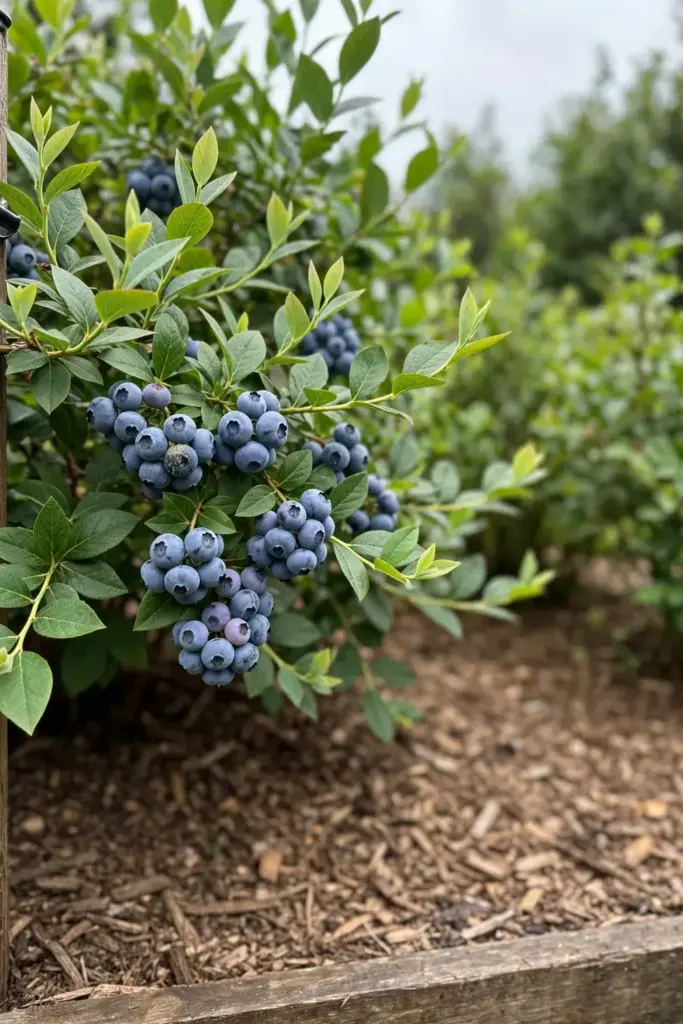
Rake the ground, lay the mulch, and plan the spring spray window. The work runs in one order: clean ground first, then resistant varieties, then timed sprays.
Next spring starts on the ground under the bushes. The bushes will bloom again. The mummies will not, once the ground runs clean.