
Ovulinia petal blight turns healthy azalea and rhododendron blooms into slimy brown masses within 2 to 3 days of the first spot. The fungus behind it is Ovulinia azaleae, and it attacks petals only. The 9 strategies below save the blooms you still have and cut next year’s infection at the source.
Azalea and rhododendron share one genus, Rhododendron. One disease covers both hosts on this page. Camellia petal blight follows nearly identical biology on camellias, and it is a different disease on a different host. I have learned to check the lowest blooms first, because the spots show up there first.
The rest of this page is 9 moves, from the triage call to a compost rule that protects next spring. Read the identification sections first if blooms still stand. Start at Step 1 if the display already failed.
What Ovulinia Petal Blight Actually Is
Ovulinia petal blight is a fungal disease of azalea and rhododendron blooms. The pathogen is Ovulinia azaleae. It infects petals only. Leaves stay healthy.
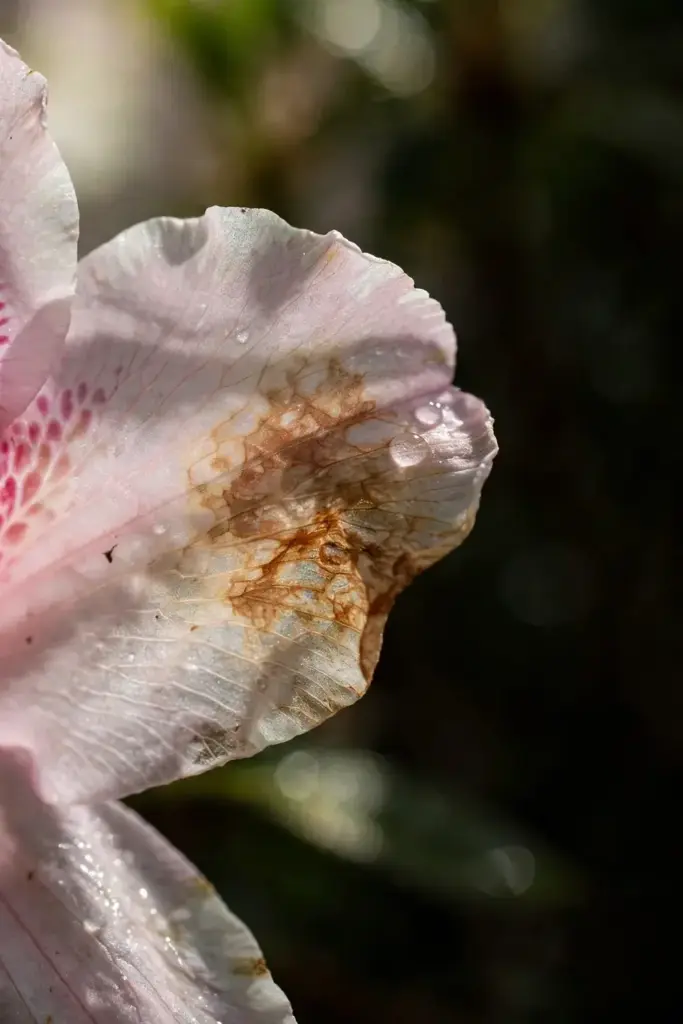
Infected petals show small water-soaked spots about 1 mm across, sometimes before the petals fully open. The spots enlarge fast and turn the whole petal slimy and limp. An infected bloom can collapse within 2 to 3 days of opening. The Pacific Northwest Pest Management Handbook page on Ovulinia petal blight puts the first spots at about 1 mm, the collapse at 2 to 3 days after full opening, and the formation of survival bodies at about 8 weeks later.
Most azaleas and rhododendrons are susceptible, and the disease takes any type whose bloom window lands in wet weather. The fungus develops during rainy periods at flowering time, and it needs both wet petals and inoculum waiting below. A dry bloom season starves it. A wet bloom season feeds it.
Mountain laurel blooms are susceptible when they grow close to infected rhododendrons. The same sanitation steps protect them.
The fungus does not travel through the shrub. It cannot move from a blighted bloom into the stem below it. Each bloom infects on its own, from spores that land on wet petals. That is why a shrub can carry ruined blooms and clean leaves at the same time.
How to Identify Ovulinia Petal Blight on Azalea Blooms
On azalea blooms, Ovulinia petal blight starts as small water-soaked spots. On colored petals the spots look pale or white. On white petals they look brown.
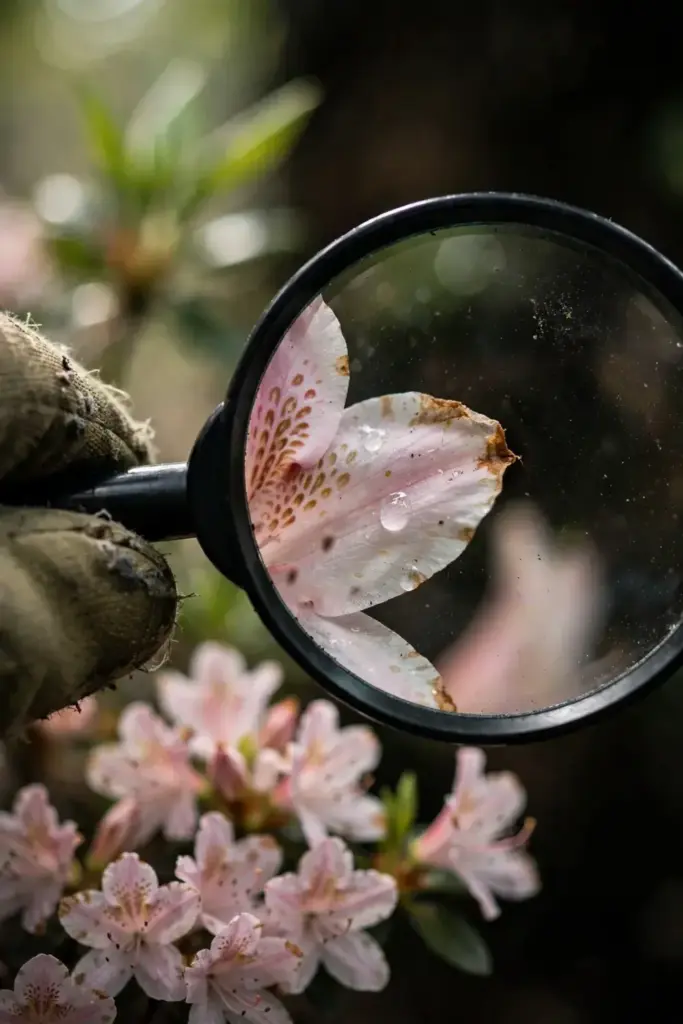
The Washington State University Hortsense fact sheet on Ovulinia petal blight notes that the disease affects flowers only, never leaves or shoots, and that flowers on lower branches are affected first. Petals turn slimy and brown, sometimes within 2 to 3 days after fully opening.
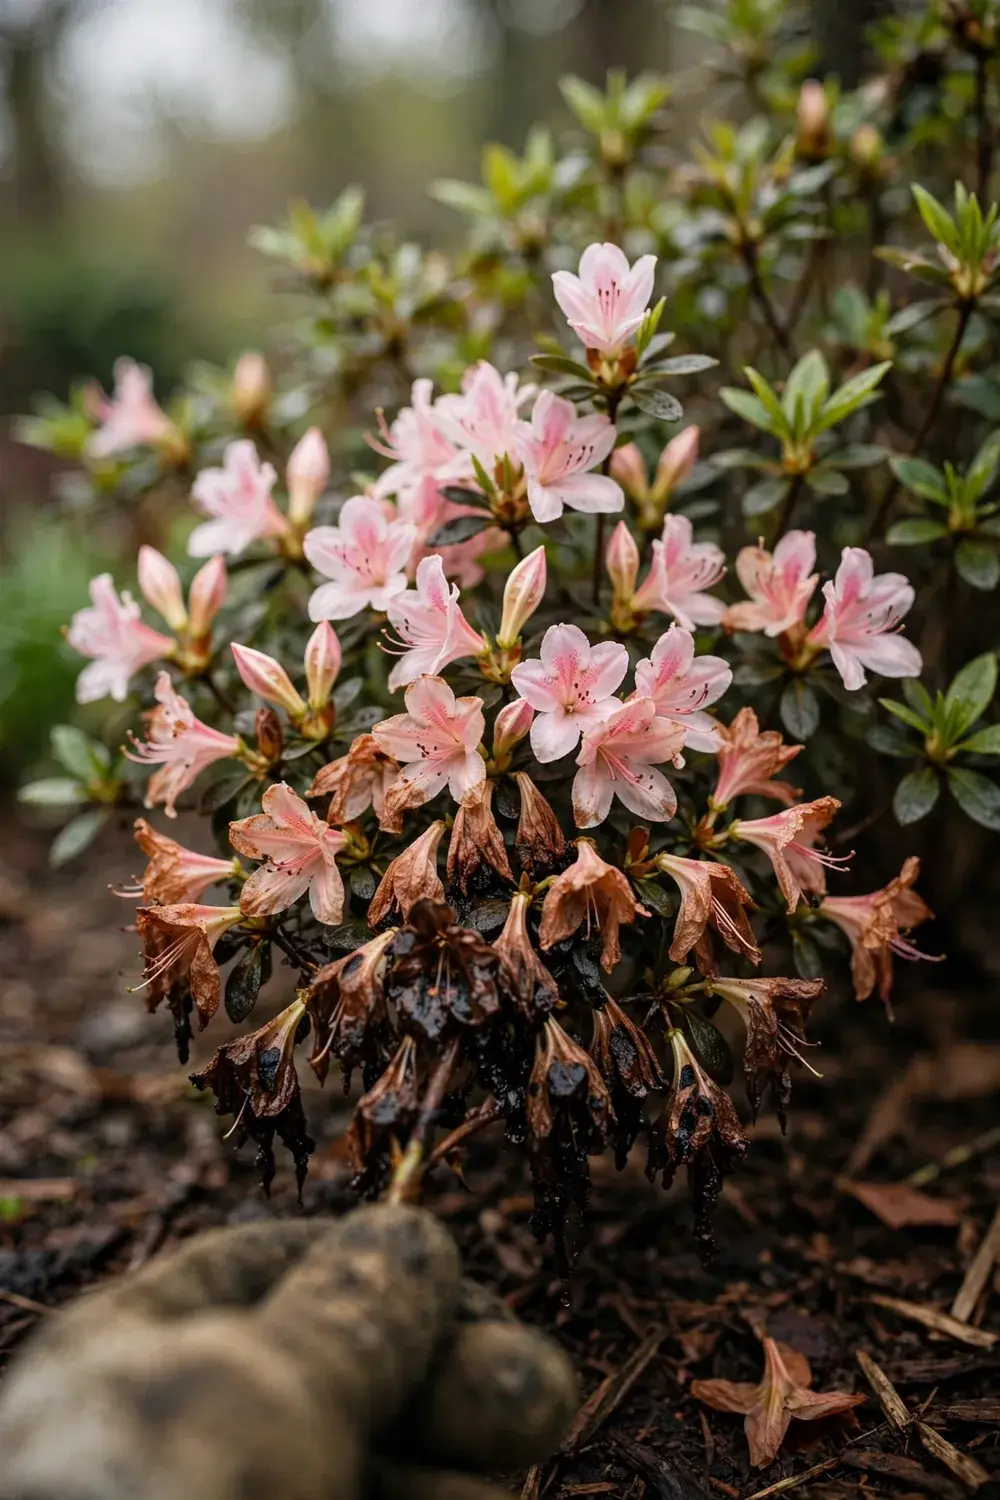
Spots enlarge fast from that first pinprick. The whole petal goes slimy and limp, then the whole bloom follows. Infected azalea blooms dry and cling to the plant longer than healthy blooms do, so a shrub past peak bloom still wears its dead flowers.
Check the lowest blooms first on every shrub. The lowest blooms sit closest to the mulch reservoir below, and they show spots days before the upper blooms do. A shrub with spotted lower blooms and clean upper buds still has time for the steps below.
Bring a bag on the first check. A spotted bloom left on the ground under the shrub counts as a missed bloom, because sclerotia form on fallen petals too. Pick the fallen ones off the mulch with the ones still hanging.
How to Identify Ovulinia Petal Blight on Rhododendron Blooms
On rhododendron blooms, the same sequence plays out across the truss. Spots start on the lowest flowers of the truss and spread upward through blooms that opened later. Nearly all flowers on a plant become infected when disease conditions are at their best.
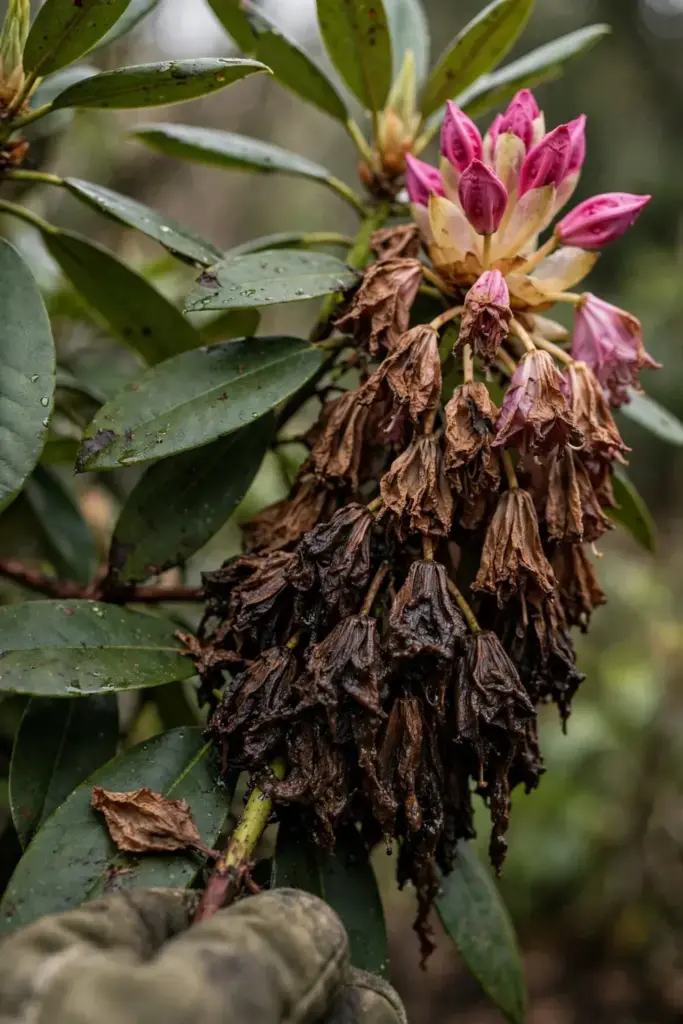
An entire truss can rot within days under wet weather. The petals go slimy and limp, then brown, then dry and cling. A truss that should carry a bold ball of color ends up carrying a brown husk that refuses to drop.
Leaves stay green and firm while the blooms rot. Azalea leaf gall thickens leaves into fleshy growths, and it never turns petals slimy. A shrub with rotting blooms and healthy leaves points at petal blight, not at a leaf disease.
Watch the unopened buds on an infected truss. Spots can appear on petals before they fully open, so a bud that looks dull or spotted at the tip is already lost. Pull it with the rest of the infected blooms instead of waiting for it to open.
A truss rots from the bottom up. The bottom flowers open first and sit closest to the mulch, so they catch the first spores. The top buds open later and catch the second wave. When the bottom of a truss shows spots and the top still looks clean, check the top daily.
Which Azaleas and Rhododendrons Get Hit Hardest
Most azaleas and rhododendrons are susceptible, and damage tracks the weather during bloom, not the cultivar name. A type that blooms through a rainy week suffers more than the same type blooming through a dry week. The bloom calendar decides the damage.
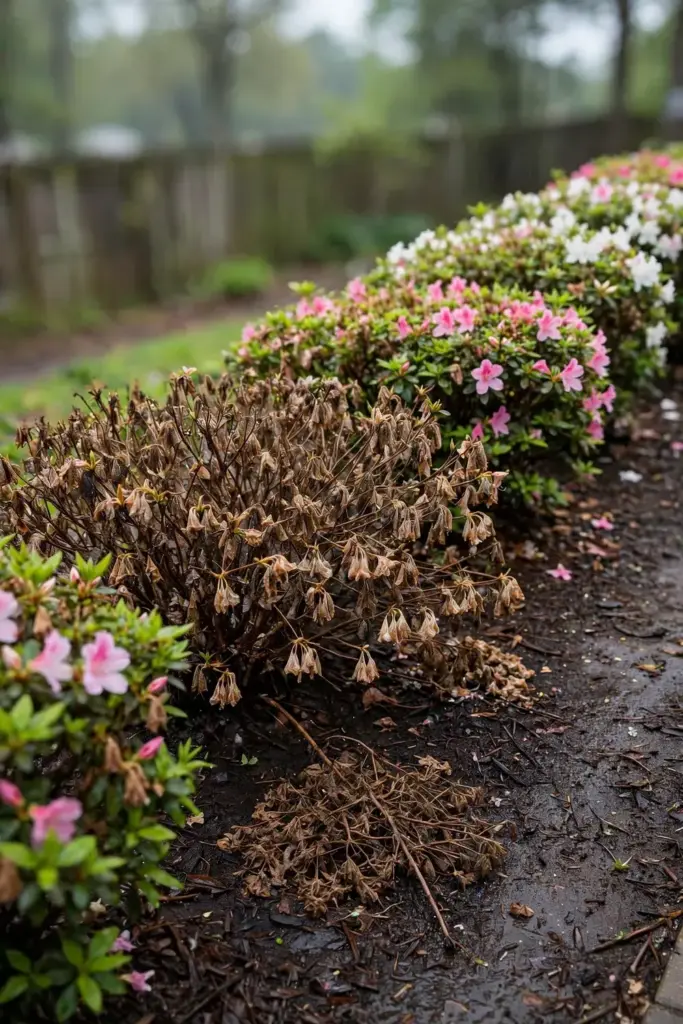
Azaleas bloom low and dense, with many small flowers packed near the mulch. That layout puts the first blooms within splash range of the soil below. A wet week at azalea peak turns a whole bed fast, because the lowest blooms seed the ones above them in days.
Rhododendron trusses pack many blooms together, so one infected truss seeds its neighbors fast. Wind carries spores between blooms, and flower-visiting insects, especially bumble bees, carry them too. A single infected truss in a row of rhododendrons becomes a row problem without a picking round.
New plantings carry fresh risk. A new azalea or rhododendron can arrive with the fungus already in its potting soil, and its first bloom can seed a bed that never had the disease. Step 7 covers the fix for new purchases.
Greenhouse-grown azaleas face the same disease under glass. The Pacific Northwest handbook notes the disease matters on greenhouse-grown azaleas as well as field-grown plants. A greenhouse holds humidity longer than a garden bed, so a glasshouse bloom season needs the same picking round and the same airflow.
Ovulinia Petal Blight vs Botrytis Petal Blight
Slimy, fast, and blossoms-only means Ovulinia petal blight. Drier, slower, and fuzzy gray on leaves too means Botrytis petal blight.
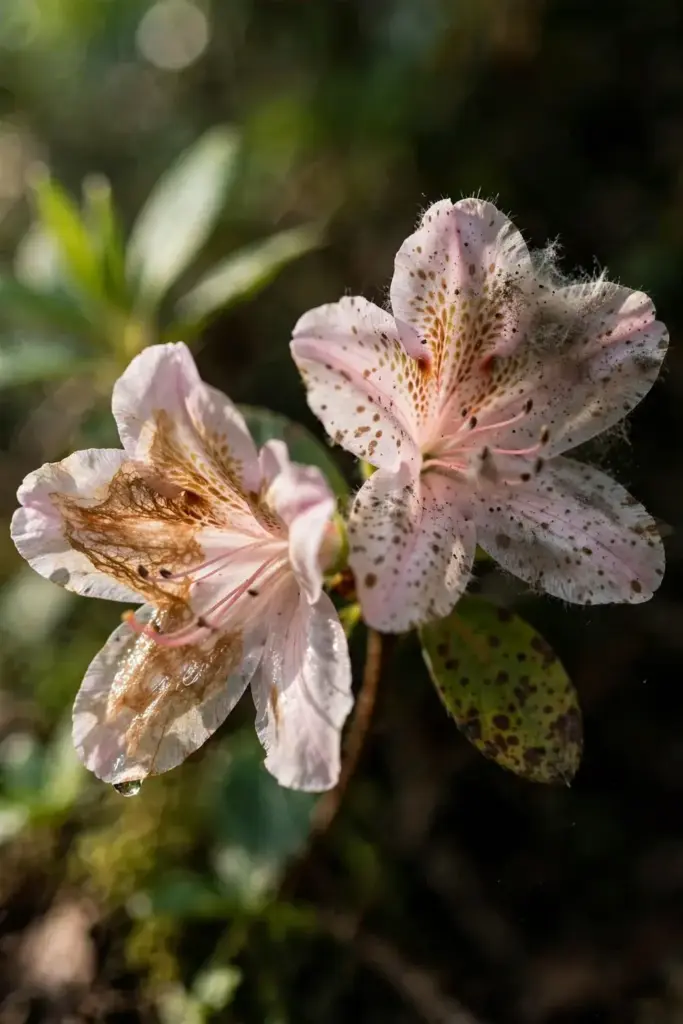
The Pacific Northwest Pest Management Handbook page on Botrytis petal blight notes that Botrytis spots do not enlarge as much or as quickly as Ovulinia spots, and that small water-soaked lesions on petals develop a characteristic gray-brown fungal growth. Botrytis also colonizes leaves, producing brown water-soaked spots that grow the same gray-brown spore mass.
| Clue | Ovulinia Petal Blight | Botrytis Petal Blight |
|---|---|---|
| Pathogen | Ovulinia azaleae | Botrytis cinerea |
| Where it strikes | Blossoms only; the rest of the shrub stays healthy | Blossoms plus dying or inactive green tissue, including leaves |
| Speed | Spots enlarge rapidly; a bloom can collapse within 2 to 3 days of opening | Spots enlarge less and more slowly |
| Look and feel | Petals turn slimy, limp, and watery, then brown | Drier rot with a gray-brown fuzzy spore mass on the lesions |
| Sclerotia | Black, flattened, irregular resting bodies about 3 to 13 mm long | Similar black sclerotia, so sclerotia alone never separate the two |
| Field test | Slimy plus blossoms-only plus fast | Dry plus fuzzy gray plus green tissue involved |
Both fungi make similar black sclerotia, so sclerotia alone never separate them. Speed does. Slime does. The tissue range settles it. A fast slimy rot that never touches a leaf is Ovulinia petal blight. A slower drier rot with fuzzy gray growth on leaves is Botrytis petal blight.
Botrytis attacks far more hosts than azalea and rhododendron. The site’s Botrytis blight guide covers the broad-host disease in full.
When the two diseases share one shrub, the test still works. Read each bloom on its own. A slimy fast-rotting bloom is Ovulinia petal blight even if the bloom beside it shows dry gray fuzz. Treat the shrub for both, and pick every infected bloom either way.
Why Sclerotia Make Ovulinia Petal Blight Return Every Bloom Season
Sclerotia are the reason Ovulinia petal blight returns every bloom season. Each one is a hard black resting body that waits in the mulch and the soil until the next bloom. Sprays cannot reach a resting body tucked into mulch.
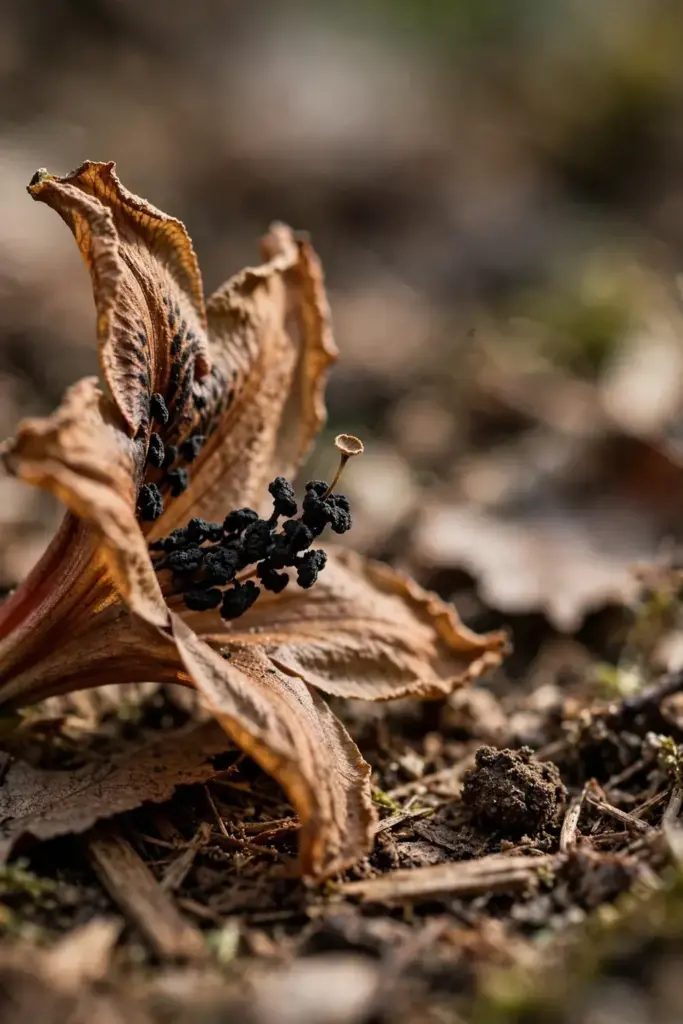
Small black sclerotia form on infected flowers about 8 weeks after infection. The Pacific Northwest handbook puts formation at that 8-week mark. The sclerotia sit buried in petal tissue, most often in the thick part of the flower throat or tube, and they ride the fallen petals down to the mulch.
At the next bloom, sclerotia germinate into small stalked cup-shaped apothecia. UC IPM describes apothecia that forcibly discharge large numbers of spores, and wind carries those spores onto opening blooms. Flower-visiting insects carry them too. The first wave of infection starts from below, not from the air at large.
After the first infections, the fungus makes colorless conidia on infected petals. Rain splash and wind spread those spores to fresh blooms within days. One overlooked bloom seeds the next wave, which is why picking matters more than spraying.
Sclerotia also ride out the winter on clinging petals. The Pacific Northwest handbook notes that sclerotia overwinter on diseased petals on plants, on the soil surface, or in leaf mulch under bushes. A clinging dead bloom is a winter storehouse, not just an eyesore.
What Makes Ovulinia Petal Blight Worse in a Home Garden
Wet blooms in mild weather drive Ovulinia petal blight. UC IPM puts the infection window at 10 to 21 degrees Celsius. Wet petals inside that window infect. Dry petals or cold petals do not.
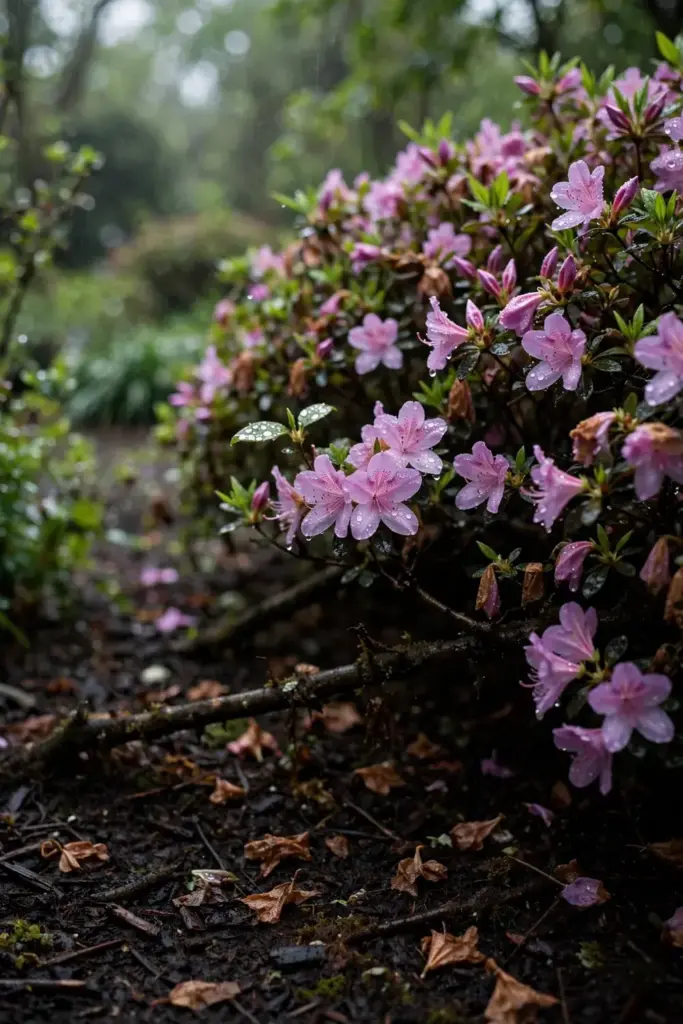
Overhead watering wets petals and splashes spores upward from the mulch. Dense canopies hold humidity and slow drying after rain. Fallen infected blooms on the mulch feed the next cycle with fresh sclerotia.
Lower blooms sit closest to the mulch reservoir, so they go first. A bed that held blighted blooms last spring starts this spring loaded, because last year’s sclerotia wait exactly where this year’s lowest blooms will open.
New purchases can carry the fungus in the top potting soil. A clean-looking plant with contaminated potting soil brings sclerotia into a clean bed. The potting soil is the part to distrust, not the leaves.
Fog counts as wet weather. A foggy morning wets petals without a drop of rain, and a run of foggy mornings at bloom peak infects as surely as a rainy week. Watch the forecast for fog, not just rain, when you time the picking round.
Step 1: Decide Whether Saving This Bloom Season Is Worth It
Count the damage before you spend anything. A few spotted blooms on one shrub is a sanitation job. A whole planting collapsing at once is a season-management job, and the goal shifts from saving this display to cutting next year’s starting spore count.
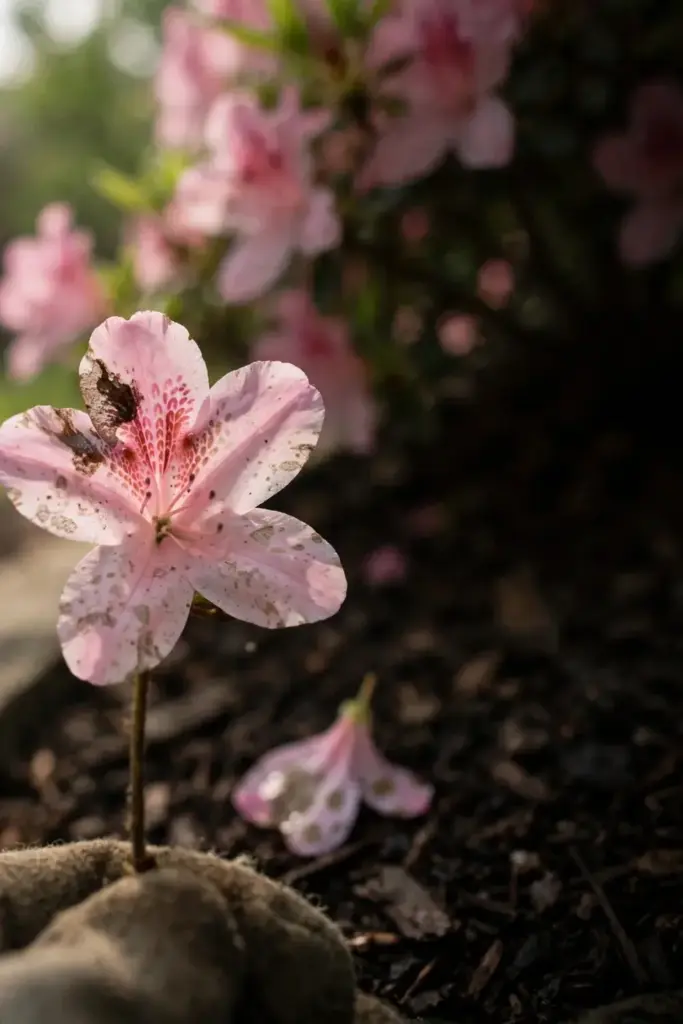
No spray cures a spotted bloom. Fungicides protect healthy blooms only, and they give partial control even then. A spotted bloom is already lost, and the only useful move for it is removal.
Pull the doomed blooms now and save the rest of the display. A bloom already slimy feeds the next wave, and every day it hangs there raises the spore count around the healthy blooms beside it.
Photograph the damage before you pick. A photo of the worst truss gives you a baseline, and next year’s photo tells you whether the reservoir shrank. Memory lies about how bad a bloom season was. A dated photo does not.
Step 2: Pick and Destroy Every Infected Bloom
Pick every infected bloom by hand and get it off the plant. Work the shrub from the lowest blooms upward, because the lowest blooms carry the oldest infections and the heaviest spore load.
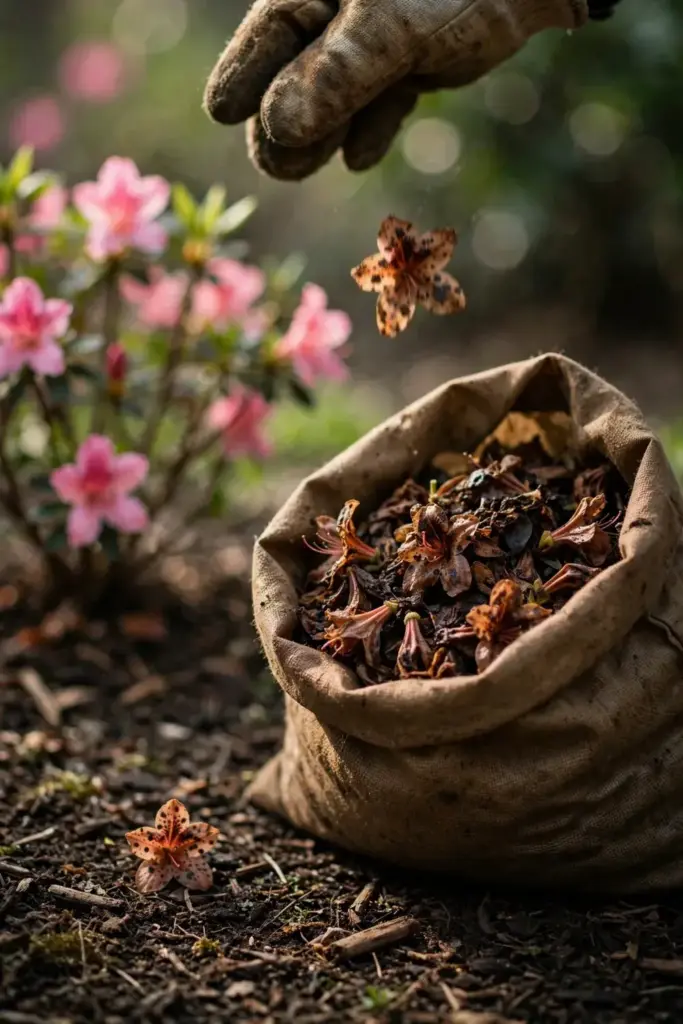
Bag the blooms and bin them with household trash. Do not drop them on the mulch, and do not leave them in a pile beside the bed. A pile of infected blooms beside the bed is a spore factory with a short walk to the next bloom.
Check the shrub every day or two while bloom lasts. New spots appear fast, and one missed bloom seeds the next wave. The picking round is the single highest-value move in this whole plan, and it costs nothing but minutes.
Pick in dry weather when you can. Wet petals smear spores across your fingers and tools, and a dry picking round moves less inoculum around the shrub. If rain forces the round, wash your hands and tools after.
Step 3: Replace the Top Layer of Soil and Mulch
Remove the top 2.5 cm of soil or mulch from beneath infected plants and replace it with clean material. Washington State University Extension puts the removal depth at the top inch, and that thin layer is where the sclerotia and the fallen petal debris sit.
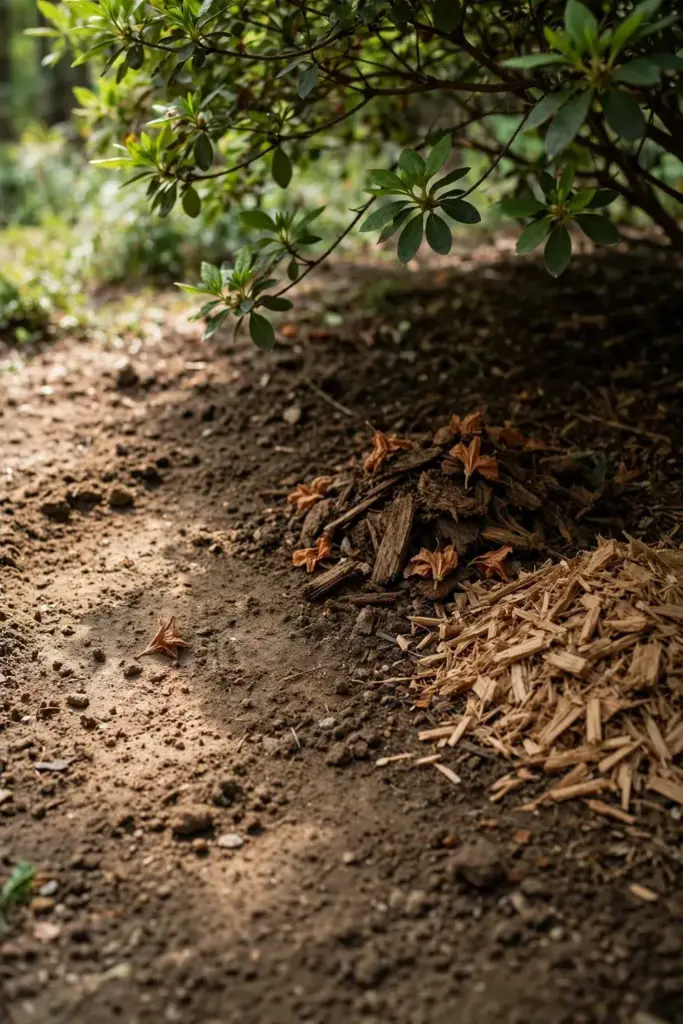
That top layer holds the reservoir. Fresh material buries nothing. It removes the sclerotia and the fallen petal debris that would have fired spores at the next bloom.
Work when the soil is dry enough to lift cleanly. Wet soil smears, and smeared soil spreads the debris you are trying to remove. Bag the scraped layer with the infected blooms and bin the lot.
Do not dig deeper than the top layer. The sclerotia sit near the surface, and deep digging buries them into soil where they wait undisturbed. A shallow scrape removes the reservoir without moving it deeper.
Step 4: Lay Fresh Mulch After Bloom Ends
Lay fresh uncontaminated organic mulch beneath host plants after the blooms are gone. UC IPM puts the layer at 10.2 cm, and it goes down once the blossoms are no longer present.
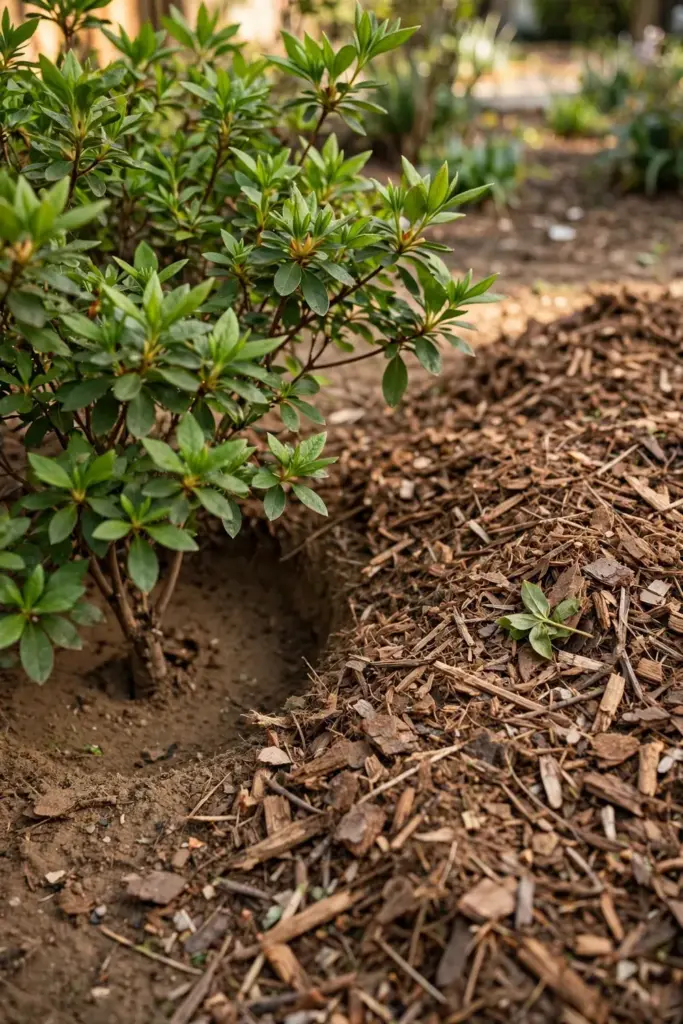
The fresh layer caps the sclerotia below it and blocks the apothecia from reaching the air. Old mulch mixed with fallen petals stays a reservoir, so the fresh layer must be clean material, not a stir of last year’s mulch.
Keep mulch thin near the trunk and hold it a few centimeters away from the trunk. Mulch piled against bark holds moisture against tissue that should stay dry, and the cap works just as well with a gap at the stem.
Time the mulch for after bloom, not during it. Mulching during bloom buries fallen infected petals under fresh material, and buried petals still carry sclerotia. Pick the fallen petals first, then lay the cap.
Step 5: Stop Overhead Watering
Stop overhead watering on azalea and rhododendron during bloom. Overhead water wets petals and splashes spores from the mulch onto the low blooms, which is the exact delivery route the fungus needs.
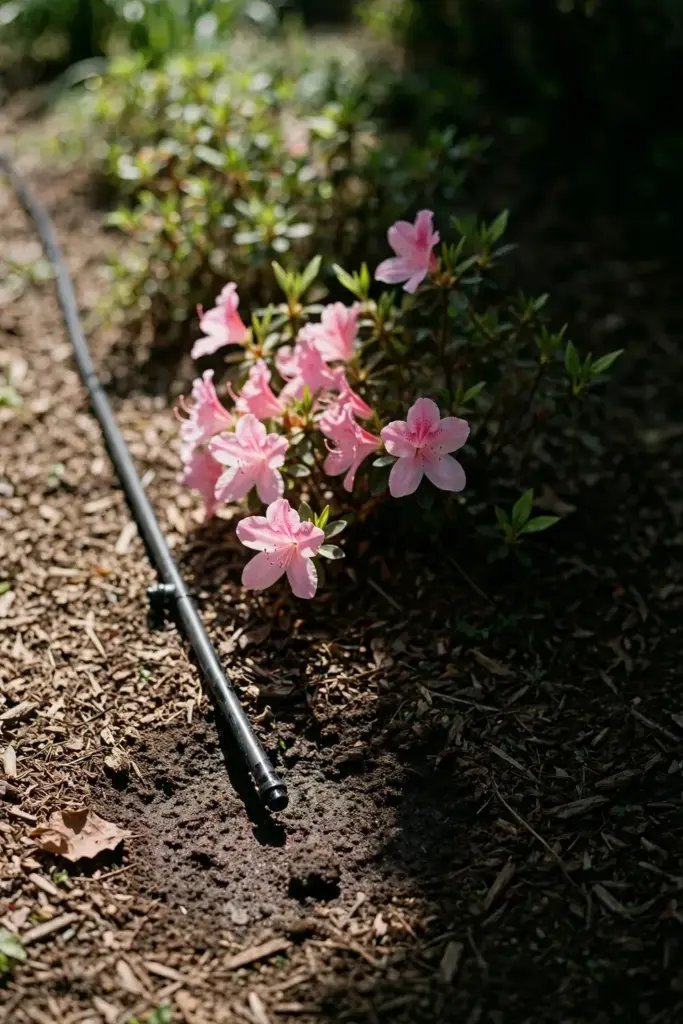
Switch to drip or microsprinkler irrigation. Both keep water at the soil and leave petals dry. UC IPM names drip and microsprinkler irrigation as the replacement for overhead watering on these hosts.
If the bed has no drip line yet, water at the base with a hose held low. The goal is dry petals through bloom, and a low hose beats a sprinkler every time.
Check the spray pattern if the bed shares a lawn sprinkler zone. A lawn head that throws water across the azalea bed undoes the drip line every cycle. Redirect the head or cap it, and the bed stays dry through bloom.
Step 6: Open the Canopy for Airflow
Open the canopy so blooms dry fast after rain. Space plantings and prune for air circulation in and around the plants. Washington State University Extension lists spacing and pruning for airflow among its first non-chemical controls.
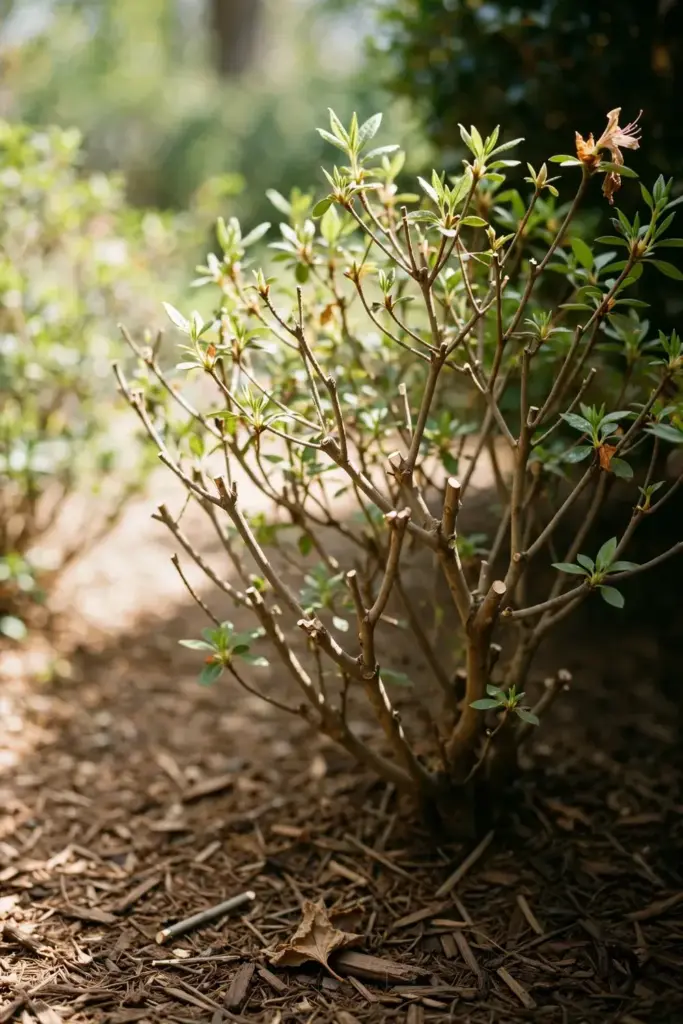
Thin crowded branches and lift low limbs that trap damp air under the shrub. A truss that dries within hours after rain gives the fungus a shorter wet window, and a shorter wet window means fewer infections.
Prune with the thinning cuts the site’s spring pruning guide describes. Cut for air first and shape second, and clear the pruned branches from under the shrub instead of leaving them on the mulch.
Do not shear the shrub into a ball. Shearing packs the outer growth into a shell that traps damp air inside the canopy. Thin with selective cuts that open channels through the shrub, and air moves through the middle instead of around it.
Step 7: Buy Clean Plants and Strip the Top Potting Soil
Buy clean plants from suppliers with a history of healthy stock. A clean-looking plant can still carry the fungus in its potting soil, and the leaves tell you nothing about what waits in the pot.
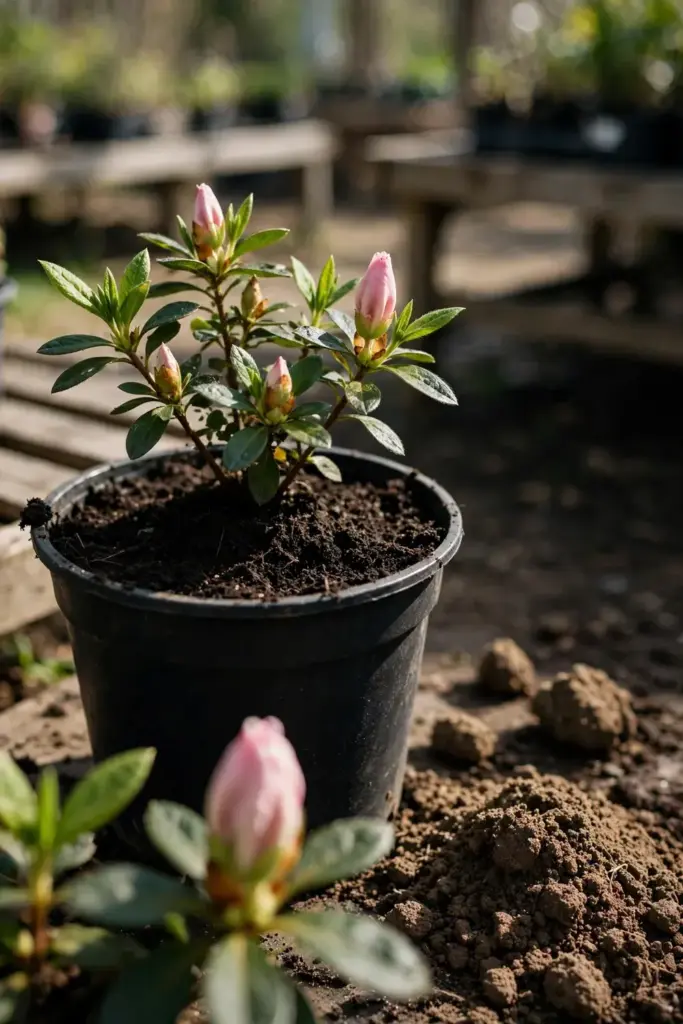
Remove the top layer of potting soil when a new azalea or rhododendron comes home, and replace it with pathogen-free soil. UC IPM names this swap as the first sanitation step for new purchases, and it takes minutes per pot.
Hold the new plant away from the established bed through its first bloom if you have room. One contaminated pot seeds a clean bed, and a season of distance costs nothing against a bed that takes years to clean.
Check the new plant’s blooms at the nursery before you buy. A pot with spotted blooms at the garden center is a pot to leave behind. A pot with clean blooms and clean potting soil still gets the soil swap at home, because clean leaves prove nothing about the pot.
Step 8: Use Preventative Fungicide Only Before Bud Break
Use fungicide as prevention only, before bud break or before rainy weather. A spray on a spotted bloom cures nothing, and a spray after the spots appear only coats damage that is already done.
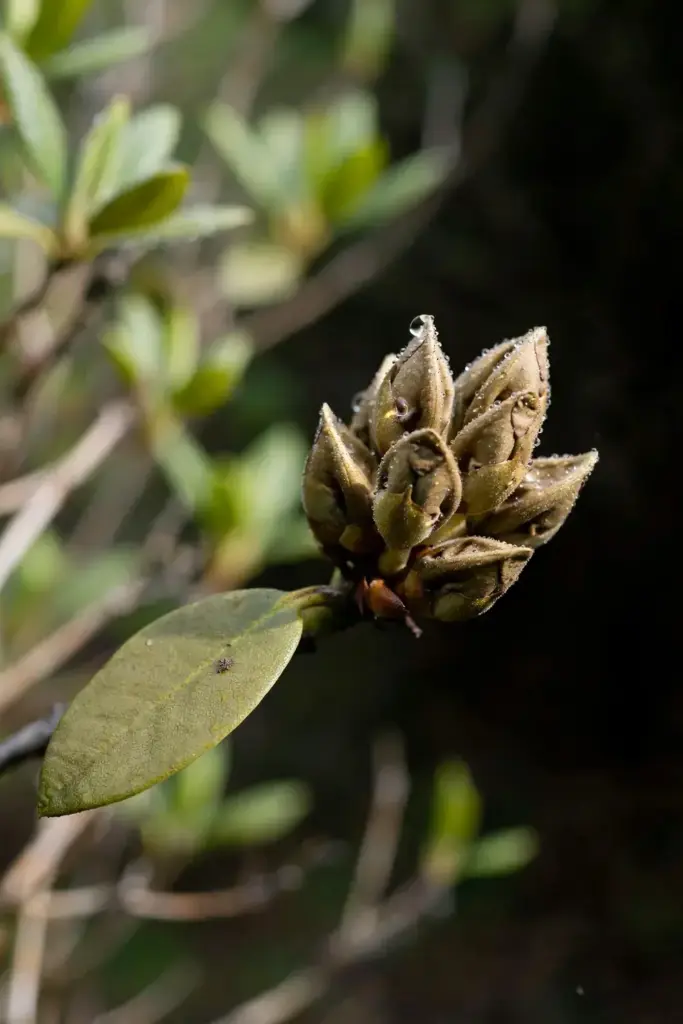
The UC IPM page on azalea and rhododendron petal blight names chlorothalonil, thiophanate-methyl, or triforine for sites where petal blight has been a problem, applied before disease develops.
Reapply every 10 to 14 days while foggy or rainy weather keeps conditions suitable. Expect partial control unless the spray rides on top of the sanitation steps above, because UC IPM warns that fungicides often provide only partial control without them.
Read the label for your region and product, and follow it exactly. Old fungicide lists from decades-old circulars name actives that are withdrawn or restricted today, so a current label beats any archived recommendation.
Spray in calm, dry weather and let the deposit dry on the buds. Rain on a fresh spray washes the deposit off before it sets, and a washed-off spray protects nothing. A dry morning before a rainy week is the window to use.
Step 9: Keep Infected Petals Out of the Compost Pile
Keep infected petals and leaves out of the compost pile and out of the mulch. The fungus survives home composting, and a pile fed with blighted petals returns sclerotia to the bed with the finished compost.
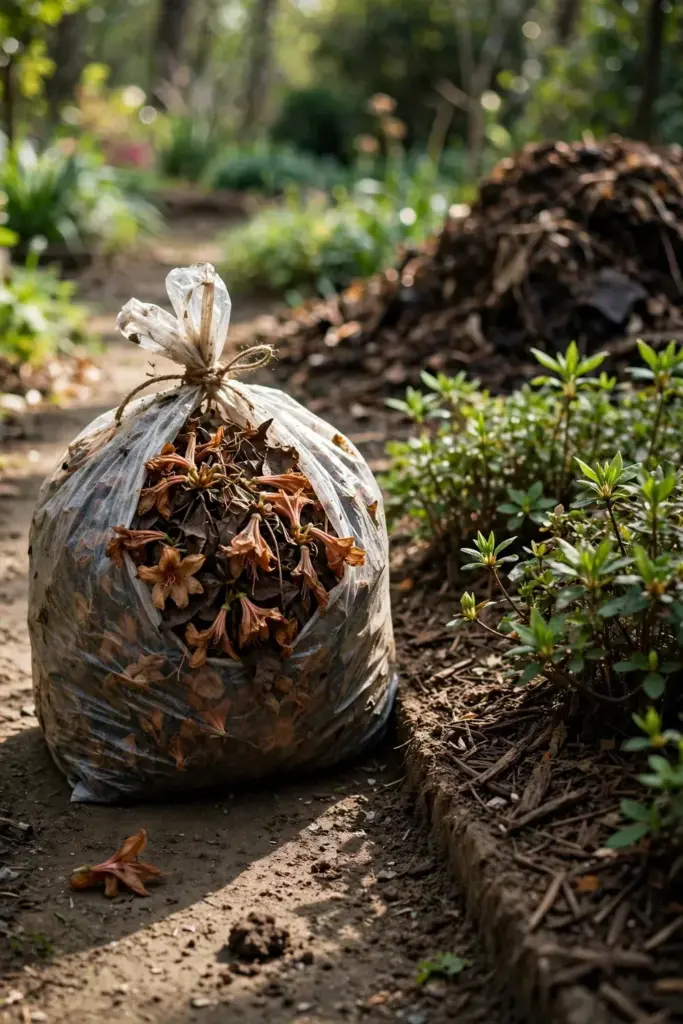
UC IPM puts the kill temperature at 60 degrees Celsius, and notes that home piles rarely expose every scrap of debris to that heat. One cool pocket in the pile saves the fungus, and the finished compost spreads it.
Bag blighted material and bin it with household trash. The pile stays clean, and next year’s mulch stays clean too. The site’s composting safety guide lists what never belongs in a home pile.
The same rule covers prunings and fallen leaves from infected shrubs. Petals carry the heaviest load, but leaves from a blighted shrub can carry the fungus too. Bag the lot and bin it, and the bed starts clean.
Living With Ovulinia Petal Blight Damage You Already Have
A bed that lost its bloom this spring still grows a healthy shrub. Ovulinia petal blight kills blooms, not plants. The rest of the shrub carries on, and the shrub blooms again next year.
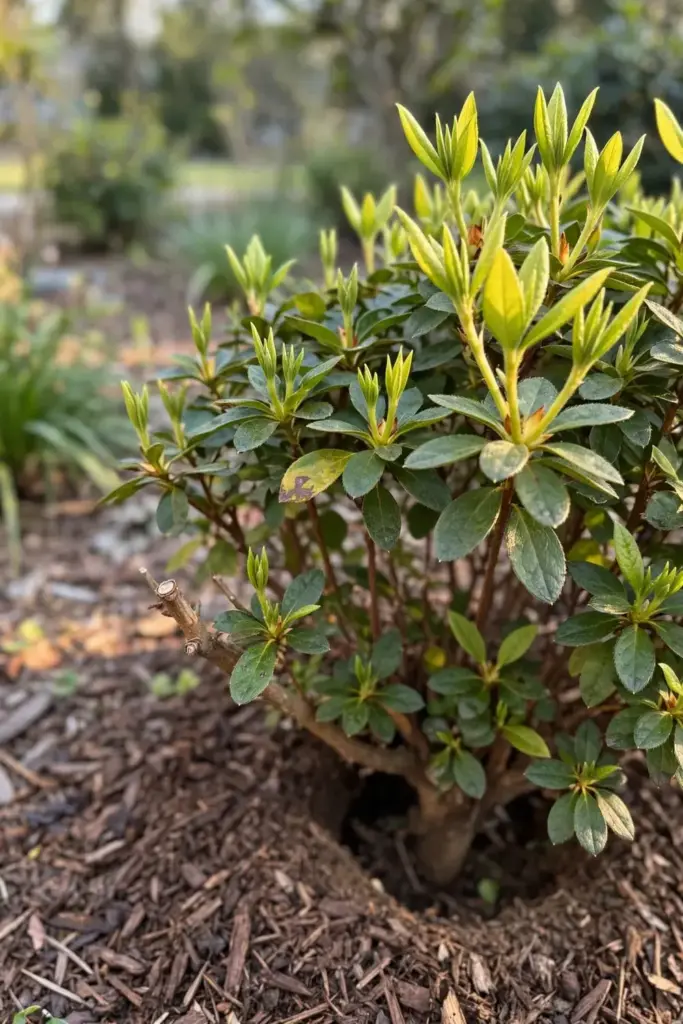
Deadhead the ruined trusses after bloom and clear the fallen petals from the mulch. The cleanup you do now sets next spring’s starting spore count, and a bed cleaned this year starts next year with a smaller reservoir.
Rebuild the mulch cap. Fix the watering. Open the canopy before next bloom. Feed the soil under the shrub with fresh organic mulch and steady water, and the shrub faces next spring strong.
Expect the cleanup to take more than one season before the display turns fully clean. The reservoir shrinks a little each year you pick, scrape, and cap. A bed that went through one bad spring is not a ruined bed. It is a bed with a smaller reservoir than it had.
Frequently Asked Questions
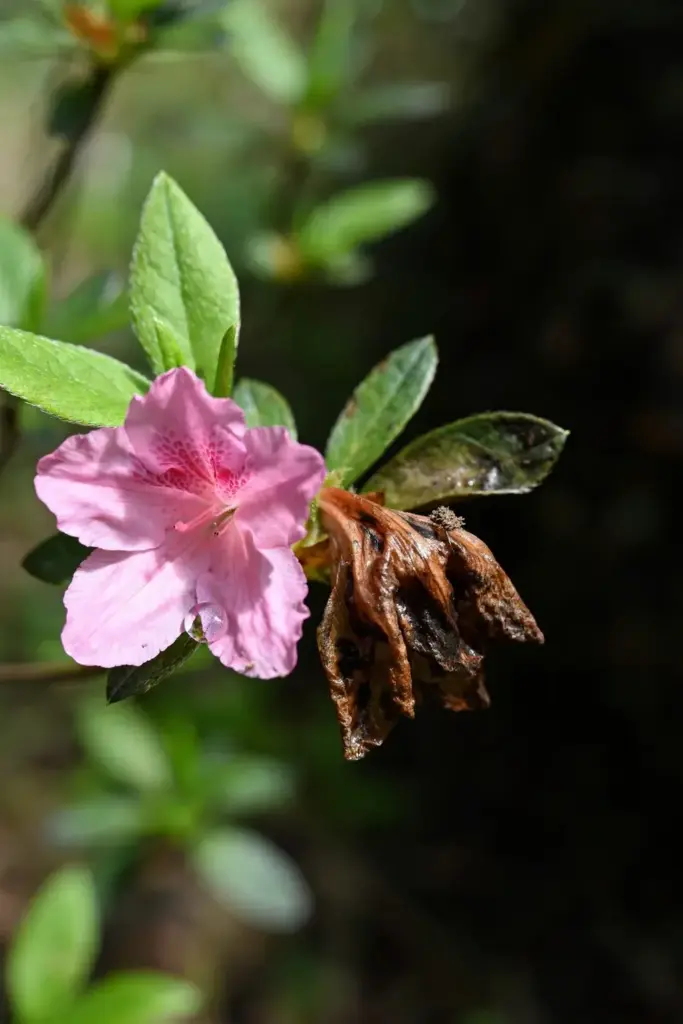
No. Ovulinia petal blight kills blooms, not plants. The fungus infects petals only, so leaves, shoots, stems, and roots stay healthy even in a bad year. The shrub blooms again next spring. Repeated bloom loss still stings, because the display is the reason most gardeners grow these shrubs, but the plant itself survives.
No. No spray cures a spotted bloom. Fungicides protect healthy blooms only, and they work before disease develops. Pick the spotted bloom and bin it. Save the spray budget for healthy buds before bud break next season, paired with the sanitation steps that carry most of the control.
No. UC IPM puts the kill temperature at 60 degrees Celsius, and home piles rarely expose every scrap of debris to that heat. One cool pocket saves the fungus, and finished compost spreads it back to the bed. Bag blighted petals and leaves with household trash instead, and keep the pile clean.
It stays inside the Rhododendron genus, plus mountain laurel blooms growing close to infected shrubs. Vegetables, roses, fruit trees, and lawn grasses are safe from this fungus. Botrytis petal blight is the broad-host disease that jumps across plant families, which is one more reason the differential table above matters.
Spray before bud break or before rainy weather, while the buds are still healthy. Reapply every 10 to 14 days while foggy or rainy weather keeps conditions suitable for the fungus. Run the sanitation steps first, because a spray on top of a dirty bed gives partial control at best.
No. The shrub stays. Ovulinia petal blight never kills the plant, so removal buys nothing. Remove the infected blooms, replace the top mulch layer, fix the watering, and open the canopy. A shrub that loses its blooms one spring can carry a clean display the next spring once the reservoir shrinks.
Where to Go From Here
Start with the picking round. One bag of blighted blooms today cuts next week’s spore wave, and the picking round costs nothing but minutes.
Then fix the mulch cap. Fix the watering. Open the canopy. Sprays sit last, and only before bud break, because a spray without sanitation gives partial control at best.
Blossom blight on fruit trees follows a different fungus with similar timing. The site’s blossom blight guide covers that disease.
Keep the picking round on the calendar every bloom season, even in a clean year. One quiet year does not mean the reservoir is empty. The round that catches the first spotted bloom in a clean year is the round that keeps the next year clean.