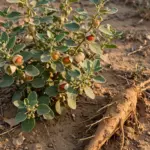
Plan for 150 to 180 days from seed to harvest if you want to know how to grow ashwagandha from India to a usable root. In India, sow at the start of the monsoon or in August for a January to March harvest. Anywhere else, start seeds indoors six to eight weeks before your last frost, then move them out after the danger passes.
The whole plant revolves around one product: the thick taproot. Everything you do, from sowing shallow to watering sparingly, serves that root. Get the season and the watering right and ashwagandha is one of the least demanding herbs you can grow. Miss either and you harvest stringy roots or a rotted plant.
This is the full calendar, the seed mechanics, the deep-pot method for terraces and balconies, the honest 150 to 180 day timeline, and the drying routine that ends with roots that snap. If you have never started seeds indoors, the seed starting guide covers the tray and heat-mat setup this article assumes.
1. Sow at the Right Season: The India Rabi Calendar and the Western Window
Ashwagandha is a cool-season grower in its homeland. Plant at the wrong time and it stalls through summer heat or runs out of season before the roots size up. Pick your window from the table below, not from a seed packet printed for a different continent.

| Situation | Sow when | Harvest when |
|---|---|---|
| Indian monsoon crop | May to June, at the start of the rains | About five months later, October to November |
| Indian commercial rabi crop | August | Late February harvest, around six to seven months |
| Indian home garden, warm plains | Any month after the heaviest rains pass and nights stay warm | 150 to 180 days after sowing |
| Cold-climate annual | Indoors six to eight weeks before the last frost; transplant out after frost | 150 to 180 days after sowing, before the first hard frost |
The two Indian windows come from different sources and both are real. Farm guides in India describe monsoon sowing with a harvest about five months later, and the commercial season in the central Indian belt runs from an August sowing into the late winter harvest. Use whichever fits your local rainfall. Your own frost date sets your personal deadline, so check it on the fall planting calendar before you commit to a sowing date.
2. The Root Is the Whole Point: Why Ashwagandha Is a Taproot Crop
Grow ashwagandha like basil and you waste your season. The leaves are not the crop. The thick taproot is. Nurseries note that ashwagandha is almost always grown from seed precisely because it germinates readily and builds its harvestable root from a strong taproot.

That single fact shapes every decision below. Sow in place where you can. Transplant early and gently where you must. Give roots depth instead of width. Skip this and do everything else and the harvest still disappoints.
3. Retire the “Indian Ginseng” Label Before You Start
Seed sellers call ashwagandha “Indian ginseng.” It is not ginseng. Korean and American ginseng sit in the ivy family and build their chemistry over many years. Ashwagandha is a nightshade cousin, an erect or spreading shrub that usually grows 60 to 100 centimeters tall, and its season is measured in months. Expecting ginseng results from an ashwagandha season sets you up for confusion at every step.

Call it ashwagandha or Withania somnifera. The honest name keeps your growing decisions honest too.
4. Choose Fresh Seed: The 24-Hour Soak Rule
Buy fresh seed from a current season. Ashwagandha seed loses vigor in storage, and tired seed is the silent cause of half the germination complaints online. Before sowing, soak the seeds 12 to 24 hours in lukewarm water. The soak softens the seed coat and evens out the start, so your seedlings emerge in one flush instead of dribbling out over weeks.

Do not stratify, do not freeze, do not nick the seed. Ashwagandha asks for warmth and moisture, nothing cleverer.
5. Germination in 7 to 14 Days: The Step Table
Warm soil is the whole trick. At 70 to 85 degrees Fahrenheit the seed wakes in one to two weeks. Below 70 it sulks. Follow the sequence and do not skip the heat mat in a cool house.

| Step | Action | Time |
|---|---|---|
| 1 | Soak seeds in lukewarm water | 12 to 24 hours |
| 2 | Fill trays with fine, well-drained seed mix | 10 minutes |
| 3 | Sow a quarter to a half inch deep, barely covered | 10 minutes |
| 4 | Set trays on a heat mat at 70 to 85 degrees Fahrenheit | Until sprouting |
| 5 | Keep the mix lightly moist, never soggy | 7 to 14 days |
| 6 | Move to strong light the day green shows | Day of sprouting |
Sow indoors six to ten weeks before your last frost if you garden outside the tropics. One leading seed supplier says four to six weeks on its own seed page, while most independent guides say six to eight. Earlier is safer in a short season. Sow a little shallower than you think: a quarter inch is plenty, and buried seed rots before it rises.
6. Seedling Care After Sprouting
Light first, water second. Move trays to your brightest spot or under grow lights the day seedlings emerge, because leggy stems never recover. Keep the mix lightly moist and thin to one plant per cell once the first true leaves show. Crowded seedlings stretch and their taproots tangle, and tangled taproots mean forked roots at harvest.

Feed nothing for the first three weeks. The seed carries everything the seedling needs. When seedlings reach four to six inches and nights stay above 50 degrees, begin hardening them off for seven to ten days: out in the day, back in at night, an hour or two longer each day.
7. Transplant Without Breaking the Taproot
Transplant once and transplant gently. Water the tray so the mix holds together, slip the whole root ball out, and set it at the same depth it grew at. Space plants 18 to 24 inches apart in the bed. Roots packed shoulder to shoulder grow thin and compete for every nutrient, and thin roots are a poor harvest.

Plant the seedlings 1 to 2 feet apart in full sun. In the ground, dig deep and loosen the soil well below the root ball so the taproot drives straight down instead of bending on a hard layer. A bent taproot forks, and forked roots are harder to clean and dry.
8. Pots for a Taproot: Deep Pots or Skip It
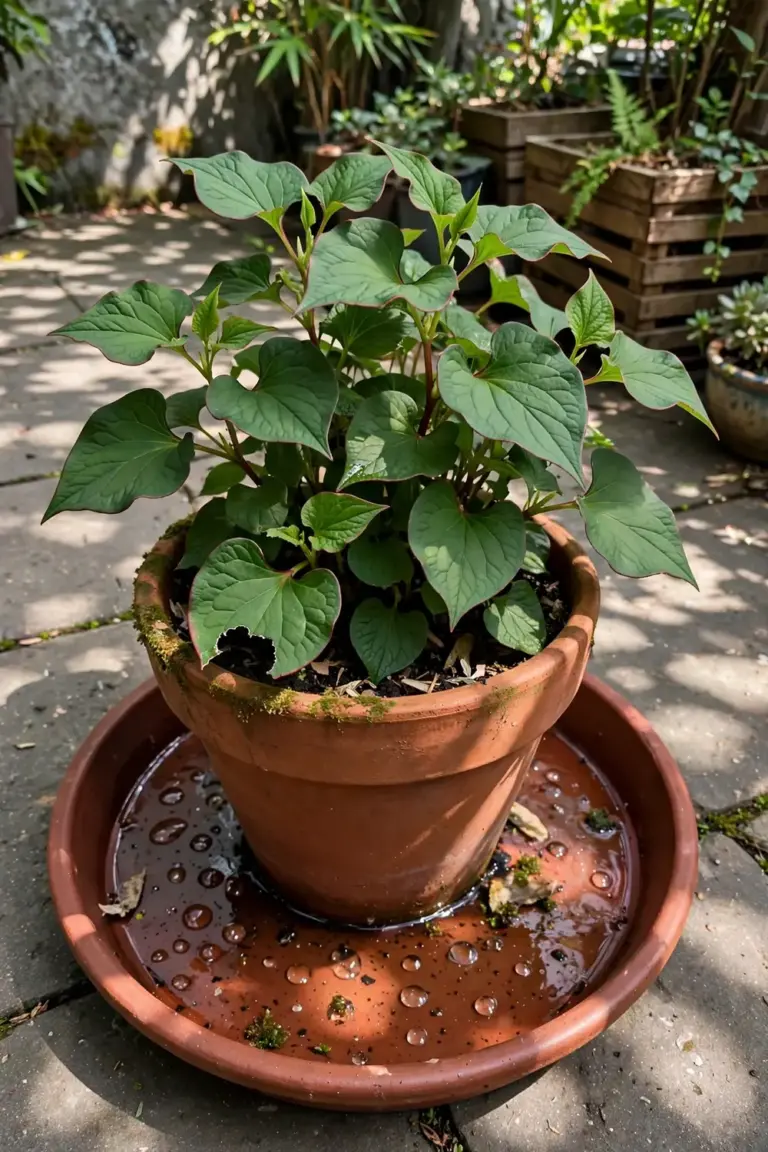
You can grow ashwagandha in a pot, but the pot has to respect the root. Choose a container 10 to 12 inches deep and wide at minimum, with 10 to 20 liters of mix per mature plant. Terracotta breathes and keeps the crown drier, plastic holds water longer in hot weather; either works if the drainage holes are generous. Shallow window boxes and small decorative pots are not a plan. They are a way to grow expensive compost.

Mix a sandy, fast-draining blend and aim alkaline: 4 parts coarse sand, 3 parts garden soil, 3 parts compost or cocopeat, with the finished pH near 7.5 to 8.0. Water when the top inch dries. Pots on a terrace can finish in the Indian heat the way in-ground plants do, and the container method is exactly how to grow ashwagandha from India on a balcony where no bed exists.
In cold climates the container doubles as your winter plan: move the pot to a bright, frost-free spot once nights drop, following the same indoor principles the indoor herb gardens guide lays out, and treat the plant as a tender annual rather than a perennial you can forget outside.
9. Build Sandy, Alkaline, Well-Drained Soil
Ashwagandha comes from dry country and it shows. It grows best where the mean annual temperature sits between 18 and 32 degrees Celsius and tolerates a wide 12 to 40, and it wants 650 to 750 millimeters of annual rainfall, tolerating down to 300. It prefers a pH between 7.5 and 8 but tolerates 6.5 to 8.5.

In the ground, work coarse sand or grit into heavy soil until water runs through freely, then mix in a little ground limestone to nudge the pH upward. This is the same soil logic the soil health guide teaches for any root crop: open structure first, fertility second. Rich, water-holding loam is the wrong home for this plant.
10. Water Deep and Infrequent
Treat ashwagandha like the dry-country plant it is. Water deeply so moisture reaches the taproot, then let the soil dry before watering again. Once established it is drought tolerant, and regular sips from a drip line keep the crown wet and invite rot.

Monsoon growers face the opposite problem. In regions receiving 650 to 750 millimeters or more of annual rain, the danger is not drought but waterlogging during the heaviest spells. Plant on a slight mound or raised bed, keep drainage paths open, and cut watering entirely once the rains are steady. The plant survives dry spells far better than wet feet.
Skip mulch or keep it thin and pulled back from the stem. Thick, soggy mulch traps humidity against the crown exactly where this plant least wants it.
11. Feed Lean: Weak Soil Grows Stronger Roots
Do not pamper ashwagandha. It evolved in poor, arid soils, and heavy feeding grows leafy tops at the expense of the root you are after. Work a modest amount of compost into the bed at planting and skip synthetic fertilizer for the season. The organic growers behind most published guides skip it entirely, and the plant does not miss it.

If leaves yellow early and growth stalls, a single light dose of compost tea is enough. More than that is a fix for a problem that is usually drainage or timing, not fertility.
12. Let It Bloom: The Flowers Are Your Harvest Calendar
Do not pinch the flowers off. Ashwagandha’s small greenish flowers turn into papery lantern calyces holding round berries, and those berries ripening to red is the signal that the roots below are ready. Remove the flowers and you throw away your only visible maturity gauge.

There is one exception. If your season is short and the plant is still flowering hard six weeks before your expected harvest, you can let a few berries finish and remove the rest. But most home growers should keep the berries as their calendar and harvest when they turn.
13. Pests and Diseases: Mostly the Water’s Fault
Healthy ashwagandha in dry, open soil sees few enemies. The recurring problems all trace to wet feet: root and crown rot in waterlogged ground, and fungal leaf spots in still, humid air. Space plants for airflow, water the soil and not the leaves, and never let pots sit in saucers full of water.

Watch for sucking insects on stressed plants the way you would on any solanaceous crop. A strong jet of water handles most outbreaks on a small planting. If a plant wilts in wet soil, pull it. Rotted taproots do not recover and they are not worth drying.
14. Harvest at 150 to 180 Days: The Honest Timeline
Roots are ready 150 to 180 days after sowing, the window independent growers converge on, and the farm calendar describes roughly five months from monsoon sowing to harvest. That means you plan your season backward from the first hard frost. Frost-killed tops are fine. Frozen ground you cannot dig is not.

Keep your yield expectations honest. Field data from India records 650 to 800 kilos of fresh root per hectare on a good crop, which dries down to 350 to 450 kilos. Your six plants in a terrace bed will fill one jar, not a sack, and one full jar from a home planting is a genuine success.
Fence the outliers before they fence you. One nursery claims 8 to 10 weeks, which is wrong for roots. One farm blog reports about 117 days, which is fast and unexplained. One advice site suggests waiting two to three years, which contradicts every other source. Harvesting too early gives underdeveloped, weak roots. Harvesting too late gives woody, fibrous roots that powder poorly. The middle of the range is the harvest.
15. Read the Maturity Signs: Leaves Yellow, Berries Red
The plant tells you when it is done. Lower leaves yellow and dry, the lantern calyces brown and papery, and the berries inside turn red. All three together mean the roots have reached their peak. Harvest before the first hard frost in cold climates, because you need diggable ground more than you need one more week of growth.

Dig one plant early as a test. If the roots are still thin and stringy, give the rest another two weeks. One test plant saves the whole crop from a premature harvest.
16. Harvest Technique: Loosen, Do Not Yank
Ashwagandha roots run deep and snap if you pull. Water the bed the day before so the soil releases, then drive a digging fork in well outside the plant and lever the whole root mass up. Cut the stems one to two centimeters above the crown, shake off the soil, and resist the urge to wash yet.

Skip the washing at this stage. Soil left on the roots protects the skin during the first hours of drying, and you will clean them properly once they are cut.
17. Dry Until the Roots Snap Clean
Here is the part most guides rush. There is no distinct curing stage beyond drying itself, so do not go looking for one. The routine is simple.

| Method | How | Done when |
|---|---|---|
| Sun drying | Spread washed, cut roots in a single layer out of direct midday blast | About six days, reaching near 6 percent moisture |
| Shade drying | Warm, ventilated shaded area, single layer on racks | 10 to 15 days |
| Oven or dehydrator | 95 to 105 degrees Fahrenheit | 12 to 24 hours |
Wash the roots now, cut them into 1 to 2 inch pieces so they dry evenly, and lay them in a single layer with air moving around them. I have learned to test with my thumbnail on day six of sun drying: if the piece bends, it goes back for two more days, and if it snaps cleanly with a hard white break, it is done. Under-dried roots mold in the jar. Over-dried roots are still fine.
Dry roots go rock hard. Plan on a hammer mill or a heavy-duty blender to powder them; a cheap spice grinder will stall and complain.
18. Store Dried Roots Airtight, Dark, Cool
Cool the dried pieces completely before they go into storage, because trapped warmth condenses and starts mold. Pack them into airtight jars and keep them in a dark, cool cupboard. Stored this way the roots keep usable quality for about a year, though they slowly lose potency after that.

Label the jar with the harvest date. A year from now you will not remember which jar is which, and fresh roots are worth the shelf rotation.
19. Withanolides and Traditional Use: The Conservative Lane
The roots carry a family of compounds called withanolides, along with related sitoindosides, and traditional Ayurvedic practice has valued the root as a rasayana, a rejuvenative tonic. Modern research is exploring these compounds, and the studies are ongoing rather than settled.

Frame it that way in your own head. You grew a traditional medicinal root, not a prescription. Keep any health claims out of your kitchen and consult a clinician before using what you harvest, especially if you take other medication.
20. Who Should Be Careful: Pregnancy and Medication Notes
This section is short on purpose. Traditional sources flag ashwagandha during pregnancy, and the plant’s own chemistry gives reason for caution with thyroid and sedative medications. The search data shows people asking why they should be careful with ashwagandha, and the honest answer is that a potent root deserves the same respect as any other.

Talk to a clinician before using your harvest if you are pregnant, nursing, or on regular medication. Growing the plant is the easy part. Using it wisely is the part that matters.
21. Common Mistakes and the Fix for Each
Sowing in midsummer heat. The seed wants 70 to 85 degrees to germinate and cool nights to settle in. Sow at monsoon onset or after your last frost, not in the hottest weeks.

Transplanting like a tomato. Rough handling breaks the taproot and every broken taproot forks. Transplant once, early, with the whole soil ball.
Choosing a shallow pot. A taproot crop in a six-inch pot is a root-bound disappointment. Go ten to twelve inches deep or grow in the ground.
Watering daily. Daily sprinkles keep the crown wet and the taproot shallow. Water deep, then wait.
Harvesting by the calendar alone. One warm year shifts everything by weeks. Read the leaves and the berries, not the date on the packet.
Drying in a heap. Piled roots trap moisture and mold from the middle out. Single layer, air moving, snap-clean test.
22. Troubleshooting Quick Answers
Leaves yellowing early in the season? Check drainage first. Waterlogged roots yellow from the bottom up, and no amount of fertilizer fixes wet feet.

Tall and leggy with thin stems? Not enough light, almost always at the seedling stage. Leggy plants rarely recover fully, so start new seed under stronger light rather than rescuing the weak.
Flowers but no red berries by frost? Your season was too short or too cool. Next year sow earlier or start indoors, and harvest what you have before the ground freezes.
Roots thin at 150 days? They were likely crowded or fed too richly. Give 18 to 24 inches of space and lean soil next season, and leave the roots two to four more weeks this one.
Mold on drying roots? The layer was too thick or the air too still. Spread thinner, improve airflow, and discard any pieces with deep mold rather than trying to salvage them.
Frequently Asked Questions

Yes. Use a pot 10 to 12 inches deep and wide with generous drainage holes, filled with a sandy, alkaline mix around pH 7.5 to 8.0. Sow at the start of the monsoon, water only when the top inch dries, and give the plant full sun. Terrace and balcony growers in India harvest real roots this way every year.
Count 150 to 180 days from sowing to root harvest in most home gardens. The Indian commercial season runs about six to seven months from an August sowing to a late-winter harvest. Claims of 8 to 10 weeks are wrong for roots, and the rare 2 to 3 year advice contradicts every other source.
In frost-free zones 8 to 12 it can behave as a short-lived perennial. In colder climates grow it as an annual, started indoors six to eight weeks before the last frost and harvested before the first hard frost. Overwintered plants in pots give a second year of growth but the roots are best in year one.
No. Ashwagandha needs no cold stratification and no scarification. A simple 12 to 24 hour soak in lukewarm water, then sowing a quarter to a half inch deep in warm soil at 70 to 85 degrees Fahrenheit, gives germination in 7 to 14 days. Keep it simple.
When the lower leaves yellow and dry, the lantern calyces brown, and the berries turn red, usually 150 to 180 days after sowing. Harvest before the first hard frost while the ground is still diggable. Dig one plant early as a test; thin stringy roots mean the rest need two more weeks.
Wash the harvested roots, cut them into 1 to 2 inch pieces, and spread them in a single layer with good airflow. Sun drying takes about six days to reach near 6 percent moisture, shade drying takes 10 to 15 days, and a dehydrator at 95 to 105 degrees takes 12 to 24 hours. They are done when they snap cleanly. Store airtight in the dark for up to a year.
Keep the Root in Mind
Ashwagandha rewards the grower who remembers what the crop is. Sow in the right season, give the taproot depth and dry feet, read the berries for the harvest signal, and dry the roots until they snap. Do that and the 150 to 180 day wait ends with a jar of honest, home-grown root, the real end of how to grow ashwagandha from India to a finish worth the patience.