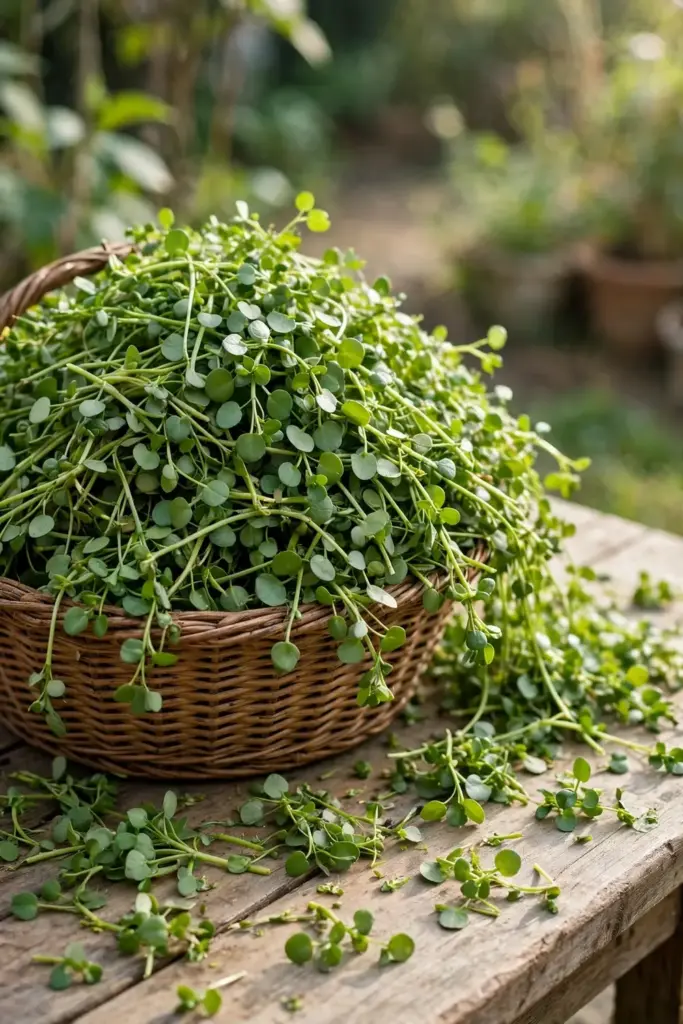

Brahmi grows from dust-sized seeds in 10 to 20 days at 25 to 28°C, and most home growers skip the seed drama entirely by rooting stem cuttings instead. This creeping marsh plant wants wet feet, shallow pots, and light so it keeps its Latin name. It wants to be Bacopa monnieri when you buy it, grow it, and use it. I have learned that the no-drainage-hole pot sounds wrong until the water saucer stays full and the plants stay thick and green.
Brahmi has a naming problem that costs beginners months. In nurseries and online shops, three different plants sell under the name “brahmi.” This guide fixes the identity, sows the seed properly, roots the cuttings, and keeps a water-hungry herb happy in a shallow pot. If you want a seed-spice guide, the seed-starting guide pairs well with the germination section below.
1. Know the Climate: Marsh Plant, Frost-Tender Roots
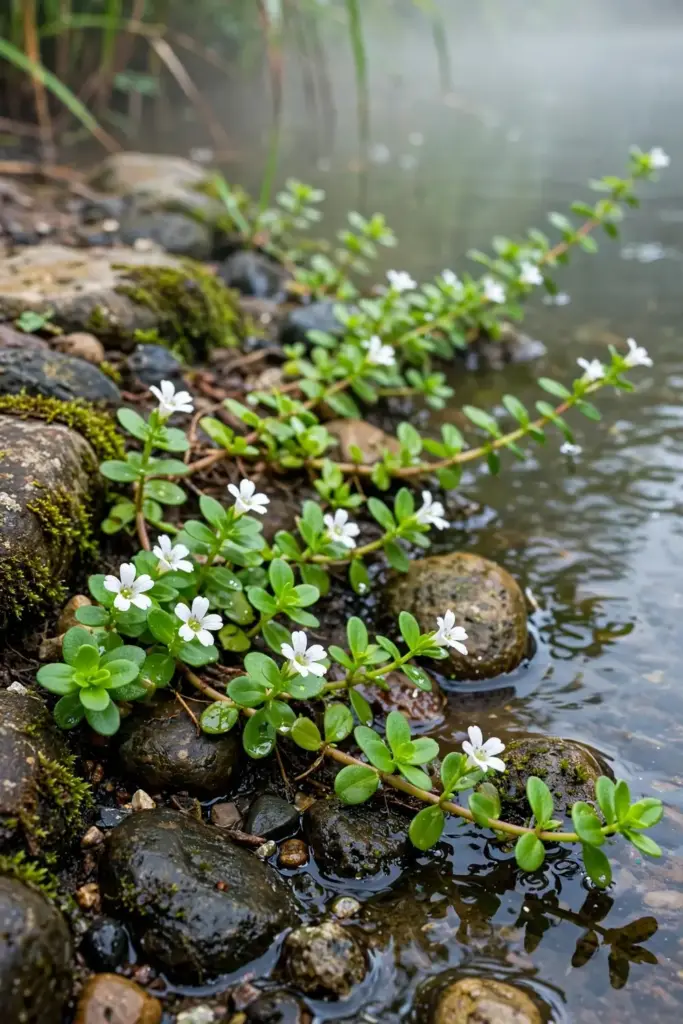
Brahmi is a creeping perennial of wetlands and pond margins, and it behaves like one in the garden. It thrives in warm weather and sulks below 18°C. Frost kills it outright, so outside the tropics it grows as an annual or an indoor project.
Plan the season around warmth, not the calendar on the wall. Learning how to grow brahmi from India starts with accepting that the tropics give it what it wants: heat, humidity, and wet ground. Start seed indoors in late winter or at the end of March, and move plants outside only after nights stay reliably warm. In Indian summers, give afternoon shade while keeping morning sun. The plant tolerates a wide soil range as long as water never runs short.
2. Bacopa vs Gotu Kola: The Identity Table
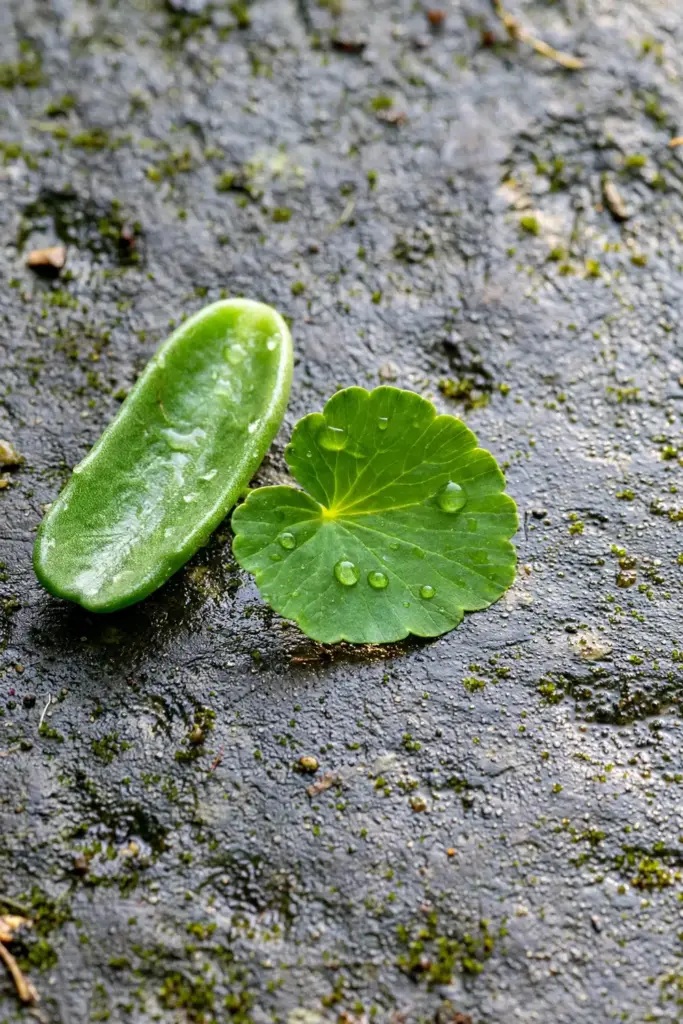
“Brahmi” means different plants in different parts of India, and nurseries exploit the confusion. Buy the wrong one and you spend a year growing pennywort. Check the leaf before you pay.
| Trait | Brahmi (Bacopa monnieri) | Gotu Kola (Centella asiatica) |
|---|---|---|
| Family | Scrophulariaceae (newer books: Plantaginaceae) | Apiaceae |
| Leaf shape | Oblong, thick, succulent, smooth-edged | Round, fan-shaped, scalloped edge |
| Growth | Creeping stems that root at nodes | Low rosette, runners |
| Key compounds | Bacosides | Asiaticoside, madecassoside |
| Traditional focus | Memory and learning support | Circulation and skin support |
| Time to effect | Weeks of regular use (8 to 12 weeks in trials) | Days to weeks |
| North India naming | Often sold as “bacopa” | Often called “brahmi” or mandukaparni |
| South India naming | Called “brahmi” | Called gotu kola or mandukaparni |
The Banyan Botanicals school reserves “brahmi” for Centella asiatica and calls Bacopa merely bacopa, which is a minority view worth knowing when you read labels. Useful Tropical Plants profiles Bacopa monnieri as a perennial creeping herb of wet places, matching the marsh behavior described here. The US Botanical Adulterants Prevention Program has flagged bacopa mislabeling in commerce. Buy from sellers who print the botanical name on the label. Avoid “brahmi dollar” pennywort listings entirely.
3. Seeds vs Cuttings: Choose the Faster Lane
Seeds are cheaper but slower and fussier. Cuttings are faster, easier, and true to type. Pick cuttings unless you enjoy a challenge.
| Option | Time to a usable plant | Difficulty | Notes |
|---|---|---|---|
| Seed | 10 to 20 days to germinate, months to a mat | Medium | Tiny 0.2 to 0.3 mm seeds, short viability, need light and humidity |
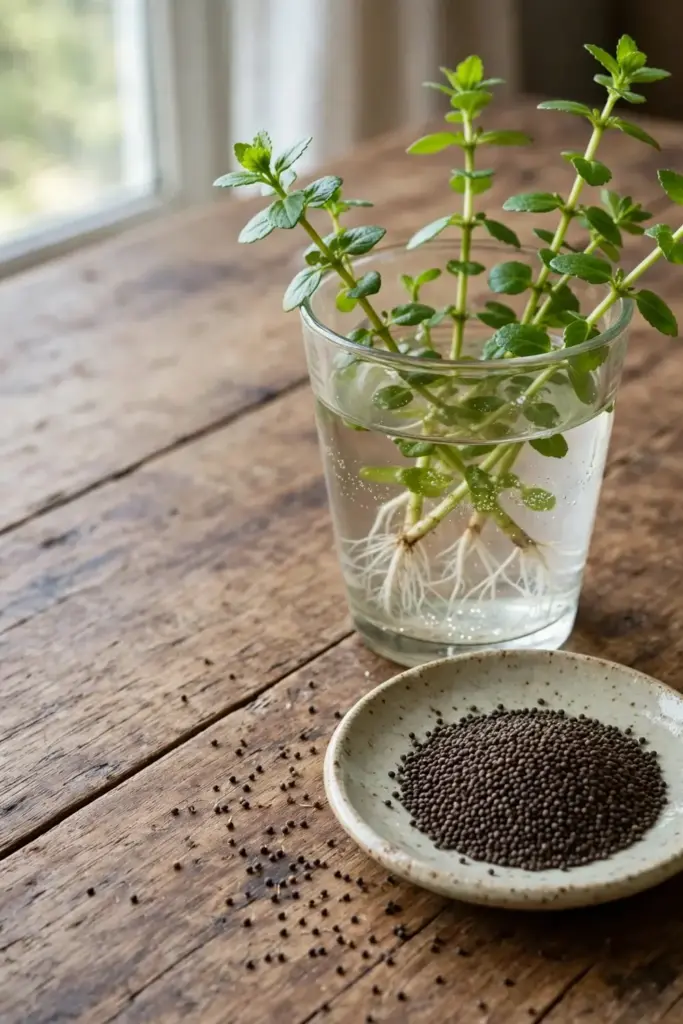
| Stem cuttings | Roots in 2 to 3 weeks | Easy | 4 to 6 inch cuttings, root in water or moist mix |
| Stolon division | Instant | Easiest | Lift a mat section with rooted nodes, replant |
Fresh seed matters. Multiple growing guides note short seed viability, so buy from a reputable seed house and sow in the same season.
4. Sow the Dust-Sized Seed: Surface, Light, Dome
Brahmi seeds measure 0.2 to 0.3 mm across and sit dark brown on the compost surface, and they will not germinate buried. This is the section no consumer guide owns, so follow it exactly.
| Step | Action | Time |
|---|---|---|
| 1 | Fill a tray with loose, low-nutrient seed mix; water until evenly damp | Day 0 |
| 2 | Scatter seed on the surface; press gently; do not cover with mix | Day 0 |
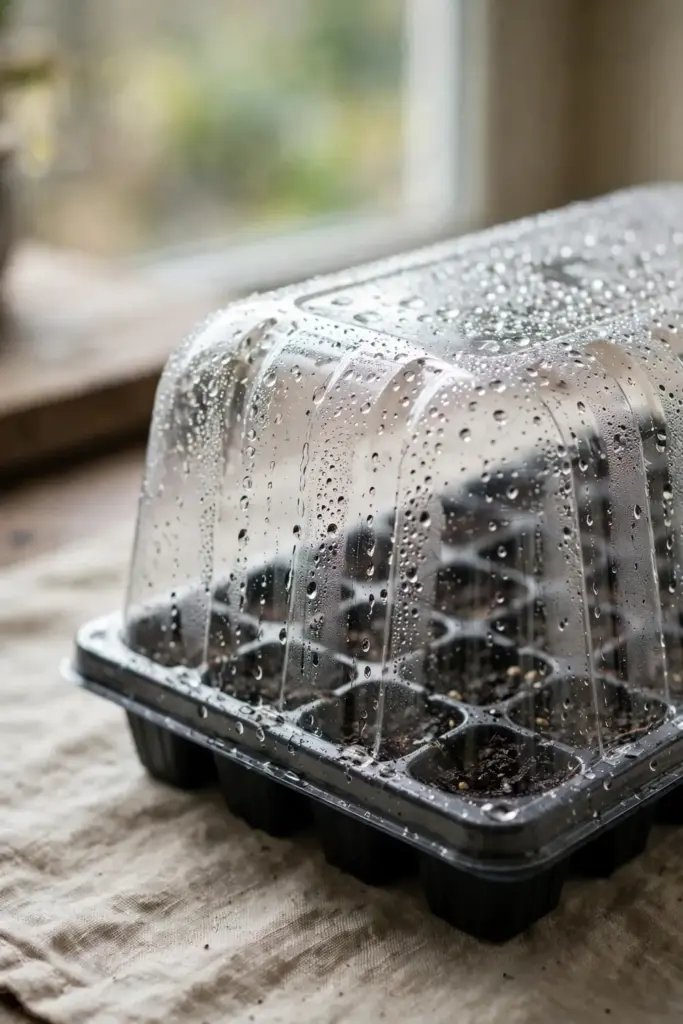
| 3 | Cover the tray with a humidity dome or clear plastic wrap | Day 0 |
| 4 | Hold 25 to 28°C with bottom heat (a heat mat helps); minimum 18°C | Days 1 to 20 |
| 5 | Mist to keep the surface constantly moist; never let it dry or puddle | Daily |
| 6 | Lift the dome at first sprouts; give bright indirect light | Days 10 to 20 |
| 7 | Transplant at 3 inches tall with true leaves | Weeks 6 to 8 |
Light drives germination. Seeds left on a bright windowsill sprout while buried ones rot. The humidity dome is not optional in dry rooms. Science Insights documents the full seed protocol: surface-sow, press onto the surface, and hold 25 to 28°C.
Field growers in India transplant 4 to 5 cm rooted plants at 20 by 20 cm spacing, which tells you how quickly this mat fills ground once established.
5. Nurse the Seedlings: Wet, Warm, Bright
Seedlings are delicate for their first month. Keep the mix constantly moist, keep the dome off once leaves show, and keep temperatures above 20°C. Leggy seedlings mean too little light. Move the tray closer to a bright window or under a grow light.
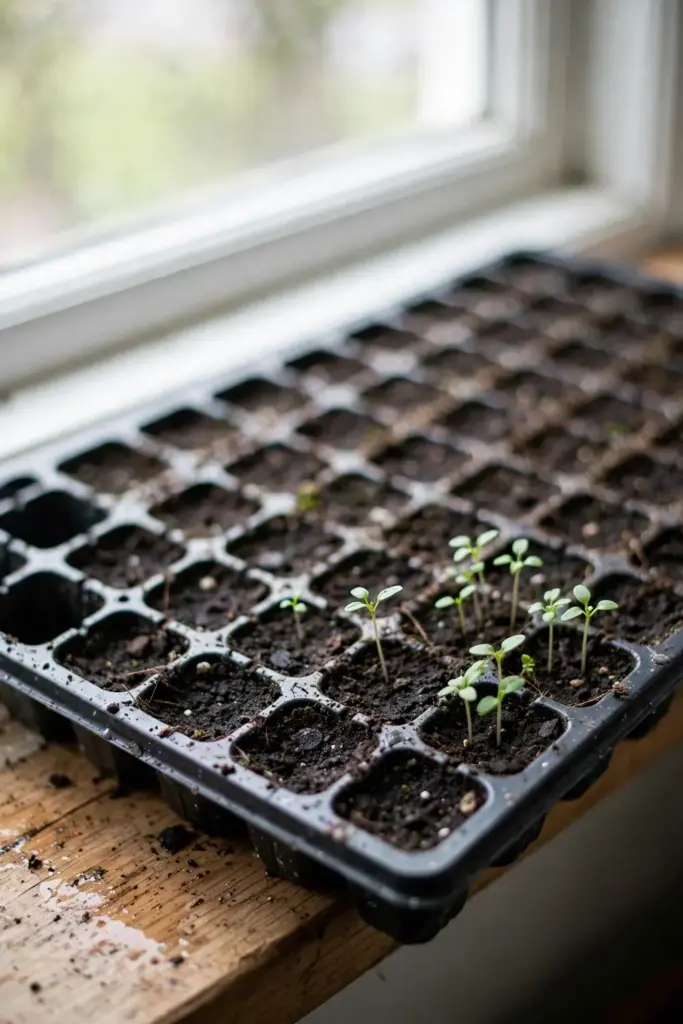
Harden seedlings over a week before outdoor life. Feed nothing until true leaves appear, then use quarter-strength liquid feed. Handle by the leaf, not the stem, when potting up.
6. Root Stem Cuttings: The Easy Method
Take 4 to 6 inch stem cuttings from a healthy mother plant. Strip the lower leaves, and either stand the cuttings in a glass of water or lay them on damp mix. Water-rooted cuttings show white roots in 2 to 3 weeks. Cuttings laid on mix root at every node that touches damp soil, which is how this plant colonizes pond edges in the wild.
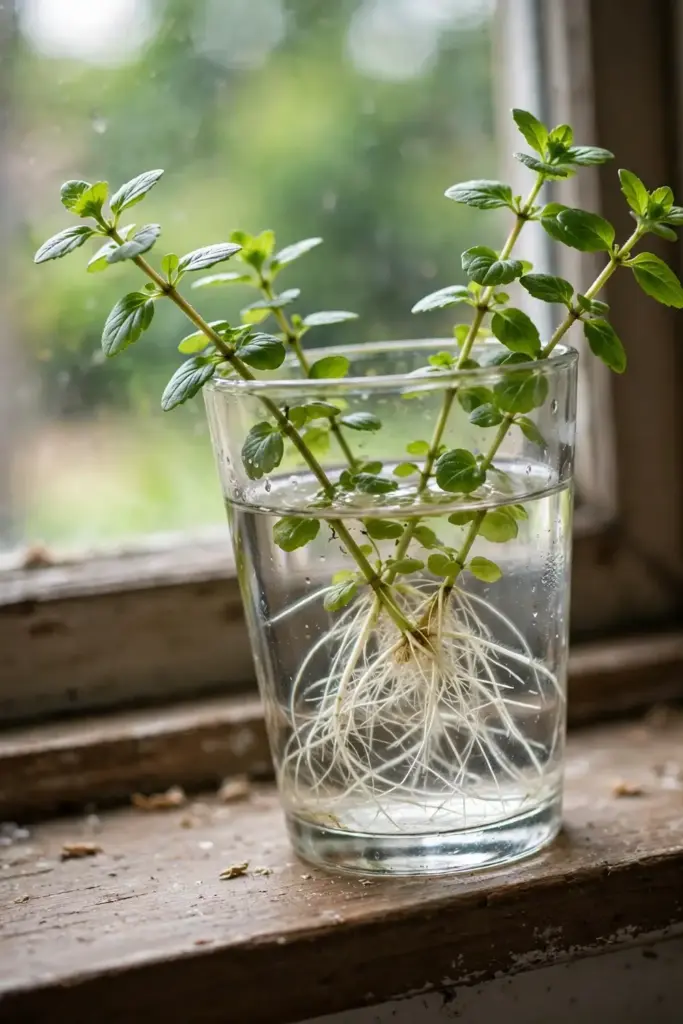
Transplant water-rooted cuttings into wet mix before roots exceed an inch. Keep the mix bog-wet for the first week so roots adapt. Then treat them like any established plant.
7. Pick the Right Pot: Wide, Shallow, Wet
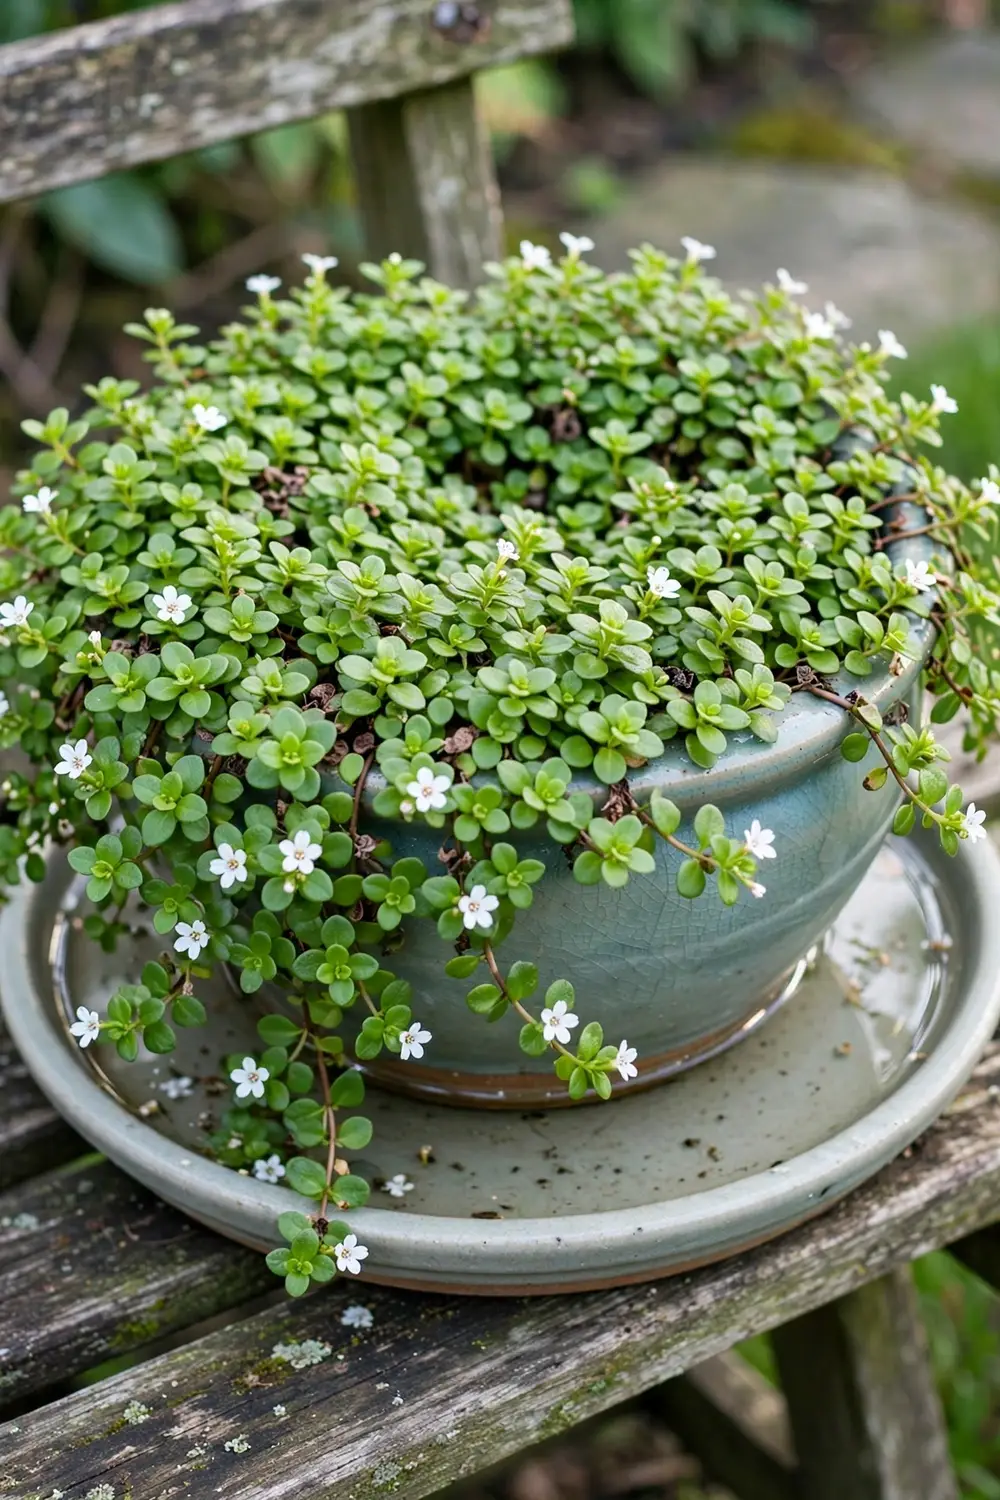
Brahmi roots run sideways, not down. The ideal container is a wide shallow pot or tray, 30 to 40 cm across and 15 to 20 cm deep. Brahmi.in recommends a shallow pot without drainage holes, or a normal pot standing in a water-filled saucer. Both methods keep the root zone permanently damp, which is exactly what a marsh plant wants.
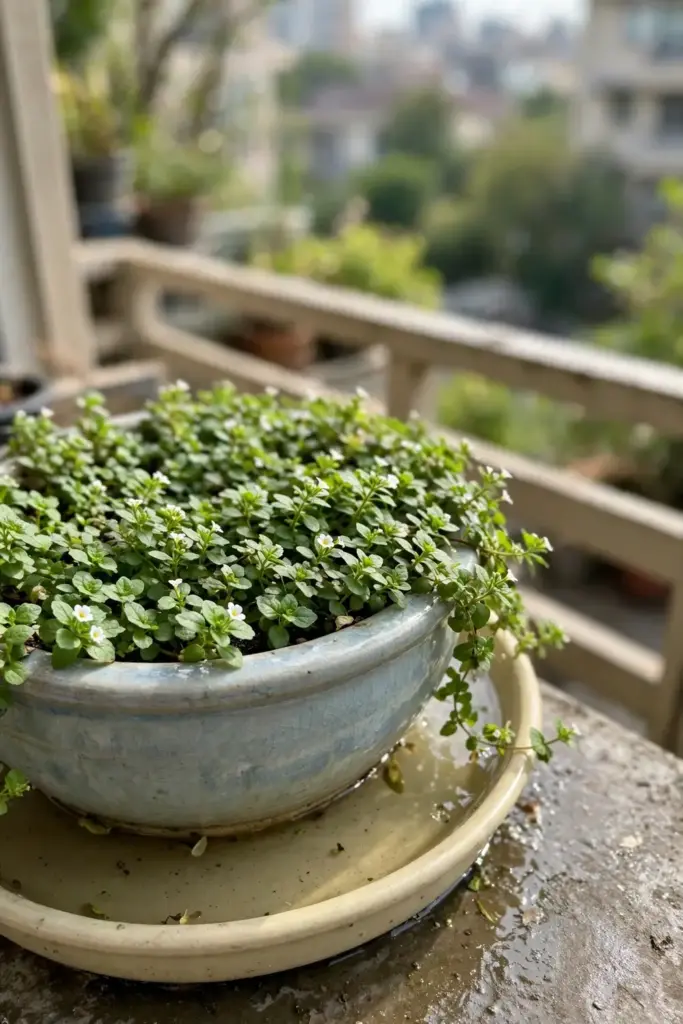
Glazed ceramic or plastic beats terracotta here because it holds moisture instead of wicking it away. One plant per pot is enough for a 30 cm tray. The mat spreads and roots at nodes, filling the surface within a season.
Bunch multiple small pots in a tray to share humidity, and group brahmi with other water-loving herbs like mint so one watering routine serves them all. Elevate the pot on a brick inside a deeper saucer if mosquitoes bother you; the roots still reach the water through the drainage holes while the brick breaks the mosquito breeding surface. For growers learning how to grow brahmi from India on a balcony, the shallow-tray-plus-saucer setup fits a railing planter and needs no plumbing.
8. Try the Water-Bowl Method: Bog Growing at Home
Set the pot in a shallow bowl or tray and keep an inch of standing water in it. Refill as it evaporates. This mimics the ditch and pond-margin habitat the plant evolved in, and it removes the biggest beginner failure: letting the pot dry out.
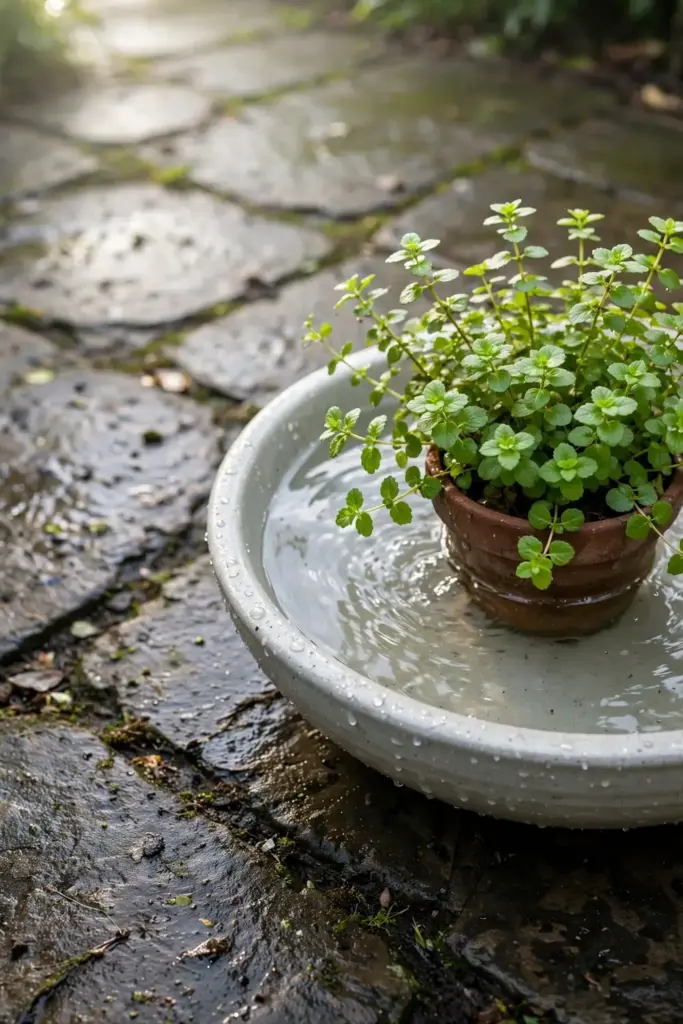
Change the standing water every few days in hot weather to keep it fresh. A thin mosquito concern applies outdoors in the tropics; changing the water weekly handles it, as does a drop of neem oil in the saucer.
9. Build the Soil Mix: Moisture-Holding, Not Heavy
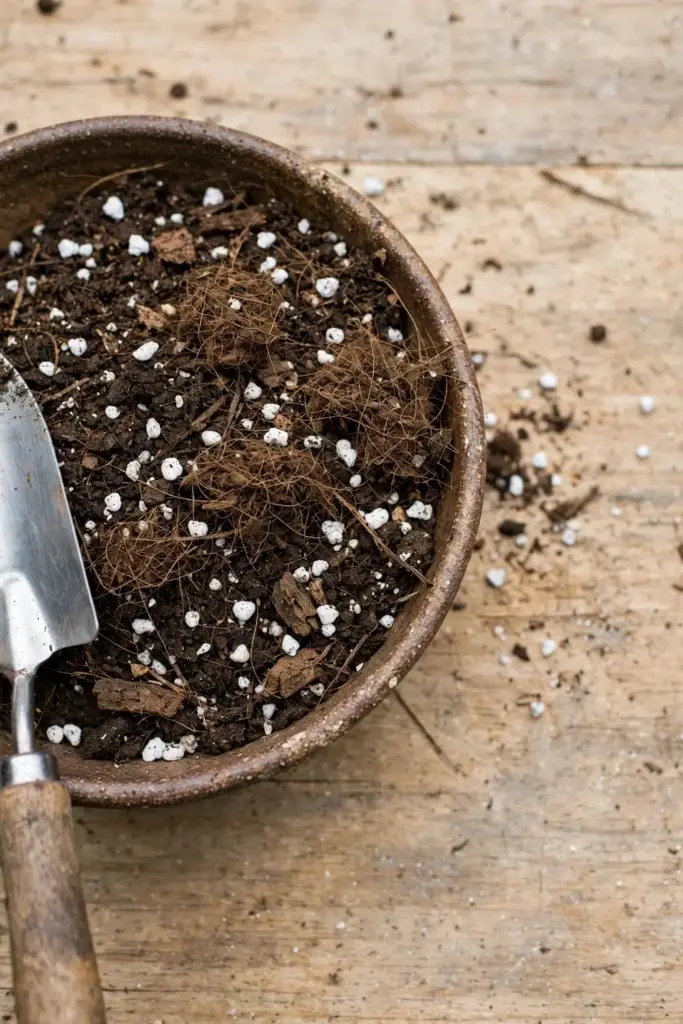
Brahmi tolerates a wide range of soils as long as moisture is constant. Rich garden soil works, but a mix tuned for water retention performs better in pots.
| Component | Purpose | Proportion |
|---|---|---|
| Garden soil or loam | Structure and minerals | 2 parts |
| Compost | Slow nutrition | 1 part |
| Cocopeat or peat | Water retention | 1 part |
| Sand or perlite | Air pockets in wet mix | Half part |
Aim for pH between 6.0 and 7.5. Skip bark-heavy mixes that drain too fast for a bog plant. The soil-health guide explains how organic matter holds both water and nutrients in container mixes.
Refresh the top 2 inches of mix each spring with fresh compost. Old mix compacts and turns sour in permanently wet conditions, which starves roots of air. A spring refresh also resets salt levels from winter feeding. If the mix smells swampy, that is your signal to repot into a fresh batch rather than trying to fix it in place.
10. Water Like a Wetland: Never Let It Dry
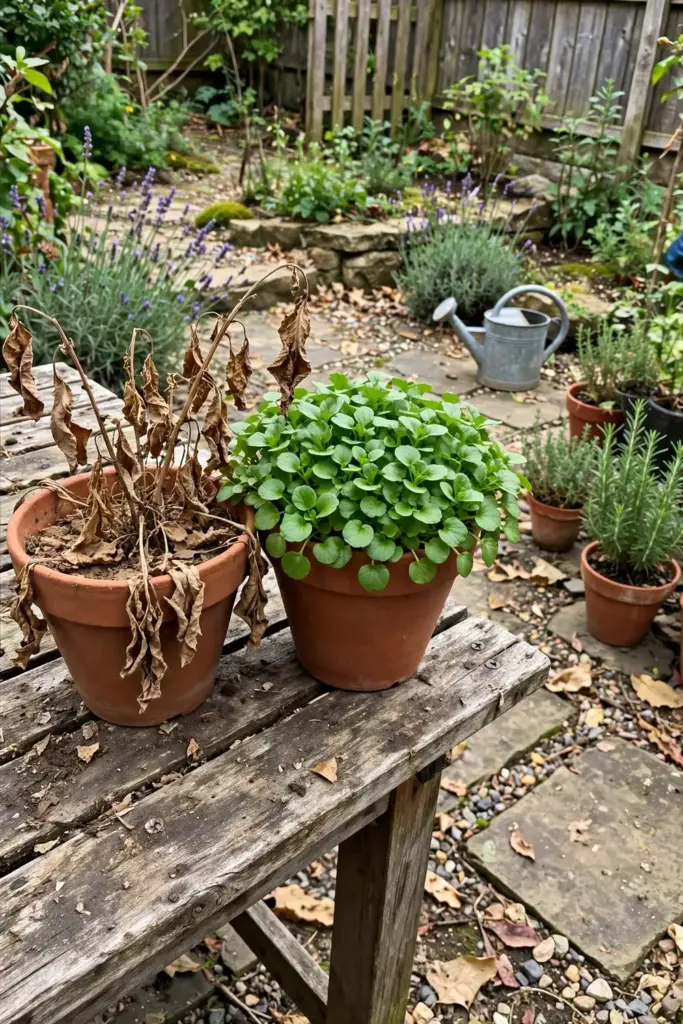
Water is the entire game. Brahmi wilts hard and fast when the mix dries, and repeated wilting kills sections of the mat. Keep the surface visibly damp at all times.
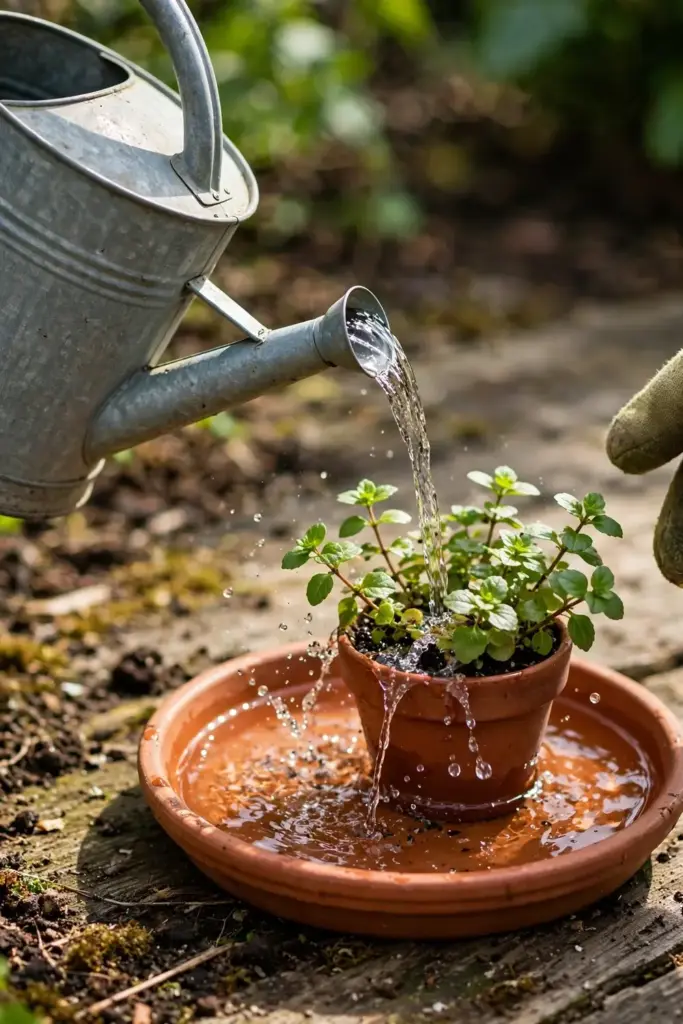
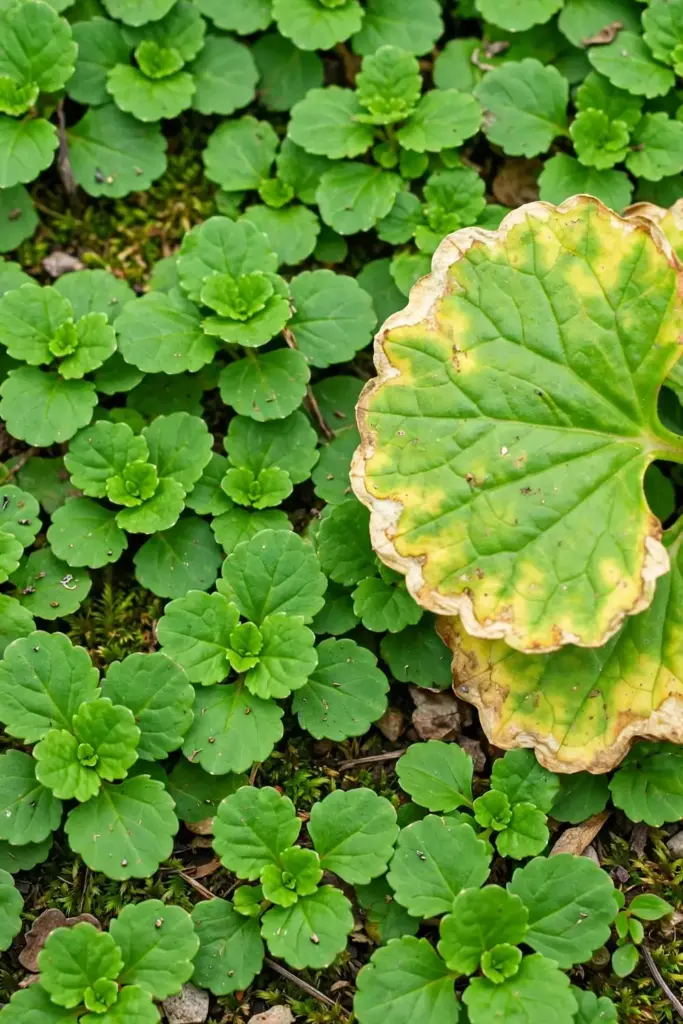
In Indian summers, check pots twice a day. Morning watering plus a full saucer carries most plants through the afternoon. Mulch the surface with a thin layer of cocopeat to slow evaporation. Yellowing that starts at leaf edges usually signals dry spells, not disease.
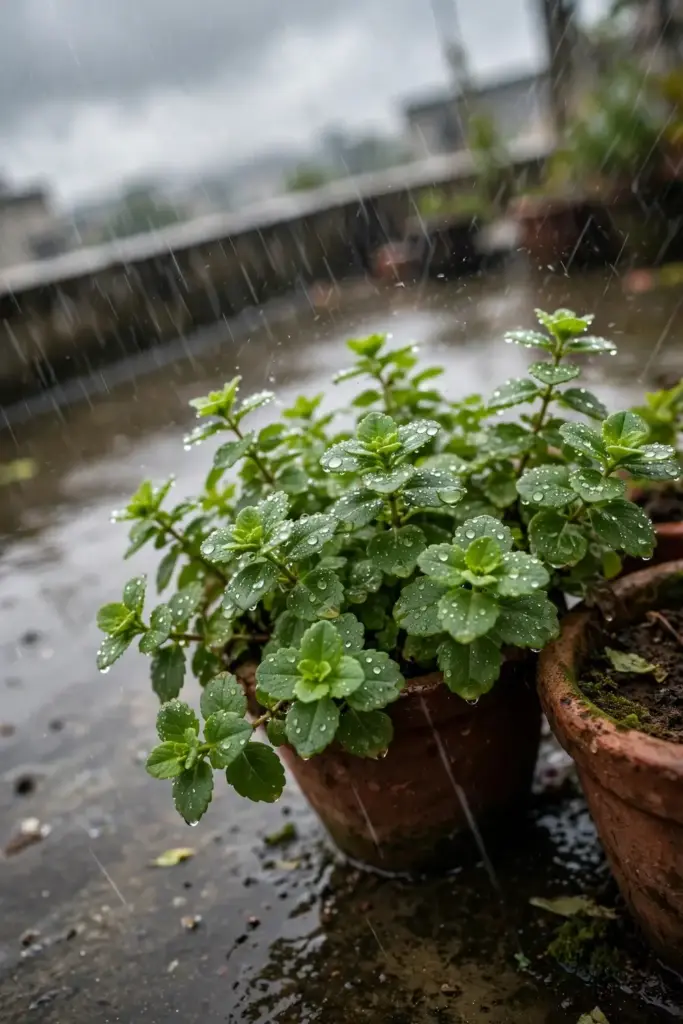
Rain does half the work in monsoon. Shift the saucer method down a notch during heavy rain so the pot does not drown in runoff; the plant loves wet but still needs oxygen at the roots. In winter, reduce to a single morning check since evaporation drops. A self-watering planter with a reservoir handles the whole job if you travel.
11. Feed Lightly: Bog Plants Are Not Heavy Eaters
Brahmi needs little fertilizer. Rich soil plus compost at planting carries a pot for months. If growth stalls, apply half-strength balanced liquid feed every 4 to 6 weeks during the growing season.
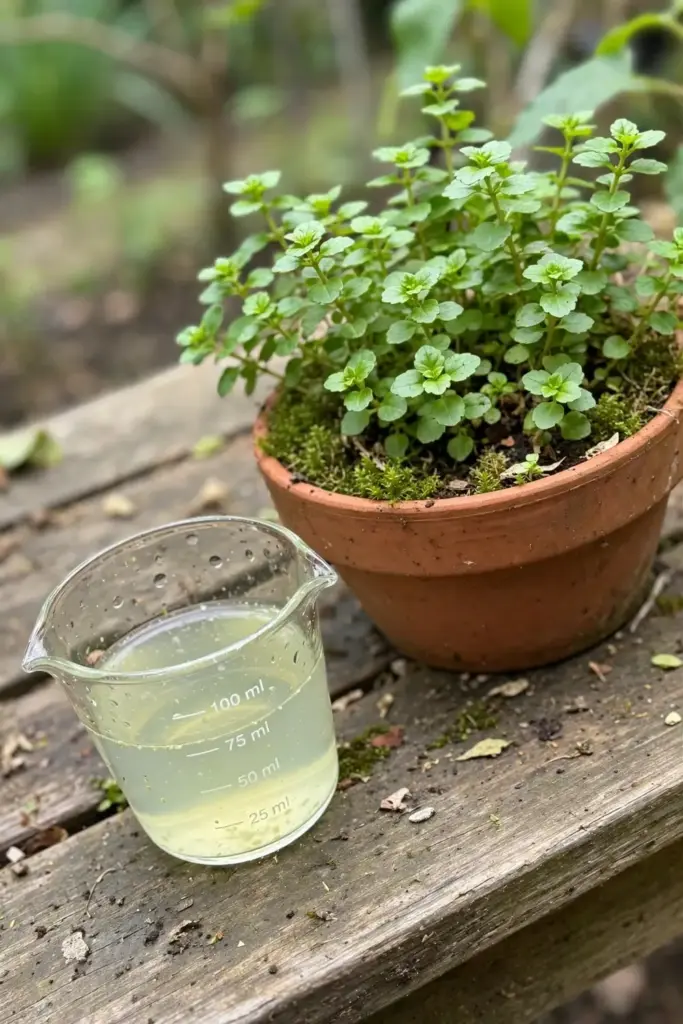
Stop feeding in winter when growth slows. Salt buildup from heavy feeding damages roots faster in constantly wet mix, so flush the pot occasionally if you feed regularly.
12. Pinch and Prune: Thicker Mats, More Leaves
Pinch stem tips every few weeks to force side branching. Every pinch point doubles into two stems, and two stems double the leaf harvest. Harvest counts as pruning: cutting leaves for use keeps the mat dense.
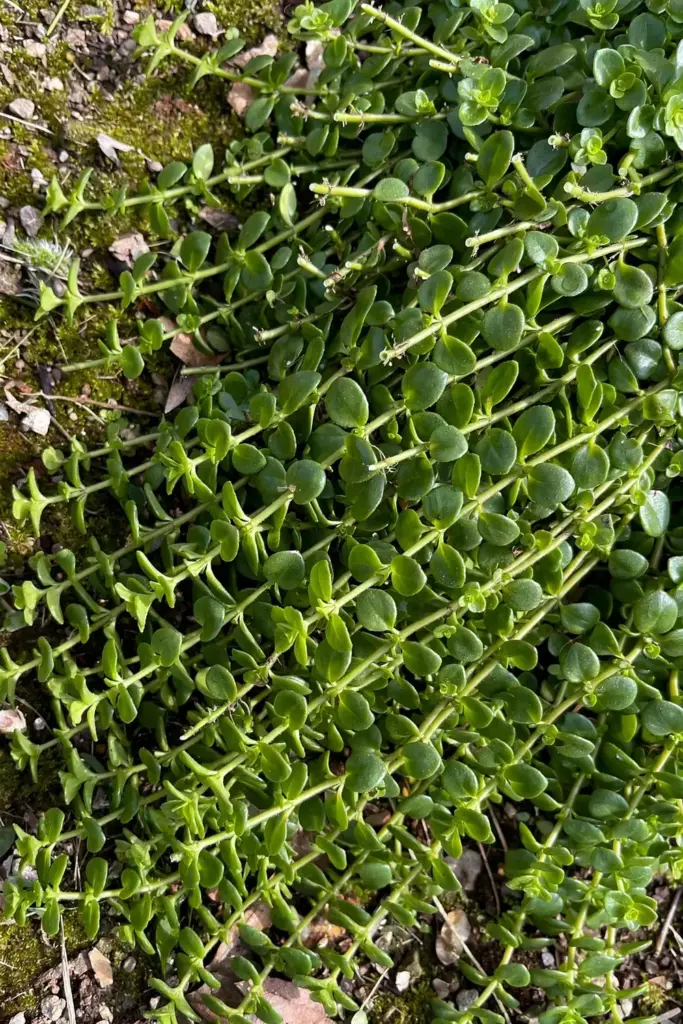
Shear the whole mat back by a third if stems grow leggy or bare at the center. The plant rebounds fast in warm, wet conditions. Remove any flowers you spot if leaf production is the goal; flowering diverts energy from foliage.
13. Overwinter Indoors: Frost-Tender Reality
Brahmi dies in frost, so cold-climate growers move pots inside before first frost. Place the pot in the brightest window available and keep the saucer method running. Growth slows but rarely stops in a warm room.
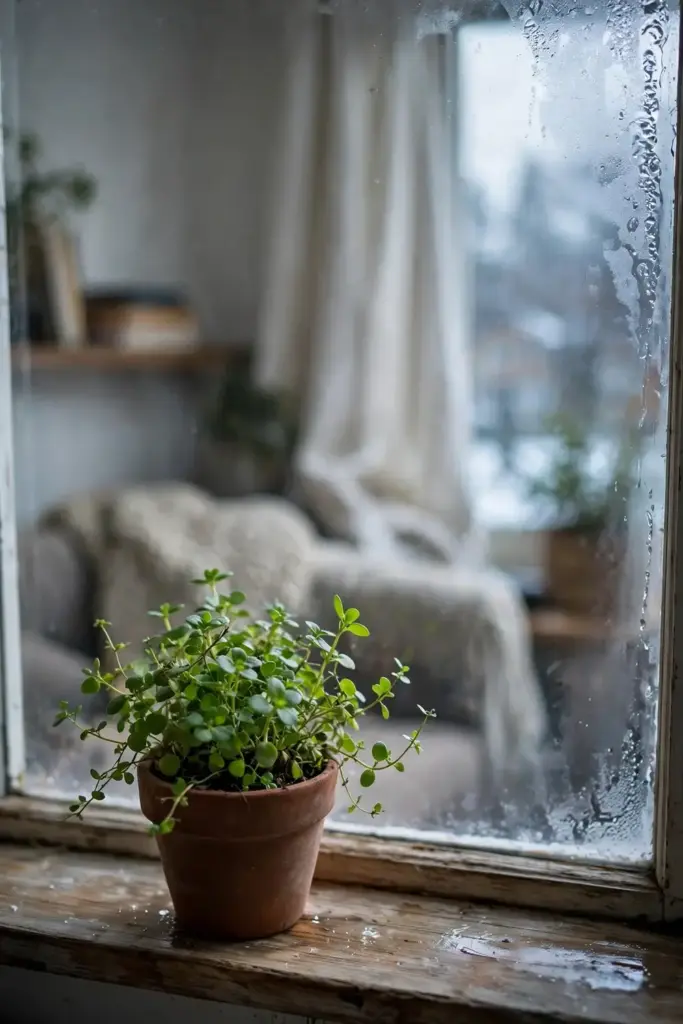
Reduce watering slightly since evaporation drops indoors, but never let the mix dry. The indoor herb guide covers light and humidity tricks that apply directly to winter brahmi. If leaves drop in transit shock, trim hard and wait; roots usually survive.
A small indoor setup keeps a mother plant alive through winter for spring cuttings. One 30 cm tray on a bright windowsill supplies all the propagation material you need for the next season, so you never buy plants twice. If the room runs dry from heating, sit the pot on a pebble tray with water; the rising humidity protects leaf edges from browning.
14. Watch Pests and Diseases: Few, If Wet
Constantly wet conditions keep most pests away, but watch for these:
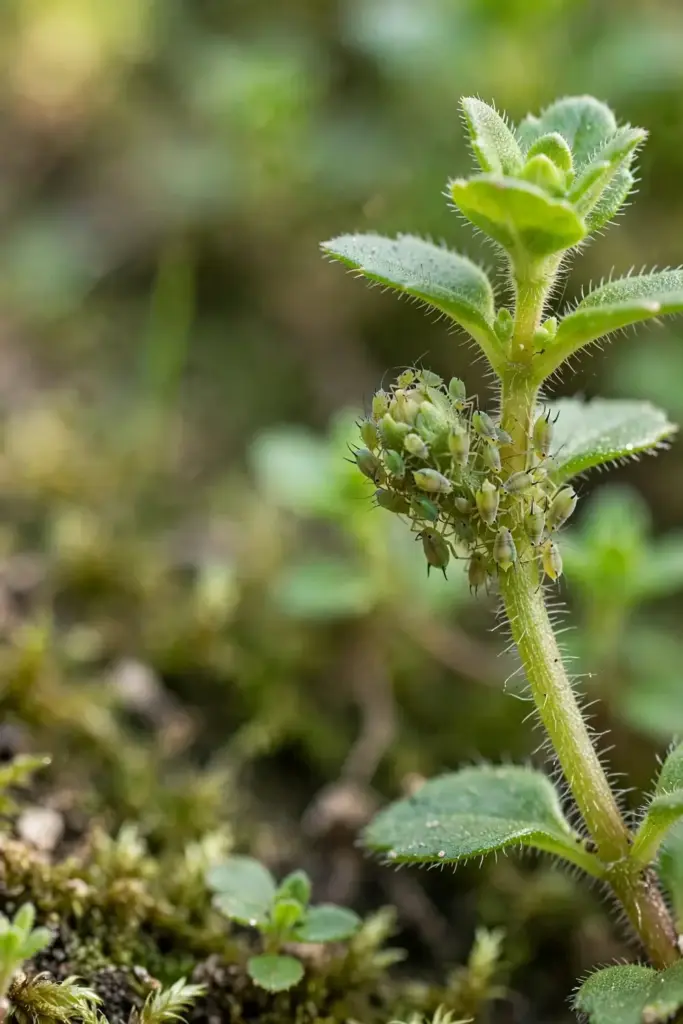
- Aphids on tender tips: blast off with water or use insecticidal soap.
- Fungal spots in stagnant air: improve airflow, avoid overhead watering at night.
- Slugs in outdoor bogs: copper tape or hand-pick at dusk.
- Root rot in sour, anaerobic mix: refresh the mix and reduce standing-water depth.
Healthy brahmi outgrows most problems. A struggling plant usually needs more water, more light, or a repot, in that order.
Quarantine any new nursery plant for two weeks before it joins the collection. Nursery stock sometimes carries aphids or whitefly that spread fast in the warm, humid conditions brahmi loves. A two-week isolation on a separate saucer costs nothing and protects the whole tray.
15. Harvest Leaves: Cut, Do Not Pull
Start harvesting once stems reach 4 inches. Cut stems with scissors just above a node pair. The node sends out two new shoots, which is the whole point of the pinch-and-harvest cycle.
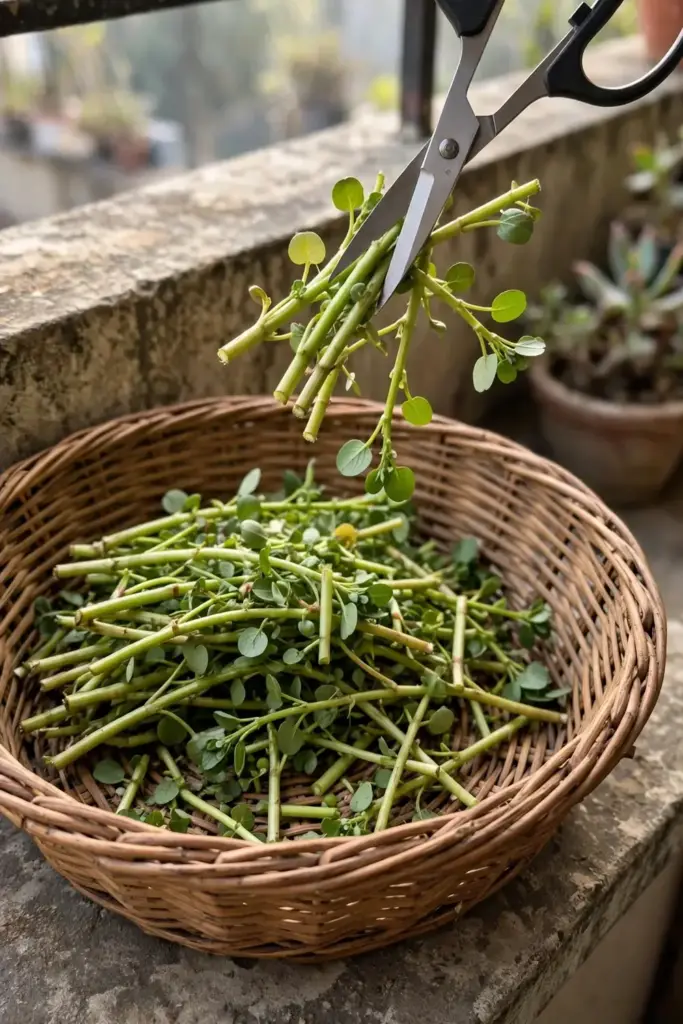
Harvest in the morning when leaves hold the most water. Take at most a third of the mat at once so the plant keeps photosynthesizing. Fresh leaves keep a few days in the fridge wrapped in a damp cloth.
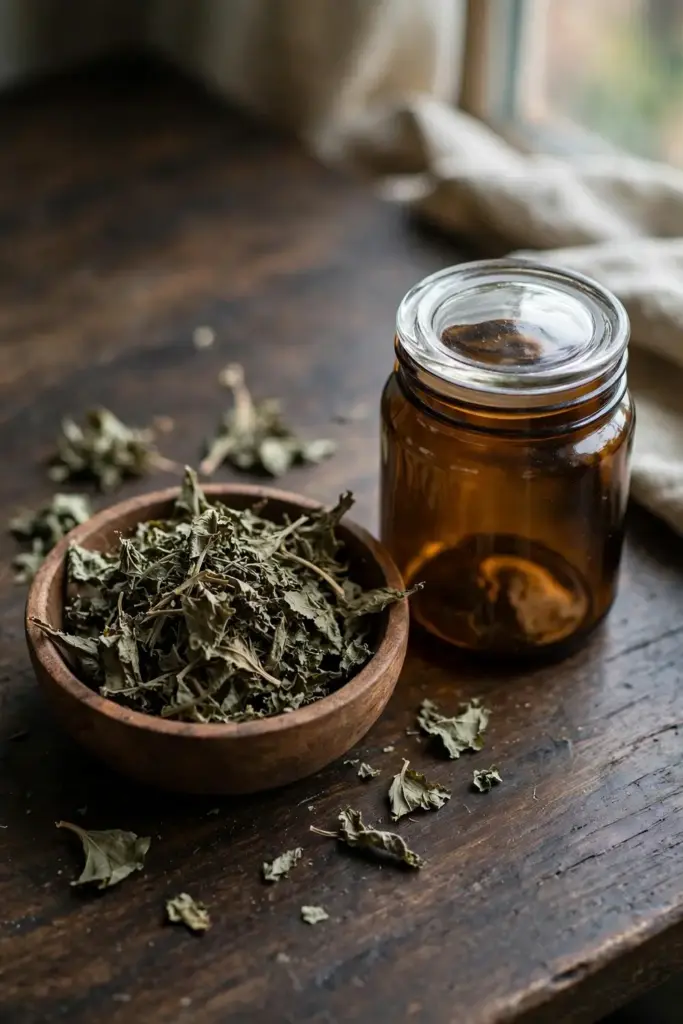
For drying, spread washed leaves in a single layer in shade with good airflow; sun destroys color and flavor. Crisp leaves crumble easily when fully dry. Store the dried leaf in an airtight jar away from light, and use within six months for the best aroma. Label the jar with the harvest date and the botanical name so a future you never confuses it with gotu kola.
16. Bacosides: What the Science Says
Bacosides are the dammarane-type saponins researchers study in Bacopa monnieri, and they are the reason Ayurvedic tradition values this plant. Clinical trials on memory and learning generally run 8 to 12 weeks of daily use, which is why researchers distinguish brahmi from fast-acting stimulants.
This is tradition plus early science, not a prescription. Do not treat disease with a garden plant. Talk to a clinician before using brahmi medicinally, especially if pregnant, nursing, or taking prescription medication. The “who should not use brahmi” question appears in search results because it matters.
17. Use Brahmi in the Kitchen and Home
Fresh brahmi leaves taste mildly bitter with a lemony note. Common home uses include:
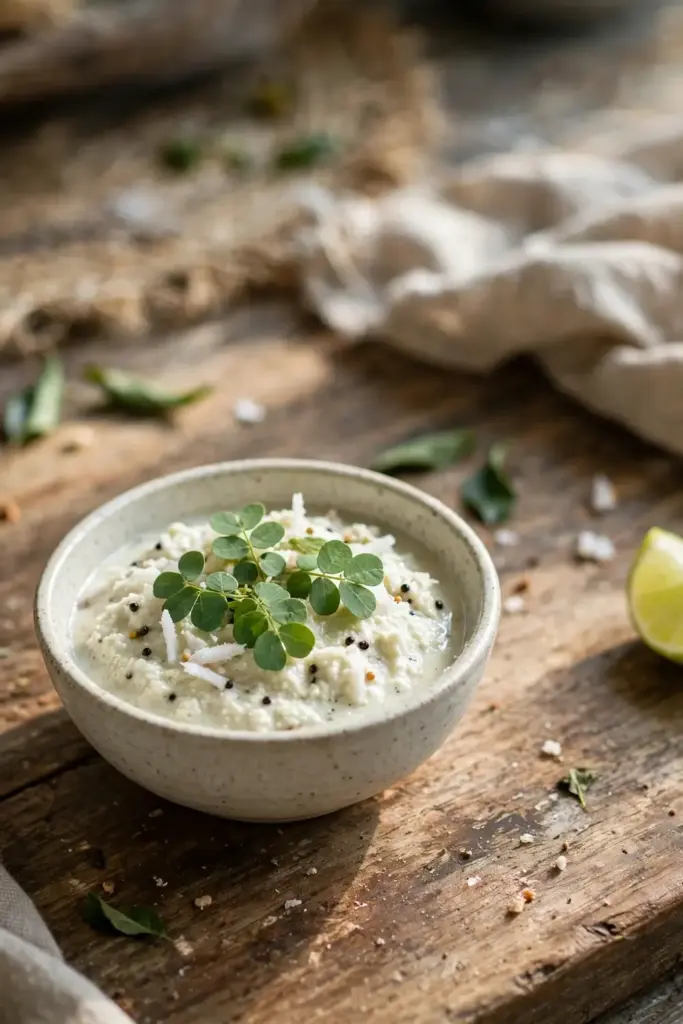
- Chopped fresh into chutneys and salads in small amounts
- Steeped as a simple leaf tea
- Blended into smoothies with fruit to balance the bitterness
- Dried and powdered for storage (dry in shade, store airtight)
Start with small quantities. Bitterness varies by growing conditions, and wetter, shadier leaves tend to taste milder.
A traditional preparation is brahmi ghee, where fresh leaves are simmered gently in ghee and strained; Ayurvedic households keep it as a pantry staple for occasional use. Another is the simple leaf chutney with coconut and a squeeze of lime, which balances the bitter edge. However you use it, treat the leaf as a food first and a medicine second, and keep portions modest.
18. Buy True Brahmi: The Commerce Checklist
Nursery commerce is where the species confusion costs real money. Use this checklist before buying a plant or seed packet:
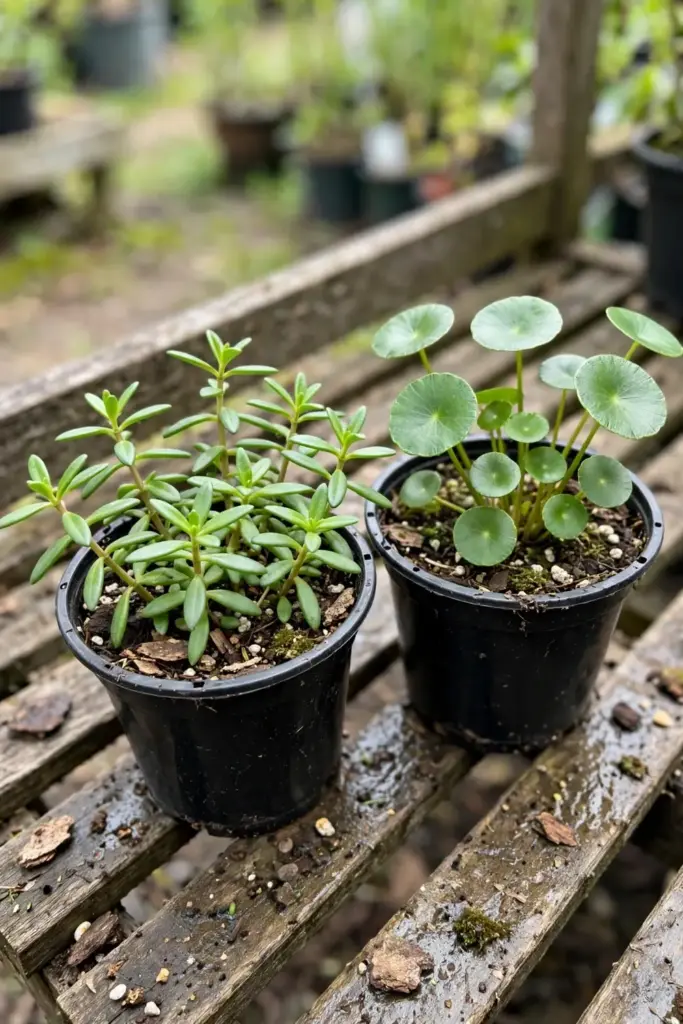
- The label names Bacopa monnieri explicitly, not just “brahmi.”
- Leaves are oblong, thick, and succulent with smooth edges.
- The plant creeps and roots at stem nodes.
- Reject “brahmi dollar” or pennywort listings with round coin leaves, and reject any listing that names Centella asiatica as the scientific name of “brahmi.”
If the seller cannot name the species, walk away. Maali Bhaiya sells brahmi as Bacopa monnieri with the correct identity, which is the baseline every seller should meet.
19. Run an Indian Season Calendar: Monsoon to Winter
A year with brahmi follows the Indian seasons. Match the work to the weather.
Late winter to early spring (February to March). Sow seed indoors on the surface with a humidity dome. Take stem cuttings from any overwintered mother plant. Repot tired mats into fresh mix.
Summer (April to June). Move pots to morning sun with afternoon shade. Double the saucer checks. Mulch the surface. This is peak growth season; pinch and harvest freely.
Monsoon (July to September). Reduce saucer depth so rain does not flood the pot. Watch for fungal spots in stagnant air and improve spacing. This is the best window for dividing mature mats into new pots.
Autumn (October to November). Take a final round of cuttings to carry through winter. Slow feeding as growth eases.
Winter (December to January). Move pots indoors in frost-prone regions. Keep the mix barely moist and the light as bright as possible. Growth nearly stops; do not feed. The mat regrows from roots when warmth returns.
The fall planting calendar helps time the autumn cuttings and the last outdoor harvest before cold arrives.
20. Avoid These Mistakes
- Buying gotu kola as brahmi. Check the leaf shape and the botanical name on the label.
- Burying the seed. Surface-sow and press; light is required to germinate.
- Letting the pot dry out. Wilting hardens into dead patches fast.
- Deep narrow pots. Roots run sideways; wide and shallow wins.
- Direct afternoon sun in Indian summers. Morning sun plus afternoon shade.
- Leaving pots out in frost. One freeze kills the plant; move it in.
- Overfeeding. Half-strength, occasionally; bog plants are light feeders.
- Expecting seed to beat cuttings. Cuttings root in weeks; seed takes months to a mat.
21. Troubleshoot Common Problems
Seeds never sprout. The usual causes: buried too deep, temperature below 18°C, dried surface, or old seed with short viability. Surface-sow fresh seed, hold 25 to 28°C, and dome it.
Seedlings damp off. Too wet and too cool at once. Improve airflow, back off misting slightly, and keep temperatures up.
Leaves yellow from the edges. Dry spells are the usual cause. Switch to the saucer method, mulch the surface, and check the pot twice daily through summer heat.
Leggy, pale growth. Too little light. Move to brighter indirect sun or add a grow light.
Mat dies back in winter. Normal for cold rooms. Keep the mix barely moist; it regrows from roots in spring.
White crust on the mix surface. Fertilizer salt buildup causes this in constantly wet pots. Flush the pot with clean water, then cut all future feeding in half until growth looks normal again.
Frequently Asked Questions
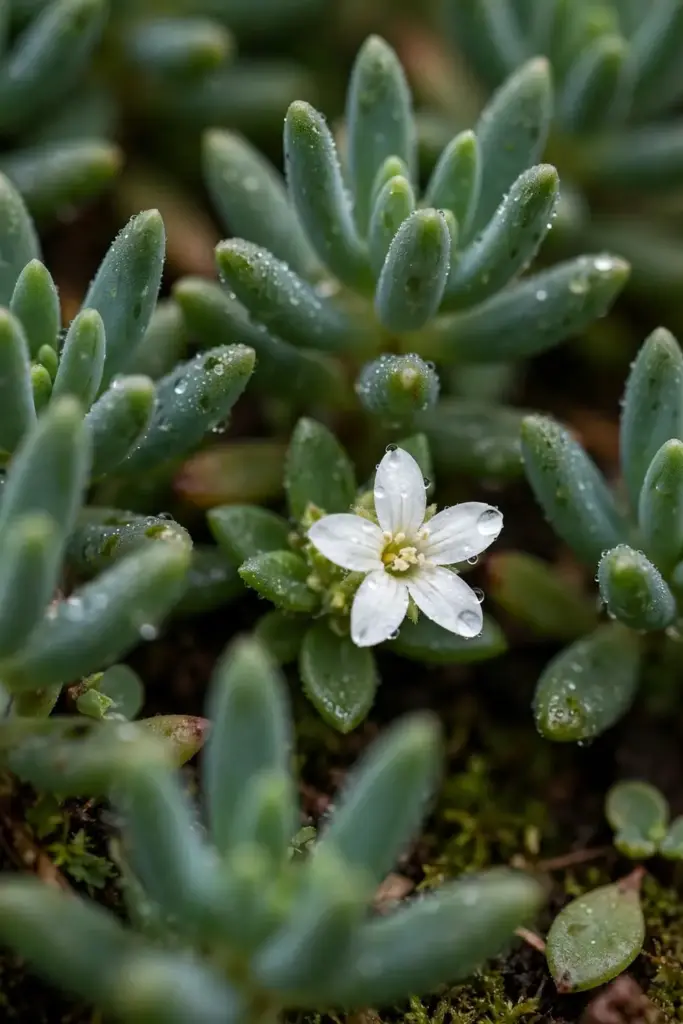
Brahmi seeds germinate in 10 to 20 days at 25 to 28°C with light and constant moisture, per seed-house and science-blog protocols. After transplanting at 3 inches, expect a usable spreading mat in 3 to 4 months. Stem cuttings skip the wait: they root in 2 to 3 weeks and fill a pot faster than any seedling batch.
Yes. Brahmi is a marsh plant, and growers succeed with the water-bowl method: a pot standing in a shallow tray of water, or a wide shallow container without drainage holes. Keep the water fresh in hot weather by changing it every few days. The method removes the number-one beginner failure, which is letting the mix dry out.
No. Brahmi is Bacopa monnieri (Scrophulariaceae/Plantaginaceae) with oblong succulent leaves and bacosides as key compounds. Gotu kola is Centella asiatica (Apiaceae) with round fan-shaped leaves and asiaticoside compounds. Both are called “brahmi” in different regions of India, which is why checking the botanical name on the label matters.
Brahmi wants bright light with protection from harsh afternoon sun: 4 to 6 hours of indirect or morning sun suits most growers. Indian summers demand afternoon shade to prevent leaf scorch. Indoors, the brightest available windowsill works, and a small grow light helps through winter.
Yes, with two conditions: bright light and constant moisture. Keep the pot on a saucer of water and never let the mix dry. Growth slows in winter but rarely stops in a warm room. Move outdoor pots inside before first frost, since one freeze kills the plant outright.
Do not use brahmi medicinally without talking to a clinician first, especially if you are pregnant, nursing, or taking prescription medication. The plant is safe as a small culinary addition for most people, but therapeutic claims belong in a doctor’s office, not a garden guide. Keep all health decisions within professional advice.
Keep the Mat Wet and the Name Straight
Brahmi rewards the gardener who respects its two rules: wet feet and the right species. Sow seed on the surface with light and warmth, or skip straight to cuttings for a mat in weeks. Keep the pot shallow, the saucer full, and the label honest. That is the whole method behind how to grow brahmi from India successfully: one creeping marsh plant, endlessly pinchable, endlessly forgiving once the water never stops.