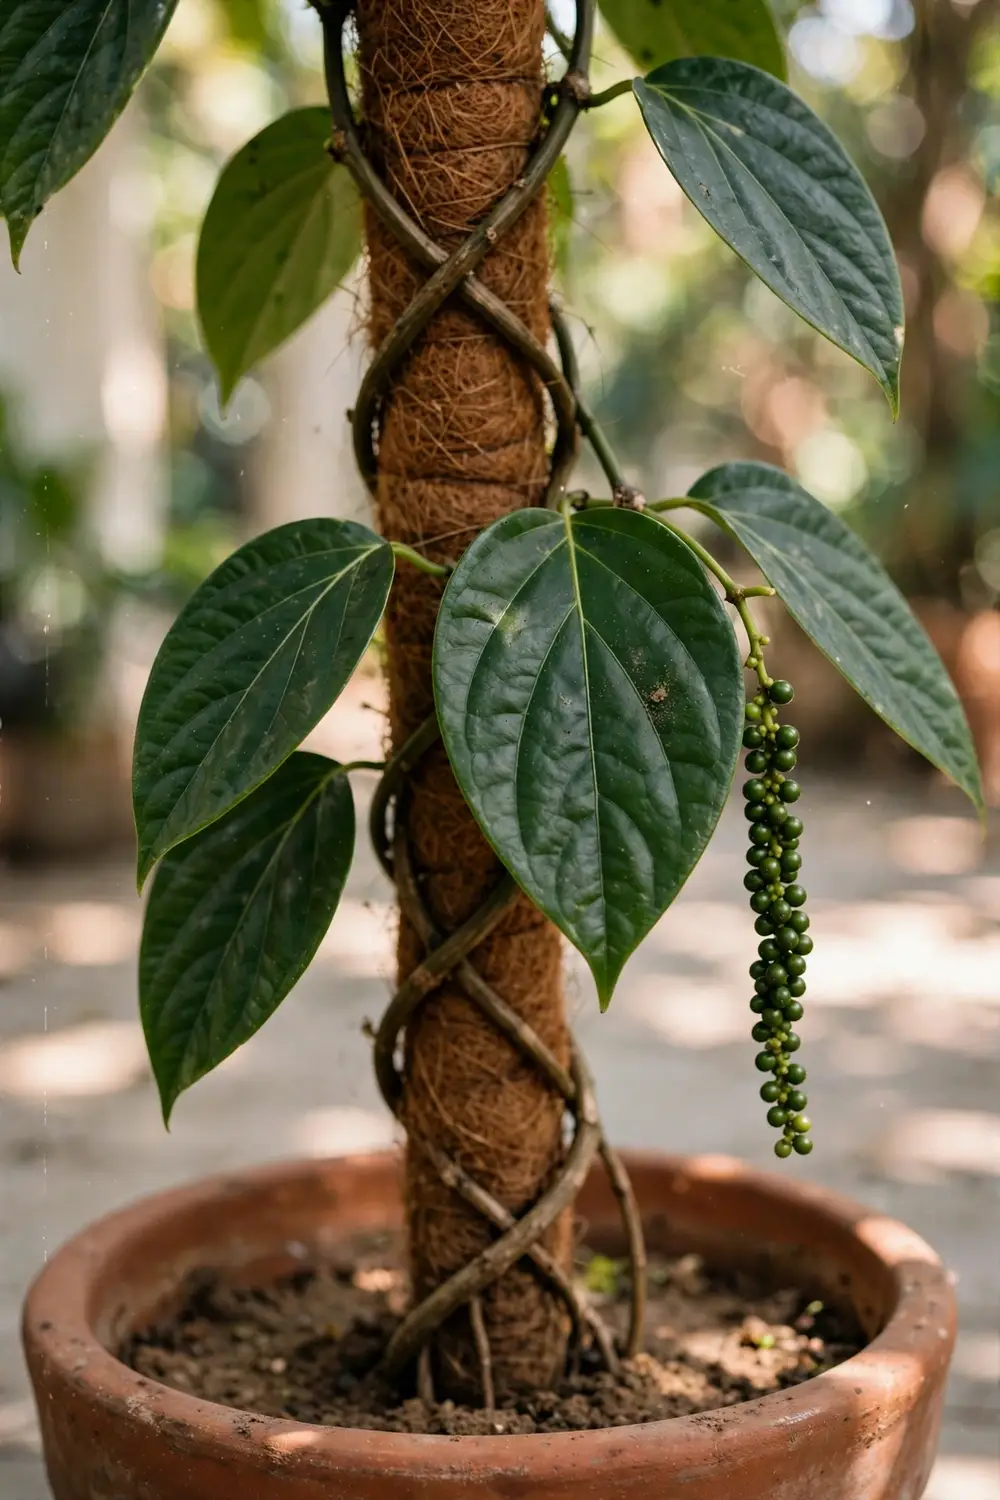

You can grow Indian black pepper, kali mirch, in a cold climate if you treat it as a container vine that moves indoors for winter. Outdoors year-round it survives only in USDA zones 11 and 12, where frost never arrives. Everywhere else, the vine lives in a large pot, climbs a trellis on your patio in summer, and spends the cold months in a bright room. From a rooted cutting, expect the first berry spikes in 2 to 3 years.
Black pepper is Piper nigrum, a tropical climbing vine native to the Western Ghats of Kerala, India, and it has nothing in common with the bell pepper plant except the word pepper. That single confusion sinks more beginners than any pest or disease. I have learned that the container method works because the vine cares about warmth and humidity, not about how much garden soil sits under it.
This guide shows how to grow black pepper from India the proven way: from cuttings, in a pot, through cold winters, all the way to drying your own peppercorns. The timeline is honest. The limits are honest. And the peppercorns at the end taste nothing like the dust in a supermarket shaker.
1. Accept the Zone Reality: Containers Make Black Pepper Possible in Cold Climates
Black pepper is a tropical vine that stalls below 60°F and dies in frost, so in any climate colder than zone 10 the only realistic method is a container that moves indoors. Outdoors year-round, the plant thrives only in zones 11 to 12, where temperatures stay warm and frost never threatens. In colder regions, growers keep the vine in a 3 to 7 gallon pot and bring it inside before nighttime temperatures fall below 50 to 60°F, which is the approach every cold-climate guide on the first page of search results converges on.
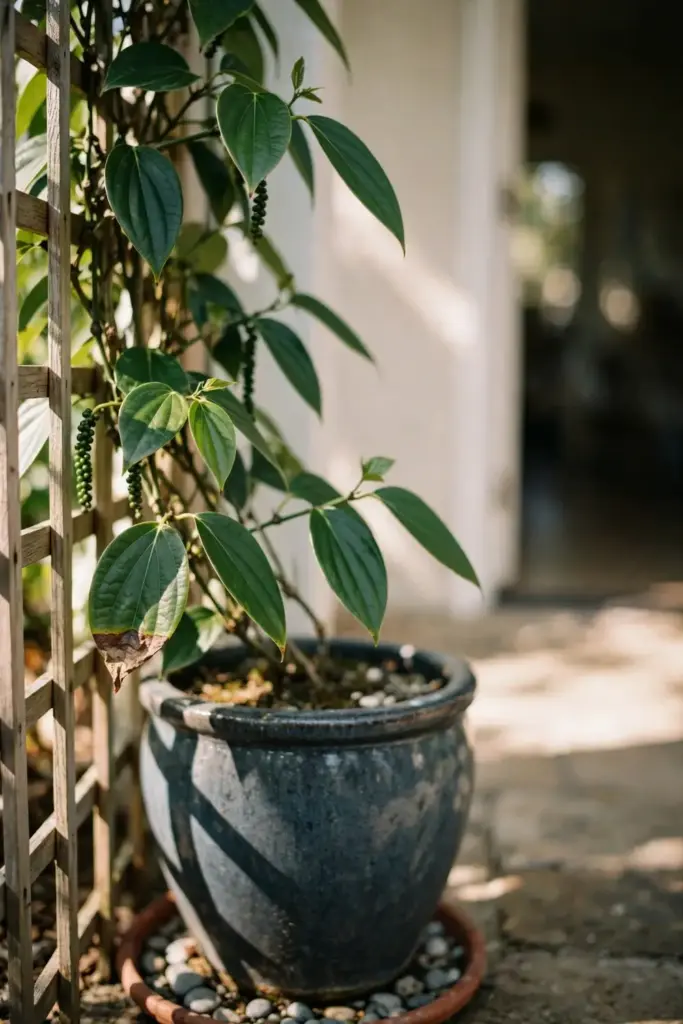
The honest limit matters more than optimism. One niche grower puts it bluntly: the vine dies at 60°F, and a Singapore gardening group reports visible stress below 50°F with short-term tolerance down to 41°F. Indoors, the vine needs 75 to 85°F, bright indirect light for 6 to 8 hours, and humidity above 50 to 60 percent, the indoor regime described across black pepper growing references. A heated greenhouse or a bright bathroom with a humidifier satisfies all three.
Decide now whether you can offer that indoor setup for 4 to 6 months a year. If you can, learning how to grow black pepper from India is a realistic and rewarding project. The pot makes the climate portable, and the vine does the rest. If your winters mean a cold garage and a dim window, choose a different spice.
2. Know Your Pepper: Black Pepper Is Not a Bell Pepper
Piper nigrum, black pepper, is a woody climbing vine in the Piperaceae family, while bell peppers, chili peppers, and tabasco are Capsicum species in the nightshade family, and the two are unrelated. About half of every search page for growing black pepper is polluted by Capsicum content, because both plants answer to the word pepper. Learning the difference in one minute saves you from buying the wrong seeds, the wrong fertilizer schedule, and the wrong advice entirely.
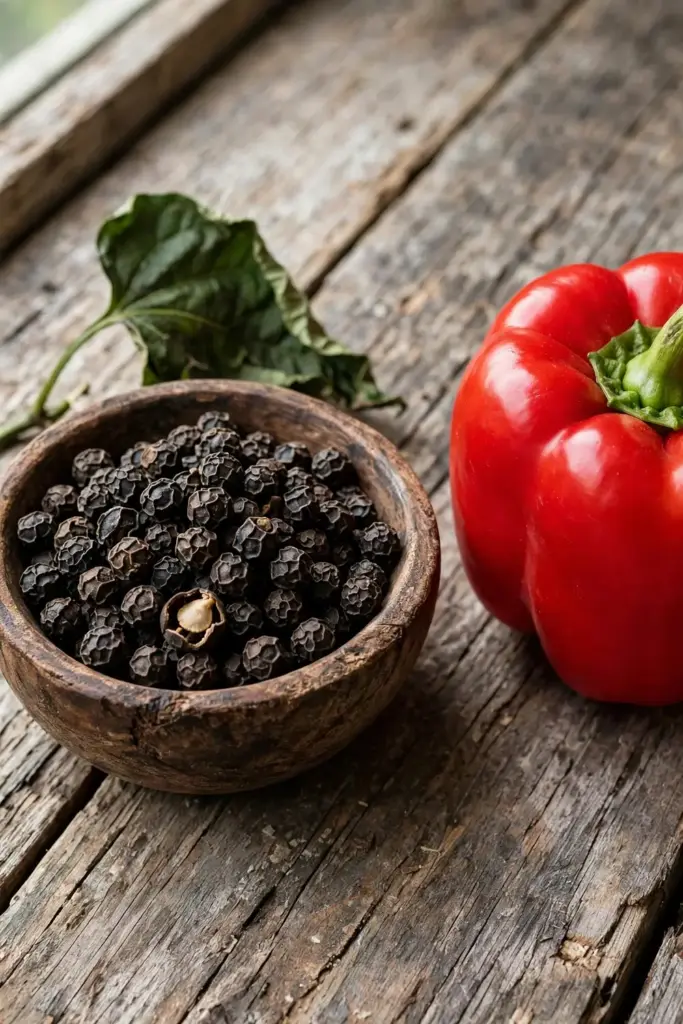
The table below settles the confusion. When you see advice about full sun, short seasons, or overwintering pepper plants in a garage, it is almost always about Capsicum. Black pepper wants the opposite: warmth, humidity, partial shade, and a trellis to climb.
| Trait | Black Pepper (Piper nigrum) | Bell and Chili Peppers (Capsicum) |
|---|---|---|
| Plant family | Piperaceae | Solanaceae (nightshade) |
| Growth habit | Perennial woody climbing vine, climbs to 10 m on supports | Annual or short-lived perennial bush, self-supporting |
| Native region | Western Ghats of Kerala, India | Tropical Americas |
| Fruit | Berry spikes that dry into peppercorns | Fleshy pods eaten fresh or dried |
| Cold tolerance | Stalls below 60°F, dies in frost | Dies in frost, but completes a crop in one summer |
| Home method in cold climates | Container vine moved indoors | Garden bed or large pot outdoors |
If you already grow vegetables, the bell pepper growing guide is the right reference for Capsicum. Everything from here on is about the vine.
3. Choose Cuttings Over Seeds for True-to-Type Vines
Start black pepper from cuttings, not from seed, because cuttings root in 4 to 8 weeks, grow into a genetic clone of the parent vine, and can bear fruit in 1 to 2 years, while seed-grown plants take 2 to 3 years or more and vary in quality. Seed from a grocery-store peppercorn is a dead end: commercial peppercorns are dried, often heat-treated, and rarely viable. Even fresh seed germinates slowly and unevenly.
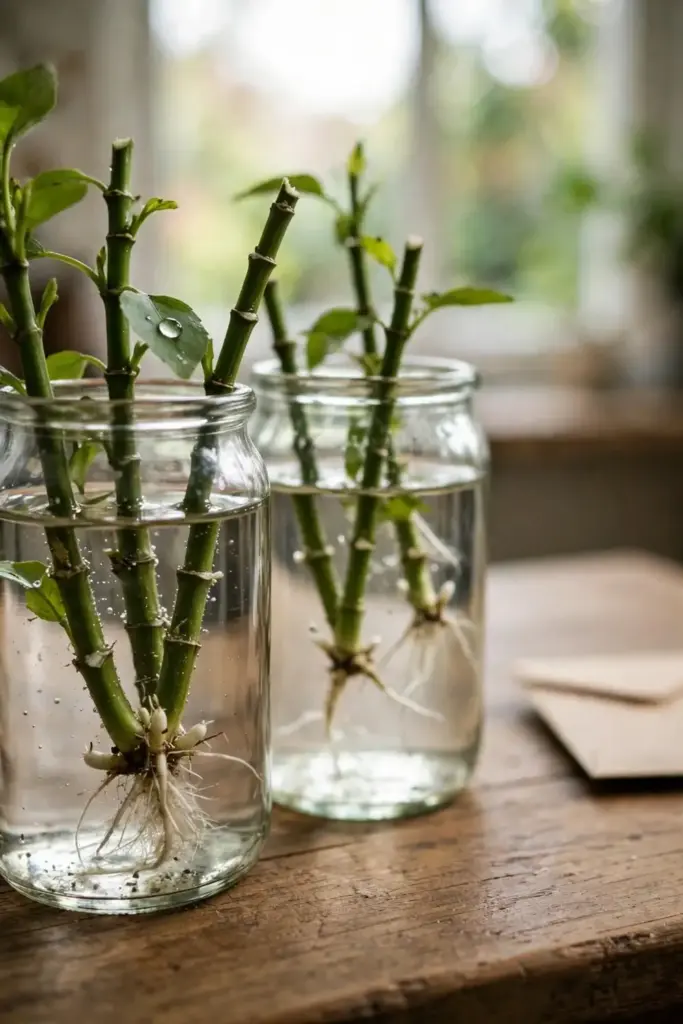
The comparison below uses the timelines that propagation specialists converge on. One parameter set recurs across the exact-match guides and university production references: a 6 to 8 inch semi-hardwood cutting with 2 to 3 nodes, rooted in a peat and perlite mix at 70 to 85°F with 70 to 80 percent humidity, transplanted after 4 to 8 weeks. Those numbers are the backbone of the rooting section later in the article.
| Method | Time to First Fruit | Reliability | Cost |
|---|---|---|---|
| Stem cuttings | 1 to 2 years (field sources say 2 to 3 for container vines) | High, true to type | Low to moderate (buy one cutting or plant) |
| Fresh seed | 2 to 3 years or more | Low, slow and uneven germination | Low, but seed is hard to source fresh |
| Grocery peppercorns | Effectively never | Near zero, dried and often heat-treated | Wasted effort |
The honest timeline for a container vine in a cold climate sits at the slower end: 2 to 3 years to the first small harvest. Black pepper rewards patience the way fruit trees do, not the way basil does.
4. Buy a Healthy Kali Mirch Cutting or Starter Plant
Buy a named cutting or a starter plant from a tropical nursery, because a cutting taken from a high-yielding vine carries the parent’s vigor and fruit quality with it. In India, the classic cultivars are Malabar and Tellicherry, both named for ports on the Malabar Coast where the species originated, and nurseries in the United States sell Piper nigrum starter plants under the same species name. Ask the seller which cultivar you are getting; a named cultivar beats an unlabeled plant every time.
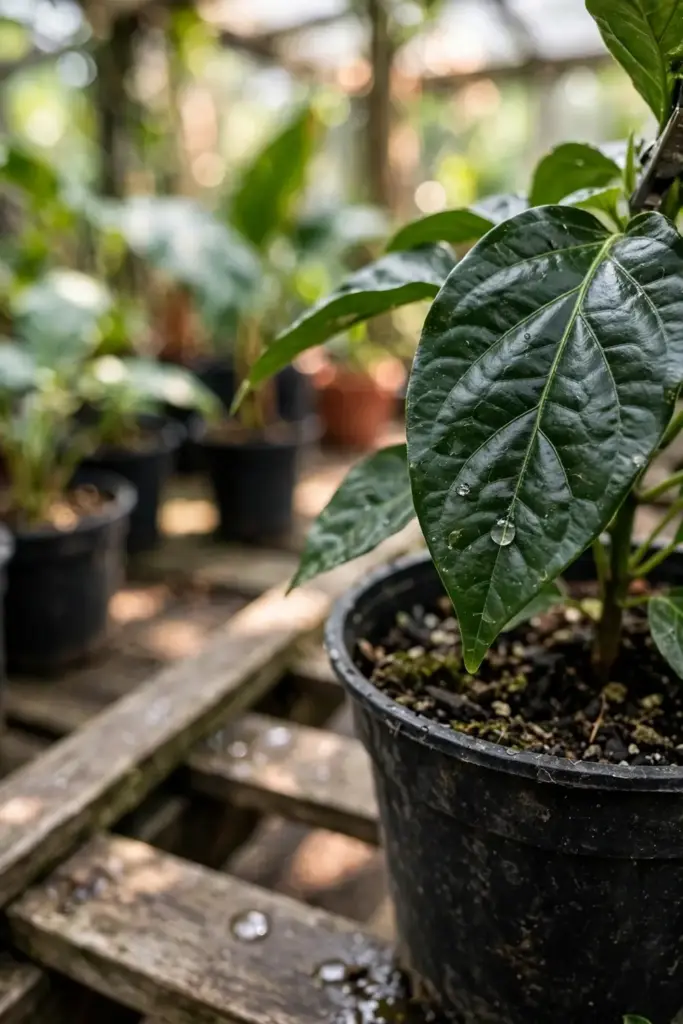
Inspect before you buy. Choose a plant with glossy dark green leaves, firm stems, and visible nodes, and reject any plant with yellowing leaves, blackened stem bases, or a sour smell from the pot, which signals root rot. A 4-inch pot with a 6 to 12 inch vine is the ideal starter size: small enough to establish quickly, large enough to survive the transition.
Buy in spring or early summer so the plant gets a full warm season to establish before its first indoor winter. A cutting rooted in June has five months of growth behind it by October. A cutting rooted in October faces winter immediately, in a weak state, and often fails. Timing is a form of care.
5. Set Up the Pot, Support, and Location
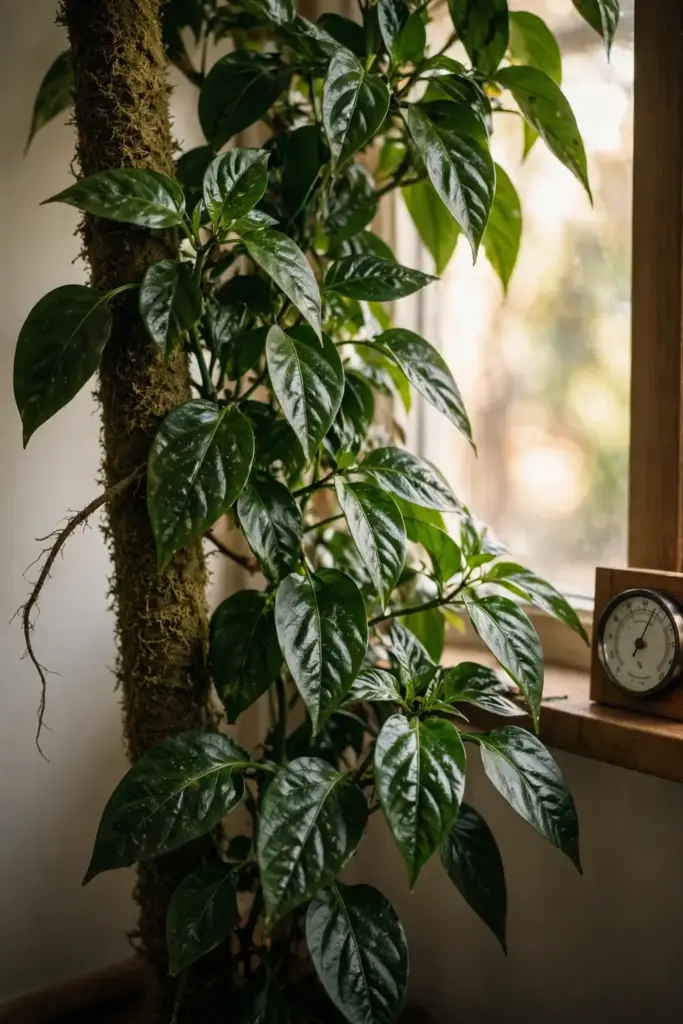
Give the vine a 3 to 7 gallon container with drainage holes, a sturdy 4 to 6 foot trellis or moss pole, and a summer spot with bright indirect light. Black pepper is a climbing vine that anchors itself with aerial roots at each node, so the support matters as much as the pot. A rough-barked wooden trellis, a coir moss pole, or a cedar stake all give the aerial roots something to grip. Smooth metal poles do not.
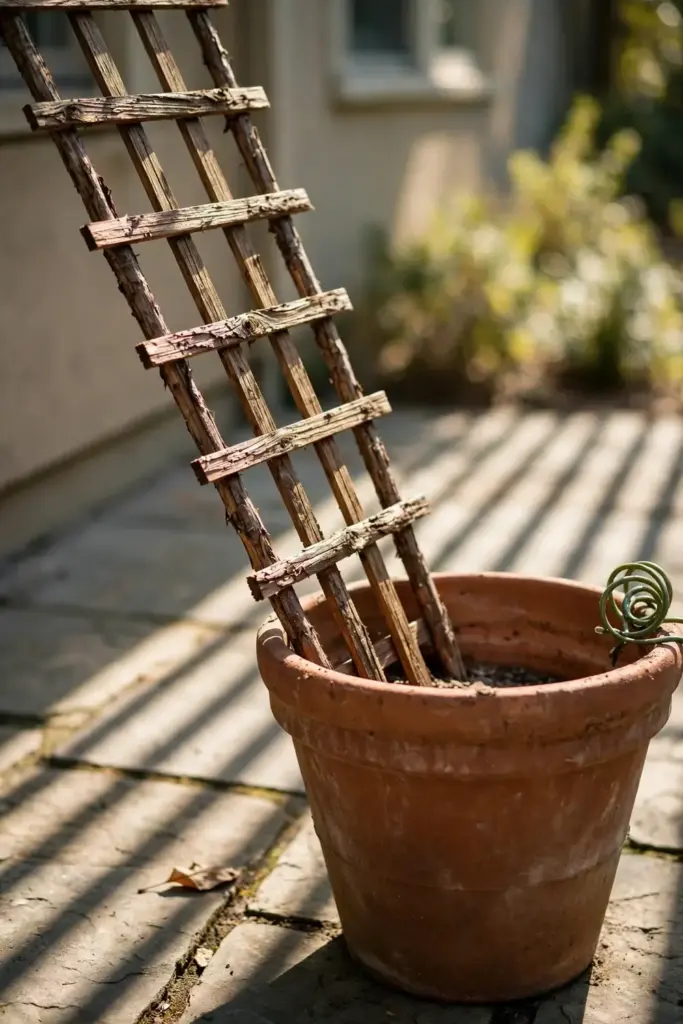
Start a young plant in a 1 to 2 gallon pot and step it up one size each spring until it reaches its final 5 to 7 gallon home. Oversized pots hold too much wet soil around a small root system, and wet soil is the fastest way to lose a pepper vine. Each spring repot is also the moment to refresh the top few inches of mix and check the roots.
For summer placement, choose morning sun with afternoon shade, or dappled light all day. The vine wants 6 to 8 hours of bright indirect light and sulks in harsh midday sun, which scorches the leaves. A patio with an eastern exposure, or a spot under a high tree canopy, is close to ideal. Keep the pot where you can reach it easily, because you will be moving it indoors in fall and back out in spring.
6. Mix a Fast-Draining Soil for Container Pepper
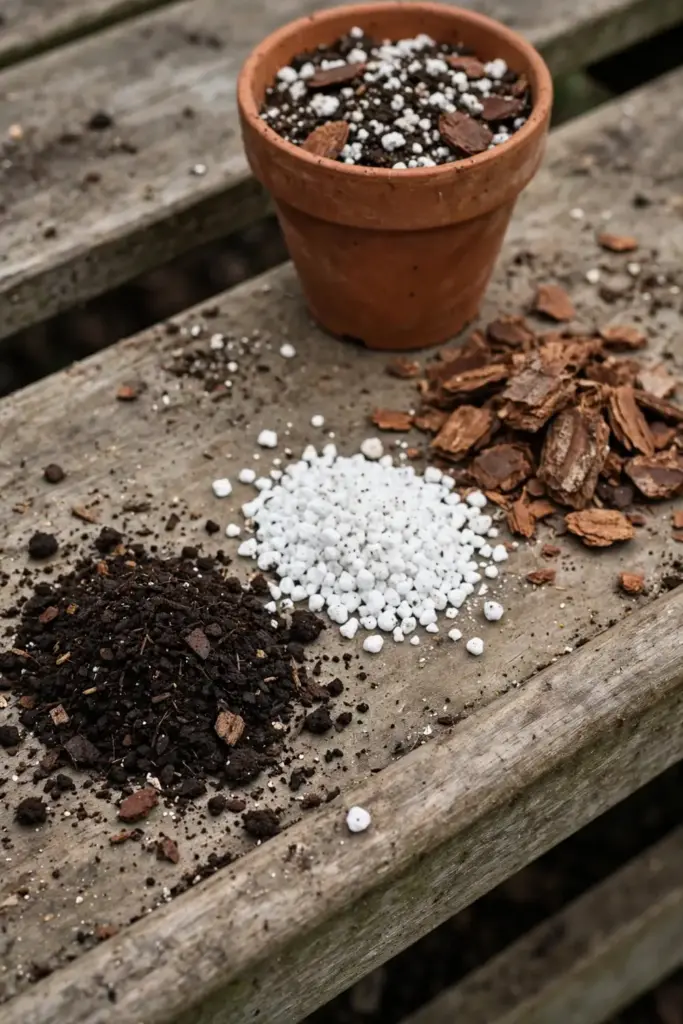
Mix a loose, humus-rich potting blend that drains freely but holds even moisture, because black pepper roots demand oxygen and rot in soggy soil. A proven container recipe is equal parts quality potting soil, coarse perlite or pumice, and orchid bark or coco chips, with a handful of compost worked in. The bark and perlite keep air in the root zone; the compost and potting soil hold the steady moisture the vine needs.
Aim for a slightly acidic pH between 5.5 and 7.0, the range given in iPlantz’s Piper nigrum growing reference. Most bagged potting mixes land in this band already, so testing is optional unless your tap water is very alkaline. If it is, a tablespoon of elemental sulfur per gallon of mix nudges the pH down gently over a few weeks.
Mulch the surface with an inch of fine bark or coco coir. It slows evaporation and keeps the shallow feeding roots cool, but keep the mulch an inch away from the stem so it never traps moisture against the bark. For a deeper look at building living container soil, the soil health guide covers the biology behind the mix.
7. Root the Cutting in 4 Steps
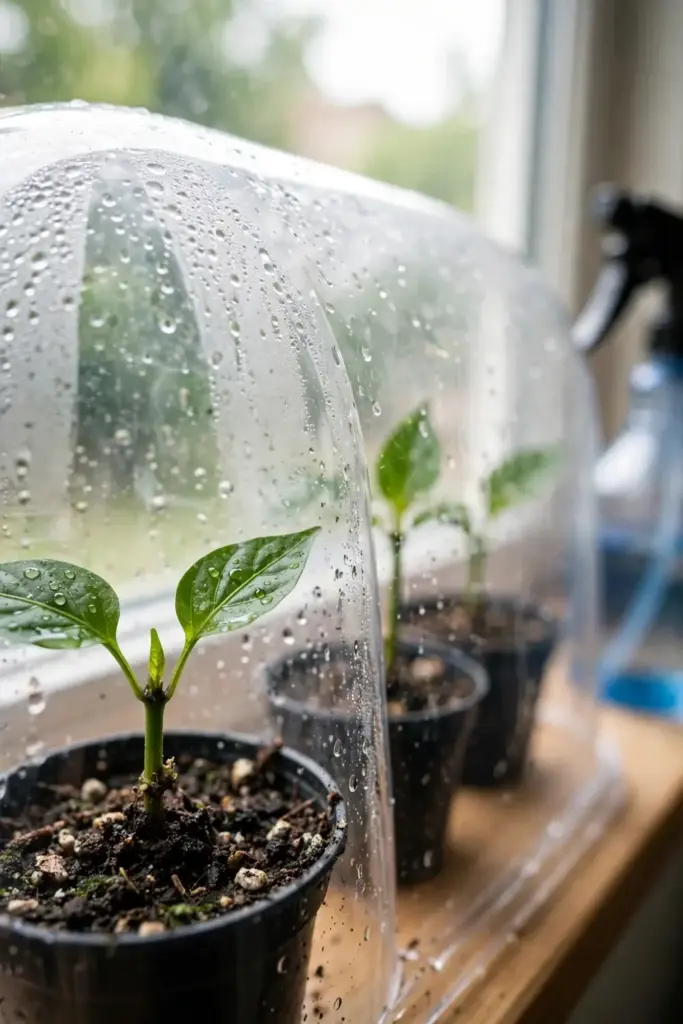
Root the cutting in a humid propagation box and you will see roots in 4 to 8 weeks. The method below combines the parameters that the exact-match propagation guides agree on: a 6 to 8 inch semi-hardwood cutting, 2 to 3 nodes, rooting hormone, and a warm, humid, bright environment. Follow the table exactly and resist the urge to check for roots by tugging the cutting, which breaks the fragile new root hairs.
| Step | Action | Time |
|---|---|---|
| 1. Take the cutting | Snip a 6 to 8 inch semi-hardwood stem with 2 to 3 nodes from a healthy vine; cut just below a node | Spring or early summer |
| 2. Prepare | Strip the lower leaves, leaving 1 to 2 leaves at the top; dip the cut end in rooting hormone | Same day |
| 3. Pot and cover | Insert 2 nodes deep into moist peat and perlite; cover with a clear dome or bag for 70 to 80 percent humidity; keep at 70 to 85°F in bright indirect light | 4 to 8 weeks undisturbed |
| 4. Transplant | Move to a 1-gallon pot with the container mix once roots fill the starter pot; add a small stake | When roots reach the pot edge |
Water the propagation medium when the surface feels dry, and vent the dome for a few minutes daily to prevent mold. Yellowing leaves during rooting usually mean too much water, not too little. For a refresher on sterile starting technique, the seed starting guide covers the same sanitation principles cuttings need.
8. Water Evenly and Never Let Roots Sit Wet
Water when the top inch of mix feels dry, then water deeply until it drains from the bottom, because black pepper wants even moisture with full drainage between waterings. The vine comes from regions with 100 inches of evenly distributed rain a year, so it has no tolerance for drought, but container roots suffocate fast in standing water. Empty the saucer after every watering.
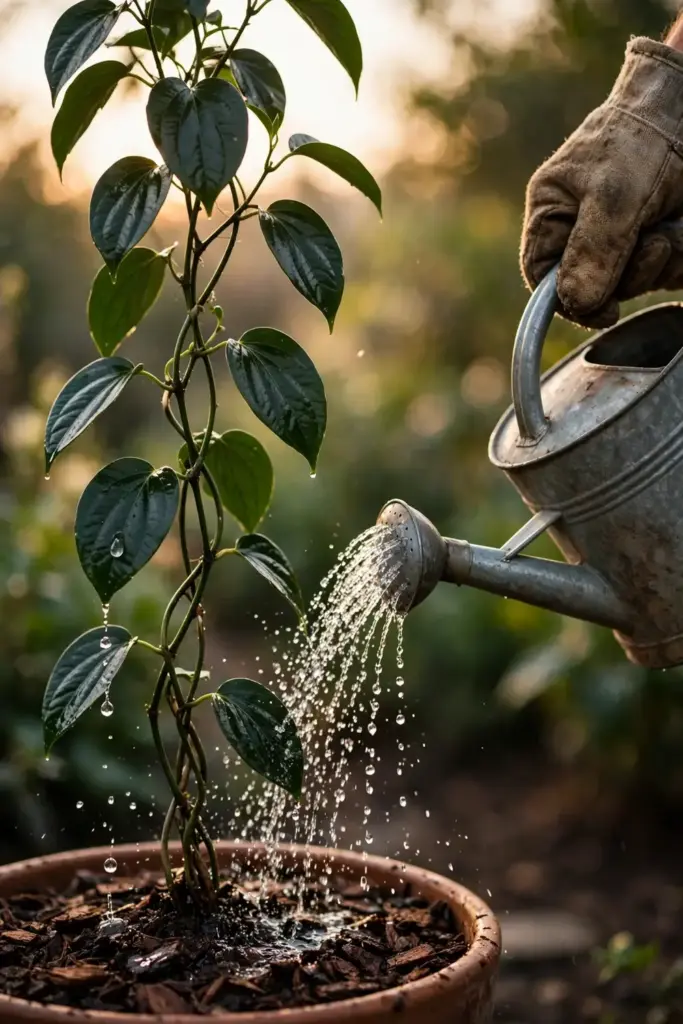
In summer heat, a large pot may need water every 2 to 3 days. Indoors in winter, with slower growth and less light, the same pot may go a week between waterings. Always check the soil, never the calendar. A wooden chopstick pushed 2 inches into the mix is a reliable gauge: if it comes out damp and dark, wait; if it comes out dry and pale, water.
Reduce watering slightly in winter but never let the root ball dry out completely. Dropped leaves in winter usually trace back to cold drafts or dry indoor air rather than thirst, so check temperature and humidity before reaching for the watering can.
9. Hold Humidity at 60 to 80 Percent
Hold humidity at 60 to 80 percent, the productive band cited across black pepper growing references, and the vine grows vigorously. Let humidity fall to desert-dry indoor levels and growth stalls, leaf edges brown, and spider mites move in. Humidity is the single biggest difference between a thriving pepper vine and a surviving one.
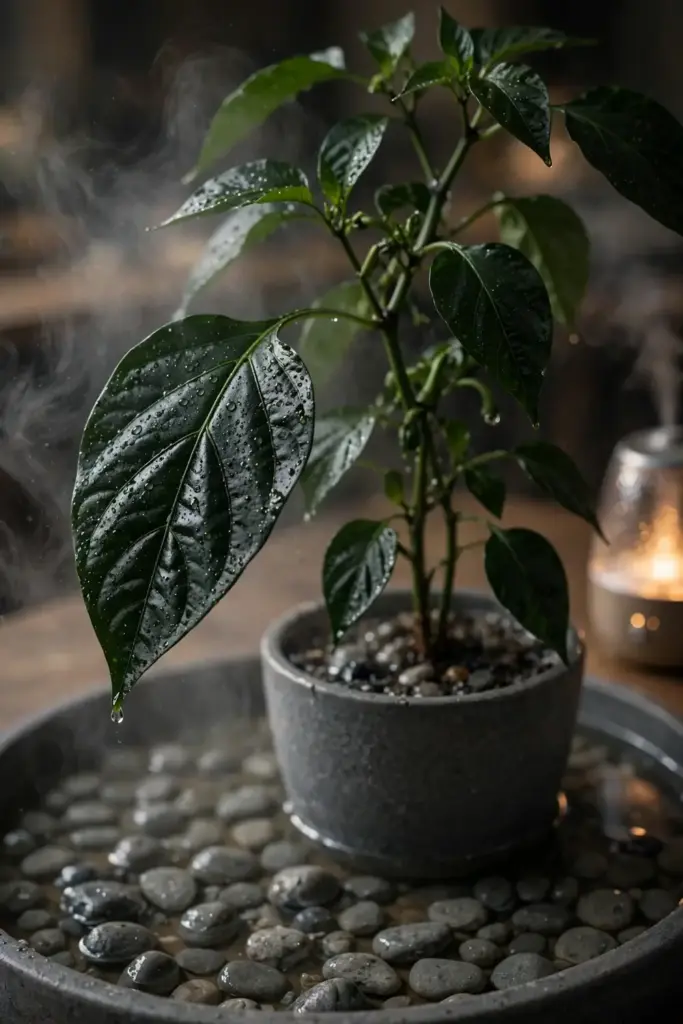
Indoors, run a cool-mist humidifier near the plant, group it with other tropicals, and set the pot on a pebble tray filled with water. Misting the leaves helps for an hour and then evaporates, so treat misting as a supplement, not a strategy. A small hygrometer on the shelf costs little and removes all guesswork, which matters because tropical growing references converge on that 60 to 80 percent band as the difference between surviving and thriving.
Watch for the signs of humidity that is too high without airflow: gray mold on fallen leaves and black spots on stems. If you see them, increase air circulation with a small fan on low, spaced a few feet away. Moving air prevents disease while the humidity stays high, which is exactly how tropical greenhouses work.
10. Feed the Vine on a Steady Schedule
Feed every 2 to 4 weeks in the growing season with a balanced liquid fertilizer at half strength, because a fast-growing vine in a container exhausts its mix quickly. A 10-10-10 or 20-20-20 liquid feed, diluted to half the label rate, applied to moist soil, covers the bases. Flush the pot with plain water monthly to wash out accumulated salts, which show up as brown leaf tips.
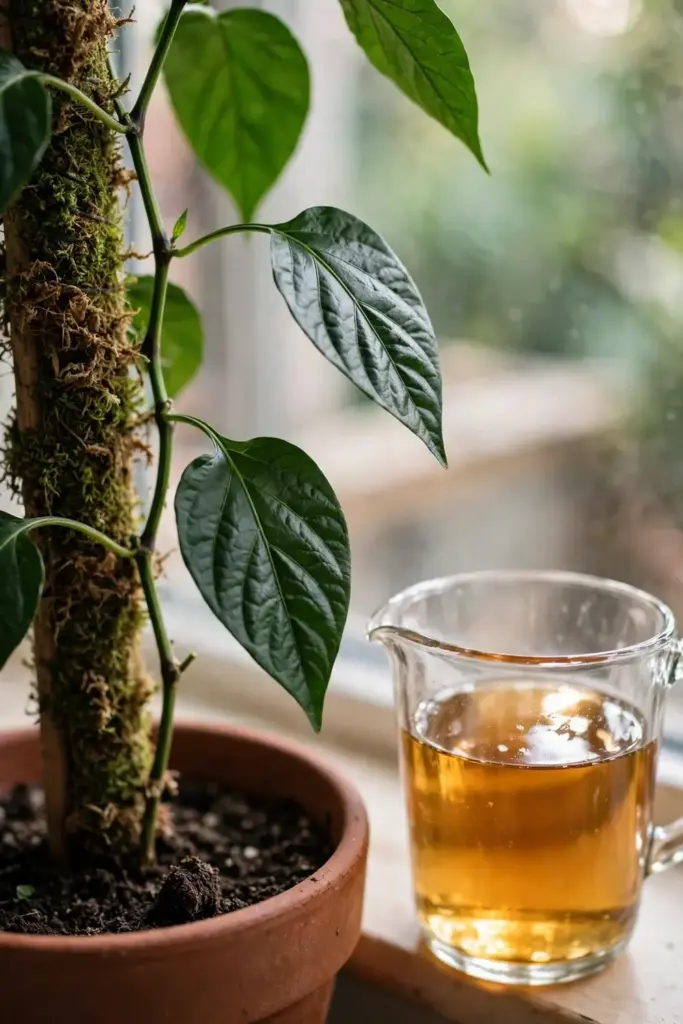
In spring, as new growth starts, one application of slow-release balanced granules gives the vine a steady baseline for the season. In winter, when growth slows under lower light, cut feeding back to once every 6 to 8 weeks or stop entirely if the plant is fully dormant. Feeding a resting plant burns roots without building growth.
Black pepper appreciates organic matter, so a top-dressing of compost each spring feeds the soil biology as well as the plant. Avoid high-nitrogen lawn fertilizers, which push soft leggy growth that attracts aphids and mealybugs. Steady, moderate feeding grows a sturdy vine; feast-and-famine feeding grows problems.
11. Train and Prune for a Productive Column
Tie the main stem to its support as it grows and prune the tip when it reaches the top of the trellis, because an unpruned vine climbs past its support and tangles into a mess. Use soft plant ties or strips of cloth, never wire, and fasten the stem loosely every 6 to 8 inches. The aerial roots will grip the support on their own within a few weeks.
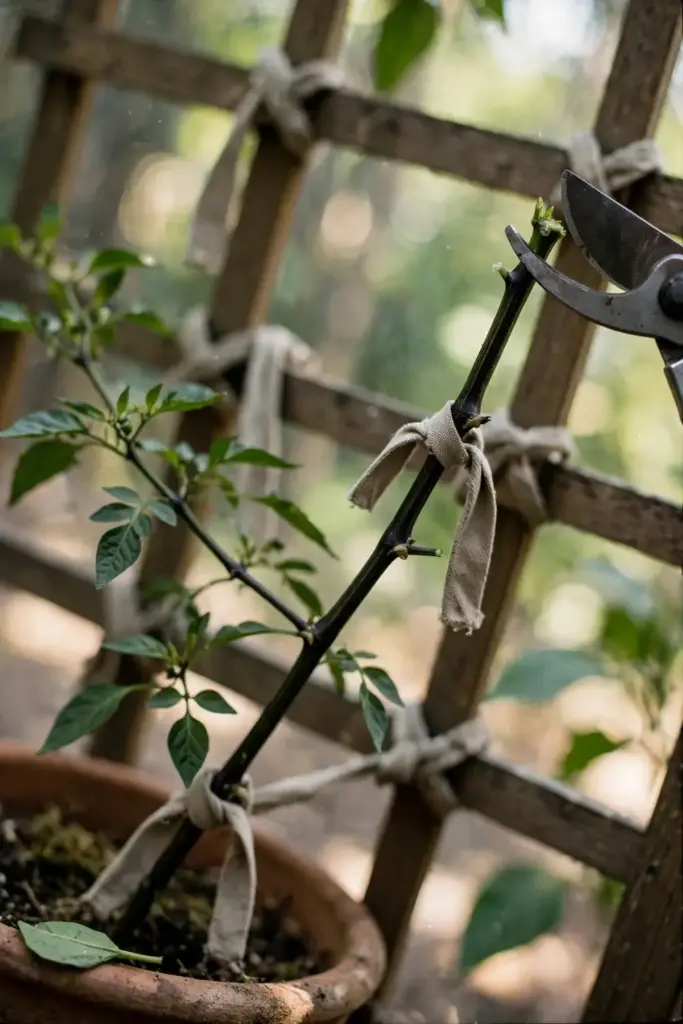
Pinch or cut the growing tip once the vine reaches the top of its 4 to 6 foot support. This forces lateral branches, and the laterals are where the flower spikes form. Twice a year, in early spring and midsummer, thin out weak or crossing laterals to let light and air into the canopy. Commercial growers prune on a similar rhythm to keep vines productive.
Save the pruned stem sections. Healthy 6 to 8 inch pieces with 2 to 3 nodes root exactly like the cuttings in section 7, which means every pruning session is also a propagation session. A single mature vine can supply cuttings for friends within two years.
12. Move the Vine Indoors Before 60°F
Move the vine indoors when nighttime temperatures approach 60°F, because growth stalls below that point and cold damage begins not far under it. Do not wait for the first frost warning. In most temperate regions this means a move in late September or October, and a return outdoors after the last frost when nights stay reliably above 60°F.
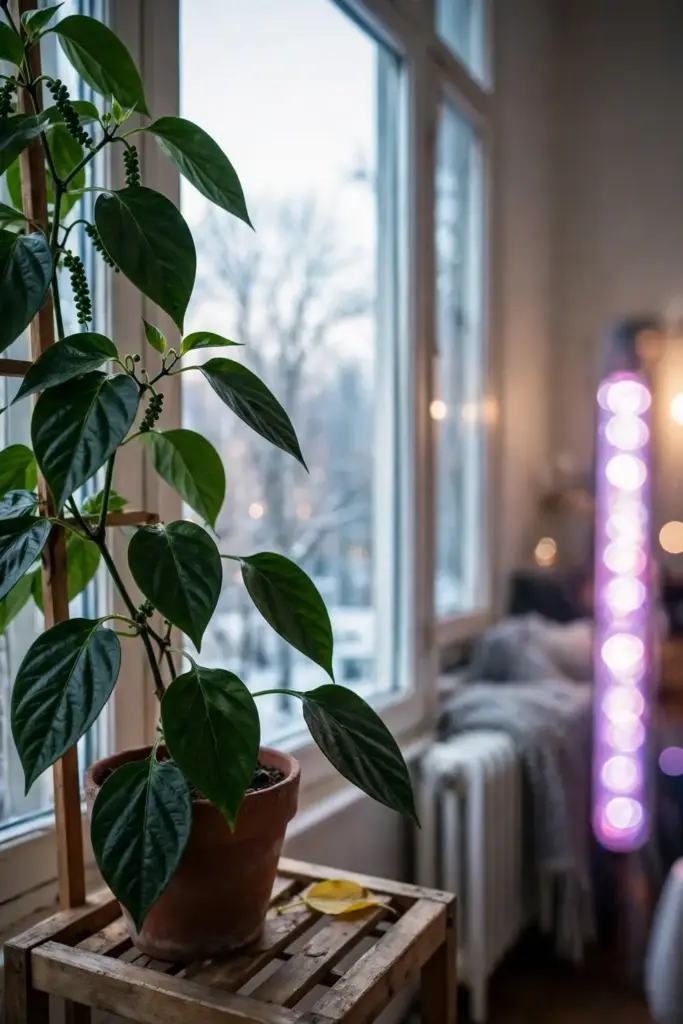
Before the move, inspect every leaf for mealybugs, scale, and spider mites, and spray the whole plant with insecticidal soap or neem oil. One infested plant brought indoors becomes a winter-long pest reservoir that spreads to every houseplant in the room. Quarantine the pepper vine away from other plants for two weeks after bringing it in.
Indoors, give the vine your brightest spot: a south-facing window, or a window plus a full-spectrum grow light running 12 to 14 hours a day. Keep it away from heating vents and cold window glass, both of which stress the plant. The indoor herb garden guide covers grow-light setup and winter watering rhythms that apply directly to an overwintering pepper vine.
13. Watch for Mealybugs, Scale, and Root Rot
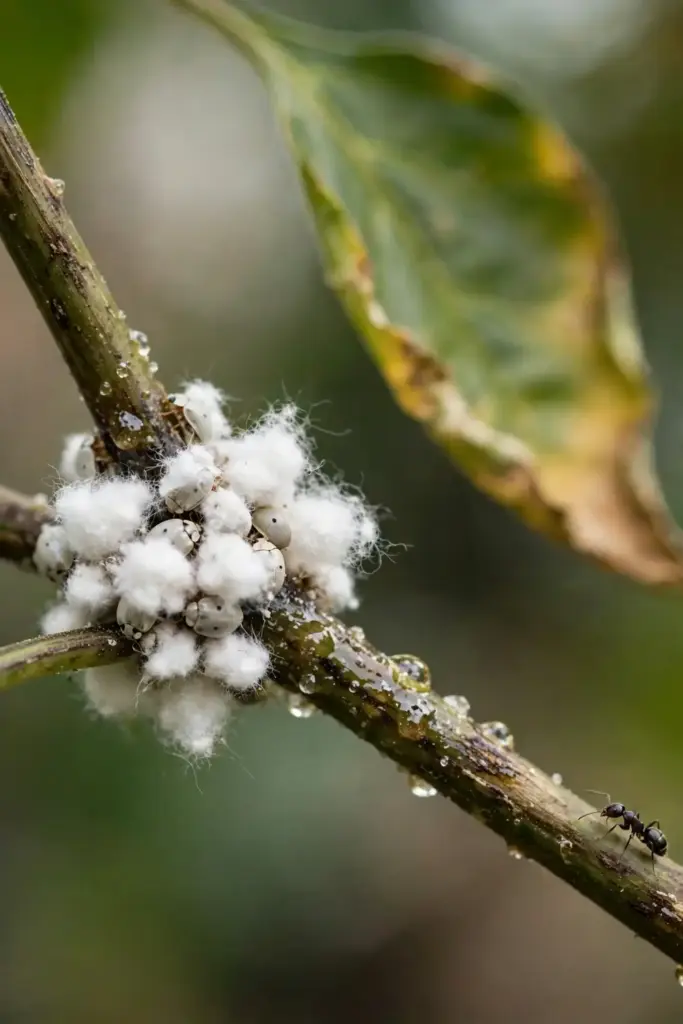
Check leaf joints and stem nodes monthly for the cottony white clusters of mealybugs and the brown bumps of scale, the two pests that find indoor pepper vines first. Both feed on sap and excrete sticky honeydew, which then grows black sooty mold. Dab small infestations with a cotton swab dipped in rubbing alcohol, and spray larger ones with insecticidal soap, repeating after 7 to 10 days to catch hatchlings.
Spider mites appear as fine webbing and stippled, dusty-looking leaves in dry indoor air. Raising humidity and rinsing the leaves with a strong spray of water knocks populations down; insecticidal soap finishes the job. The best mite prevention is the humidity regime from section 9, because mites thrive where pepper vines suffer.
Root rot is the disease to fear, and it is always a watering problem, not bad luck. Blackened stem bases, wilting despite wet soil, and a sour smell from the pot mean rot has set in. Unpot the plant, cut away black roots to healthy white tissue, repot in fresh dry mix, and water sparingly until new growth resumes. Prevention, fast drainage and disciplined watering, beats every cure.
14. Wait for Spikes: First Berries in 2 to 3 Years
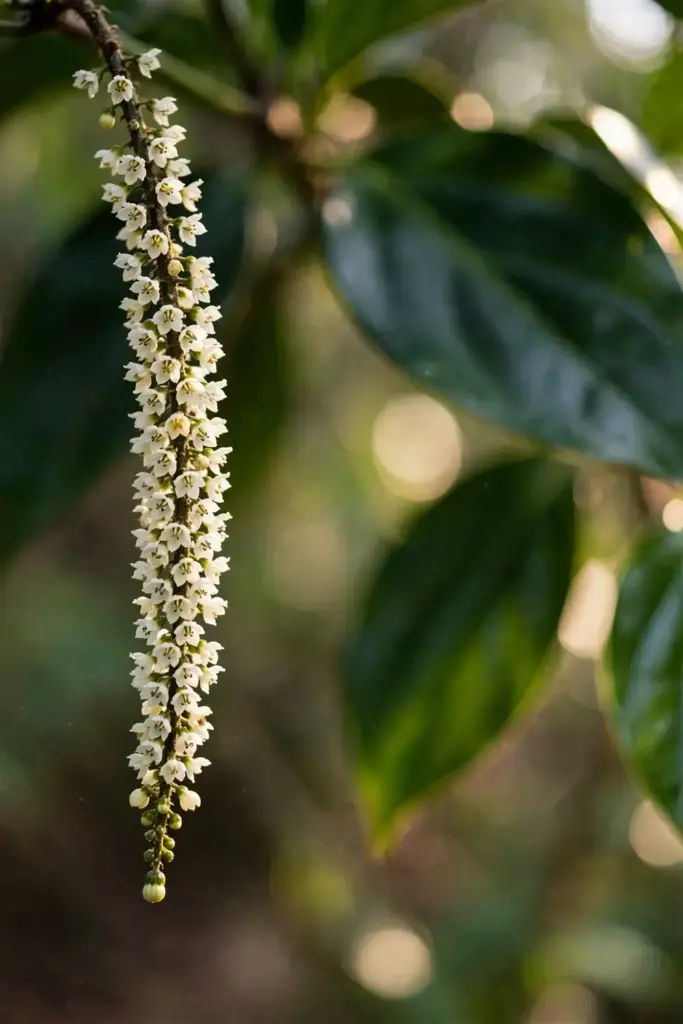
Expect the first flower spikes 2 to 3 years after rooting a cutting, with full production building over the following years. The flowers are tiny and white, borne on pendulous spikes 4 to 8 cm long at the leaf nodes, and the vine is self-pollinating, so a single plant sets fruit alone. Each spike can carry as many as 60 berries, ripening unevenly over 7 to 8 months.
Do not panic if the first spikes are small or drop their berries. Young vines often abort their first flowering as they direct energy into roots and stems, and Tamil Nadu Agricultural University’s production guide notes that vines start yielding in the 3rd or 4th year under field conditions. Consistent warmth, humidity, and feeding through the second and third years build the vine that holds a real crop.
Flower initiation responds to steady warmth and good light. A vine that spends winter in a dim cool room may skip flowering the following summer. This is another reason the indoor setup from section 12 matters: winter care determines summer harvests.
15. Harvest Spikes at the Right Color
Harvest whole spikes when one or two berries at the base turn red, the picking signal described in Tamil Nadu Agricultural University’s black pepper harvest guide, because that is the moment the spike has reached full size while the berries are still firm and pungent. Cut the spike with clean scissors rather than pulling it, which can tear the stem. If you wait until every berry ripens, the ripe ones lose pungency and drop off.
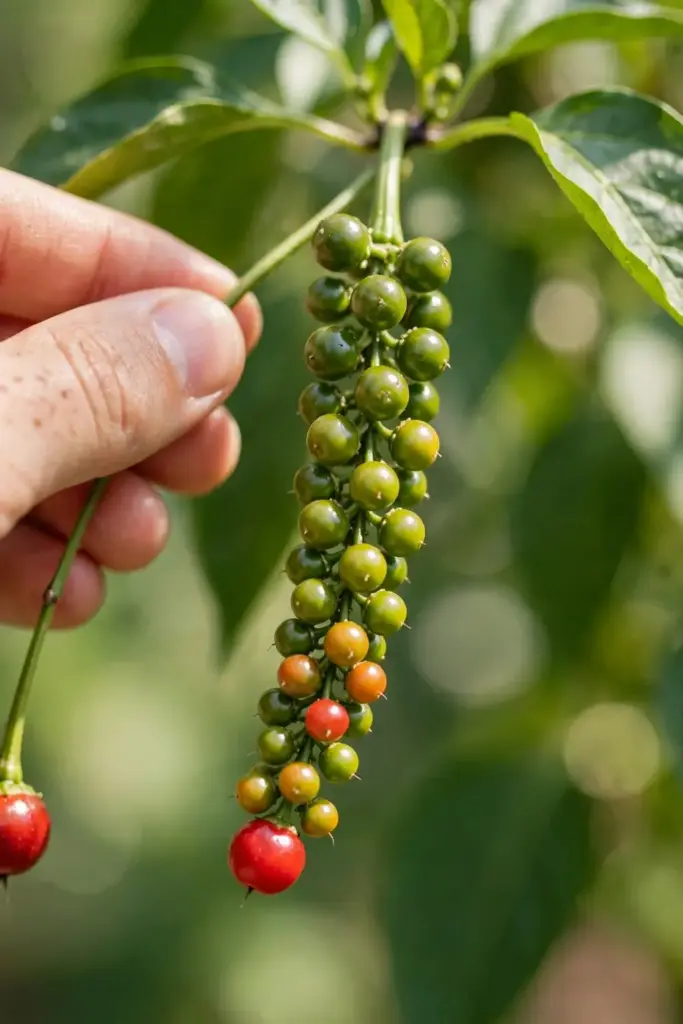
For a container vine, harvest is a rolling process, not a single event. Spikes mature unevenly over weeks, so check the vine weekly during the fruiting season and pick each spike at its moment. A young vine may give you a handful of spikes; that handful, dried, is still your own peppercorn harvest.
Strip the berries from the spike by rubbing them gently between your hands over a tray, because bruised green berries dry into off-flavor pepper. Handle them gently at this stage. Clean berries, processed the same day they are picked, make the best final product.
16. Cure Black, White, and Red Pepper From the Same Vine
Black, white, red, and green pepper all come from the same Piper nigrum berries; only the ripeness at harvest and the processing differ. This is the fact that surprises most new growers, and it means one vine gives you the whole pepper spectrum. The table below shows the four cures.
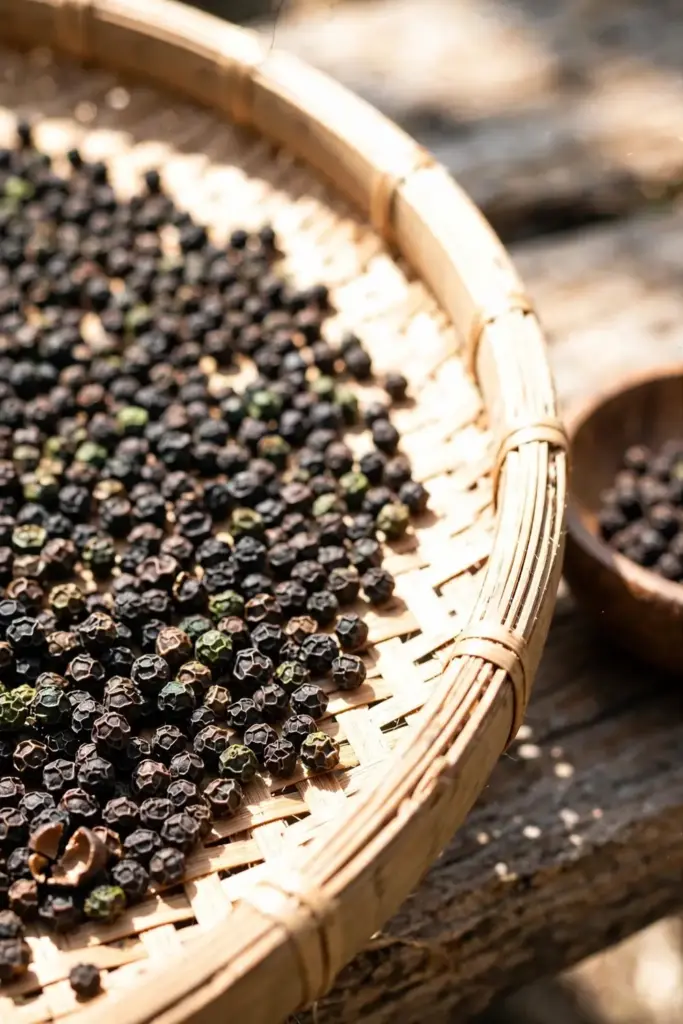
| Pepper | Harvest Stage | Processing |
|---|---|---|
| Black pepper | Mature but still green berries | Blanch briefly in boiling water, then sun-dry 7 to 10 days until black and wrinkled |
| White pepper | Fully ripe red berries | Soak in running water about 1 to 2 weeks to soften the skin, rub the skin off, then dry the pale seeds |
| Red pepper | Fully ripe red berries | Dry the whole ripe berries gently without removing the skin |
| Green pepper | Unripe green berries | Freeze-dry or preserve in brine immediately to hold the color |
For classic black pepper, the traditional method blanches the green berries in boiling water for about a minute before sun-drying, which gives a uniform dark color and clean flavor, following the Tamil Nadu Agricultural University curing method. Spread the berries in a thin layer on a clean mat or tray in full sun, and rake them daily. In 7 to 10 days of good sun they shrivel into the wrinkled black peppercorns you know. In humid weather, finish drying indoors with a fan or a dehydrator at low heat to prevent mold.
White pepper takes more patience: the ripe red berries soak until the outer skin loosens, then the skins are rubbed off under water and the pale seeds dried, the same black-versus-white distinction described by Alaska’s science writers covering Pacific pepper growers. The result is milder and less aromatic than black pepper, with the heat concentrated in the seed. Store all finished peppercorns in airtight jars away from light; whole peppercorns hold their flavor for years, while ground pepper fades in months.
17. Avoid the 6 Mistakes That Kill Pepper Vines
Learn these six failures once and your vine skips the beginner phase entirely. Every one of them appears in grower forums every season, and every one is preventable.
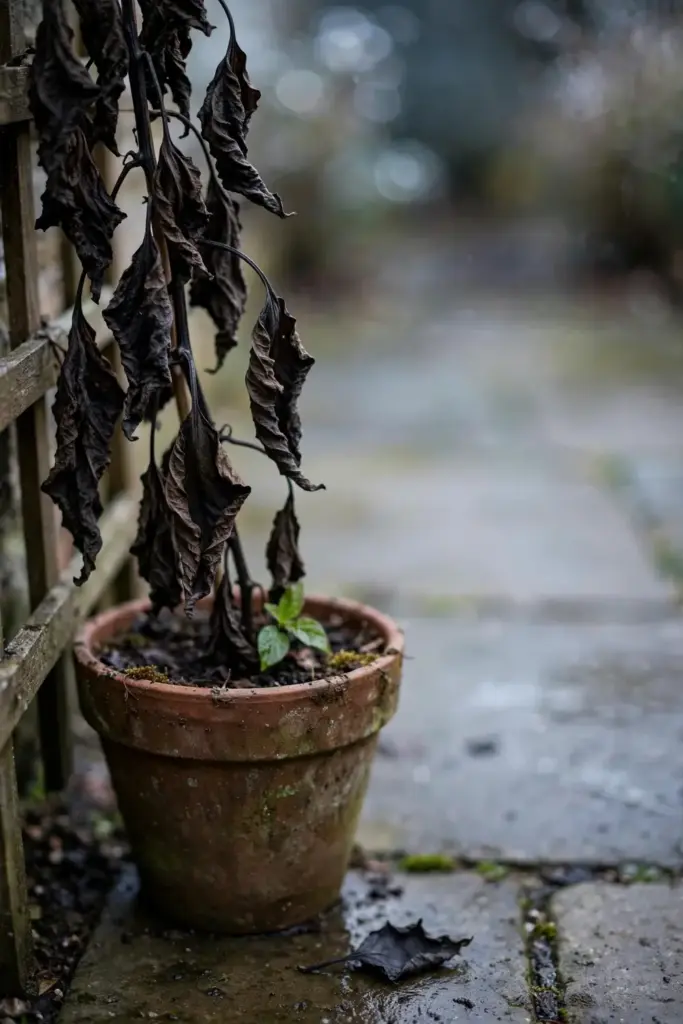
First, planting grocery-store peppercorns and expecting a plant. Dried commercial peppercorns are effectively dead seed. Second, keeping the vine outdoors into the first cold snap. One frost night can kill a vine that took two years to grow. Third, potting in dense garden soil. It compacts, suffocates roots, and holds winter water like a sponge.
Fourth, overwatering in winter. The vine drinks little in low light, and soggy winter soil rots roots silently. Fifth, skipping humidity indoors. Dry heated air stalls growth and invites spider mites, the classic overwintering failure. Sixth, never pruning. An unpruned vine becomes a tangled curtain with few fruiting laterals and no airflow, which invites every pest on this page.
18. Troubleshoot a Struggling Vine
Yellow leaves with wet soil mean overwatering; let the mix dry and check drainage before you do anything else. Yellow leaves with dry soil mean underwatering or a root-bound pot; water deeply, and if water runs straight through, it is time to repot. Yellow is a symptom, not a diagnosis, so always check the soil first.
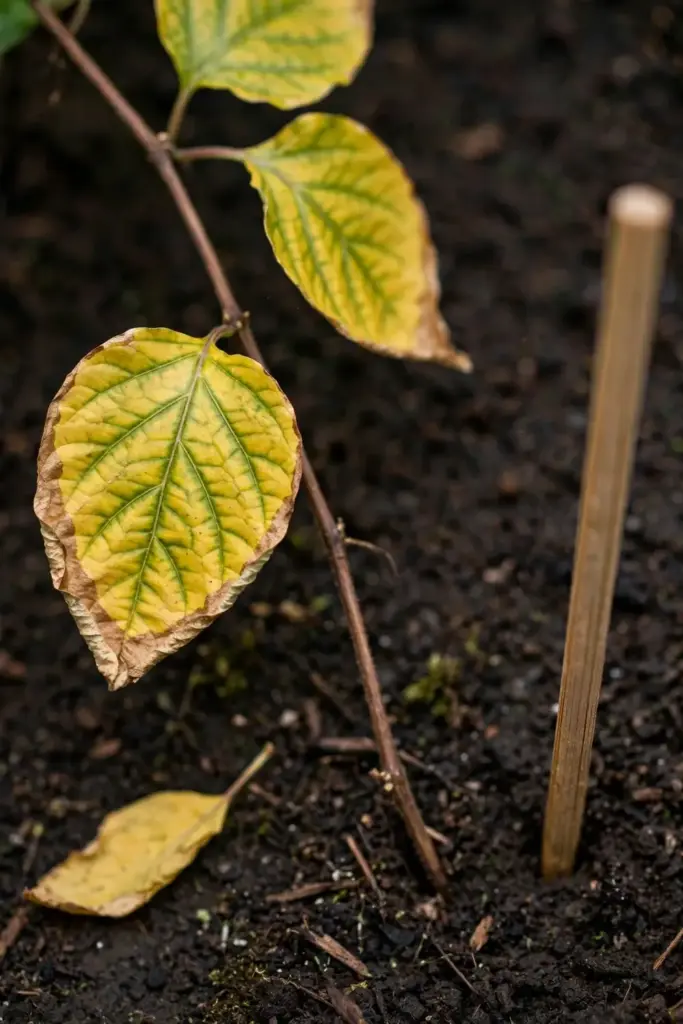
Leaf drop after the indoor move is usually transplant shock plus lower light, not disease. Give the plant two to three weeks to adjust, keep conditions steady, and new growth will follow. If dropping continues past a month, check for cold drafts, spider mites, and root rot in that order.
No flowers after three years? The vine is usually too young, too dark, or too cool. Light comes first: a vigorously growing vine that never flowers is almost always begging for a brighter spot, so move it or add a grow light before you change anything else. Next, confirm the winter minimum truly stayed above 60°F, since a cold winter quietly cancels the next summer’s bloom. Keep feeding steadily through the growing season while you wait.
19. Black Pepper FAQ
Yes, black pepper cuttings can root in water, and many growers start them that way because it is simple and visible. Change the water every few days to keep it fresh, keep the jar in bright indirect light at 70 to 85°F, and transplant to a peat and perlite mix once roots reach an inch or two long. Water-rooted cuttings transplant best when moved early, before the roots grow long and fragile.
Expect roots in 4 to 8 weeks under the right conditions: 70 to 85°F, 70 to 80 percent humidity, and bright indirect light. Cooler or drier conditions stretch the timeline or stall rooting entirely. Do not tug the cutting to check; instead watch for new leaf growth, which signals that roots have formed below.
No, grocery-store peppercorns will not grow into plants. Commercial peppercorns are dried and often heat-treated during processing, which kills the seed inside. Even untreated dried berries germinate poorly. Start from a nursery cutting or a fresh plant instead, which also gives you a known cultivar and a 1 to 2 year head start on fruit.
Growth stalls at 60°F, stress begins below 50°F, and frost kills the vine. Move container plants indoors when nights approach 60°F and keep them above that all winter. Short dips into the 40s may only damage leaves, but treat 60°F as the working limit and 50°F as the danger line.
A cutting-grown vine typically flowers in 2 to 3 years, with meaningful harvests building from year 3 onward. Seed-grown plants take longer, often 3 to 4 years or more. Full production on a mature vine keeps building for years after that, and healthy vines bear for decades.
No. Black pepper is Piper nigrum, a tropical climbing vine in the pepper family Piperaceae, native to India. Chili, bell, and tabasco peppers are Capsicum species in the nightshade family, native to the Americas. They share only the English word pepper. Growing advice for one almost never applies to the other.
20. From Kali Mirch Vine to Your Own Grinder
Mastering how to grow black pepper from India in a cold climate is a long game played one season at a time: a cutting rooted this spring, a vine trained up its trellis through summer, a careful move indoors before the cold, and patience through the first two years. The work is mostly rhythm, watering, humidity, and light, repeated until the vine is strong enough to flower.
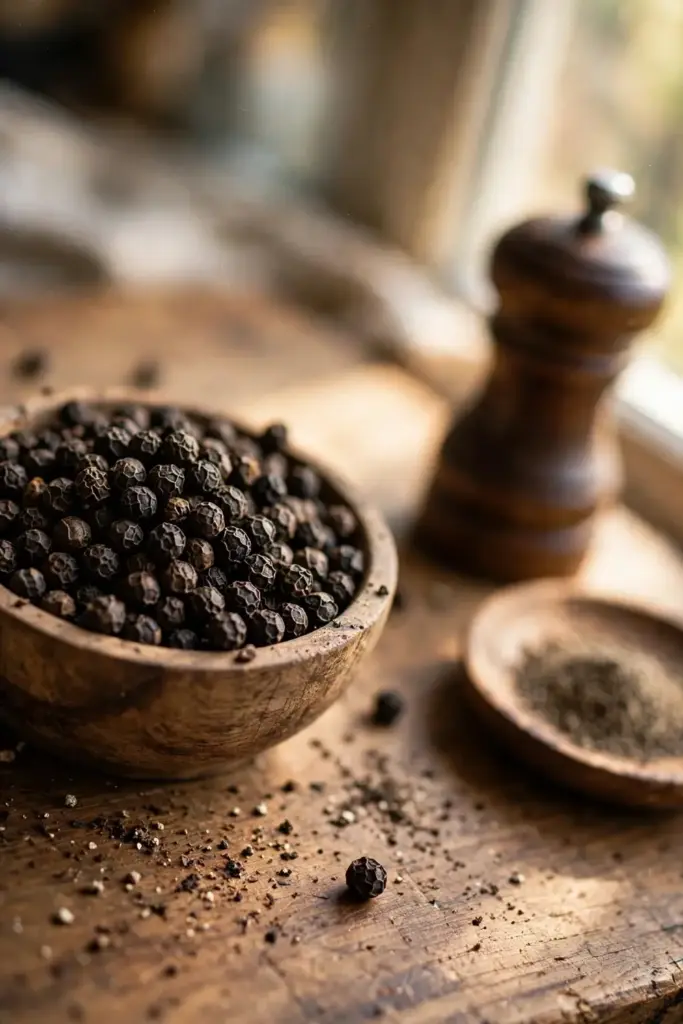
When the first spikes ripen and you dry your own peppercorns, the flavor repays the wait. Fresh black pepper is brighter, more aromatic, and more complex than anything from a supermarket grinder, because the volatile oils are still intact. Start with one healthy cutting, give it warmth and a trellis, and let kali mirch do what it has done in Kerala for thousands of years.