
Rhizoctonia root rot is treatable, but only if you catch it early and fix the conditions that invited it. The pathogen is Rhizoctonia solani, a soilborne fungus that attacks seedlings, houseplants, vegetables, and lawns at or just below the soil line. Penn State Extension notes that severe cases can destroy a plant in less than a week once conditions turn favorable, which is why the first 48 hours after you spot symptoms matter more than any product you buy.
This guide walks through what the disease is, how to tell it apart from lookalikes, and nine concrete treatment steps in the order that actually works. If your seedlings are collapsing at the soil line, your pothos is wilting in wet soil, or your lawn has spreading brown rings in summer heat, start with the identification sections, then move to Step 1. That first step is a triage decision most guides skip, and it will save you from throwing good money after a dead plant.
What Rhizoctonia Root Rot Actually Is
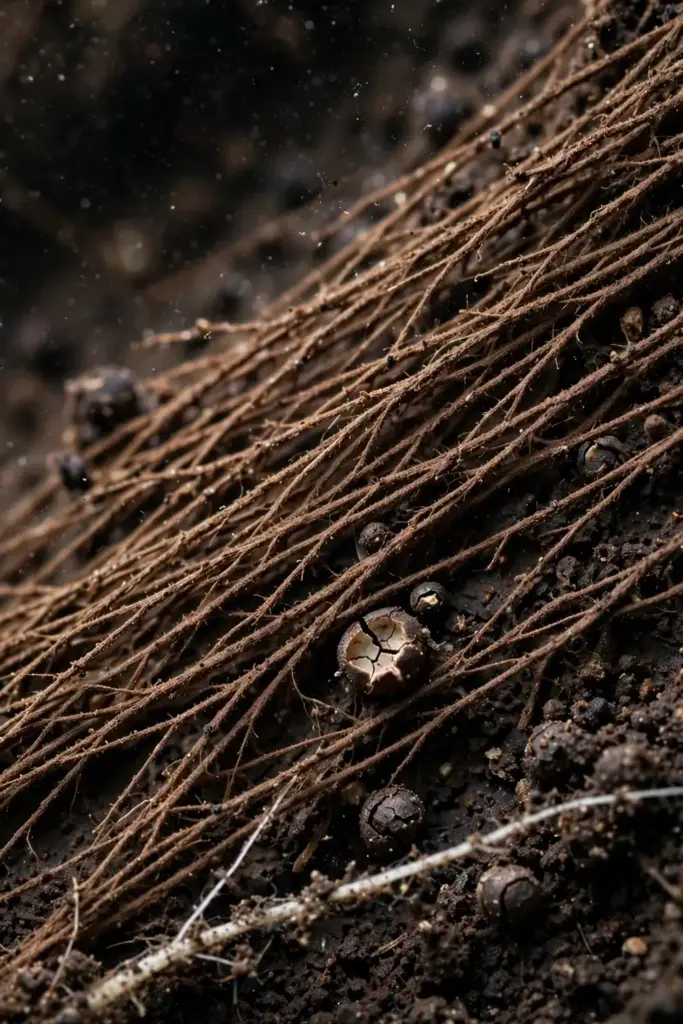
Rhizoctonia root rot is a disease caused by Rhizoctonia solani, a soilborne fungus in the Basidiomycota group. It lives in soil indefinitely as tough survival structures called sclerotia and as threadlike mycelium on dead plant debris, waiting for a stressed seedling or a waterlogged root zone. Unlike many fungi, it produces no airborne spores, so it does not drift in on the wind. It reaches your plants through contaminated soil, dirty pots, infested transplants, or soil splashed onto stems during watering.
The fungus has one of the widest host ranges in plant pathology. Researchers Farr and colleagues list more than 500 hosts in the United States alone, a figure cited by the University of Hawaii’s crop disease database. In home gardens it shows up as damping-off in seedling trays, root and stem rot in houseplants and vegetables, and brown patch on lawns. The common thread is always the same: warm, moist soil and a plant under stress.
How to Identify Rhizoctonia on Seedlings and Stems
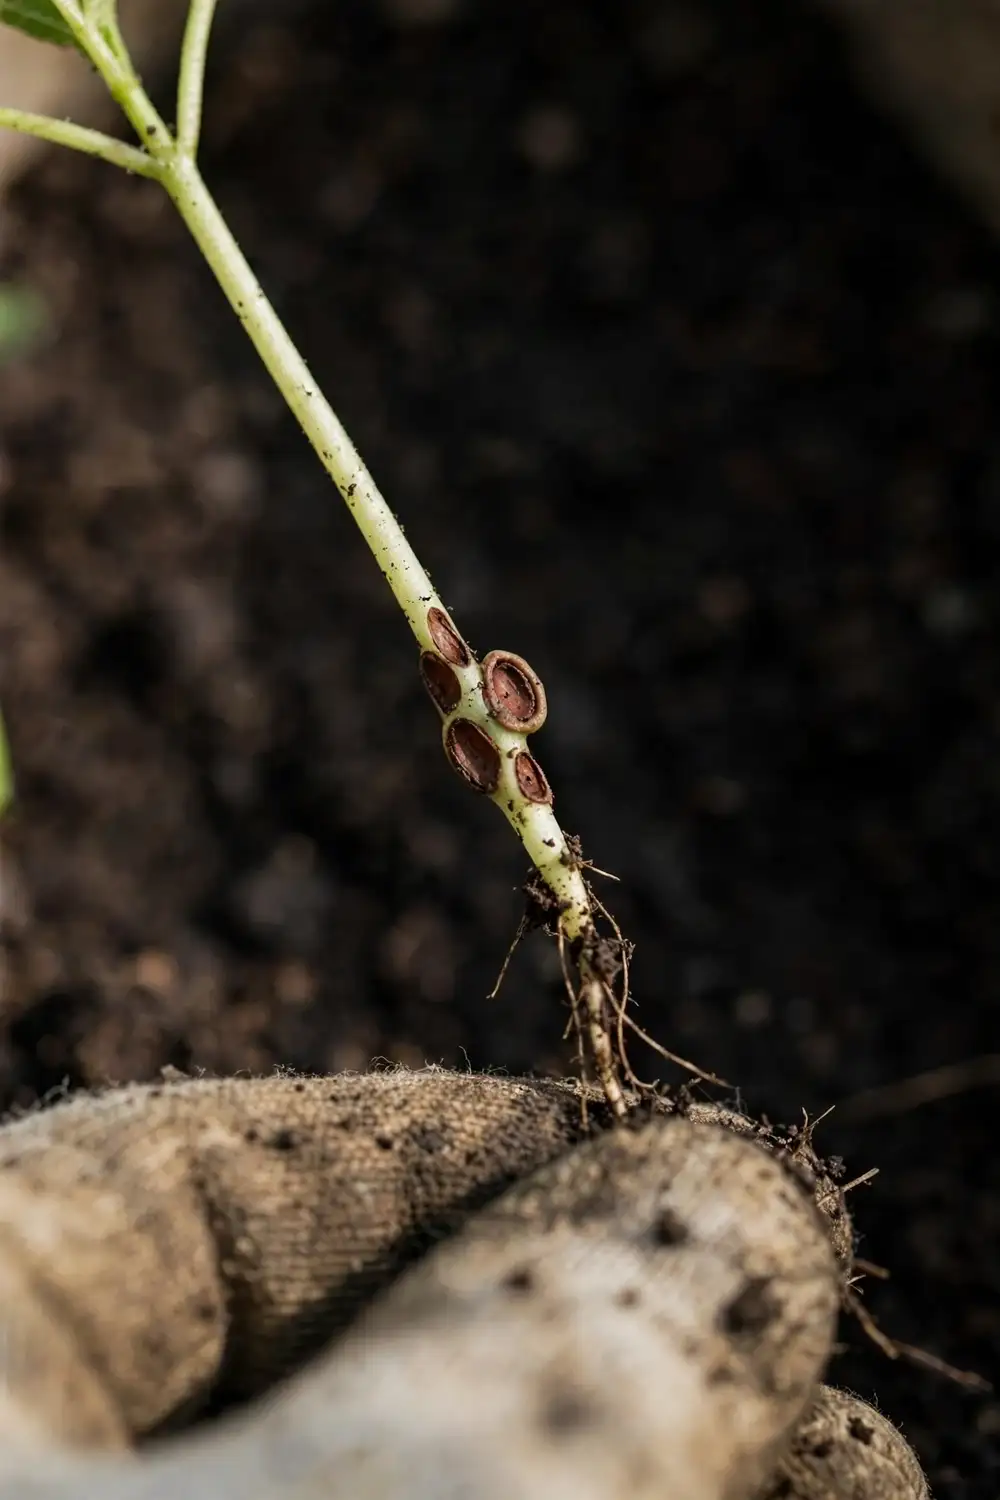
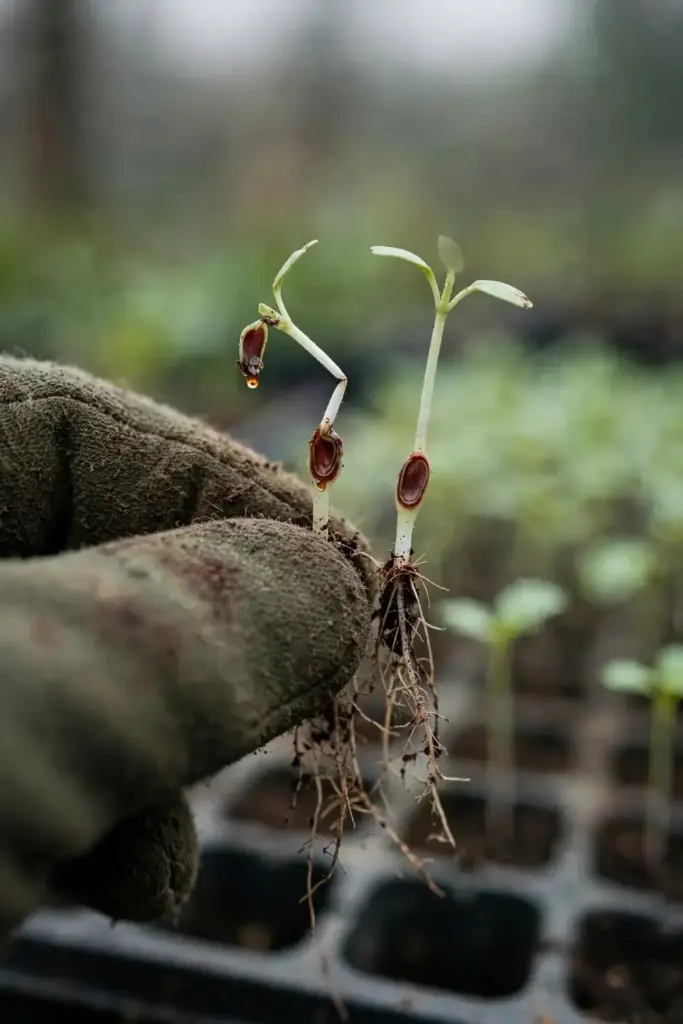
On seedlings, Rhizoctonia causes damping-off. Seeds may rot before emerging, or young stems develop reddish-brown, slightly sunken lesions right at the soil line. The stem weakens at that point, and the seedling topples over as if cut. Penn State Extension describes brown to reddish-brown lesions forming at or just below the soil line, and notes that soil particles often cling to the cankered area because of the coarse brown mycelium growing on it.
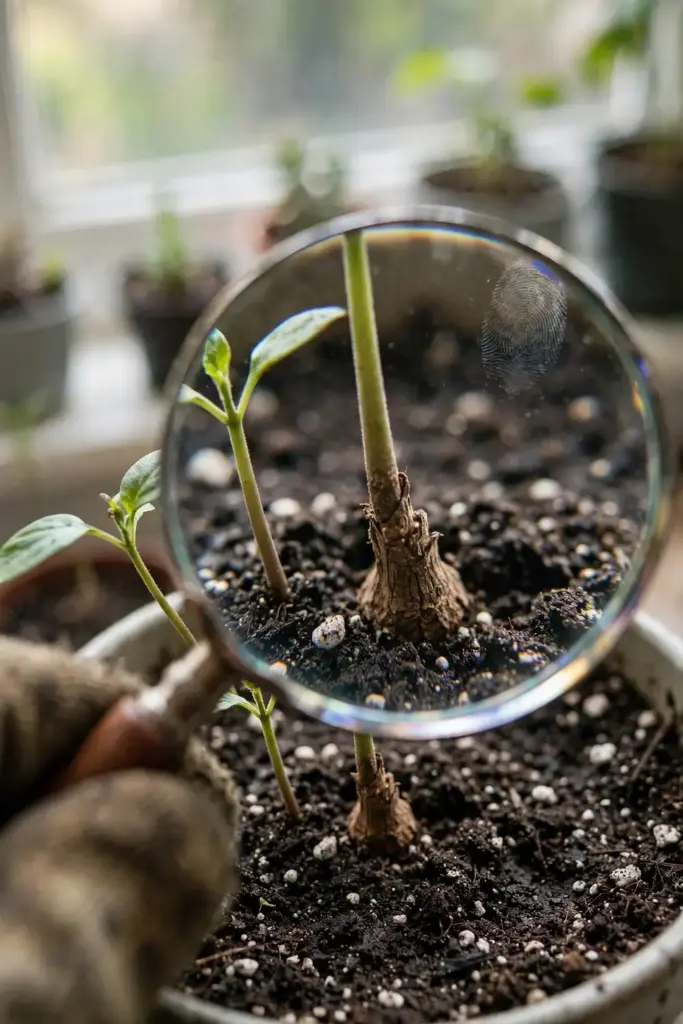
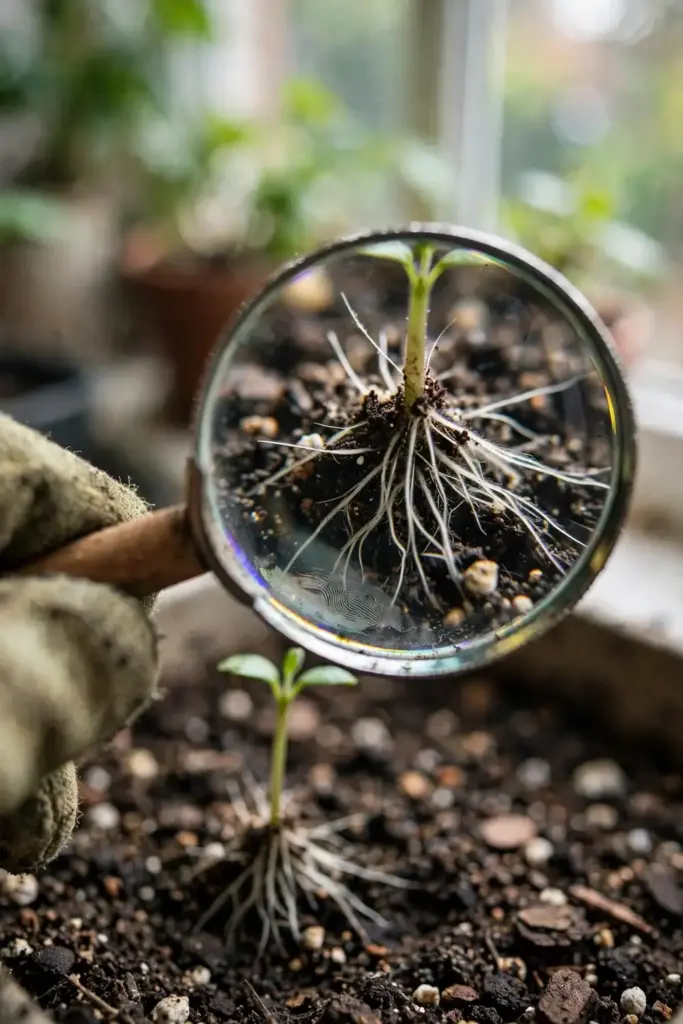
On older transplants and houseplants, the signature is a dry, sunken canker at the stem base. Here is the detail that separates Rhizoctonia from its main lookalike: affected stems tend to be dry or corky, not mushy. The University of Nebraska’s CropWatch points out that this dryness distinguishes it from Pythium, which turns tissue soft and water-soaked. If you unpot the plant, you may see brown, coarse fungal threads on the stem surface. Under a hand lens, Rhizoctonia hyphae branch at right angles to the parent thread, with a cross-wall and a slight constriction at each branch base.
How to Identify Rhizoctonia on Roots and Lawns
Below the soil, infected roots turn brown, and the fine feeder roots are the first to go. The plant responds the way it does to any root loss: wilting even when the soil is moist, yellowing leaves, and stunted growth. Because the symptoms look exactly like underwatering, most gardeners water more, which is precisely the wrong move. Always check the roots before you reach for the watering can.
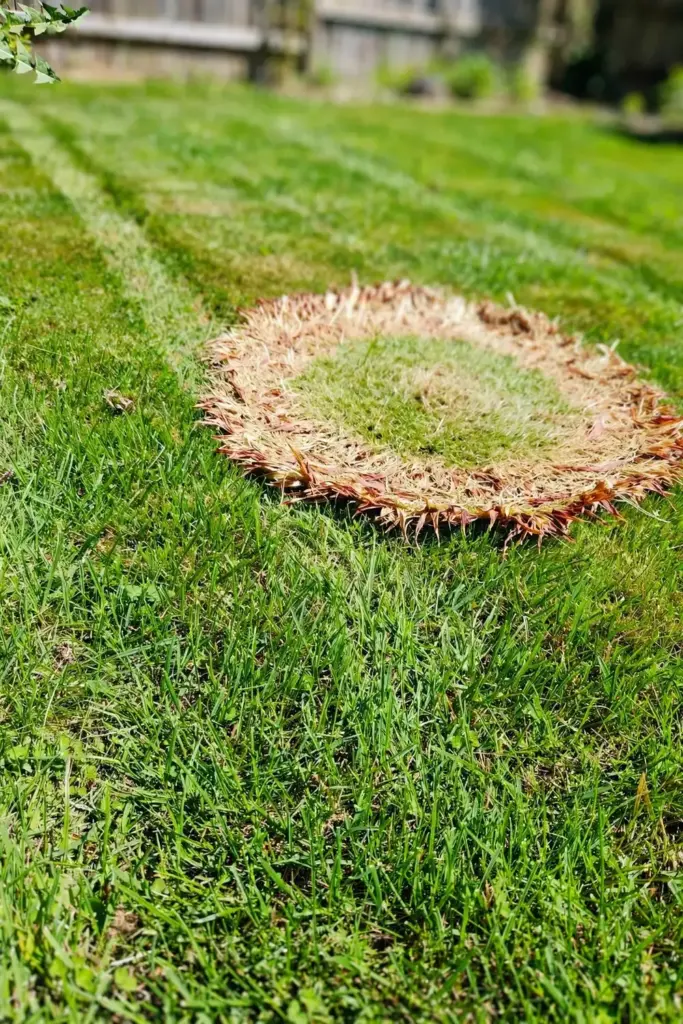
On lawns, the same fungus causes brown patch, also called Rhizoctonia blight. Penn State’s turfgrass pathology page identifies Rhizoctonia solani as the causal fungus. Look for roughly circular patches of dead grass that can reach two feet across, sometimes with a recovered green center that leaves a brown doughnut shape. Individual blades show tan lesions with reddish-brown margins, and in heavy morning dew you may see filmy white fungal threads across the blades. The University of Illinois Extension notes that brown patch turns aggressive when nighttime temperatures stay above 68 degrees Fahrenheit with leaves wet for long stretches.
Which Plants Get Hit Hardest
Seedlings of almost everything sit at the top of the risk list, because young tissue at the soil line is exactly where this fungus feeds. Vegetable seedlings started indoors, bedding plants, and direct-sown beans and cucumbers are classic victims. Among houseplants, pothos, peperomia, and other plants kept in heavy, moisture-retentive mixes suffer most, especially when pots lack drainage.
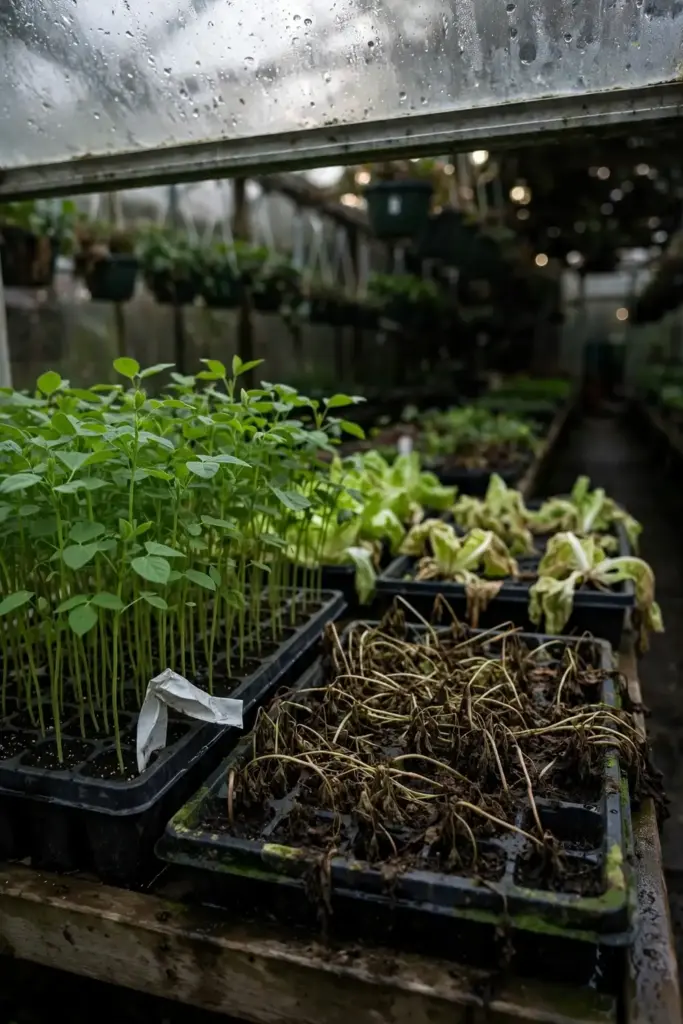
In the vegetable garden, beans, lettuce, cabbage family crops, and radishes are frequent hosts. The Teagasc horticulture department lists bottom rot of lettuce, wire stem of brassicas, and root rot of peas and broad beans among the diseases this fungus causes. Lawns of tall fescue, perennial ryegrass, and creeping bentgrass take the hit in summer. Mature, well-established plants with deep root systems usually tolerate minor infections. The fungus punishes youth, stress, and wet feet far more than it punishes any particular species.
Rhizoctonia vs Pythium vs Fusarium vs Plain Overwatering
Misdiagnosis wastes treatments. These four problems look alike above ground, but they demand different responses. Use this table before you treat anything.
| Clue | Rhizoctonia | Pythium | Fusarium | Plain overwatering |
|---|---|---|---|---|
| Stem base texture | Dry, sunken, corky lesions | Soft, mushy, water-soaked | Often firm; vascular browning inside stem | Firm, no lesions |
| Lesion color | Reddish-brown to brown | Dark brown to black, slimy | Brown streaks in vascular tissue | None |
| Root appearance | Brown, coarse threads visible | Brown to black, mushy, foul smell | Brown, dry rot; sometimes pinkish tint | Brown and soft but no odor, no threads |
| Soil moisture link | Moderate moisture, 65 percent saturation (Penn State) | Saturated, waterlogged soil | Warm soil, stress-related | Waterlogged; improves with drying alone |
| Seedling symptom | Topples at soil line (damping-off) | Damping-off, slimy collapse | Wilting, often one-sided | Wilting, recovers after drying |
| Spreads by | Soil, debris, dirty tools; no airborne spores | Water, swimming spores | Soil, seed, sometimes vascular | Not a pathogen; no spread |
| Key test | Right-angle hyphal branching under lens | Bait with the smell test: sour rot smell | Cut stem: brown vascular ring | Roots white again after a dry spell |
When in doubt, the dry-versus-mushy check is the fastest field test you have. Dry and corky points to Rhizoctonia. Slimy and foul points to Pythium. No pathogen signs at all points to your watering habits.
Why the Soil Line Is Where the Whole Battle Happens
Every Rhizoctonia infection starts where stem meets soil. The fungus lives in the top layer of soil and on debris at the surface. It does not make spores that travel, so it cannot reach leaves high on the plant. It waits at the soil line, and when a seedling stem stays moist against infested soil, the coarse brown mycelium grows directly into the tissue.
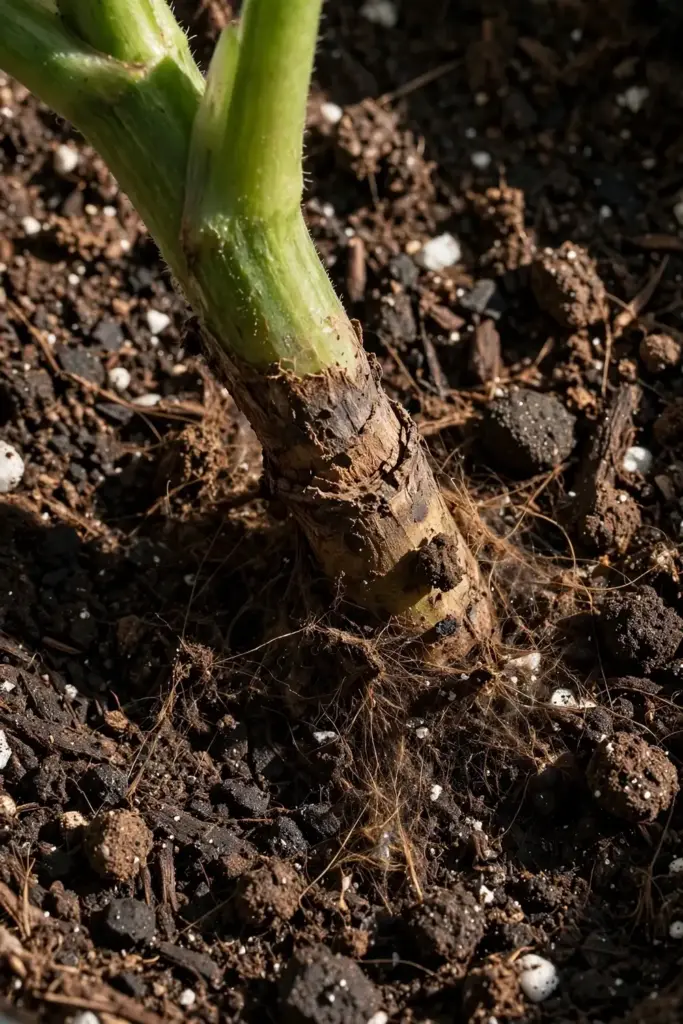
This single fact shapes the entire treatment approach. Anything that dries the soil surface, keeps stems out of contact with soil, or removes the infested top layer strikes at the disease where it lives. Deep soil drenches matter less than surface sanitation. Mulch piled against stems, soil splashed up by hard watering, and seedling trays sitting in standing water all hand the fungus exactly the bridge it needs.
Temperature sets the clock. Penn State Extension gives the active range as 12 to 32 degrees Celsius (70 to 90 degrees Fahrenheit) with moderate soil moisture around 65 percent saturation. The University of Nebraska narrows the danger zone to hot spells of 77 to 85 degrees with moist soil at planting. Teagasc puts the sweet spot at 25 degrees Celsius in moist soil. In practical terms, that means late spring seedling trays and summer container plants sit squarely in the risk window.
What Makes Rhizoctonia Worse in a Home Garden
The fungus is already in most soils. What turns a background presence into dead plants is a short list of gardener-created conditions. Overwatering tops the list, especially the pattern of watering on a schedule instead of checking the soil. Heavy, fine-textured potting mixes that stay soggy for days come next. Seedling trays reused without washing carry the fungus from one batch to the next on dried debris.
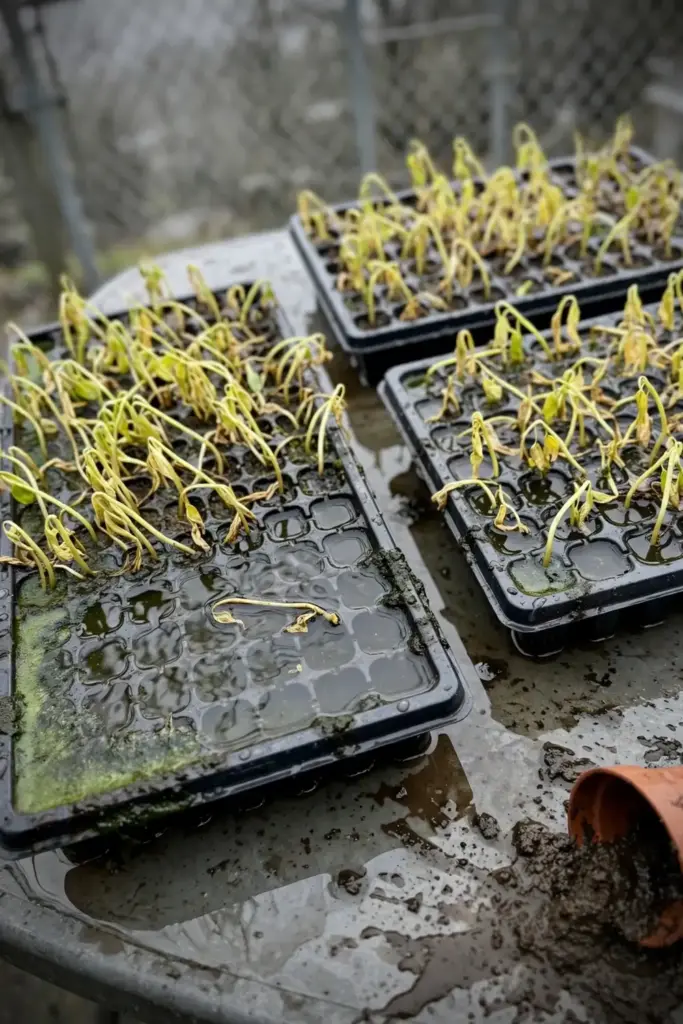
Contaminated tools and hands move it between pots. The University of Massachusetts Extension warns that Rhizoctonia is easily introduced into growing medium by soiled hands, tools, flats, and colonized transplants. Fungus gnats and shore flies can carry it within a crop. Setting pots directly on bare ground lets soil splash up during rain or watering. And excess nitrogen on lawns, particularly fast-release fertilizer in summer, feeds the soft, fast-growing leaf tissue that brown patch exploits. Kansas State’s turf pathology page cautions that more than 4 pounds of actual nitrogen per 1,000 square feet per year predisposes turf to brown patch activity.
Step 1: Decide Whether Saving the Plant Is Worth It
Before you buy anything or mix anything, make the triage call. Rhizoctonia treatment has a hard biological limit: roots and stem tissue that are already dead do not regenerate. Products and drenches protect the living tissue that remains. They do not resurrect the dead parts.
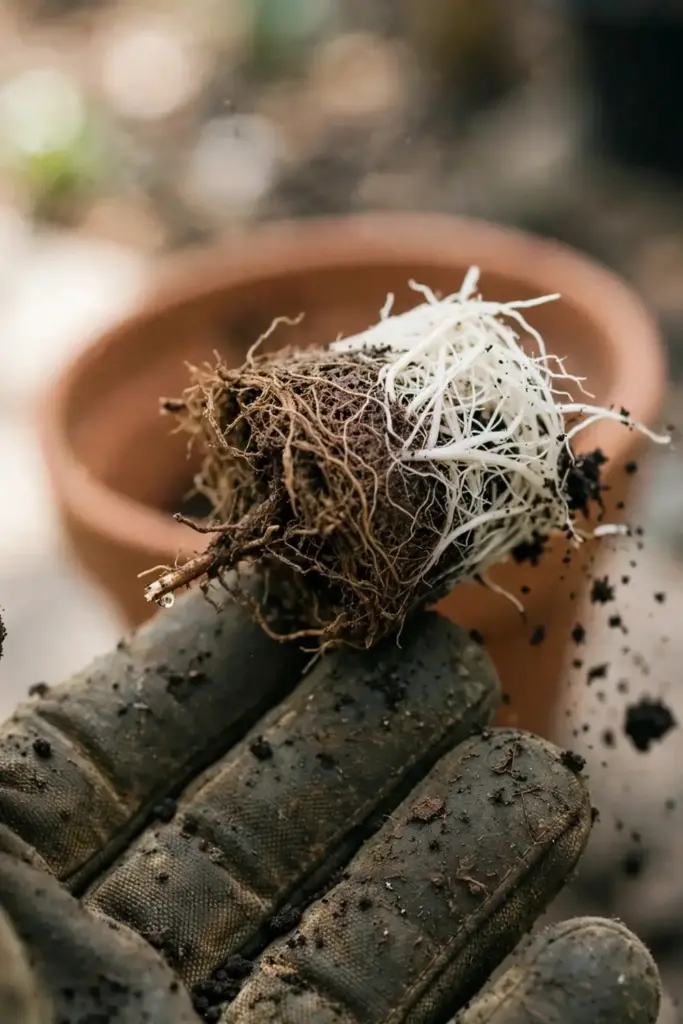
Unpot the plant or gently expose the stem base and check three things. First, how much of the root system is still white and firm. If more than half the roots are brown and mushy and the stem base is girdled all the way around, the plant will not recover. Compost it. Second, whether the growing point is still alive. A seedling with a completely collapsed stem is finished. A houseplant with firm upper stems and some healthy roots is a candidate. Third, what the plant is worth to you. A two-dollar bedding plant with advanced rot is not worth a fifteen-dollar fungicide. A specimen monstera or a lawn you have tended for years is a different calculation.
This step feels cold, but it is the most money-saving move in the whole guide. Treating a dead plant wastes the product, the time, and the emotional energy. I have learned that the fastest recoveries I have seen all started with an honest look at the roots, not with a bottle.
Step 2: Remove Every Bit of Infected Material
Quarantine first. Move the affected pot away from healthy plants, because water splash and fungus gnats carry the fungus to neighbors. Then remove all dead and dying tissue. Cut off collapsed seedlings at the base and discard them. Prune away yellowed, rotted leaves. For houseplants, take the plant out of its pot and shake off as much of the old mix as the roots will release.
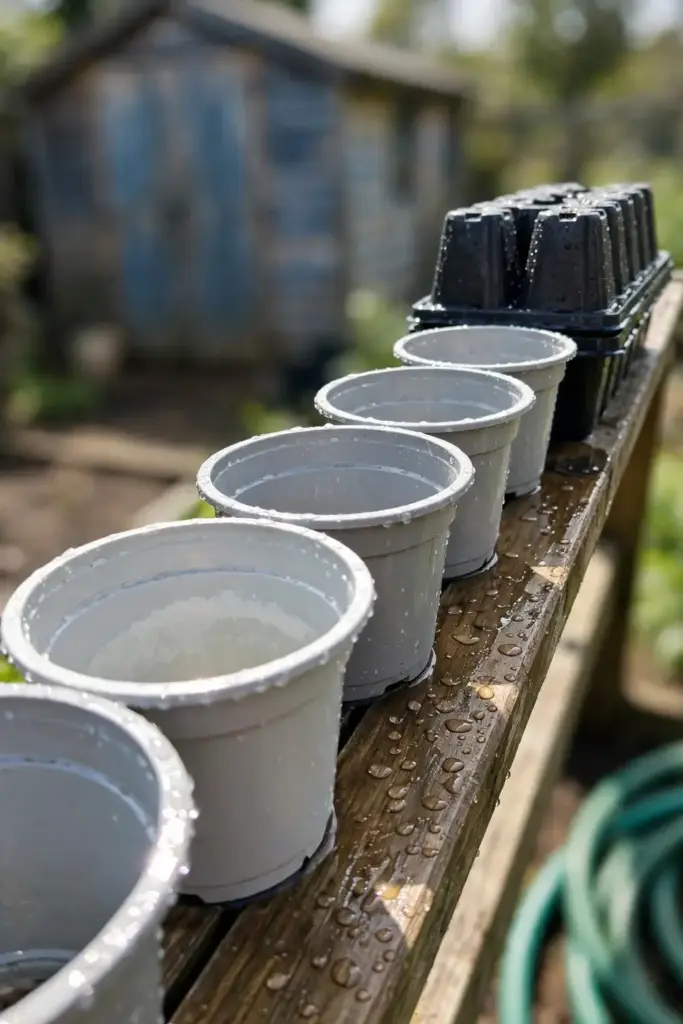
Dispose of infected material in the trash or municipal green waste, not in your home compost pile. Home compost rarely sustains the temperatures needed to kill sclerotia, and you will reintroduce the fungus with next season’s compost. Wash the empty pot with hot soapy water, then disinfect it. A ten-minute soak in a one-to-nine bleach solution, followed by a thorough rinse and full drying, is the standard nursery practice. The same goes for tools, trays, and saucers. The University of Massachusetts Extension lists clean pots and flats and fresh soilless medium among the core controls for this exact pathogen.
Step 3: Cut Back to Healthy Roots and Repot
With the plant out of its pot and the old mix shaken off, trim the roots. Use clean scissors or pruners and cut away every root that is brown, mushy, or hollow, leaving only firm white or tan roots. Be ruthless here. A small healthy root system in fresh mix outperforms a large half-dead one every time. If the stem base shows a dry sunken canker, trim back to firm tissue, even if that means losing lower leaves.
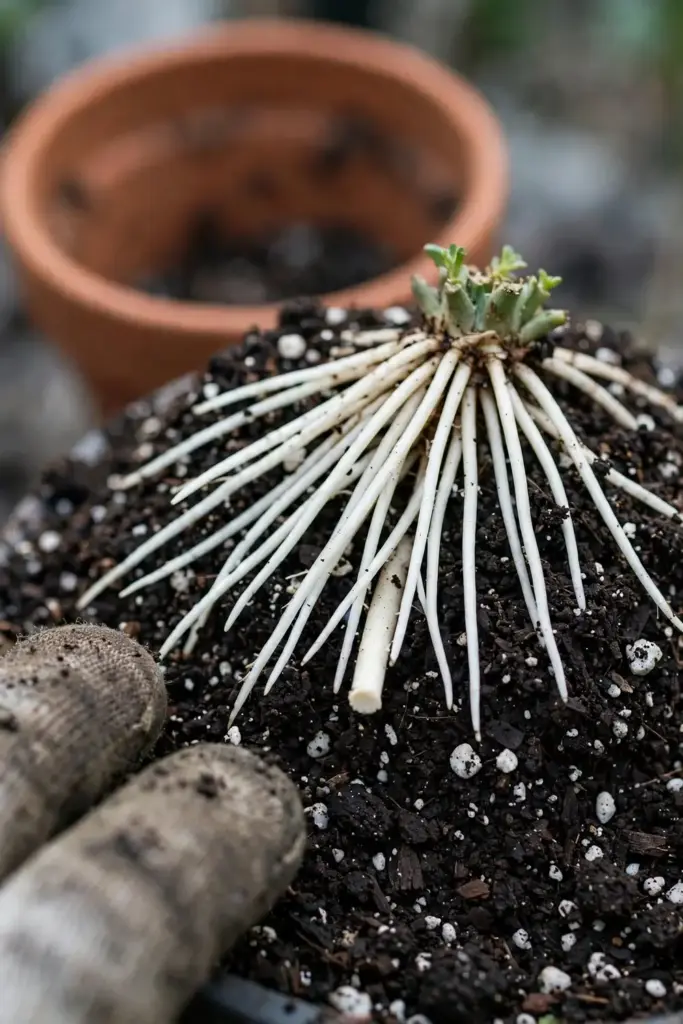
Repot into fresh, sterile, well-draining mix. Do not reuse the old soil. Choose a pot with drainage holes and size it to the remaining root system, not the plant’s former glory. An oversized pot holds excess wet mix around small roots and restarts the whole problem. Set the plant at the same depth it grew before, never deeper. Keep the stem base slightly above the mix surface so it dries quickly after watering. Water once to settle the mix, then let the top inch dry before watering again.
Step 4: Drench With Hydrogen Peroxide and Know Its Limits
Hydrogen peroxide is the home remedy Yahoo searchers ask about by name, and it has a real but narrow role. Start with the 3 percent solution from the drugstore. It releases oxygen on contact with organic matter, which knocks back the anaerobic conditions Rhizoctonia exploits and kills fungal tissue it touches directly. Mix one part 3 percent hydrogen peroxide with four parts water and apply it as a soil drench after trimming and repotting.
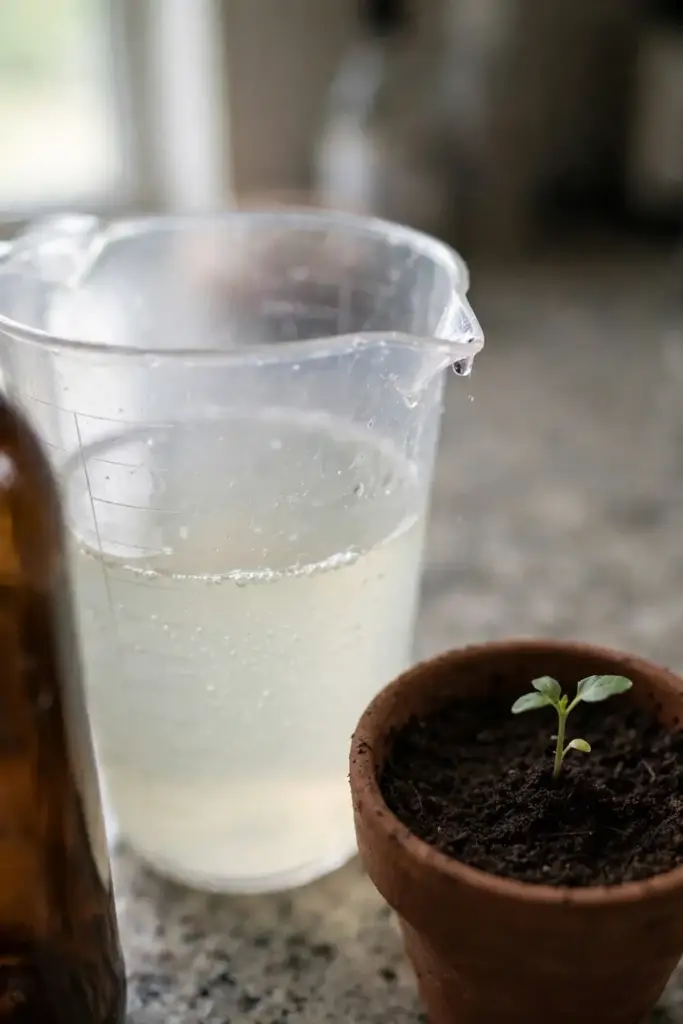
Know exactly what it does not do. It kills on contact, then breaks down into water and oxygen within hours. No residual activity. No protection for next week’s new growth. It also kills beneficial microbes alongside the pathogens, though soil biology usually rebounds within days. Keep full-strength 3 percent solution away from roots. It can burn fine root tissue on contact. Use it as a one-time reset on a freshly repotted plant, not as a weekly ritual. If the plant shows no new white root growth within two weeks, the problem needs a different tool, not another drench.
Step 5: Add Trichoderma to the Fresh Mix
For ongoing biological protection, Trichoderma harzianum is the best-evidenced option a home gardener can buy. Sold under names like RootShield, it colonizes the root zone and actively parasitizes Rhizoctonia mycelium. Trial work summarized by Chase Horticultural Research found it very effective against Rhizoctonia root rot, with one critical condition: it must be used preventively. It protects healthy roots. It does not cure advanced rot.
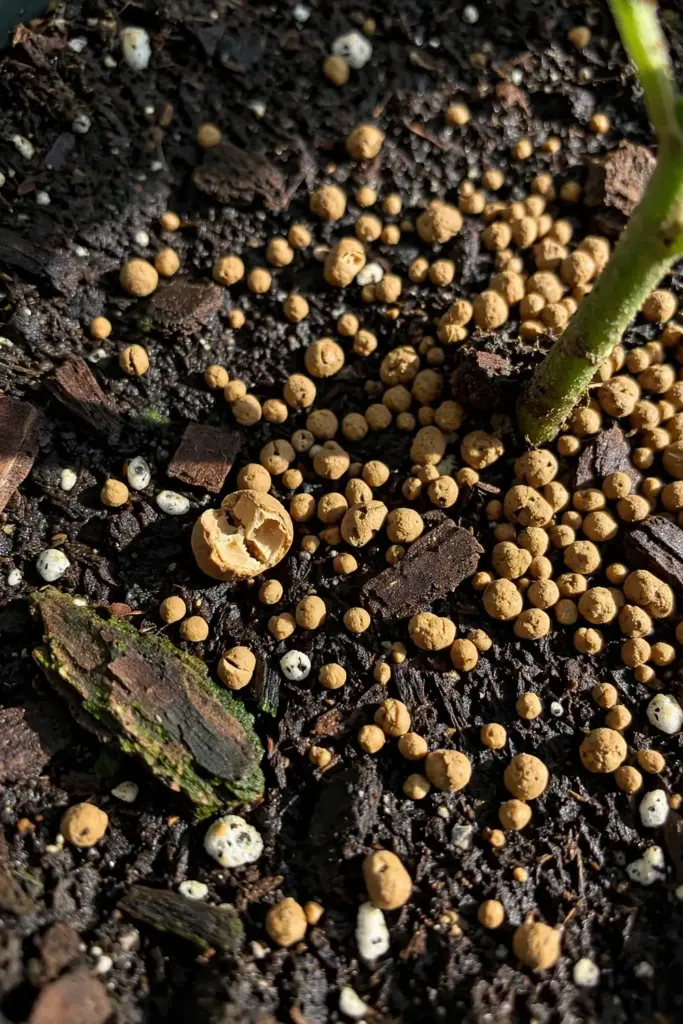
That timing makes it the ideal follow-up to Steps 3 and 4. After repotting into fresh mix and doing the peroxide reset, water in the Trichoderma product at the label rate so it establishes on the new roots before the pathogen can. It works in peat, bark, coir, and mineral mixes. Because it is a living organism, apply it when you will not follow with harsh chemical drenches, and store the product cool and dry. Think of it as hiring a security guard for the root zone rather than calling an ambulance.
Step 6: Reset Your Watering Habits
Most Rhizoctonia infections in home gardens are watering problems wearing a disease costume. The fungus needs sustained moisture at the soil surface. Take that away and you take away its bridge into the plant. Water only when the top inch or two of mix is dry to the touch, and then water thoroughly until it drains from the bottom. Empty saucers within thirty minutes. Never let pots sit in standing water.
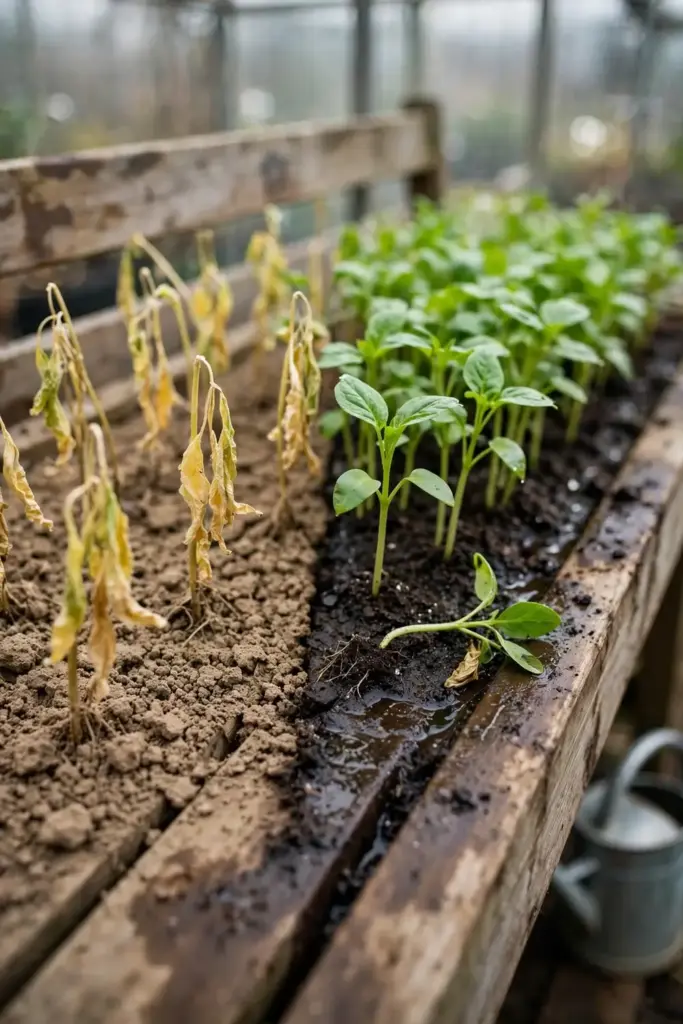
Water the soil, not the plant. Overhead watering splashes infested soil onto stems and keeps the stem base wet for hours. A narrow-spout watering can or drip irrigation aimed at the mix surface keeps the danger zone drier. Water in the morning so any incidental wetness evaporates during the day. On lawns, the same principle applies at scale: Penn State’s turfgrass pathologists advise watering early in the day so grass dries before nightfall, because irrigating at night during hot humid weather directly worsens brown patch. For a deeper look at building soil that drains instead of suffocating roots, the soil health guide walks through structure, organic matter, and drainage in practical detail.
Step 7: Fix Drainage and Airflow Around the Plant
Treatment fails in a swamp. If the pot has no drainage hole, drill one or repot. If the mix stays soggy for days, amend it with perlite, coarse bark, or pumice until water flows through freely. For in-ground beds, work in compost to improve structure, and consider raised beds where the native soil is heavy clay. Rhizoctonia persists in debris on surfaces, so keep hose ends off the ground and avoid setting pots directly on bare soil.
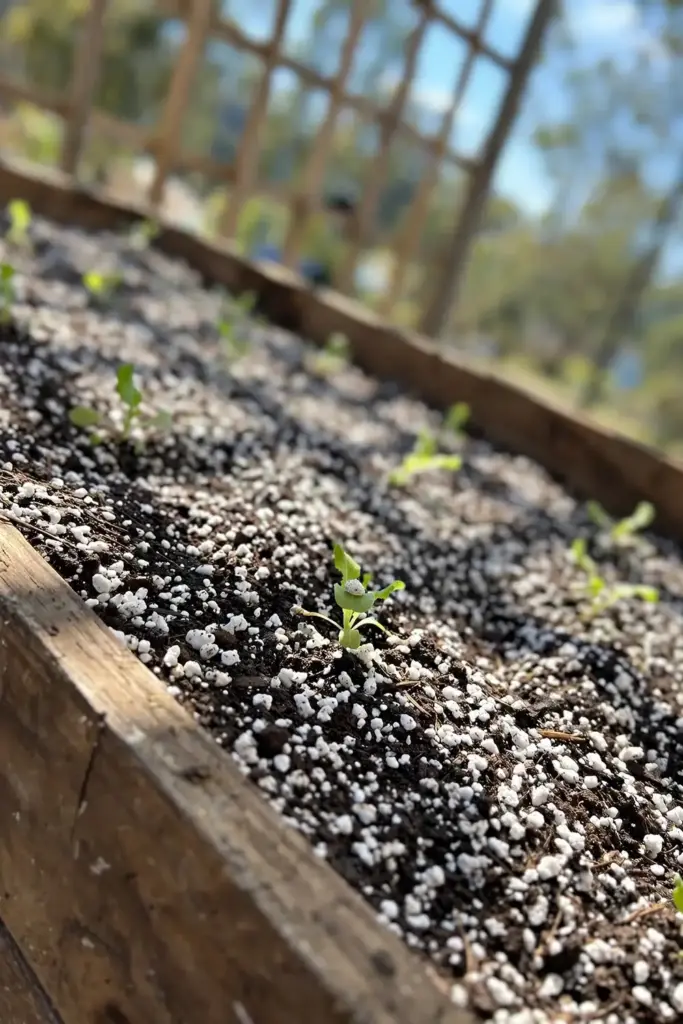
Airflow matters as much as drainage. Space containers so leaves do not touch, and prune dense indoor canopies to let air reach the soil surface. A small fan on low near seedling trays does more against damping-off than most products. Outdoors, thin overhanging shrubs that shade the lawn and trap humidity. The goal in every case is the same: a soil surface that dries between waterings, because a dry surface is a closed door to this fungus.
Step 8: Handle Brown Patch on the Lawn Without Panicking
Brown patch looks alarming, but Kansas State’s turf pathology page delivers the calming fact most homeowners need: lawns damaged by brown patch typically recover in two to three weeks once the hot humid spell breaks, provided the outbreak is not sustained by continuous heat and humidity. Expensive treatments are often unnecessary to carry a home lawn through the season.
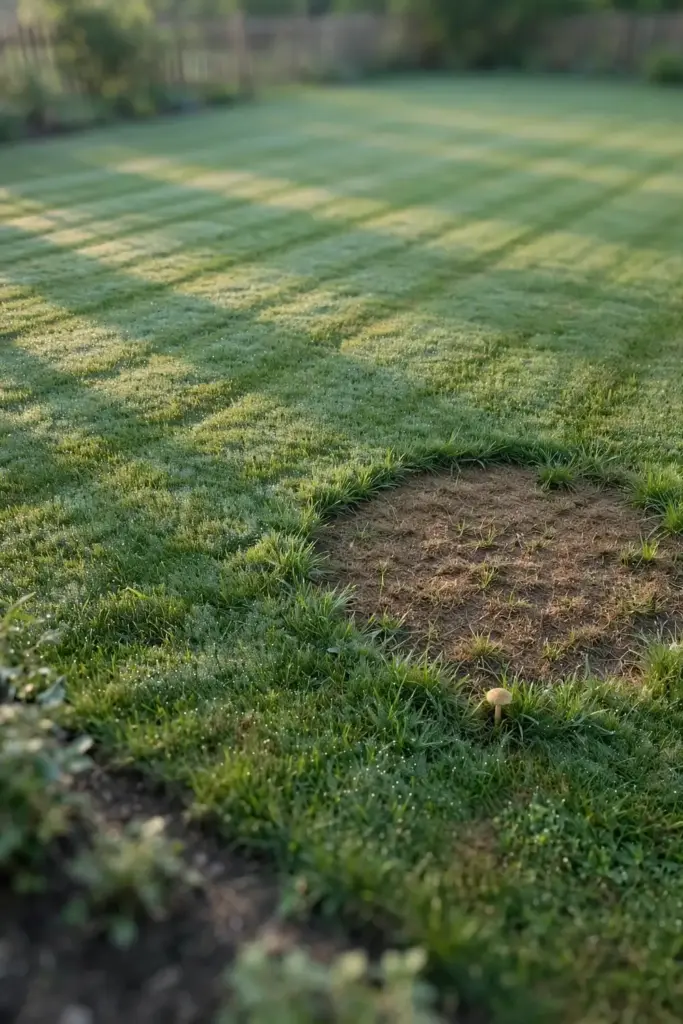
Start with culture, which is free. Cut nitrogen during the outbreak. Never fertilize while brown patch is active. Water deeply but infrequently in the early morning, and stop evening irrigation entirely. Mow at the high end of your grass type’s range and bag clippings from infected areas so you are not spreading the fungus with the mower. Improve air movement by pruning low tree limbs over the lawn. If you overseed in fall, choose brown patch tolerant cultivars of tall fescue or perennial ryegrass, a strategy Penn State Extension recommends for lawns with a history of the disease. Save fungicides for the rare case of a high-value lawn under sustained disease pressure, and even then treat at the first sign of symptoms rather than after the lawn is half dead.
Step 9: Reach for a Fungicide Only as a Last Resort
Conventional fungicides work against Rhizoctonia, but the honest framing matters. Trial work at Chase Horticultural Research identified fludioxonil, sold as Medallion 50W, as the most effective active ingredient against Rhizoctonia diseases in ornamentals, with strobilurins and benzimidazoles also rating well. The catch for home gardeners is access and scale. Many of the most effective products are labeled for commercial greenhouse or turf use, sold in quantities priced for professionals, and require careful handling.
What a home gardener can actually buy varies by region and retailer. If you go this route, choose a product specifically labeled for Rhizoctonia on your plant type, apply it as a soil drench rather than a foliar spray, and follow the label exactly. Apply early, at the first sign of trouble, because fungicides protect healthy tissue and cannot repair rotted roots. And treat it as one tool in the sequence above, not a substitute for sanitation, repotting, and watering reform. A fungicide poured into a swampy pot with dead roots is money in the trash can.
Living With the Damage When Treatment Comes Too Late
Sometimes you find the problem after the plant is gone. A tray of seedlings collapsed beyond saving, a lawn section that fried in a heatwave, a houseplant reduced to a bare stem. The useful move now is prevention for the next planting, because the fungus is still in that soil.
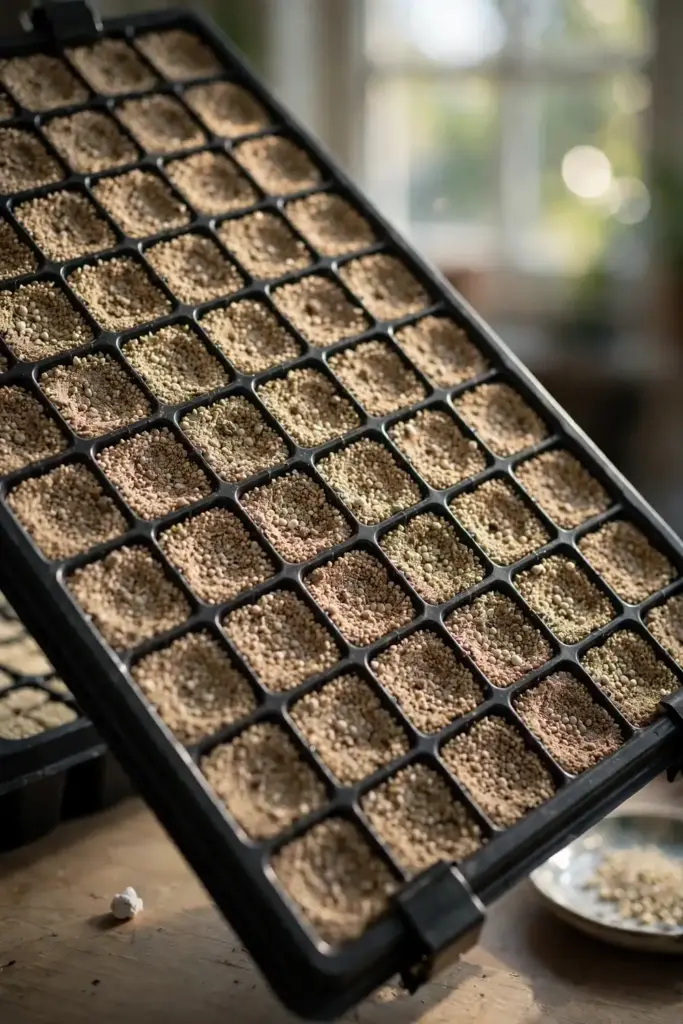
Do not replant the same crop into the same infested mix. For seedling trays, discard the mix, disinfect the trays, and start fresh with sterile seed-starting medium. The seed starting guide covers clean technique from sowing to transplant, and it is worth a read before your next batch. For containers, replace the mix entirely. For garden beds with a history of damping-off, rotate to a different plant family next season and work compost into the top layer to boost the beneficial microbes that compete with Rhizoctonia. For lawns, overseed damaged areas in early fall with tolerant cultivars and fix the nitrogen and watering habits that fed the outbreak. Losing one planting to this fungus is tuition. Losing the next one to the same soil is a choice.
Frequently Asked Questions
Yes, but not through the air. Rhizoctonia solani makes no airborne spores, so it spreads through infested soil, dirty pots and tools, water splash, and insects like fungus gnats. Quarantine affected plants, disinfect everything that touched them, and avoid reusing their soil. Good sanitation breaks the chain completely.
Damping-off is a symptom, and Rhizoctonia is one of its main causes. The same fungus that topples seedlings at the soil line also rots the roots of mature houseplants and causes brown patch on lawns. Pythium and Fusarium cause damping-off too, which is why the dry-versus-mushy check in the comparison table matters before you treat.
It helps as a one-time reset, not as a cure. Use a one-to-four dilution of 3 percent hydrogen peroxide: it kills fungal tissue on contact and oxygenates the root zone, but it breaks down within hours and leaves no lasting protection. Use it right after trimming and repotting, then follow with Trichoderma and corrected watering for actual ongoing defense.
Effectively indefinitely. The fungus persists as sclerotia and mycelium on plant debris, and the University of Massachusetts Extension calls it a natural inhabitant of soil that can survive there without end. That is why replacing potting mix and disinfecting containers matters more than any single treatment product.
If more than half the roots are rotted and the stem is girdled all the way around, yes. No product regenerates dead tissue. If firm white roots and a living growing point remain, the nine steps above give it a real chance. When in doubt, propagate a healthy cutting first, then attempt the rescue.
You can eat the harvest from plants that are otherwise healthy, since Rhizoctonia is a plant pathogen, not a human one. Do not eat rotted tissue itself, and wash produce normally. The real concern is the soil: rotate crops and add compost before replanting the bed with susceptible vegetables.
Where to Go From Here
Rhizoctonia root rot rewards the gardener who acts fast and thinks like a detective. Confirm the dry, corky lesions that mark this fungus. Make the honest triage call in Step 1. Then work the sequence: sanitize, trim, repot, reset, protect biologically, and fix the water. Most home-garden cases resolve without a single synthetic chemical when the cultural steps are done properly.
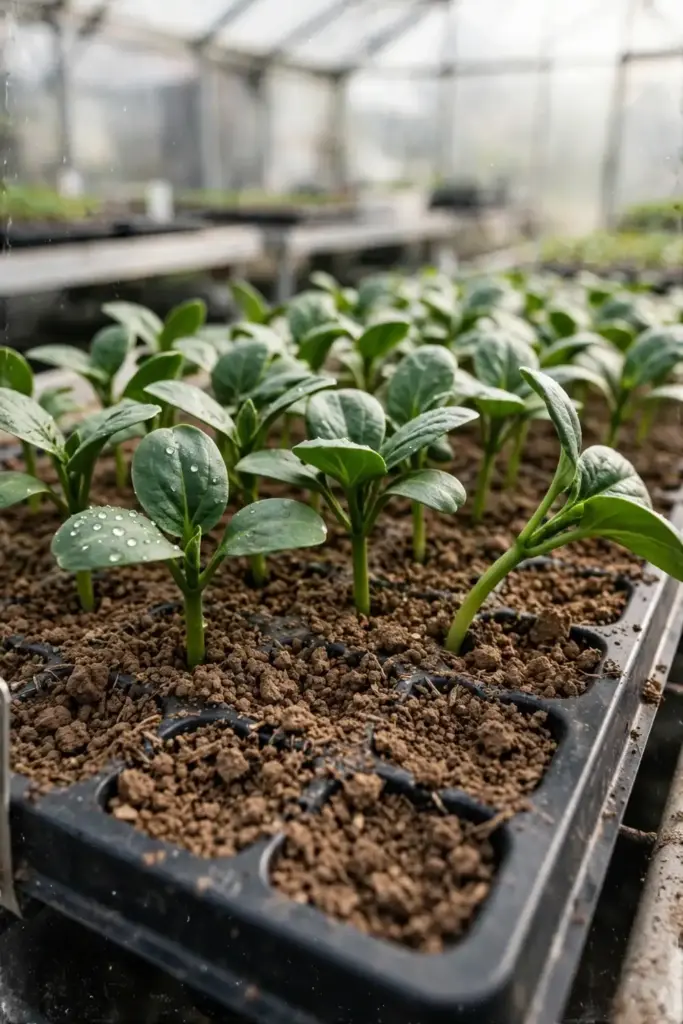
For your next planting, start clean. Fresh sterile mix, disinfected trays, and watering that lets the surface dry will prevent more Rhizoctonia than any product treats. The blossom blight guide is a useful companion read if you are building a broader disease-identification habit, since it trains the same look-closely-at-symptoms approach this guide uses. And if seedlings are your main battleground, bookmark the seed starting walkthrough before spring sowing season arrives.