
8 pruning mistakes cause most pruning damage. Check the collar, the one-third rule, the timing, and the tool before every cut. This page names each mistake, gives the prevention check, and gives the fix.
I have learned that the cut I check twice heals clean, while the cut I rush leaves a stub the tree cannot seal. The rest of this page walks through 8 mistakes, from the collar to the tool bucket.
One bad cut costs a season of growth. A topped tree costs a decade. The mistakes below all share one trait: each one happens in seconds, and each one takes seasons to repair. This page stays on mistakes. It does not teach a full pruning routine. It teaches the checks that keep a routine from doing harm.
A leaning plant is not a pruning problem: a lean comes from staking, light, or soil. Pruning does not straighten a lean, and cutting a leaning plant for balance removes growth the tree needs.
| Mistake | Check Before You Cut |
|---|---|
| Flush cut | Find the collar and the bark ridge first |
| Stub cut | No wood stands past the collar line |
| One cut on a heavy limb | Limb over 5.1 cm means three cuts |
| Wound paint or tar | Leave every cut bare |
| Removing too much at once | Stop at one-third of the crown |
| Pruning at the wrong time | Check bloom time before the cut |
| Topping | Cut to a lateral, never to a stub |
| Dirty tools | Disinfect between plants |
1. Cut Outside the Collar, Never Flush to the Trunk
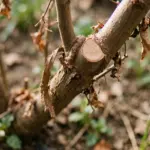
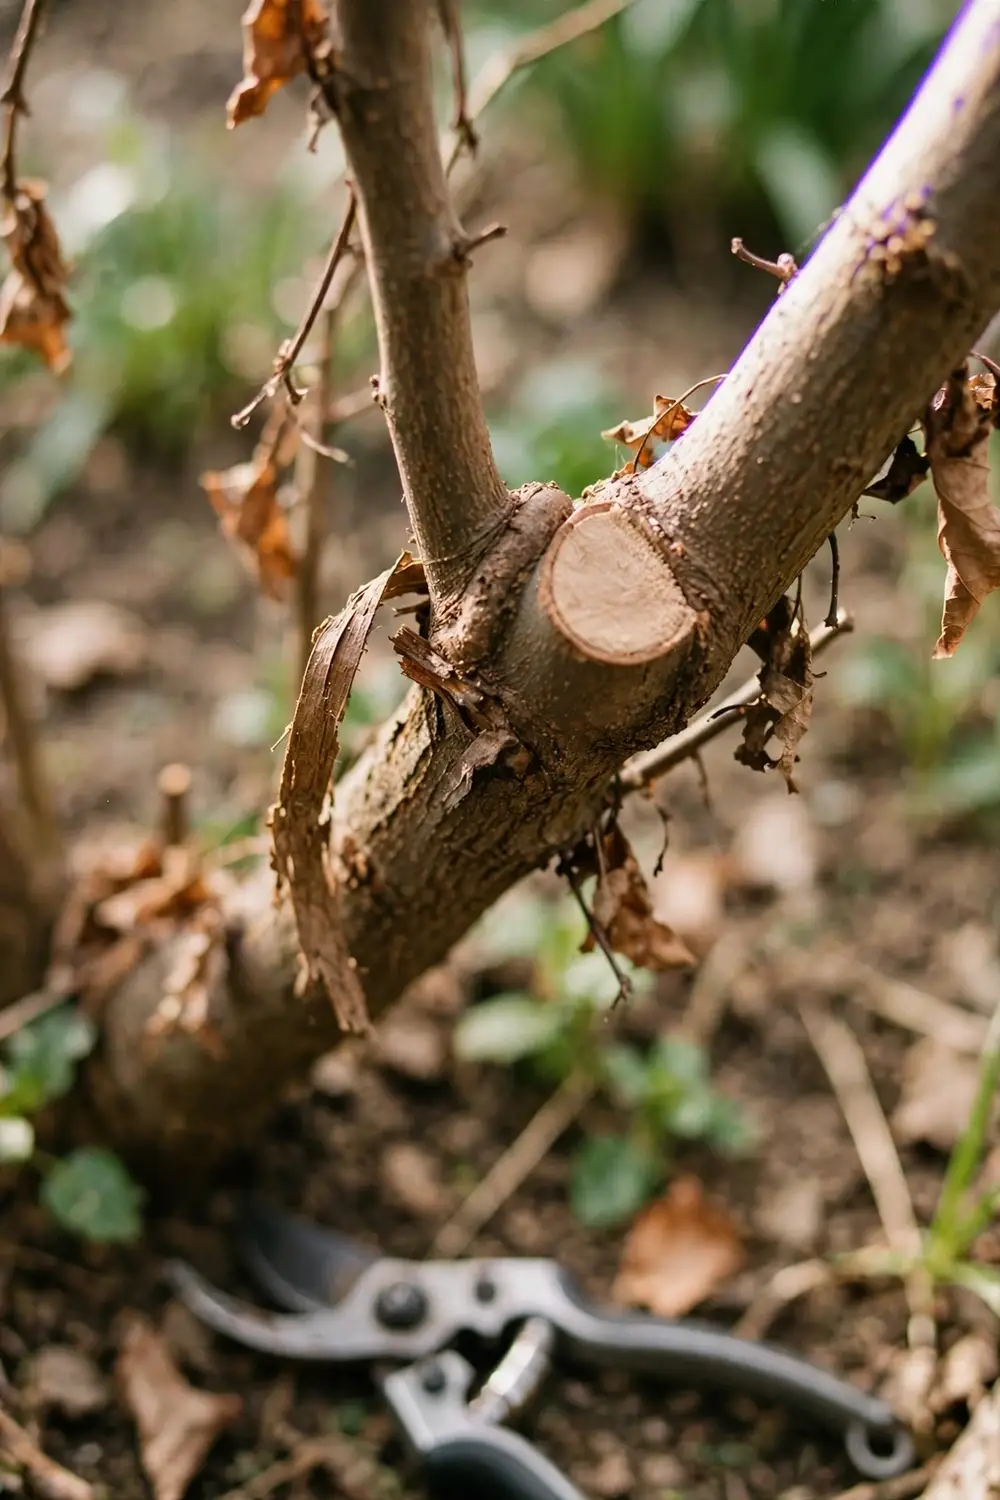
Cut just outside the swollen collar where the branch meets the trunk. A flush cut removes the collar and opens the trunk to decay.
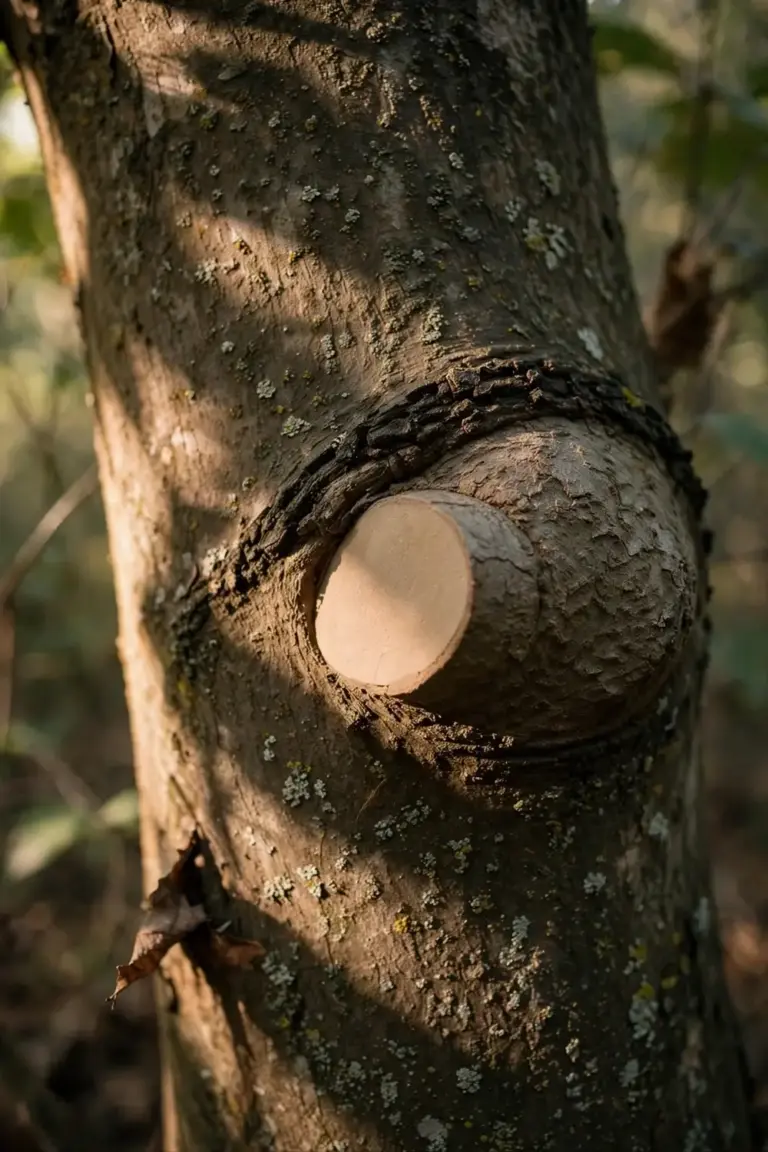
The collar is a ring of protective tissue at the base of a branch. That tissue chemically protects the interior wood, and the cambium grows over the wound from it, sealing the cut with a protective cover. A flush cut removes that protective zone and raises the chance of fungal infection, according to NC State Extension general pruning techniques. Find the collar and the branch bark ridge before the saw moves. Picture a 45 degree angle between the cut line and the branch bark ridge when a ridge is present, as NC State Extension describes.
Angle shapes the wound. The final cut should sit on a slight angle, following the line from outside the bark ridge to just outside the collar on the lower side, so the wound stays small and round. A cut slashed straight down hugs the trunk and widens the wound. A cut angled outward leaves a ledge that catches water. The collar line is the guide, and the angle follows it.
Some branches show no distinct collar. A smooth transition from trunk to branch means no collar to find, and codominant stems carry none either. Cut outside the union in those cases, and keep the cut smooth and clean. Clemson Extension describes the branch bark ridge as rough, always darker than the surrounding bark, and obvious on most tree species. Use that ridge as a landmark when the collar itself is hard to see. When two branches compete, keep the one with the wider angle of attachment. Look for a branch with an angle between 45 and 90 degrees, according to NC State Extension. U-shaped unions hold stronger than tight V-shaped unions, and V-shaped unions with bark inclusions attach weakly. Removing the weak union early leaves a small wound. Waiting leaves a large one.
A flush cut on a large limb leaves a wound that likely never closes over. The opening stays wide, decay moves into the trunk, and the tree pays for one careless cut for years. Prevention is simple. Locate the collar first. Place the cut outside it.
2. Leave No Stub Behind the Cut
Cut close enough that no stub stands past the collar. A stub dies back and blocks the seal.
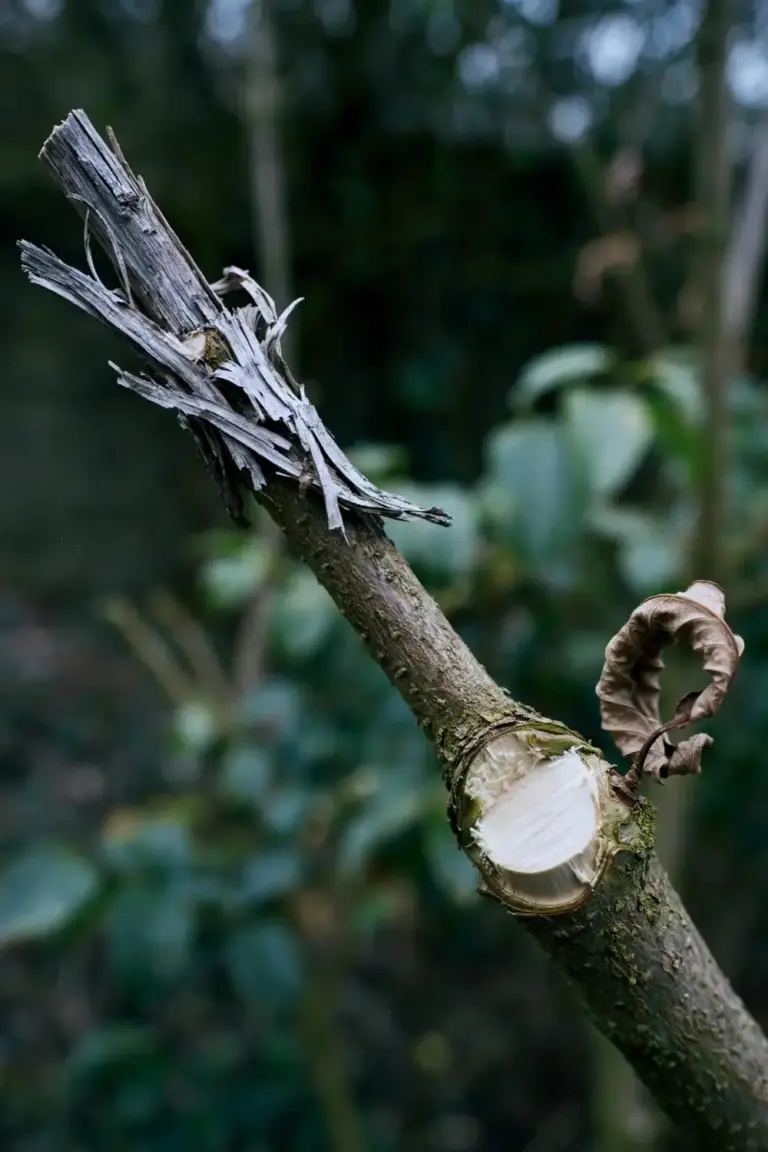
A stub is wood left past the collar that the cambium cannot cover. The exposed wood dries, decays, and gives fungi a doorway into sound wood. The tree may answer a bad cut with adventitious growth, shoots sprouting from places that never held buds. That flush of weak shoots signals a cut placed wrong. For small branches and twigs, NC State Extension advises cutting back to 0.6 cm above a vigorous bud or branch that points where new growth should go. Cutting too close damages the bud. Leaving a stub strands dead wood on the tree.
Heading a young shoot back to a bud is a normal cut. Heading a large branch back to a stub is topping, and topping is a separate mistake covered below. The difference is scale and destination. A small heading cut ends at a live bud that grows on. A stub ends at dead wood that rots. Keep every cut aimed at a live bud, a live lateral, or the collar.
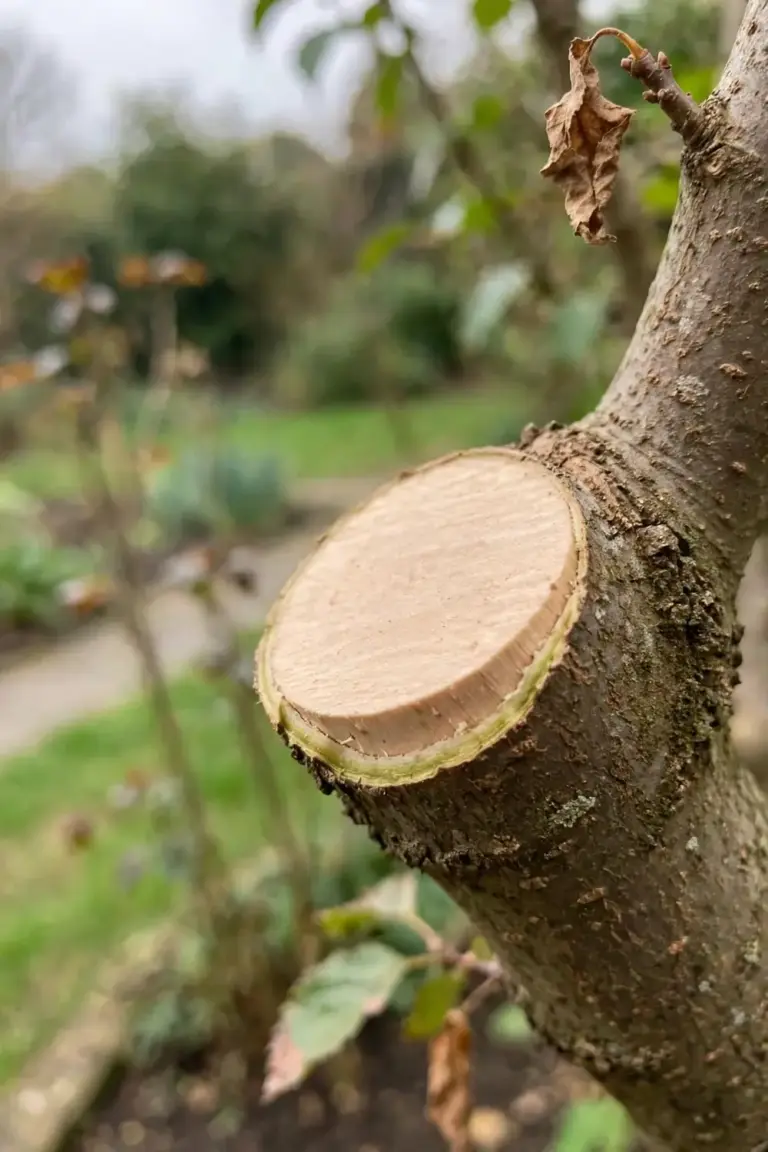
Check the cut face before you move on. A sound cut shows smooth wood, no torn bark, and no lip of branch left past the collar. Torn bark peels back from the wound and exposes a strip of cambium that dries and dies. If a cut tears, re-cut it cleanly just outside the collar, with a sharp saw, and stop pulling the branch before the last fibres snap. A clean face is the difference between a wound that seals in one season and a wound that stays open for three.
A stub cut looks cautious. It is not. The tree cannot seal wood that sits past the collar, so the stub rots in place and the wound stays open. Prevention is a visual check after every cut. No wood stands past the collar line. The cut face sits tight against the collar, smooth, with no lip of dead branch left behind.
3. Use the Three-Cut Method on Limbs Over 5.1 cm
Limbs over 5.1 cm need three cuts. One cut tears bark down the trunk.
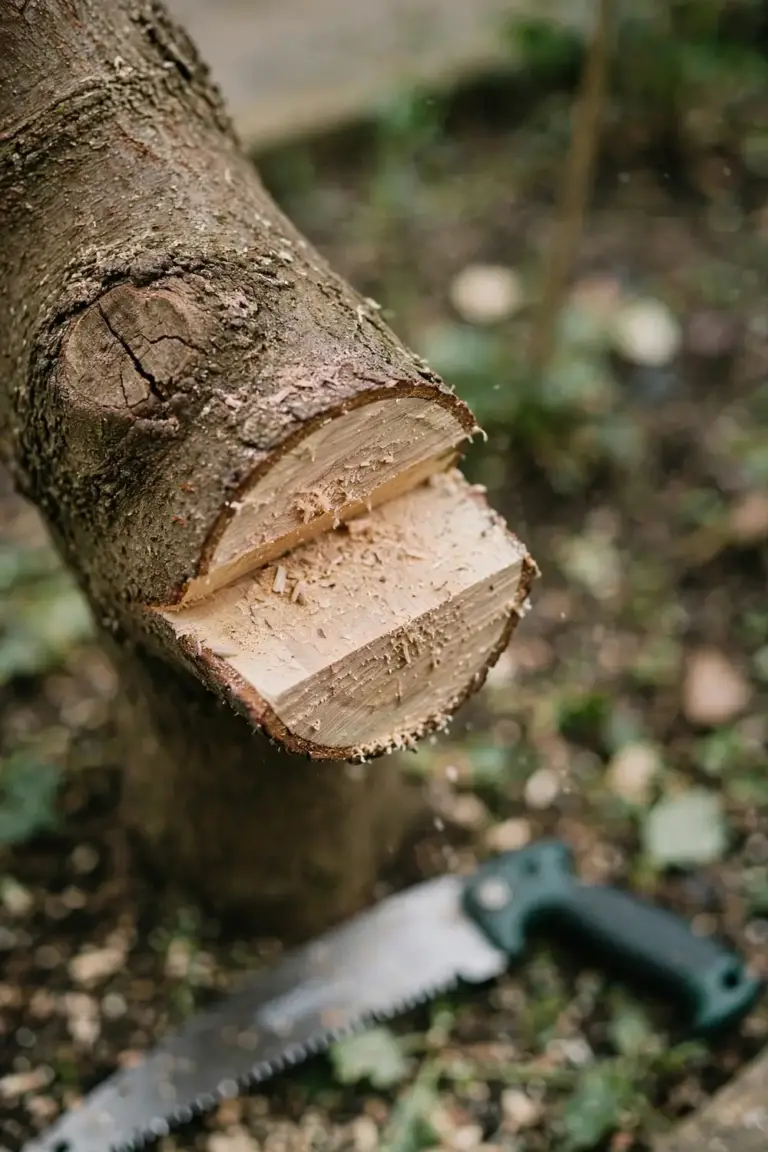
A heavy limb falls with enough weight to rip a strip of bark off the trunk on its way down. That tear runs past the collar and into trunk wood. The three-cut method removes the weight before the final cut. Make the first cut an undercut on the underside of the branch, 10.2 to 15.2 cm out from the collar, depending on the diameter of the branch, according to NC State Extension general pruning techniques. Make the second cut from the top, a little farther out, to drop the branch and its weight. Make the third cut at the collar to remove the stub. The final cut decides how fast and how well the wound closes. Its success rests on placement near the collar, on angle, and on a smooth, clean face. Use a hand saw on a limb this size for the cleanest possible cut.
Work from the ground when you can. A limb over a path, a roof, or a fence needs rope and a helper to lower it, and a limb near power lines needs a professional. NC State Extension advises contacting a certified arborist for large tree pruning, because arborists carry the gear and the judgement for cuts that carry real risk. Never cut above your reach from a ladder with a saw in one hand. The saw, the falling limb, and the ladder all move at once, and the cut suffers first.
A single cut on a heavy limb tears bark into the collar and leaves a ragged wound. That wound closes slowly, if it closes at all. Prevention is a measurement. Measure the limb. Over 5.1 cm means three cuts, with the undercut first, every time.
4. Skip the Wound Paint and Tar
Leave every cut bare. Paint and tar trap moisture and raise infection risk.
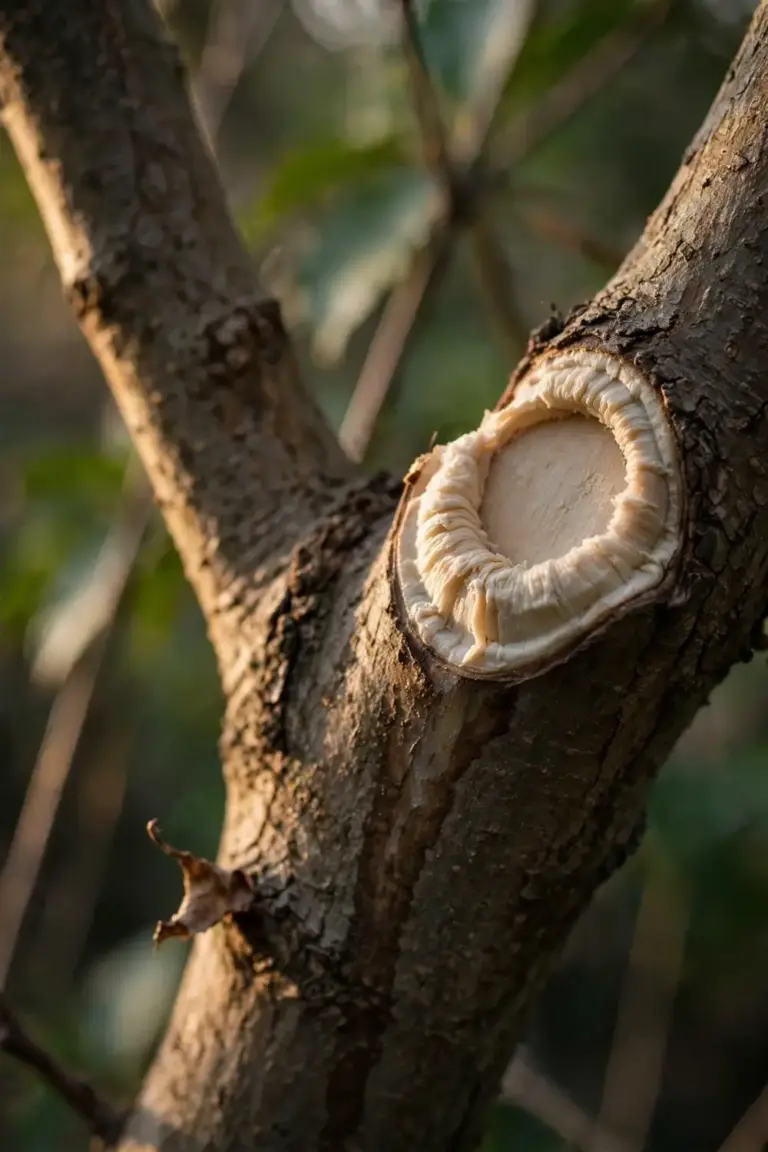
Wound paint looks like care. It is not. NC State Extension states plainly: never apply wound paint or tar. Tar keeps moisture and darkness in the wound, creating the perfect environment for disease organisms. The coating serves cosmetic reasons only and may raise the chance of infection. Clemson Extension pruning guidance agrees. Research shows wound dressings and other pruning agents do not prevent decay. A coating exposed to sun cracks, and moisture enters and pools in pockets between the wood and the cover. That state may invite wood-rotting organisms more than a bare wound does. The tree seals its own cuts through the collar.
After a correct cut, do nothing to the wound. Callus rolls in from the collar edge and closes the opening over coming seasons. Closure speed varies by species, by season, and by the vigour of the tree. A young, fast-growing tree closes a small wound sooner than an old tree closes a large one. Check the wound once a season. Firm callus and dry wood mean the seal is working. Soft wood, weeping, or fungal fruiting bodies mean the wound needs a professional look.
A painted wound rots under the coating while the gardener believes it is protected. The crack in the paint admits water, the water sits against fresh wood, and fungi move in. Prevention is restraint. Put the paint can back on the shelf. Let the collar do the sealing. The same rule covers pruning sealant sprays sold at garden centres. A spray that seals the wound traps moisture like paint, and the tree seals the cut better bare. Spend the money on a sharp saw instead, since a clean cut beats any coating.
5. Stop at One-Third of the Crown in One Year
Remove no more than one-third of the total crown in one year. More removal starves the tree of leaf area.
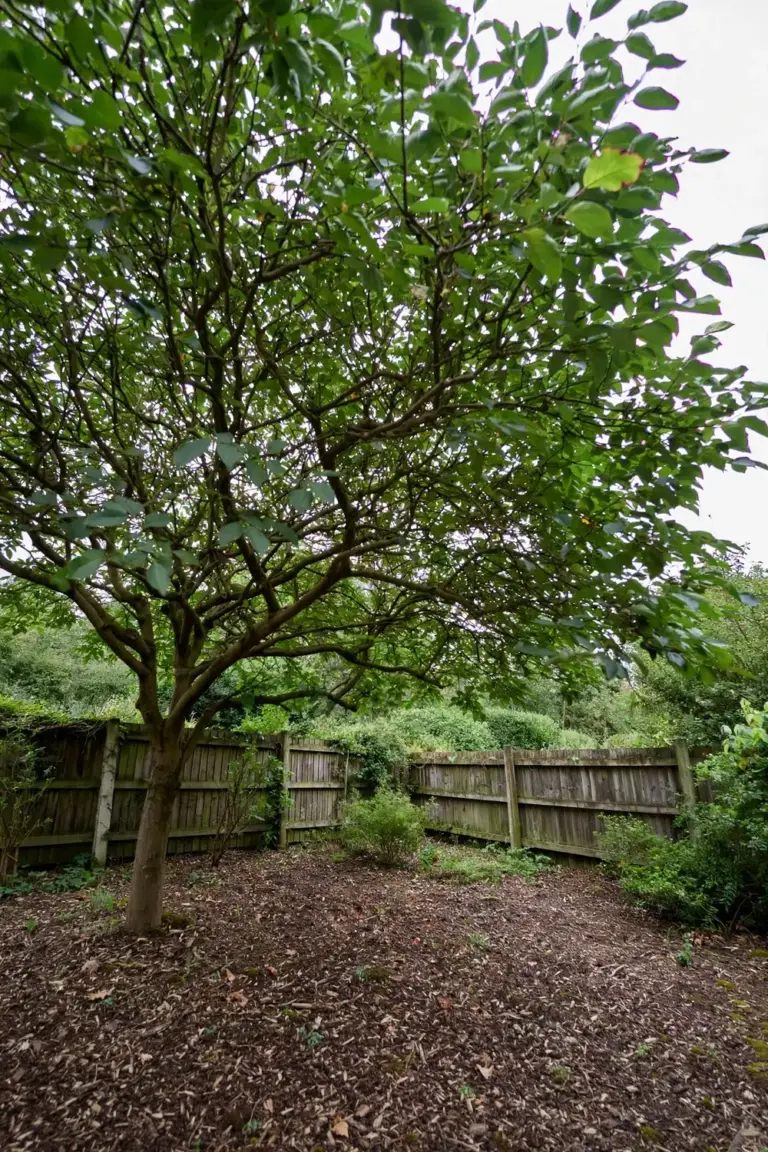
Leaves feed the tree. Each cut removes leaf area that makes food for growth and wound closure. The one-third rule gives a basic guide: do not remove more than a third of the total crown of a plant in any one year, according to NC State Extension. A young, healthy tree can tolerate a pruning dose near 50 percent, while healthy trees in their 20s to 40s tolerate a dose near 25 percent, according to NC State Extension. Old trees in good health stand no more than 10 percent, according to NC State Extension. Age sets the dose, and the one-third rule keeps beginners inside safe limits. When you shorten a branch with a reduction cut, cut back to a lateral at least one-third to one-half the diameter of the branch you remove, according to NC State Extension. That lateral carries enough leaf area to take over the photosynthesis work the removed branch did.
Two habits break the rule in one session. The first is lion-tailing, stripping the interior branches and leaving foliage only at the branch tips. The branch grows long, heavy, and weak at the end, and the bare interior never fills again. The second is shearing every stem to one height. Penn State Extension warns against using hedge shears to shear all stems to the same height, because that destroys the natural shape of the shrub. Both habits remove too much, in the wrong places, at once. When a tree needs a big correction, split the work across two years. Remove the worst third this year, and the rest next year. The tree keeps enough leaf area to feed itself between sessions, and each wound gets a season to close. Signs you went too far show within weeks. Freshly exposed bark scorches in sun. A flush of watersprouts erupts along the branches. Growth stalls, and the tree spends the season replacing leaves instead of closing wounds. Judging one-third by eye takes practice. Picture the whole crown before the first cut, then picture the pile of removed branches against that crown. When the pile fills a third of the picture, stop. Counting branches helps: remove one branch in three, and leave two standing for every one you take. The count keeps the dose honest when the crown still looks full from one side.
Prevention is a pause. Step back after every few cuts. Look at the whole crown from all sides. Count what you removed against the one-third limit before the next cut.
6. Prune Spring Bloomers After Flowering, Not Before
Prune spring bloomers right after they finish flowering. A winter cut removes next spring’s buds.
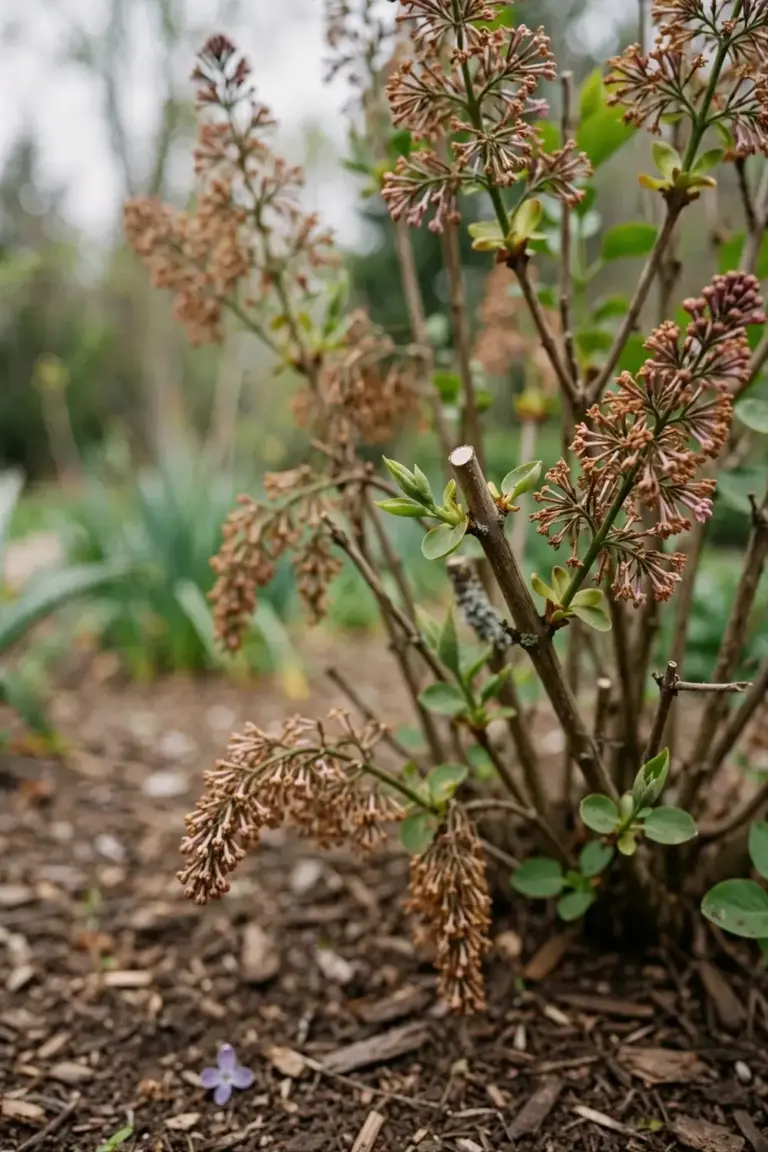
Bloom time tells you where the buds sit. Plants that bloom before June bloom on old-season growth, so prune them directly after blooming, according to NC State Extension. Plants that bloom later in summer bloom on new growth, and you can prune them during their dormant season or before growth begins in spring. Penn State Extension gives the same rule in plain terms. Spring-blooming shrubs bloom on old wood, which means they set next year’s flower buds shortly after they finish blooming this year. Shrubs that bloom in summer and fall bloom on new wood, which means they set flower buds on the current season’s growth and can be pruned in late winter or very early spring. Late winter suits summer bloomers, and spring pruning techniques put this timing into a seasonal order.
Evergreens follow a quieter rule. Many broadleaved evergreens respond well to pruning just before spring growth begins, and summer maintenance after growth is complete slows growth and holds plant size. Deciduous plants accept light structural and corrective pruning during the growing season, because wounds close over more quickly while the plant is growing. Heavy pruning in hot, dry weather is a separate error. NC State Extension warns against pruning heavily during hot, dry weather, and advises waiting until the following growing season after an extended drought to see what died from water stress. That patience avoids removing live wood by mistake.
A lilac pruned hard in winter blooms bare in spring. The buds were already set, and the winter cut removed them. The shrub spends a season rebuilding wood instead of flowering. A late frost after an early cut burns new growth, so late frost protection shows the cover routine for tender shoots. Prevention is a question asked before the cut. When does this plant bloom? Old wood means prune after flowering. New wood means prune while dormant.
7. Never Top a Tree to Make It Shorter
Do not cut a tree’s leaders back to stubs to make it shorter. Topping grows weak shoots that fail.
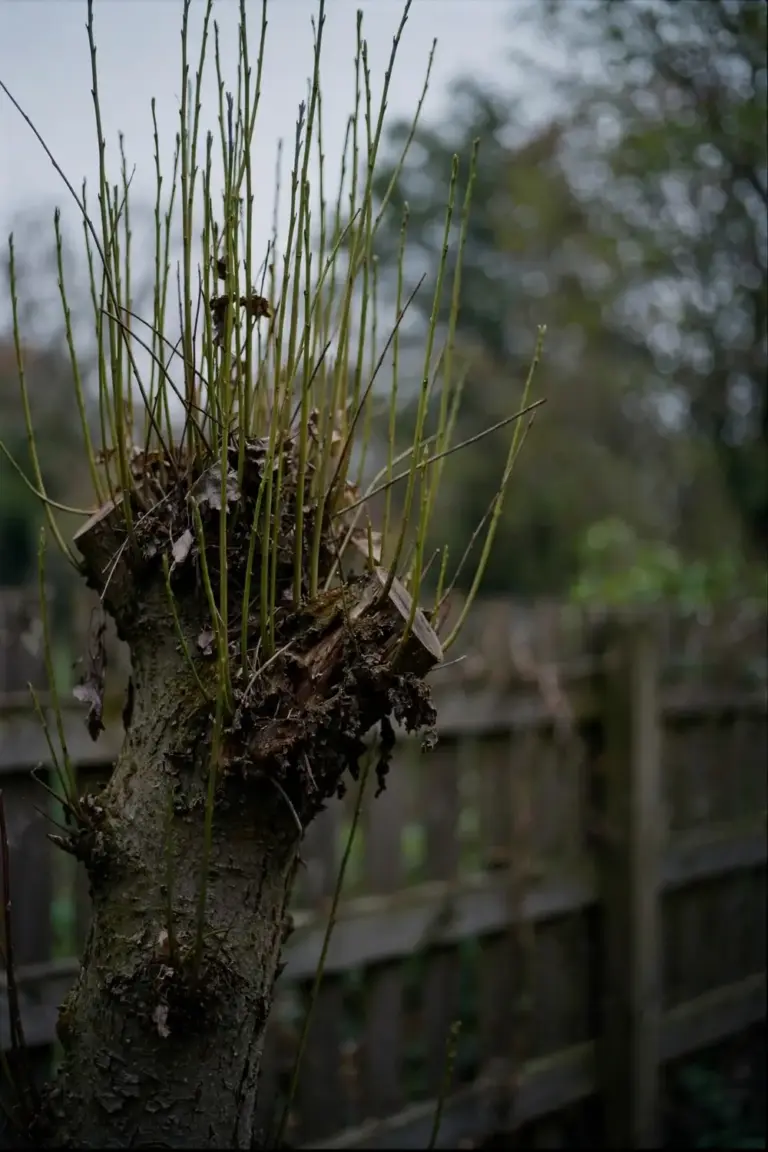
Topping cuts large branches or trunks back to stubs with no regard for the tree’s form. NC State Extension calls topping an inappropriate pruning practice. When you head back large branches or trunks, latent buds grow, and those buds attach only by the thin layer of the current season’s growth. Branches formed by those buds attach weakly. That weak attachment explains why topping can raise the hazard from branch failure. A topped tree answers with a broom of fast, upright shoots. Those shoots grow dense, crowd each other, and snap in wind because their attachment never strengthened.
Topping does not make a tree safer. A topped tree grows a crown of weak shoots on decaying stub ends, and those shoots fail in wind at the exact moment safety matters. The owner who topped the tree to reduce risk bought a heavier hazard a few seasons later. The honest answer to a tree too big for its space is a smaller species in that space, or a reduction cut to a sound lateral, or removal. Topping is never the honest answer.
Storm damage is not a licence to top. A broken limb needs a clean cut back to sound wood, at the collar, with the torn fibres removed. A crown shattered by wind needs thinning of the broken wood and time, not a flat cut across the top. Topping after a storm adds fresh wounds to a tree already spending energy on repair, and the weak regrowth that follows fails in the next storm.
A tree too big for its space needs a different answer. Use a reduction cut to a lateral at least one-third to one-half the diameter of the branch you remove, as NC State Extension advises. The lateral takes over as the terminal, and the tree keeps a natural shape. When no lateral of that size exists, removal and replanting with a species that fits the space beats topping. For large limbs, contact a certified arborist. The arborist carries the gear and the judgement for cuts that carry real risk. Prevention is a rule. If the cut leaves a stub with no lateral, do not make it.
8. Disinfect Tools Between Plants, Not at the End
Clean the blades between plants. Dirty blades carry disease from one plant to the next.
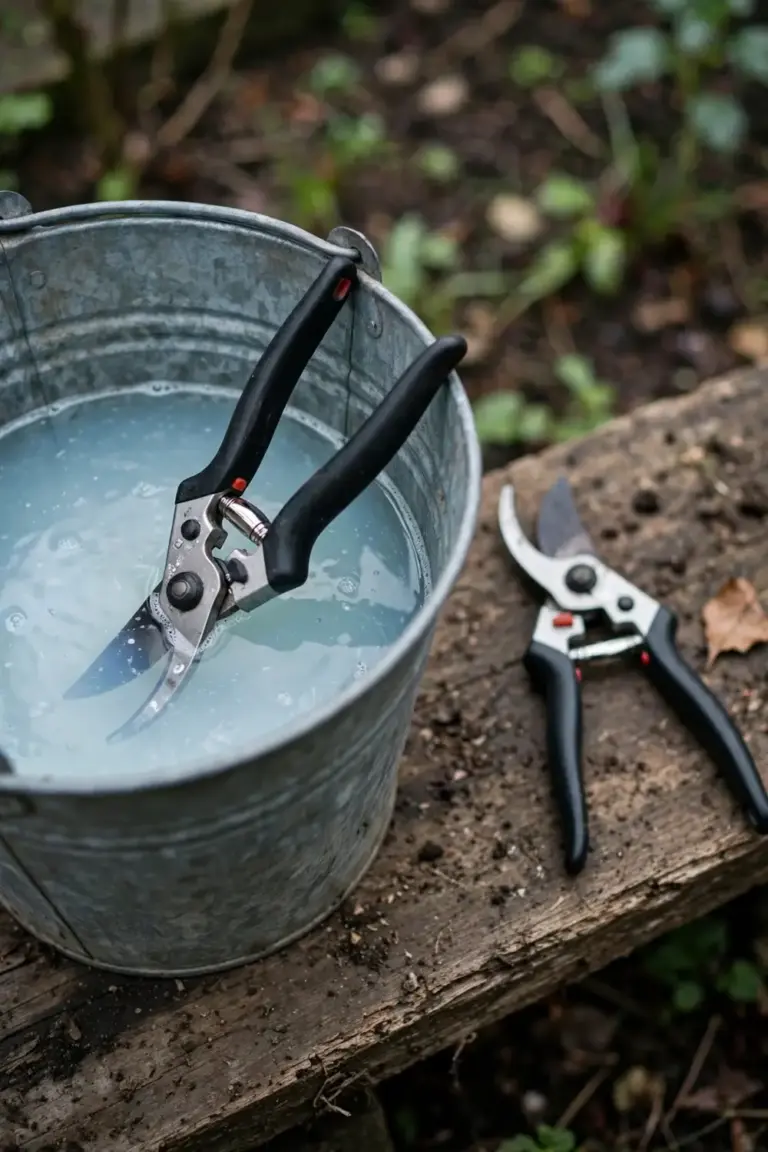
A blade that cut diseased wood carries spores, bacteria, and sap into the next cut. The next plant receives the infection through a fresh wound. Iowa State University Extension gives the standard mix: a 10 percent solution of household chlorine bleach, made by mixing 9 parts water with 1 part bleach. Soak the pruning blades for at least 10 minutes in the solution, then rinse the tool with clean water to prevent corrosion. Prepare the solution fresh and use it within 2 hours of mixing. Alcohol does not disinfect tools used on apple trees infected with fire blight. Bleach does.
A diseased tree raises the standard. When you prune wood that shows canker, wilt, or fire blight, disinfect between every cut, not just between plants. One diseased branch can pass its pathogen to the next healthy branch on the same tree through the same blade. Work from healthy wood toward diseased wood, so the blade meets the worst material last, and disinfect before you touch the next healthy branch.
Cleaning and disinfecting are two steps, not one. Wash sap and dirt off the blades first, because dried sap shields pathogens from the disinfectant. Then disinfect. Keep the blades sharp as well. A sharp blade leaves a clean, smooth face that the collar can seal. A dull blade crushes tissue, tears the cambium, and leaves a ragged wound that closes slowly. Sharpen before the session, and touch up the edge when the cut starts to tear instead of slice.
A full day of pruning with one dirty tool spreads one sick plant’s problem across the whole garden, and the damage shows weeks later, when cankers and wilts appear on plants that looked healthy on pruning day. Prevention is a bucket beside the work: carry two tools, so one soaks in the bleach solution while the other cuts, and swap tools when you move to the next plant. Rinse and dry the blades before storage so the bleach never eats the steel. Keep the bucket with the pruners, so the disinfectant stays within reach when the work starts. A bucket left in the shed never disinfects a blade.
Frequently Asked Questions
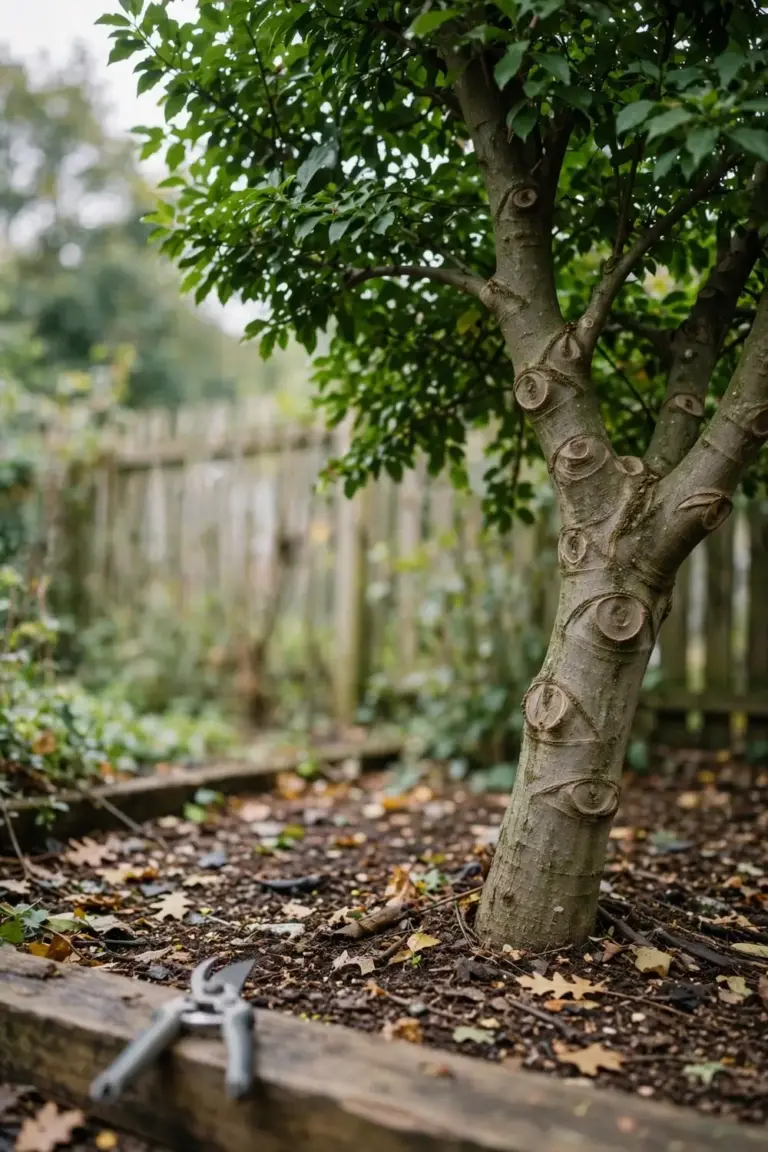
A correct cut heals on its own through the collar. The cambium grows over the wound and seals it without paint, tar, or dressing. A flush cut may never close, because the collar is gone and the wound stays wide. Leave a bad cut bare, do not re-cut into the trunk, and watch for decay, soft wood, or fungal fruiting bodies. An arborist should judge a flush cut that removed the collar.
No. Paint and tar trap moisture and darkness in the wound, and the coating cracks in sun, letting water pool against fresh wood. Research shows wound dressings do not prevent decay. The tree seals its own cuts through the collar. A bare cut with an intact collar closes faster than a sealed cut. If you already painted a cut, monitor it instead of stripping the coating, since peeling tears fresh callus.
Do not re-top the regrowth. Let the strongest shoots grow, then thin the weakest over coming seasons so a few laterals take over as the new crown. Never cut the regrowth back to stubs again. For large limbs and any cut near power lines, call a certified arborist before you climb or cut. Do not thin the regrowth hard in the first season, since it needs leaf area to rebuild strength.
No. A lean comes from staking, light, or soil, and pruning does not straighten a lean. Cut only dead or damaged wood on a leaning plant. Fix the stake, the light, or the soil instead. A plant that leans toward light needs a brighter position, not a shorter crown. If the root ball shifts in the soil, the problem sits below ground, and no cut fixes it.
Late winter suits most trees and shrubs, while the plant is dormant and the structure is visible. Spring bloomers are the exception: prune them right after they finish flowering, because they set next year’s buds on old wood. Avoid heavy pruning in hot, dry weather and in late summer, when a fresh flush of growth faces frost. Dead, diseased, and damaged wood comes off any time of year.
Prevent Pruning Mistakes With One Check Before Every Cut
Eight mistakes share one cure. Check the collar, the one-third rule, the timing, and the tool before every cut. Find the collar and cut outside it, leave no stub, and use three cuts on a limb over 5.1 cm. Leave the wound bare, stop at one-third of the crown, and match the cut to the bloom time. Cut to a lateral, never to a stub, and disinfect the blade between plants.
Build the check into a habit. Walk the garden once a year with pruners, a saw, and the bucket, and cut only what the tree needs that year. The habit beats the blitz. A tree pruned lightly every year never needs the heavy correction that causes most mistakes.
After the cut, water the tree and mulch the base. Soil health covers feeding, and mulching covers depth and distance from the trunk. One checked cut heals clean, and a season of checked cuts keeps the tree sound for years.