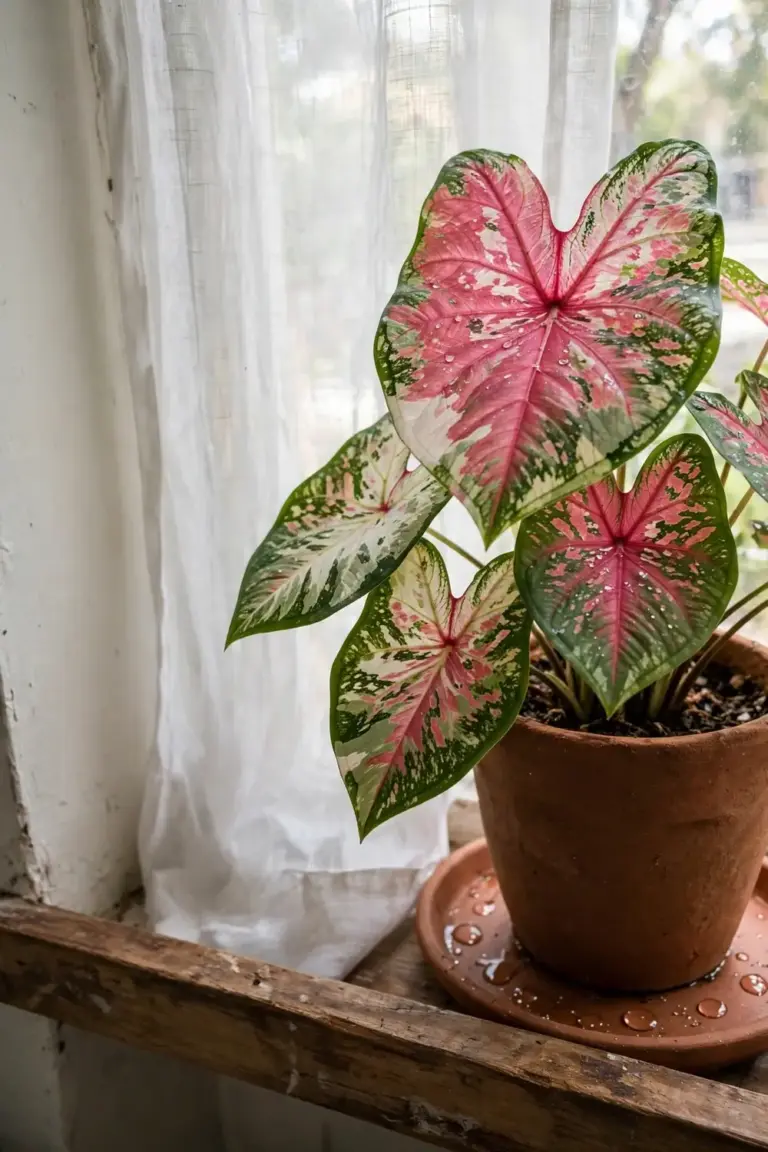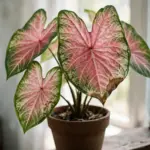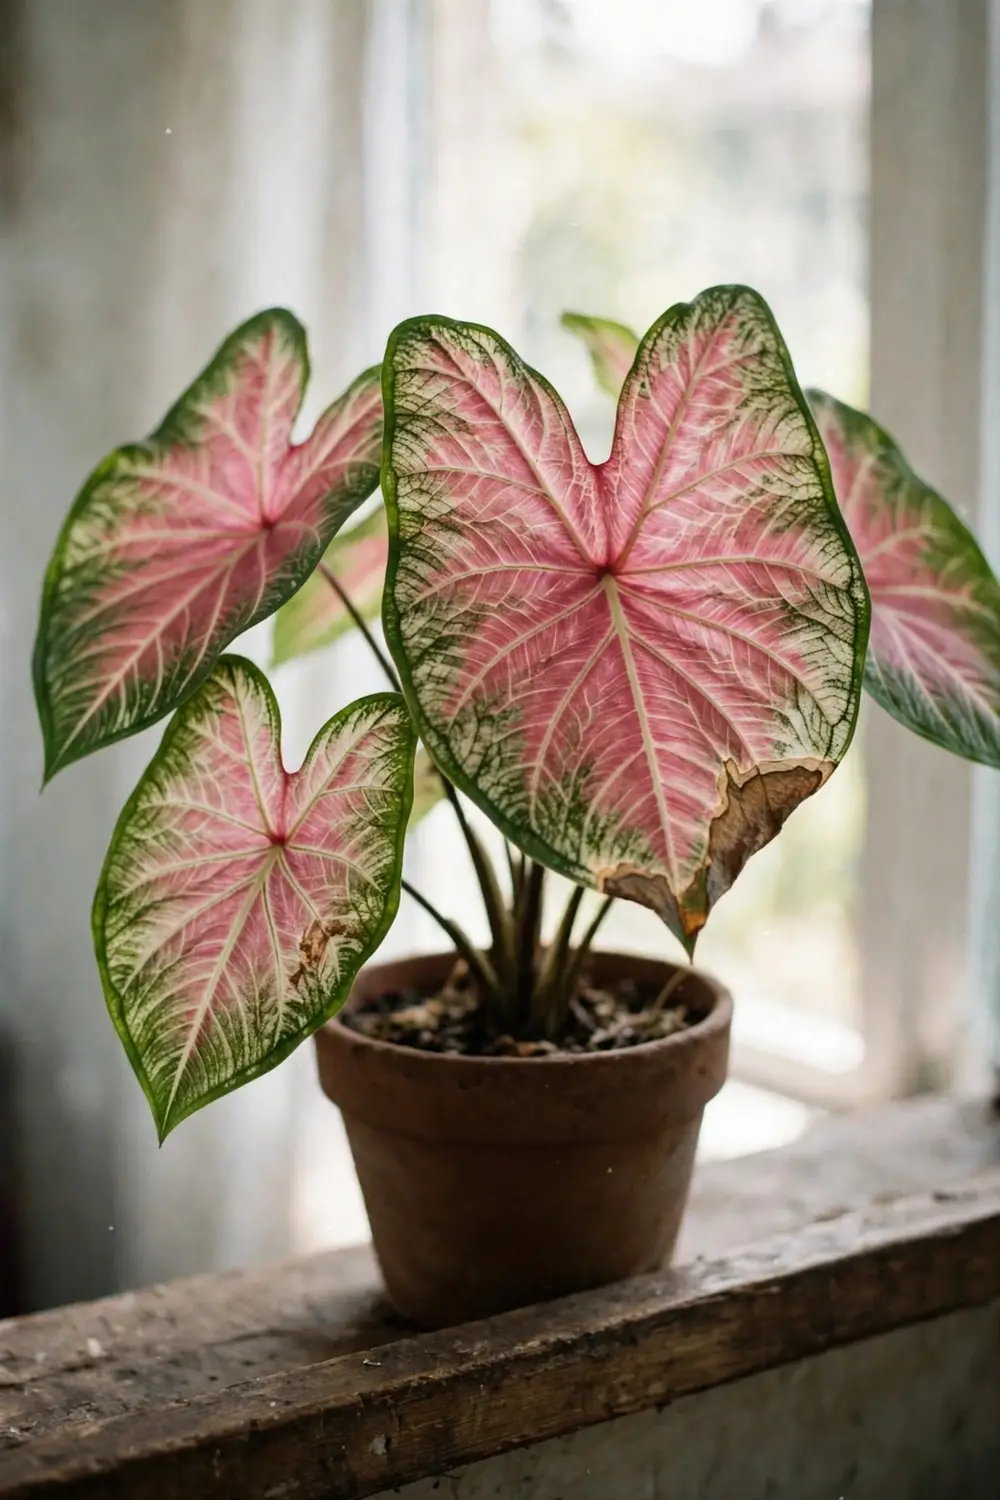

Give a caladium bright indirect light, water before the mix dries out, and feed every 2 weeks while leaves grow. That is how to keep caladiums colorful indoors. A caladium is a tropical foliage plant, genus Caladium, grown for its patterned leaves. Color comes from light and feeding, not from flowers.
I have learned that the caladium I move toward the window keeps its color, while the one I leave in dim light fades to green.
The rest of this page is 8 moves, from light to dormancy. The moves run in order: light, water, feeding, warmth, rest, repotting, flower removal, and weekly checks.
Caladium leaves carry patterns, not flowers. Leaves show prominently colored midribs, contrasting margins, and patterns including mottled, veined, and striped, in shades of green, white, pink, rose, and red. That pattern range comes from the University of Wisconsin-Madison Extension caladium guide. Light and feeding decide how sharp those patterns look. Weak light washes them out. Steady feeding keeps new leaves bold.
1. Give Bright Indirect Light for Full Color
Set the pot where light is bright and indirect, close to a window with no hot sun on the leaves. Bright indirect light gives the fullest color. Dim light gives smaller, paler leaves and a shorter season.
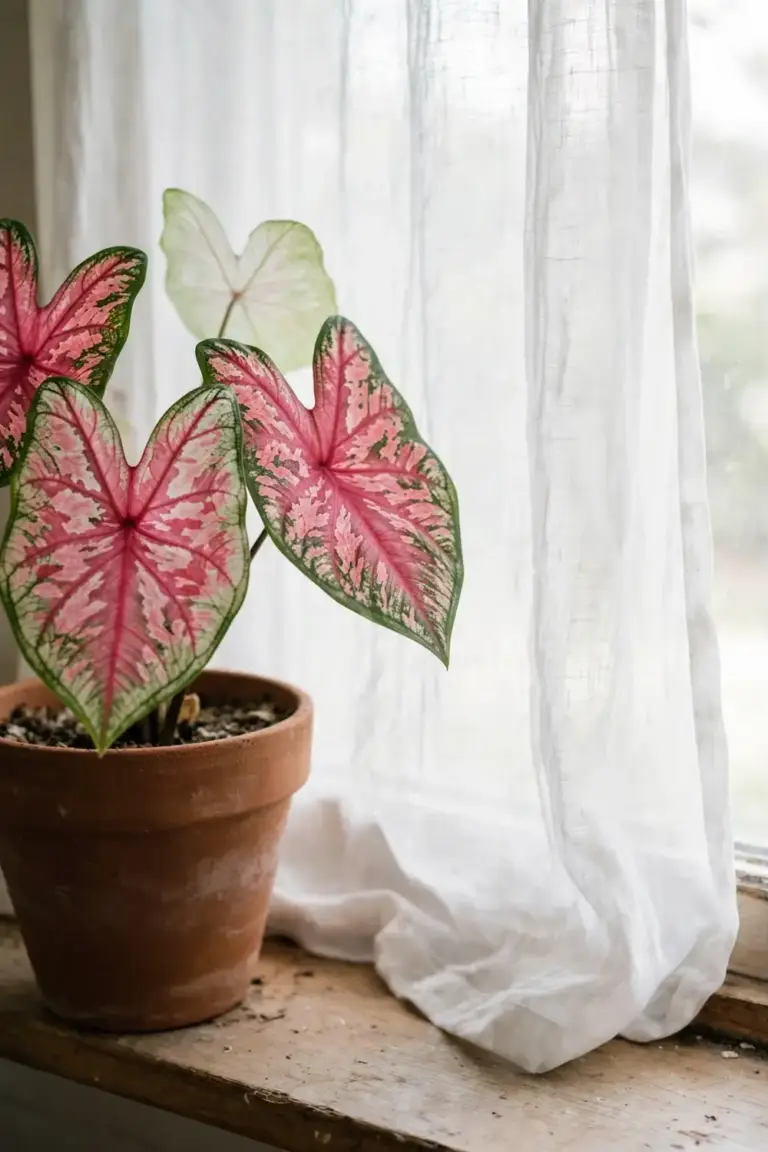
Caladiums grow best in partial shade, and full shade weakens vigor and color. That finding comes from the University of Wisconsin-Madison Extension caladium guide. Newer sun-tolerant types take more sun, while older types burn in direct sun and need the most sheltered window in the room. The Plant Runner indoor guide states the same light rule in color terms: bright indirect light gives the biggest leaves and strongest color, while medium light gives smaller, paler leaves and a shorter season.
Turn the pot a quarter turn each week so all sides face the window in turn. Leaves lean toward light, and a pot that never turns grows lopsided, with one side full and the other bare. A weekly turn keeps the plant even without moving it to a new spot.
If the brightest window still leaves new leaves pale, add a grow light. Hang it 30 cm above the leaves and run it 12 hours a day. A grow light fills the gap in a dim room and adds light a window cannot supply. Switch the light off at night so the plant rests in darkness.
Thin leaves scorch in hot afternoon sun. Keep the pot out of direct midday sun. A sheer curtain softens a harsh window, and a spot near an east-facing window works well for most types.
Pale leaves tell you the light is too weak, so move the pot closer to the window. Scorched edges tell you the sun is too strong, so move the pot back or add the curtain. Check the leaves after 7 days in the new spot, because new leaves show the change first while old leaves keep their old color.
Two leaf types behave differently in light. Fancy-leaved types carry large heart-shaped leaves on long stems and grow 12 to 30 inches (30.5 to 76.2 cm) tall. Strap-leaved types carry narrower, ruffle-edged leaves on short stems, stay under 12 inches (30.5 cm), and pack more leaves per tuber. That type split comes from the University of Wisconsin-Madison Extension caladium guide. Strap-leaved types scorch more easily, so they need the most sheltered window in the room.
2. Water for Even Moisture Without Soggy Mix
Water often enough that the mix stays evenly moist to the touch. The mix should feel damp, never saturated. A caladium drinks hard while it grows. A dry mix stalls growth. A soggy mix rots the tuber.
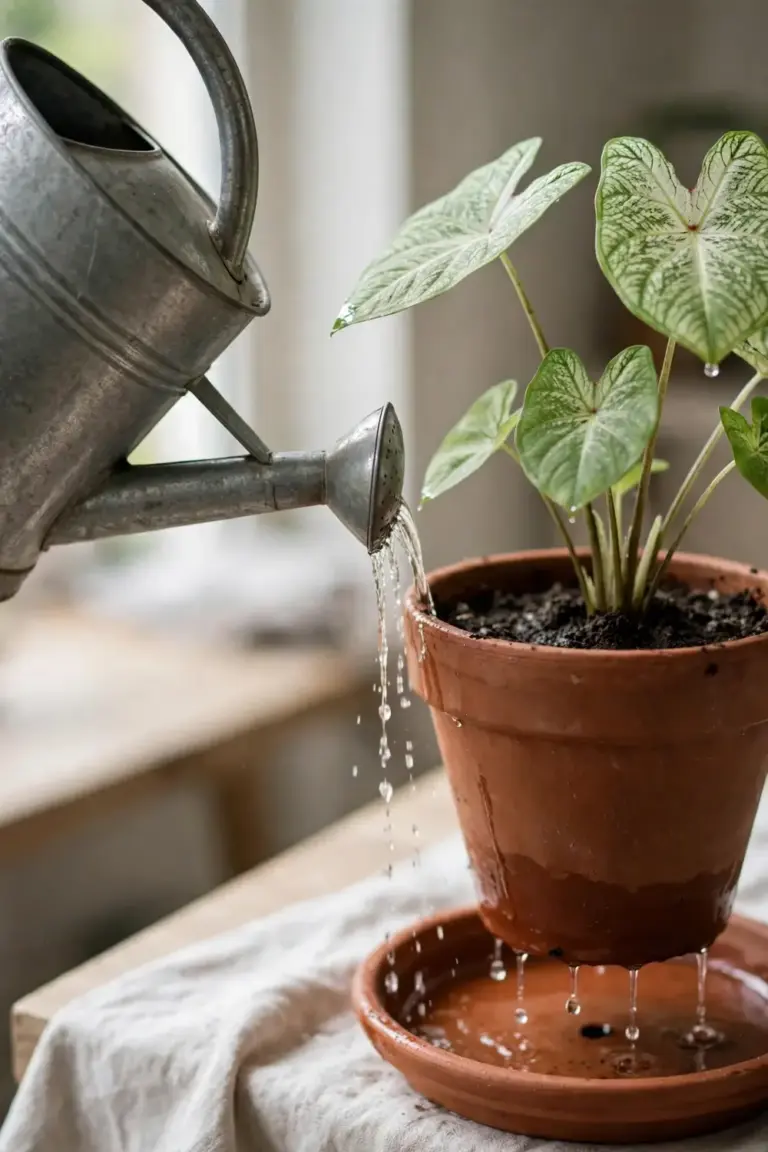
Caladiums rot when kept too wet, so the pot must drain freely. That rule comes from the Clemson Extension caladium fact sheet. Water frequently and thoroughly, then let excess water leave the pot. Empty the saucer after watering. Standing water in the saucer keeps the mix wet at the base.
Watering on a fixed calendar fails, because the mix dries at different speeds in different rooms. Push a finger 2.5 cm into the mix. Water when the top layer feels dry but the mix below still holds moisture. In warm rooms the mix dries faster, and in cool rooms it dries slower, so the finger test beats the calendar every time.
Pot material changes drying speed. A terracotta pot breathes and dries the mix faster, while a glazed or plastic pot holds moisture longer. Pick terracotta for a room that runs warm and humid, and pick plastic for a dry room where the mix dries too fast. Match the pot to the room, not to the shelf. Skip that pot. Use a pot with a hole and a saucer you can empty. A light, airy mix drains faster than a dense mix, and soil health starts with that drainage, because roots need air as much as water.
Caladiums prefer a moist, fertile, well-drained soil, so amend dense mixes with plenty of compost or other organic material. That soil guidance comes from the same Wisconsin Extension guide. In heavy soils, containers beat open ground, because a pot lets you control drainage. A mix that stays wet for days after watering is too dense, so repot into a lighter mix before rot starts.
Water with a slow pour. Pour until water runs from the drainage hole, wait 10 minutes, then empty the saucer. A slow pour wets the whole root ball instead of running down the dry sides of the pot. A fast pour leaves dry pockets in the middle, and roots in dry pockets die back.
Overwatering shows as yellow leaves and soft stems. Underwatering shows as drooping leaves with dry mix. Both look similar at first, so check the mix before acting, because wet mix with yellow leaves means stop watering, while dry mix with drooping leaves means water at once.
3. Feed Every 2 Weeks While Leaves Grow
Feed container caladiums every 2 weeks with a liquid soluble fertilizer while leaves grow. That schedule comes from the Clemson Extension caladium fact sheet. Feeding supports strong foliage growth. A starved caladium grows small leaves with weak color. The Plant Runner indoor guide feeds every second watering while leaves grow, which lands on a similar rhythm when the mix dries weekly.
Too much nitrogen shifts leaf color toward green. That warning comes from the University of Wisconsin-Madison Extension caladium guide. Caladiums are heavy feeders, so they need regular feeding during the growing season. Use a low-nitrogen or balanced formulation. A fertilizer too high in phosphorus also causes problems, so read the three numbers on the label.
Stop feeding when leaves start to die back, because a dormant tuber needs no food. Feeding a resting tuber wastes fertilizer and risks rot. Resume feeding when new growth appears in spring.
Fertilizer on leaves burns leaf edges. Wash any fertilizer off the leaves right after feeding. Clemson Extension warns that fertilizer touching leaves scorches them, so water the mix first, then feed, and a damp mix spreads the feed evenly while keeping granules off the foliage.
Read the three numbers on the fertilizer label. The first number is nitrogen, the second is phosphorus, and the third is potassium. A balanced label reads the same across all three numbers. A high middle number means high phosphorus, which caladiums do not need in excess. Pick a low-nitrogen or balanced label for steady color.
Flush the mix every 8 weeks. Pour plain water through the pot until it runs clear from the drainage hole, then empty the saucer. Flushing washes out fertilizer salts that build up in the mix. Salt buildup shows as white crust on the mix surface and brown leaf tips.
A slow-release fertilizer is a second option. Clemson Extension lists a 6-month time-release fertilizer as an alternative to liquid feeding. Apply it once at the start of the growing season, then stop feeding when leaves die back. A slow-release feed suits growers who forget the 2-week liquid schedule, and it keeps nutrients steady instead of spiky. Clemson Extension notes that starting with new tubers each year may give better results. A tuber that flowered hard or sat wet through winter puts up fewer leaves the next season. Judge each tuber at repotting time. Replace tubers that feel light, soft, or bud-free.
4. Keep the Room Warm and Humid at 70 Degrees Fahrenheit
Keep the room at 70 degrees Fahrenheit (21.1 degrees Celsius) or warmer while leaves grow. Caladiums are tropical plants. Cold soil slows growth and promotes tuber rot. A caladium does not grow well until temperatures turn warm.
That warmth rule comes from the University of Wisconsin-Madison Extension caladium guide. Caladiums do best when soil temperatures reach at least 70 degrees Fahrenheit. Planting in cold soil promotes corm rot. High soil temperatures reduce leaf coloration, so mulch helps keep soil temperature below 85 degrees Fahrenheit (29.4 degrees Celsius) in warm climates.
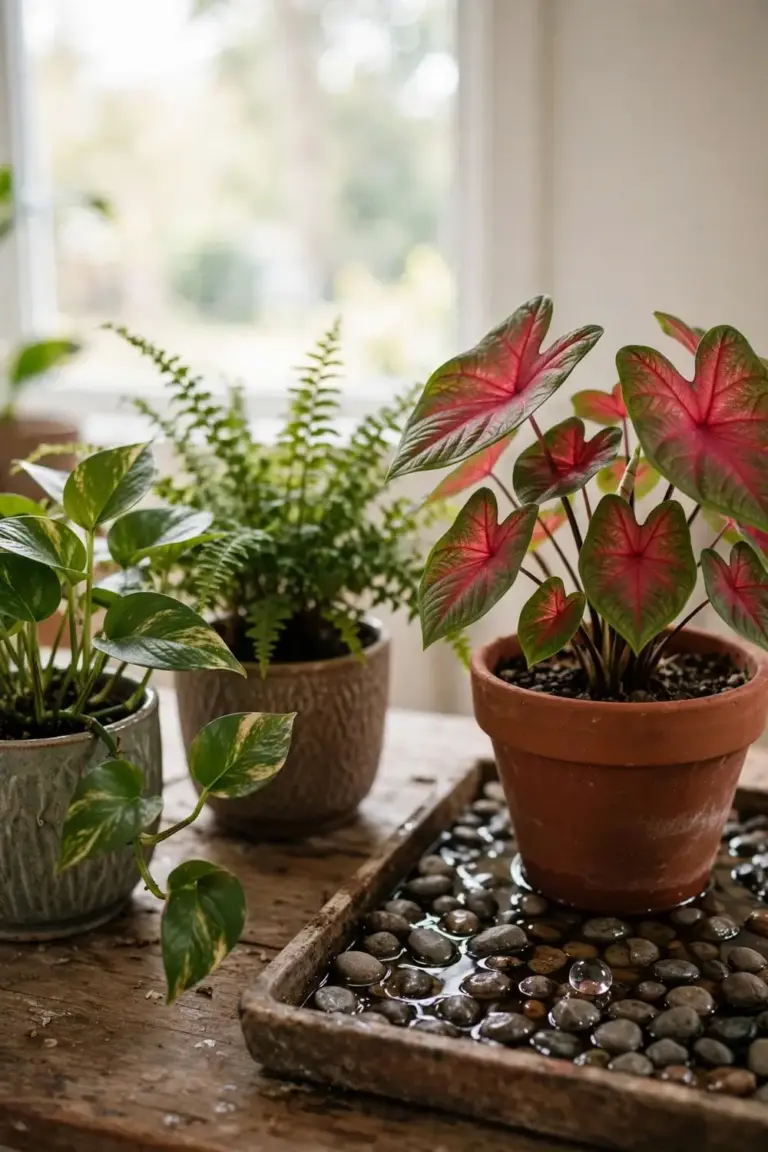
Give the plant lots of humidity. A caladium thrives in hot and humid conditions, and dry indoor air dries leaf edges. Group the pot with other plants to raise local humidity. A pebble tray with water under the pot adds moisture to the air. Keep the pot base above the waterline so the mix stays drained, and never let the pot sit in the tray water.
Cold drafts damage leaves. Keep the pot away from air-conditioning vents and cold windows. A sudden cold blast drops leaves, while a steady warm room keeps leaves up for months. A caladium near a drafty door shows the damage first on the leaves closest to the draft.
Set a small thermometer beside the pot. A glance tells you whether the room holds 70 degrees Fahrenheit (21.1 degrees Celsius) or has slipped below it. Night temperatures matter as much as day temperatures, because a room that cools hard at night stresses the plant even when days feel warm.
Keep the plant indoors year-round. Moving it outside exposes leaves to wind, sunburn, and pests, and a pot that goes out in summer must come back in before cold nights. A caladium that stays indoors keeps steady light, steady warmth, and steady color. Every number on this page applies to a plant that never leaves the room.
5. Rest the Tuber Dry for Up to 5 Months
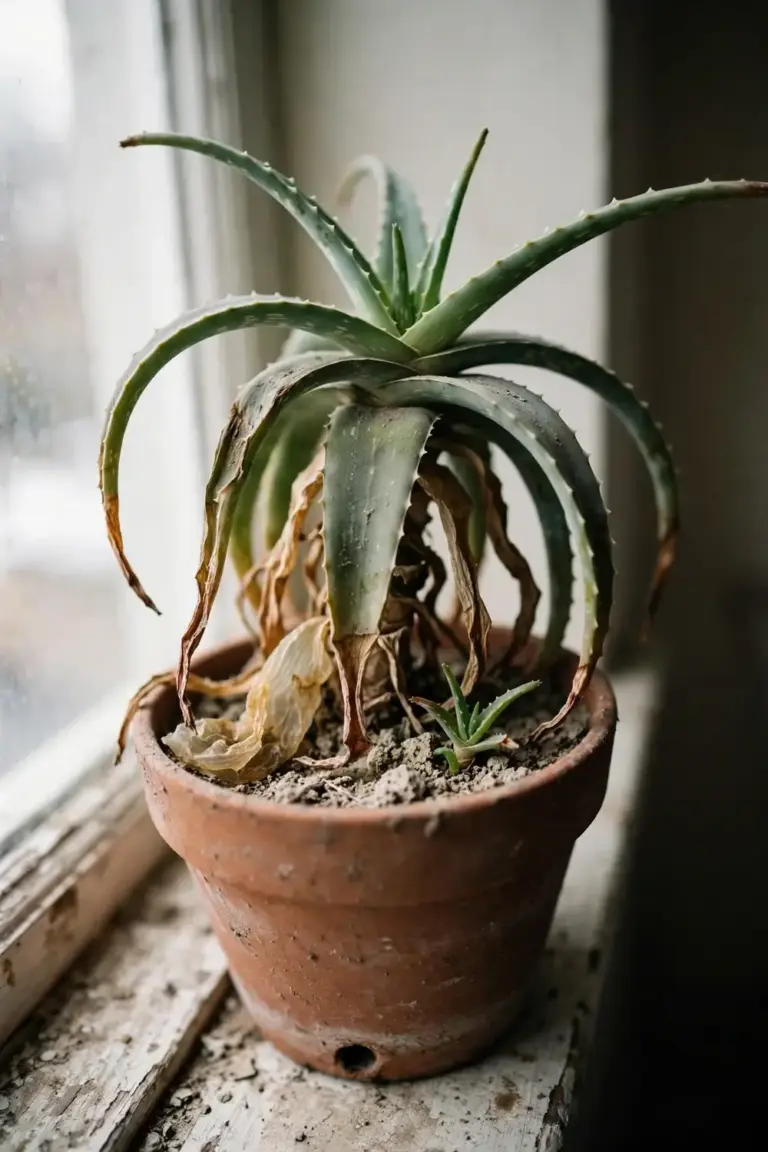
Expect dormancy. Even indoors, a caladium enters dormancy after a few months in leaf. Leaves yellow and fall. The pot looks empty. That is rest, not death. The tuber waits underground for warmth.
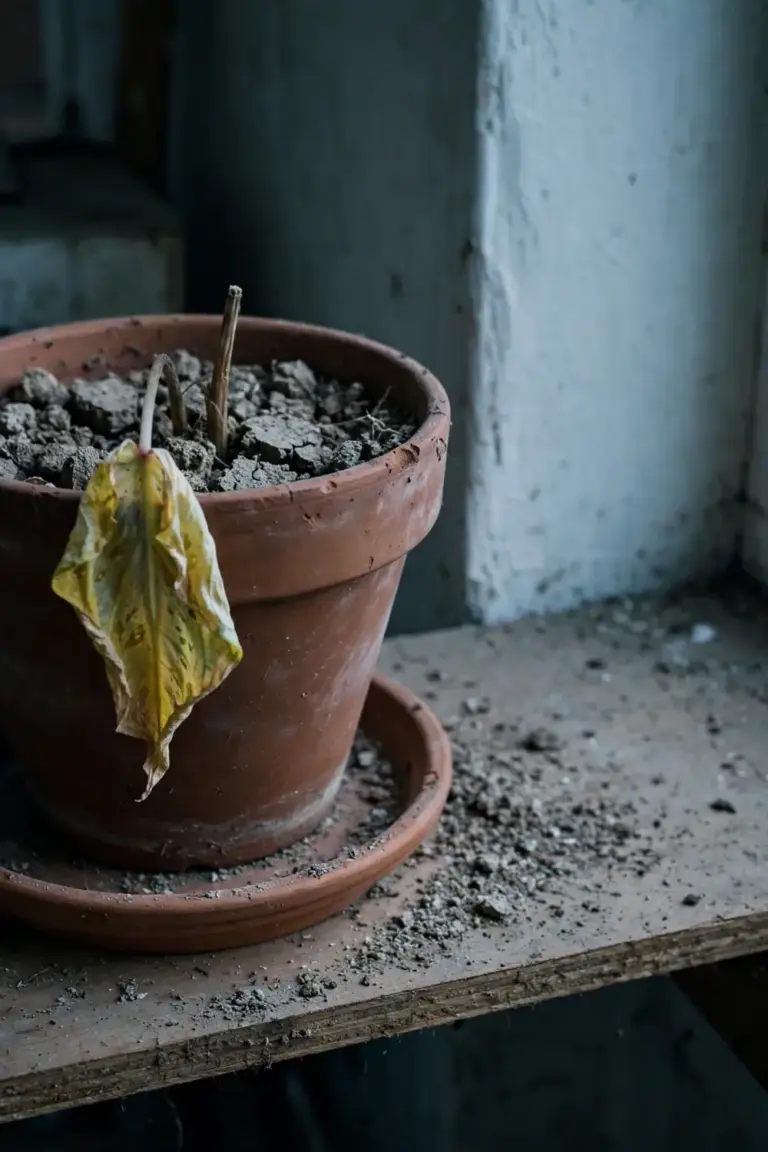
Stop watering when leaves start to die back, because a dormant tuber needs no water and watering it rots it. Allow the plant to rest. Resume watering once new growth starts, and increase water only as leaves expand.
Store the tuber dry for up to 5 months. Wisconsin Extension stores tubers in dry sphagnum moss or a mesh bag at 55 to 60 degrees Fahrenheit (12.8 to 15.6 degrees Celsius). Containers can stay indoors in their pots for winter. Let the growing medium dry out as leaves die back. The temperature should never fall below 55 degrees Fahrenheit (12.8 degrees Celsius).
Louisiana State University AgCenter gives a warmer storage figure. It keeps tubers indoors where temperatures stay 70 degrees Fahrenheit (21.1 degrees Celsius) or above. The two figures agree on the main point. Keep tubers dry and frost-free. Wet soil kills more tubers than cold air does. LSU AgCenter states that cold is less likely to kill tubers than wet soil. That storage guidance comes from the LSU AgCenter caladium storage guide.
Dry the tubers before storage. LSU AgCenter lets leaves dry for 10 to 14 days until they turn tan and papery. The foliage then separates cleanly from the tuber, leaving a healed scar. Throw out any tuber with soft spots or rot. Store healthy tubers in a breathable bag or box. Never seal tubers in a plastic bag or airtight container. Trapped moisture rots them.
Two storage methods both work. Lifted tubers go into dry peat moss, perlite, or vermiculite, with tubers kept apart so they do not touch. Potted tubers stay in their dry pots, undisturbed, until spring. Clemson Extension warns never to store caladium tubers in the refrigerator. A fridge is too cold and too damp, and it turns a resting tuber into a rotted one.
Check stored tubers once a month. Pick up each tuber and feel it. A firm tuber stays in storage. A soft tuber with dark spots goes in the bin, because rot spreads from one tuber to its neighbors. Label each bag or pot with the cultivar name so spring repotting does not mix types.
6. Repot in Fresh Mix When Growth Returns
Begin watering again when new growth appears in spring. That restart rule comes from the University of Wisconsin-Madison Extension caladium guide. New growth means the tuber woke up. Water lightly at first. Increase water as leaves expand.
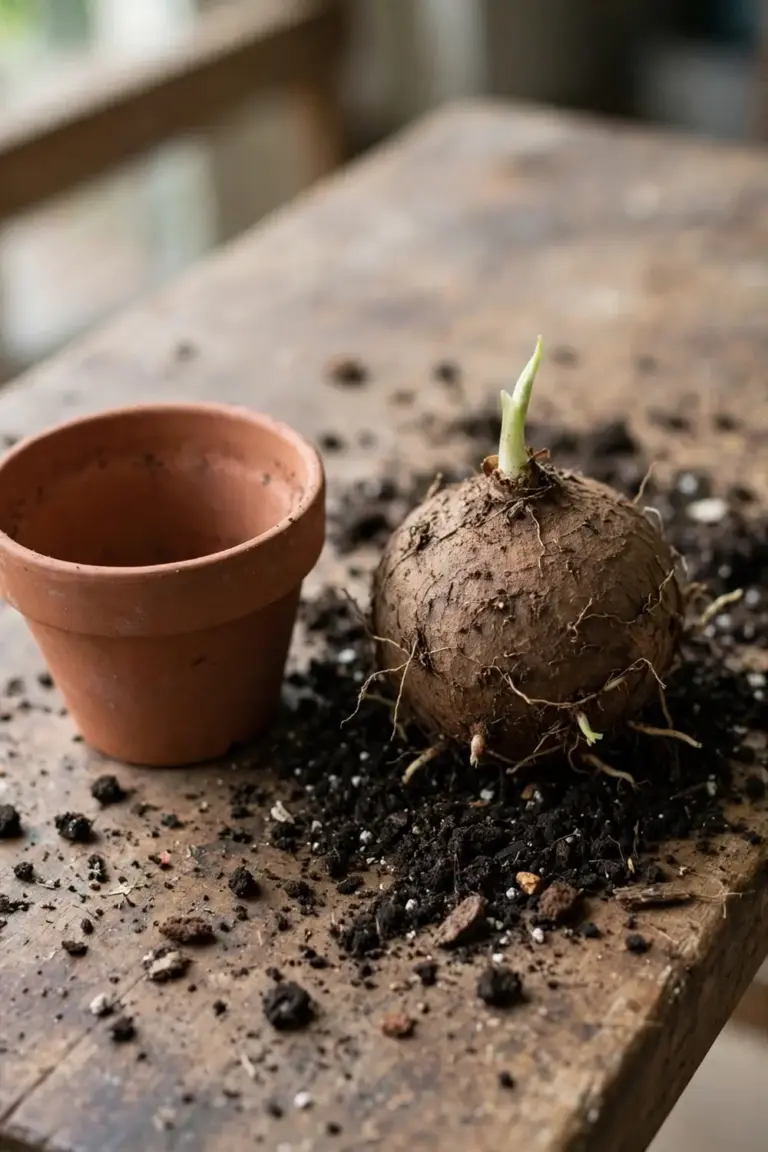
Repot the tuber in fresh mix at restart. Fresh mix drains better than last season’s mix, which compacts and holds too much water. Set the tuber 1.5 to 2 inches (3.8 to 5.1 cm) deep with the eyes pointing up. That depth comes from the Clemson Extension caladium fact sheet.
Do not repot mid-season while leaves grow strong. Repotting mid-season breaks roots and sets the plant back for weeks. Wait for dormancy or for the spring restart. A pot-bound caladium with roots circling the base can move up one pot size at restart.
Divide tubers in spring before potting them up. Cut tubers into pieces that each contain at least one eye or knob, then allow the cut pieces to dry for a few days to callous over before planting. That division method comes from Wisconsin Extension. A cut that goes straight into wet mix rots, while a calloused cut heals and sprouts.
Check the tuber before repotting. A firm tuber with buds is alive. A soft or mushy tuber is rotted, so discard it. A firm tuber with no buds may still sprout, so give it 4 weeks of warmth before discarding it.
Use a pot that fits the tuber with room for roots. An oversized pot holds wet mix around a small tuber, while a snug pot dries evenly. One tuber per small pot gives a full plant. Several tubers in one wide pot give a fuller display.
Bigger tubers grow stronger displays. The larger the tuber, the more leaf buds it carries, so bigger tubers produce more leaves. Each tuber has a large central bud surrounded by several small buds. Removing the central bud, called de-eyeing, lets the small buds grow and produce more, slightly smaller leaves. Cut about 3.2 to 6.4 mm into the tuber with the tip of a sharp knife, and take care not to injure the surrounding small buds.
7. Cut the Flower Spike to Keep Leaves Strong
Cut the flower spike when it appears. A caladium flower is a greenish spathe around a white spadix. It takes energy from the tuber. Removing it sends that energy to leaves and to a bigger tuber.
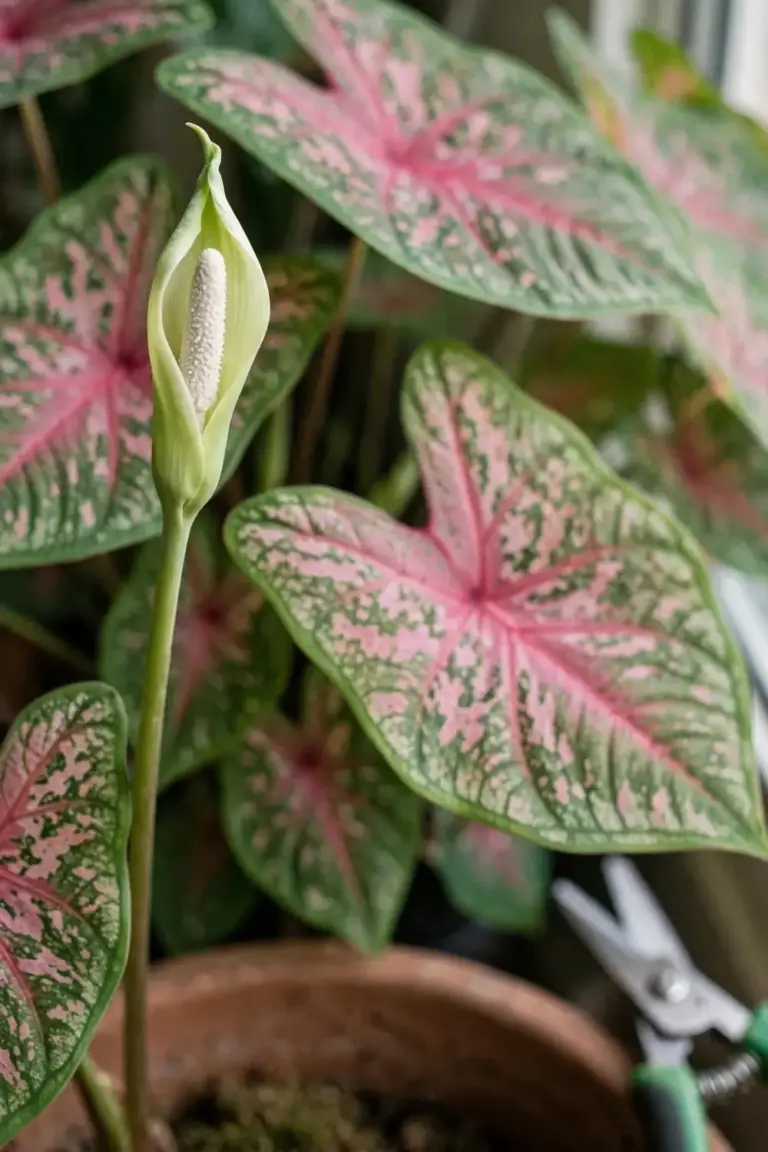
Most growers remove the inflorescence because it takes energy the plant would use to produce more leaves and a bigger tuber. That advice comes from the University of Wisconsin-Madison Extension caladium guide. Clemson Extension gives the same advice. Caladiums grow for their foliage, so remove the flower because it takes food away from leaf production and reduces tuber size.
Snip the spike at its base with clean shears. Cut close to the tuber without nicking nearby leaf stems. A clean cut heals fast, while a torn stem invites rot. Wipe the shears with rubbing alcohol between plants.
A caladium grown for leaves needs no pollination, because flowers add nothing to color and the leaves carry the whole show. Cutting the spike early saves the most energy, and a plant that never flowers keeps pushing leaves all season.
A caladium that flowers produces a single arum-type flower with a green or pinkish spathe around a short white spadix, followed by white berries with seeds. That flower description comes from Wisconsin Extension. The berries are not the point of the plant. Cut the spent flower before berries form so the tuber keeps its energy for next season.
8. Check Leaves Weekly for Pests and Burn
Check every leaf once a week. Look at the top and the underside. Pests hide on undersides. Burn starts at leaf edges. Catching both early saves the plant, and a weekly check takes 2 minutes per pot.
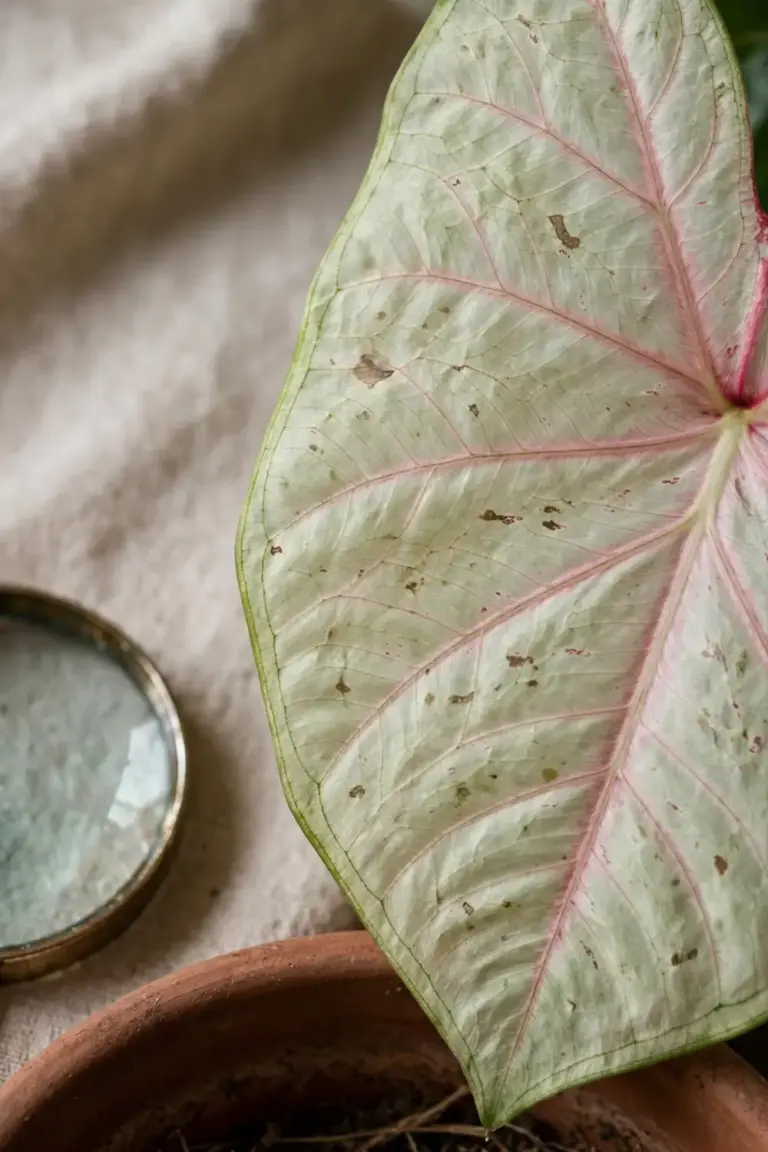
Caladiums have few pest problems. That finding comes from the University of Wisconsin-Madison Extension caladium guide. Tuber rot in storage or after planting usually occurs under cool conditions. Leaf burn or scorch typically occurs on strap-leaved types from too much sun, not enough water, or fertilizer sitting on the leaves.
Pests that attack caladiums include mealybugs, slugs, snails, caterpillars, mites, and grasshoppers. That pest list comes from the University of Florida IFAS Extension caladium profile. None are normally very serious. Tubers are susceptible to fungal diseases, so check stored tubers for soft spots before replanting. Remove a badly infested leaf at once. Treat the rest with insecticidal soap. Organic pest control for beginners covers soap sprays and inspection habits.
Leaf spot shows as light tan to brown spots on lower leaves. Clemson Extension advises removing and disposing of diseased leaves as they appear. Do not compost diseased leaves. Improve air flow around the pot, and keep water off the leaves when watering. Wet leaves invite spot fungi.
All parts of the plant are poisonous if enough is ingested, and handling the plant can cause skin irritation in sensitive individuals. That safety warning comes from Wisconsin Extension. Keep caladiums away from pets and children. Wear gloves when handling cut tubers.
Quarantine a new plant for 2 weeks before placing it beside other plants. A new plant can carry mealybugs or mites that spread fast indoors. Check the newcomer twice a week during quarantine. Move it into the group only after 2 clean weeks.
Use this table when a leaf looks wrong. Match the symptom, then act.
| Symptom | Likely Cause | First Move |
|---|---|---|
| Pale leaves, weak color | Light too weak | Move the pot closer to bright indirect light |
| Brown scorched edges | Too much direct sun or fertilizer on leaves | Move the pot back, wash leaves, rinse fertilizer off |
| Yellow leaves in season | Mix too wet or too cold | Let the mix dry, check drainage, warm the room |
| Yellow leaves in fall | Normal dormancy | Stop watering, let the plant rest |
| Drooping leaves | Mix too dry or room too hot | Water thoroughly, move the pot from heat |
| Spots on lower leaves | Leaf spot fungus | Remove diseased leaves, improve air flow |
| Sticky residue, tiny insects | Aphids or mealybugs | Wipe leaves, spray insecticidal soap |
Frequently Asked Questions
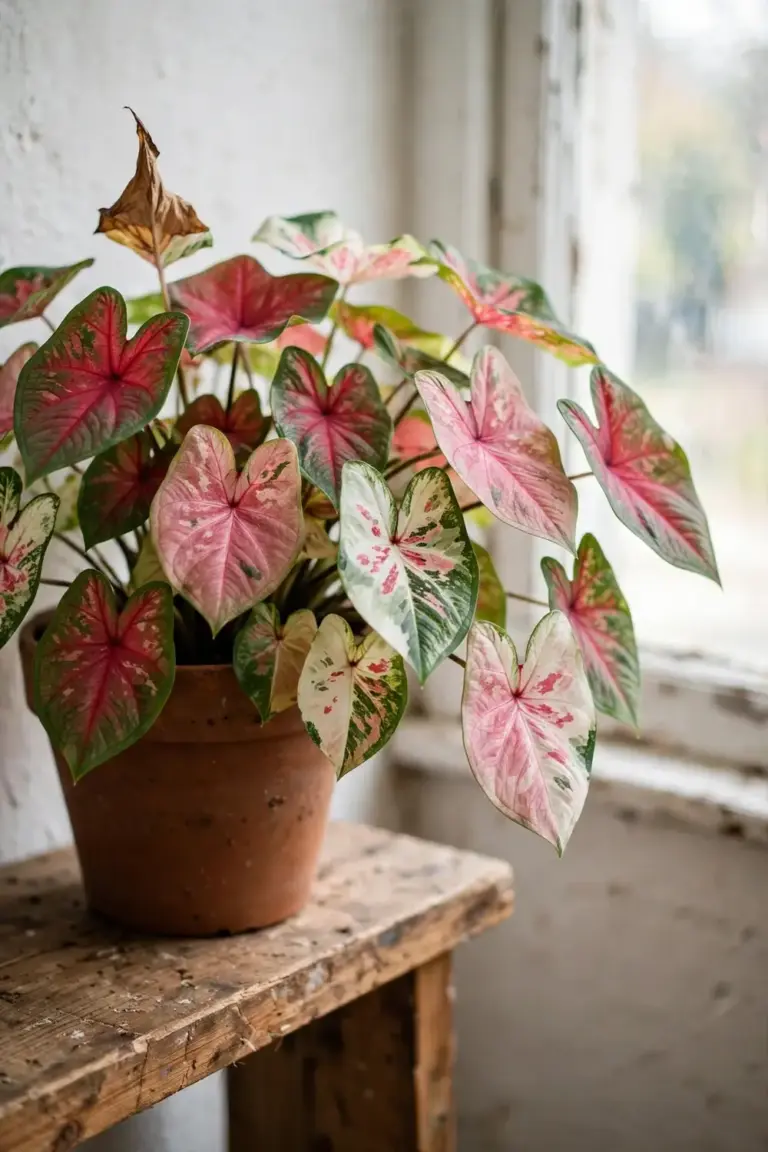
Pale leaves mean the light is too weak. A caladium in dim light grows smaller, paler leaves and drops them sooner. Move the pot closer to a bright window with indirect light. Give new leaves 2 weeks to show stronger color, because old leaves keep their pale color. If the pot already sits near a bright window, check feeding, since a starved plant also fades. Feed every 2 weeks while leaves grow.
Yellow leaves have two causes, and the season tells them apart. In the growing season, yellow leaves mean the mix is too wet or the room is too cold. Let the mix dry and warm the room. In fall, yellow leaves mean normal dormancy. Stop watering and let the plant rest. The tuber is alive underground. Watering a dormant tuber rots it, so hold water until new growth appears.
Dormancy lasts up to 5 months. Wisconsin Extension stores tubers in dry sphagnum moss or a mesh bag at 55 to 60 degrees Fahrenheit (12.8 to 15.6 degrees Celsius) for up to 5 months. Potted tubers can rest in their dry pots for the same period. Keep the pot dry and frost-free. Begin watering again when new growth appears. A tuber that stays dry through dormancy wakes up strong.
Caladiums survive in low light, but they lose color there. Full shade weakens vigor and color. A caladium in low light grows leggy leaves with washed-out patterns. Bright indirect light keeps patterns sharp. If the only window is dim, add a grow light. Grow lights for indoor gardens cover distance and hours. Keep the light 30 cm above the leaves and run it 12 hours a day.
Yes. All parts of the plant are poisonous if enough is ingested, and handling can irritate sensitive skin. Keep caladiums out of reach of cats and dogs. A pet that chews a leaf may drool, paw at its mouth, or vomit. Move the plant to a high shelf or a closed room. Wear gloves when cutting tubers or removing leaves. Wash hands after handling the plant.
Start With Light and Water This Week
Move the pot to bright indirect light today, check the mix with a finger, and water when the top 2.5 cm feels dry. Feed every 2 weeks while leaves grow. Stop feeding and watering when leaves die back, and rest the tuber dry through dormancy, because that rhythm keeps caladiums colorful indoors year after year. A caladium that rests dry through dormancy wakes up strong, and the first new leaf in spring tells you the rhythm works.