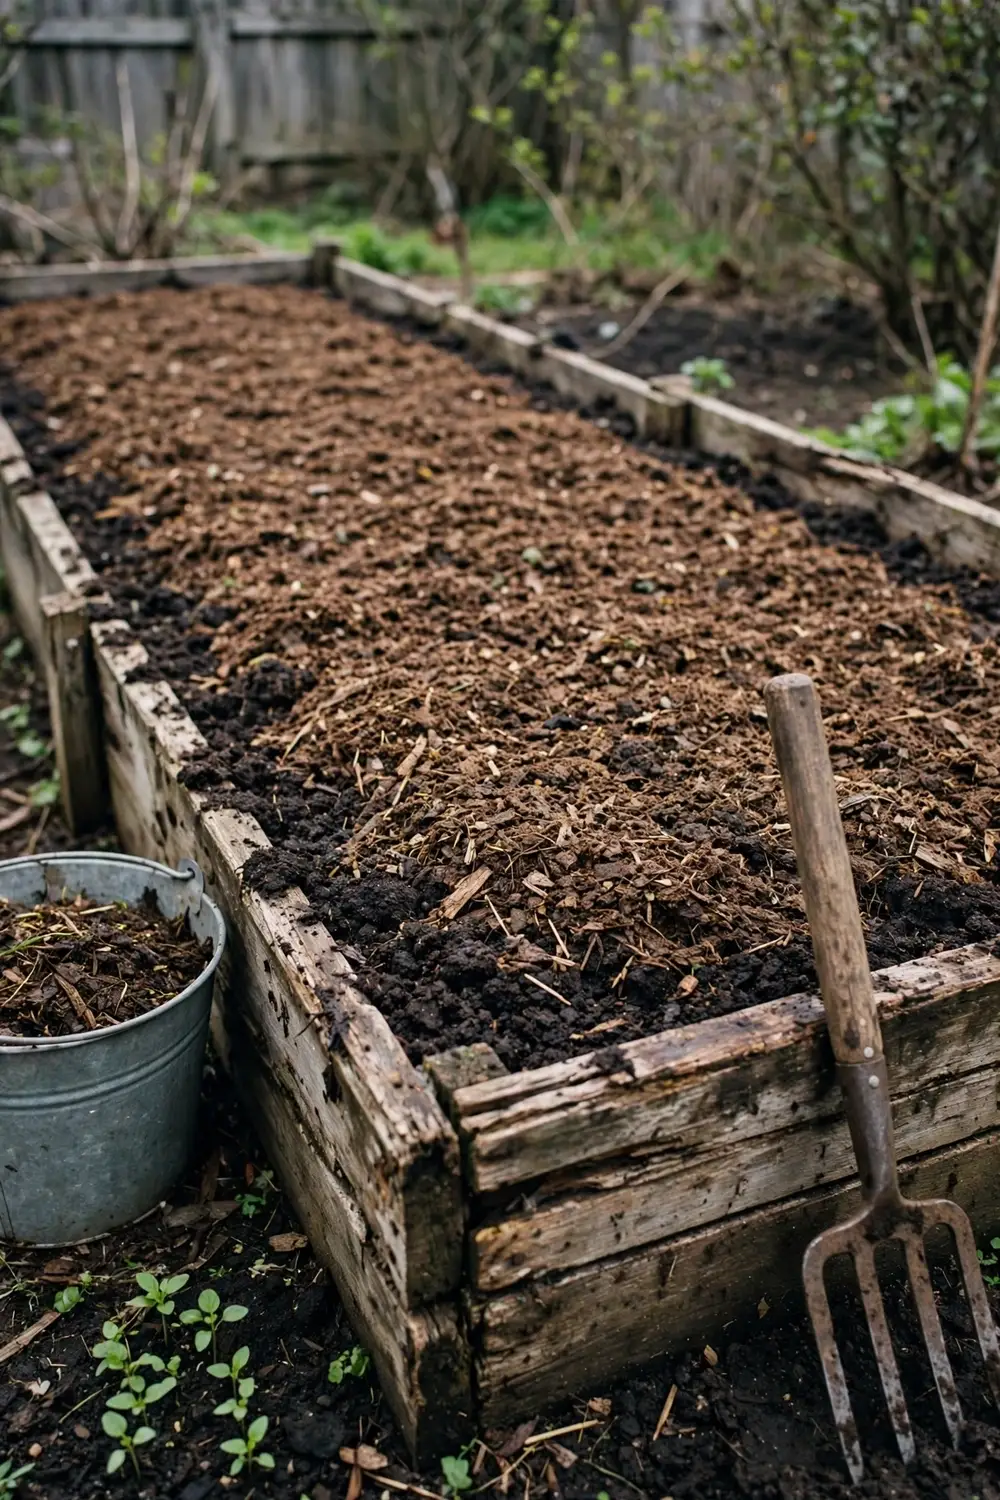

Old veggie soil does not need a new bag of mix. It needs a repair built on 3 checks. Here is how to revitalize old veggie soil in Australia. Test the soil first, loosen it without destroying its structure, add the amendment the test calls for, mulch, rest the bed, and rotate the next crop. A bed repaired this way in autumn grows strong spring crops.
Old veggie soil is soil that has grown vegetables for three or more seasons. Revitalize means restore structure, nutrients, and biology. Structure lets roots and water move. Nutrients feed the crop. Biology breaks down organic matter and keeps nutrients cycling.
The rest of this page runs the repair in order, from the three checks to the decision to replace the soil. A bed that drains slowly, grows pale leaves, or dries out a day after watering usually shows all three problems at once. The checks in the next section separate them.
1. Test Before You Fix: Run 3 Checks First
Test before you fix. Three checks tell you what the bed needs: a squeeze test for structure, a pH test for acidity, and a drainage test for water movement. Each check takes minutes and costs almost nothing.
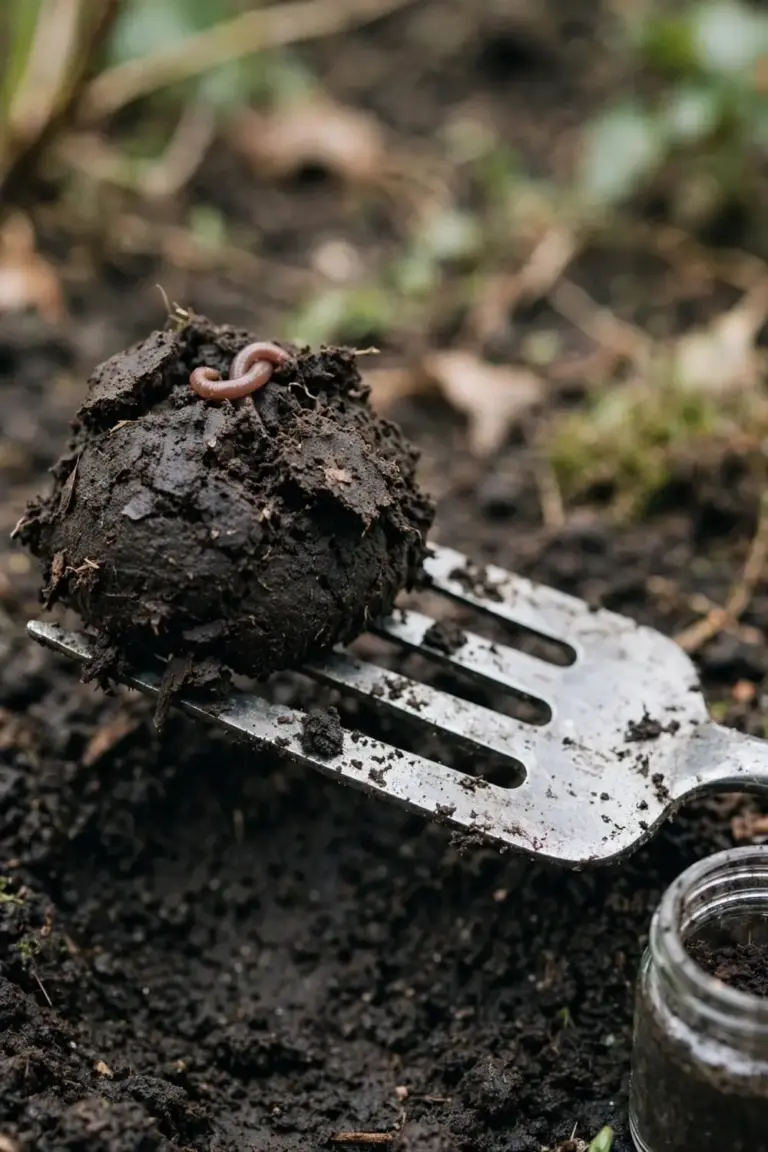
Start with the squeeze test. Take a handful of moist soil from 10 cm down and squeeze it. Good soil holds together when you open your hand, then crumbles when you poke it. Soil that stays in a hard lump is compacted clay. Soil that falls apart at once is sand with no organic matter. Soil that feels greasy and smells sour is waterlogged and short of air. Write down what you see. The squeeze test sets the amendment choice later.
Run the pH test next. A lab test gives the most accurate number, and a home kit gives a screening number that is good enough to start. Take samples 10 to 15 cm deep from four or five places in the bed, mix them in a bucket, and send the blend to the lab, as the University of Georgia soil testing guide recommends. Most garden crops grow best at a pH between 6.2 and 6.8, according to the same guide. Below that band, nutrients lock up and fertilizer stops helping. Above it, iron and manganese go short and leaves yellow between the veins.
Finish with the drainage test. Dig a hole 30 cm deep and 30 cm wide. Fill it with water and let it drain. Fill it again and time the second drain. A bed that drops 2 to 3 cm per hour drains well. A bed that still holds water after four hours has a compaction layer or a clay pan. A bed that empties in minutes is sand that needs organic matter, not more water. Check the bed against the soil health guide before you buy a single bag of amendment.
Read the test results before you buy anything. A bed with high phosphorus and low nitrogen has had years of manure and compost with no balancing crop. A bed with low everything has had years of harvest with nothing returned. A white crust on the surface means salt build-up from fertilizer or bore water. Each pattern points to a different amendment. The table in the next section matches the amendment to the problem.
Retest the bed after one season. The second test shows whether the amendments moved the numbers. A pH that barely moved needs another lime application. Nutrients that jumped too high mean the next season gets compost only.
2. Loosen the Bed Without Destroying Its Structure
Loosen the bed with a fork, not a rotary hoe. Push a garden fork into the soil to its full depth, then rock it back and forth. Lift the soil without turning it over. Work across the bed in rows, one fork width apart, until every row has had a pass. The fork breaks compaction and opens air channels. It leaves the soil layers in place.
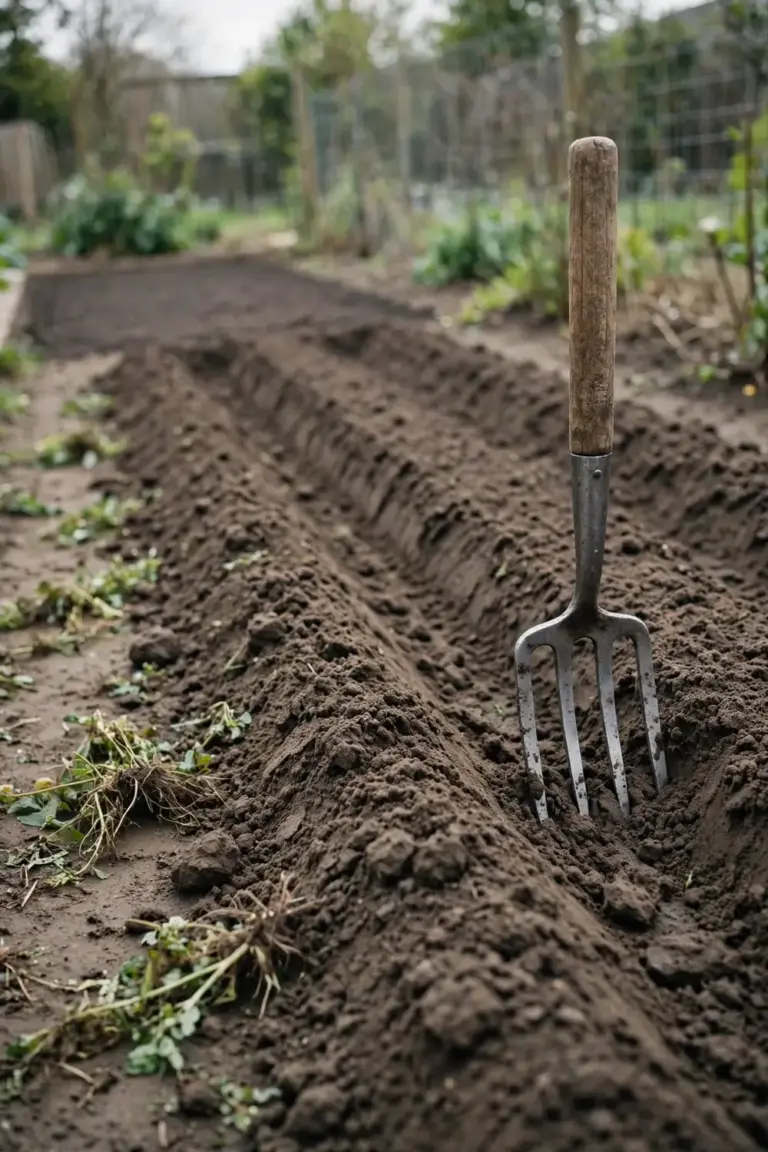
Turning the soil over does the opposite. A rotary hoe or a deep dig flips the biology upside down, so fungi that lived near the surface land in the dark and weed seeds buried deep come up to the light. The soil looks fluffy for a week. Then it settles harder than before. Deep digging has a place when a bed is new. An old veggie bed needs air, not inversion.
No-dig loosening works when the bed is already soft. Lay 5 to 8 cm of compost on the surface and let worms pull it down. Broadfork once if the fork test still shows a hard layer, and skip the fork entirely if the soil already crumbles. Test the result after rain. Push the fork in. It should slide to full depth with one hand. If it stops at 10 cm, the compaction layer is still there.
Hard clay needs patience. Dry clay breaks forks and laughs at broadforks. Water the bed the evening before you fork it. The water softens the top 10 cm overnight. Fork the softened layer, then water again and fork deeper the next day. Two shallow passes beat one forced pass. A mattock opens a first slot in ground too hard for a fork. Use it to start the row, then switch to the fork.
Time the repair for autumn. March to May gives the bed months to settle before spring planting. The soil is warm, worms are active, and rain keeps the amendments damp. A spring repair works too, but the bed has less time to settle before crops go in. Repair in summer only if the bed is empty, because heat dries the amendments before biology can use them.
3. Amend With the Right Material for the Problem
Amend for the problem the test found. Compost fixes most old beds. Manure adds nitrogen. Gypsum opens clay soils and adds calcium without changing pH. Coco coir holds water in sand. Blood and bone feeds hungry crops. No single amendment fixes every bed, and adding all of them at once wastes money and risks salt build-up.
| Amendment | What It Fixes | How Much | When |
|---|---|---|---|
| Mature compost | Structure, nutrients, biology | 7.6 to 10.2 cm for a new bed; 0.6 to 2.5 cm a year for an existing bed | Autumn repair, or two weeks before planting |
| Aged cow manure | Nitrogen and organic matter | A thin layer worked into the top 20 to 30 cm | Autumn, well before harvest |
| Gypsum | Clay structure and calcium | Bag label rate | Autumn or spring, watered in |
| Blood and bone | Slow nitrogen and phosphorus | Bag label rate | At planting, or as a side dressing |
| Coco coir | Water holding in sandy soil | Mix into the top 20 cm until the soil holds a squeeze | At repair time |
| Worm castings | Biology and gentle nutrients | A thin layer around plants | Any time |
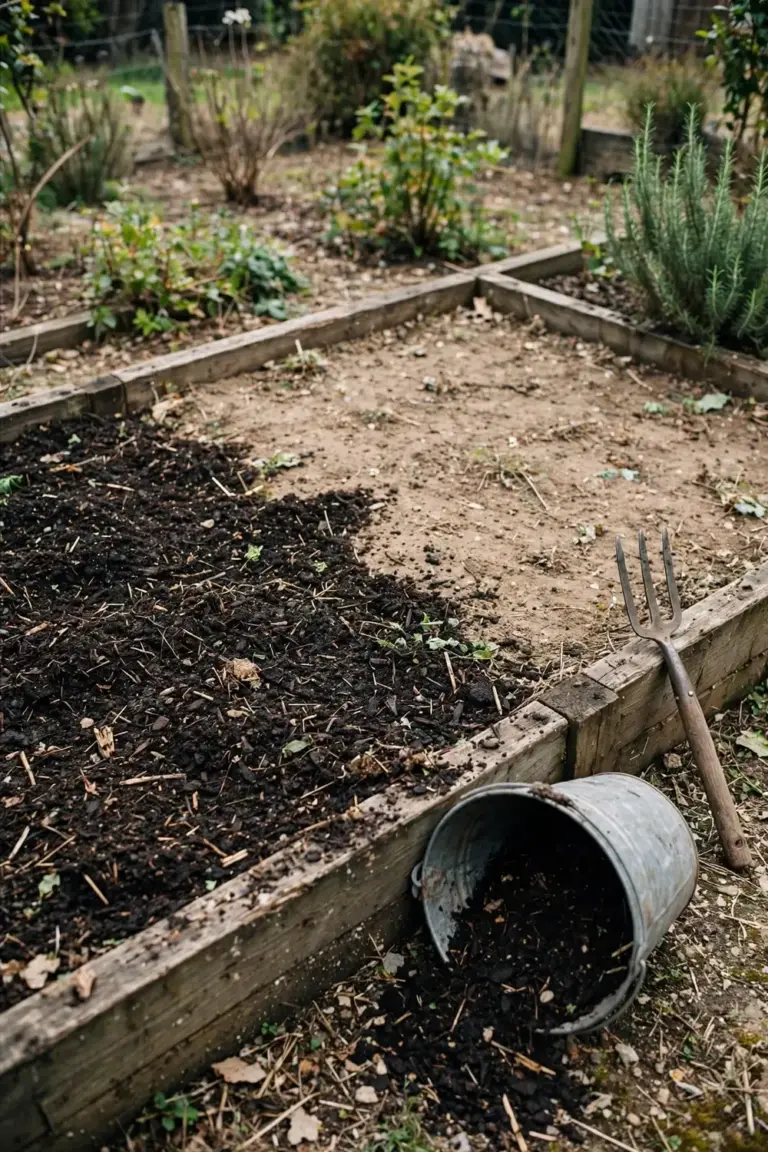
Compost is the first amendment for most beds. For a new vegetable bed, Oregon State Extension recommends 7.6 to 10.2 cm of compost worked into the top 20 to 30 cm. For an existing bed, the same guide recommends 0.6 to 2.5 cm per year. Work the compost into the top 20 to 30 cm with the fork. Surface compost feeds weeds. Buried compost feeds roots.
I have learned that the compost I work into the top 20 cm feeds the bed longer than the compost I leave sitting on the surface.
Manure needs a waiting period before harvest. The University of New Hampshire manure guidelines say to wait at least 120 days after applying raw or aged manure before harvesting crops that grow in or near the soil, and at least 90 days for other crops. Never use cat, dog, or pig manure in a vegetable garden, the same guidelines say. Those manures carry parasites that infect people. Use aged cow, sheep, or horse manure, and buy it bagged from a supplier who states the source on the label.
Gypsum helps clay soils form crumbs. It adds calcium without changing pH. Spread it at the bag label rate, water it in, and let it work over weeks. Gypsum does not fix sand, and it does not fix a bed that is short of organic matter. Pair it with compost on clay beds. Blood and bone is a slow-release feed for hungry crops such as tomatoes, corn, and leafy greens. It smells, and dogs dig for it, so water it in and cover it with mulch. Coco coir holds water in sandy soil, so mix it into the top 20 cm until a squeezed handful holds together. Worm castings add biology and gentle nutrients. A thin layer around plants feeds the soil food web without burning roots.
Mushroom compost suits acid beds. It carries lime from the mushroom growing process, so it lifts pH a little while it adds organic matter. Skip it on alkaline beds. Dynamic lifter is pelletised chicken manure, a common Australian shelf product. It feeds nitrogen slowly and smells less than fresh manure. Treat it like any manure: work it in, water it, and respect the waiting period before harvest. Watch for salt build-up when you use manure year after year. A white crust on the surface and leaf edges that brown in summer heat are the signs. Back off the manure, add compost instead, and water deeply once to wash salts below the root zone.
Sandy soils in Western Australia and coastal zones turn water repellent. Water beads on the surface and runs off instead of soaking in. The cause is waxy coatings from decomposed leaves and fungi. A wetting agent breaks the coating. Buy a wetting agent from the nursery, apply it at the label rate, and water the bed deeply the same day. Compost helps over time. Mulch keeps the surface damp so the coating does not reform.
Handle bagged mixes with care. New South Wales Health advises gardeners to wet down potting mix before use, wear gloves and a P2 mask, and wash hands after handling it. The risk is Legionella longbeachae, a bacterium found in soil and potting mix. Open bags outdoors with scissors. Dampen the mix before you spread it. Keep the dust down.
4. Mulch the Surface and Leave It Alone
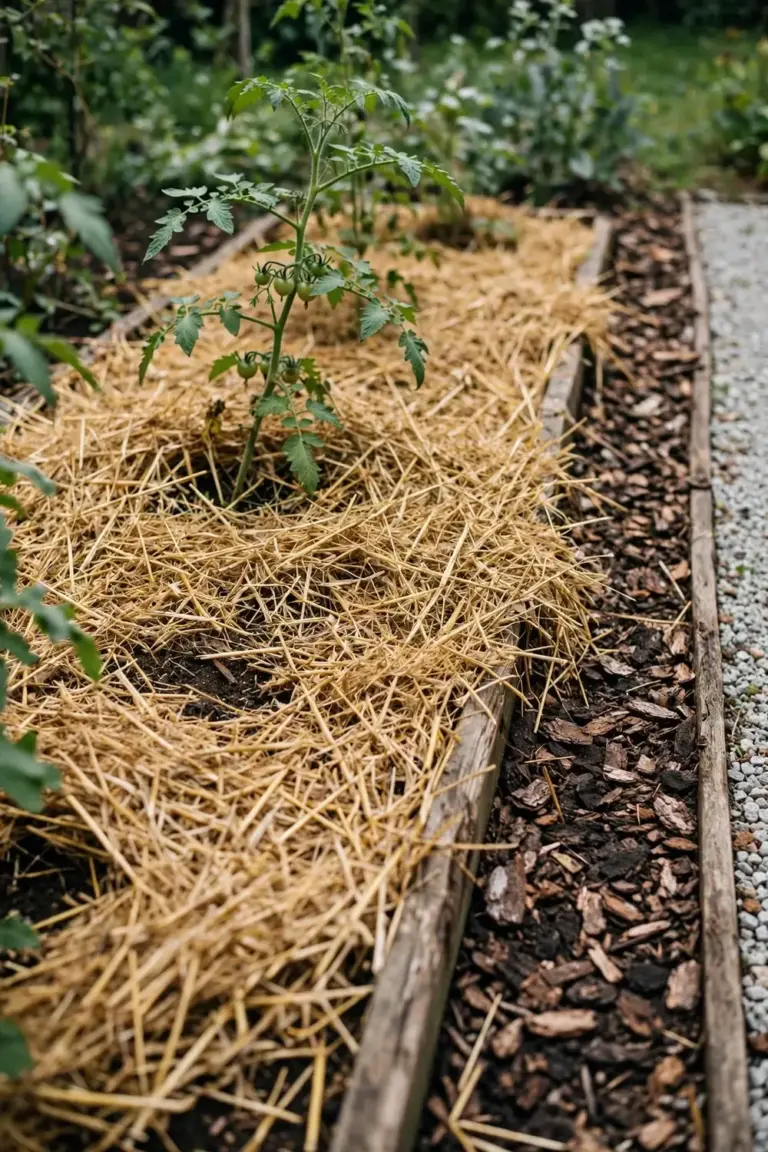
Mulch the bed after amending. Spread 5 to 8 cm of mulch over the whole bed. Keep the mulch 5 cm clear of stems and trunks. Sugar-cane mulch suits veggie beds. It breaks down fast and feeds the soil. Straw works the same way. Wood chips suit paths and perennial beds, not veggie beds, because they tie up nitrogen while they break down.
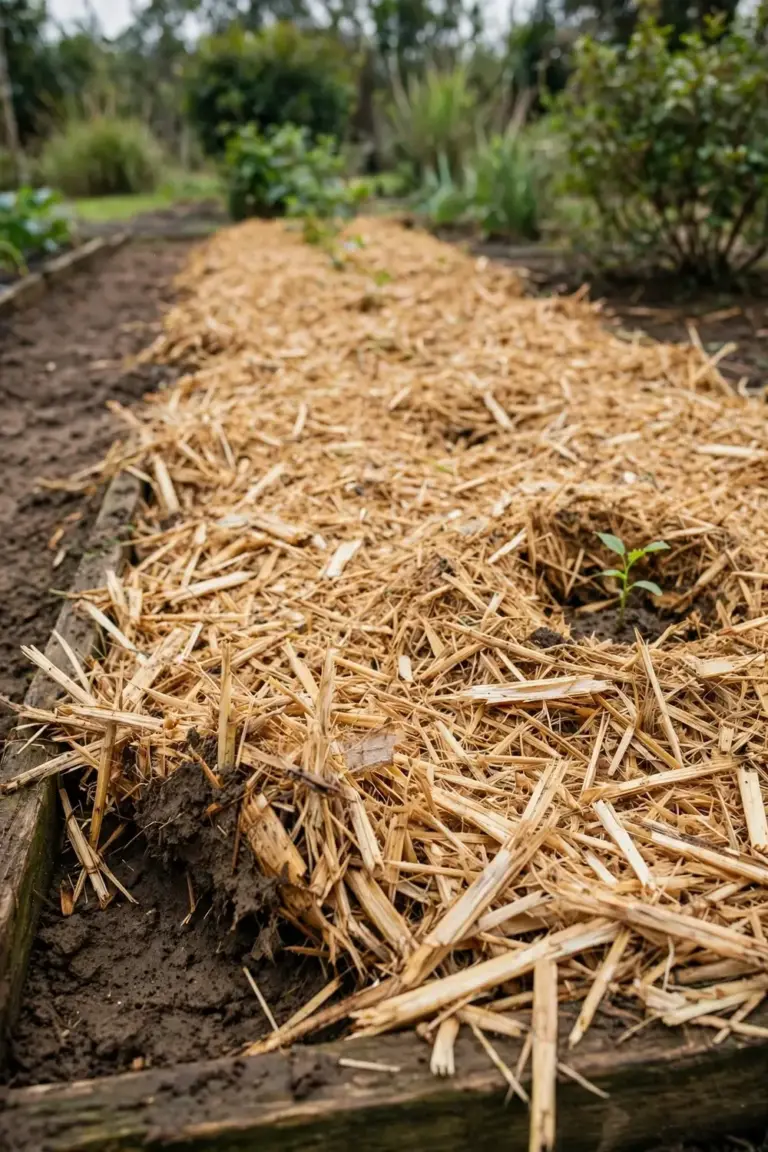
Mulch does three jobs. It holds moisture in the soil. It keeps the soil cool in summer and warm in winter. It stops weed seeds from reaching light. A mulched bed needs less watering and less weeding. An unmulched bed dries out, crusts over, and grows weeds between crops.
Leave the mulch alone after spreading it. Do not rake it aside every week to check the soil. Lift one corner once a month. The soil underneath should be dark, damp, and full of worms. Top up the mulch when it thins below 3 cm. When the bed is mulched, run the fall garden bed prep checklist for the rest of the autumn jobs.
Skip mulch on a bed you plan to sow within two weeks. Seeds need warm soil and light. Mulch cools the surface and blocks light. Sow first, let the seedlings reach 10 cm, then mulch around them. Direct-sown carrots and parsnips stay unmulched until the seedlings show.
Pick the mulch for the bed. Sugar-cane mulch breaks down in weeks and suits veggie beds. Straw does the same job and costs less. Leaf mulch from shredded autumn leaves is free and feeds fungi. Wood chips last months, but they tie up nitrogen while they break down, so keep them on paths and perennial beds. Pea straw carries nitrogen and suits hungry crops. Whatever mulch you pick, keep it 5 cm clear of stems. Mulch piled against a stem holds moisture on the bark and rots it.
5. Rest the Bed With a Cover Crop or a Fallow
Rest the bed after a heavy season. A cover crop is a living rest. A fallow is an empty rest. Both rebuild the bed. A cover crop rebuilds faster because roots feed the biology while the bed rests.
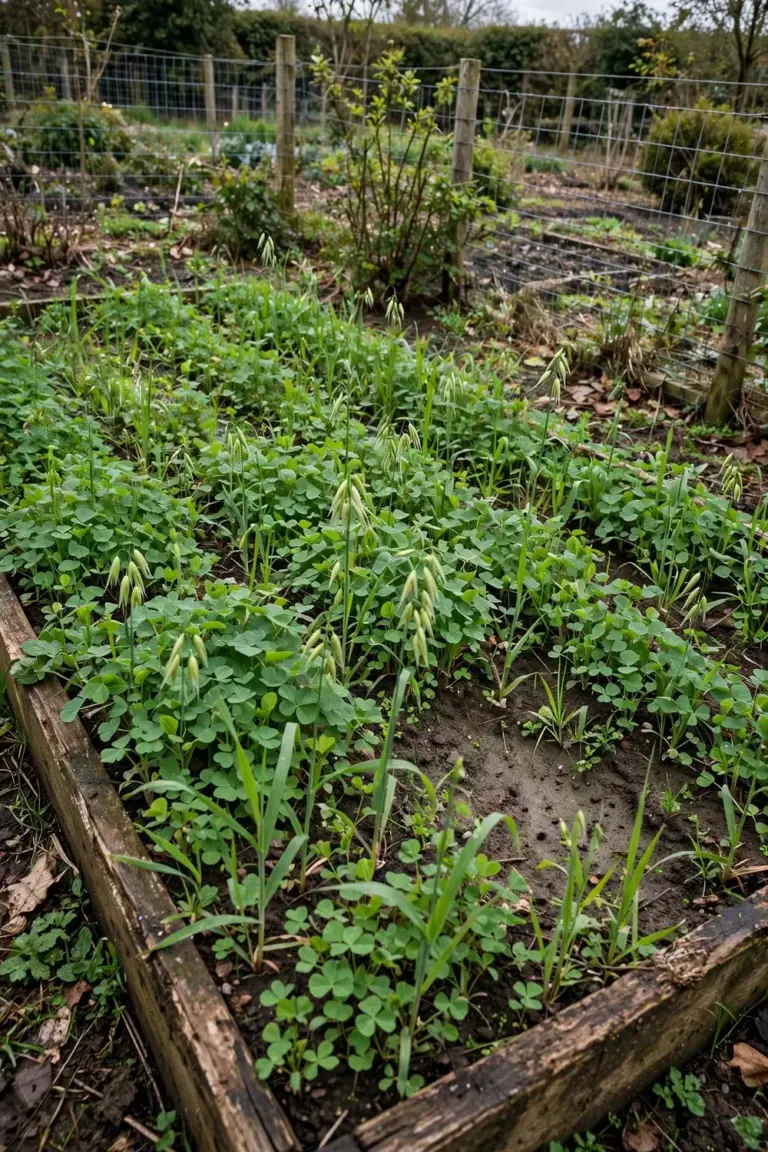
Sow a cover crop when the bed comes out of production. Legumes such as field peas and broad beans fix nitrogen. Grasses such as oats and ryegrass build root mass and hold the soil. Mustard breaks up compaction with a deep taproot. Cut the cover crop before it sets seed. Leave the cut growth on the surface as mulch, or dig it into the top 10 cm two weeks before planting. Pick the cover crop for your bed from the cover crops for fall planting guide.
A green manure is a cover crop you dig in. A cover crop you cut and leave on the surface is mulch. Both rest the bed. Digging in feeds the soil faster. Leaving the cut growth on top feeds the surface and holds moisture. Pick the method that fits the season. Dig in when rain is coming. Leave on top when the soil is dry. Clear the bed, water it, and leave it bare for six to eight weeks. Weeds germinate in the bare soil. Pull them before they set seed. The bed rests, the weed seed bank drops, and the soil biology resets. A fallow that grows weeds and lets them seed is worse than no fallow. Pull on schedule.
Solarisation suits a summer fallow in hot climates. Clear plastic over moist soil for four to six weeks in summer heat pasteurises the top layer. The UC IPM solarization guide says the top layers reach 140 degrees Fahrenheit (60 degrees Celsius) when done right. That heat kills weed seeds, nematodes, and many soil pathogens. It also kills some beneficial organisms, so follow solarisation with compost and a cover crop. Solarisation needs strong summer sun. It does not work in shade or in winter.
Sow the cover crop thick enough to shade the soil. Scatter the seed by hand, rake it in lightly, and water it in. The seedlings should cover the bed within three weeks. If bare patches stay bare, scatter more seed into the gaps. Cut the crop before it flowers and sets seed, because a cover crop that seeds itself becomes next season’s weed. In cool climates, sow oats and field peas in autumn. In warm climates, sow cowpeas and millet in spring. Match the cover crop to the season the bed rests, and cut it before it sets seed.
6. Rotate the Next Crop, Not Just the Bed
Rotate the next crop by family. Do not plant the same family in the same bed two seasons in a row. Learn the five families. Tomatoes, potatoes, capsicums, and eggplants belong to one. Cabbages, broccoli, cauliflower, and kale belong to another. Beans and peas form a third, onions and garlic a fourth, and carrots, parsnips, and parsley a fifth.
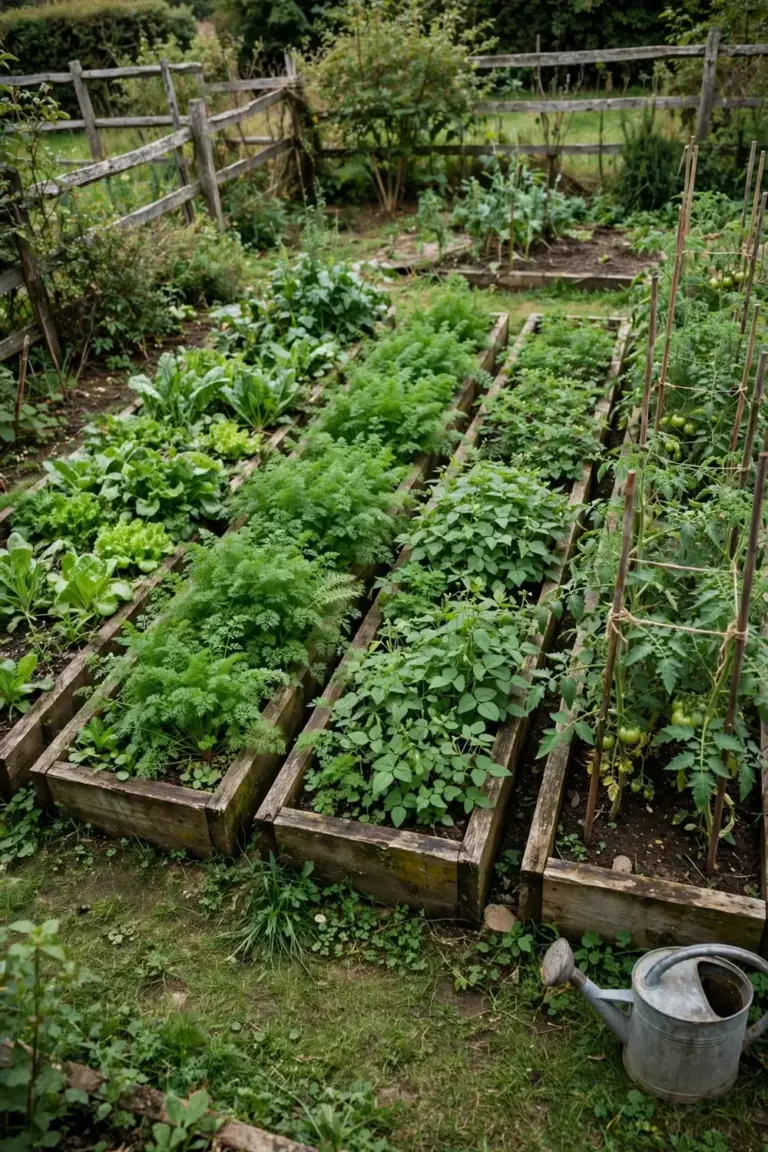
Rotation breaks pest and disease cycles. Soil pathogens build up when one family stays in one bed. A tomato bed that grows tomatoes every year collects wilt fungi and nematodes. A tomato bed that grows beans, then leafy greens, then carrots, then tomatoes again gives those pathogens nothing to feed on for three seasons. The pathogens die back over three seasons without a host. The next tomato crop grows clean.
Rotation also balances nutrients. Leafy greens take nitrogen fast and show it in pale leaves. Root crops take phosphorus and potassium. Legumes give nitrogen back. A bed that grows leafy greens, then root crops, then legumes, then fruiting crops uses the soil evenly, while a bed that grows leafy greens every season drains nitrogen and leaves the rest untouched. Choose the next crop from the fall vegetables to plant list so the rotation fits the season.
Run the rotation across four beds. The table shows one full cycle across four beds and four seasons. Move each family one bed forward every season.
| Season | Bed A | Bed B | Bed C | Bed D |
|---|---|---|---|---|
| Season 1 | Leafy greens | Root crops | Legumes | Fruiting crops |
| Season 2 | Root crops | Legumes | Fruiting crops | Leafy greens |
| Season 3 | Legumes | Fruiting crops | Leafy greens | Root crops |
| Season 4 | Fruiting crops | Leafy greens | Root crops | Legumes |
One bed holds one family each season. The families move one bed forward every season. After four seasons, each family returns to its first bed. A single bed runs the same cycle in time: leafy greens, then root crops, then legumes, then fruiting crops, then back to leafy greens.
7. Replace the Soil When Repair Costs More Than a Fresh Start
Replace the soil when repair costs more than a fresh start. Repair wins for most beds. Replacement wins for three cases: soil that carries a persistent disease, soil that holds heavy contamination, and soil in a pot or raised bed that has collapsed to dust.
Disease carryover is the first case. A bed that grows clubroot in brassicas, or fusarium wilt in tomatoes, holds the pathogen for years. Amending does not remove it. Solarisation helps, but a bad infestation needs a fresh start. Remove the top 20 cm, dispose of it in the green bin, and refill with clean mix. Do not compost diseased soil. Home compost piles do not run hot enough to kill soil pathogens.
Contamination is the second case. Soil near an old painted fence, a treated timber edge, or a fuel spill can hold lead, arsenic, or hydrocarbons. A lab test confirms it. Do not grow food in contaminated soil. Remove it, line the bed, and refill with clean mix. A soil test costs less than a season of worry.
Ask the lab for a heavy metals screen when the bed sits near old paint, treated timber, or a driveway. The screen names lead, arsenic, cadmium, and zinc. A result above the garden guideline means no food crops in that soil. Grow ornamentals there, or remove the soil and refill. Keep the lab report. It settles the question for every future season.
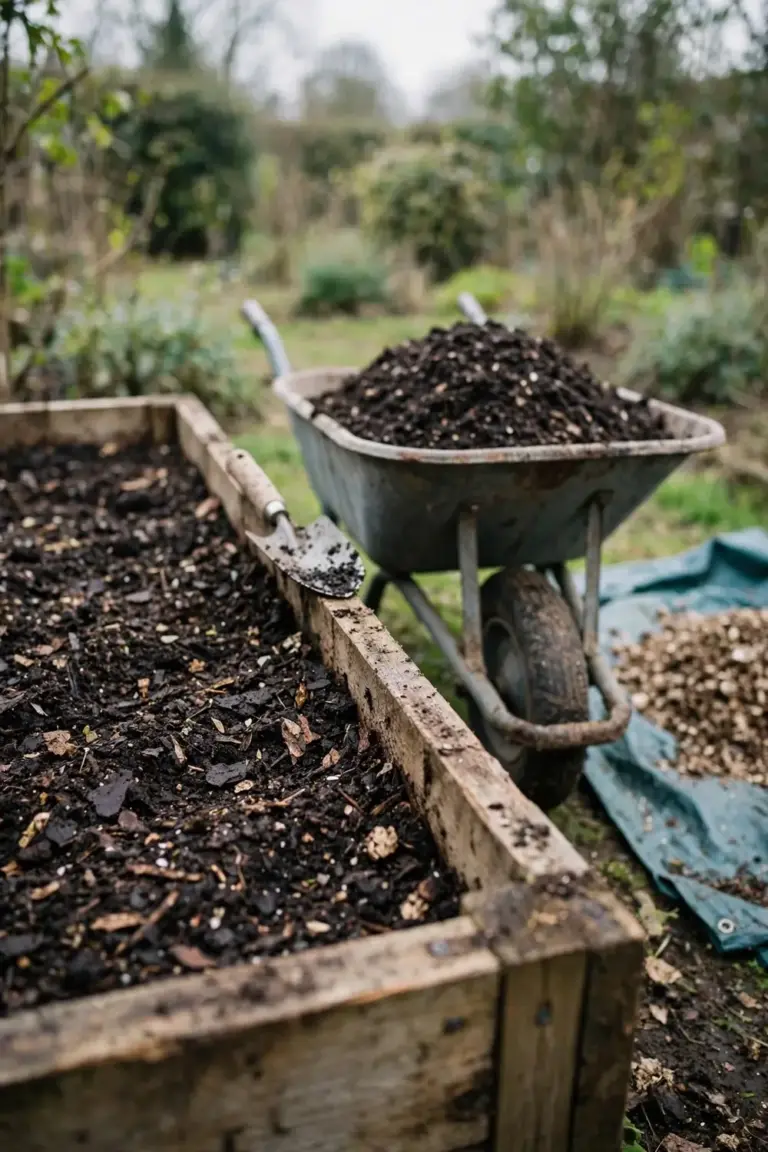
Collapsed mix is the third case. Potting mix in pots and raised beds breaks down over time. It turns to fine dust, holds water at the bottom, and dries to a brick on top. Forking does not restore it. Tip the pot out, mix the old material into the compost heap at a low ratio, and refill with fresh mix. A raised bed that has sunk by a third needs a top-up, not a full replacement. Add fresh mix to the original level and work it into the top 10 cm.
Refill in layers. Lay 5 cm of coarse material such as straw at the base for drainage. Add clean mix in 10 cm layers, watering each layer as you go. Leave 3 cm of headroom at the top for mulch. Water the refilled bed deeply and let it settle for a week before planting. The level drops as the mix settles. Top it up once, then mulch and plant.
Frequently Asked Questions About Old Veggie Soil
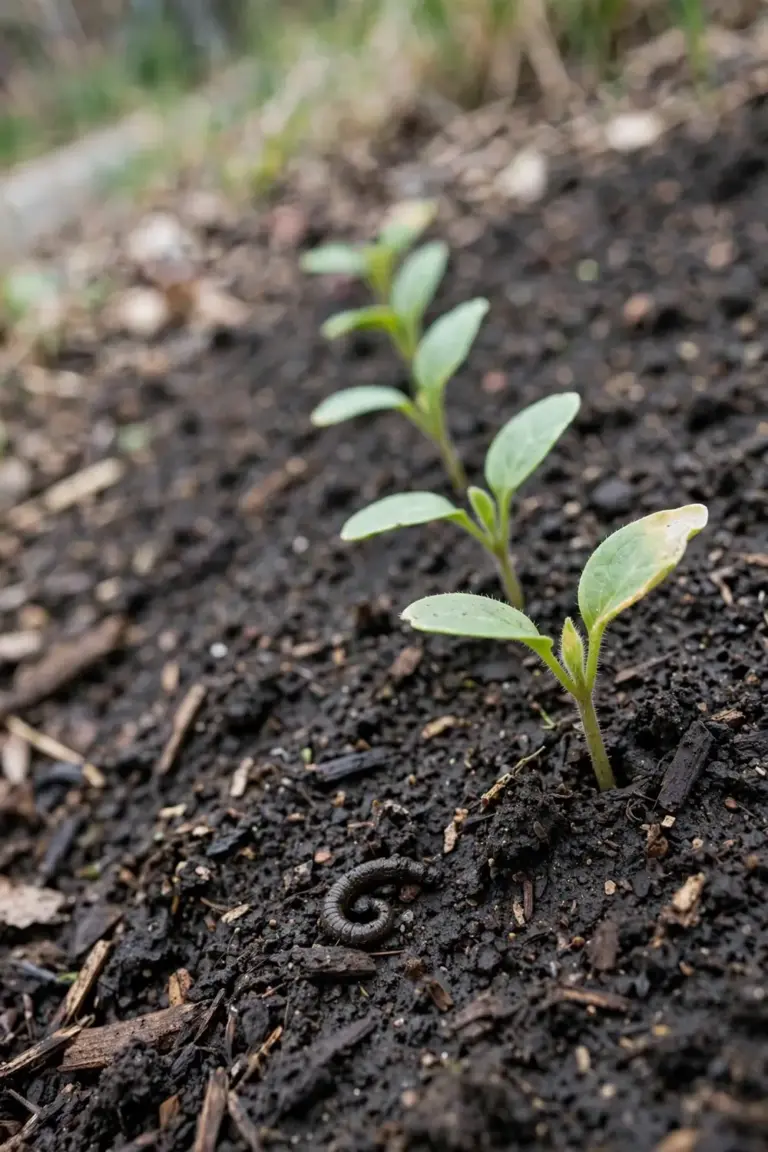
Structure improves within weeks of loosening and amending. Water moves better after the first rain, and the bed holds moisture a day longer than before. Biology builds over seasons. Worms and fungi need months to colonise the new organic matter. Expect a visibly better bed in one season and a fully rebuilt bed in two to three seasons. Do not chase instant results with heavy fertilizer.
Yes, and the repair still works, but the test removes the guesswork. Without a test, compost and mulch fix most beds. The test earns its cost when the bed keeps failing after compost, when leaves yellow in a pattern, or when you plan to add lime or manure. A home kit screens pH and nutrients. A lab test gives exact numbers and a recommendation.
Repair it first. Top up a sunken bed with fresh mix and work it into the top 10 cm. Replace the soil only when disease carryover, contamination, or collapsed mix makes repair pointless. A raised bed that has dropped by a third needs a top-up. A raised bed that smells sour and drains nowhere needs a full change.
No. Fresh manure burns roots and carries pathogens. Use aged manure, and keep the waiting period. Wait at least 120 days before harvesting crops that grow in or near the soil, and at least 90 days for other crops. Never use cat, dog, or pig manure in a vegetable garden. Wash all vegetables before eating them.
Compost and worm castings allow planting at once. Manure needs its waiting period. Lime needs two to three months to shift pH. Gypsum needs water and weeks. Plant into compost-amended soil right away, and schedule lime and manure for the autumn repair so the bed is ready for spring planting.
How to Revitalize Old Veggie Soil in Australia: Start With the Test
Test the soil first. Loosen with a fork. Amend for the problem the test found. Mulch, rest, and rotate. The bed that gets this repair in autumn grows strong spring crops. The bed that gets another bag of fertilizer on top of compacted soil grows the same weak crops again. Start with the test. The test tells you what the bed needs, and the bed tells you whether the repair worked.
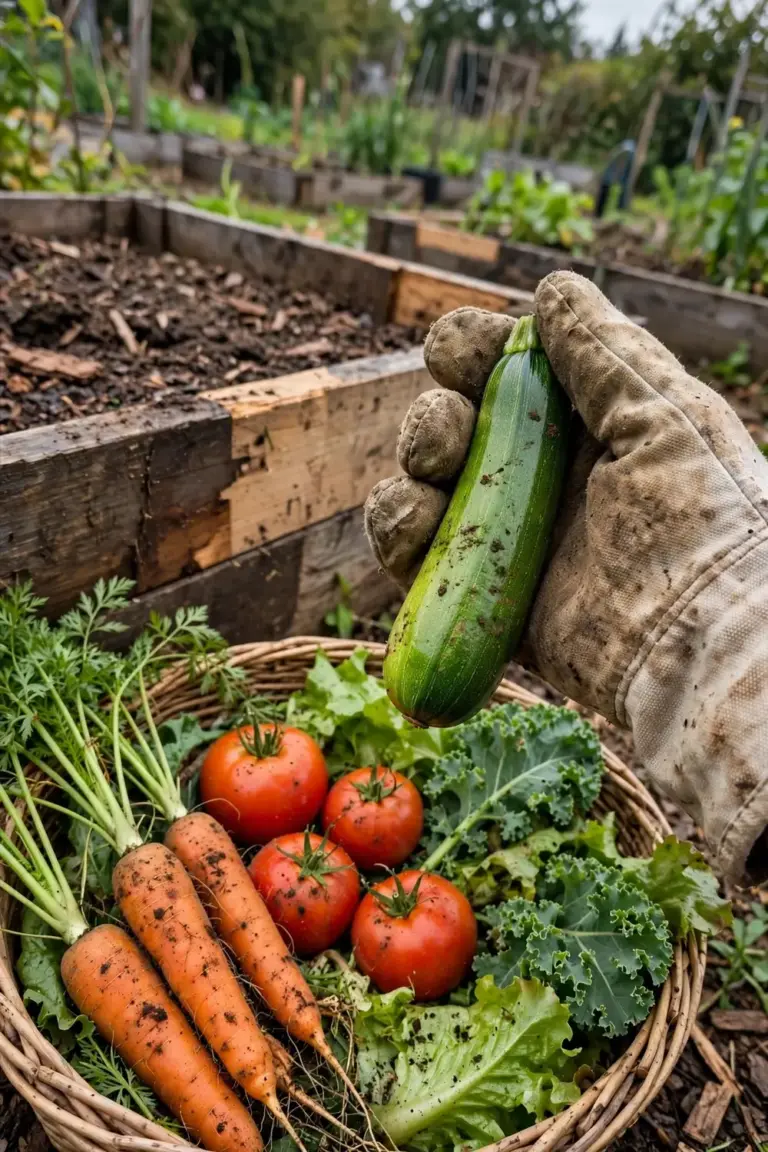
Water the repaired bed after the first week. The soil should hold moisture 5 cm down. If the top dries out in a day, the mulch is too thin or the organic matter is still too low. Top up the mulch and check again after rain. A repaired bed holds water, grows steady leaves, and drains without puddling. That is the sign the repair worked.