
Set up one bottomless bin on soil, feed it 2 parts brown to 1 part green, turn it weekly, and harvest dark compost in months. That is how to set up a compost bin in Australia for a beginner. I have learned that a bin fed a little every week beats a bin filled once and forgotten. The rest of this page is 7 steps, from bin choice to harvest.
Compost is kitchen and garden waste broken down by microbes with oxygen. The microbes eat carbon and nitrogen, release heat, and leave behind a dark soil improver. A bin keeps that process tidy, contained, and close to the beds that will use the result.
Most beginners fill a bin gradually as scraps arrive. That is cold composting. It works slowly, it will not kill weed seeds, and it still rewards steady feeding. Hot composting fills a bin at once and finishes in weeks, but it needs a full load of material on day one plus regular turning. This guide follows the gradual path, with one honest note: patience is part of the method.
Compost also keeps kitchen and garden waste out of landfill, where buried organic waste breaks down without oxygen and releases methane. A bin turns that waste into something the garden can use. Check local council rules before you start, since FOGO bins, green waste collection, and compost subsidies vary between councils. Some councils sell subsidised bins or run compost workshops. A quick check of your council website shows what your area offers.
Step 1: Pick the Compost Bin Type That Fits Your Space
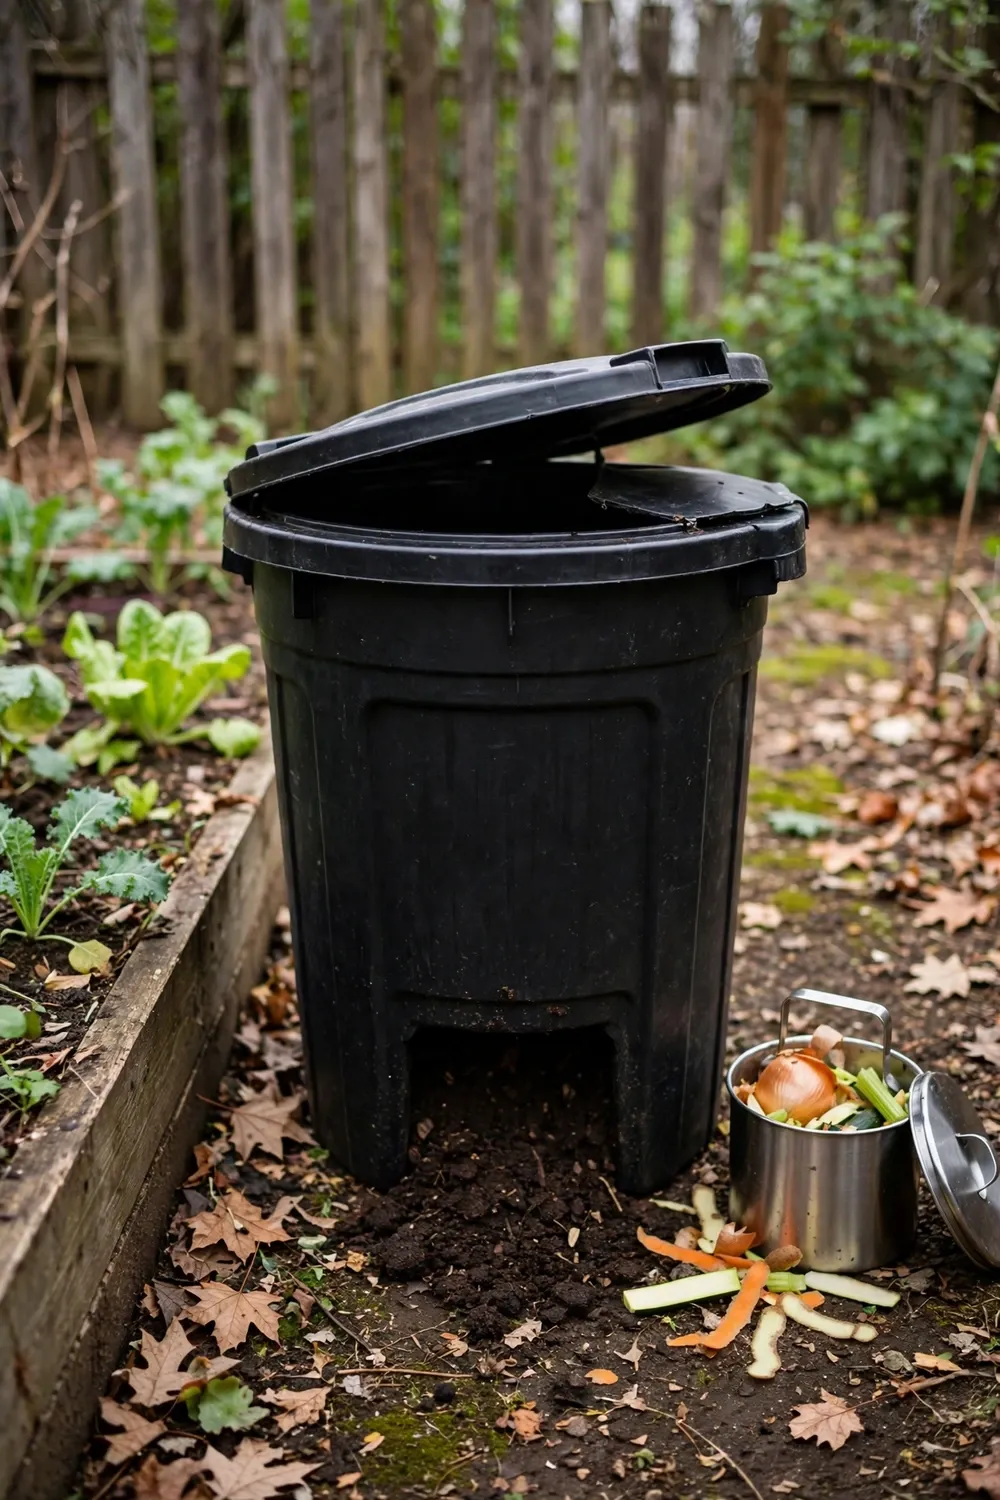
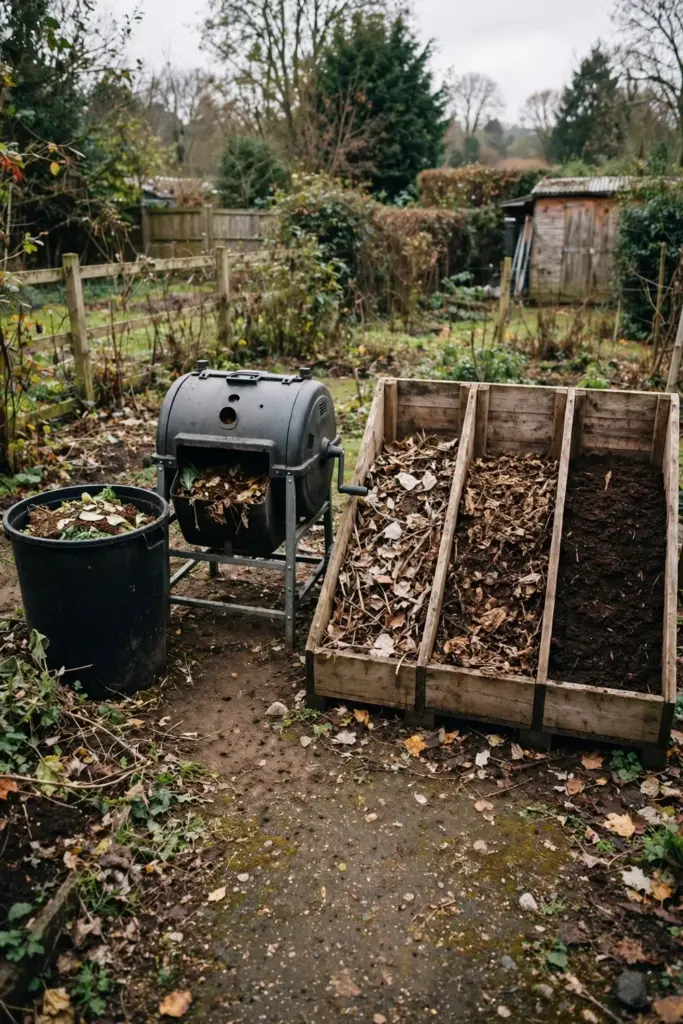
Pick a bottomless plastic bin on soil for your first compost bin. It costs little, worms enter from below, and it holds enough material to stay active. A tumbler suits a small space and turns fast, an open heap suits a large block, and a three-bin system suits a gardener who already composts in volume.
| Bin Type | Cost | Space | Speed |
|---|---|---|---|
| Bottomless bin on soil | Low | Small | Slow and steady |
| Tumbler | Medium to high | Tiny | Fastest |
| Open heap | Low | Large | Medium |
| Three-bin system | Medium | Large | Continuous |
The ACT government’s Climate Choices guide sets the rhythm for each type: turn a bin at least once a month and expect 12 months or longer, turn a tumbler at least once a day, and turn a heap once a week. The same guide notes that heaps larger than 1 cubic metre generate more heat. Compare bin styles in the site’s compost bin options guide before you buy, and choose the type you will actually turn.
A worm farm is a different system, not a compost bin. Worms eat scraps and produce castings and liquid feed. Feed worms weekly, keep the farm damp and out of hot sun, and avoid too much citrus, onion, or pineapple, per the same ACT guide. If you want worms, run a worm farm beside the bin. Do not treat the bin as a worm farm.
A tumbler earns its price when turning a fork feels like hard work. The sealed drum spins on a stand, mixes the load in seconds, and keeps rats out. Tumblers dry faster than ground bins, so check moisture each time you spin. A tumbler also holds less than a ground bin, so a large garden may outgrow it. Buy the largest tumbler your budget allows when you compost garden waste as well as kitchen scraps, since capacity decides whether the tumbler keeps up. A bin near 1 cubic metre holds heat better than a small one. A tiny bin still composts, but it dries fast and cools fast. A bin much larger than 1 cubic metre gets hard to turn by hand. One standard bottomless bin suits most suburban gardens. Start with one. Add a second only when the first fills and you need somewhere for fresh scraps while the first batch cures.
Step 2: Site the Bin on Flat Soil in Partial Shade
Site the bin on flat soil in partial shade, near a tap and within easy reach of the kitchen and the beds. Soil contact lets worms and microbes move in. Shade slows drying in summer. A short walk from the back door keeps feeding a habit instead of a chore.
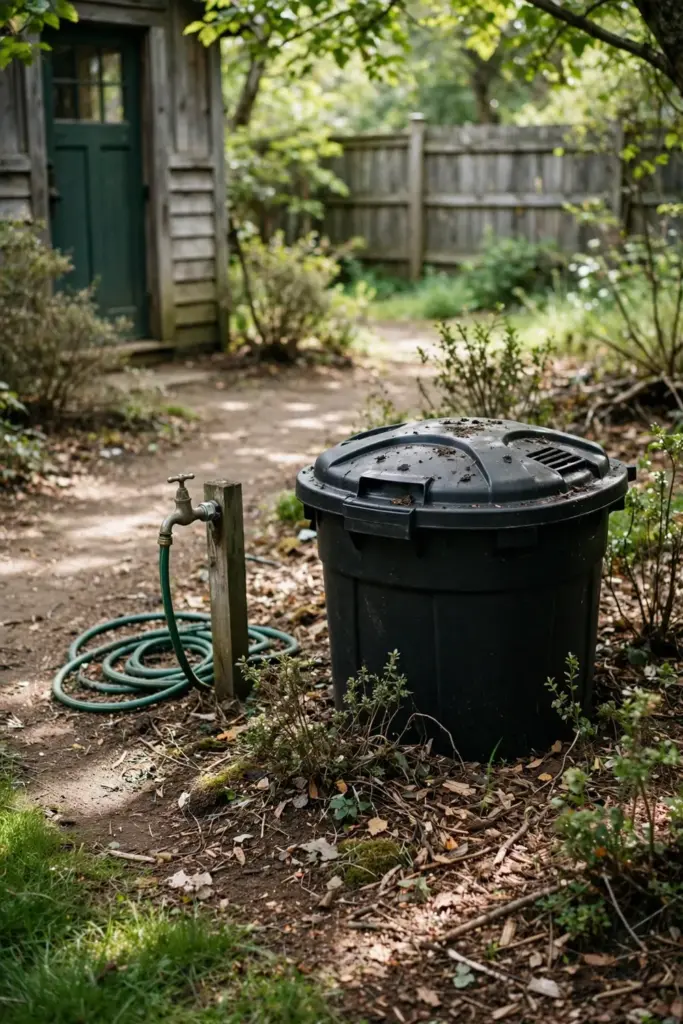
Recycling Near You’s composting fact sheet puts the bin on earth or grass, not pavement, in partial shade, within easy reach of the kitchen and the beds. Place it near the beds you will feed, as the site’s fall garden bed prep guide covers bed work that compost supports.
Keep the bin off the house wall and clear of fences so air moves around it. Leave room to stand beside it with a fork. A sheet of wire mesh under the bin blocks rats from digging in below. If the only ground is concrete, raise the bin on sleepers so water drains out.
Sun and shade both work, but shade wins for a bin in most Australian gardens. Full sun dries the mix and forces extra watering through summer. Deep shade keeps the bin damp and cool, which slows the microbes. Partial shade splits the difference: morning sun, afternoon shade, steady moisture. A spot near a garden tap matters more than perfect sun. You will water the bin often in dry months, and a long hose run turns a quick job into a chore you skip.
A courtyard or small block still fits a bin. Choose a tumbler on a stand, which needs no soil contact and turns with a spin. Keep it against a wall that catches morning sun and holds the afternoon shade. A tumbler on a balcony works when the balcony carries the weight and the body corporate allows it. Check strata rules before placing any bin on a shared wall or balcony. A ground-level bin suits a house block better, since soil contact brings worms in for free.
Mind the neighbors. A well-run bin smells like soil, but a bin gone sour carries across a fence line. Site the bin away from a neighbor’s entertaining area and keep the lid on. Turn the pile on a calm morning rather than a windy afternoon, since turning releases a brief puff of warm air. A tidy bin area with swept ground and no loose scraps keeps the whole street on your side.
Step 3: Build the Base and First Layers
Start with a coarse base of dry sticks and twigs. The base lifts the mix off the ground and lets air enter from below. Then add the first layers: brown, green, brown. Each layer stays loose. Packed material squeezes out the air that microbes need.
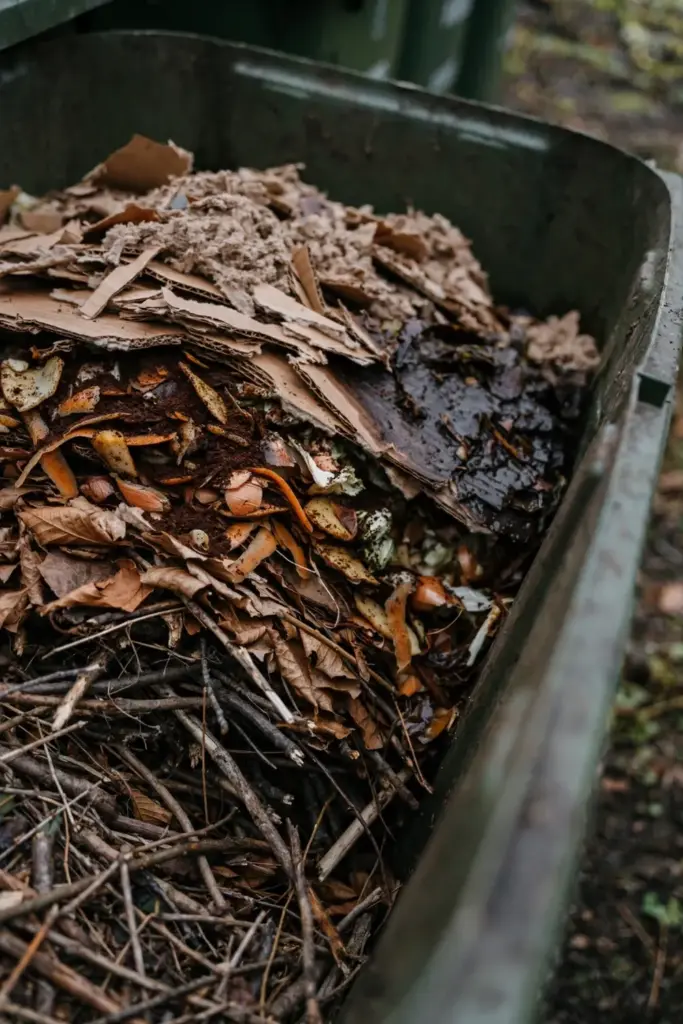
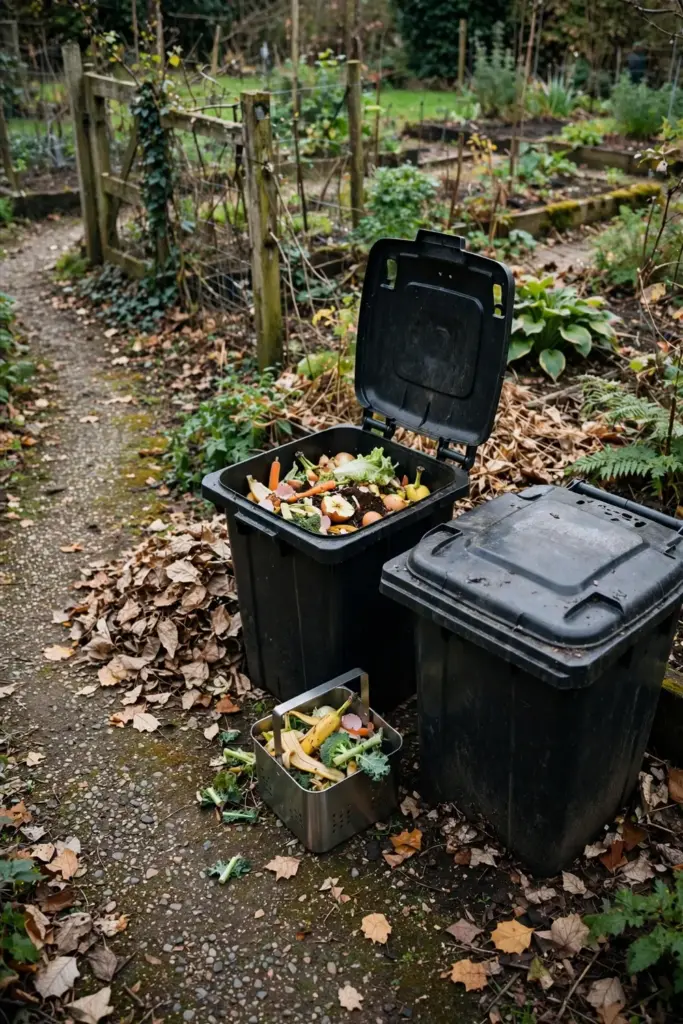
You need few tools. A garden fork turns the mix. A hose or watering can wets it. Gloves keep hands clean. A lidded kitchen caddy on the bench collects scraps between trips to the bin.
Run the caddy routine daily. Scrape plates into the caddy after meals, add fruit peels and coffee grounds, and empty the caddy into the bin every day or two. A caddy left for a week smells and draws fruit flies into the kitchen. Line the caddy with newspaper for a quick cleanout, and rinse it after each emptying. The routine takes a minute and keeps scraps out of the landfill bin.
Build the first layers on day one. Lay sticks on the base. Add a thick layer of dry leaves or shredded cardboard. Add a layer of kitchen scraps and fresh clippings. Cover that green layer with browns. Water lightly as you build. The bin now holds the start of a working pile.
Chop or shred coarse material before it goes in. Whole branches and long stalks leave air pockets that dry out and resist breakdown. A pair of secateurs cuts prunings into short lengths. A mower run over dry leaves shreds them in seconds. Smaller pieces give microbes more surface to attack, and the pile settles faster. Keep pieces loose and varied in size so air still moves between them.
Check the bin a week after building the first layers to catch problems while they stay small. Warmth means life. The center should feel warm under a gloved hand, the mix should smell like damp earth rather than rot, and the leaves should look darker and softer at the edges after a week of microbial work. If the bin smells sour or feels soggy, fork it over and add dry browns. If it feels dry and nothing has changed, water it and cover it. A working bin shows small signs within days, even when the full batch takes months to finish, so early warmth and an earthy smell tell you the method is working.
Step 4: Feed the Bin Two Parts Brown to One Part Green
Feed the bin 2 parts brown to 1 part green by volume. Browns are dry carbon: dry leaves, straw, shredded paper, cardboard, egg cartons, wood chips, sawdust from untreated timber. Greens are fresh nitrogen: fruit and vegetable scraps, coffee grounds, tea leaves, grass clippings, fresh garden trimmings, herbivore manure. The 2:1 brown-to-green mix by volume keeps the pile near the working range without weighing anything.
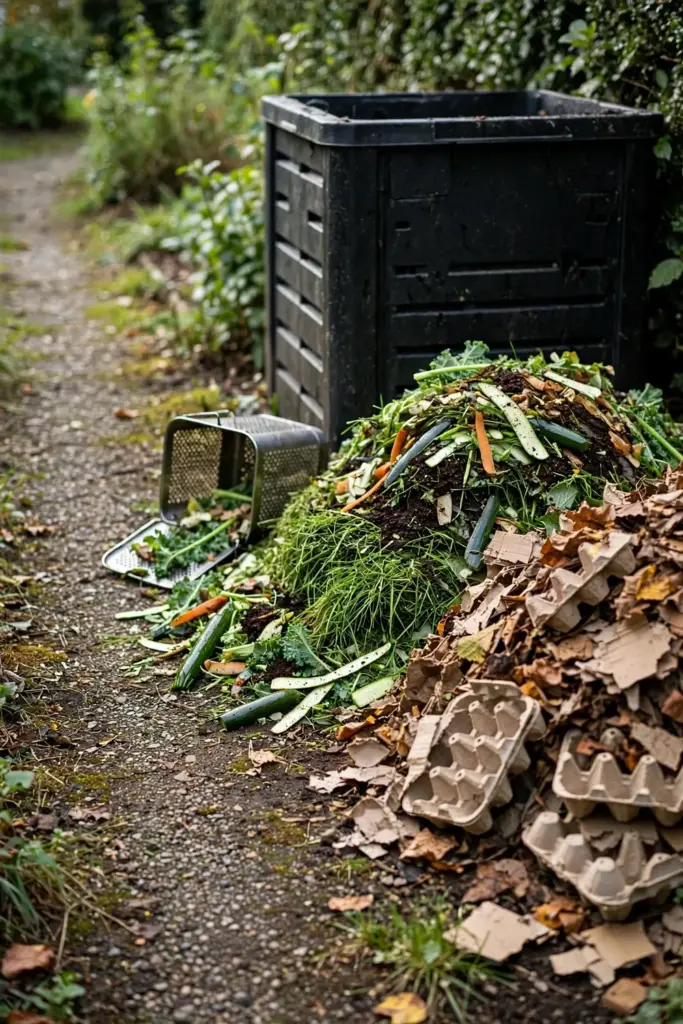
The University of Georgia Extension composting guide puts the working targets at a carbon-to-nitrogen ratio of 25:1 to 30:1, moisture of 40% to 60%, an active-phase temperature of 131 to 160 degrees Fahrenheit (55 to 71 degrees Celsius), and a 2:1 brown-to-green mix by volume that lands near that ratio. The same guide calls turning about once a week the best balance between effort and results.
| Greens (Nitrogen) | Browns (Carbon) |
|---|---|
| Fruit and vegetable scraps | Dry leaves |
| Coffee grounds | Straw and hay |
| Tea leaves and plain tea bags | Shredded paper and cardboard |
| Grass clippings | Egg cartons |
| Fresh garden trimmings | Wood chips and untreated sawdust |
| Herbivore manure | Dry prunings and twigs |
Some materials stay out. The ACT government’s guide lists what to exclude: meat, bread, fish, and dairy products attract rodents, which can attract snakes; cat or dog manure can carry harmful bacteria; and noxious weeds or diseased plants may spread through the garden. Fats and oils also stay out, since they break down slowly and draw pests. Glossy magazines and plastic-coated paper stay out. Treated timber sawdust stays out. Weeds that have gone to seed stay out of a cold bin, since the pile never gets hot enough to kill the seeds.
Onions and citrus can go into a bin in moderation. The worm farm is the system that struggles with them, not the compost bin. Tea leaves can go in. Coffee grounds can go in. Eggshells can go in, crushed first so they break down faster.
Add scraps in small amounts often, not in one heavy load. A bucket of kitchen scraps every few days suits a cold bin. Dump a large load of wet greens at once and the pile goes soggy and airless. Spread each addition across the surface, then cover it with browns. Grass clippings deserve care: spread them thin or mix them with dry leaves, since a thick mat of clippings collapses into a slimy layer that blocks air. Manure from chickens, cows, or horses can go in, but keep it modest and well mixed with browns.
Browns run short more often than greens. A kitchen produces scraps daily, while dry leaves arrive once a year. Stockpile browns when they appear: bag autumn leaves, keep shredded cardboard, and save egg cartons. A full bag of dry leaves beside the bin covers weeks of kitchen scraps. When browns run out, torn newspaper and plain cardboard carry the mix until leaves return. Never let the bin run on greens alone, since a greens-only bin turns wet, smelly, and slow within days.
Step 5: Keep the Bin Moist and Turn It Weekly
Turn the bin weekly and keep it as damp as a wrung-out sponge. Turning feeds oxygen to the microbes and mixes fresh scraps into the pile. Water keeps the microbes moving. A bin that stays damp and turned breaks down steadily. A bin left dry and still stalls.
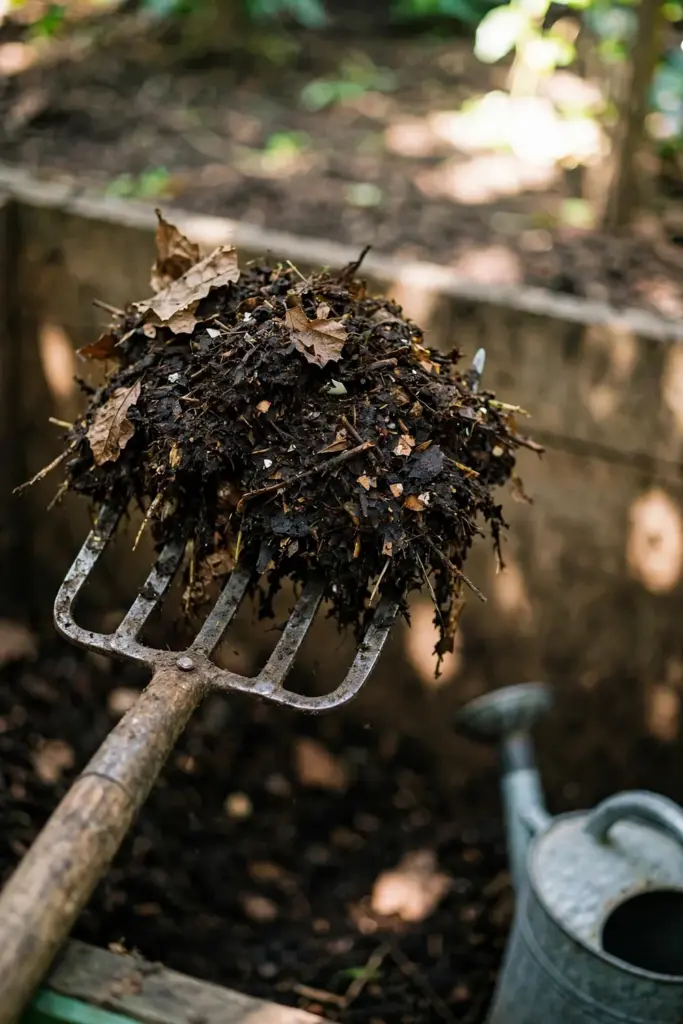
The University of Georgia guide calls turning about once a week the best balance between effort and results, and describes the squeeze test: a few drops of water should come out when a handful of mix is squeezed. The Recycling Near You fact sheet sets the floor at turning at least once a month. Weekly beats monthly when you want finished compost sooner.
Cover each green layer with browns as you add it. The brown cap traps smells, deters flies, and hides food from rats. Water lightly after each addition in dry weather. In summer heat, check moisture twice as often, since a bin dries fast. In winter, the pile slows down. Leave it alone and keep feeding small amounts.
Learn the signs of a working bin. Warmth in the center means microbes are active, and an earthy smell means the balance is right. Fungi threads and white patches in the mix mean decomposition is under way. Worms arriving from below mean the pile has cooled into their comfort zone. None of these signs need a thermometer. A hand in a glove, pushed into the center, tells you more than a gauge on the lid.
A handful of lime calms an ammonia smell. Do not lime on a schedule. Lime only when the bin smells sharp and the mix looks wet and matted. Turning plus browns fixes most smells without lime.
Run a seasonal rhythm. Summer heat dries a bin fast, so water more often and turn more often. The pile works quickly in warm months. Autumn brings leaves, the best brown material of the year. Stockpile bags of dry leaves for winter and spring, when browns run short. Winter slows the pile. Keep feeding small amounts and turn less often. The bin wakes again when warmth returns.
Stop adding to a full bin. When the bin reaches the top, close it off and let it cure. Start filling the second bin, or stockpile scraps in a bucket while the first batch finishes. Adding fresh scraps to a curing bin restarts the clock and mixes raw material into finished compost.
Step 6: Fix Smell, Rats, Flies, and Slow Bins
Read the symptom first, then fix the cause. Most compost problems come from three faults: too wet, too little air, or too much nitrogen. The fix is almost always the same trio: add browns, turn, and check water.
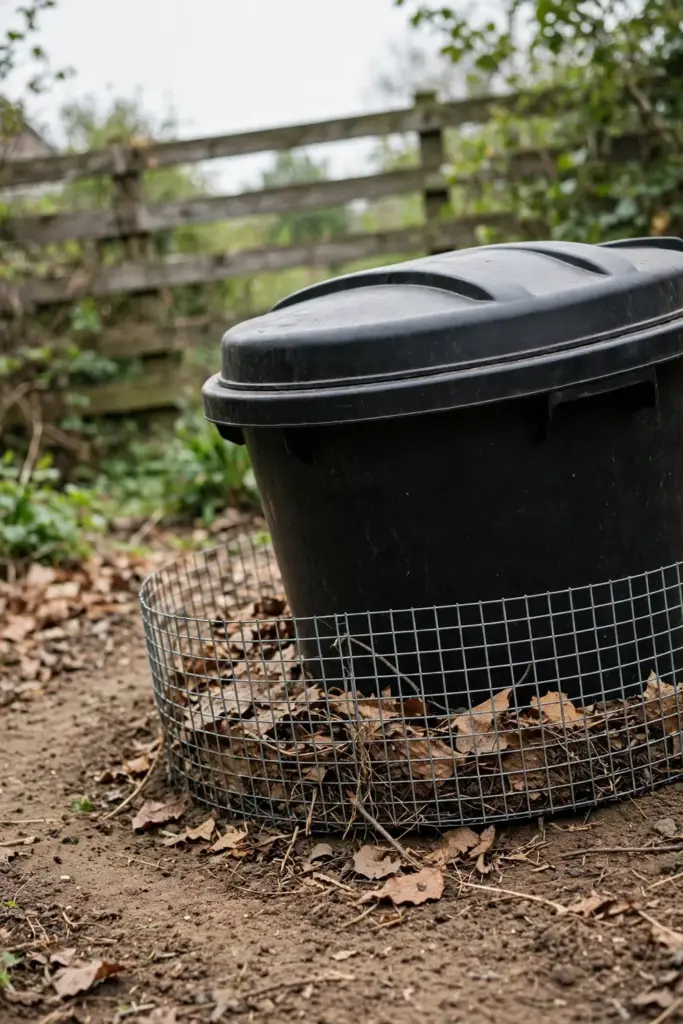
Utah State University Extension’s troubleshooting guide pairs each symptom with its fix: a strong odor means insufficient oxygen, so turn the pile and add dry material; a damp pile that will not heat means insufficient nitrogen, so add grass clippings; a dry pile means insufficient water; an ammonia smell means too much nitrogen, so add sawdust or another high-carbon material and turn. The same guide warns that meat scraps, fat, grease, oil, bones, milk, cheese, and yogurt attract pests.
| Problem | Cause | Fix |
|---|---|---|
| Rotten or ammonia smell | Too much nitrogen or water, too little air | Add browns, turn, and hold water back |
| Rats or mice | Uncovered food scraps | Cover food with browns, turn often, secure the lid |
| Flies and maggots | Exposed scraps or too wet | Bury scraps, cover with browns, add dry material |
| Soldier fly larvae | Warm, moist scraps | Leave them; they help and move on in weeks |
| Ants | Too dry and undisturbed | Water and turn |
| Bin too wet | Rain or soggy greens | Add dry browns and close the lid against rain |
| Bin too dry | Heat or no water | Spray water and add moist scraps |
| Bin too slow | Too much carbon, too little turning | Add greens, water, and turn weekly |
Soldier fly larvae look alarming and work hard. They chew scraps fast and leave within weeks. Ants and slaters are workers, not problems. Leave them alone.
Tell smells apart before you act. A rotten-egg smell means the pile went airless and wet. An ammonia smell means too much nitrogen. A sour vinegar smell means wet greens packed tight. All three answer to the same trio: add browns, turn, and hold water back. If the smell stays after two turns with browns, rebuild the pile on a tarp and start the layers again. A rebuild costs an hour and saves a batch.
Rats need a firm response. Cover every scrap with browns, turn the pile often, and keep the lid secure. If rats persist, stop adding food scraps for a while and switch to garden waste only. Do not put poison in or near the bin. A tumbler with a sealed drum solves a stubborn rat problem.
Rebuild a stalled bin instead of abandoning it. Fork the whole pile out onto a tarp, break up matted lumps, and rebuild it in loose layers with fresh browns and a sprinkle of water. A rebuilt pile restarts fast, since the microbes are already present. A bin that sat wet and airless for months recovers within weeks of a rebuild. Give the rebuild one full week before judging it.
Step 7: Harvest Dark Compost and Spread It on Beds
Harvest when the compost looks dark, crumbly, and earthy, with little to no recognizable food scraps or leaves. The pile cools down and stops heating after turning. That cool, quiet state means the microbes have finished the active phase.
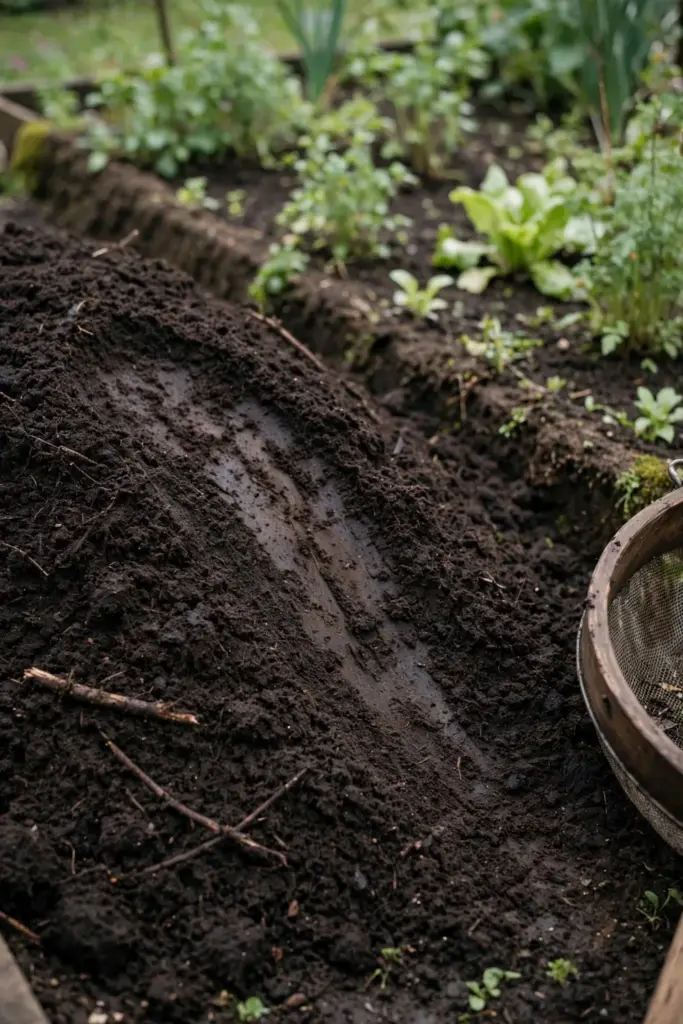
The University of Georgia guide describes finished compost as dark, crumbly, and earthy-smelling, with little to no recognizable food scraps or leaves, and cured for several weeks to months before use. The Recycling Near You fact sheet advises leaving a full bin to cure for 4 to 12 weeks while you start filling a second bin. Two bins beat one: one fills while the other cures.
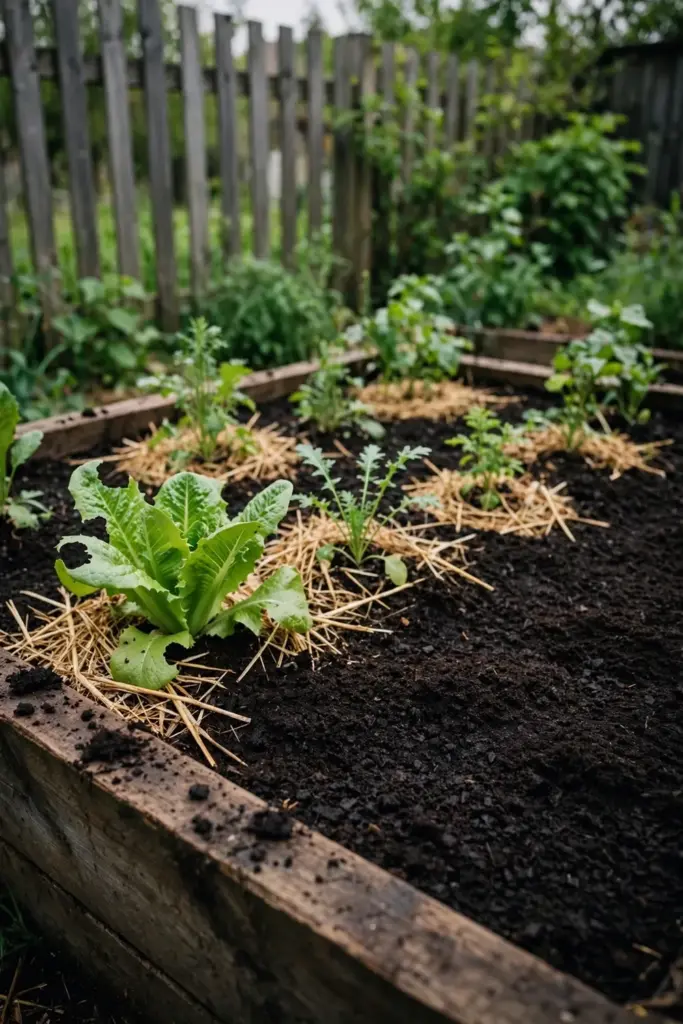
Sift out any lumps that have not broken down and toss them back into the working bin. Spread the finished compost around plants or mix it into soil when planting. Cover the spread compost with mulch, as the site’s mulching guide explains. Compost builds soil health over seasons: structure, water holding, and microbial life all improve.
Use compost as a soil improver, not a bag of fertilizer, since it feeds the soil that feeds the plants. A thin layer on a bed, forked lightly into the top soil, suits most vegetables and flowers. Replenish each season as the soil life consumes it.
Store finished compost under cover if you cannot spread it at once. A pile under a tarp or in an old bin keeps its structure and stays moist. Do not leave finished compost in an open heap through heavy rain, since rain leaches nutrients out of it. In pots, mix compost into potting mix rather than filling a pot with pure compost. Pure compost holds too much water for most potted plants.
Frequently Asked Questions About Compost Bins
Yes, in a bin. Onions, citrus, and tea leaves all break down in a compost bin when added in moderation and buried under browns. The restriction belongs to worm farms, where worms dislike acidic and strong-smelling food. Keep citrus and onion out of a worm farm, or add only small amounts. In a bin, no single scrap type should dominate the mix. Variety in the feed keeps the microbes fed across the season.
Hot composting fills the bin at once, heats fast, and finishes in weeks, but it needs a full load of material on day one and regular turning. Cold composting fills the bin gradually as scraps arrive, stays near air temperature, and takes months. A cold pile will not kill weed seeds or pathogens, so keep those materials out. Most beginners cold compost without knowing the name.
Neither is better. A worm farm suits a small household with mostly kitchen scraps and little garden waste. A compost bin suits a garden with leaves, prunings, and clippings to process. Worm farms need weekly feeding, damp bedding, and shade from hot sun, and they dislike citrus, onion, and pineapple in quantity. A bin tolerates a wider mix and handles bulk. Many gardeners run both.
Two bins make the job easier. One bin takes fresh scraps while the other cures undisturbed. A single bin works when you stop adding scraps and let the full bin cure before use. Beginners who start with one bin can add a second once the first fills. The second bin costs little and removes the awkward wait between finishing a batch and starting the next.
A well-run bin smells like soil, not rot. Smell means too much nitrogen, too much water, or too little air. Add browns, turn the pile, and hold water back. Rats come for uncovered food. Bury every scrap under browns, turn often, and keep the lid secure. Never add meat, dairy, fats, or oils. A bin run this way draws worms and microbes, not vermin.
Set Up a Compost Bin in Australia This Weekend
Pick the bin type, set it on flat soil in partial shade, and build the first layers this weekend. Feed it 2 parts brown to 1 part green, turn it weekly, and let the microbes do the rest. Start with one scrap bucket on the bench and one bin in the garden. The first dark, crumbly harvest repays every trip to the bin, and the second batch runs smoother than the first.