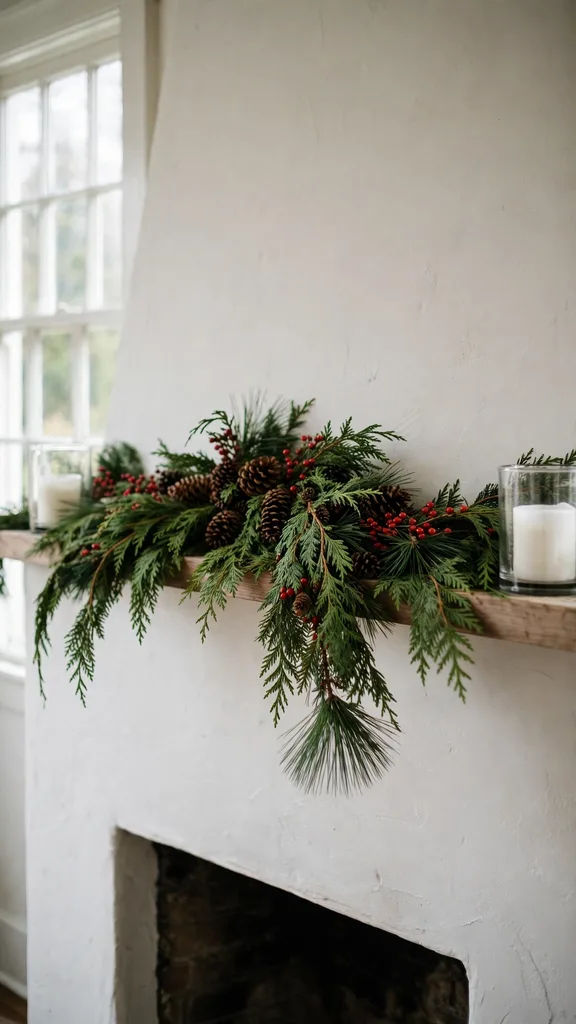
A fresh Christmas garland from your own garden is a rope of greenery you build bundle by bundle: cut the greens, wire them onto a core so each bundle hides the stems of the last, and hang the finished rope where the house shows it best. Built this way, a garland costs an afternoon and 40 to 60 cut stems per 6 feet, scents the whole house, and lasts 2 to 4 weeks indoors, longer outdoors in the cold. The skill is easy to learn. The order matters, and this guide keeps to it: choose greens that last, condition them, build the core, wire the bundles, finish, hang, and maintain.
Work out your length before you cut anything. Measure the mantel, banister, or doorway, add a third for the swag and the overlap, and cut your core to that length. A garland takes roughly a bucket of clippings per six feet, more for a fat one. I build garlands on the garage floor on a sheet, because the process sheds, and a sheet shakes clean into the compost in one motion. Everything below assumes garden greens; the same method works with bought bundles when your own garden runs short.
| Green | Fresh Life Indoors | Fresh Life Outdoors | Notes |
|---|---|---|---|
| Cedar and arborvitae | 3 to 4 weeks | 5 weeks or more | Flat sprays, the garland maker’s base green |
| Pine | 3 weeks | 4 to 5 weeks | Soft needles, strong scent, drapes well |
| Fir | 2 to 3 weeks | 4 weeks | Holds needles well, stiffer bundles |
| Spruce | 2 weeks | 3 to 4 weeks | Drops needles indoors as it dries |
| Juniper | 3 weeks | 4 weeks | Berries built in, prickly to handle |
| Boxwood | 3 to 4 weeks | 4 weeks | Small leaves, neat formal garlands |
| Magnolia | 3 weeks, then dries in place | 4 weeks | Leaves stay handsome even dried |
| Holly and ivy | 2 weeks | 3 weeks | Accent greens, add after the base |
Choose Greens That Outlast the Season
The garland is only as good as its longest-lasting green, so build the body from cedar, pine, boxwood, or magnolia and use the shorter-lived greens as accents near the ends where they are easy to swap. Cedar and arborvitae lie flat by nature, which is why florists build on them: their sprays overlap into a smooth rope with no gaps. Pine adds softness and the strongest scent. Boxwood makes the neat, formal garland for a doorway or a table edge.
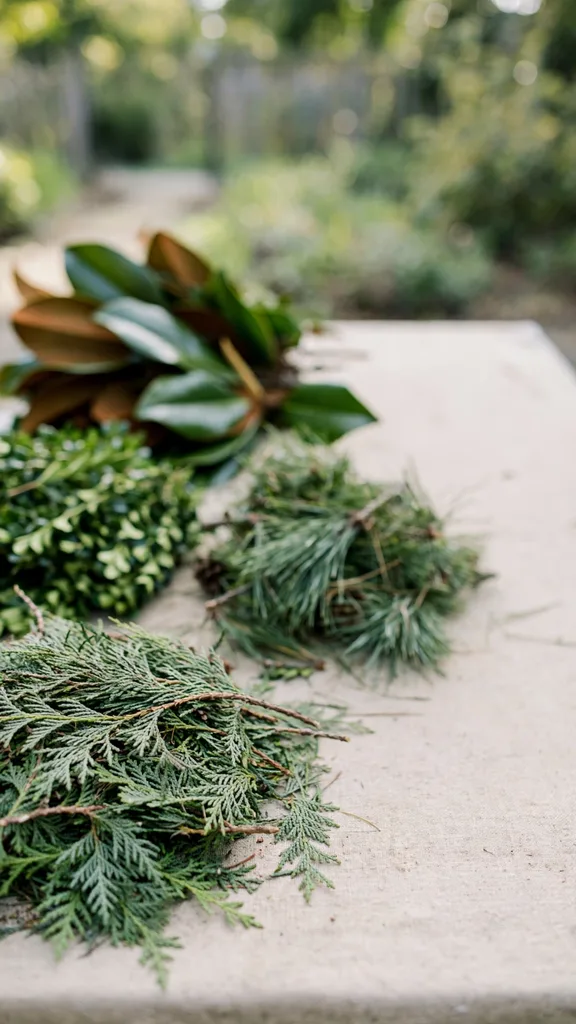
The NC State Extension Plant Toolbox entry for Magnolia grandiflora describes the southern magnolia whose leaves anchor the longest-lasting garlands in warm regions: huge, glossy, leathery leaves that hold for weeks fresh and then dry in place without curling, copper undersides turning richer as they dry. Mix magnolia through a cedar base at intervals and the garland reads expensive. Avoid spruce as a main green indoors; its needles rain down as it dries, which is fine on a porch garland and miserable on a staircase carpet.
Cut in the Morning and Condition Before You Wire
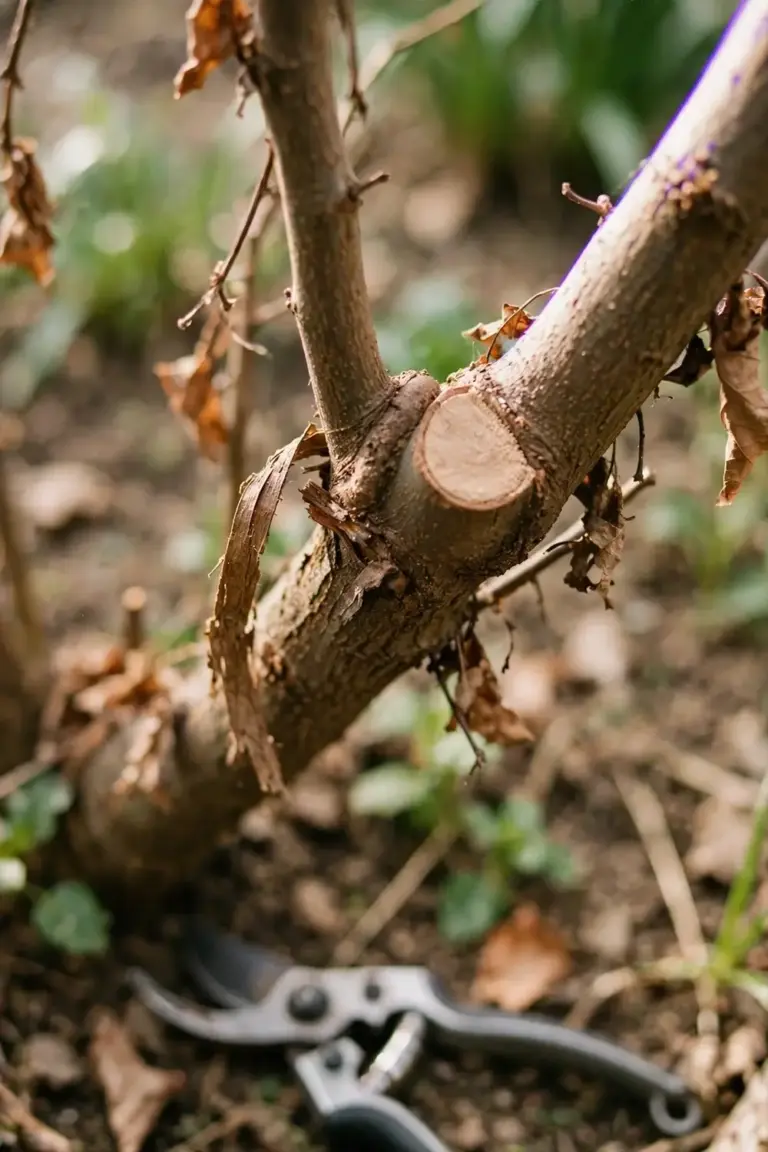
Cut garland greens in the morning when the stems are full of water, choosing branches from the back and underside of each plant so the garden’s shape survives. Prune with a plan: a garland’s worth of cutting is a light pruning for most shrubs, and taking a little from many plants beats stripping one. Cut pieces longer than you need, since every stem gets trimmed again at the wiring table.
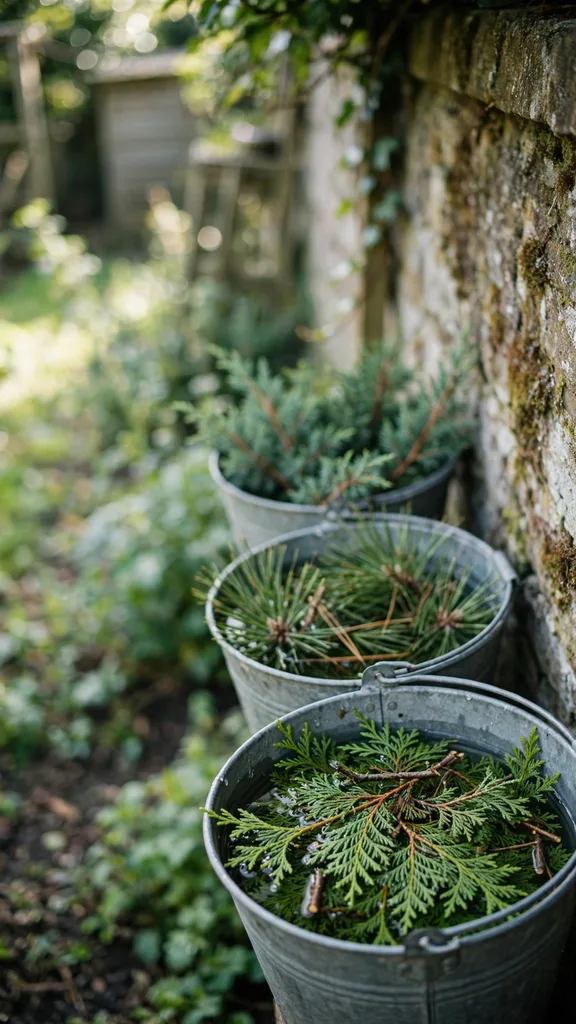
Condition the cuttings before you build. Stand them in buckets of water in a cool, shaded place for at least a few hours, overnight if you can, so the foliage drinks deeply before its month of display begins. Recut each stem end as it goes into the bucket. Greens conditioned this way outlast greens wired straight from the shrub by a week or more, and the whole garland stays flexible while you work, which matters when you bend it around a banister curve.
Build the Rope Core First
Every garland needs a spine. For most lengths, heavy twine or thin rope works: cut it to your measured length plus a loop at each end for hanging. For long or heavy garlands, use a length of clothesline wire or two strands of paddle wire twisted together, which will not stretch under the weight of wet greens. Lay the core straight on your work sheet and anchor one end to something solid, a table leg or a door handle, so you can pull bundles tight against it.
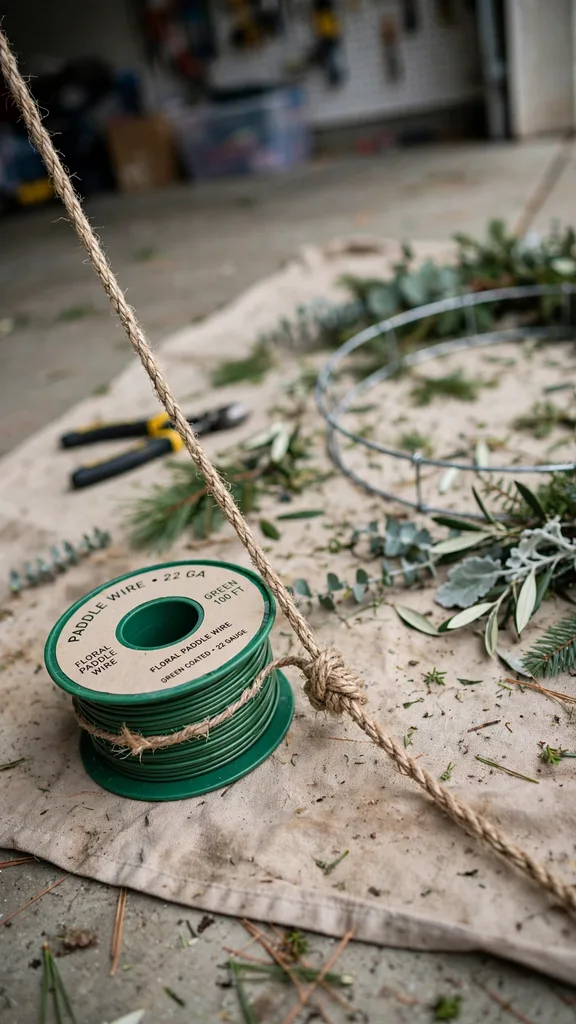
Tie your spool of floral wire, 22 gauge paddle wire is the standard, to the core at the starting end without cutting it. The wire runs unbroken from one end of the garland to the other, wrapping each bundle in turn, and that single continuous wire is what makes a garland strong. Cutting the wire between bundles is the beginner’s error that produces garlands which shed bundles on the stairs. Keep the spool rolling free as you work.
Wire in Bundles, Each One Covering the Last Stems
Build a bundle: three to five pieces of greenery, six to eight inches long, mixed or single species, stems aligned at the base. Lay the bundle on the core pointing toward the garland’s far end, and wrap the wire around the stems and core together three times, snug but not crushing. Lay the next bundle so its foliage covers the first bundle’s wired stems completely, wrap it, and continue. The garland grows as a series of green scales, each hiding the mechanics of the last.
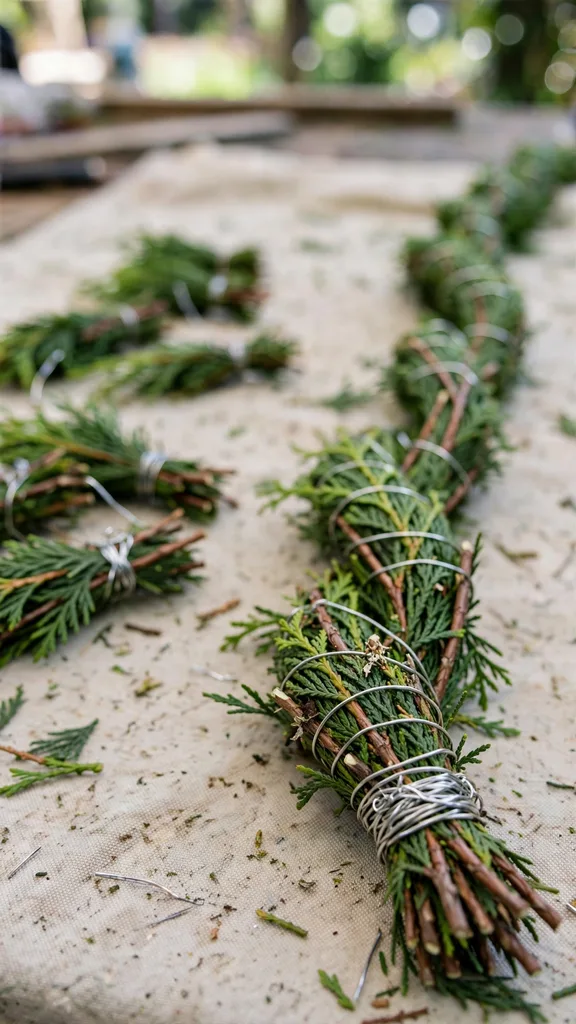
Keep bundles the same size all the way along; bundle size decides the garland’s thickness, and a garland that swells and thins looks homemade in the wrong way. Work at a steady rhythm, bundle, wrap three times, slide, bundle, and a six-foot garland takes about forty minutes once the greens are conditioned and cut. Turn the garland over halfway if it will be seen from both sides, as on a banister, and wire the second half with bundles pointing the same way so the back stays neat.
Keep the Garland Even: Fullness, Direction and the Flip Test
All bundles point one way, toward the tail, so the foliage lies like roof shingles and the garland drapes in smooth curves. If you will hang the garland as a swag with two tails, build it in two halves from the center outward, bundles pointing toward each end, so both tails finish in foliage tips rather than wired stems. Mark the center of the core before you start if you plan the two-tailed version.
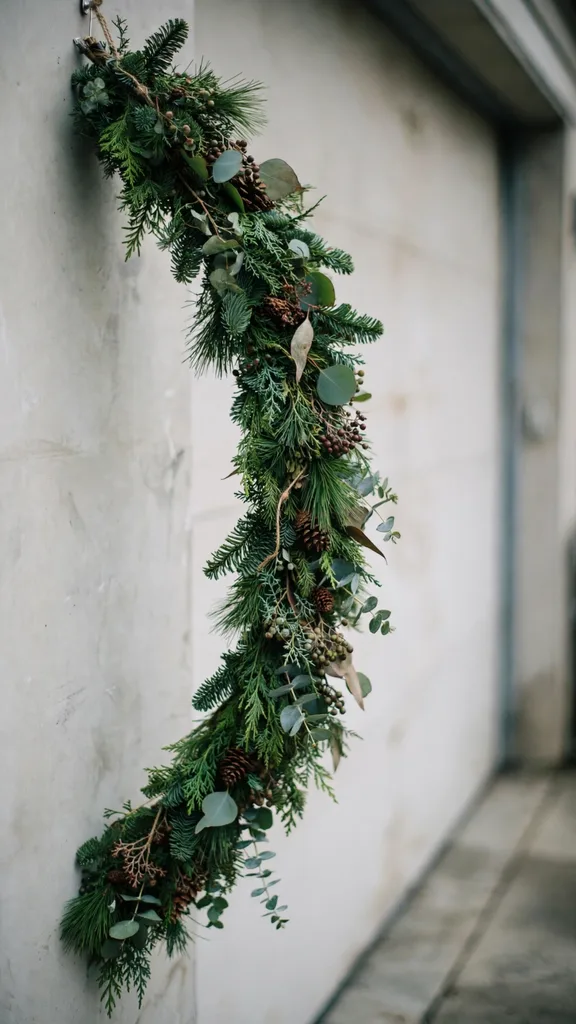
Every few bundles, lift the garland and let it hang from your hands: the flip test shows thin spots, twists in the core, and bundles wired too loosely while they are still easy to fix. A good garland bends in a smooth rope with no kinks and no bare wire showing from any angle. Squeeze extra small bundles into any gap the flip test finds; repairs now take seconds and repairs after hanging take a ladder.
Work in Sections and Join Them Without a Seam
Mantels and doorways take six to ten feet, which one person can build in a single rope. Banisters and long tables are easier in sections of five or six feet, built separately and joined at hanging: overlap the sections by a foot where they meet, wire the overlap firmly, and the join disappears inside the foliage. Sections also store and carry better, and a damaged section can be rebuilt without touching the rest.
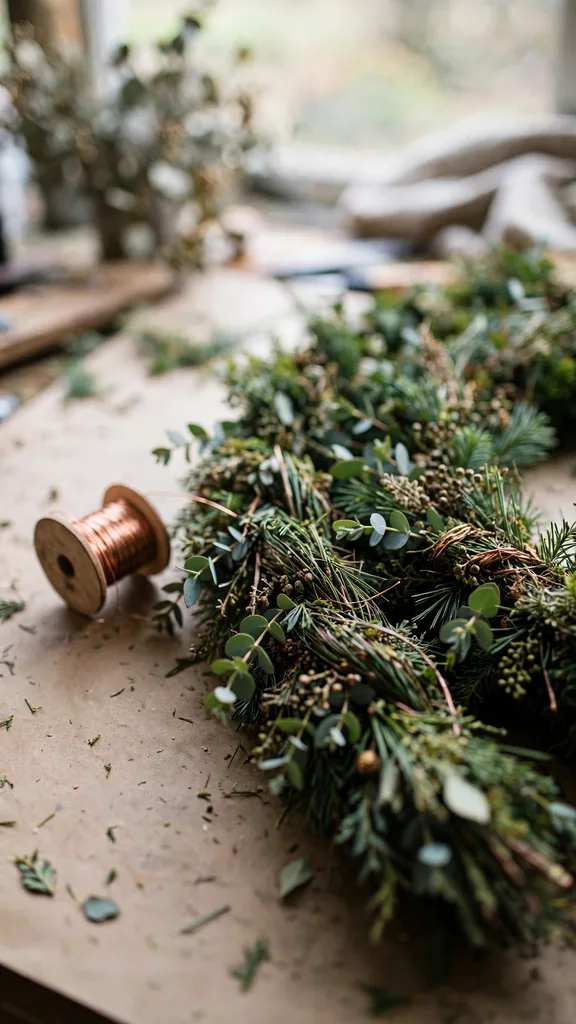
Build all sections in one session from the same pile of greens so the color and mix match; greens cut on different days weather differently and a joined garland can show the seam in tone even when the wiring hides. Label sections with a scrap of tape at the tail end if the hanging order matters, as it does on a staircase with a curve. Two people, one building bundles and one wiring, halve the time and double the consistency.
Add Berries, Cones and Ribbon After the Green Is On
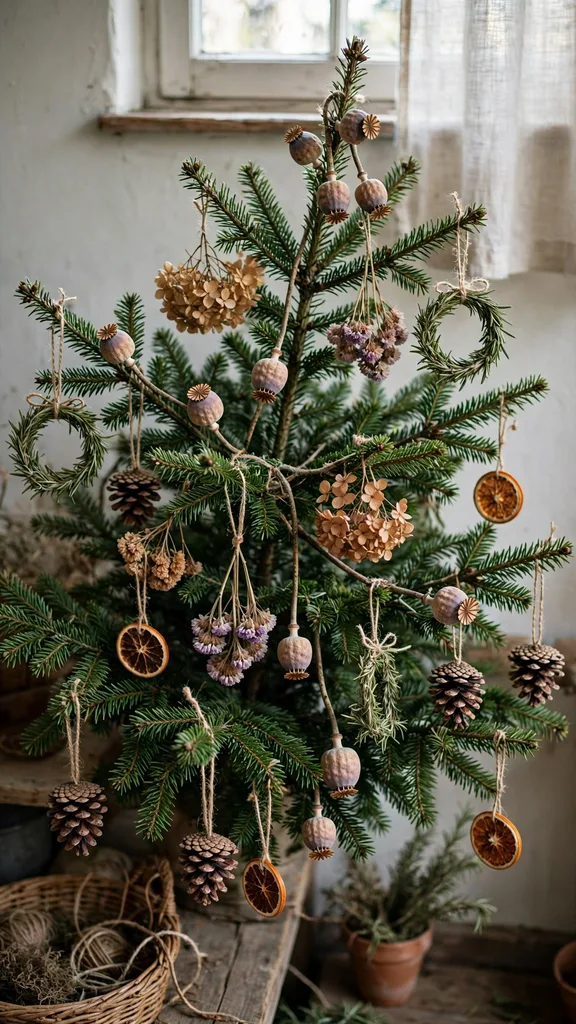
Decorations go on last, wired or glued into the finished green where they can be removed and reused next year. Wire pinecones by running wire around the base scales and twisting a stem; push the wired stem into the garland and twist it around the core. Berry sprays, holly, and winterberry tuck in the same way on short wires. Space decorations in a rhythm, every foot or so, or cluster them at the swag’s center and the tails, and leave the rest plain green.

Dried citrus slices wired through the rind add the amber note; the Clemson Extension guide to drying oranges for holiday decorations gives the slice thickness and oven timing that produce slices which survive a month on a garland without molding. Ribbon belongs at the hanging points and the center, as bows wired on, not woven through the whole length, where it fights the greenery. Step back after every few additions; a garland is decorated right at the point where one more thing would be too much, which arrives earlier than enthusiasm expects.
Hang It Right: Mantel, Banister, Doorway and Table
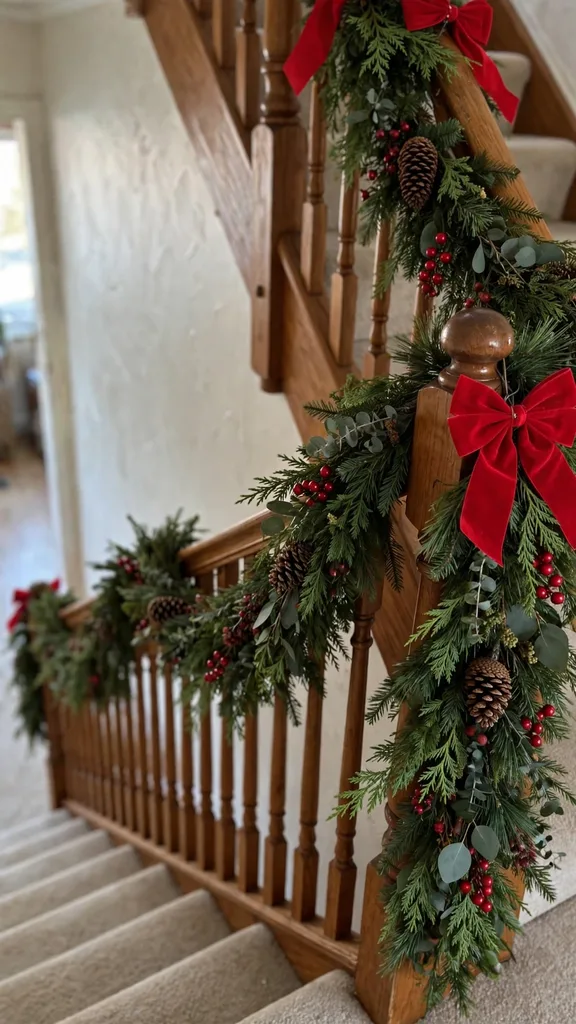
Hang the garland by its end loops and, for long spans, a support at the center: hooks screwed under a mantel’s edge, removable adhesive hooks on a door frame, and soft ties around a banister rail at every turn of the stairs. Never let a heavy garland rest its weight on the foliage itself across a long unsupported span; it will sag into a frown by the second week. On a banister, let the garland drape between the newel posts in even swags and tie it at the posts and the middle of each swag.
On the table, a garland needs no hanging at all: lay it down the center, arrange the tails, and set candles in glass holders among it, never bare flames against fresh or drying greens. Outdoors, on a fence, gate, or porch rail, the same garland lasts weeks longer in the cold, and the wiring does all the work against the wind. Photograph the hung garland in daylight and at night; the two views will show you different faults, and both are worth the small fixes.
Mist and Repair It Through December
A garland indoors dries from the day it is hung, and misting slows the process honestly: a thorough mist with a spray bottle every two or three days, more often in a heated room, keeps foliage flexible and needles attached. Keep garlands away from heat vents, radiators, and the air above a working fireplace, which can dry a mantel garland to tinder in a week. If a section browns early, unhook it, soak it in a tub of cool water for an hour, and rehang; many tired garlands revive completely.
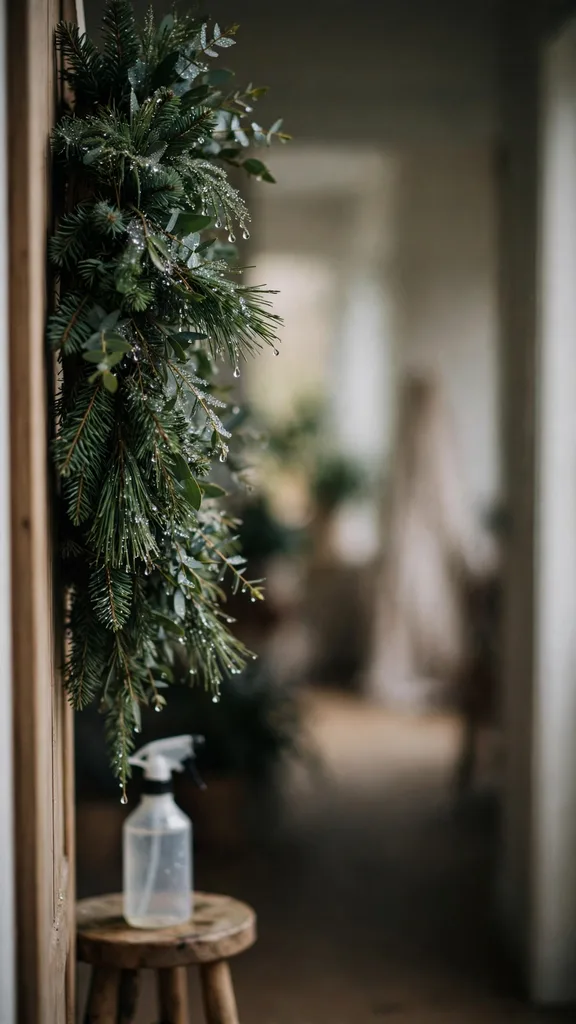
Repairs are small and constant: push escaped stems back in, add a wire wrap where a bundle loosens, swap a dried berry spray for a fresh one. Needles on the floor beneath are the garland’s meter; a sudden increase means it is drying fast and wants misting or moving away from heat. A garland built from long-life greens and misted on schedule still looks fresh at New Year, which is the whole point of choosing the greens by the table at the top of this guide.
Take It Down in January and Compost It
Takedown runs in reverse: decorations off first into their box, then the garland down, then one long snip of the wire at intervals to free the bundles over the compost bin. Shake the garland outdoors before bringing it through the house, because a month-dry garland sheds a blizzard of needles at the first touch. The greens, the twine core, and even the cones all compost; only the wire goes back in the drawer for next year.
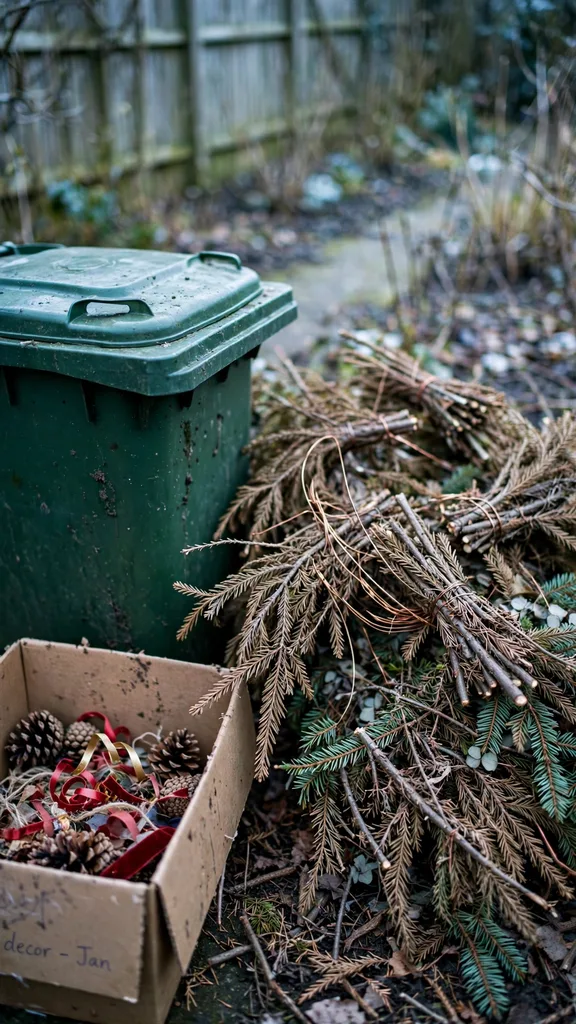
Check the surfaces the garland rested on for sap marks and needle oil while you clean up, and wipe them before they set. Note what lasted and what failed while you work: which green browned first, where the garland sagged, how much you cut. One line in a notebook this January is next December’s better garland. The Christmas wreaths guide on this site uses the same bundle wiring on a ring, so a garland maker already owns the wreath skill; and the full set of 100 ideas lives in the Christmas garden ideas pillar.
Frequently Asked Questions
Indoors, a garland built from cedar, pine, or boxwood lasts three to four weeks with regular misting, and two weeks is typical for fir and spruce mixes. Outdoors in cold weather the same garland lasts five weeks or more, because cold, damp air does the misting for you. The greens you choose decide the lifespan more than any spray or soak, so build the body from the long-life rows of the table and use short-life greens only as accents.
Allow roughly a bucket of loose clippings for every six feet of medium garland, and half as much again for a fat one. In stems, that is 40 to 60 six-to-eight-inch pieces per six feet, wired in bundles of three to five. Cut more than the estimate; the flip test always finds gaps, and leftover conditioned greens make the matching wreath or the table runner. Taking a little from many shrubs spreads the pruning so no plant looks harvested.
Yes, with twine alone: tie each bundle to the core with a tight double knot, working the twine continuously like the wire. Twine garlands are a little looser, suit rustic hanging, and compost without sorting. The wire method is stronger for long spans, heavy greens like magnolia, and banisters where the garland takes knocks. Many makers wire the structure and use twine only for the decorations, getting strength and easy removal where each counts.
Cut and condition the greens one to three days before the garland is needed, and build it the day before hanging if you can. A garland built in early December from long-life greens and misted on schedule still looks fresh at Christmas and New Year. Building in late November for a December-long display asks too much of most greens indoors; build a porch garland then instead, where the cold keeps it, and bring your indoor build forward to mid-December.
Mist it thoroughly every two or three days, keep it away from radiators, heat vents, and hot air above a fireplace, and choose long-life greens for the body. A garland that dries suddenly often revives with an hour’s soak in cool water. Anti-desiccant sprays slow moisture loss and can add a week, applied outdoors before hanging. The honest limit is the species: spruce indoors drops needles whatever you spray, so save it for the porch.