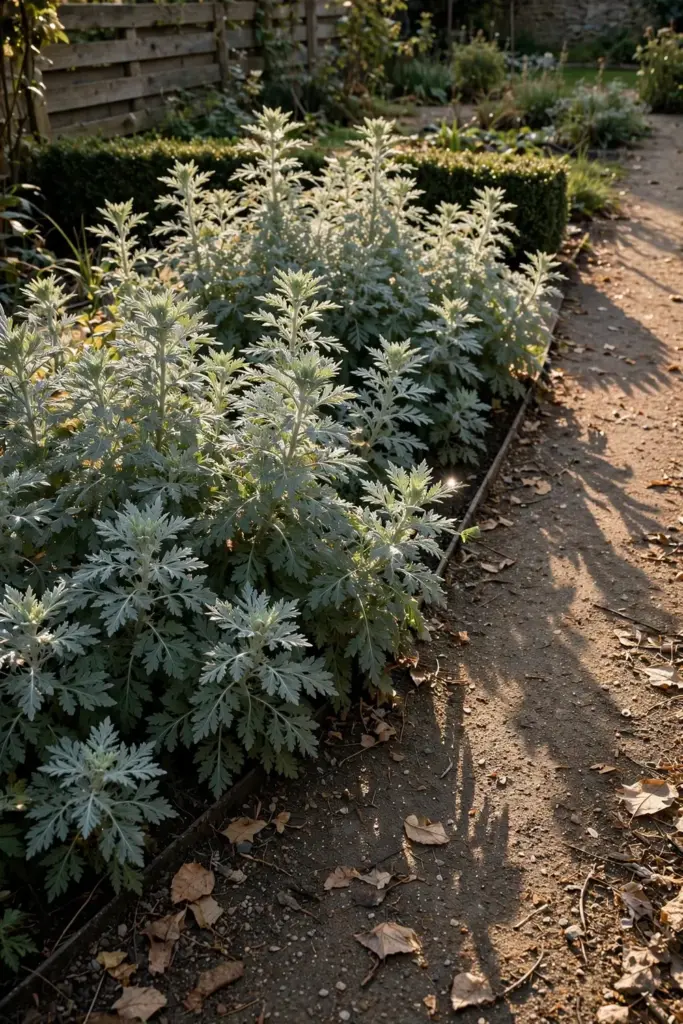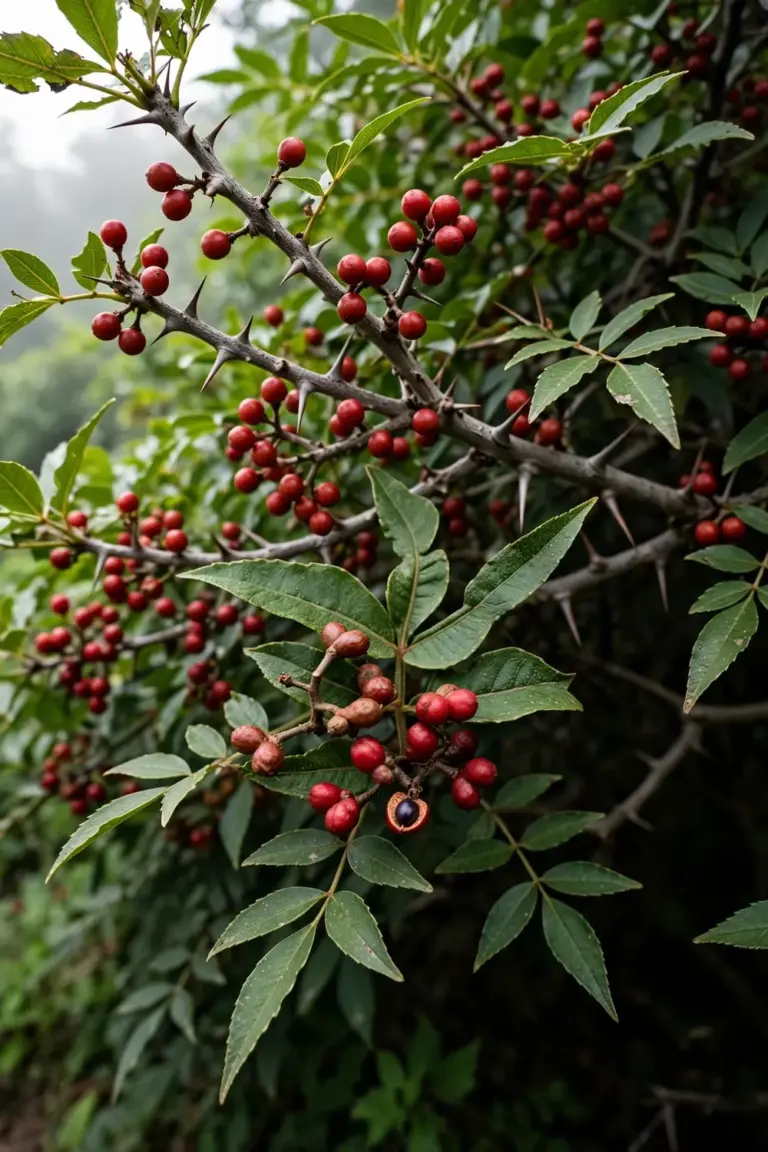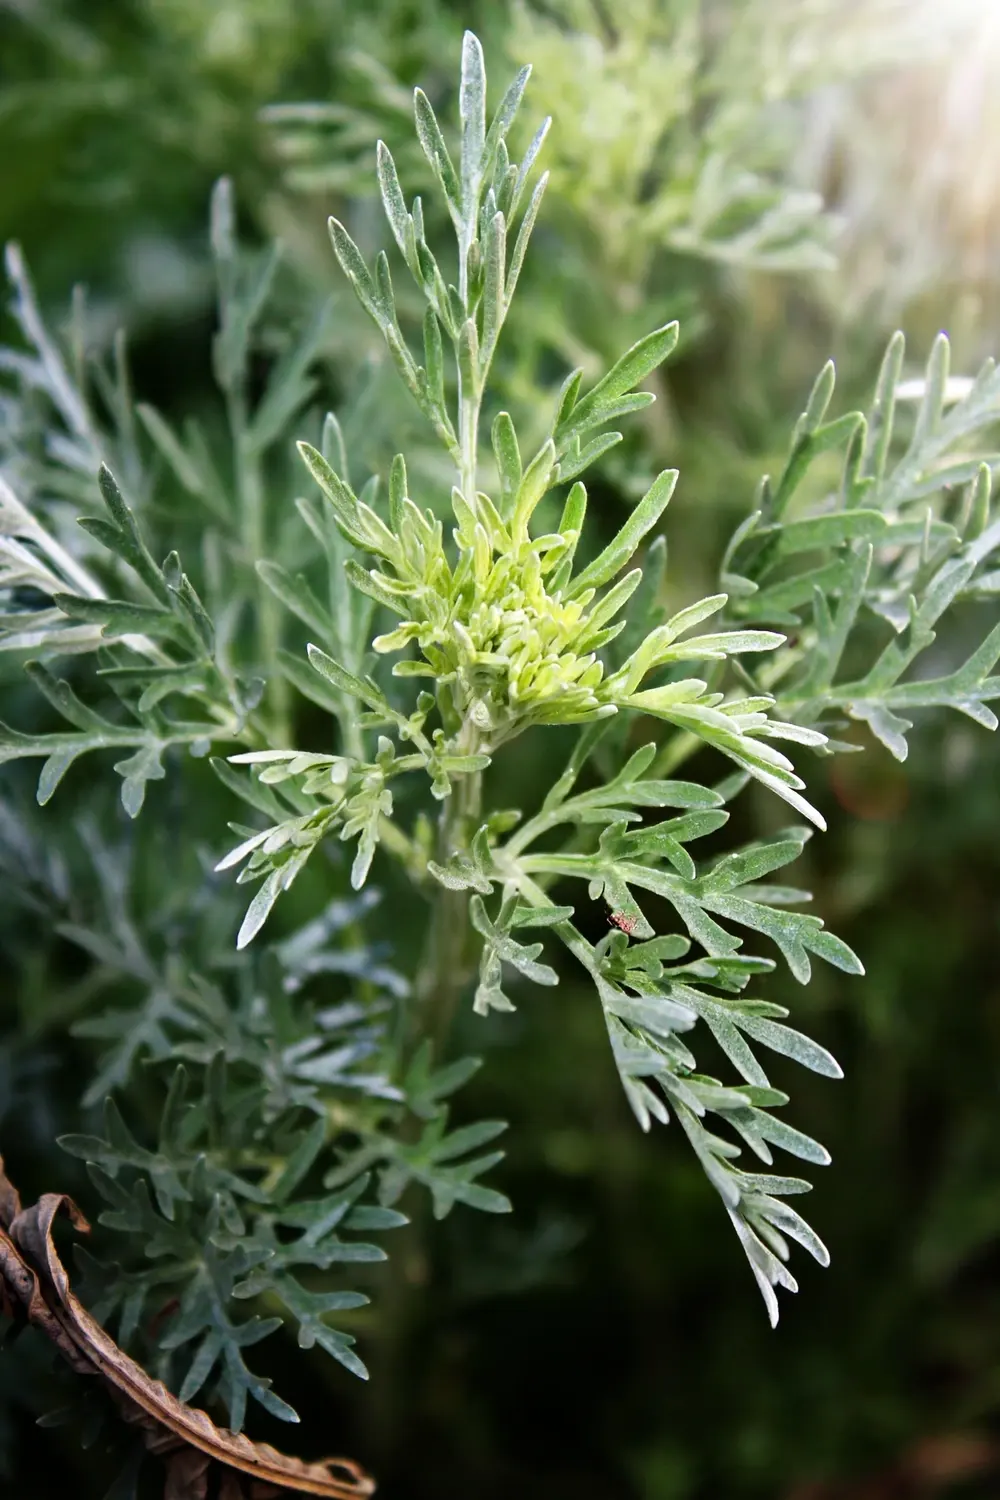

Chinese mugwort is a plant that will reward you for years, but it will also punish you for years if you plant it wrong. Artemisia argyi grows from seed to a harvestable 100 cm perennial in a single 4 to 5 month season, and its leaves are the traditional source of Ai Ye for moxibustion. Get the species right, give it a contained home, and you will harvest armfuls of leaves every summer starting in year one. Skip the containment step and you will spend every summer pulling it out of places you never planted it.
If you want to learn how to grow Chinese mugwort well, start by forgetting everything you know about the “mugwort” sold in generic seed packets. The plant on most Western seed racks is a different species entirely, and the containment warnings on every page of search results exist because gardeners keep learning this the expensive way. Most guides blur together several different plants under one name. This one starts by sorting them out, then walks you through twelve steps from seed to harvest, with the containment decisions placed where they belong: before the seed ever touches soil.
Know Your Mugwort: Artemisia Argyi Is Not Common Mugwort
If you remember nothing else, remember this: the plant sold as “mugwort seed” in most Western shops is usually Artemisia vulgaris, common mugwort, not Artemisia argyi. They look similar and both spread aggressively, but only A. argyi is the Ai Ye of moxibustion tradition. Buying generic mugwort seed and expecting Ai Ye is the most common disappointment in this lane.
| Species | Common name | What it is | Growing note |
|---|---|---|---|
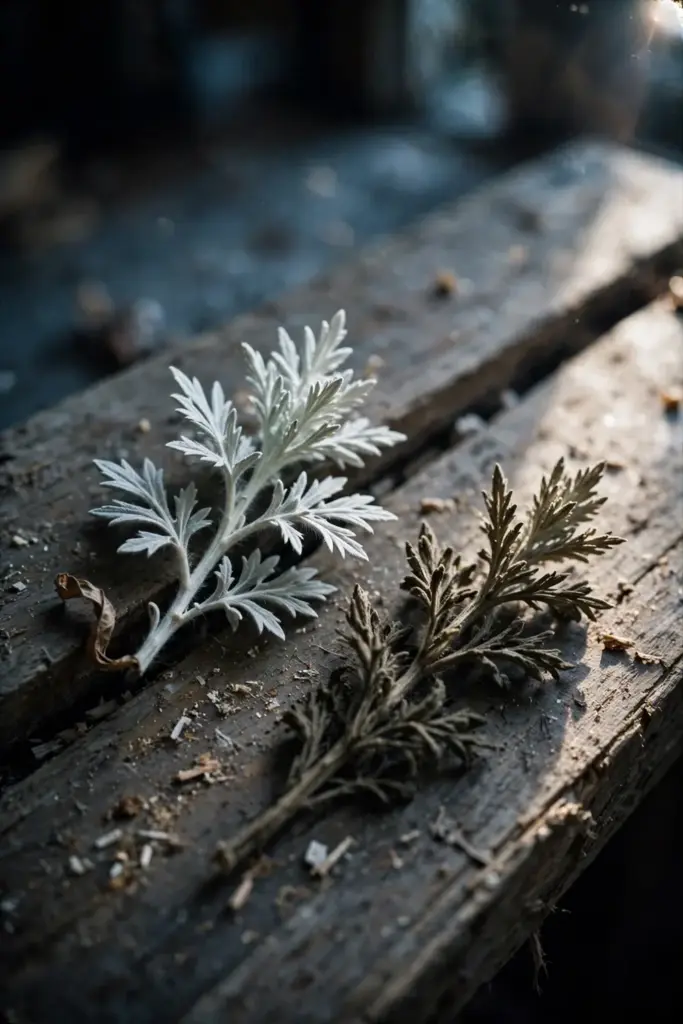
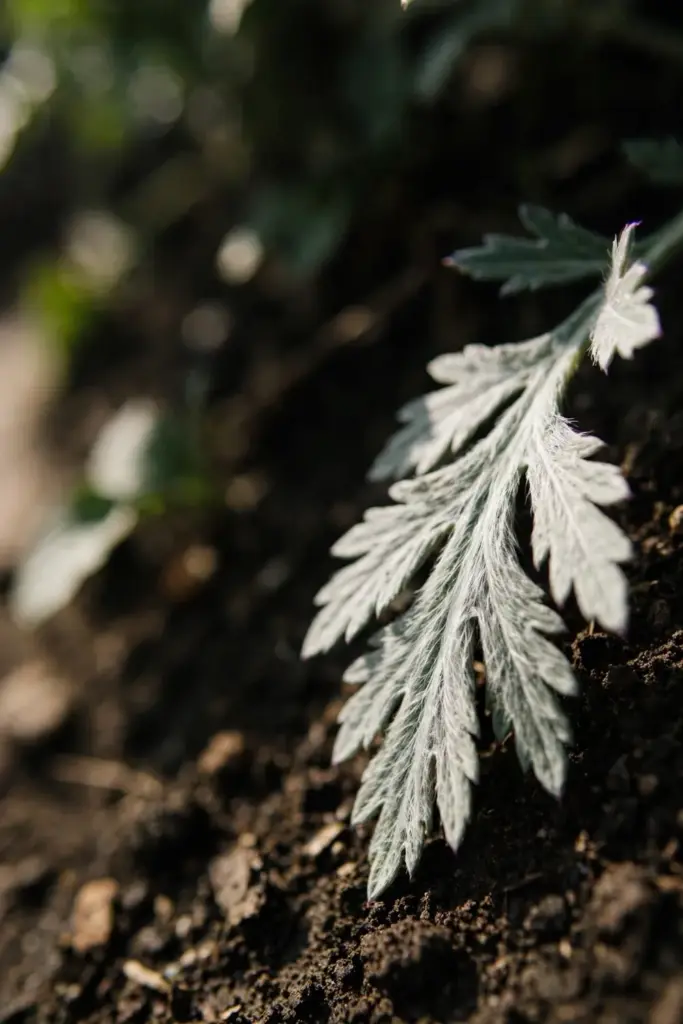
| Artemisia argyi | Chinese mugwort, Ai Ye | The moxibustion species; silvery-white leaf undersides, strongly aromatic | Your target; check the packet’s Latin name |
| Artemisia vulgaris | Common mugwort | The weedy European/American species; invasive in several states | Purdue Extension flags it as invasive; fine as a wild plant, wrong for Ai Ye |
| Artemisia verlotiorum | Verlot’s mugwort | Sometimes sold as “Chinese mugwort” (GardenWorld’s guide uses its URL) | A noted alternate label; not the Ai Ye species |
| Artemisia selengensis | Selenga wormwood | Labeled “Chinese mugwort” by PictureThis and ForwardPlant | Another label mix-up; check the packet |
| Artemisia princeps | Japanese mugwort | Cousin species, similar look | Not Ai Ye either |
The verlotiorum and selengensis mix-ups deserve one more sentence each. GardenWorld’s “complete guide to Chinese mugwort” sits on a URL containing artemisia-verlotiorum, so shoppers following that guide buy the wrong plant while reading the right name. PictureThis and ForwardPlant label A. selengensis as Chinese mugwort in their plant databases, which means photo-identification apps can confirm the wrong species with full confidence. None of these substitutes are dangerous to grow, but none of them are Ai Ye, and a moxibustion harvest from the wrong species is a wasted season.
When you buy seed, read the Latin name on the packet, not the marketing name. If the packet says only “mugwort” with no Latin name, assume it is A. vulgaris and keep looking.
The confusion is not just a labeling problem. A. vulgaris is listed as an invasive species in several US states, and Purdue Extension includes it in weed-management publications. Planting the wrong species means you get all of the spread with none of the Ai Ye quality. Reputable sellers of Chinese medicinal herb seed will print Artemisia argyi clearly, often alongside the Chinese name 艾叶 (Ai Ye).
Step 1: Check Your Climate and Site First
Chinese mugwort is hardy across almost all temperate zones. Trade seed sellers list it as freeze-hardy to nearly all zones, and wild populations described in the Flora of China range from lowland China through Korea, Mongolia, and Russia. In practice, USDA zones 4 through 9 are comfortable; colder zones may see winter dieback with spring regrowth from the roots.
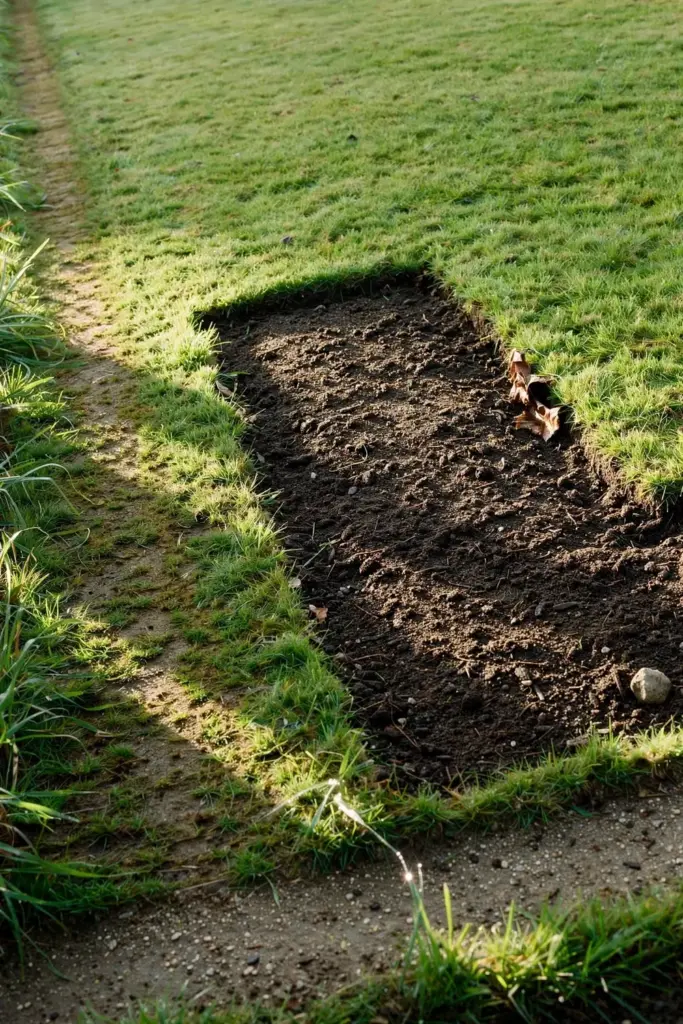
Site selection matters more than zone. A. argyi wants full sun and tolerates partial shade, and it is famously tolerant of poor soils. Rich, fertile soil makes it enormous; poor soil keeps it closer to its wild size of about 1.5 meters. Because this plant spreads by rhizomes, never place it where you cannot reach all four sides for maintenance. A corner pocket between a fence and a path is a trap you will regret.
In zones 4 and 5, give the crown a 5 to 8 cm winter mulch of straw after the first hard frost, and pull it back in early spring. The mulch protects the crown from freeze-thaw cycles that heave shallow rhizomes out of the soil. In zones 8 and 9, the plant may never fully go dormant; cut it back in late winter to reset the year’s growth.
Slope and drainage deserve a thought too. Wild A. argyi colonizes roadsides, slopes, and steppe, so a slightly raised or sloped spot with fast drainage suits it perfectly. Avoid low pockets where water stands after rain; soggy crowns rot, and a rotting crown in a rhizomatous perennial invites the whole network to fail.
Step 2: Decide Containment Before You Buy Seeds
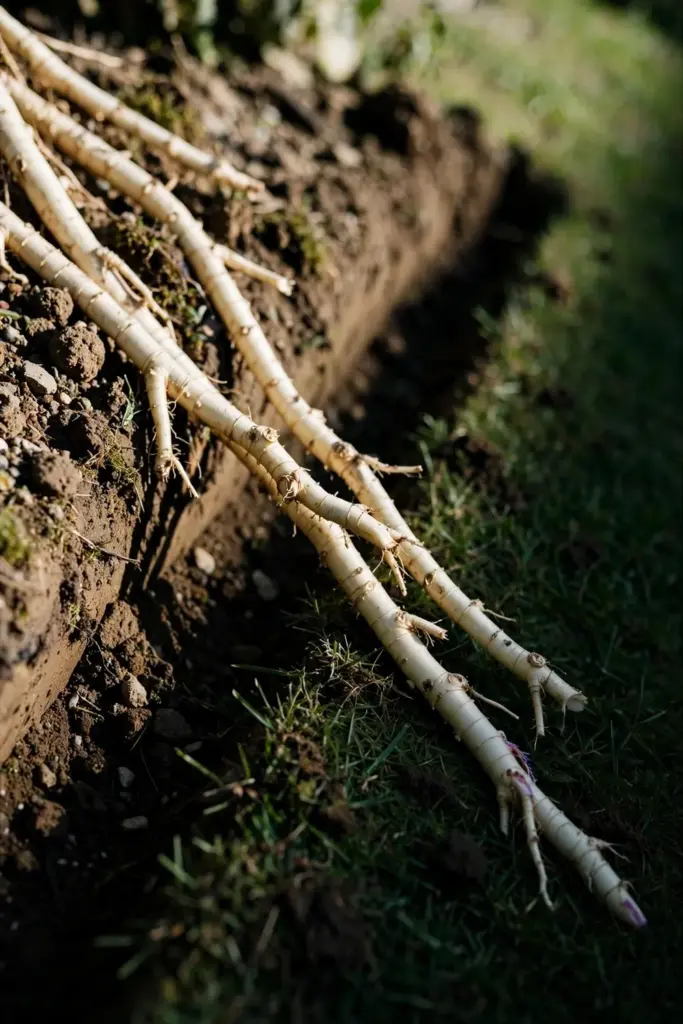
This is the step every thin seed-seller page skips, and it is the one that decides whether you enjoy this plant or fight it. Artemisia argyi spreads by underground rhizomes that run mostly horizontally near the soil surface. A Virginia Tech study on mugwort found individual plants producing over a dozen rhizomes totaling several meters of length within twelve weeks of transplanting, with new shoots arising as far as 45 cm from the base. In rich soil that reach only increases.
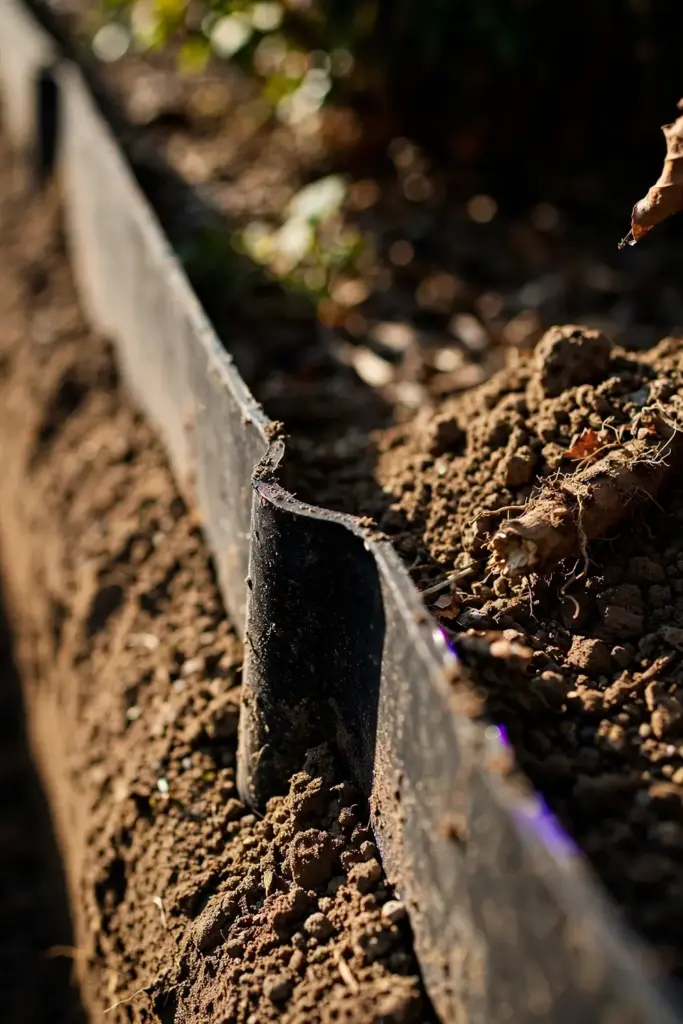
You have three honest options, ranked from safest to riskiest:
- A large container. A pot of at least 40 liters keeps the rhizomes physically boxed. This is the option for small gardens and for anyone who rents.
- A root barrier. Bury a rigid plastic or metal barrier at least 30 cm deep around the planting area, with 5 cm protruding above the soil line so rhizomes cannot hop over the top.
- A managed bed. Plant it in an isolated bed surrounded by paths or lawn you mow regularly, and commit to edging the bed twice a year.
Skip all three and you will donate this plant to your whole yard within two seasons. The title of this guide promises growing without it taking over, and these three options are how.
A note on barriers: flimsy landscape edging does not stop rhizomes. You need rigid high-density polyethylene or galvanized metal, 30 cm deep minimum, joined with no gaps. Rhizomes probe for the weakest seam, and one gap turns the whole barrier into a suggestion. Check the barrier line each spring and autumn, and cut back any runner that tests the edge.
Step 3: Source True Artemisia Argyi Seeds
Buy from a seller that prints Artemisia argyi on the packet. Specialist seed houses selling Chinese medicinal herbs are the most reliable source; generic “mugwort” listings on marketplaces are not. Gardeners learning how to grow Chinese mugwort should treat the Latin name as the entire buying decision. One packet of 100 seeds is plenty for a home planting, since you will thin or transplant most of them.
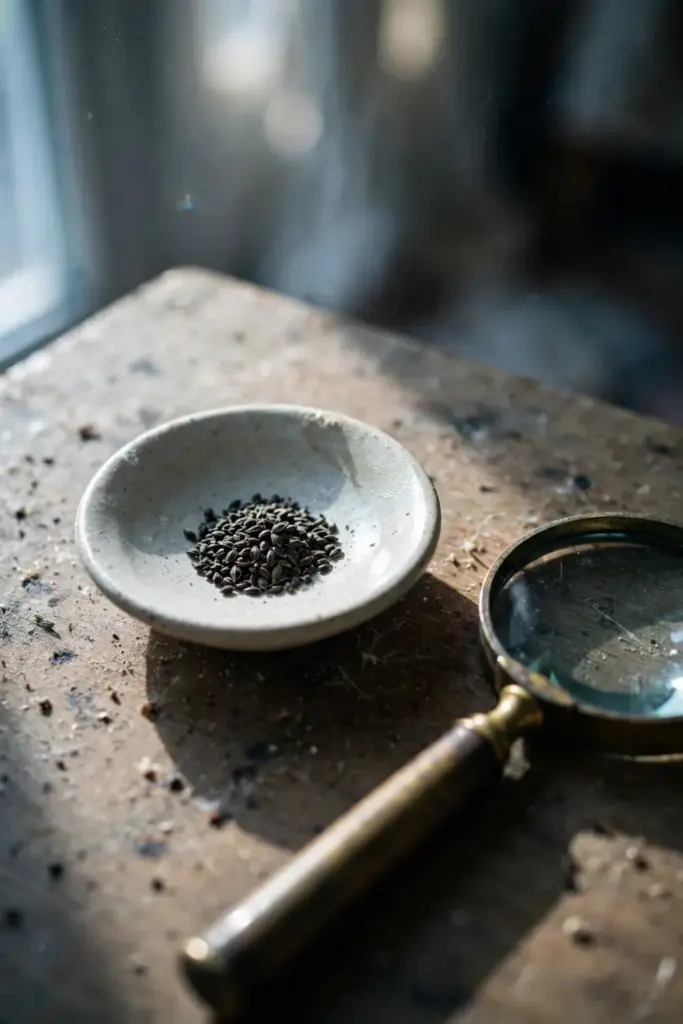
Check the pack date. Artemisia seed stays viable for a few years in cool, dry storage, but fresh seed germinates fastest. If the seller also sells plants or root divisions, know that divisions establish faster than seed but multiply your containment risk from day one, since every division fragment can re-sprout.
Buy a little more than you need. A packet of 100 seeds sounds like a lot until surface sowing, light requirements, and the odd failed tray take their share. Two packets let you re-sow without waiting for another order, and the second sowing two weeks after the first staggers your transplant window nicely.
Step 4: Sow on the Surface (Seeds Need Light)
Artemisia seeds are tiny and need light to germinate. Press them onto the surface of moist seed-starting mix and do not cover them, or cover with only the thinnest dusting of vermiculite. A humidity dome or a sheet of plastic over the tray keeps the surface from drying out, which is the main cause of failure. If you are new to starting tiny seeds indoors, the seed starting routine on growit.wiki/ covers trays, moisture, and timing in detail.
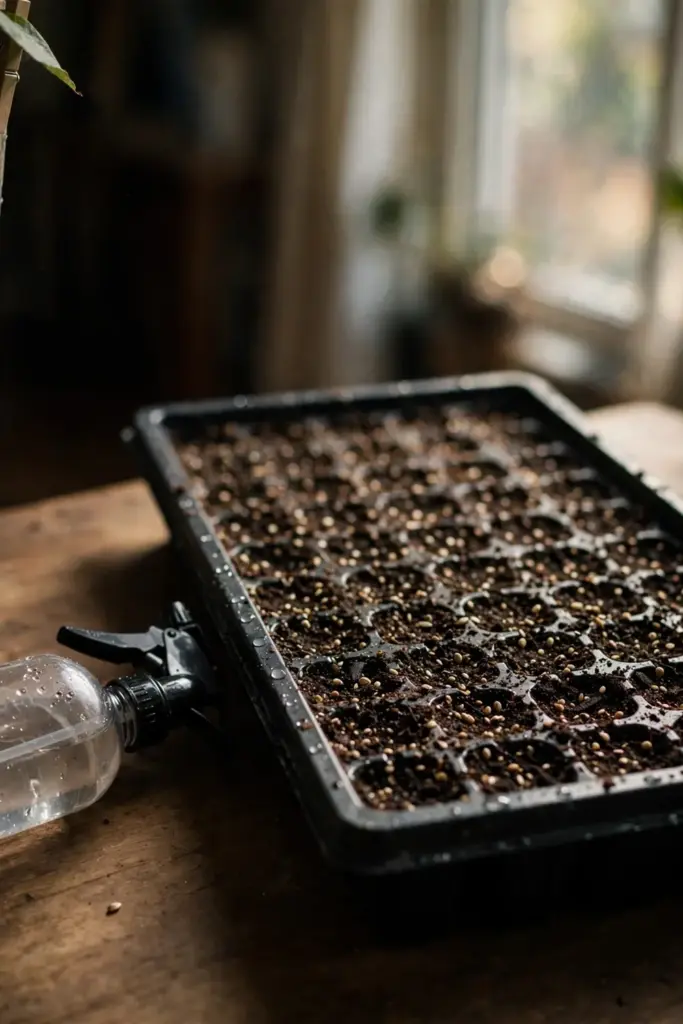
Start seeds indoors in late winter to early spring, or direct sow outdoors from mid-spring once the soil has warmed. Indoor starting gives you a head start of four to six weeks and makes thinning easier.
Use a fine, level seed-starting mix and press it flat before sowing, because tiny seeds wash into every low spot when you water. Mist the surface with a spray bottle rather than pouring, and keep the tray at room temperature or a few degrees warmer. Bottom heat mats help but are not required.
Step 5: Germination: What 10 to 20 Days Looks Like
In warm conditions, germination is usually fairly quick: 10 to 20 days, according to specialist herb seed growers. Keep the surface evenly moist but not waterlogged, and give the tray warmth (above 20°C speeds things up). Do not give up at day 15; cool windowsills can stretch germination toward three weeks.
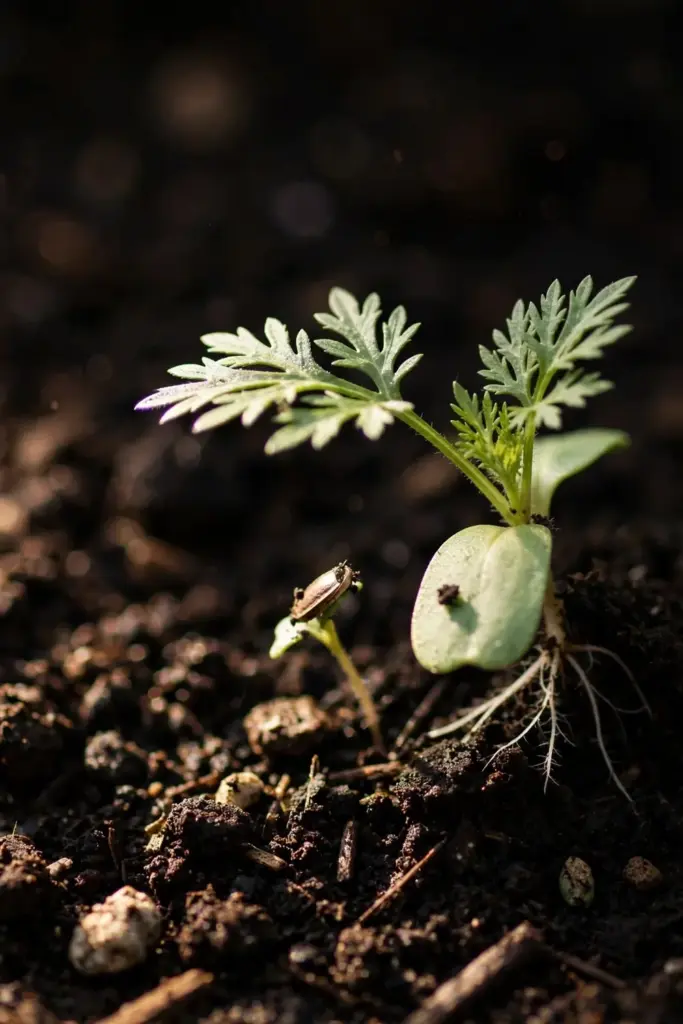
The sign it worked is unmistakable: tiny seedlings with a single oval cotyledon, followed by the first feathery true leaves with their silvery undersides. Thin or prick out seedlings as soon as they are large enough to handle, leaving the strongest ones.
Keep the humidity dome on until most seeds have sprouted, then remove it gradually over two days so the seedlings harden to room air. Seedlings that stay under a dome too long grow soft and damp off at the base.
Step 6: Raise Seedlings Until They Reach Transplant Size
Grow seedlings on in individual pots until they are 10 to 15 cm tall with several sets of true leaves. Keep them in bright light; leggy seedlings in dim windows grow weak stems that flop after transplanting.
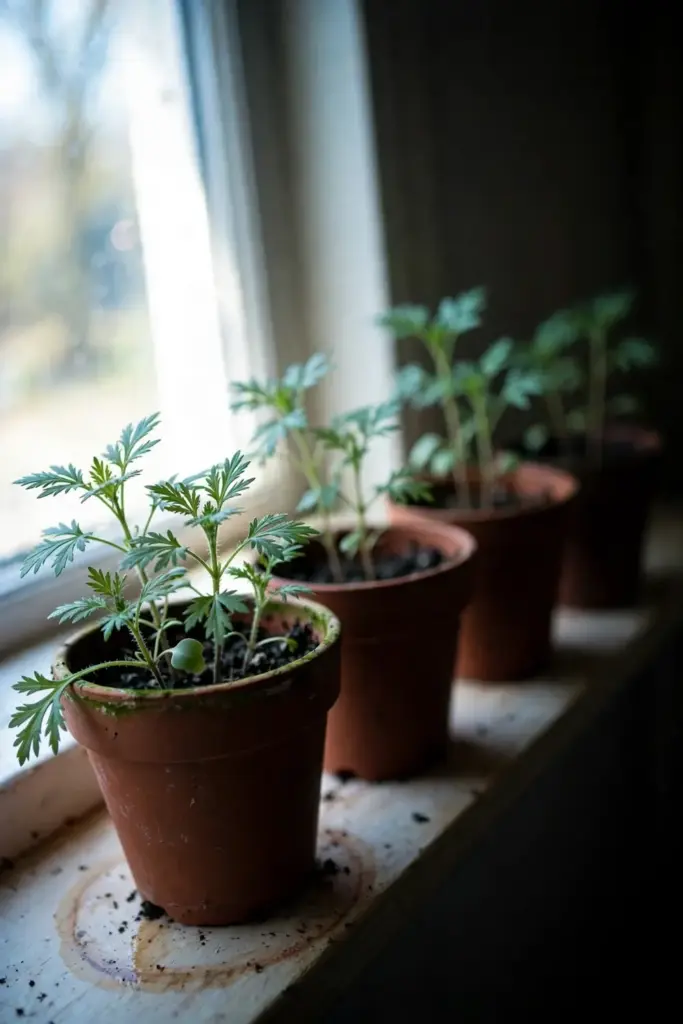
Water from the bottom or with a fine mist so the tiny surface-sown roots are never blasted. A half-strength liquid fertilizer every two weeks is enough. Seedlings reach transplant size roughly six to eight weeks after sowing.
Harden seedlings off for a week before transplanting: set them outside in shade for a few hours a day, increasing sun and time until they stay out overnight. Seedlings moved straight from a windowsill to full sun stall for weeks.
Step 7: Prepare the Bed and Soil
Chinese mugwort tolerates almost any soil that drains, but it sulks in waterlogged ground. Work compost into the top 15 to 20 cm and level the bed. If your soil is heavy clay, raise the bed 10 to 15 cm or plant on a slight mound. Building the kind of living, well-structured soil described in the soil health guide pays off here: good structure keeps rhizomes easy to edge and lift.
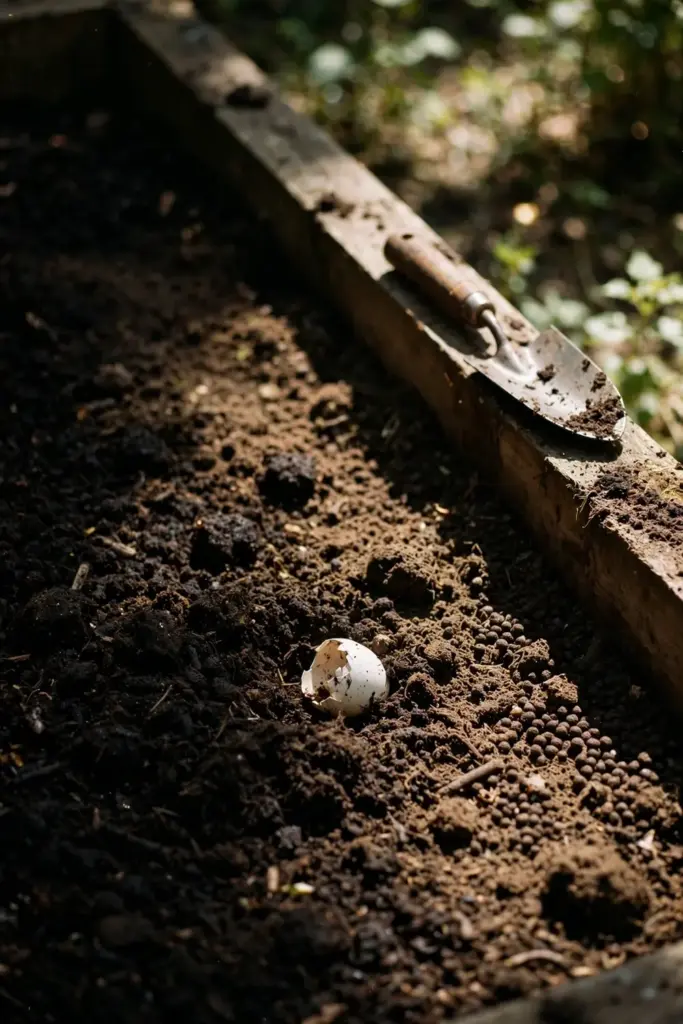
This is also when you install the root barrier from Step 2 if you chose that option. Digging a barrier trench after the plants are in is ten times the work. If you chose the container option, fill the pot with a standard potting mix and make sure the drainage holes are clear.
Step 8: Transplant With Spacing That Respects the Spread
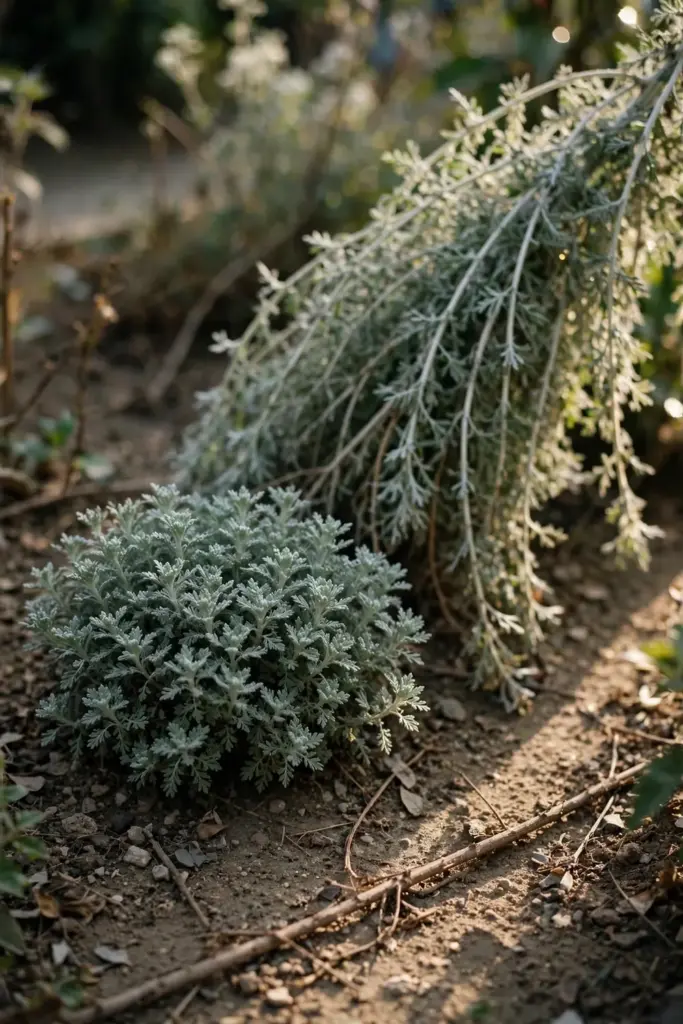
Plant out after the last frost, spacing plants 60 to 90 cm apart. That spacing looks generous for seedlings, but by midsummer each plant will be a leafy mound half a meter across, and the rhizomes will be reaching further.
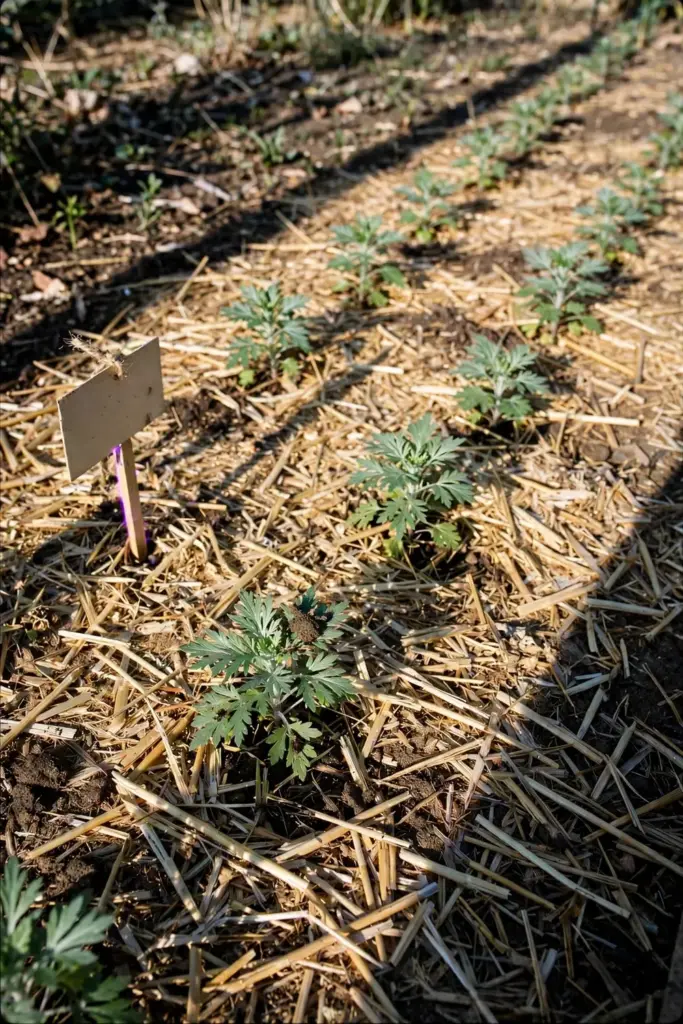
Water transplants in well and mulch with 5 cm of straw or shredded leaves, keeping the mulch a few centimeters away from the stems. Expect a brief transplant pause of a week or two before new growth resumes.
Resist the urge to plant closer “because it looks empty.” The 60 to 90 cm spacing is for the plant’s second year, not its first month. Crowded first-year plantings turn into a matted thicket where airflow fails and the rhizomes tangle into one unliftable mass.
Step 9: Watering and Feeding
Water deeply but infrequently. Once established, A. argyi is drought tolerant and needs little care; overwatering in heavy soil causes more problems than dry spells. In the first season, water when the top 3 cm of soil dries out.
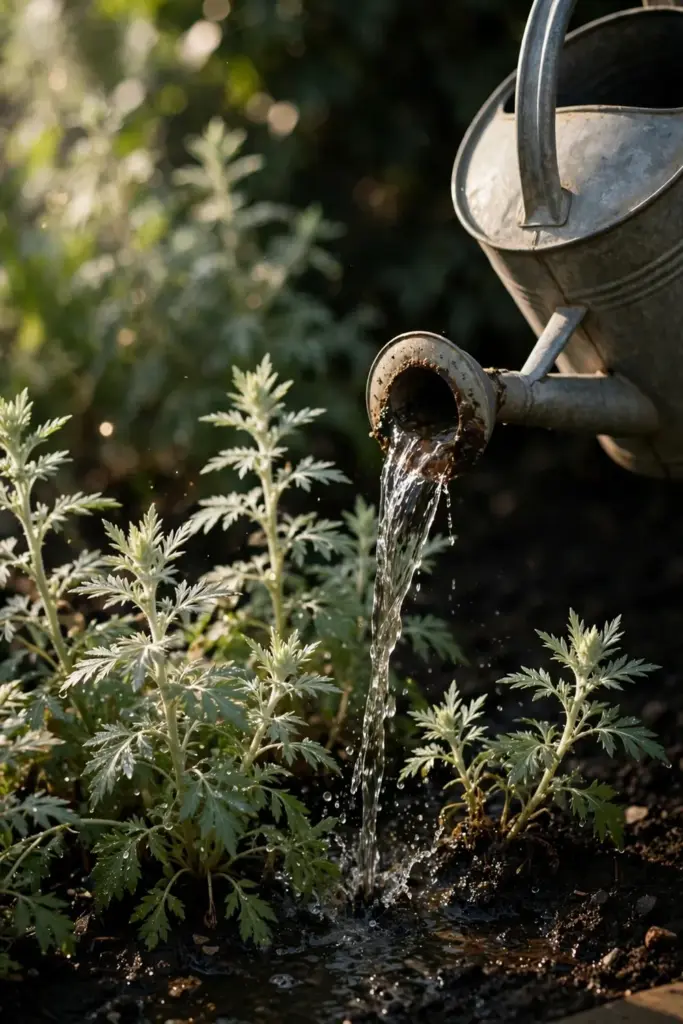
Feed lightly or not at all. A single spring top-dressing of compost is plenty for most soils. Heavy nitrogen grows soft, floppy foliage and increases the plant’s already vigorous spread. On poor soils, the plant stays compact and more intensely aromatic, which is what you want for leaf harvest.
If leaves yellow in midsummer, the cause is usually waterlogging or extreme heat stress, not hunger. Check drainage before reaching for fertilizer; feeding a stressed plant rarely helps and often feeds the weeds around it.
Step 10: The Container Option, Done Right
If you chose a pot, size matters: 40 liters minimum for one plant, with drainage holes and a saucer you empty after rain. Container plants dry out faster than bed plants, so check moisture every two to three days in summer.
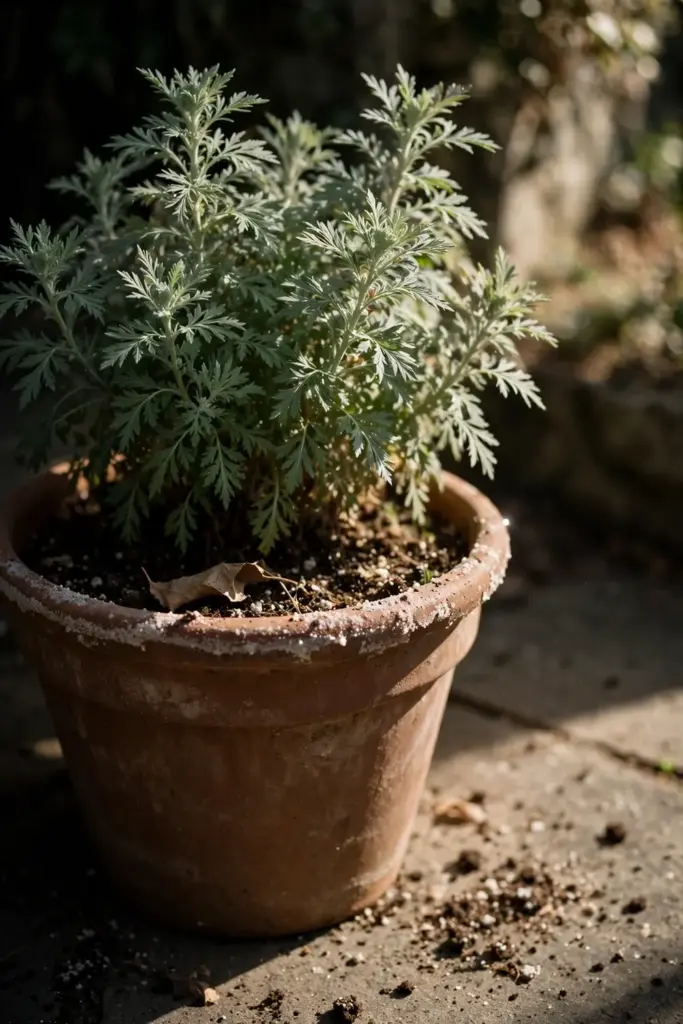
Feed containers twice per season with half-strength liquid fertilizer, since pots leach nutrients. In zones colder than 6, move the pot against a sheltered wall for winter or bury it to the rim in a mulch pile. Repot or divide every two to three years; a root-bound pot is the one container scenario where vigor drops.
Dividing a container plant is also your cheapest way to get more plants: slice the root ball in early spring with a sharp spade, keeping a few shoots per division, and pot each piece up. Every division goes into its own container, never into open ground without a barrier.
Step 11: Pests, Diseases, and the Allelopathy Note
A. argyi has few pest problems. Aphids may cluster on new shoots in spring; a strong jet of water dislodges them. Rust and powdery mildew appear in humid, crowded plantings; the cure is spacing and airflow, not sprays.
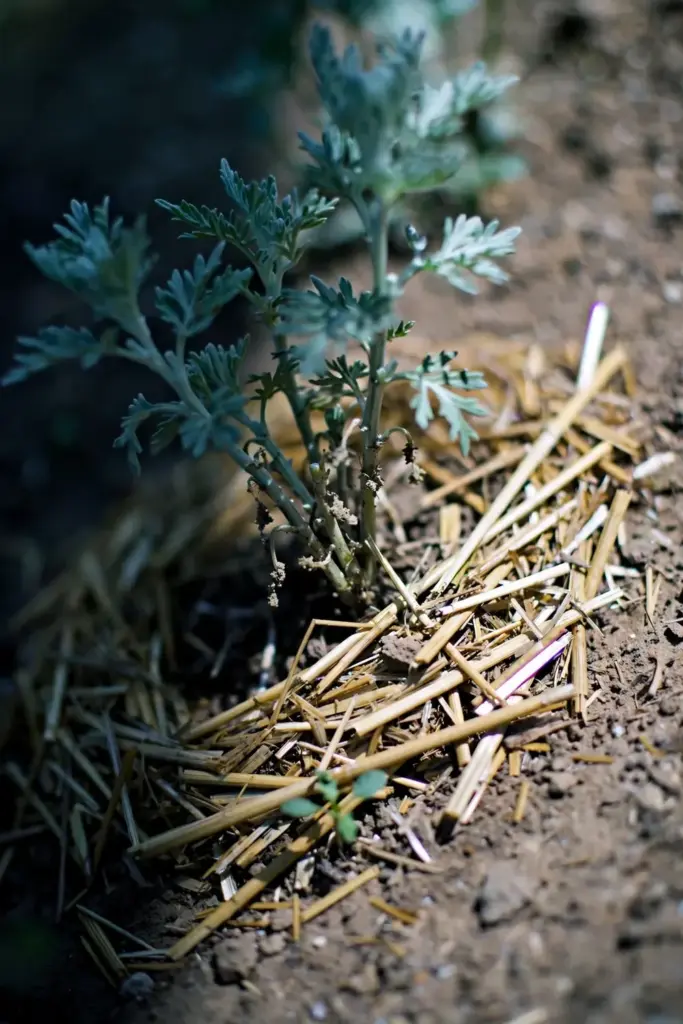
One research note worth knowing: water extracts of A. argyi leaves inhibit the germination and growth of other plants in lab studies (Scientific Reports, 2021). In a garden bed this means you should not mulch vegetable beds with fresh mugwort clippings or plant it cheek by jowl with slow-germinating seeds. Composted clippings are fine.
Cut the whole plant back by a third in midsummer if it gets leggy. It responds to shearing with a flush of fresh, aromatic growth, and the cut material makes excellent compost once it has heated. Regular cutting also keeps flower heads from forming, which serves your containment plan double duty. The spring pruning techniques guide covers clean cutting tools and technique that apply to perennials like this one.
Step 12: Harvest Leaves for Moxibustion-Grade Drying
Harvest in the plant’s rapid spring growth, before flowering. Chinese tradition picks the best leaves around the Dragon Boat Festival (early June on the lunar calendar’s fifth month), when the plant is growing fast but not yet blooming. Cut stems in the morning after the dew dries, taking no more than one-third of the plant at a time so it regrows.
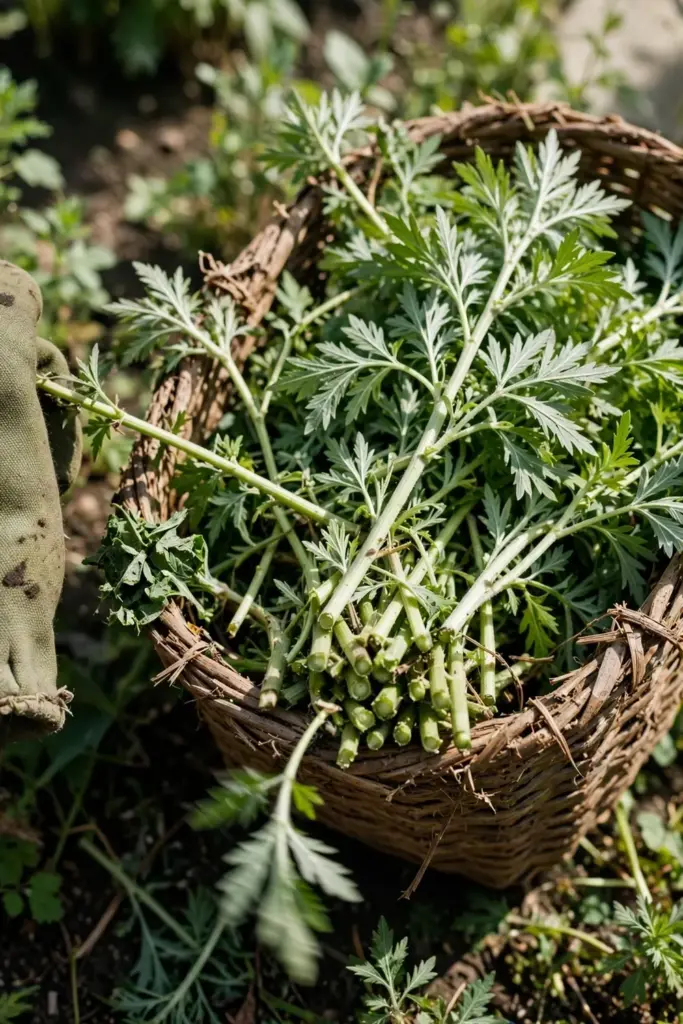
Strip the leaves, spread them thinly in shade with good airflow, and dry until they crumble. Sun-drying works but shade-drying keeps more of the aromatic oils. Store fully dry leaves in airtight jars away from light.
The traditional quality note: aged Ai Ye burns better than fresh. Old texts speak of three-year-aged mugwort for moxibustion, and modern practitioners still prefer leaf that has been stored dry for a year or more. If you plan to make moxa floss, harvest extra and let time do the refining.
For drying at scale, a simple screen rack in a garage or covered porch works better than hanging bundles, which trap moisture in the centers. Turn the leaves once a day until they are crisp. Any leaf that smells musty instead of sharply aromatic has dried too slowly; compost it and harvest fresher material.
Troubleshooting: When It Runs Anyway
It escaped the bed. Dig a trench around the planting and sever every rhizome you find, pulling the runners back inside the barrier line. Any fragment left in the soil can re-sprout, so repeat the edging twice a year. Cutting or pulling the tops alone stimulates more rhizome growth, so you must get the underground network.
Seedlings came up everywhere. You let it flower and set seed. Cut flowering stems before they open next year. A single season of deadheading stops the seed rain.
It looks leggy and flops. Too much shade, too much nitrogen, or both. Move divisions to full sun in leaner soil, and stop feeding.
Leaves have rust spots. Improve airflow, widen spacing, and water at the base instead of overhead. Remove the worst leaves; healthy regrowth follows.
No germination after three weeks. The seed surface dried out, the seed was buried too deep, or the seed was old. Re-sow on a fresh tray, press seed onto the surface, and keep a humidity dome on until sprouts appear.
Common Mistakes and How to Fix Them
Buying seed without a Latin name. The fix is a refund or a compost pile. Generic “mugwort” seed is almost always Artemisia vulgaris. Next time, buy only packets that print Artemisia argyi.
Burying the seed. Artemisia seed needs light. The fix is re-sowing on the surface, pressed in but uncovered, under a humidity dome.
Planting in open ground with no barrier. The fix is retroactive containment: trench around the planting in autumn, sever the runners, and install the barrier you skipped. Every season of delay multiplies the digging.
Feeding it like a vegetable. Heavy nitrogen makes Chinese mugwort floppy, oversized, and even more aggressive. The fix is to stop feeding entirely and let lean soil do the shaping.
Harvesting after flowering. Post-bloom leaves are coarser and less aromatic. The fix is timing: harvest in spring’s rapid growth, and if you missed the window, cut the plant back and harvest the regrowth.
Letting it flower “for the bees.” One season of seed set creates years of volunteers. The fix is deadheading before the flower heads open, or cutting the whole plant back in midsummer.
Frequently Asked Questions
No. Chinese mugwort is Artemisia argyi; common mugwort is Artemisia vulgaris. They look alike and both spread by rhizomes, but only A. argyi is the Ai Ye used in moxibustion. Always check the Latin name on the seed packet before you buy.
It will if you plant it without containment, no exceptions worth betting on. It spreads by horizontal rhizomes and by seed, and both routes are vigorous. A root barrier, a large container, or a managed bed with twice-yearly edging keeps it where you put it.
Expect germination in 10 to 20 days in warm conditions, transplant-size seedlings in six to eight weeks, and a full harvestable plant in the first summer. Meaningful leaf harvests begin in year one; the biggest yields come from year two onward, when the root system is fully established and each plant fills its allotted space.
Yes, and for small gardens it is the safest option. Use at least a 40-liter pot with drainage holes, check water every few days in summer, feed twice per season at half strength, and divide every two to three years before the roots pack solid.
Harvest during rapid spring growth before flowering, traditionally around early June. Cut in the morning after dew dries, taking no more than one-third of the plant, then dry in shade with good airflow and store airtight. Aged leaf burns better for moxibustion.
Skin contact with Artemisia species can cause dermatitis or allergic reactions in sensitive people, and the pollen is a known allergen for hay-fever sufferers. Wear gloves when handling large harvests, work in ventilated space when drying, and do not use the herb medicinally without qualified guidance.
Where to Go From Here
You now have the full picture: the right species, a contained home, seed on the surface, and a harvest calendar. Start with one contained planting and one season of observation; Chinese mugwort is a plant you learn once and keep for decades. Gardeners who master how to grow Chinese mugwort find it one of the lowest-effort perennials they own, precisely because the containment decisions were made up front. Keep a simple yearly rhythm: edge the barrier in spring, cut back in midsummer, harvest before bloom, and deadhead anything that flowers. Four small jobs a year stand between you and a plant that behaves. If your interest runs toward other Chinese medicinal herbs, the disambiguation habit you built here will serve you on every seed packet you ever buy.