
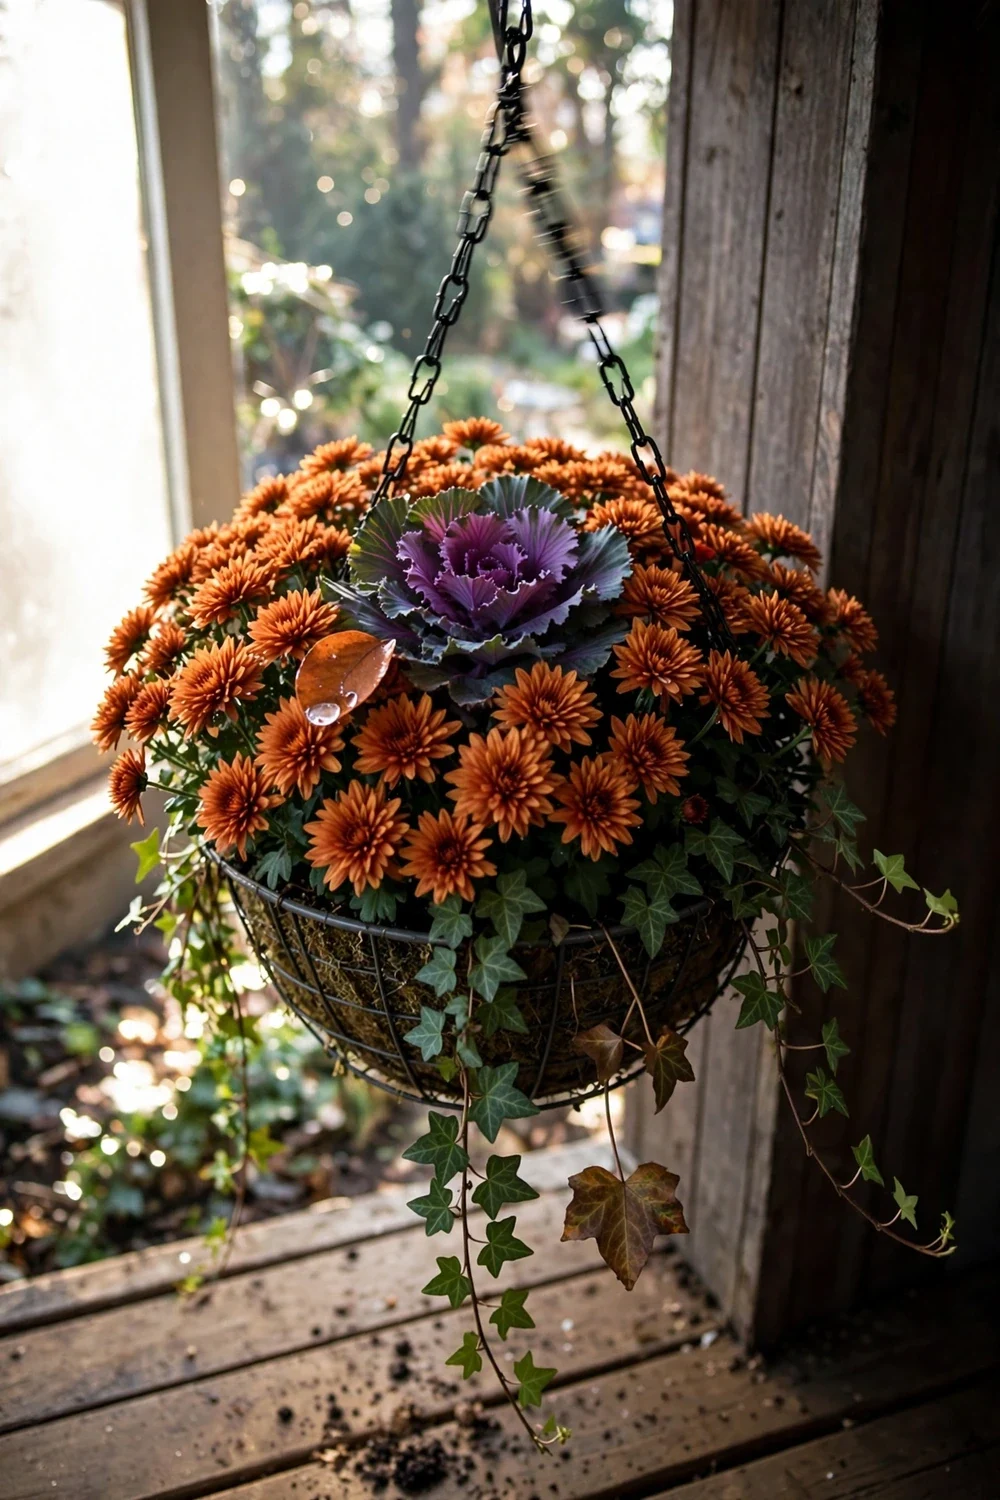

Fill one 35 cm wire basket this weekend and you have a fall display that outlasts every pot on the porch. That is the whole promise of hanging baskets for fall. A basket you build yourself, lined and planted for cool air, hangs above the frost line and keeps color long after the beds go quiet.
This is not a shopping list of fake mums from a warehouse shelf. It is a build guide. The rest of this page is 21 steps, from picking the basket frame to watering through the first frost, plus a liner comparison table that shows which liner holds water longest on a windy porch. Read it once, build one basket, and the second one takes half the time.
The October clock matters. Nights are dropping toward 10C in much of the country, and garden centers are turning over their summer stock for cool-season plants. Build your baskets now, while pansies and violas are on the racks, and the roots settle before the first hard freeze.
This page is the basket builder’s manual. It teaches the build: the frame, the liner, the planting order, the watering. If baskets are one part of a bigger autumn overhaul, the fall gardening tips checklist covers the rest of the season’s jobs.
Liner Comparison Table
| Liner Type | Water Retention | Wind Exposure | Best Use |
|---|---|---|---|
| Coco fiber | Lowest of the three. Dries in a day on an exposed hook. | Weakest. Bare fibers wick moisture straight into moving air. | Natural look on a sheltered porch or under an eave. |
| Sphagnum moss | Middle. Holds noticeably more than coco. | Weakest. Bare sides lose water to wind almost as fast as coco. | Full traditional baskets in calm courtyards and walled patios. |
| Plastic insert with holes | Highest. Holds a shallow reservoir at the base. | Strongest. Blocks side evaporation almost entirely. | Windy balconies, open hooks, and anyone who forgets to water. |
The table is the decision. Every step below assumes you have picked a row.
1. Size the Basket to the Season
A 35 to 40 cm wire basket is the working size for fall. It holds enough mix to buffer one missed watering, which matters because hanging baskets dry faster than anything else you grow. Small baskets go from damp to bone-dry in a single warm afternoon, and in fall the swings are wider than in summer. A basket under 30 cm works only if you are home every day to water it.
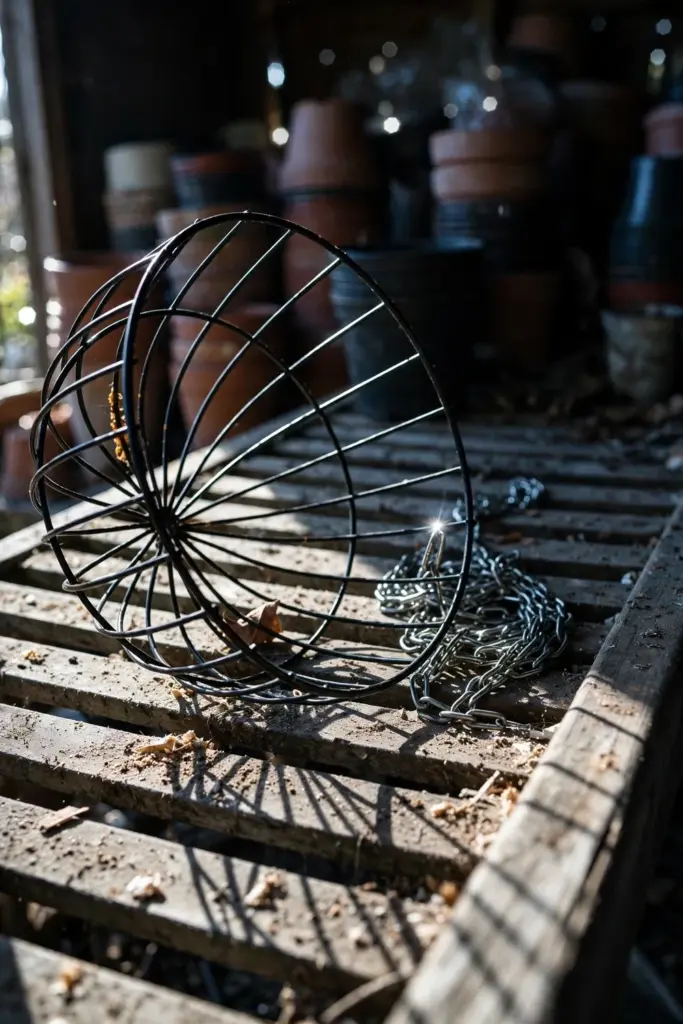
Go bigger if the basket hangs in wind. A larger volume buys you a margin of error on the days the wind steals half the moisture before noon. The extra weight also steadies the basket, so it does not swing and spill mix in gusts.
Think of basket size as your watering schedule in disguise. Every centimeter of diameter is insurance against the day you forget.
2. Pick Wire Over Plastic for Fall
Wire frames with replaceable liners are the fall basket. Plastic shells trap water and look tired by November, while a wire frame lets you swap the liner each season and gives trailing plants a way to poke through the sides. Powder-coated wire resists a season of rain and one of frost.
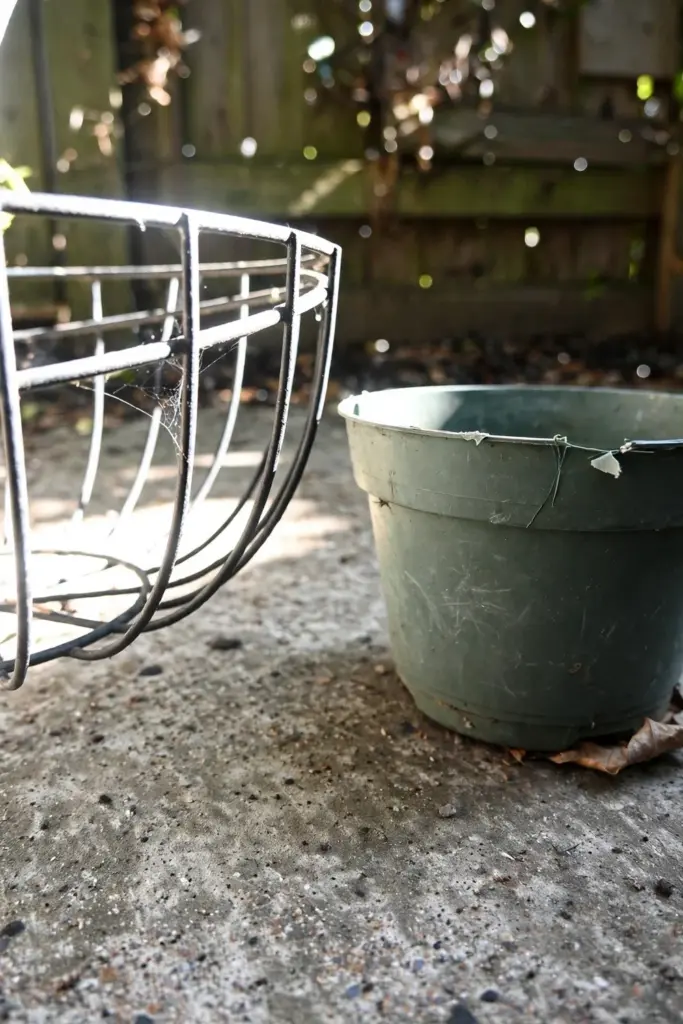
Check the chains before you plant. Three chains that meet at a central ring hang level; a basket that tilts after planting never straightens. Replace any chain with a rusted link now, because a chain that fails in November drops the whole basket.
A wire frame is also the only frame that lets you side-plant, which is what makes a basket look full instead of flat.
Buy the frame one season and keep it for years. A powder-coated wire basket rinsed and dried in November comes back in spring as good as new, and the liner is the only part you replace.
3. Fit the Coco Liner Snugly
Drop the coco liner into the wire frame and press it into the ribs. The liner should sit a couple of centimeters above the rim all the way around, with no gaps where mix can sift out. Coco liners come pre-formed, and the cheap ones run thin at the base, so double up on a thin liner rather than trusting it through a wet October.
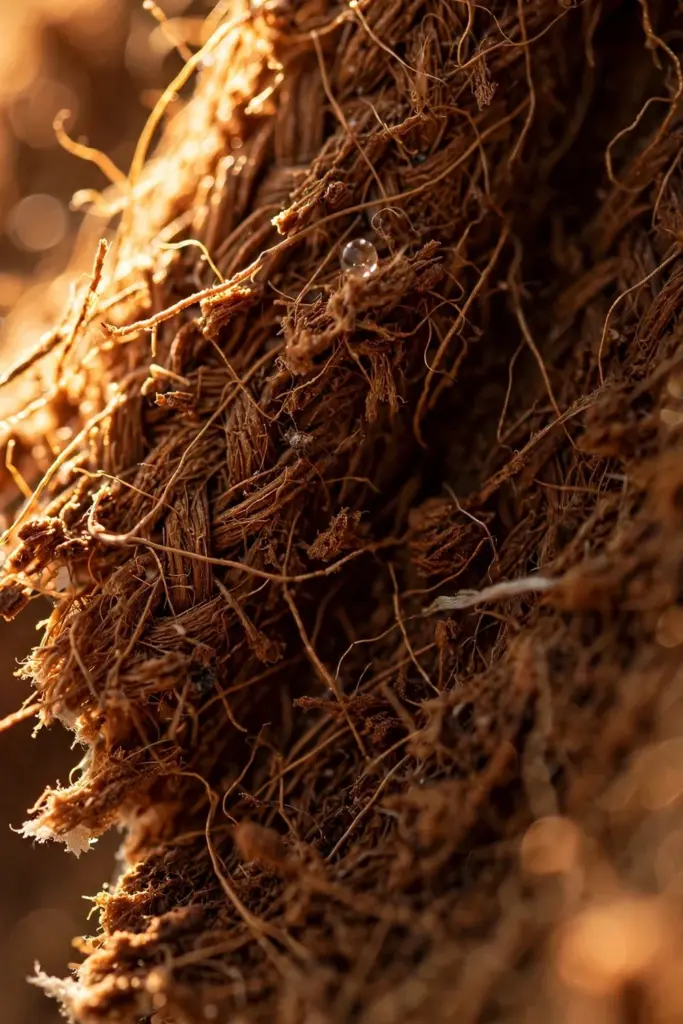
Soak the liner before you plant. Dry coco fibers shed water on first contact, and a pre-soaked liner starts the season already holding moisture. Ten minutes in a bucket of water is enough to change how the whole basket behaves.
Trim any liner that flops over the rim. Overhanging coco wicks water up and out of the basket, drying the top layer while the bottom stays wet.
4. Cut Side Slits for Side Planting
This is the move that separates a flat basket from a full one. Cut three to five horizontal slits, about 5 cm long, in the liner sides, spaced evenly around the basket. Plants tucked through these slits grow outward and fill the sphere instead of growing only from the top.
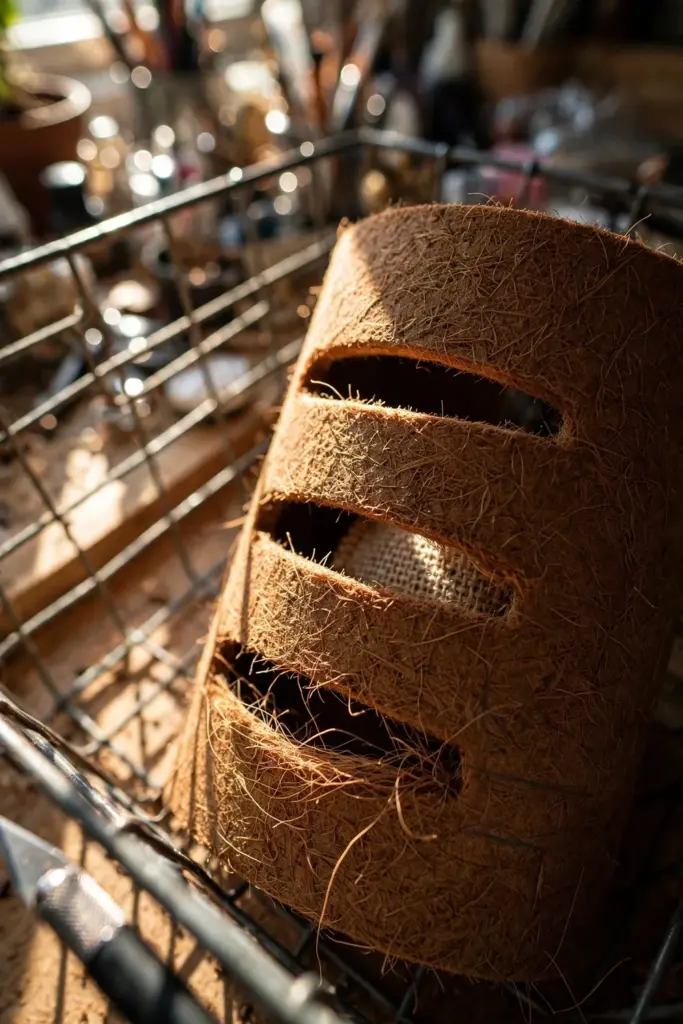
Cut from the inside out with a sharp knife, and keep the slits level with each other. Ragged cuts tear wider under watering; clean slits hold their shape all season. Space them at least 10 cm apart so the root balls do not crowd each other.
If your liner is thin, reinforce each slit with a small patch of burlap behind it. The patch keeps the slit from stretching under the weight of wet mix.
5. Add the Plastic Water-Reservoir Layer
The single best trick in this whole guide is a plastic insert. It comes straight from University of Georgia extension guidance (Read plant labels to create a thriving hanging basket). A perforated insert inside a moss or coco basket holds water in the container longer than the liner alone.
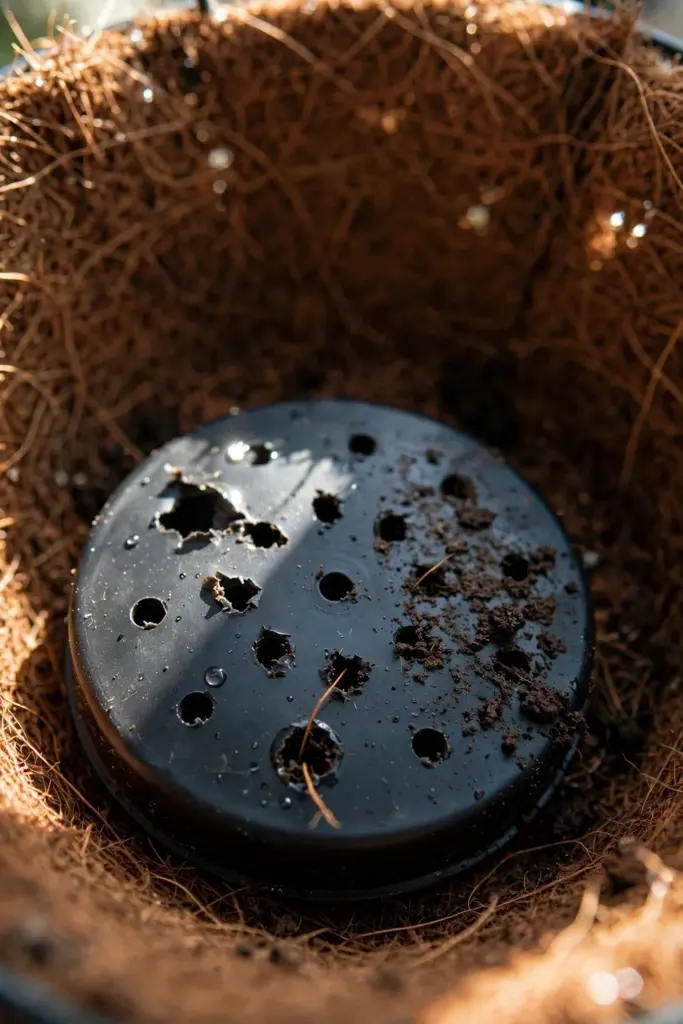
Cut a disc of black plastic the diameter of the liner base, poke a dozen drainage holes in it, and lay it inside the liner before the mix goes in. The disc holds a shallow reservoir at the bottom while the holes keep it from going swampy.
On a windy balcony this layer is the difference between daily watering and every-other-day watering. It is the cheapest upgrade in the entire build.
Cut the disc a centimeter smaller than the liner base so water can still drain around the edges. A disc that seals the base turns the basket into a bucket, and buckets rot roots.
6. Fill With a Soilless Mix, Not Garden Soil
The best potting mix does not contain any soil. Garden soil compacts in a basket, holds the wrong kind of water, and carries diseases and weed seeds into a clean build. Buy a soilless mix or blend your own from peat, bark, perlite, and vermiculite.
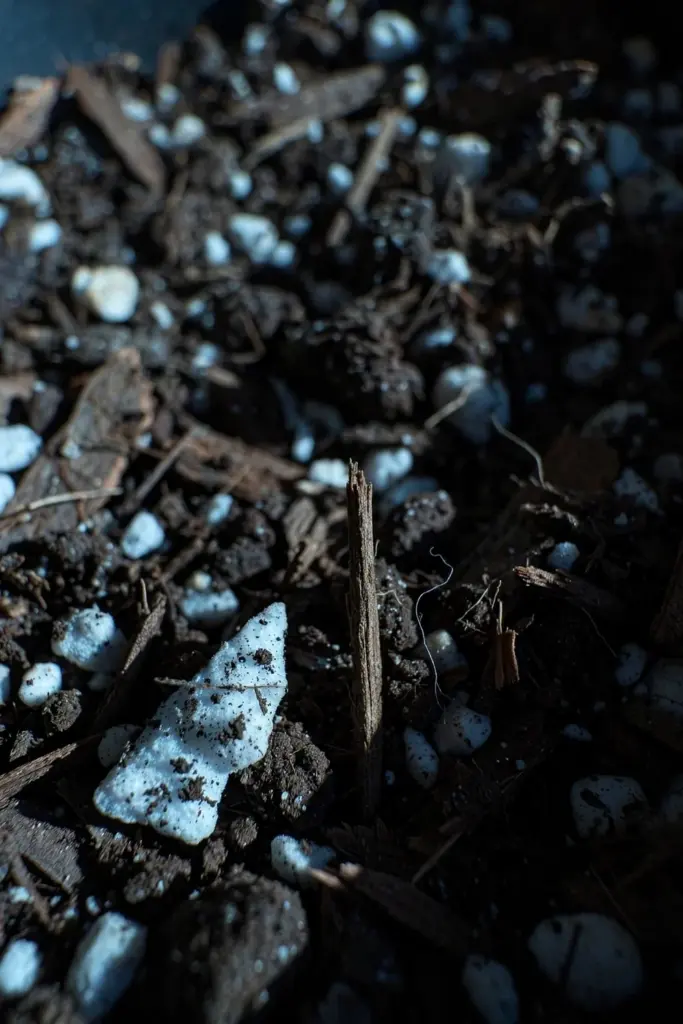
The mix should be well drained and aerated, yet hold moisture and nutrients. The same UGA guidance puts the target pH at 5.5 to 6.5, the range where plants take up nutrients properly. A bag labeled for containers or hanging baskets already sits in that window. For more on what lives in good soil and why it matters, see the soil health guide.
Fill the basket loosely at first, then settle it with water before planting. Mix that goes in dry and gets planted immediately develops air pockets around the root balls, and air pockets dry out first.
7. Work Slow-Release Fertilizer Into the Mix
Baskets are hungry because every watering rinses nutrients out the bottom and the sides. Mix a measured dose of slow-release granular fertilizer through the potting mix before planting, following the label rate for the container size. The label rate matters more in a basket than in a bed, because there is no surrounding soil to buffer an overdose.
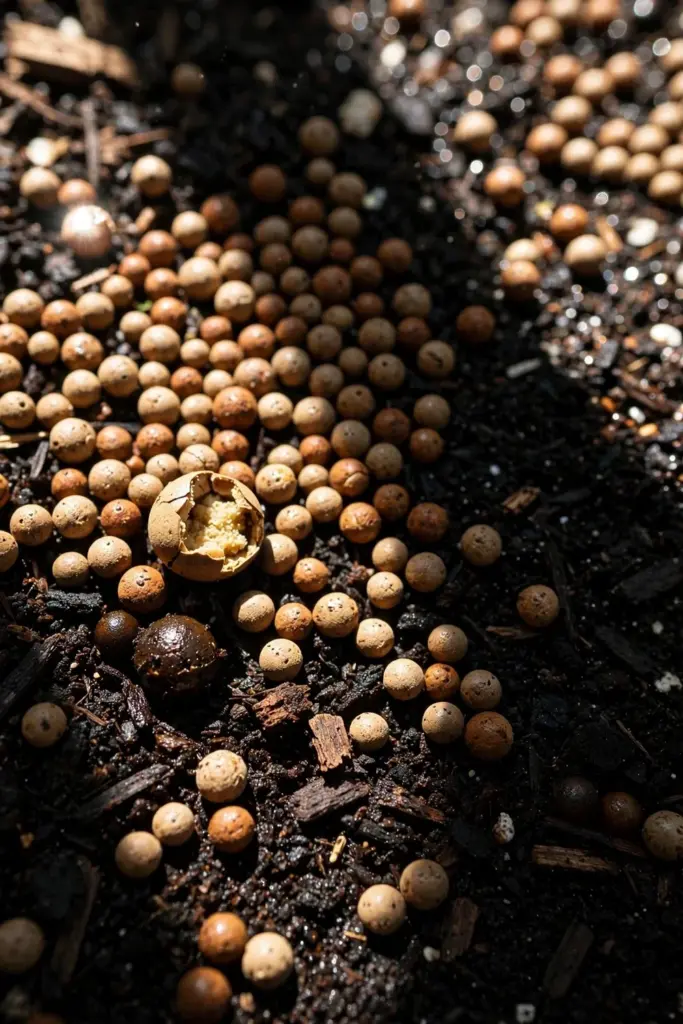
Mississippi State Extension is plain about it in their fall container guidance. The best ready-made mixes are lightweight, weed-free, and often include slow-release fertilizer to keep plants growing strong (Container gardening is a winner for fall landscapes).
If your mix already contains fertilizer, do not add more. Double-dosing in a basket burns roots fast, and burned roots in October do not grow back before frost.
8. Plant the Center Thriller First
Every good basket has an anchor. In fall that is usually an ornamental cabbage or kale, a small grass, or a mum started from a 10 cm pot. Set it dead center, at the same depth it grew in its nursery pot, and firm the mix around it.
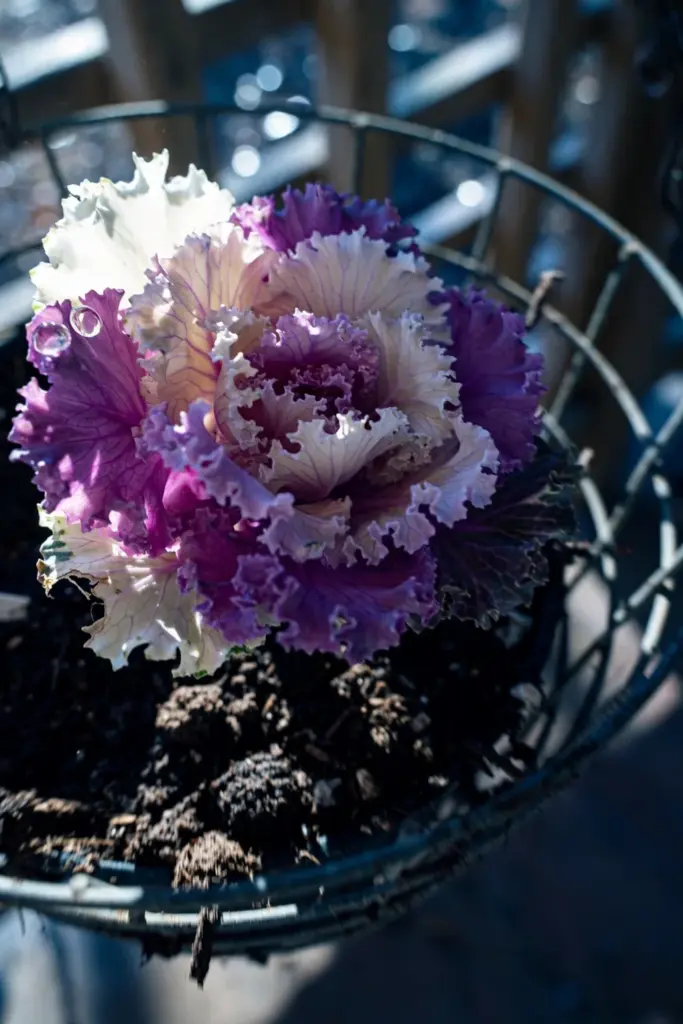
Do not bury the crown. The number one killer of fall baskets is a crown planted 2 cm too deep, rotting in October rain while the owner blames the cold. The crown, the point where stem meets roots, must sit exactly at the mix surface.
Choose a thriller that is already showing color. A green cabbage will color up in the basket over the coming weeks. An October build still has to look finished the day it goes up.
9. Ring the Fillers Around the Thriller
Fillers are the mid-height plants that hide the mix: pansies, violas, dianthus, dusty miller. Space them so the foliage nearly touches at planting; a basket looks full from day one instead of waiting three weeks. Six to eight filler plants ring a 35 cm basket.
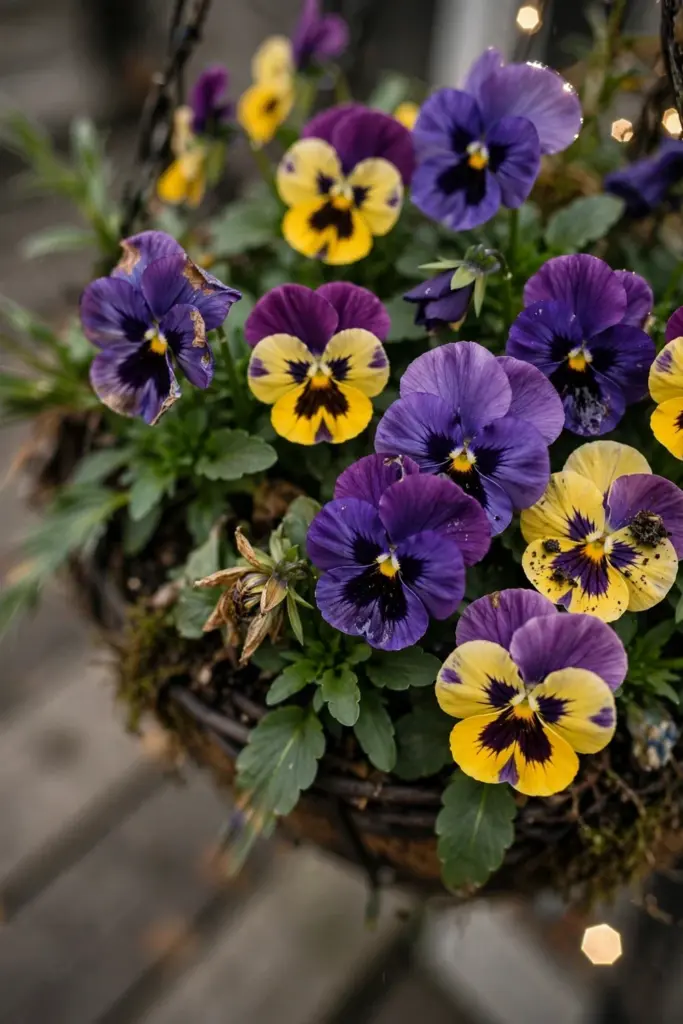
Match water needs when you pick. A basket that mixes thirsty pansies with drought-tolerant dusty miller forces you to water for the thirstiest plant and rot the other. Combine plants with similar water, light, and nutrition requirements and the whole basket runs on one schedule.
Plant the fillers leaning slightly outward. The lean opens the center for light and starts the mounding shape that makes a basket look generous.
10. Tuck the Trailing Spillers
Trailing plants are what make a hanging basket read as a basket instead of a pot on a hook. Ivy, creeping jenny, trailing pansies, and sweet potato vine spill over the rim and hide the liner. Plant them last, at the rim, angled outward at 45 degrees.
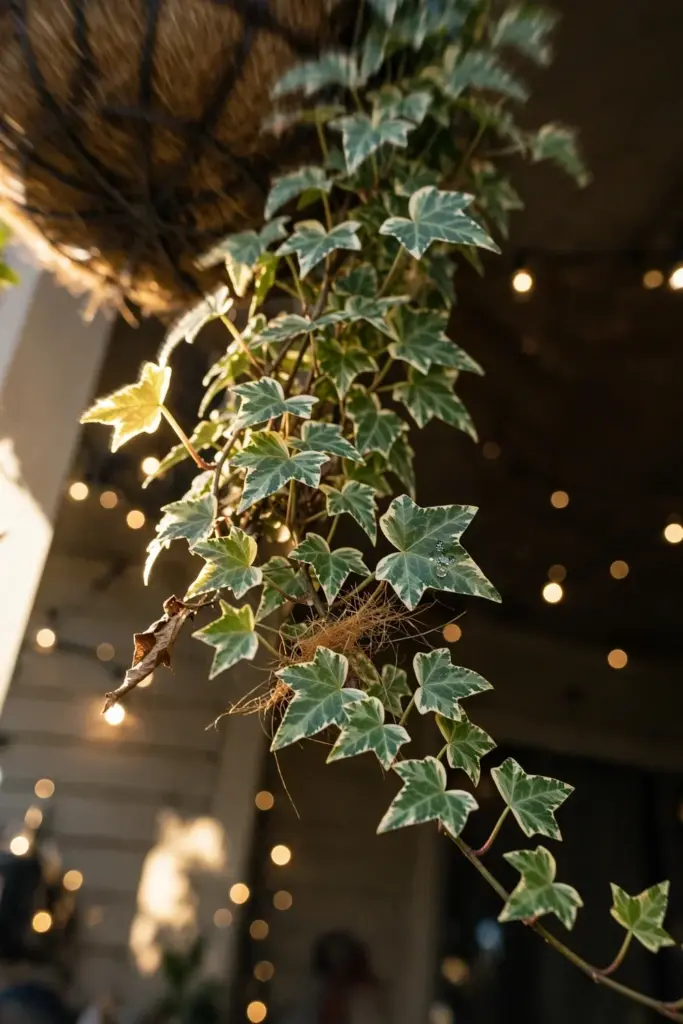
University of Georgia horticulturist Bodie Pennisi lists the classics that earn their place in baskets: petunias, million bells, geraniums, bacopa, torenias, verbenas, portulacas, helichrysums, English ivy, German ivy, potato vines, scaevolas, bidens, angel wing begonias, and vinca vines (Help your flowers thrive in hanging baskets). For fall, reach for the cool-season end of that list: ivy, pansies, and violas.
Give each trailer a fistful of mix packed tight against the liner. Loose mix at the rim is the first thing to wash out in a hard rain, and a trailer with exposed roots stalls for weeks.
11. Plant Through the Side Slits
Push root balls gently through the slits you cut in step 4, from the outside in, then pack mix behind them from the inside. This is easier with two hands and a basket resting on a bucket, not hanging. Small transplants, 5 to 8 cm pots, slide through slits without tearing them; gallon plants do not.
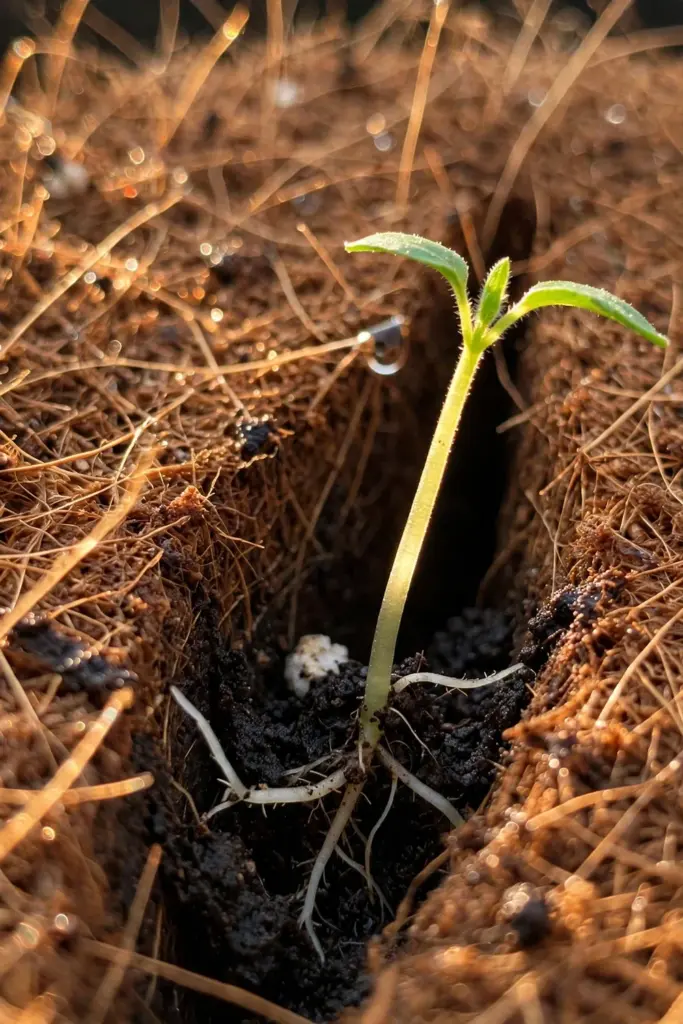
Water the slits immediately after planting. The disturbed mix around a side-planted root ball dries faster than the rest of the basket until the roots knit in. A side planting that wilts on day two usually just needs its own drink, not a rescue.
Do not side-plant the whole basket. Three to five side plants is the right number for a 35 cm basket; more than that and the liner cannot hold the weight of wet mix against all those holes.
What Fits: Plant Counts by Basket Size
| Basket Diameter | Thriller | Fillers | Trailers | Side Plants |
|---|---|---|---|---|
| 30 cm | 1 | 4 to 5 | 3 | 2 to 3 |
| 35 cm | 1 | 6 to 8 | 4 to 5 | 3 to 5 |
| 40 cm | 1 to 2 | 8 to 10 | 5 to 6 | 4 to 6 |
These are starting points for cool-season plants in 8 to 10 cm pots. If you plant larger nursery stock, cut every number by a third. A basket planted to these counts looks finished on day one and fills in without crowding by week three.
12. Leave a Watering Gap at the Rim
Fill the mix to a few centimeters below the rim, not level with it. UGA’s basket guidance says to fill within a few inches of the rim, and the reason is physics. Water poured onto a full basket sheets off the top and runs down the sides, never reaching the roots.
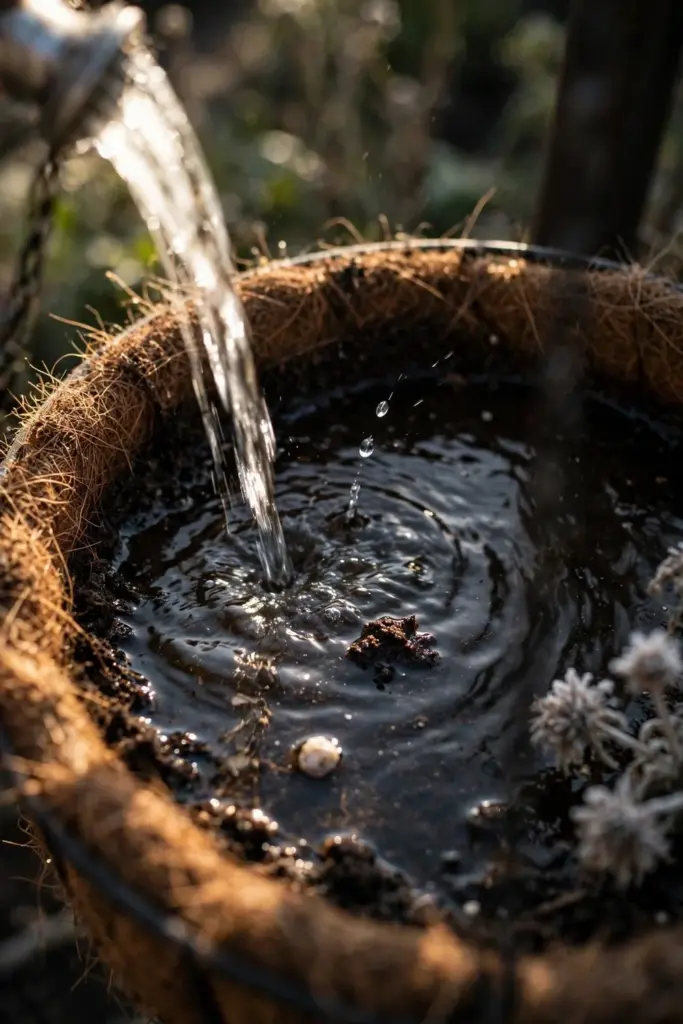
That gap is your watering channel. When you water, fill the gap and let it drain down; repeat once. Two slow passes beat one fast flood every time.
Check the gap again after the first week. Fresh mix settles, and a gap that started at 4 cm can shrink to 1 cm, which is not enough to hold a useful pour.
13. Soak the Whole Basket Before Hanging
Before the basket goes up, set it in a tub of water and let it drink for an hour or two. A fresh build has air pockets throughout the mix, and overhead watering cannot reach them. The tub soak collapses the pockets and wets the mix all the way through.
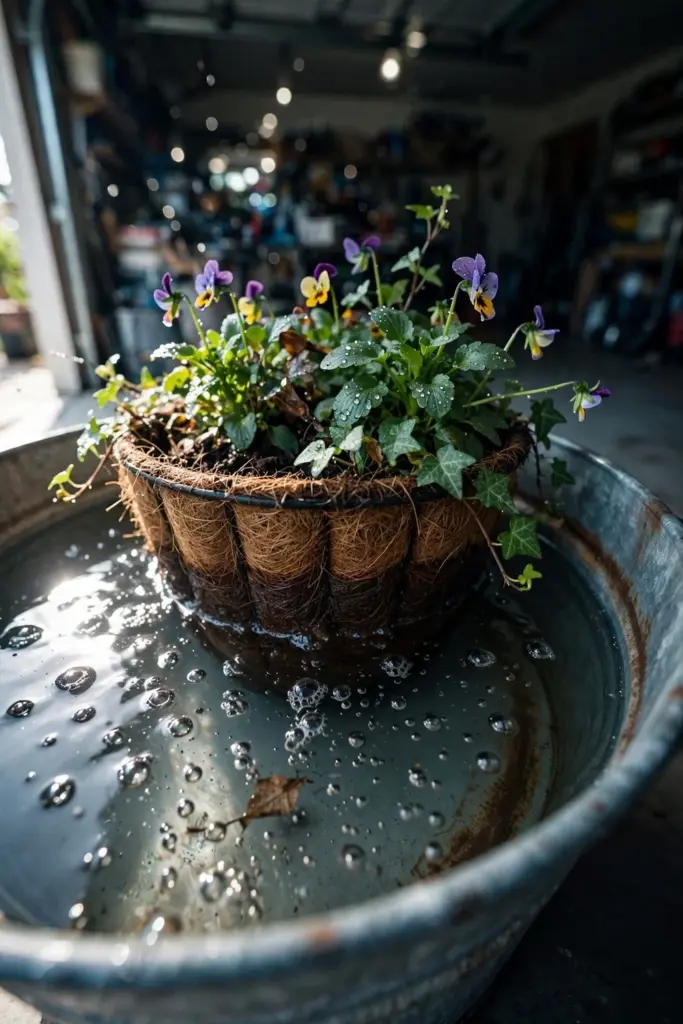
Lift it out and let it drain for ten minutes. A basket that drips on the porch for an hour tells you the mix is saturated, which is exactly what you want on day one.
Weigh the basket in your hands after the soak. That heavy, dripping weight is your reference for the lift test in step 17. Everything after this is compared to that feeling.
14. Hang in the Right Light
Match the plants to the spot, not the spot to the plants. UGA’s rule of thumb is simple. For a spot that gets 4 to 12 hours of sun a day, choose plants that perform in full sun to partial shade. For 2 to 4 hours of early or late sun, choose plants that prefer partial to full shade. Read the plant labels before you buy, not after you hang.
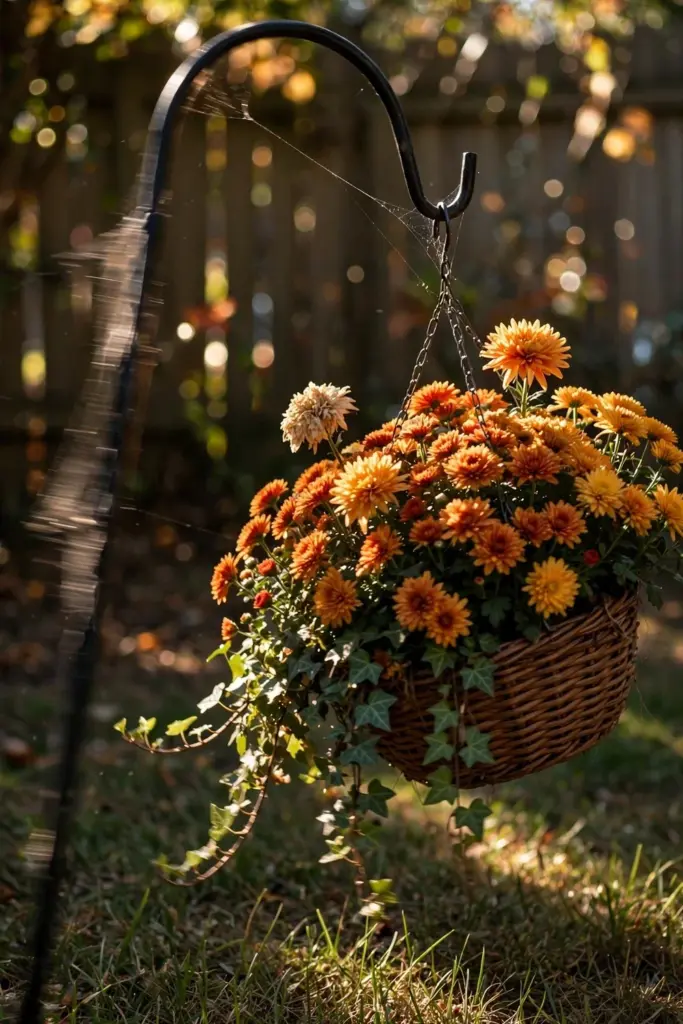
In fall the sun sits lower and shadows move faster. A hook that was full sun in August can be half shade in October, so watch the spot for two days before you commit a basket to it.
Hang the basket where you will actually see it and water it. A basket on a hook you pass every morning gets watered; a basket on the far side of the garage gets forgotten.
15. Shelter the Basket From Wind
Wind is the quiet killer of hanging baskets. It strips moisture from the leaves and the liner sides at the same time, and a basket that needed water every other day in calm air needs it daily in wind. UGA extension is blunt about it. Hanging baskets should not be placed in windy sites, because wind causes the plants to dry out quickly and need frequent watering, which stresses the plants and causes them to perform poorly.
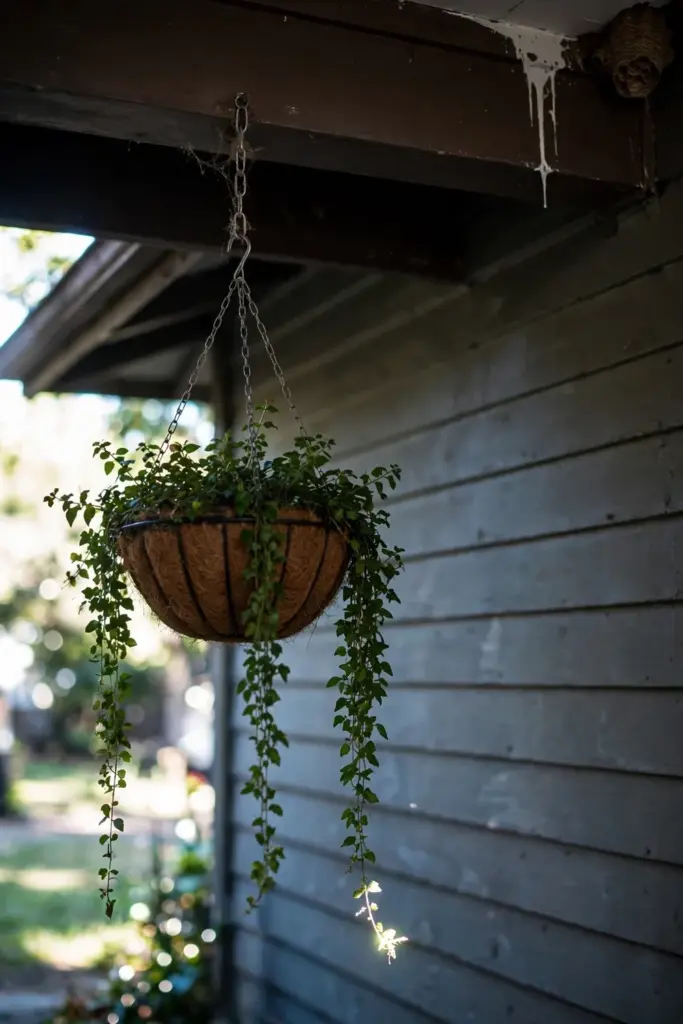
If the only hook you have is windy, that is what the plastic reservoir layer in step 5 is for. Move the basket to a sheltered wall during storms, and bring it in for the first hard freeze warning.
A windbreak does not need to be fancy. Hanging the basket on the lee side of the house, behind a fence panel, or under a deep eave cuts the wind load enough to change the watering schedule.
16. Water in the Morning, Deeply
Morning watering is the fall rule. Water lands on the foliage, the sun dries it by noon, and the roots sit moist through the afternoon. Evening watering in cool October air leaves leaves wet overnight, and wet leaves in 5C air invite the gray mold that ends baskets early.
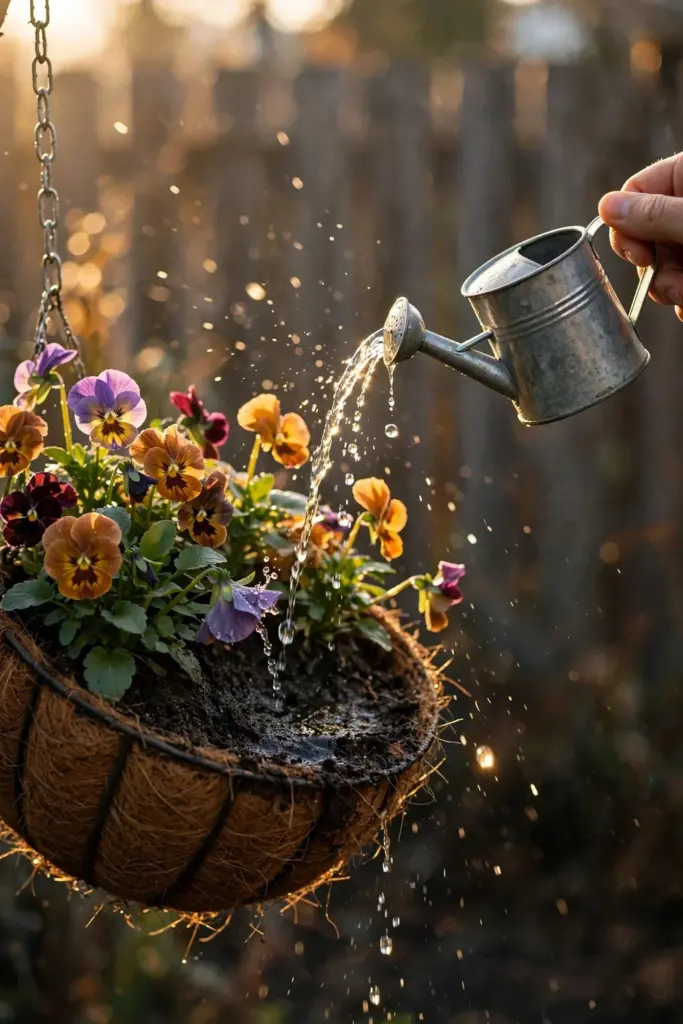
Water until it runs from the bottom, wait five minutes, and water again. The first pass wets the channels; the second pass soaks the mass. On a 35 cm basket that is roughly 2 to 3 liters per session in mild weather.
Aim the water at the mix, not the flowers. A hard spray on open pansy blooms bruises the petals, and bruised petals brown within a day in cool air.
In late October, when nights sit near freezing, cut the volume in half but keep the morning timing. The plants drink less, yet the foliage still needs to dry before dark.
17. Learn the Lift Test
Your hand is the moisture meter. Lift the basket every morning for the first week and memorize the weight of a freshly watered basket. When it feels noticeably lighter, water. When it feels like lifting air, you waited too long.
The lift test beats any schedule because fall weather does not run on a schedule. A calm overcast week might need water twice; a windy sunny stretch might need it daily.
Calibrate the test after rain, too. A basket that caught a real rain is heavier than one you watered, because rain wets the liner sides as well. Learn that weight so a rainy day does not fool you into skipping the next watering.
18. Feed Through Autumn, Then Stop
Container plants need feeding about once every other week while they are growing, and fall baskets are still growing through October. Use a balanced liquid feed at half strength, and always water the mix first. Fertilizer salts on dry mix burn roots, and burned roots in October do not recover.
Stop feeding when night temperatures sit below 7C regularly. Feeding past that point pushes soft growth that the first hard frost kills, and the dead tissue invites rot into the crown.
Mark the stop date on the calendar when you hang the basket. It is easy to keep feeding out of habit into November, and the plants pay for it.
19. Deadhead to Keep the Color Coming
Pansies, violas, and mums keep blooming only if the spent flowers come off. Pinch or snip deadheads every few days, taking the stem back to the first leaf joint. A basket that gets deadheaded twice a week in October still looks fresh in November; a basket that does not goes to seed and stalls.
Prune leggy trailers back by a third when they stretch. They branch from the cut and come back denser, which is what keeps a basket from going stringy.
Keep a small pair of snips by the door you use most. Deadheading happens when the tool is within reach; it does not happen when the tool is in the garage.
20. Guard Against the First Hard Frost
Hanging baskets hang in the coldest air around the house, and MSU Extension notes that small pots and hanging baskets are more vulnerable to cold damage than ground containers. When the forecast calls for a hard freeze, bring the basket into an unheated garage or shed for the night, or drape it with frost cloth if it is too heavy to move.
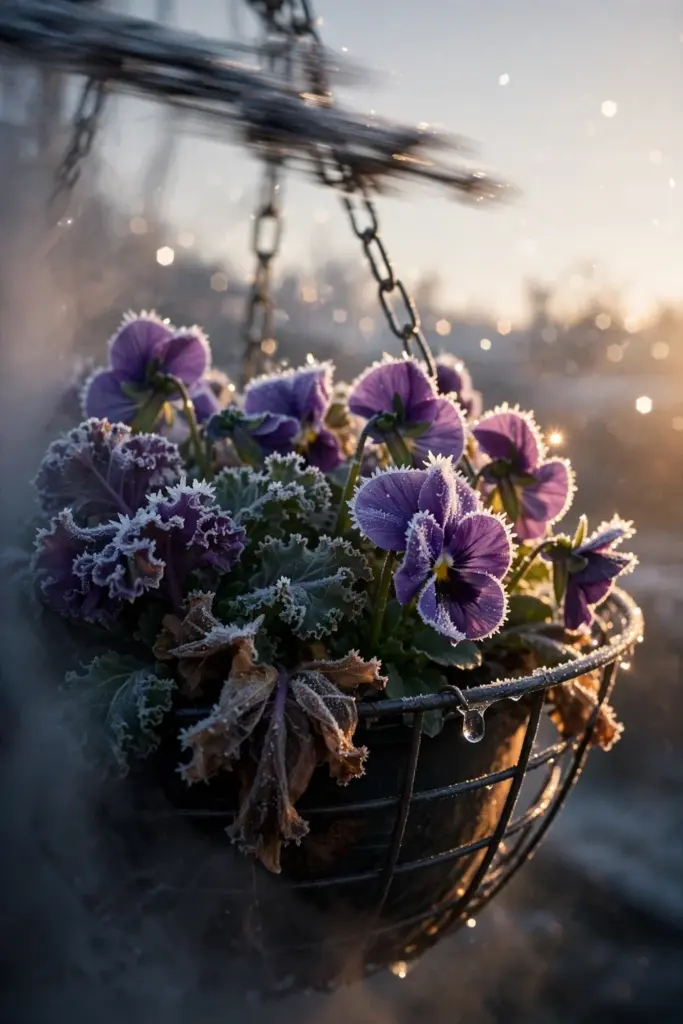
Take the cover off in the morning. A basket left wrapped through a sunny day cooks under the cloth, and cooked plants look exactly like frozen ones.
Water the morning before a frost night. Moist mix holds daytime heat longer than dry mix, and that stored warmth buys the roots a few extra degrees through the coldest hours.
21. Plan the Winter Transition
A fall basket has three possible endings, and you should pick one before December. The first option is to strip it after the first killing frost and store the empty wire frame and chains for spring. The second is to swap in evergreen cuttings, red twig dogwood stems, and pinecones for a winter display that needs no watering. The third, in zones 8 and warmer, is to leave the pansies and violas in place, because they bloom through mild winters.
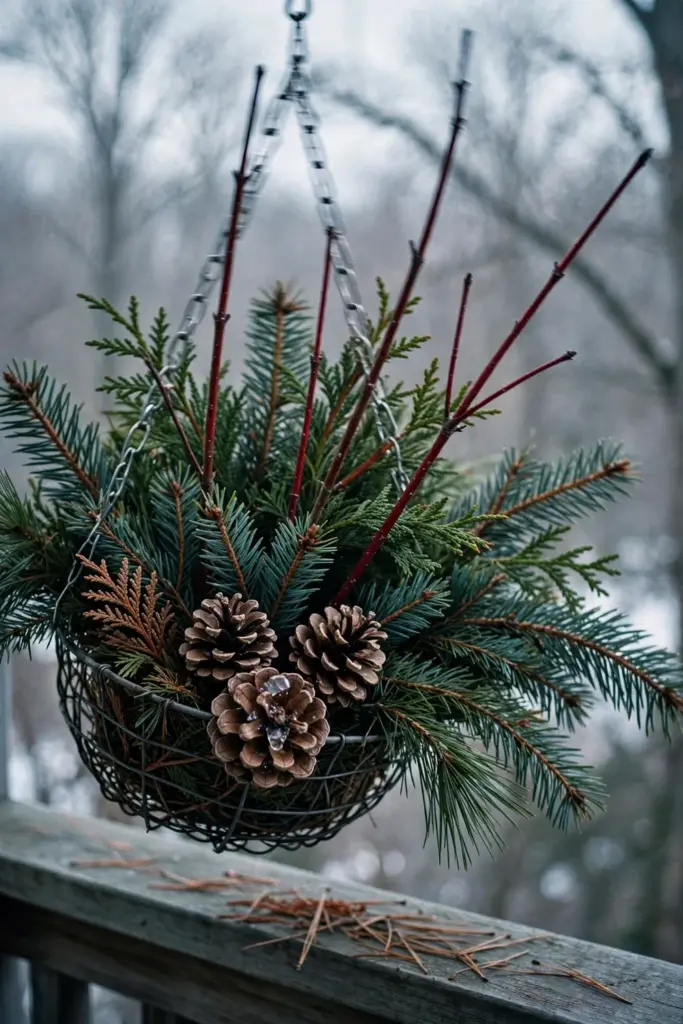
Do not leave a dead basket hanging until spring. Rotting mix in a wire frame is a disease hotel, and the liner will be shot by March anyway.
Whatever you choose, clean the wire frame before storage. A quick scrub and a dry spot in the shed means the frame is ready the day you want it in spring.
Autumn Watering Calendar
| Period | Frequency | Notes |
|---|---|---|
| Build week | Daily | Fresh mix settles; check the lift test each morning. |
| Early October, mild | Every 2 to 3 days | Morning watering; skip a session if rain soaked the mix. |
| Windy stretches | Daily | Wind doubles water loss; the plastic reservoir layer earns its keep. |
| Late October, cool | Every 3 to 4 days | Growth slows; extra water now rots crowns instead of feeding them. |
| First frost warnings | Water the morning before | Moist soil holds daytime heat better than dry soil overnight. |
Mistakes That Kill Fall Baskets
Planting at the wrong depth. Crowns buried 2 cm deep rot in October rain. Set every plant at its nursery depth.
Skipping the plastic reservoir layer. On a windy hook, a bare coco liner dries in a day. The perforated plastic disc from step 5 costs nothing and halves your watering.
Feeding dry mix. Liquid fertilizer on dry potting mix burns roots. Water first, feed second, every time.
Ignoring the wind. A basket in a wind tunnel needs a different watering schedule than the same basket on a sheltered wall. Move the basket or accept daily watering.
Leaving deadheads on. Pansies and mums stop blooming when they set seed. Pinch spent flowers twice a week.
Filling the basket to the rim. With no watering gap, every pour sheets off the top. Leave a few centimeters below the rim.
Troubleshooting: What Goes Wrong and Why
Why Is My Basket Dry Every Morning?
The liner is the usual suspect. Bare coco and moss liners wick moisture into dry air, and wind multiplies the loss. Add the perforated plastic layer from step 5, move the basket out of the wind, and water in two passes. If the mix has gone hydrophobic, the tub soak from step 13 resets it.
Why Are the Lower Leaves Yellow?
Usually overwatering or a buried crown. Check that the mix drains freely and that no plant sits deeper than its nursery level. Yellow lower leaves plus a sour smell from the mix means root rot; cut back watering and remove the worst leaves.
Why Did Everything Wilt After One Windy Day?
Wind desiccation. The plants lost water faster than the roots could supply it. Soak the basket in a tub for an hour, move it to shelter, and water daily until the weather calms. Wilted plants that perk up overnight recover fully.
Why Did My Pansies Stop Blooming?
They set seed. Deadhead every spent flower back to the leaf joint, feed once with half-strength liquid fertilizer, and the next flush starts in about two weeks. Pansies also stall when nights drop below freezing regularly; that is the season ending, not a failure.
Frequently Asked Questions
Can I Keep Hanging Baskets Going All Fall?
Yes, if you build for it. Use a 35 cm or larger basket, a coco liner with the perforated plastic reservoir layer, and cool-season plants like pansies, violas, and ornamental kale. Water in the morning, feed every other week until nights stay below 7C, and bring the basket under cover for hard freezes. Most fall baskets look good through November with that routine.
What Is the Best Liner for a Fall Hanging Basket?
A coco or moss liner with a perforated plastic insert inside it. The natural liner gives the traditional look and lets side-planted trailers poke through, while the plastic insert holds water longer, which is exactly what windy fall days demand. Bare coco dries fastest; plastic alone looks flat. The combination wins.
How Often Should I Water Hanging Baskets in Fall?
Every two to three days in mild October weather, daily during windy stretches, and every three to four days once nights turn consistently cool. The lift test from step 17 beats any fixed schedule: lift the basket each morning, and water when it feels light. Always water in the morning so foliage dries by noon.
Should I Bring Hanging Baskets Inside for Winter?
In zones 7 and colder, yes for anything still alive after the first killing frost. An unheated garage or shed works; the goal is frost protection, not warmth. In zones 8 and warmer, pansies and violas can stay out and bloom through mild winters. Do not leave a dead basket hanging until spring; strip it and store the frame.
Can I Plant Herbs in a Fall Hanging Basket?
Yes, and they earn their place. Parsley, cilantro, chives, thyme, and mint all grow well in baskets through fall, and a basket by the kitchen door is the most-used herb garden most people ever have. Use the same build steps, give herbs the sunniest hook you have, and harvest lightly so the plants keep filling in. The fall herbs to plant guide covers which ones survive your zone.
When Should I Start Seeds for Fall Hanging Baskets?
Start cool-season flower seeds indoors 8 to 10 weeks before your first frost date, so transplants are ready when the baskets go up. Pansies and violas started in late summer fill a basket by October. If that window has passed, buy transplants; garden centers stock cool-season basket plants through October. The seed starting guide walks through the indoor setup.
The Hour That Buys Two Months
A hanging basket is the only garden you can lift with one hand, and that is exactly why it rewards a careful build. Size it right, line it for your wind, layer the mix, plant it full, and water it in the morning. Do that and the basket carries color from the first cool week of October to the night you finally bring it in. The build takes an hour. The payoff lasts two months.








