
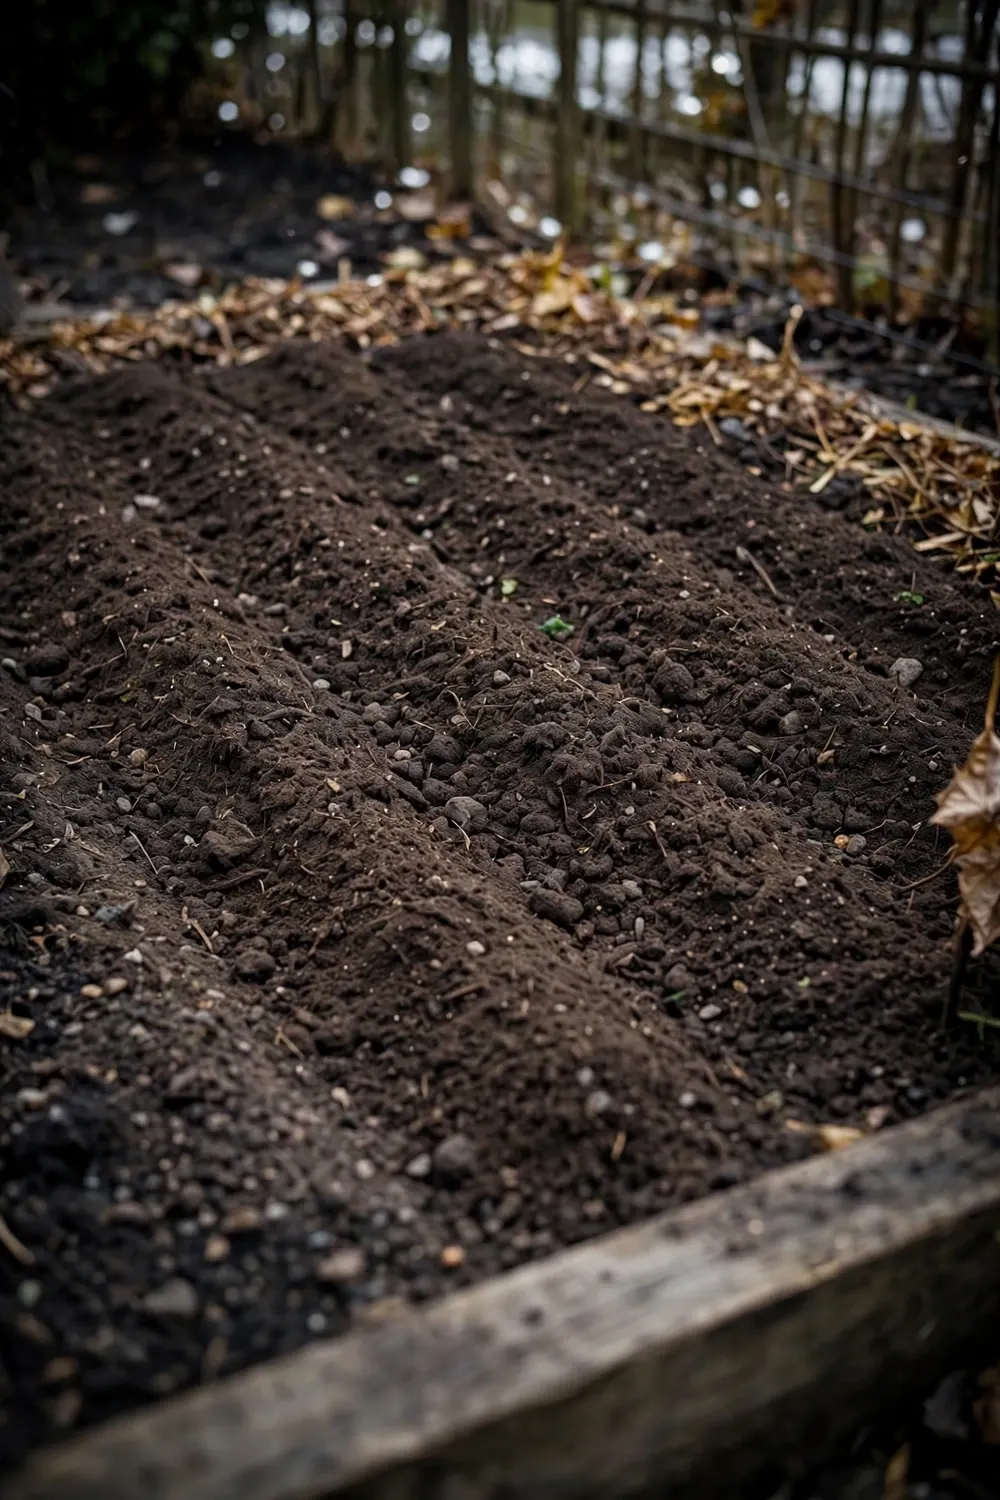

Spend one dry October weekend working the soil in your beds instead of the plants on top of it. That is fall garden bed prep: a bed-by-bed tune-up of soil tests, compost, leaf mulch, and cover crops that decides next spring before spring arrives. The rest of this page is 21 moves, from the first soil sample to the last frost-date deadline.
Work bed by bed. Test first, amend second, cover last. Finish before the ground freezes.
The broad fall chore list is a different job, and it lives on our fall gardening tips. This page stays on the beds: soil tests, compost, leaf mulch, one cover-crop section, and the till-or-not question. Lawn, pollinators, pruning, and the tool shed are not on this list.
The 21 Tasks at a Glance
Scan the table, then work the list in order. The timing column is the frost-date logic from item 21 in one glance; the effort column tells you which weekends to protect. Every task below names what it fixes, when to do it, and what happens if you skip it.
| # | Task | What It Fixes | When | Effort / Cost |
|---|---|---|---|---|
| 1 | Send a soil sample to the lab | Blind guessing about pH and nutrients | Early fall | Low / lab fee |
| 2 | Read the pH line before buying anything | Amendments bought for the wrong problem | When the report arrives | Low / free |
| 3 | Spread lime in fall | Acid soil that blocks nutrient uptake | After the report | Medium / bag of lime |
| 4 | Use sulfur only on the test’s orders | Alkaline soil that locks up iron | After the report | Low / bag of sulfur |
| 5 | Fix structure with organic matter | Crust, compaction, poor drainage | Any dry fall day | Medium / free to low |
| 6 | Skip bagged fertilizer until spring | Nutrients washed away by winter rain | Now: none | None / saves money |
| 7 | Topdress beds with finished compost | Hungry, lifeless soil | After cleanup | Medium / free to low |
| 8 | Shred leaves before they lie down | Soggy leaf mats that seal the soil | As leaves drop | Low / mower |
| 9 | Lay leaf mulch 7.6 to 10.2 cm deep | Erosion, weeds, temperature swings | After the last weeding | Medium / free |
| 10 | Keep mulch off stems and crowns | Rot at the base of plants | While mulching | Low / free |
| 11 | Turn the leaf surplus into leaf mold | Wasted leaves, bought amendments later | Any fall weekend | Low / bin or pile |
| 12 | Sow a cover crop on bare beds | Bare soil eroding all winter | See item 12 windows | Low / seed packet |
| 13 | Leave the soil web alone: no-till | Destroyed soil structure | Ongoing | None / saves work |
| 14 | Till only where compaction forces it | Hardpan under heavy beds | Dry fall soil only | High / tiller or fork |
| 15 | Smother new beds with cardboard | Grass and weeds where a bed should be | 8 to 12 weeks before spring | Medium / free materials |
| 16 | Stack lasagna layers wet | Dry layers that never knit together | While building | Medium / hose |
| 17 | Trench kitchen scraps into empty beds | Slow compost pile, hungry soil | All fall | Low / free |
| 18 | Keep fresh wood chips off the beds | Nitrogen robbery at the root zone | Now: none | None / saves trouble |
| 19 | Top off raised beds that sank | Lost depth after a season of settling | After cleanup | Medium / soil or compost |
| 20 | Check frames and drainage before frost | Rotted boards, drowned roots | Before hard freezes | Low / screws and soil |
| 21 | Give every task a frost-date deadline | Half the list still undone in December | This week | Low / calendar |
Soil Testing and Amendment
1. Send a Soil Sample to the Lab Early
A county extension lab reads pH, phosphorus, potassium, and organic matter for the price of a bag of fertilizer, and its recommendation sheet tells you exactly what each bed needs. Fall is the right season: labs are quiet, results arrive well before the ground freezes, and every amendment you spread afterward goes down for a reason instead of a guess.
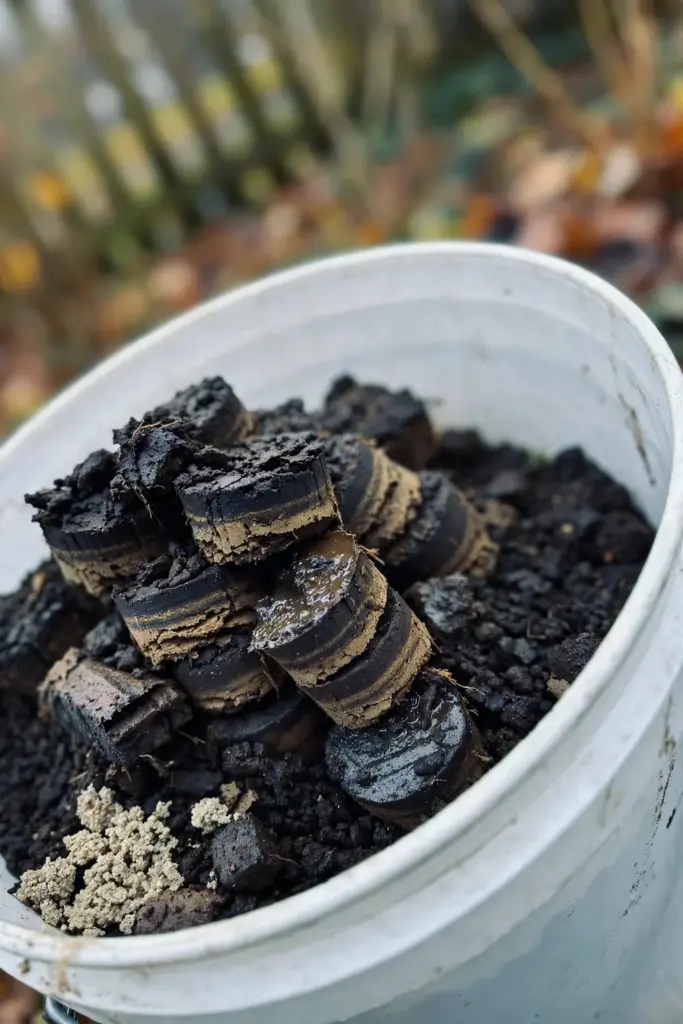
Take cores from the working depth of the bed in five or six spots, mix them in a clean plastic bucket, and mail one pint of the blend. Skip the thin surface crust and any spot where fertilizer spilled. One composite sample per bed type is enough; the tomato bed and the herb bed can share a bag only if they have the same history.
Label each bag with the bed name and the date. Labs mix up unlabeled samples more often than they lose labeled ones. Note on the form what you plan to grow, because the recommendation for a tomato bed reads differently than the one for a herb bed.
Skipping the test is how gardeners buy lime for soil that needed sulfur. The lab fee is the cheapest input on this whole list. Send the sample while the beds are still workable, not after the ground turns hard.
2. Read the pH Line Before You Buy Anything
The pH number on the report decides every amendment that follows. Most vegetables feed best in slightly acidic to near-neutral soil, and the report flags your beds as above or below that band with a lime or sulfur prescription attached. Read that line twice before you walk into the garden center. The rest of the report is nutrient detail; the pH line is the steering wheel.
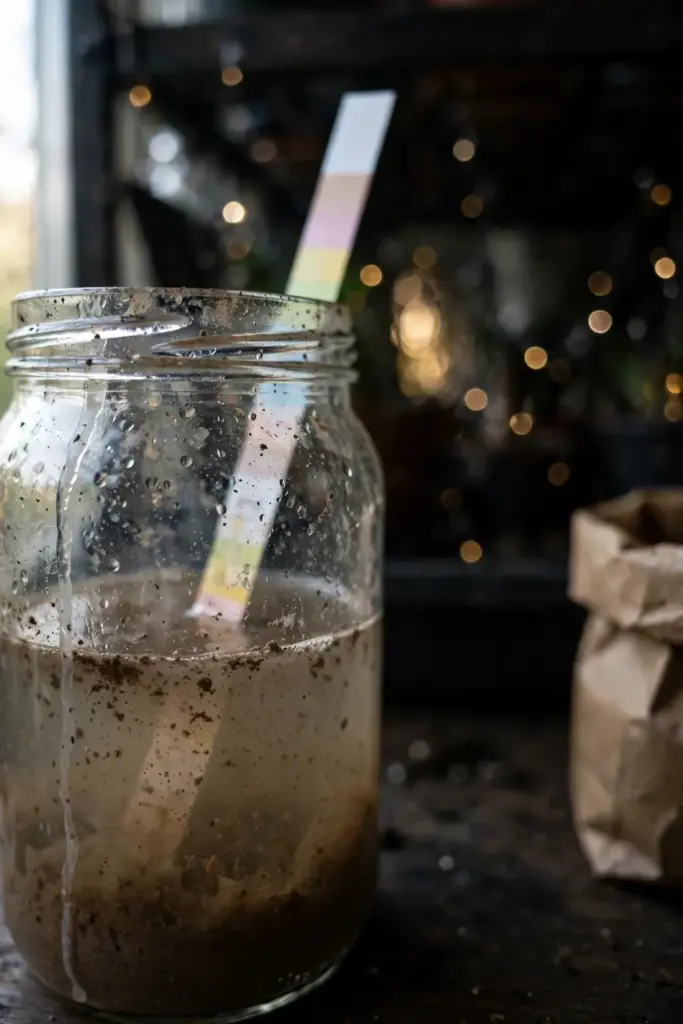
Phosphorus and potassium numbers matter too, but they rarely change the plan: most home beds already carry enough of both from years of compost. The pH line is the one that sends gardeners home with the wrong bag. Circle the pH, write the target next to it, and buy only what the prescription names.
File the report where you will find it in March. The prescription has a shelf life: lime rates assume this year’s pH, and next year’s test starts from the new number. A folder with three years of reports shows whether the bed is actually moving.
3. Spread Lime in Fall and Let Winter Work
Lime corrects acid soil, and it needs months of freeze and thaw to dissolve and move through the profile. Fall spreading gives it that whole season. Broadcast pelletized or ground limestone at the report’s rate, rake it into the top few centimeters, and walk away. The winter does the mixing for you.
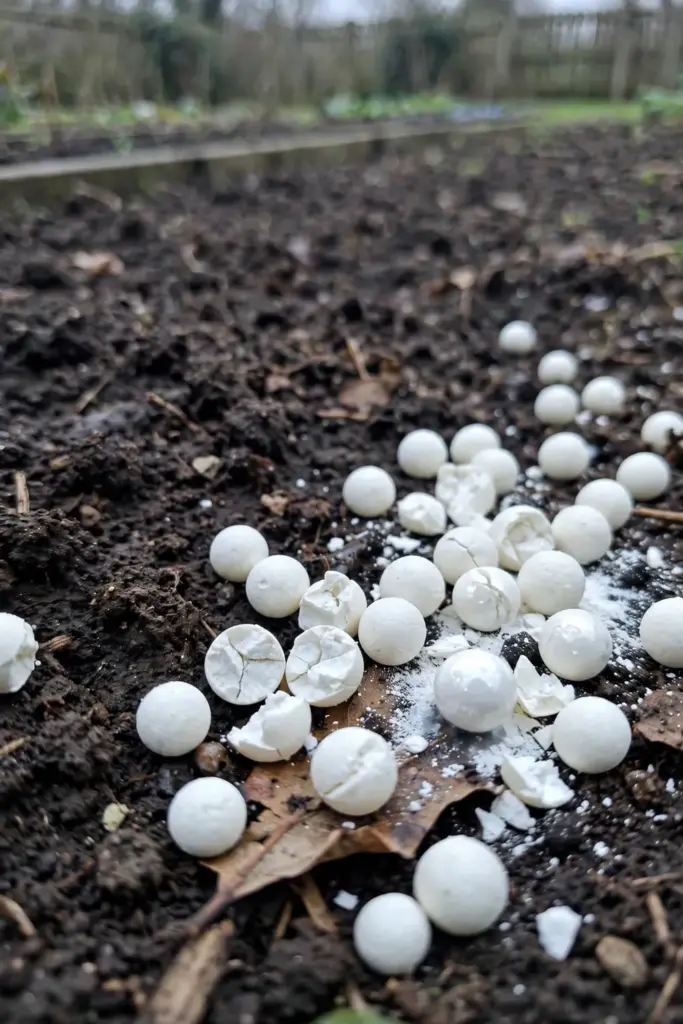
Pelletized lime spreads cleanly with a handheld spreader and suits small beds. Ground limestone is cheaper per unit of neutralizing power and suits large plots you can rake. Either form works; the rate on the report matters more than the form in the bag.
Wear a dust mask with ground limestone; the fine powder is unpleasant to breathe. Pelletized lime skips that problem. Either way, spread on a calm day, because wind carries the fine grades onto the lawn you did not mean to treat.
Spreading lime in April asks it to work during the season you need it working. That is backwards. Fall lime is set-and-forget chemistry. Spring soil starts the season already corrected.
4. Lower pH With Sulfur Only on the Test’s Orders
Alkaline soil locks iron and manganese away from roots, and elemental sulfur is the standard correction. The report gives the rate for your exact pH, because overshooting turns the bed acidic in the other direction. Spread it in fall for the same reason as lime: time. Sulfur needs soil bacteria and months to convert into the acid form.
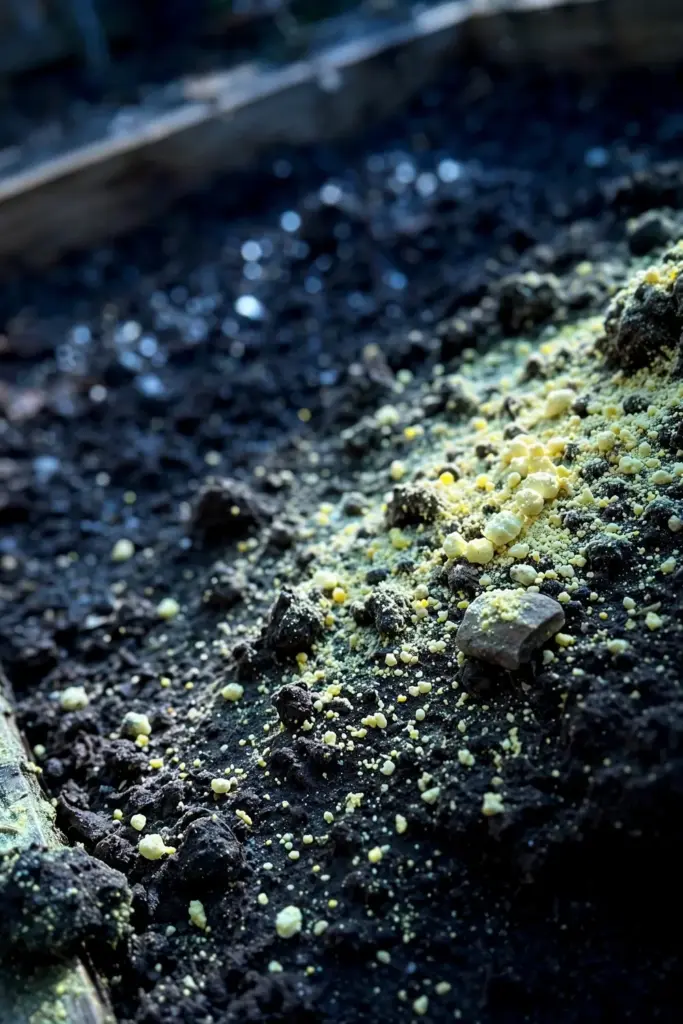
This is the amendment gardeners most often over-apply, because the granules look harmless and the bag suggests generosity. A bed can take years to swing back from a sulfur overdose. Follow the printed number, water it in once, and retest next fall. Precision beats enthusiasm here.
Aluminum sulfate works faster than elemental sulfur but washes through quickly, which makes it a poor fall choice. Sulfur’s slowness is the point here: it converts all winter and holds the new pH through spring.
5. Fix Structure With Organic Matter, Not Sand
Sand plus clay makes brick. Compost plus clay makes soil. When a bed drains like a bathtub or sets like concrete, the fix is organic matter worked through the root zone, not a truckload of sand. Two or three seasons of heavy compost topdressing change a clay bed more than any single amendment, because the soil biology does the long work of building aggregates.
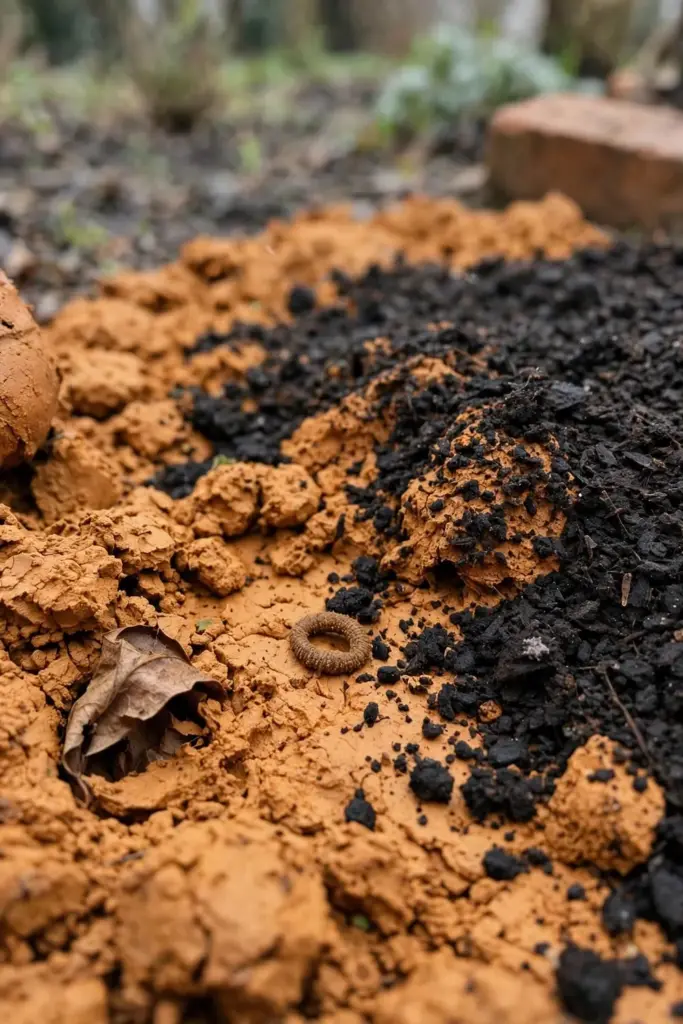
Gypsum gets sold as a clay cure, but it only helps sodic soils, which home gardens almost never have. Perlite and vermiculite lighten potting mix, not field beds. For an in-ground bed, the honest fix is compost, leaf mold, and roots in the ground.
Double-digging a compacted bed once, then topdressing for years after, is a legitimate compromise. The single deep loosening breaks the pan, and the biology keeps it broken. What fails is loosening the same bed every spring and calling it soil building.
6. Skip the Bagged Fertilizer Until Spring
Nitrogen dissolves in water, and winter is water. Spreading granular fertilizer on a bed that will sit empty for five months sends most of it past the root zone and into the groundwater before a single seedling needs it. The product list for fall vegetables belongs to a different article on this site, and this bed-prep list owns the soil, not the shelf.
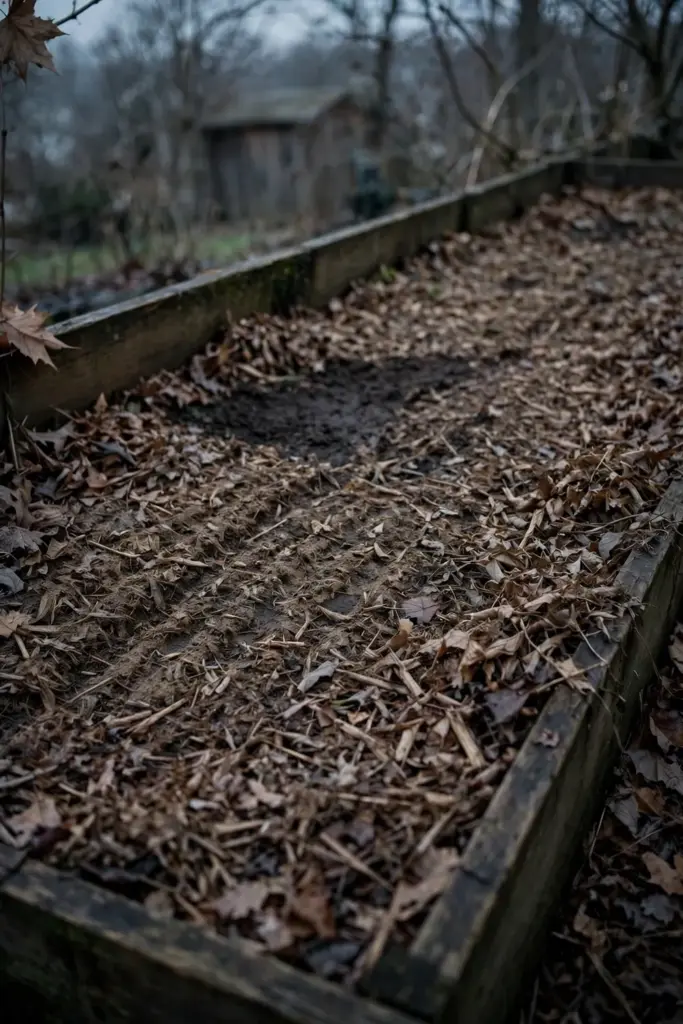
Phosphorus and potassium from your soil test can go down in fall; they stay put through winter. Nitrogen waits for spring. An empty fall bed needs coverage and organic matter, not a feeding it cannot eat.
Compost is the fall nitrogen exception, because its nitrogen releases slowly as microbes work. A compost topdressing feeds the bed without the leaching loss of a granular bag. That is why this list keeps saying compost instead of fertilizer. The money stays in your pocket until the plants are actually there to spend it.
Compost and Leaf Mulch
7. Topdress Every Empty Bed With Finished Compost
Spread 2.5 to 5 cm of finished compost over every bed you just cleared, and scratch it into the top few centimeters with a rake. The compost feeds the soil food web through the cold months, buffers pH swings, and holds moisture the way bare soil cannot. It is the single highest-return move on this list.
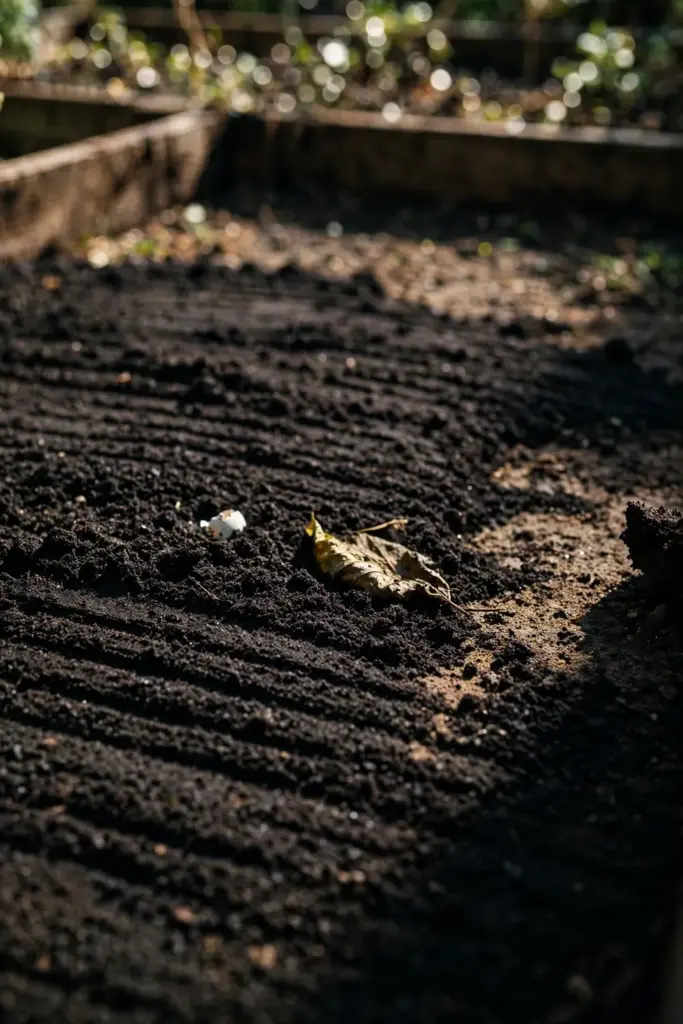
Unfinished compost goes on top as mulch, not into the root zone; it still has decomposition to do and will borrow nitrogen while it does it. Finished compost smells like forest floor and crumbles in the hand. If your pile is not there yet, let it sit and mulch with shredded leaves instead.
Count wheelbarrow loads per bed the first season so you learn your rate. The second bed always goes faster than the first, because you stop guessing how much to haul. A thin layer of done compost beats a thick layer of almost.
8. Shred Fall Leaves Before They Lie Down
Whole maple and oak leaves land flat, knit into a soggy mat, and seal air and water out of the soil below. Run the mower over them once or twice and they turn into a fluffy mulch that breathes, drains, and breaks down by spring. Shredding is the difference between a mulch and a tarp.
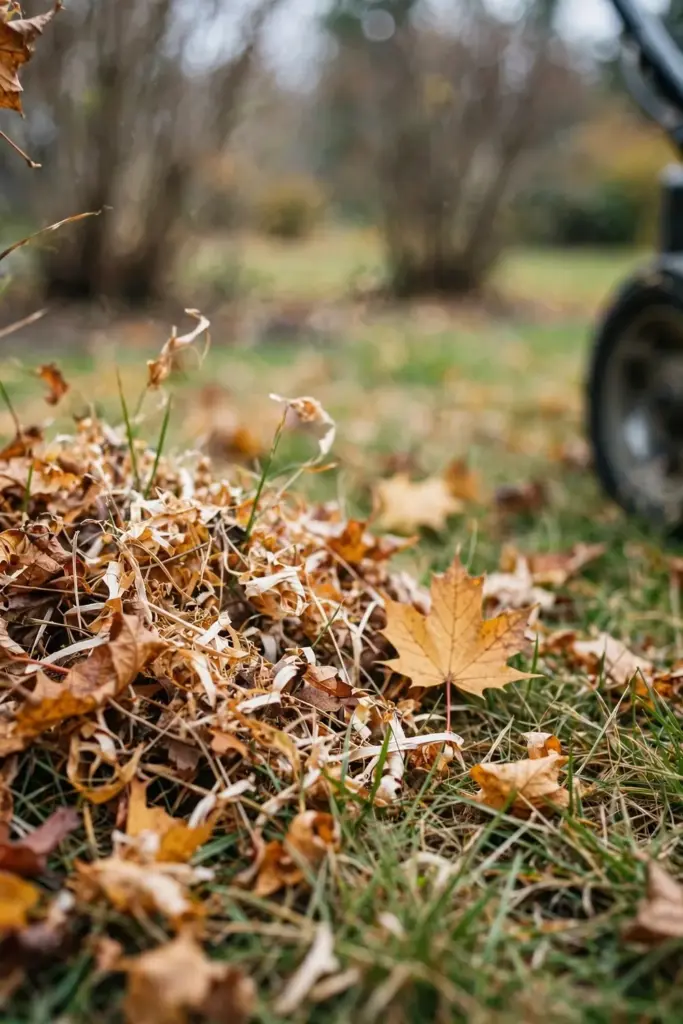
The mower bag collects and shreds in one pass. Dump the shreds straight onto the beds, or stockpile them in bags for spring mulch. Ten minutes of mowing saves a spring of peeling matted leaves off the soil. Whole leaves belong in the leaf-mold bin.
Oak leaves shred into pieces that knit slightly and resist blowing away, which makes them the best bed mulch of the common yard trees. Pine needles work too, laid a little deeper since they settle. Black walnut leaves sit out a year in the mold bin before they touch a bed.
9. Lay Leaf Mulch 7.6 to 10.2 cm Deep
A 7.6 to 10.2 cm blanket of shredded leaves holds soil moisture, smothers winter weeds, and softens freeze-thaw heaving, according to UGA’s vegetable-mulching guide. Thinner than that, weeds push through and the insulation fails. Thicker than that, air stops reaching the soil and the layer goes sour.
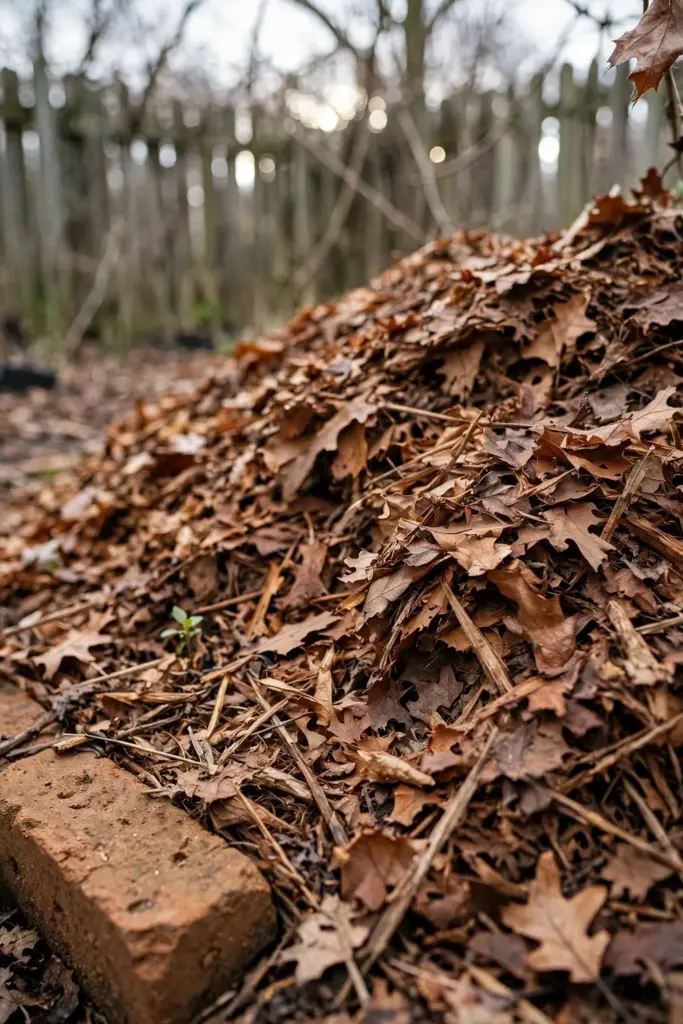
Pine straw settles fast and needs the deeper end of the range. Shredded hardwood leaves sit in the middle. Measure once with a ruler so your eye learns the depth, then trust the eye for the rest of the beds. Mulch is a blanket, not a burial.
After the first hard freeze, walk the beds and fluff any mulch the rain packed down. Packed mulch holds water against the surface instead of letting it through. A garden fork lifted and dropped, tines down, breaks the crust without disturbing the bed.
10. Keep Mulch Off Stems and Crowns
Mulch piled against a stem holds moisture against bark that was built for air, and rot follows. Pull every mulch ring back 5 to 8 cm from stems, crowns, and the base of perennials, leaving a bare collar of soil. The roots still get the insulation; the crown stays dry.
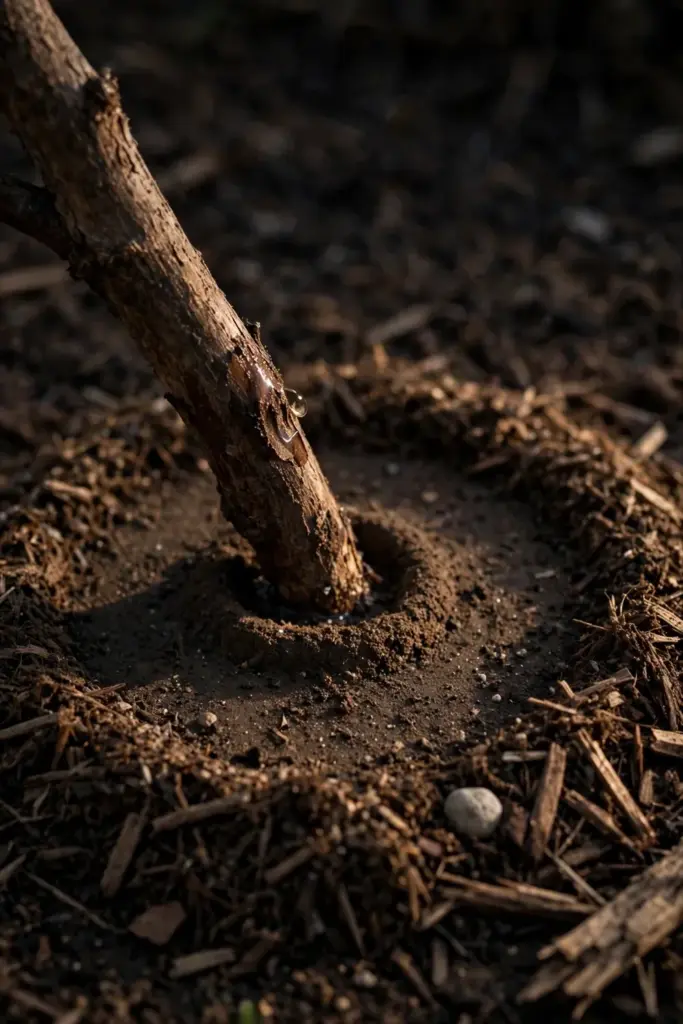
This is the most common mulching failure in home gardens, and it takes thirty seconds per plant to prevent. Check the collars again after heavy rain packs the mulch down. Deep mulch over the root zone, bare soil at the stem. No volcanoes.
Straw mulch needs the same collar; mice nest in deep straw against stems all winter and girdle bark while they shelter there. The collar costs nothing and removes the hiding place.
11. Turn the Leaf Surplus Into Leaf Mold
Every yard drops more leaves than its beds can hold. Pile the surplus in a wire bin or a corner of the compost area, wet it down, and ignore it for a year. What comes out is leaf mold: a dark, crumbly conditioner that holds several times its weight in water and costs nothing.
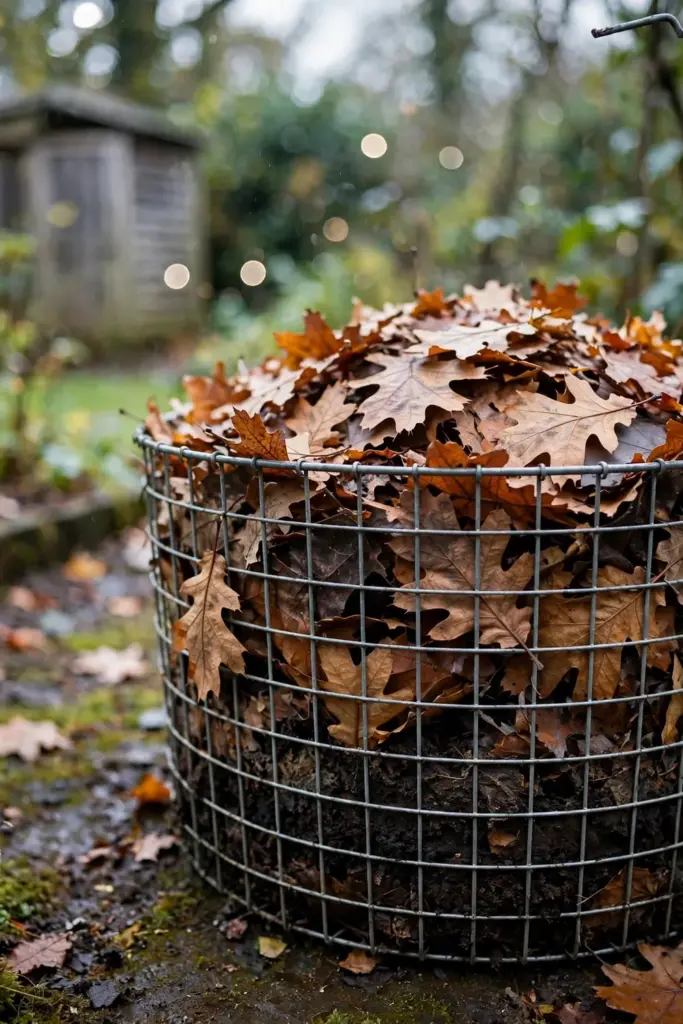
Leaf mold is not compost and does not feed plants the way compost does. It is a soil conditioner, and beds amended with it need less watering the following summer. One bin started this fall is next fall’s free amendment.
Shredded leaves break down far faster than whole ones. Run two bins as a pipeline: this year’s shreds in one, last year’s mold in the other. Two bins and the yard never buys a soil conditioner again. No turning. No attention beyond the first wetting.
Cover Crops
12. Sow a Cover Crop on Bare Beds
Bare soil erodes all winter. A living cover crop holds it with roots, feeds it with biomass, and in the case of legumes, fixes nitrogen from the air. Sow legumes like crimson clover and hairy vetch from mid-September to mid-October, and grasses like cereal rye from early October to mid-November.
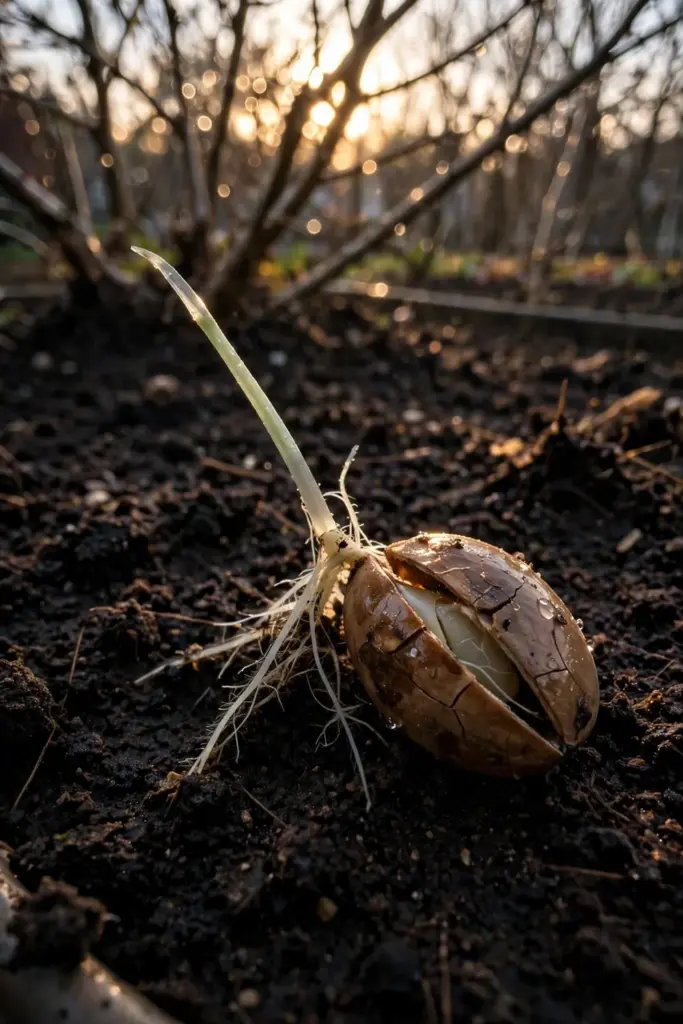
An average stand of crimson clover adds 34 to 56 kg of nitrogen per hectare, with strong stands reaching 135 kg, according to UGA’s cover-crop notes for home gardens. Rake grass seed lightly into the seedbed and treat legume seed with the matching rhizobial inoculant; without the bacteria, the nitrogen fixation never starts. The same notes advise a county extension soil test before sowing, so lime and phosphate go down with the seedbed.
Mow or turn the crop under two to three weeks before spring planting, before it sets seed. Broadcast the seed on a calm evening and rake it in the same pass; seed left on the surface feeds birds, not soil. A light watering after sowing buys germination a week if the fall rains are late.
This item is one section on purpose. The full deep dive on species, mixes, and termination has its own article coming on this site, and that page will own the detail.
No-Till vs Till
13. Leave the Soil Food Web Alone: Go No-Till
Every pass of the tiller shreds fungal threads, collapses pore channels, and buries the weed seeds you just surfaced. A bed that has been no-till for three years holds water longer, drains faster, and needs less compost than its tilled neighbor, because the biology never gets reset. Lay compost and mulch on top and let the worms do the incorporation.
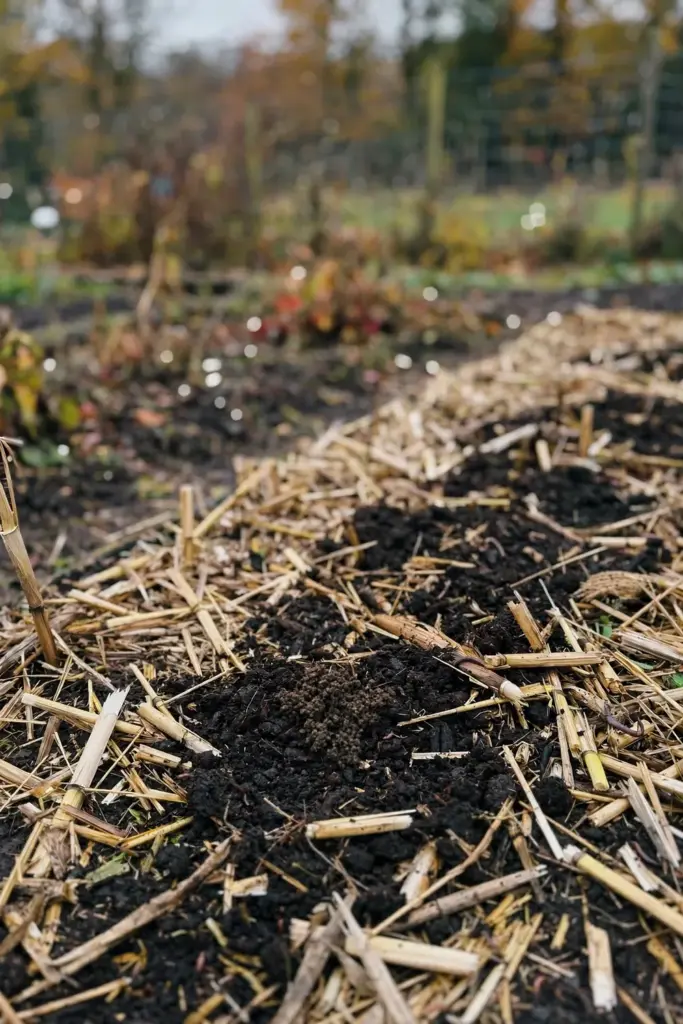
No-till is a decision, not a purchase. Skip the tiller rental, keep the residue on the surface, and plant through the mulch in spring. The first year looks messier than a tilled bed. The third year looks better.
Planting through mulch means parting the layer, setting the transplant in soil, and pulling the mulch back around the stem with the collar from item 10. Seeds go into a shallow furrow of bare soil scratched through the mulch. The mulch moves aside for the job, then moves back.
14. Till Only Where Compaction Forces Your Hand
Some beds are genuinely compacted: paths drove over them, construction parked on them, or clay subsoil sits like a pan under the topsoil. For those beds, one corrective tilling in dry fall soil beats five years of struggling roots. Work amendments 7.6 to 10.2 cm deep into the top 20.3 to 30.5 cm, at 25 to 50 percent amendment by volume; about 0.76 cubic meters of amendment covers 9.3 square meters of bed at that depth, per the University of Georgia’s notes on amending fall garden soil.
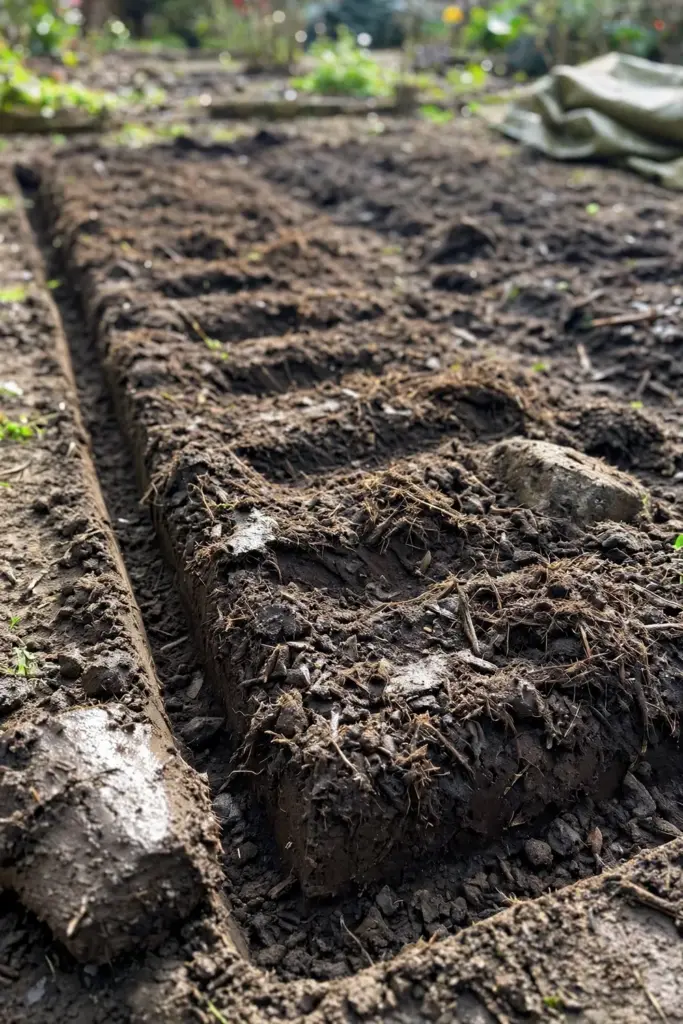
Till once, then go no-till. Annual tilling re-creates the compaction it was meant to fix, and each pass brings a fresh crop of weed seeds to the surface. The fork is medicine, not food.
Never till soil that sticks to your boots. The squeeze test decides: a handful that crumbles when poked is ready, and a handful that holds a wet ball needs another dry week. Tilling wet soil manufactures the compaction you are trying to cure.
Lasagna Layering
15. Smother New Beds With Cardboard
A new bed over lawn or weeds needs no digging. Lay overlapping sheets of plain cardboard over the area, wet them thoroughly, and cover with 10 to 15 cm of compost and shredded leaves. The cardboard blocks light, the grass underneath dies and feeds the soil, and by spring you plant straight through the softened layers.
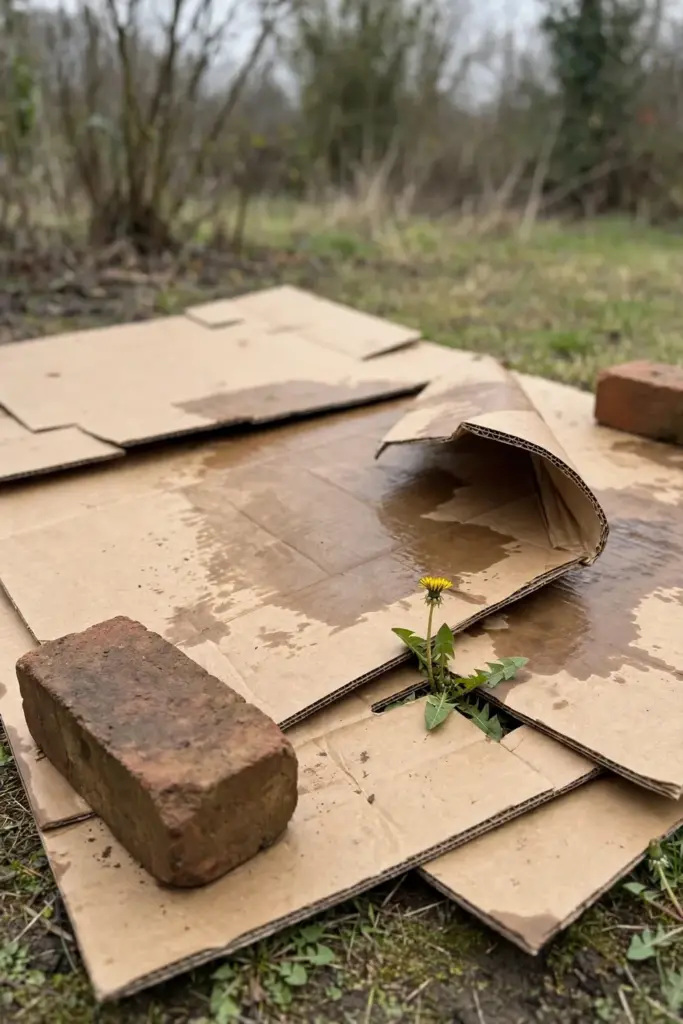
Remove tape and staples first; they do not decompose. Overlap the sheets by 15 cm so grass cannot find the seams, and extend the cardboard 30 cm past the bed’s edge to stop creeping runners. A full winter of smothering turns sod into planting ground.
Weigh the edges down with bricks or spare boards so wind does not peel the cardboard back midwinter. A peeled corner lets light in, and light is all the grass needs to survive until spring.
16. Stack Lasagna Layers Wet
Dry layers never knit. Each layer of cardboard, leaves, compost, and straw in a lasagna bed needs a full soaking as it goes down, or the stack sits all winter as separate dry strata with air gaps between them. Water is the glue that starts decomposition.
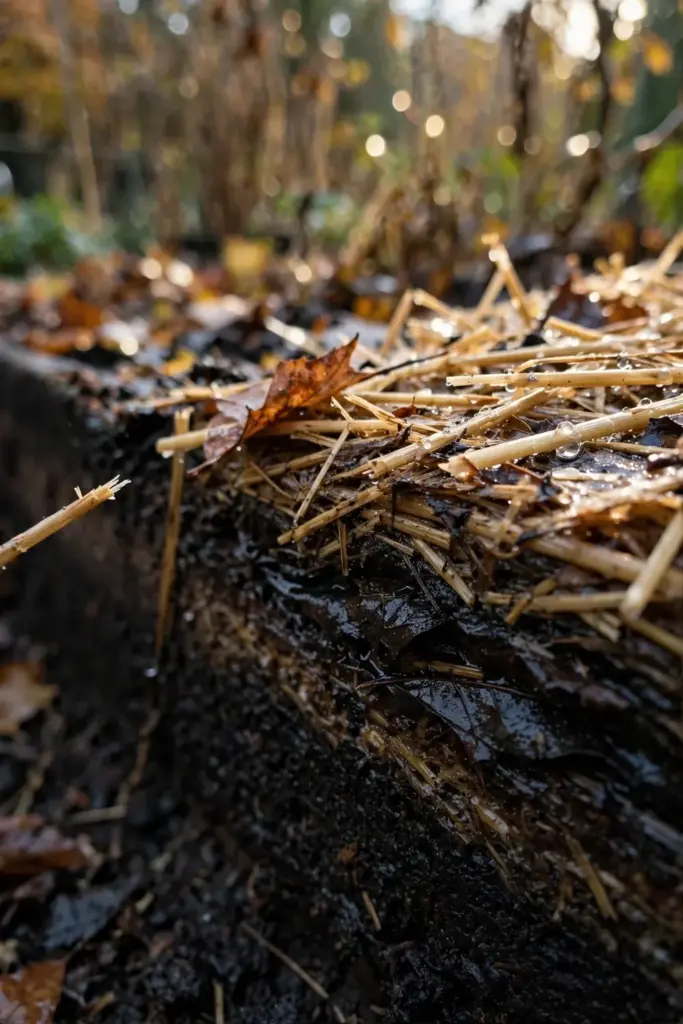
Build the stack on a rainy weekend or drag the hose out between layers. A well-watered lasagna bed settles by a third over winter and greets spring as one dark, plantable mass. A dry one greets spring as a pile you have to rebuild. Soak, stack, soak again.
Finish the stack with 5 cm of compost on top. The top layer hides the cardboard, holds moisture in the stack, and gives spring transplants something to root into while the lower layers finish breaking down.
Overwintering Amendments
17. Trench Kitchen Scraps Into Empty Beds
Dig a 30 cm trench in an empty bed, bury vegetable scraps and coffee grounds under 20 cm of soil, and move down the row all fall. The scraps decompose in place over winter with no turning, no bin, and no smell, and the bed gains organic matter exactly where roots will run in spring. This is composting without the pile.
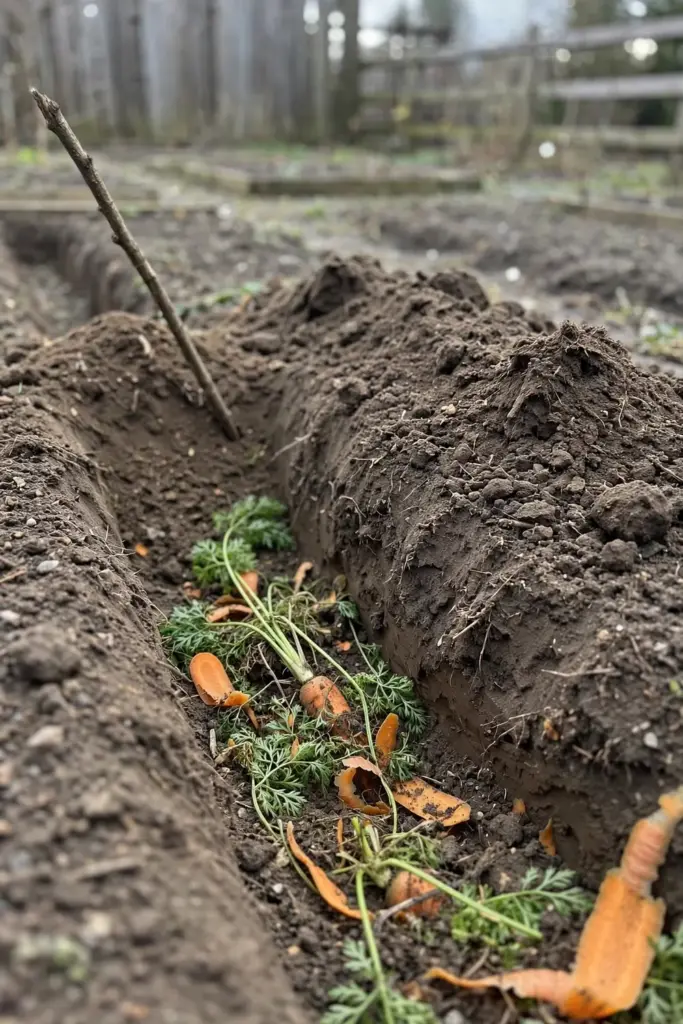
Bury only plant material. Meat, dairy, and oils go in the municipal bin, not the trench. Mark each filled trench with a stick so you do not dig it up twice, and rotate the trench line each year so the whole bed gets fed over time.
In heavy clay, dig the trench a little shallower and chop scraps small; big chunks in airless clay turn slimy instead of decomposing. In sandy soil, dig deeper and bury coarser material; the drainage forgives it.
18. Keep Fresh Wood Chips Off the Beds
Fresh wood chips and sawdust carry a carbon-to-nitrogen ratio that makes soil bacteria borrow nitrogen from the surrounding soil to break them down, starving whatever is planted nearby. UGA’s mulching guide notes that bark’s high carbon-to-nitrogen ratio demands extra nitrogen to compensate. Wood chips belong on paths, where they suppress weeds and never touch a root zone.
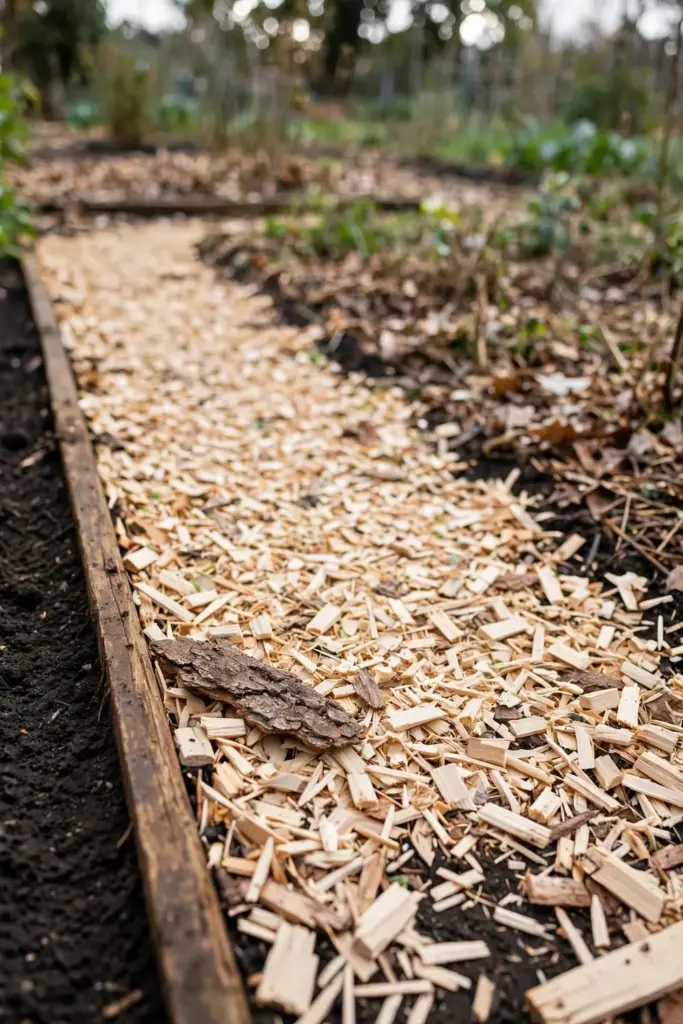
Aged chips that have sat in a pile for a full year are a different material and safe to use. Fresh chips are a nitrogen tax. If a tree service dumps a load on your driveway, stack it on the paths and let time do the aging. Put fresh chips on the walkway, not the bed.
If chips already sit on a bed from a well-meaning delivery, rake them off into the paths and topdress the bed with compost to replace the nitrogen the chips borrowed. The bed recovers in one season once the chips are gone.
Raised-Bed Specifics
19. Top Off Raised Beds That Sank
A raised bed loses noticeable height every season as organic matter decomposes and settles. That lost depth is lost root room. Fork the surface lightly, add a 50-50 blend of topsoil and finished compost back to the frame’s top edge, and water it in so it settles before frost.
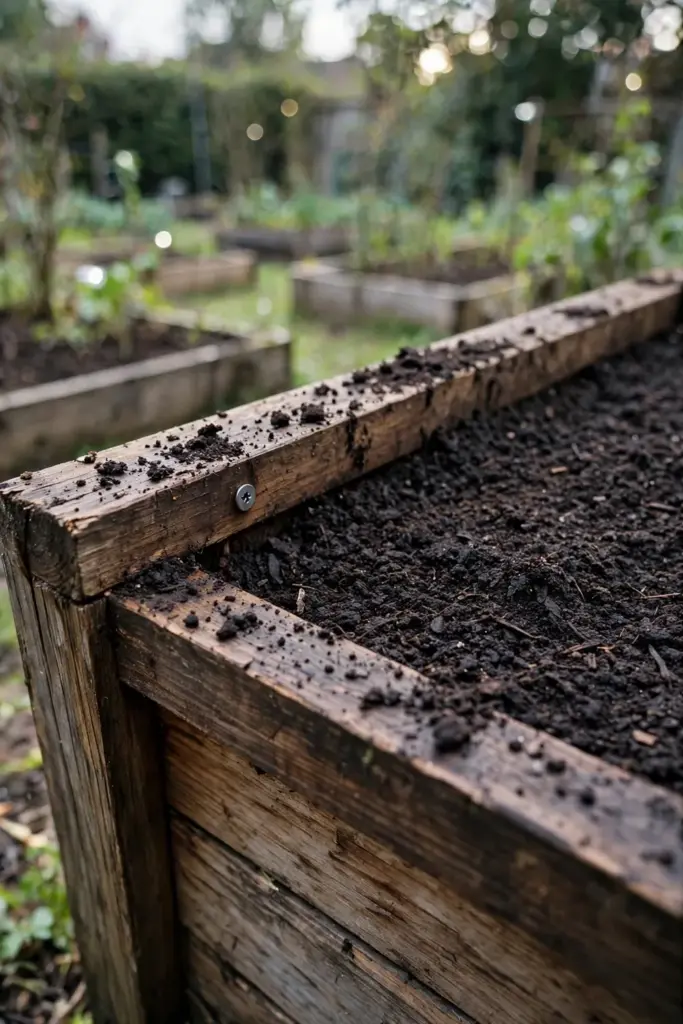
Do this in fall and the bed is full, level, and ready the day spring arrives. Do it in spring and you are filling beds during planting week. The compost half of the blend feeds the bed all winter, and the topsoil half gives it body.
Sink a finger into the blend after watering; it should feel like a wrung-out sponge, not a brick and not soup. Too dense, add more compost. Too fluffy, add more topsoil. The bed will live with this mix for years, so the ten seconds of checking pays off. Buy the topsoil by the cubic meter, not the bag, once you have more than two beds.
20. Check Frames and Drainage Before Frost
Wooden frames rot from the inside where damp soil presses the boards all winter. Pull soil back from the boards, probe for soft spots with a screwdriver, and replace or brace failing lengths now, while the bed is empty and the ground is workable. Check that drainage gaps are clear; a raised bed that holds winter water drowns roots and heaves frames apart.
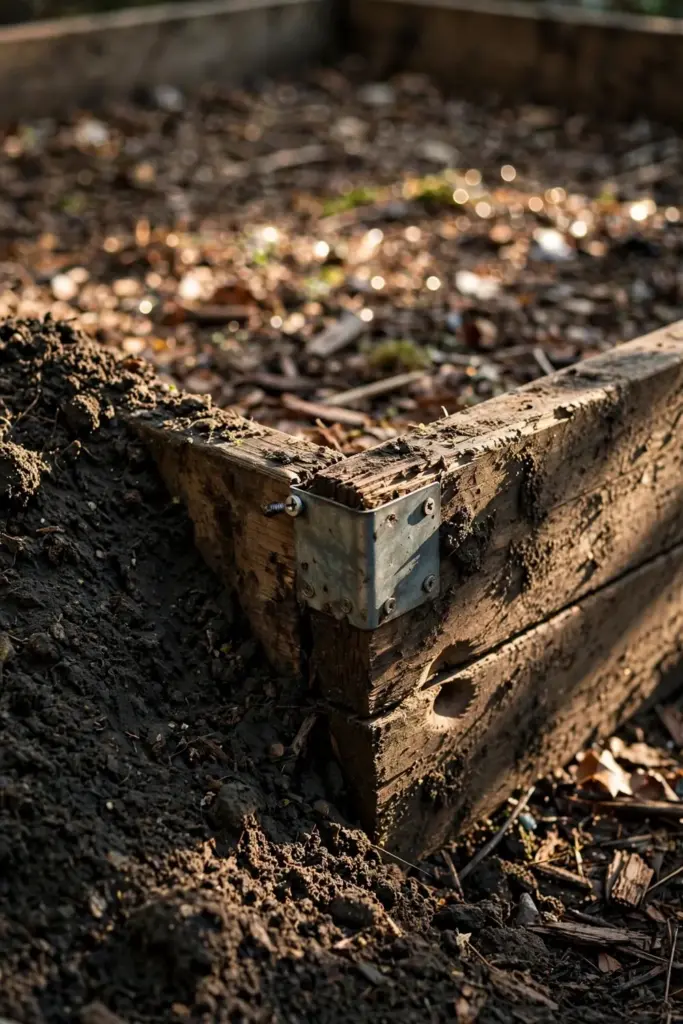
A ten-minute inspection beats rebuilding a collapsed bed in April. Screws are cheap. New frames mid-season are not. While the soil is pulled back, it is also the moment to add the compost topdressing from item 7.
Metal corner brackets outlast screws in wet soil, and a strip of hardware cloth along the inside base stops burrowing rodents from tunneling up into the bed over winter. Both are five-minute jobs while the bed is empty.
Zone Timing
21. Give Every Fall Garden Bed Prep Task a Frost-Date Deadline
Fall garden bed prep runs on the frost calendar, not the wall calendar. Pull your average first-frost date, then work backward: soil test eight weeks out, cover crops in their sowing windows, mulch and compost any time before the ground freezes. Gardeners in zone 8 get November for tasks that zone 5 finishes in October.

Write the dates on a calendar this week. The fall planting calendar maps the season month by month for planting; use your frost date the same way for prep. A deadline turns “sometime in fall” into done. The beds do not care about your intentions, only your dates.
Group the list by weekend: testing and lime on the first dry weekend, compost and mulch on the second, cover crops in their sowing window, frames and deadlines last. Four weekends and the beds sleep ready.
The soil work connects upward too. Healthy beds grow from healthy soil biology, which is the subject of building soil health. And when the beds are prepped, planting timing takes over on the fall planting guide.
Frequently Asked Questions
Should I Till My Garden Bed in the Fall?
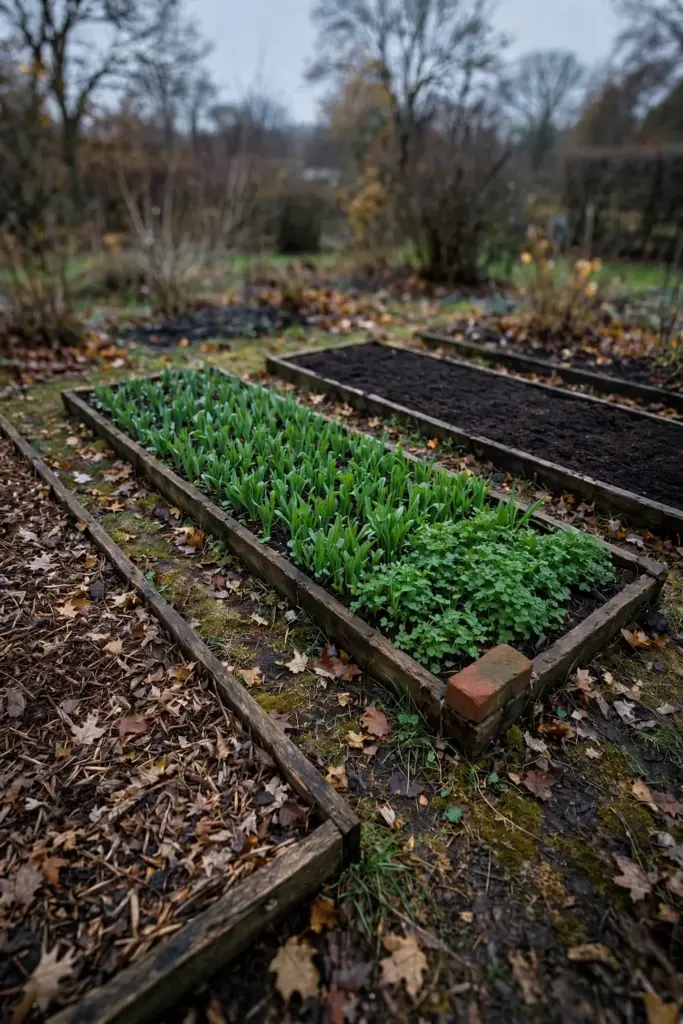
Till once if the bed is genuinely compacted, and only when the soil is dry enough to crumble in your hand. Working wet soil destroys its structure for seasons. For beds that are already loose, skip the tiller entirely: topdress with compost and mulch and let the worms incorporate it. One corrective tilling followed by years of no-till beats annual tilling every time.
Can I Put Fresh Leaves Directly on the Bed?
Shred them first. Whole leaves mat into an airless layer that seals water out, while shredded leaves breathe and break down by spring. Lay the shreds 7.6 to 10.2 cm deep and keep them off plant stems. A mower pass over the leaves before spreading is the whole technique, and it takes minutes per bed.
When Is It Too Late to Sow a Cover Crop?
When the seed cannot germinate and anchor before hard frost. Legumes need sowing from mid-September to mid-October; cereal rye tolerates later sowing into mid-November in mild zones. After those windows, mulch the bed with shredded leaves instead. A mulch blanket protects the soil nearly as well as a late, spindly cover crop.
Do I Need a Soil Test Every Year?
Test every two to three years once the bed is in balance, and every fall while you are still correcting pH or nutrient problems. A lab test costs less than one bag of the wrong amendment. Home pH strips can track the trend between lab tests, but only the lab gives the full nutrient prescription with the rates that matter.
Will Fall Lime Burn My Plants?
Lime is not a burn risk the way fresh manure or synthetic nitrogen is. It dissolves slowly and needs months of moisture and freeze-thaw to change pH, which is exactly why fall is the season to spread it. Keep it off the leaves of overwintering plants as a courtesy, rake it in, and let winter do the work for you.








