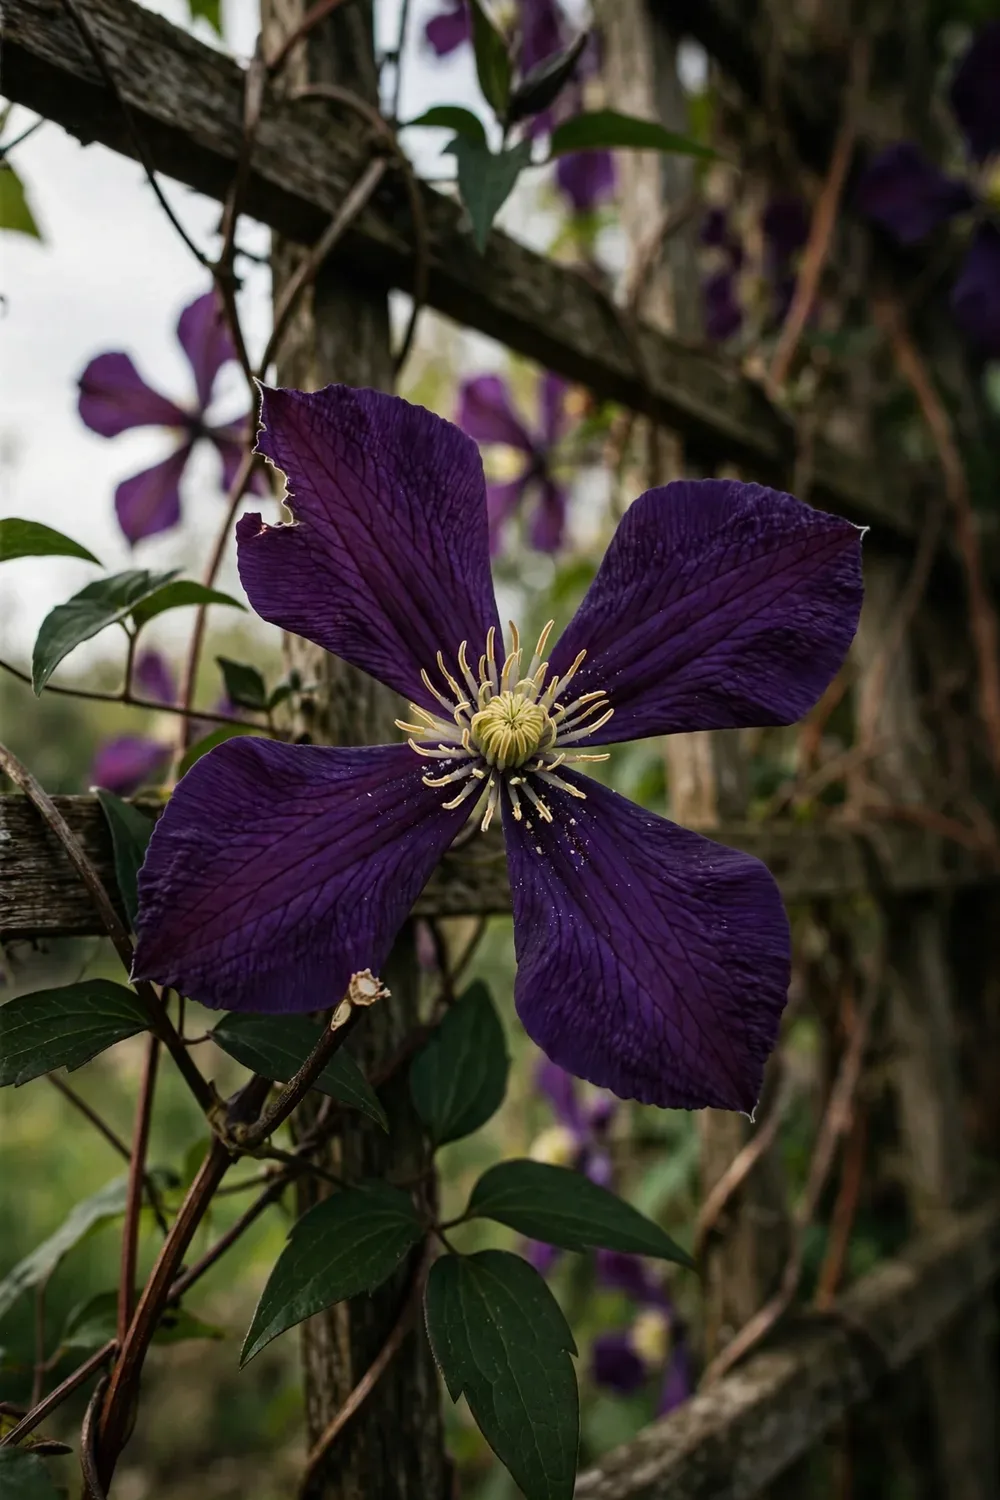

Learn 3 pruning groups before you lift the secateurs. That is how to grow clematis that flowers every year: match the plant to its group, then prune on the calendar that fits your hemisphere. The rest of this page is 12 moves, from naming the group to the first flowering season.
One cut at the wrong time costs a full year of flowers. Group 1 buds form on last year’s wood, so a winter prune removes the bloom before it opens. In my experience, the pruning group is the part every new grower gets wrong, and it is the part that decides the flowers.
Growing clematis from seed is a different job, and that slow road lives on the site’s how to grow clematis from seed. This page stays on nursery plants: choosing the right one, planting it deep, and pruning it on time.
1. Match Your Clematis to Pruning Group 1, 2, or 3
The month it flowers names the group. Spring blooms on last year’s wood mean Group 1. Large early-summer flowers on both old and new wood mean Group 2. Late-summer flowers on new growth mean Group 3. The label usually prints the group, and when it does not, the flowering month is the giveaway.
| Group | When it flowers | Wood it flowers on | Pruning style | Common members |
|---|---|---|---|---|
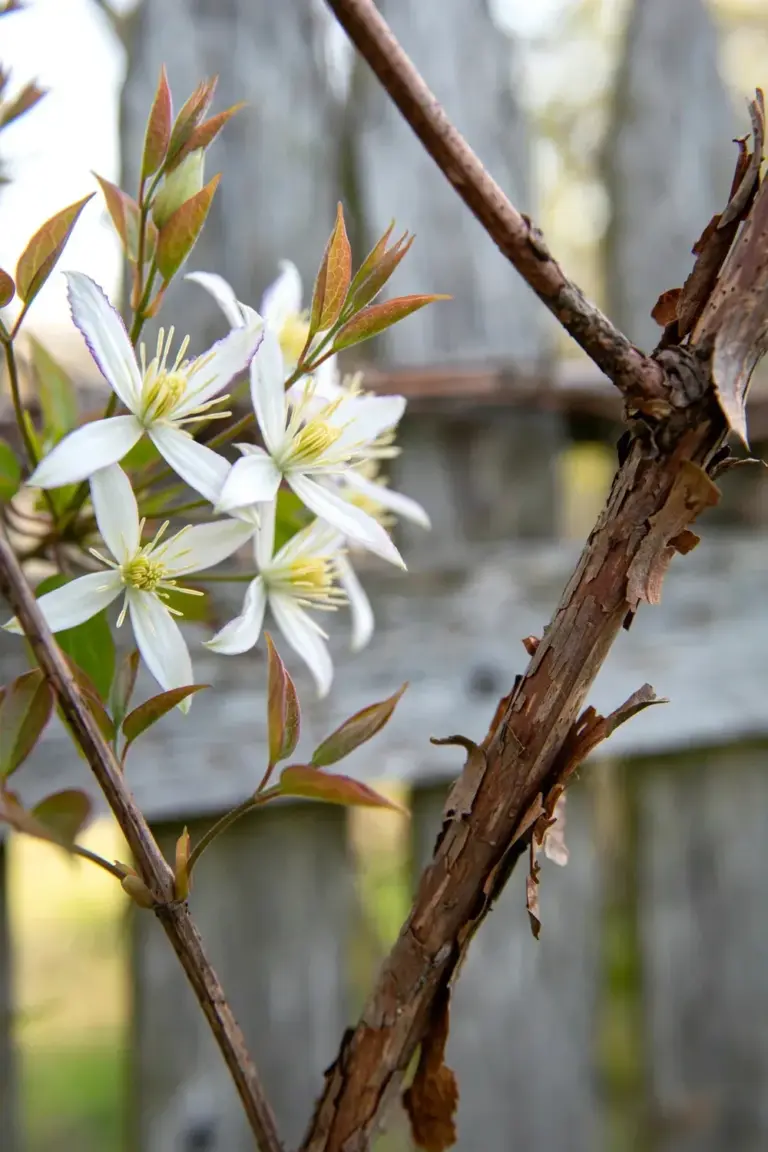
| 1 | Spring | Last year’s wood (old wood) | None, or tidy after flowering | Clematis montana, Clematis alpina, Clematis armandii |
| 2 | Early summer, often again later | Old wood first, then new wood | Light prune in late winter, trim after first flush | Clematis ‘Nelly Moser’, Clematis ‘The President’ |
| 3 | Late summer to autumn | This season’s new growth | Hard prune every late winter | Clematis ‘Jackmanii’, Clematis viticella types |
Group 1 clematis sets its flower buds the season before. Group 2 clematis sets buds on both old and new wood. Group 3 clematis makes all its flowering wood fresh each spring. That single mechanism decides every cut you will make.
If you inherit a clematis with no label, watch it for one season. Note when the first flowers open and whether they sit on bare old stems or on green new shoots. Old stems plus spring flowers equals Group 1. Big flowers in early summer equals Group 2. Flowers arriving in late summer on this year’s growth equals Group 3. One season of watching beats a decade of wrong cuts.
Read the label twice at the nursery and photograph it. Tags fade, blow away, and get swapped by curious shoppers. The group number matters more than the cultivar name, because the cultivar name tells you nothing about the cut. A phone photo of the tag is the cheapest insurance in this whole guide.
2. Translate Northern-Hemisphere Pruning Months to Your Hemisphere
Northern February is southern August. Nearly every pruning guide on the internet was written for the northern hemisphere, so translate the month before you cut. The table below converts the timings quoted by BBC Gardeners’ World and the RHS into southern-hemisphere months.
| Job | Northern timing | Southern translation |
|---|---|---|
| Group 1: prune after flowering | April to June | October to December |
| Group 2: light prune in late winter | February | August |
| Group 2: trim after first flush | July | January |
| Group 3: hard prune in late winter | February to March | August to September |
| First-year hard prune for new plants | First spring after planting | September |
| Start feeding | Early spring | September |
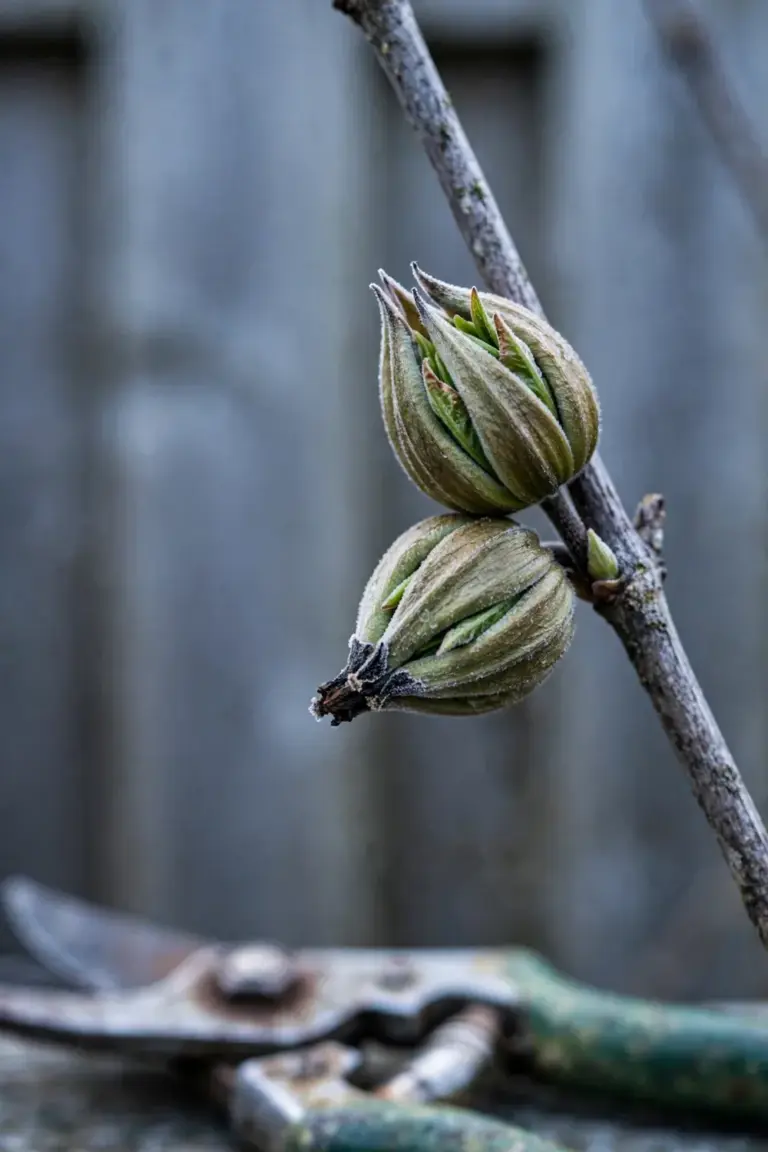
Buds beat dates. A Group 3 cut in August works because the buds are still dormant and the frost risk is passing. If your August still carries hard frosts, wait for the buds to swell, not for the calendar page to turn. The translation is a starting point, and the plant’s own growth is the final authority.
Learn to read the buds and the calendar becomes backup. Swelling buds with green showing mean growth has started, so a Group 3 hard cut is overdue but still worth doing. Tight brown buds mean you are early and safe. Flower buds already formed on a Group 1 or Group 2 plant mean the secateurs stay in the shed. The plant tells you where it is. Listen before you cut.
Readers in the tropics face a different question entirely, since clematis needs a cool rest to set buds well. This page assumes a temperate or subtropical climate with a real winter. If your winters never cool below the mid-teens, choose the native option in section 11 instead of fighting the plant.
3. Prune Group 1 Clematis After Flowering, Never Before
Group 1 needs no scheduled pruning at all. Leave it alone and it flowers. If it outgrows its space, cut it back straight after the flowers fade, never in winter or early spring.
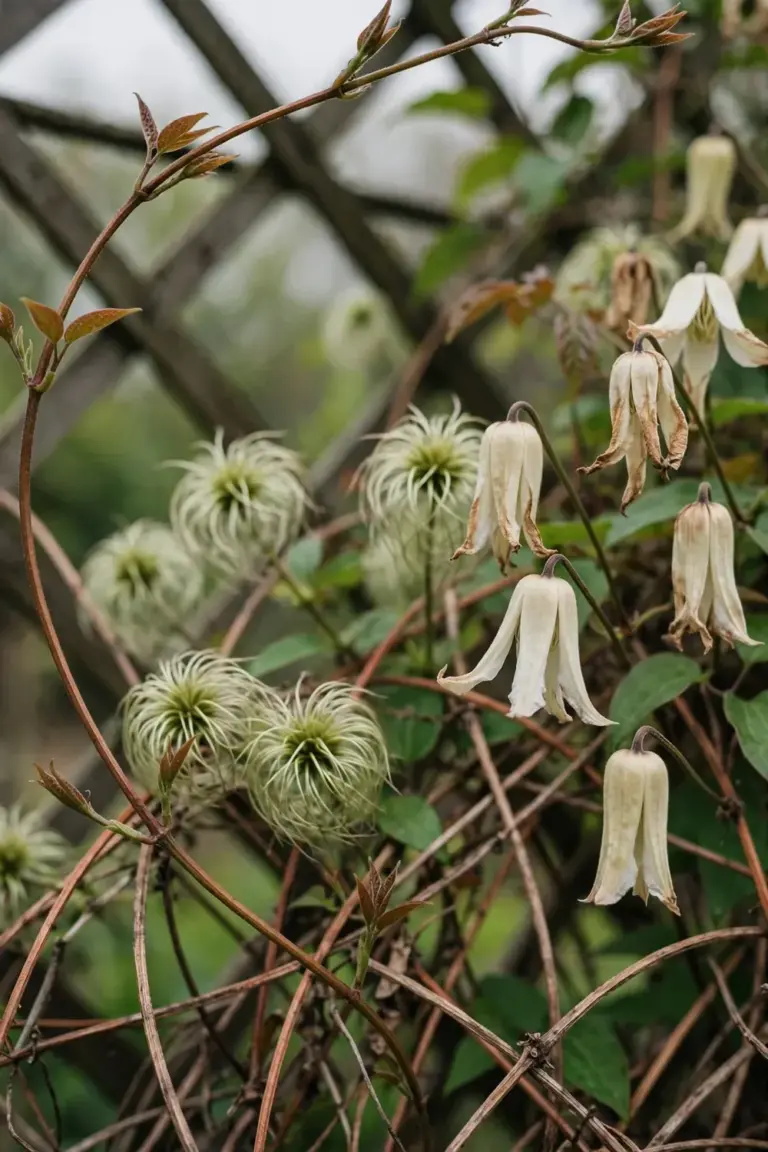
Group 1 clematis flowers on wood made the previous year. A winter prune removes the buds that would have opened in spring. That is the whole rule, and it explains why so many montana plantings flower gloriously for years until someone “tidies” them in July and wonders what happened.
To tidy a Group 1 plant, wait until the last flower drops, then cut overlong shoots back to healthy buds and remove dead wood once frost danger has passed. Cut just above a pair of strong buds, angled so water runs off the cut. For old congested plants, remove a portion of the oldest woody stems at the base to let light and air back in. A full renovation, cutting everything to knee height, works only straight after flowering and only once every three years or more.
Clematis armandii is the exception that proves the rule. It sulks after hard renovation and often refuses to resprout from old wood. With armandii, keep pruning to light shaping after flowering and accept the size it wants to be.
4. Light-Prune Group 2 Clematis in Late Winter, Then Deadhead for a Second Flush
Group 2 gets a gentle prune in late winter and a trim after the first flowers fade. The winter cut shapes the plant. The summer trim buys the second flush.
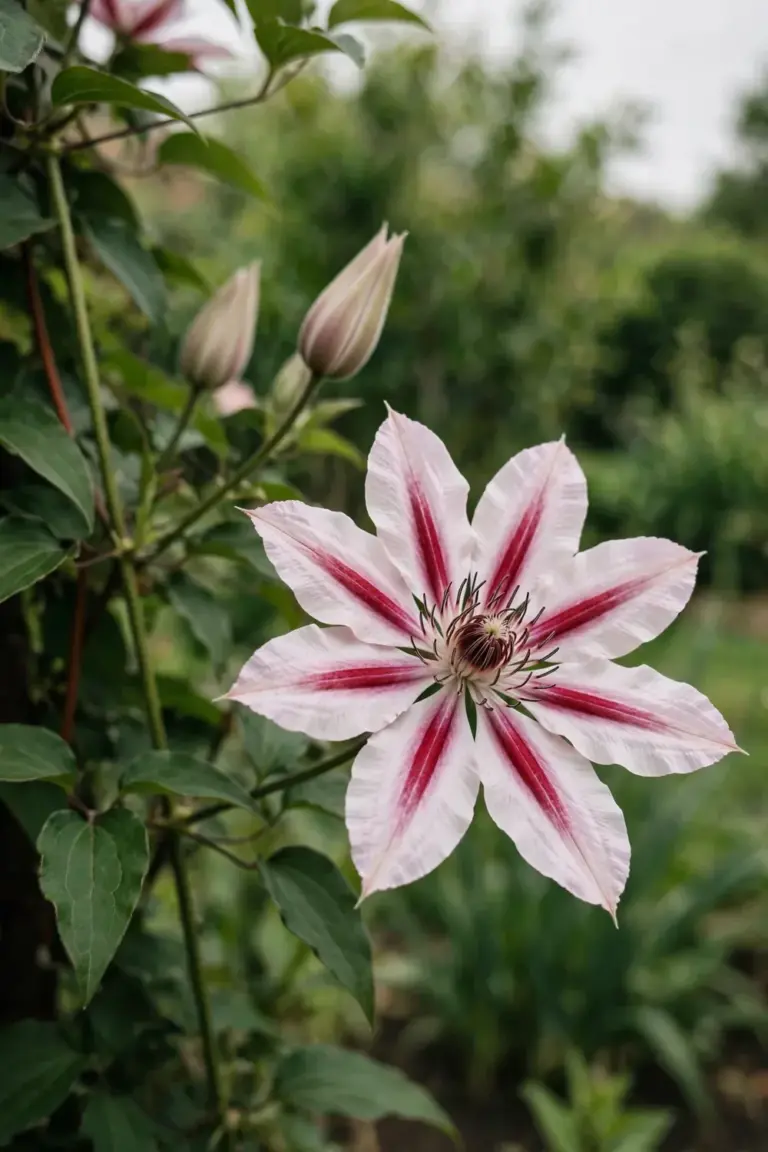
Remove damaged and weak stems first. Then work down each remaining stem from the top until you find the strongest, highest pair of buds, and cut just above them. BBC Gardeners’ World gives this exact method in their clematis growing guide, and warns that cutting too hard costs a year of flowers. Group 2 buds sit on old wood, so every stem you remove is a stem that would have flowered.
After the first flush finishes, cut back some of the flowered stems to strong buds lower down. Those stems push new growth and flower again in late summer, smaller but welcome. Deadhead the rest as the blooms fade. The plant reads deadheading as unfinished business and keeps producing.
New gardeners often shear a Group 2 plant like a hedge in late winter, then stare at a flowerless tangle all summer. If that already happened, leave the plant alone until next late winter and start the light-prune routine then. One lost season is the tuition fee. For a refresher on cutting technique before you start, our spring pruning techniques covers the mechanics.
5. Cut Group 3 Clematis Back Hard to 30 cm Every Late Winter
Group 3 is the brave one. Cut every stem back to 15 to 30 cm above a strong pair of leaf buds, every single late winter, before growth starts. The plant flowers on new wood, so nothing you remove would have flowered anyway.
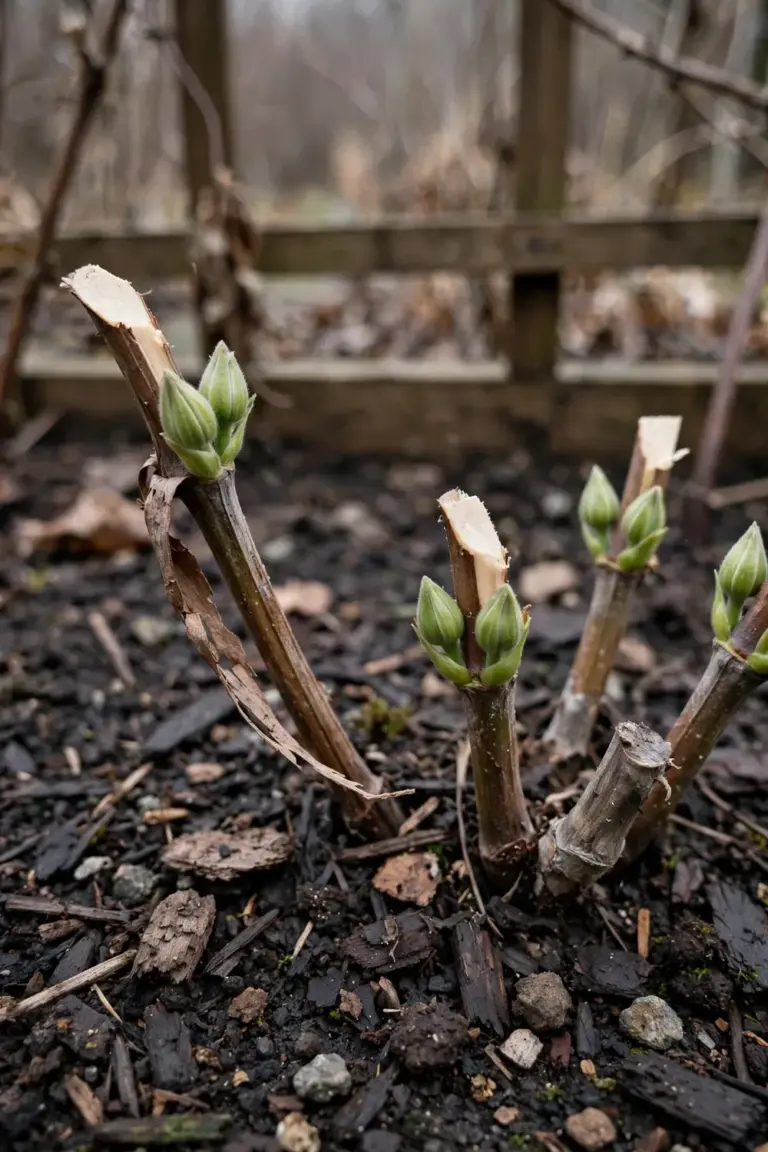
The RHS pruning guide for group three sets the height at the lowest pair of healthy buds 15 to 30 cm above soil level, and BBC Gardeners’ World puts it at 30 cm. Either way, the cut is drastic and the plant loves it. A Group 3 clematis pruned hard pushes a fountain of new stems that flower from the base to the top.
Skip the cut and the plant punishes you slowly. It keeps growing from where last year’s growth ended, so the flowers migrate upward year after year. Within a few seasons you own a bare tangle with blooms only at the very top, six feet above your eyes. The fix is the same cut you skipped, done this late winter. Group 3 forgives.
Small-flowered Group 3 types with pretty seed heads, like Clematis tangutica and Clematis orientalis, can skip the hard cut. Thin them and trim back to the main framework instead, and leave the seed heads standing for winter interest.
6. Hard-Prune Every New Clematis in Its First Spring, Whatever Its Group
Every newly planted clematis gets cut back hard in its first spring after planting, regardless of group. Cut to just above a strong pair of leaf buds 30 cm (1 ft) above the soil. The RHS is explicit on this: unless the plant already carries three or four healthy stems from the base, all newly planted clematis should be pruned back hard the first spring after planting.
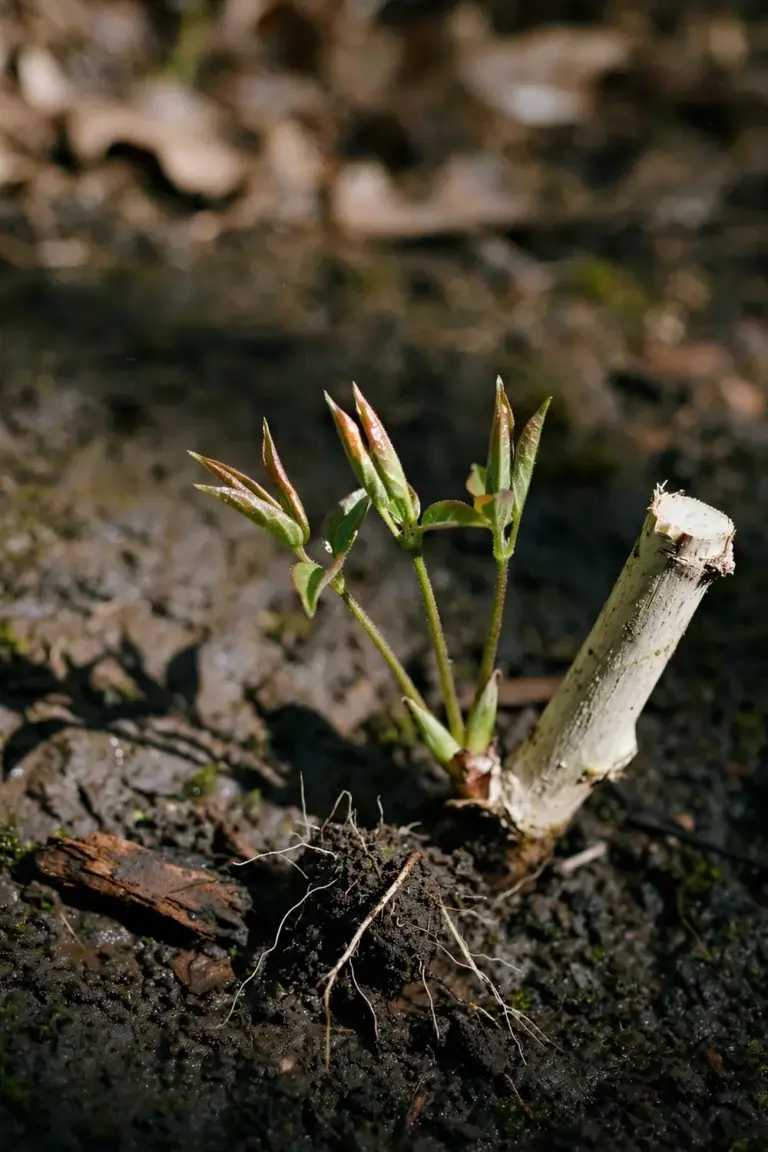
It feels wrong. You bought a plant with long promising stems and the advice is to cut most of them off. The stems you remove were grown in a nursery pot, soft and leggy. The cut forces buds at the base to break, and those basal shoots become the permanent framework that carries flowers for decades. A clematis left unpruned makes one long stem with flowers at the very top, exactly the failure the first cut prevents.
The exception is a plant that already arrives with three or four healthy stems growing from the base. That plant has its framework. Skip the hard cut and move straight to its group’s routine. After the first year, prune by group for the rest of the plant’s life.
Buy an established plant in the first place. Choose one with several strong stems and a dense root system filling its pot, not a single whippy stem in a small tube. A good nursery plant costs more and repays it in the first season.
7. Set the Crown 7 cm Below the Soil Surface
Plant the crown deeper than it sat in the pot. Set it about three inches, roughly 7 to 8 cm, below the surrounding soil surface, as the GardenSmart clematis notes recommend. The buried stem carries dormant buds that can resprout if disease or damage kills the top.
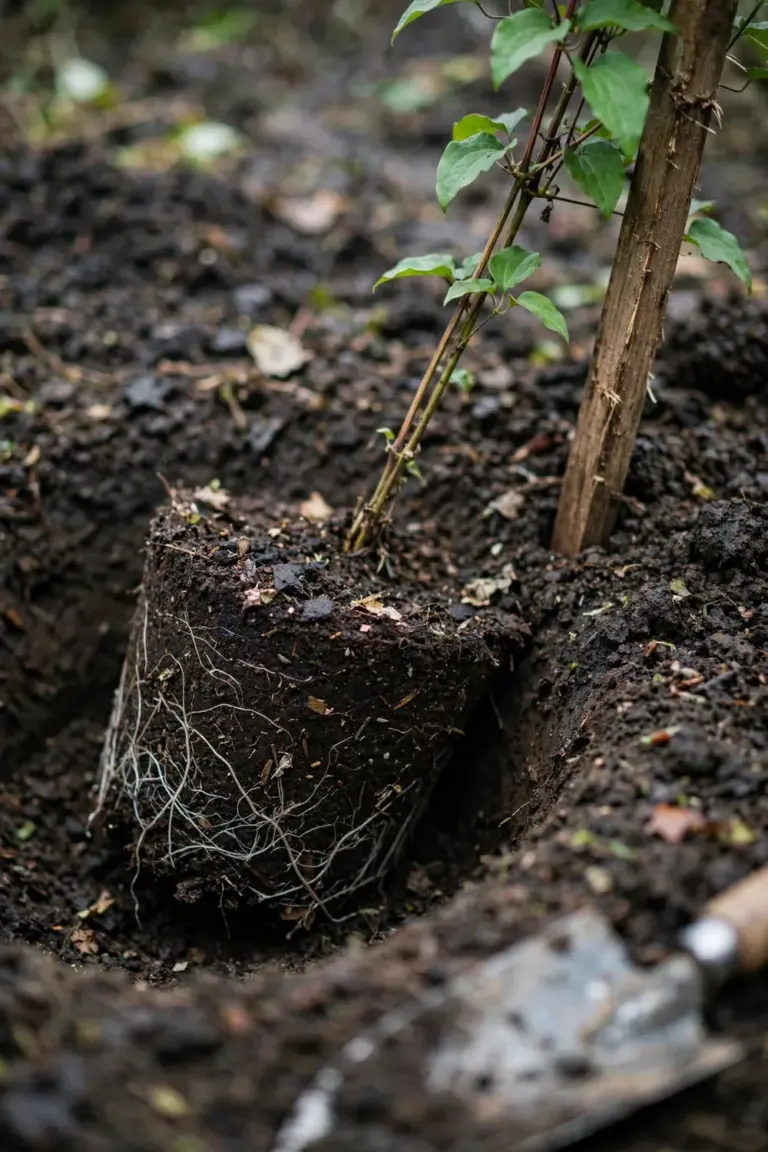
This is the opposite of most planting advice, and it is deliberate. Clematis wilt can collapse a stem overnight in summer. A shallow-planted clematis dies with its stem. A deep-planted clematis resprouts from the buried buds and you lose a season, not the plant.
Dig the hole wide and deep enough to take the root ball plus the extra depth. Tease the roots gently from the pot, angle the stems toward their support, and backfill with soil mixed with compost. Water the planting in thoroughly, then keep the soil consistently moist for the first growing season while the roots establish. Do not pile mulch against the buried stem; keep it a few centimetres clear, as you would with any woody plant.
8. Keep Clematis Roots Cool and the Head in the Sun
Clematis wants its head in the sun and its roots in the shade. The old rule is “cool roots, warm head,” and in a hot summer it is the difference between a thriving vine and a sulking one. Give the root zone what the flowers never see: shade, mulch, and steady moisture.
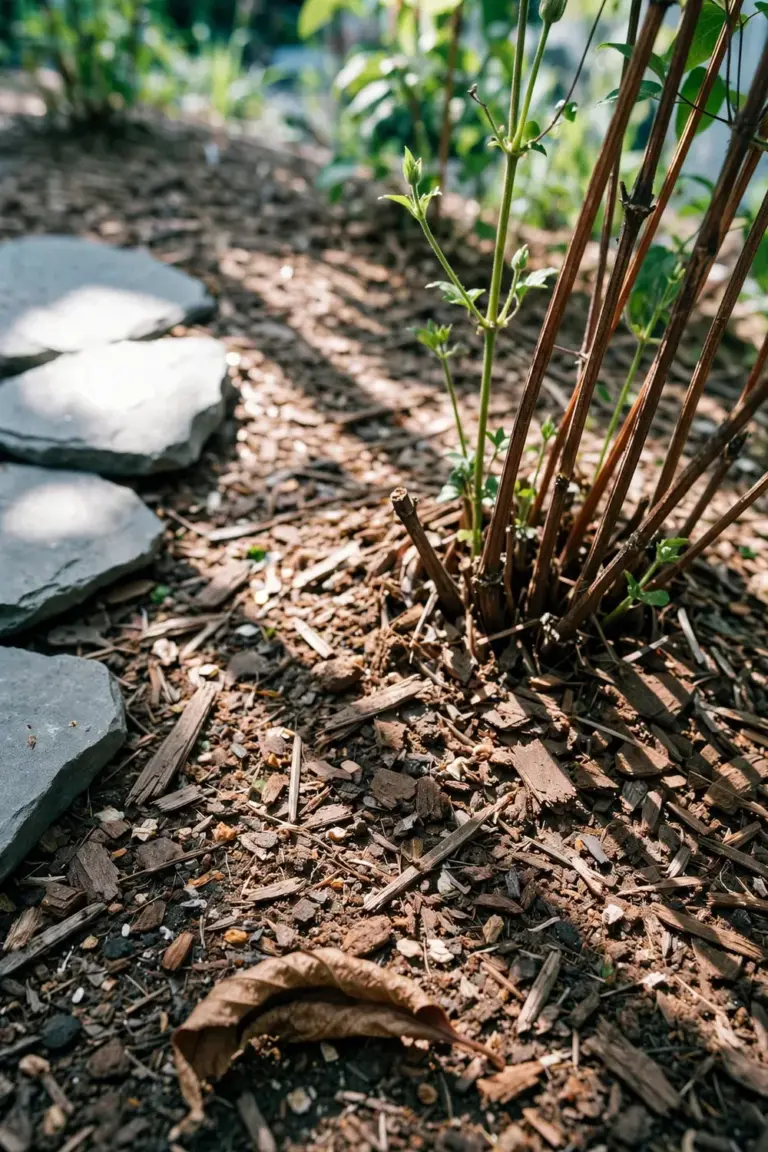
Spread a thick mulch over the root zone to hold moisture and keep the soil cool. Our mulching guide covers materials and method in full. Start the mulch a few centimetres out from the stems and extend it across the whole root area. Flat stones, a low shrub planted nearby, or a simple shade board all do the same job. The flowers still get full sun above while the roots sit in cool, damp soil below.
Hot dry roots show up as scorched leaf edges, wilting in the afternoon that does not recover by morning, and a plant that stops growing in midsummer. Cool the roots and the same plant often resumes. This is the cheapest fix in the whole guide, and the most skipped.
In pots the rule matters twice over. A pot in full sun cooks the root ball from all sides. Stand the pot where the container itself sits in shade while the vine climbs into sun, and check the moisture daily through summer.
9. Feed Hungry Clematis and Water Deep Through Summer
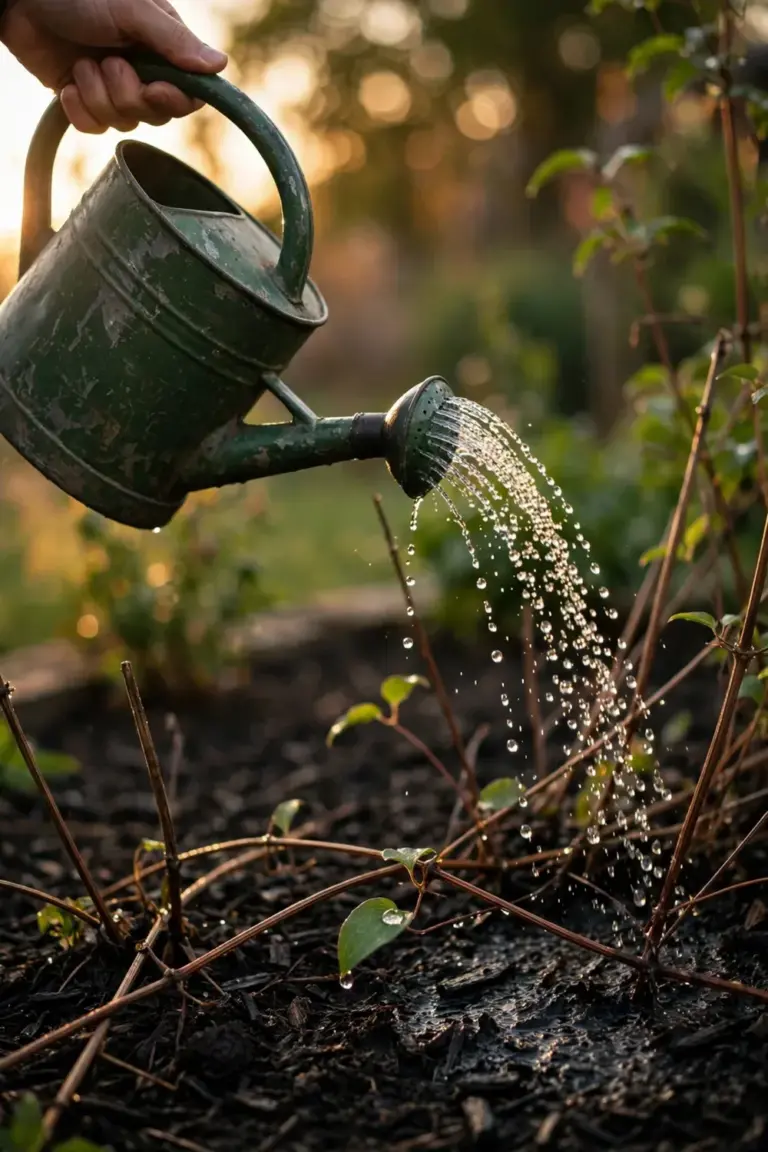
Clematis are hungry, thirsty plants. Feed them like it. Give a high-potash fertilizer, such as a tomato feed, just before they start to bloom, and water regularly in dry weather. BBC Gardeners’ World advises both in their clematis growing guide. In pots, where nutrients wash out fast, feed little and often through the growing season.
Potash drives flowering. Nitrogen drives leaves. A balanced fertilizer grows a magnificent leafy vine with few flowers, which is why the tomato feed, richer in potash, wins for clematis. Start feeding in early spring as growth begins, and stop once the buds form. Late-season feeding pushes soft growth that frost will damage, and that growth gets pruned off anyway.
At planting time, mix a slow-release fertilizer into the backfill and top-dress with compost each spring. In pots, the plant exhausts its compost quickly, so feed little and often through the growing season and repot regularly into fresh compost. A clematis in a pot is a clematis on life support; the feeding schedule is the life support.
Water deeply and less often rather than sprinkling daily. Soak the whole root zone, then let the top few centimetres dry before the next soak. Deep watering trains roots downward, where the soil stays cooler and moister for longer.
10. Train Young Stems Onto a Support That Can Carry the Weight
Give every clematis something to climb before you plant it. A trellis, an obelisk, a pergola post, or wires fixed to a wall all work. Clematis climbs by twining its leaf stalks around thin holds, so it needs narrow supports, not thick posts. Wire, string, or slender trellis slats suit it. A bare brick wall defeats it.
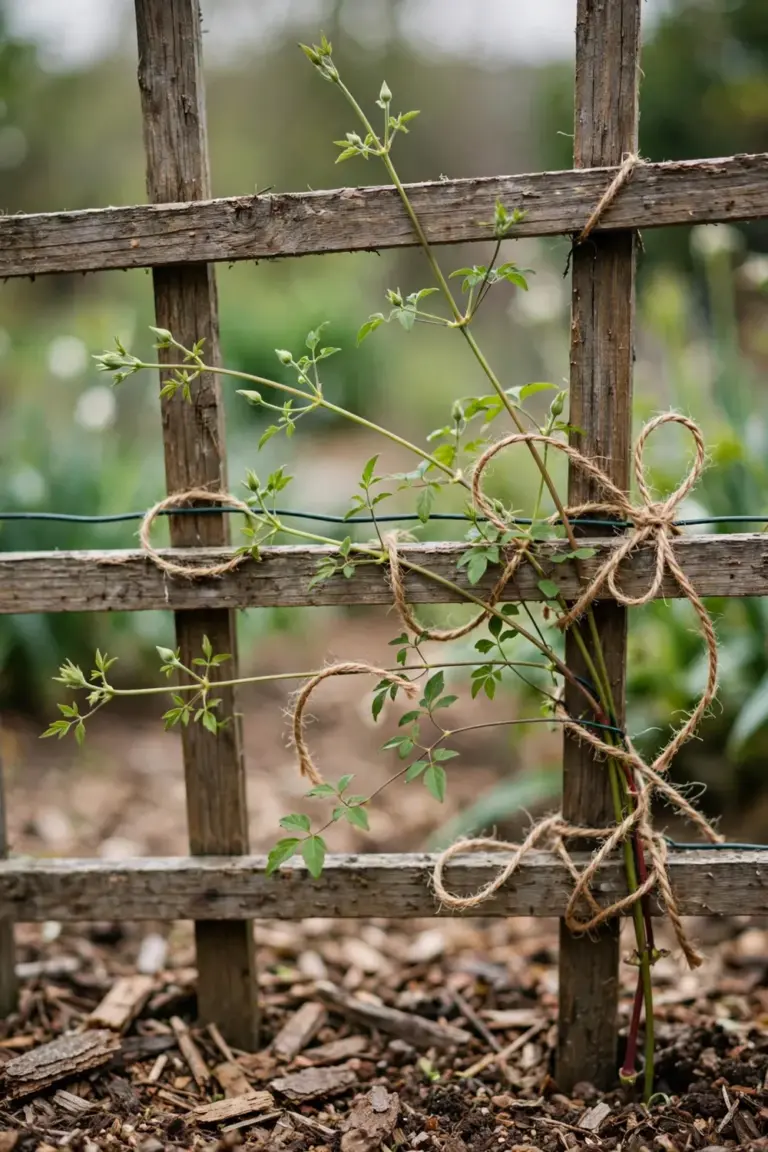
Tie new growth in through spring and summer, spacing the stems evenly across the support. The stems are brittle and snap in wind, so tie loosely with soft twine and check the ties as the stems thicken. Skip wire twists. They strangle the stem by midsummer and you will not notice until the top wilts. Soft jute twine in a figure-eight loop holds the stem without biting, and it rots away by the time you would have removed it anyway. Fan the stems outward rather than letting them all race up one line. An even fan flowers evenly. A congested rope of stems flowers only at the top.
Match the support to the plant’s mature size. A Clematis montana is a vigorous giant that will drag a flimsy cane arch into the soil within two seasons. Build for the plant at year five, not the plant in the pot. A support that fails in a storm tears the vine with it.
11. Grow Clematis aristata, the Native Clematis of Eastern Australia
Gardeners in Australia have a native option. Clematis aristata, the Australian clematis, grows wild in the forests of Queensland, New South Wales, Victoria, and Tasmania, where it scrambles over logs and into low trees. It carries masses of starry cream-white flowers in spring, followed by the fluffy seed heads that give it its common names.
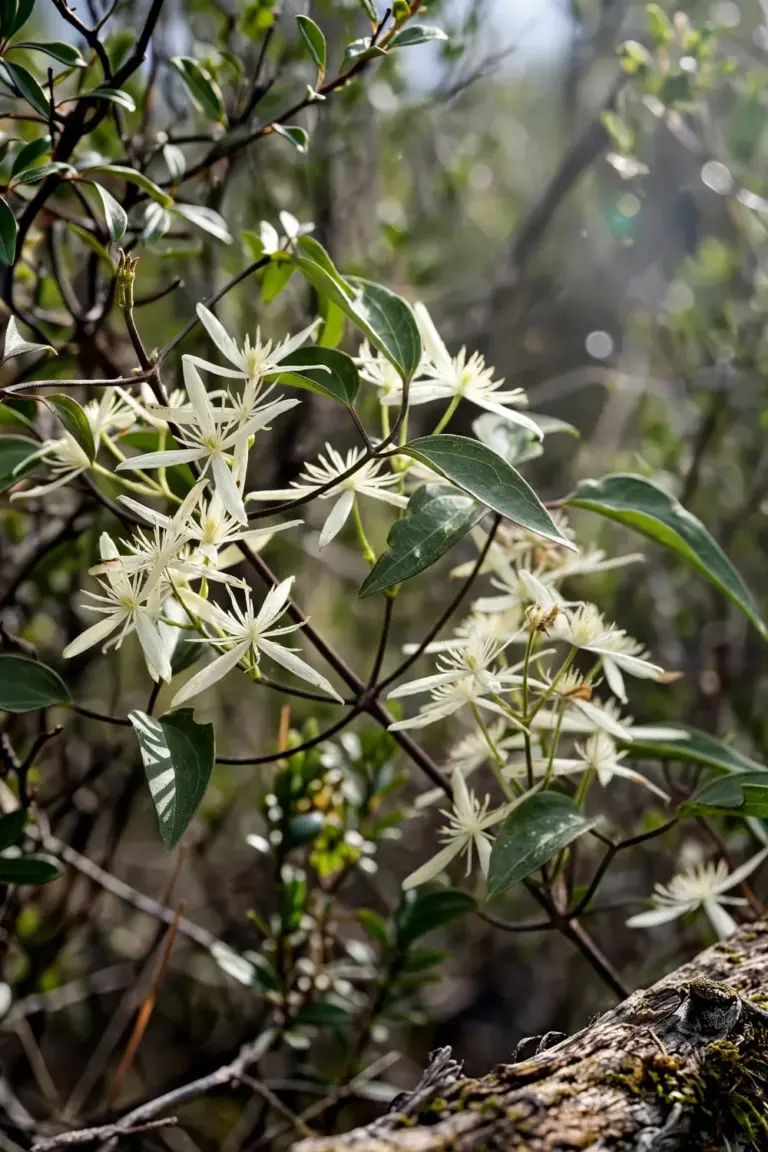
The species is dioecious, meaning male and female flowers grow on separate plants. Only the female plants make the fluffy seed heads, and you need both sexes nearby for seed. In the garden it takes light shade to full sun, a humus-rich soil, and the same cool root run every clematis wants. It climbs several metres in cultivation and will happily cover a fence or pergola with a little training.
Treat it as a Group 1 plant. It flowers on old wood, so prune only after flowering and only to keep it in bounds. Left alone it smothers the shrubs in its path, so give it its own structure or a strong host it cannot overwhelm.
One naming caution in a single line: “old man’s beard” is also the common name of Clematis vitalba, a weedy species that is invasive in New Zealand and a different plant entirely, so check the botanical name on the label before you buy.
12. Fix 5 Common Clematis Failures Before Next Season
Most clematis problems trace back to the group, the roots, or the calendar. Work through the list and match your symptom. Fix the cause this season and the plant usually answers next season, because clematis is tougher than its reputation suggests. The failures below are ranked by how often they actually show up.
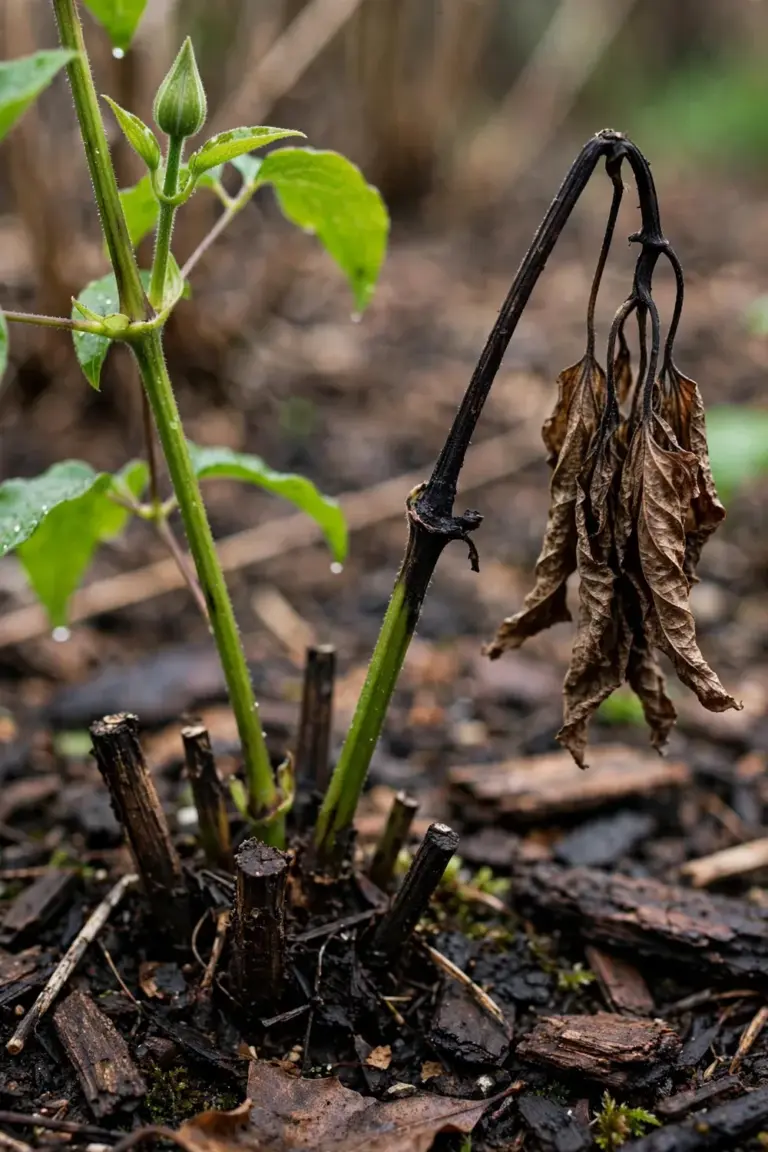
No flowers at all. The usual cause is pruning at the wrong time. A Group 1 or Group 2 plant cut hard in winter loses the buds that would have flowered. Leave it alone for a full year and prune by group next season. Young plants also sulk for a season or two after planting while they build roots.
Stems collapse overnight in summer. That is clematis wilt. Cut the affected stems back to healthy wood, clear the debris, and keep watering the base. If you planted the crown deep, as section 7 directs, new shoots usually push from the buried buds.
Flowers only at the very top. The plant was not pruned hard enough. For Group 3, cut to 15 to 30 cm this late winter. For Group 2, the light prune went too light; take each stem back to a strong bud pair.
A bare brown base with leaves only above. Normal for an unpruned Group 3 plant, and the reason the annual hard cut exists. Renovate this late winter and the base fills in.
Leaf edges scorching in summer. The roots are too hot. Mulch the root zone, shade the pot, and water deeply until the plant recovers. Most clematis bounce back once the roots cool.
Frequently Asked Questions About Growing Clematis
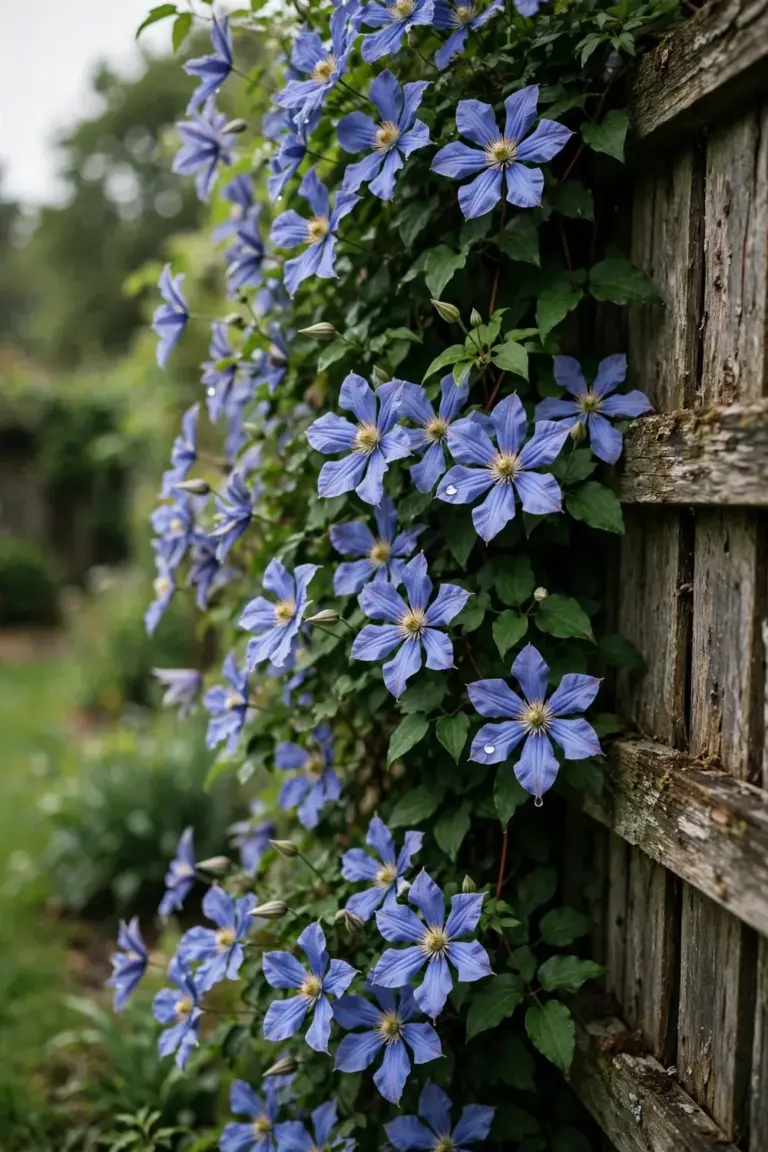
Watch when it flowers. Spring flowers on bare old stems mean Group 1, large early-summer flowers on old wood mean Group 2, and late-summer flowers on fresh green growth mean Group 3. Keep the nursery tag, because the label usually prints the group. Lost the label? One season of watching settles it.
Yes, with extra feeding and watering. Choose the largest container you can sensibly manage, so the root ball stays cool and moist. Use a loam-based compost with slow-release fertilizer, and feed little and often with tomato feed through summer. Stand the pot where the container sits in shade while the vine climbs into sun. Repot into fresh compost regularly, because a pot exhausts its nutrients fast.
Translate the northern months forward by six. Late winter in the south means August, so Group 2 gets its light prune and Group 3 its hard cut to 30 cm in August to September. Group 1 gets tidied straight after flowering, which falls around October to December. Watch the buds rather than the date: prune Group 3 as the buds swell, and never cut Group 1 or 2 once their buds are set.
The most common cause is pruning at the wrong time. Cutting a Group 1 or Group 2 plant hard in winter removes the buds that carry the flowers. New plants also skip flowering while they establish roots, which is normal for the first season or two. Check the group, check the calendar, and leave the plant alone until the right window. Hunger is the third suspect, so feed with a high-potash fertilizer before bloom.
The name is shared, the plants are not. Clematis aristata is the Australian native clematis, a garden-worthy climber with starry cream flowers. “Old man’s beard” is also the common name of Clematis vitalba, a vigorous weedy species that is invasive in New Zealand. Nurseries sometimes use the common name loosely, so always check the botanical name on the label and buy Clematis aristata by its Latin name.
Give Your Clematis One Honest Season
Three things decide a clematis: the group, the planting depth, and the roots. Name the group before you cut. Bury the crown 7 cm deep. Keep the roots cool and fed. Do those three and the plant does the rest, year after year, on the same stems you trained in the first spring.
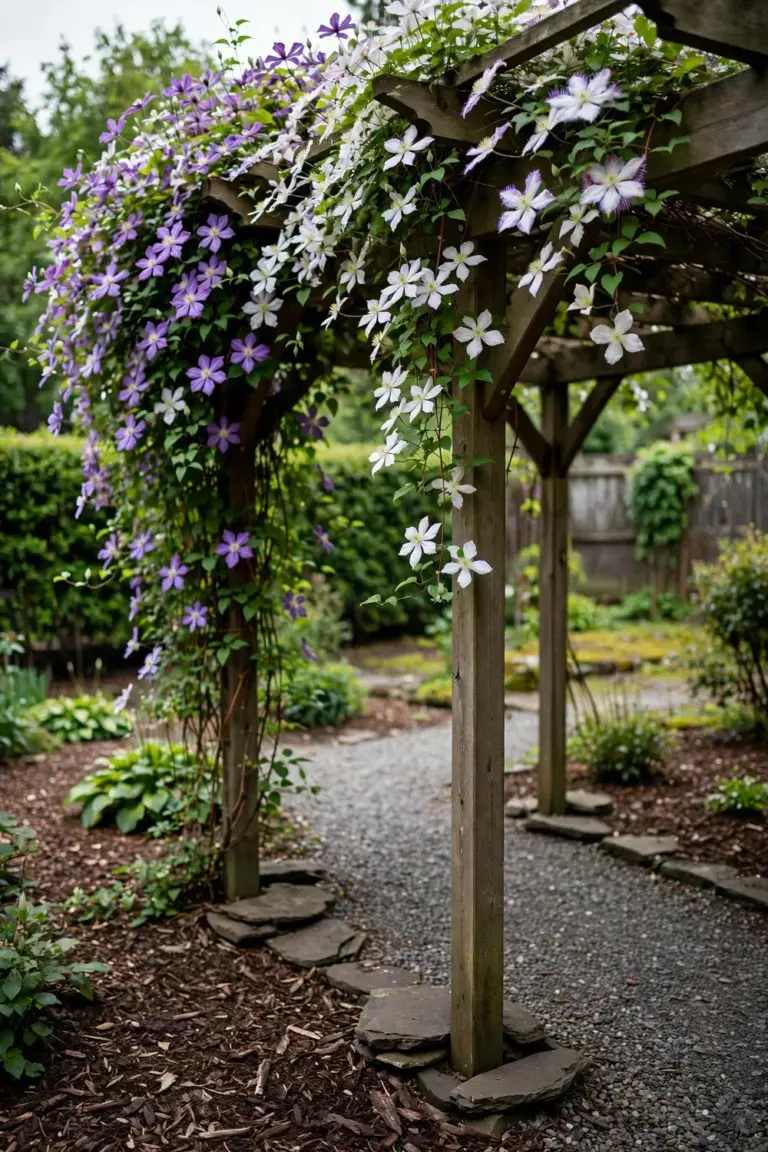
Plant this season if you can. A clematis planted now spends its first months building the root system that carries decades of flowers. Cut it back hard in its first spring, tie the new shoots in evenly, and wait. The second year is when it starts to show you what it can do.