
Exobasidium leaf gall is mostly cosmetic. The 7 ways below care for azaleas and camellias and keep galls in check, starting with the spring inspection that catches galls before they turn white.
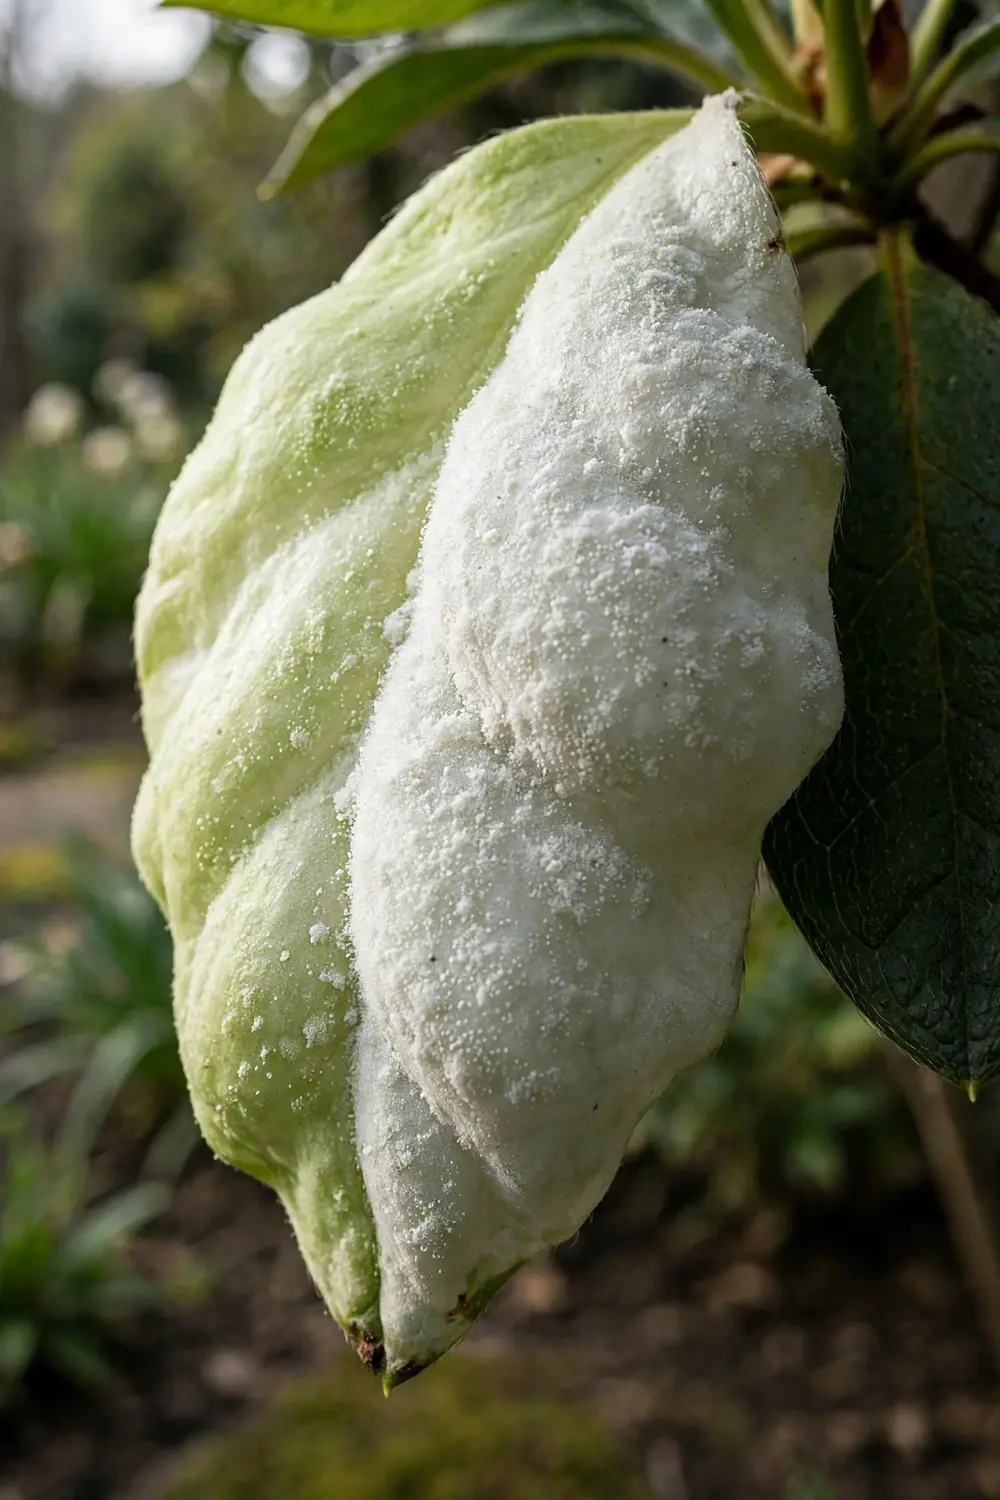
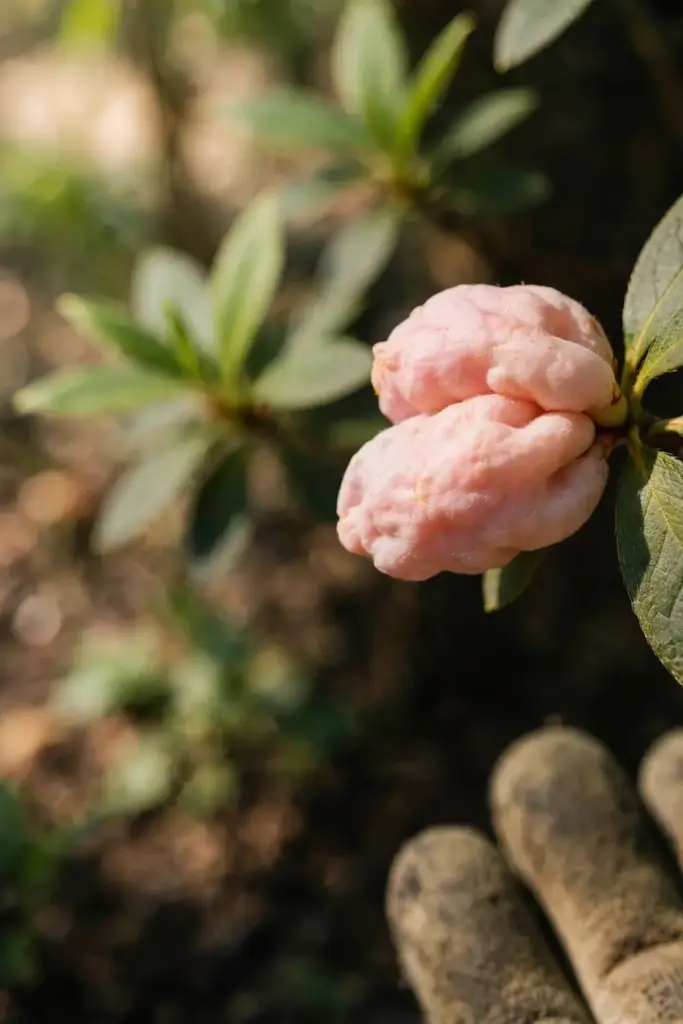
The signature is a thick, fleshy, swollen leaf or flower part, pale green or pink at first, turning white when it starts producing spores. The gall looks alarming. The plant is not in danger. The routine is cheap, yearly, and spray-free.
The rest of this page runs the order a gardener should follow. Understand the fungus first, learn its signs, then work the 7 ways from inspection to planting choices. I have learned that the gall I pick in April is the gall that never sheds spores in May.
What Exobasidium Leaf Gall Actually Is
Exobasidium leaf gall is a fungal disease of azalea, camellia, and rhododendron. Fungi in the Exobasidium group, chiefly Exobasidium vaccinii and Exobasidium camelliae, cause Exobasidium leaf gall.
The honest frame comes first. The galls are mostly cosmetic. University of Maryland Extension states that the galls will not threaten the health of the plant. University of Massachusetts Extension calls the disease not a serious threat. North Carolina State University Extension calls it a minor disease. University of Georgia Extension says plants are seldomly damaged. The article leads with that consensus, because the gall’s appearance scares gardeners into spraying and cutting down healthy plants.
The counter-balance comes second. The University of Florida IFAS Extension notes that if the disease is left untreated for many years, the pathogen may weaken the host enough to reduce vigor. One county source warns against ignoring azalea and camellia galls outright. The article’s stance is the middle: act cheaply each spring, do not panic, do not spray, and do not ignore the galls for years. The routine is pick, bag, rake, and dry. The routine costs little. The routine keeps the galls cosmetic.
The fungus infects young, expanding tissue in spring. Spores land on young leaves and flower parts, grow inside the tissue, and force the tissue to swell into a gall. The gall turns white when it starts producing spores. The white surface is the spore mass. Spores from white galls infect the next spring’s growth. The cycle runs year to year through galls left on the plant and on the ground.
The scope stays on home gardens. Azalea, camellia, including sasanqua, and rhododendron carry the cases. Blueberry and kinnikinnick get one-line mentions only. This article is a prevention and care guide, not a treatment guide. There is no treatment to apply. The care is the treatment.
How to Spot Exobasidium Leaf Gall on Azaleas and Camellias
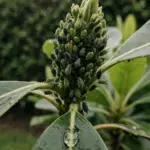
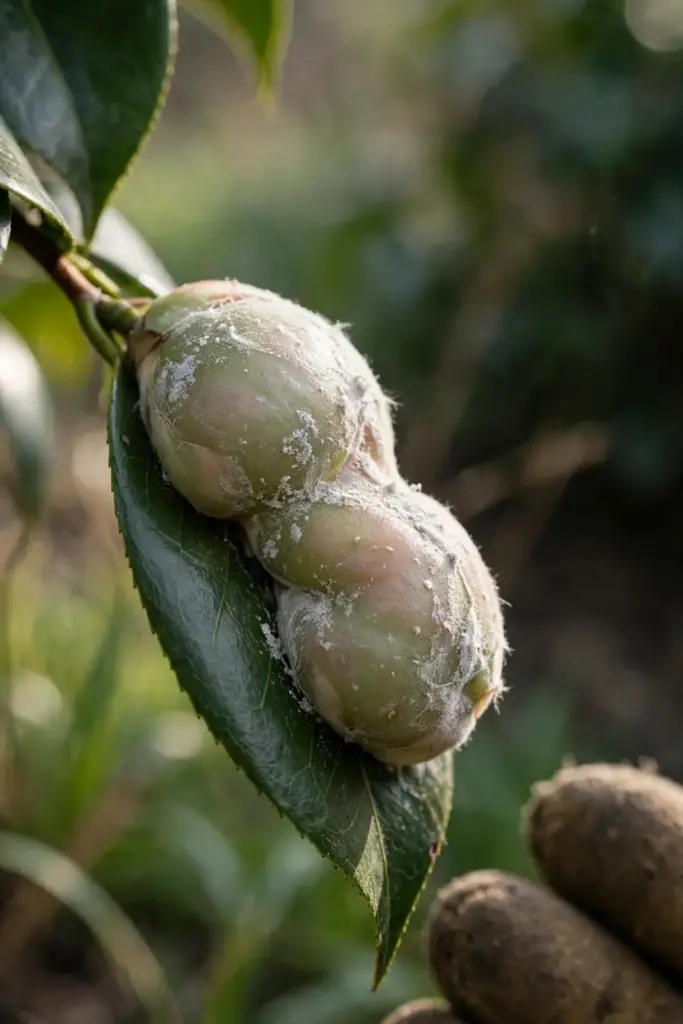
Thick, fleshy, swollen leaves or flower parts, pale green or pink at first and turning white, point at Exobasidium leaf gall.
On azalea, the galls swell leaves, flower parts, and sometimes shoots. The gall starts pale green or pink, thick and fleshy, larger than a normal leaf. The gall turns white as it starts producing spores. A swollen, fleshy, pale leaf that turns white is an Exobasidium gall. A normal leaf stays thin, green, and flat.
On camellia, the galls swell leaves and flower buds. The gall starts pale green or pink, thick and fleshy. The gall turns white as it starts producing spores. A swollen camellia leaf or bud that turns white is an Exobasidium gall. A healthy camellia leaf stays glossy, dark green, and flat.
Check the timing. Galls appear in spring, right after flowering, on the new growth. A gall that appears in spring on new growth fits the pattern. A gall that appears in midsummer on old growth points elsewhere. The spring timing plus the fleshy swelling plus the white surface names the disease for home purposes.
Field identification is strong for the gall itself. A thick, fleshy gall on azalea or camellia in spring is Exobasidium until proven otherwise. The flower gall deserves a second look, because petal blight also attacks azalea and camellia flowers. Petal blight rots the petals brown and collapses the flower without swelling it. Exobasidium swells the flower part thick and fleshy, then turns it white. A brown, collapsed flower is petal blight. A swollen, fleshy, whitening flower part is Exobasidium. The swelling separates them. A gardener who sees swelling picks the gall. A gardener who sees rot without swelling checks for petal blight instead. The lookalikes are few: insect galls are smaller and harder, crown gall is a hard woody swelling at the base, and petal blight rots the flowers without swelling them. The fleshy swelling is the mark. The white surface is the confirmation.
Check the whole plant, not one gall. Exobasidium on one leaf points at that leaf. Exobasidium across a whole azalea after a wet spring points at the plant’s site and airflow. The spread of galls across the plant tells the gardener whether the problem is one leaf or one site.
| Host | Gall Signs | First Action |
|---|---|---|
| Azalea | Thick, fleshy, swollen leaves and flower parts, pale then white | Pick off galls before they turn white, bag and trash |
| Camellia (including sasanqua) | Thick, fleshy, swollen leaves and buds, pale then white | Pick off galls before they turn white, bag and trash |
| Rhododendron | Swollen leaves and shoots, pale then white | Pick off galls, rake fallen galled leaves, improve airflow |
Step 1: Inspect Early and Often in Spring
Inspect early and often in spring. Catch galls when they are small, right after flowering.
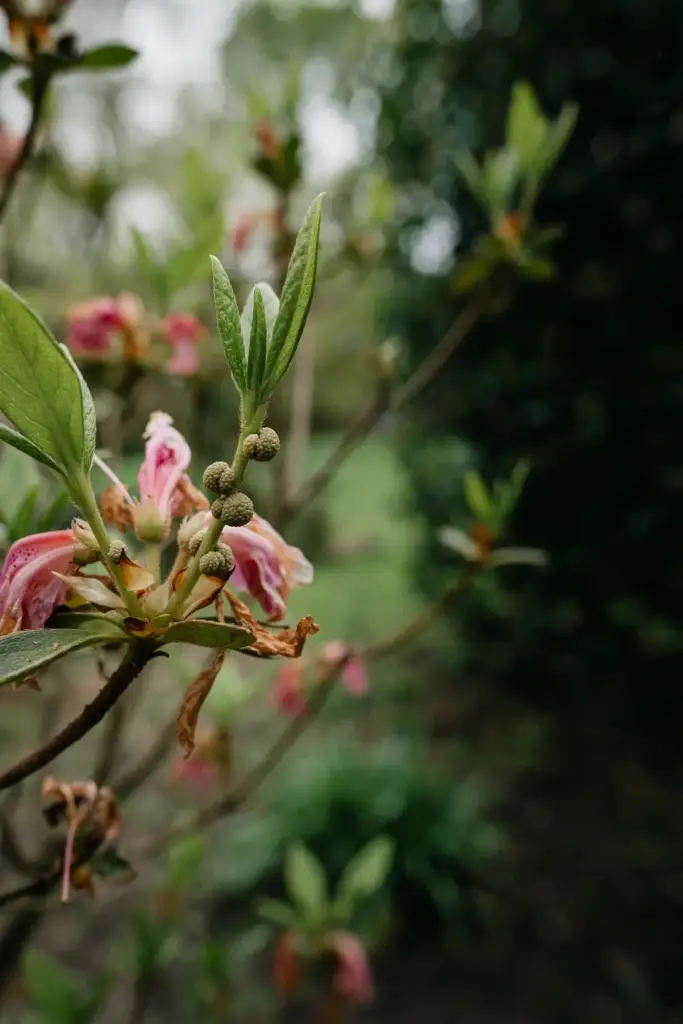
Walk the azaleas and camellias weekly in spring, starting right after flowering. Look at the new growth: the young leaves, the flower parts, the shoot tips. A gall caught when small is a gall picked before it turns white. A gall left until it turns white has already started shedding spores. The weekly inspection catches the gall in the window between swelling and sporulating.
Inspect the whole plant, top to bottom. Galls hide under leaves, behind branches, and on the shaded side. A gall missed on the shaded side turns white and sheds spores onto the next spring’s growth. A gall found on the shaded side gets picked with the rest. The thorough inspection is the prevention. The quick glance is not.
Inspect after rain. Rain wets the young tissue and favors infection. A rainy spring grows more galls than a dry spring. A dry week needs a weekly inspection. A rainy week needs a twice-weekly inspection. The rain schedule sets the inspection schedule. A gardener who inspects after every rain catches the galls before they whiten.
Teach the household the gall. A child who spots a swollen, pale leaf and reports it is a scout. A partner who inspects while watering is a scout. The inspection costs minutes, takes no tools, and catches the outbreak earlier than any other check. The plant that gets inspected weekly shows fewer galls than the plant that gets checked once.
Step 2: Pick Off Galls Before They Turn White
Pick off galls before they turn white. Bag them, trash them, and never drop them on the ground.
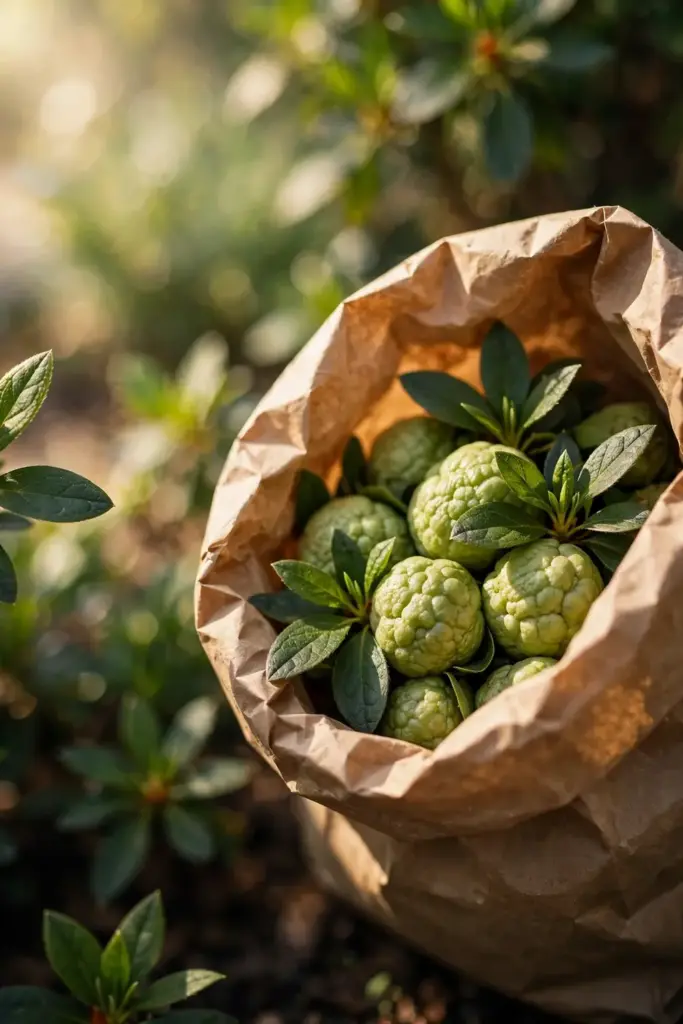
University of Maryland Extension gives the rule: hand-pick galls before the white sporulating surfaces form. North Carolina State University Extension agrees: remove galls before they turn white. University of Georgia Extension agrees: remove galls as soon as possible, before they turn white. Three sources, one rule. The white surface is the spore mass. A gall picked before it whitens sheds no spores. A gall picked after it whitens has already shed some.
Pick by hand when the count is small. Hold the gall, snap it off, and drop it straight into a bag. Do not drop it on the ground and pick it up later. The bag travels with you around the plant. A gall dropped on the ground is a gall that may stay on the ground.
Prune a branch when the gall covers it. A gall that swells a whole shoot earns a cut a couple of inches below the symptoms. Cut in dry weather. Cut with a sharp pruner. Cut at a junction, not into a stub. The cut removes the gall plus the tissue around it. The bag takes the cutting. The plant keeps the rest.
Do not eat the galls. One historical note calls azalea galls “pinkster apples” and says they are edible. Do not follow it. Azalea parts are toxic, carrying grayanotoxins. A gall that looks like a fruit is not a fruit. A gall that looks edible is a poison. Pick the gall. Bag the gall. Trash the gall. Never taste it.
Step 3: Rake Up and Destroy Fallen Galled Leaves
Rake up and destroy fallen galled leaves. Galls left on the ground seed next spring’s infection.
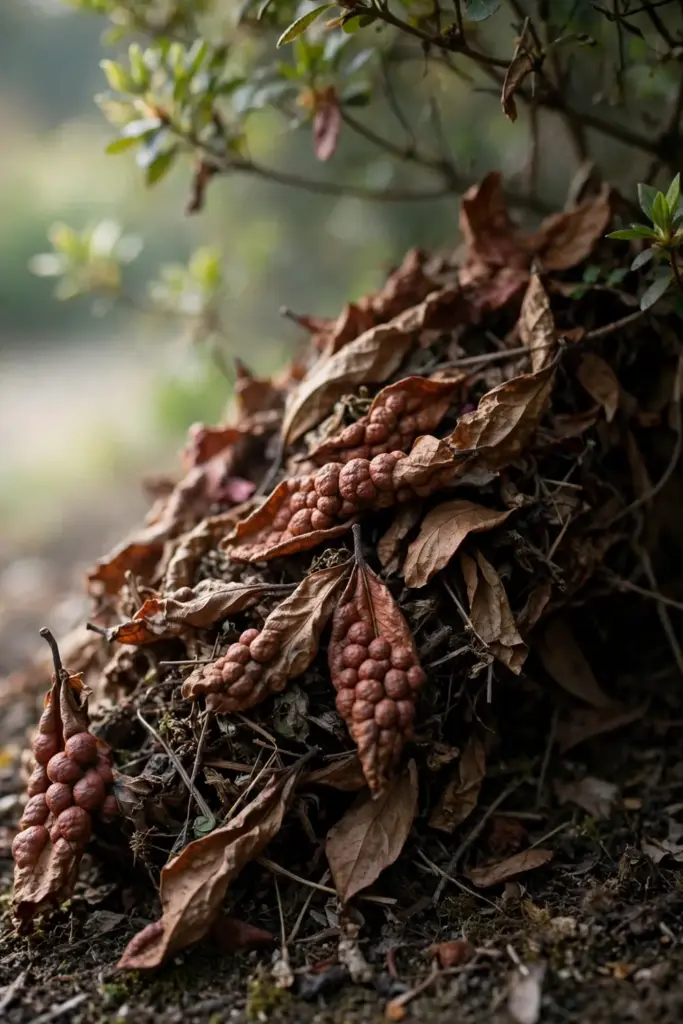
The fungus survives on the ground. A gall that falls from the plant carries spores onto the soil. A galled leaf that falls carries spores onto the soil. The spores wait through winter and infect the next spring’s growth. The same plants get hit year after year when galls are left on the ground. The rake breaks the cycle. The ground left dirty keeps it.
Rake under the plant after picking. Pick the galls on the plant first, then rake the ground under the plant. The order matters. A gall picked and dropped during the picking lands on the ground. A rake after the picking collects the dropped galls with the fallen leaves. Pick first. Rake second. Bag both.
Bag the rakings and trash them. Do not leave the rakings piled beside the plant for later. Later rarely comes, and the pile sheds spores all winter. Bag the rakings. Trash them. The bag is the whole strategy. A bagged gall leaves the garden. A dropped gall feeds the next spring.
Resolve the compost question in favor of trash. North Carolina State University Extension lists “trash or compost” for galled material. University of Maryland Extension, University of Massachusetts Extension, Louisiana State University Extension, and one county source say bag and trash, and warn against dropping galls on the ground. Compost may not kill the spores. This article defaults to trash. The trash rule protects next spring’s growth. The compost pile is for healthy debris, not for galled material.
Step 4: Sterilize Pruners and Tools Between Cuts
Sterilize pruners and tools between cuts. A dirty blade carries spores from a galled branch to a healthy one.
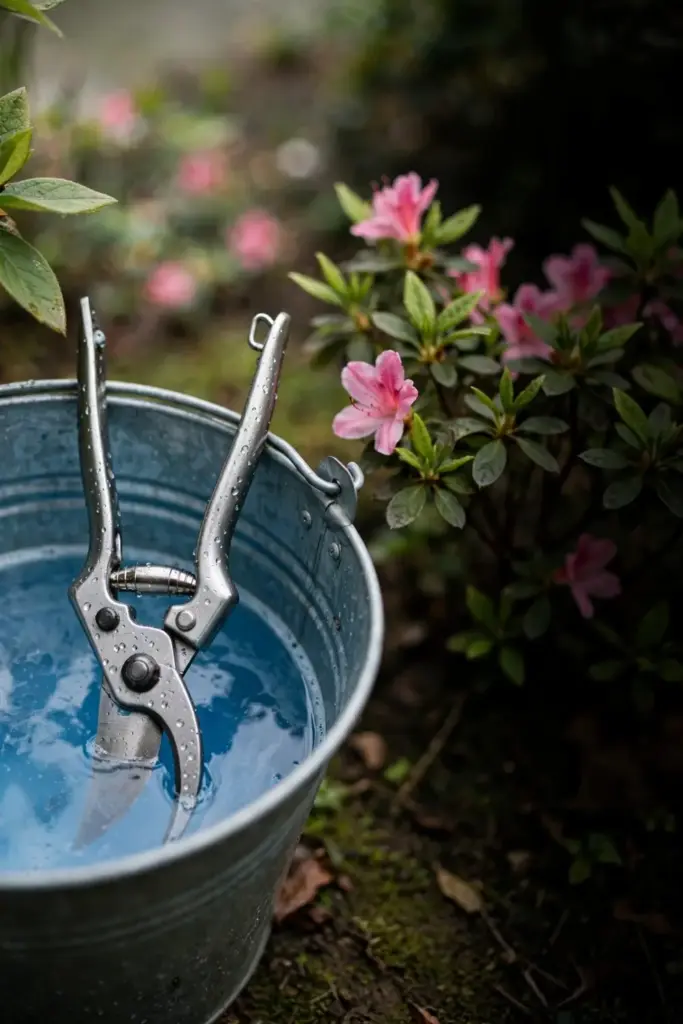
Disinfect blades with 70 percent rubbing alcohol or a 10 percent bleach solution between cuts, following the hand-pick and sanitation routine in the University of Maryland Extension guidance. Dip the blades, wipe them, and cut again. Keep the disinfectant bucket within arm’s reach of the plant. A bucket left at the shed does not get used. A blade that cuts a gall and then cuts a healthy branch moves the spores. A blade disinfected between cuts does not.
Bleach corrodes steel fast. Wash the blades with soap and water after the last cut, dry them, and oil them before storage. Alcohol is gentler on steel and dries fast, which makes it the better choice for a long pruning session with many cuts. Either option works when used between cuts. Neither works when used once at the end of the job.
Disinfect after the job too, and wash gloves. Spores ride on glove fabric, on pruner handles, and on the tarp that caught the prunings. Wash gloves with soap and water. Rinse the tarp. Let tools dry before storage. A clean tool kit is the cheapest disease prevention a gardener owns.
Do not prune through a white gall and keep cutting. A blade that passes through a white gall loads up with spores. A blade that passes through a white gall needs disinfecting before the next cut, without exception. Slow down at the worst branches. The worst branches are the ones that load the blade.
Step 5: Dry the Foliage With Thinning, Spacing, and Base Watering
Dry the foliage. Thin the canopy, space the plants, and water at the base so leaves dry fast.
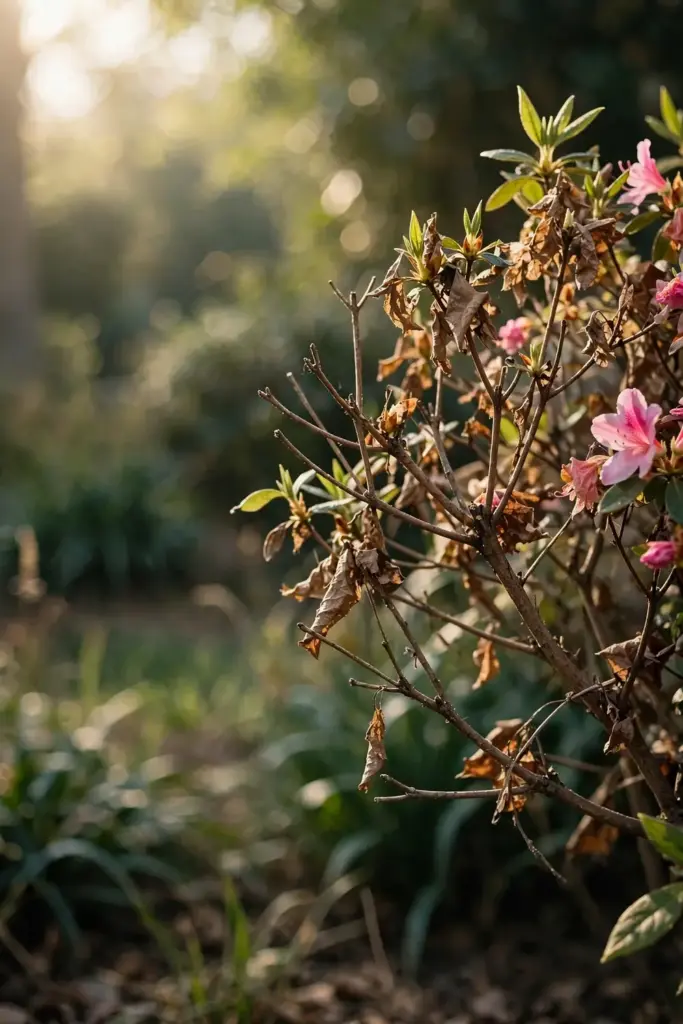
Thin a dense azalea or camellia by removing whole small branches at their junctions, not by shearing the outside. Shearing stimulates a flush of soft, dense growth on the surface, and that flush stays wet and catches disease first. Thinning cuts remove entire branches and open real air channels through the plant. The plant keeps its natural shape. The interior dries.
Space new plantings for their mature size. A hedge planted tight for instant privacy pays for that privacy with wet foliage and galls. Read the mature width on the nursery tag, and plant at that spacing. A planting with air between plants at maturity needs less thinning, dries faster, and shows fewer galls.
Avoid enclosed courtyards with no air movement. A courtyard with walls on four sides traps humid air. A plant in a still courtyard stays wet after rain. A plant in moving air dries fast. Site azaleas and camellias where air moves. A breezy corner beats a still courtyard, even when the courtyard looks sheltered.
Water at the base, and avoid overhead watering. Overhead watering soaks the canopy and holds it wet. Base watering wets the soil and leaves the canopy dry. Use drip, soaker, or a slow hose at the soil line. Water in the morning so any splash that reaches low foliage dries during the day. A morning base watering that splashes a little beats an evening overhead watering that soaks the plant overnight.
Step 6: Hard-Prune Heavily Affected Plants and Repeat for Years
Hard-prune heavily affected plants in late spring or early summer. Repeat the routine for multiple consecutive years to draw down the spore bank.
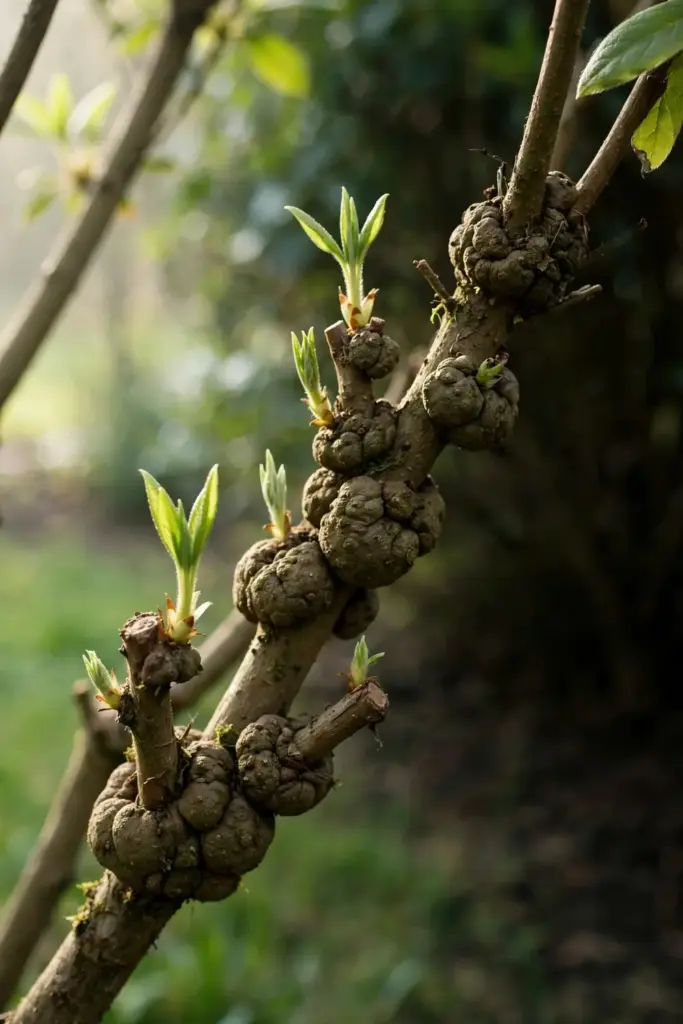
The University of Florida IFAS Extension gives the hard-prune rule: hard-prune in late spring or early summer to remove infected leaves and stimulate new growth. A plant with galls across most of its canopy earns a hard prune. The hard prune removes the infected leaves in one session. The plant pushes new growth from the cut stems. The new growth starts clean.
Repeat the routine for multiple consecutive years. The University of Florida IFAS Extension notes that pruning may need multiple consecutive years to draw down the spore bank. One year of picking removes one year’s galls. The spore bank in the soil and on the plant survives one year. Two years of picking cut the bank. Three years of picking draw it down. The routine is a multi-year habit, not a one-time fix.
State the efficacy honesty plainly. The University of Florida IFAS Extension notes that the efficacy of pruning and removal has not been tested. The practice is consensus, not proven science. The article presents it as consensus practice. The gardener follows the consensus because the alternative, leaving galls to sporulate, is worse. The consensus is the best available guidance. The science has not caught up.
Do not cut the plant down. One camellia question-and-answer source records a neighbor’s advice to cut down a galled camellia. The advice is wrong. The plant is not in danger. The galls are cosmetic. A hard prune removes the galls. A cut-down removes the plant. Prune hard. Keep the plant. The plant outgrows the galls with the routine.
Step 7: Site New Plantings for Air and Choose Resistant Cultivars
Site new plantings for air movement and drainage. Choose resistant cultivars where the nursery offers them.
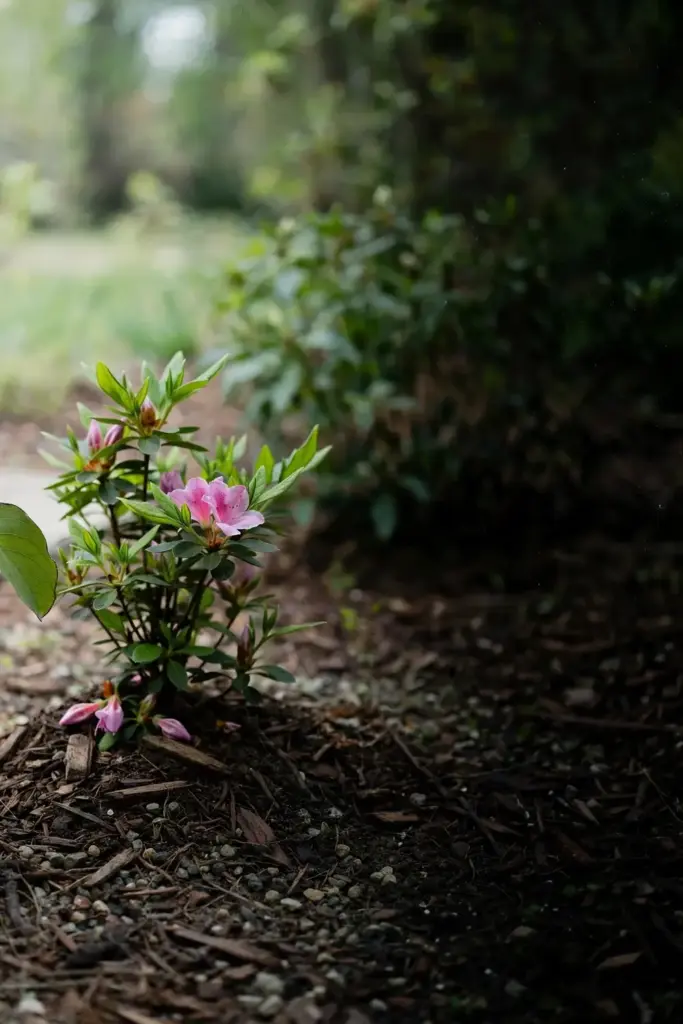
Site for air movement. A new azalea or camellia planted in a breezy, sunny spot with good drainage faces a lighter gall load than the same plant in a still, shaded, wet spot. The site is the longest-lasting decision on this page. A plant in a good site needs the routine lightly. A plant in a bad site needs the routine heavily. Choose the site first. Plant second.
Site for drainage. A plant in soil that stays wet through spring grows soft tissue and holds moisture on its leaves. A plant in well-drained soil grows steady tissue and dries fast. Improve drainage where soil stays wet. A raised bed, a drainage channel, or a different corner all help. The drainage is part of the site.
Choose resistant cultivars where the nursery offers them. One home-press list names Sensation, Formosa, and Aphrodite as resistant azalea cultivars. That list is a single source, and this article presents it as unverified. Kinnikinnick ‘Massachusetts’ is reported resistant in Pacific Northwest guidance. Ask the nursery about resistant cultivars. A resistant cultivar is not immune. Resistance lowers the odds and slows the spread. Resistance does not remove the need for picking, raking, and drying. Buy the resistant cultivar and run the routine anyway.
Do not present the cultivar list as settled. The list is a single-source listicle, and the article does not carry it as guidance. The nursery knows which cultivars carry resistance in the region. Ask the nursery. Trust the nursery. The nursery is the source. The listicle is not.
Living With Exobasidium Gall Damage You Cannot Undo
Some damage stays. A galled leaf never returns to normal, and a galled flower never opens cleanly.
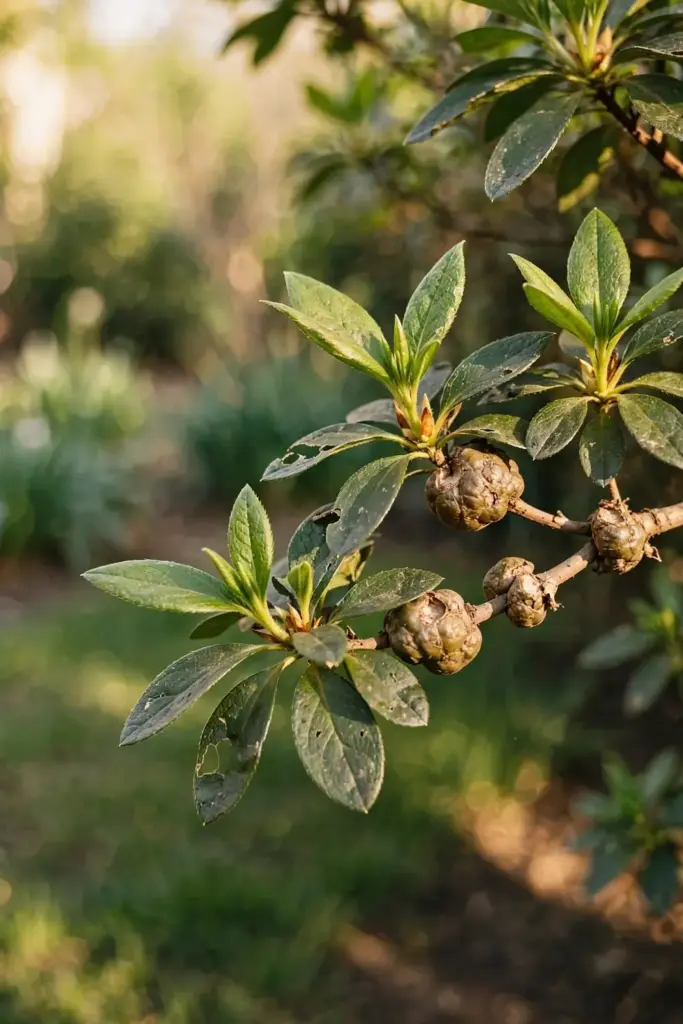
Pick the galls and let the plant replace them. An azalea pushes new leaves from healthy stems. A camellia pushes new leaves from healthy buds. The new growth needs the same routine: inspection, picking, raking, drying. A plant that keeps its new growth clean earns its place. A plant that galls every new flush needs a harder look at site, drainage, and airflow.
General bacterial blight care follows the same order: cut, clean, destroy, then keep the canopy dry. The guide to bacterial blight simple solutions covers that order for bacterial blight problems across the garden. The pathogens differ. The habits do not.
Treat fungicide claims with caution. The fungicide conflict runs through the sources. Louisiana State University Extension lists triadimefon and copper from bud break. University of Georgia Extension generally does not recommend fungicides, and notes that spraying after symptoms has no effect. One garden writer calls spraying not worth the time. One nursery says no effective or practical fungicide exists. This article defaults to no fungicide recommendation. The picking, raking, and drying routine carries the prevention. A spray after symptoms has no effect. A spray before symptoms is a conflict the sources do not resolve, and the article does not resolve it by picking a side.
Do not replant a susceptible azalea in the same airless, wet spot and expect a different result. The fungus stays. The wet soil stays. The still air stays. A new plant in the same spot faces the same spring with the same disadvantage. Fix the site first: improve drainage, open the spacing, move the sprinkler, and give the new plant sun and air flow from the day it goes in. The guide to spring pruning techniques covers clean cut placement for garden plants in full.
Frequently Asked Questions
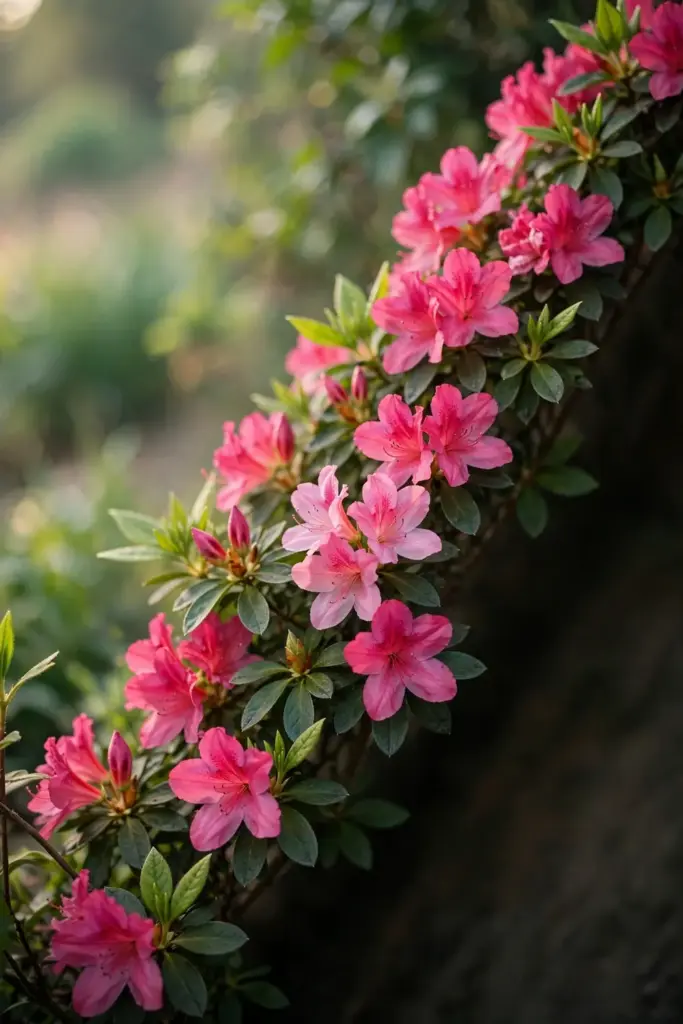
Exobasidium leaf gall will not kill an azalea or camellia. University of Maryland Extension states that the galls will not threaten the health of the plant. University of Massachusetts Extension calls the disease not a serious threat. North Carolina State University Extension calls it a minor disease. The galls are cosmetic. A plant left untreated for many years may lose vigor, per University of Florida IFAS Extension. Act cheaply each spring. Do not panic. Do not cut the plant down.
Do not spray fungicide on galls. Spraying after symptoms has no effect, per University of Georgia Extension. The sources conflict on preventive sprays: one lists triadimefon and copper from bud break, while others generally do not recommend fungicides or call spraying not worth the time. This article defaults to no fungicide recommendation. The picking, raking, and drying routine carries the prevention. A spray after symptoms wastes money and chemistry.
Do not compost galled leaves. Compost may not kill the spores, and the finished compost carries the fungus back into the bed. Bag galled leaves, tie the bag, and put it in the trash. One source lists trash or compost, but the majority of Extension sources say bag and trash. This article defaults to trash. The trash rule protects next spring’s growth. The compost pile is for healthy debris, not for galled material.
Never eat azalea galls. One historical note calls azalea galls pinkster apples and says they are edible. Do not follow it. Azalea parts are toxic, carrying grayanotoxins. A gall that looks like a fruit is not a fruit. A gall that looks edible is a poison. Pick the gall. Bag the gall. Trash the gall. Never taste it. The historical note is history, not guidance.
Exobasidium galls take multiple consecutive years of routine to draw down. The University of Florida IFAS Extension notes that pruning may need multiple consecutive years. One year of picking removes one year’s galls. The spore bank survives one year. Two years cut the bank. Three years draw it down. The routine is a multi-year habit, not a one-time fix. The efficacy of pruning and removal has not been tested, per the same source. The routine is consensus practice.
Never cut down a camellia with galls. One question-and-answer source records a neighbor’s advice to cut down a galled camellia. The advice is wrong. The plant is not in danger. The galls are cosmetic. A hard prune removes the galls. A cut-down removes the plant. Prune hard. Keep the plant. The plant outgrows the galls with the routine. The neighbor’s advice costs a healthy camellia.
Where to Go From Here
Start with the spring inspection. Walk the azaleas and camellias and look for swollen, pale leaves today.
The order is inspect, pick before white, rake and trash, disinfect tools, dry the foliage, hard-prune and repeat, and site new plantings for air. One next action beats ten good intentions. Pick the galls. Bag them. The plant stays clean next spring because the gardener picked this spring.