
Buy a firm galangal rhizome with plump pinkish eyes from an Asian grocery, cut it into 5.1 to 7.6 cm pieces, and plant each piece 5.1 cm deep after the soil warms past 21 degrees Celsius. That is how to grow galangal from Indonesia at home, and the first hands are ready to dig 10 to 12 months later. The rest of this page runs 17 moves: naming the true Indonesian lengkuas, the four-way look-alike table, the full rhizome calendar, and the pot trick that carries cold-climate growers through winter.
Two facts decide the whole project. The first is that the rhizome you cook with is the planting material. No seed packet, no nursery transplant. The knob you would drop into rendang is the planting material. The second is that you must plant the right species, because lesser galangal, ginger, and kencur all sit on the same shelves. In my experience, the pieces with the plumpest pink eyes sprout first and fastest, which is exactly what the planting guides predict about eyes and vigor.
The tropical calendar here matches its ginger cousins. The site’s guide to growing ginger at home for a big harvest runs the same frost-to-frost rhythm, and this page stays on galangal’s own lane: the Indonesian lengkuas angle, rhizome sourcing and propagation, and honest zones.
1. Master How to Grow Galangal from a Grocery Rhizome in One Season
The grocery method is the whole story for how to grow galangal, because the rhizome IS the seed. Store-bought hands from an Asian market carry dormant eyes that wake in warm soil, so propagation costs nothing beyond dinner.
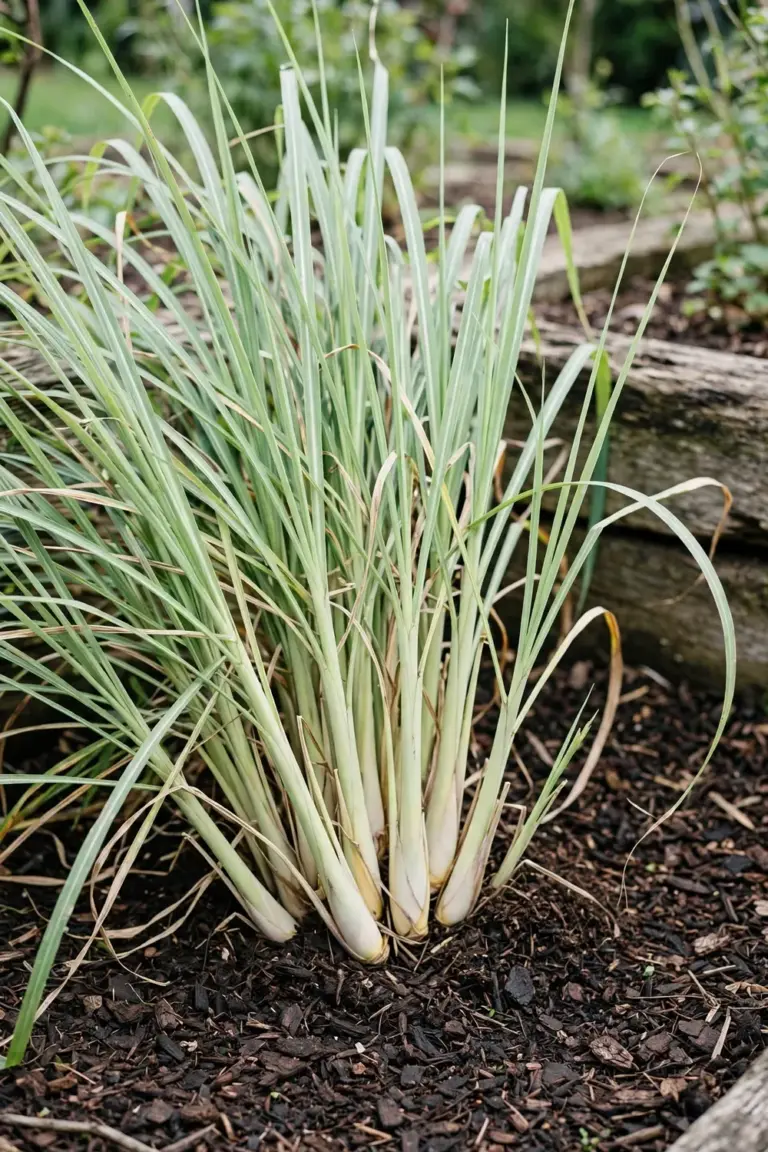
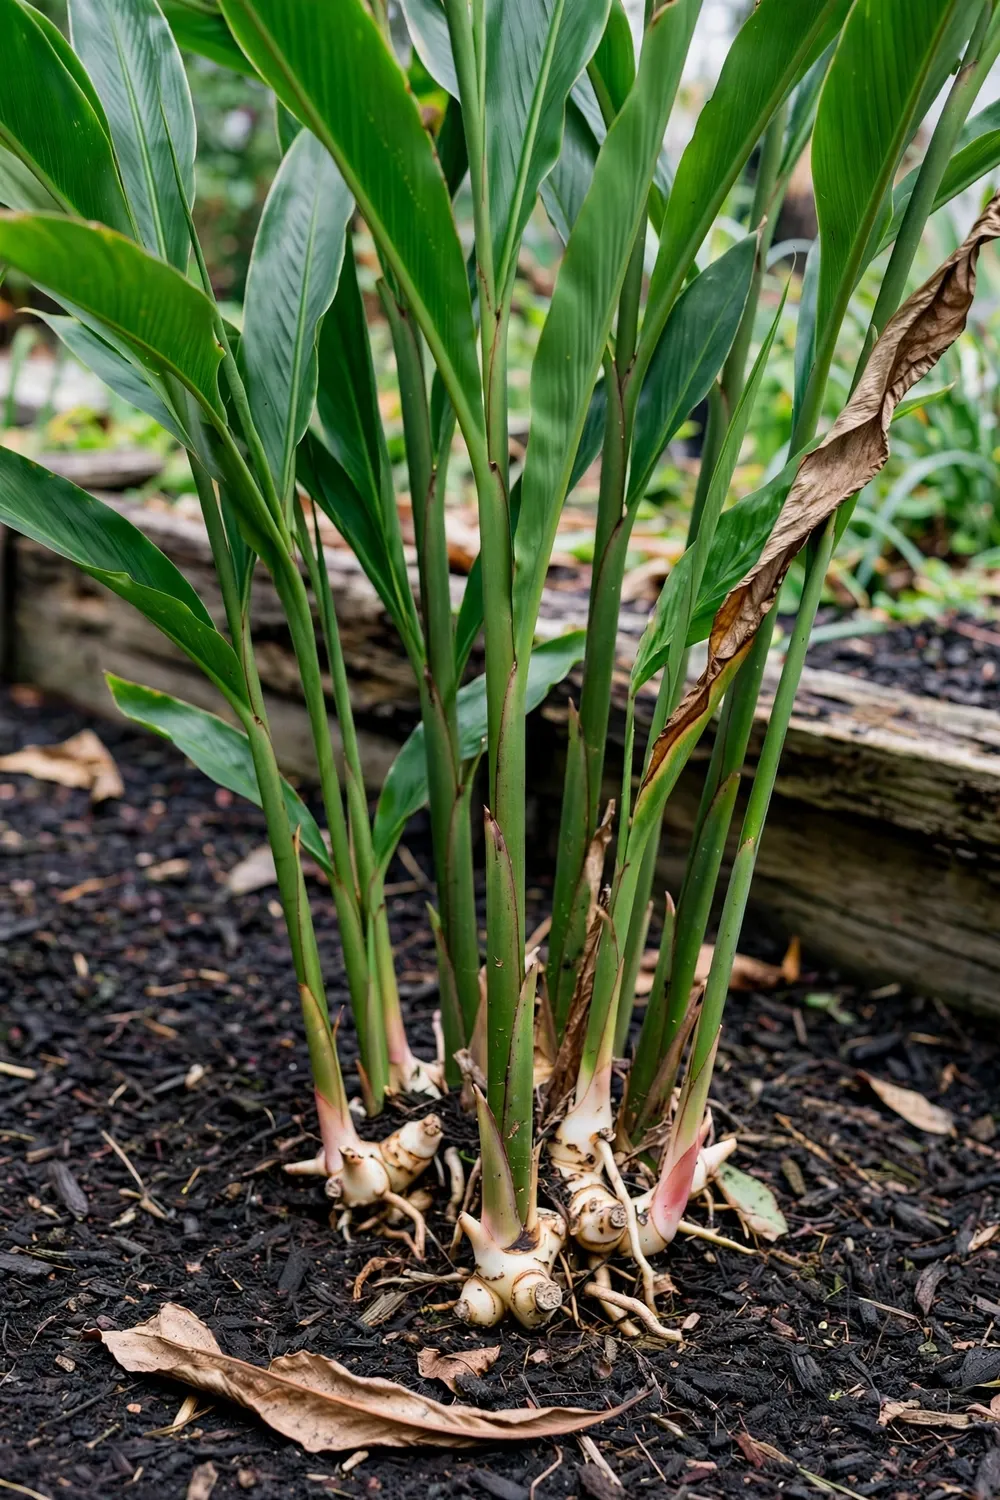
Alpinia galanga is a tropical perennial in the ginger family, grown for its knobbly rhizomes and its tall blade-like leaves. The plant reaches 1.8 m in a season in warm ground, and it needs a full warm season to size up its rhizomes before winter. Gardeners in cold zones still get a harvest by starting rhizomes indoors in spring and digging them as an annual crop in autumn.
The season runs from the last spring frost to the first autumn frost. A piece planted in May after the soil warms is ready to dig between the following March and May, which is the 10-to-12-month cycle the planting guides describe. The method below is the home-garden version of the Florida production recipe, scaled down from field rows to one bed.
2. Pick the True Indonesian Lengkuas: Alpinia Galanga with Pinkish Eyes
The Indonesian cooking lengkuas, also called laos, is Alpinia galanga, the greater galangal. That name is your buying filter at every market and nursery.
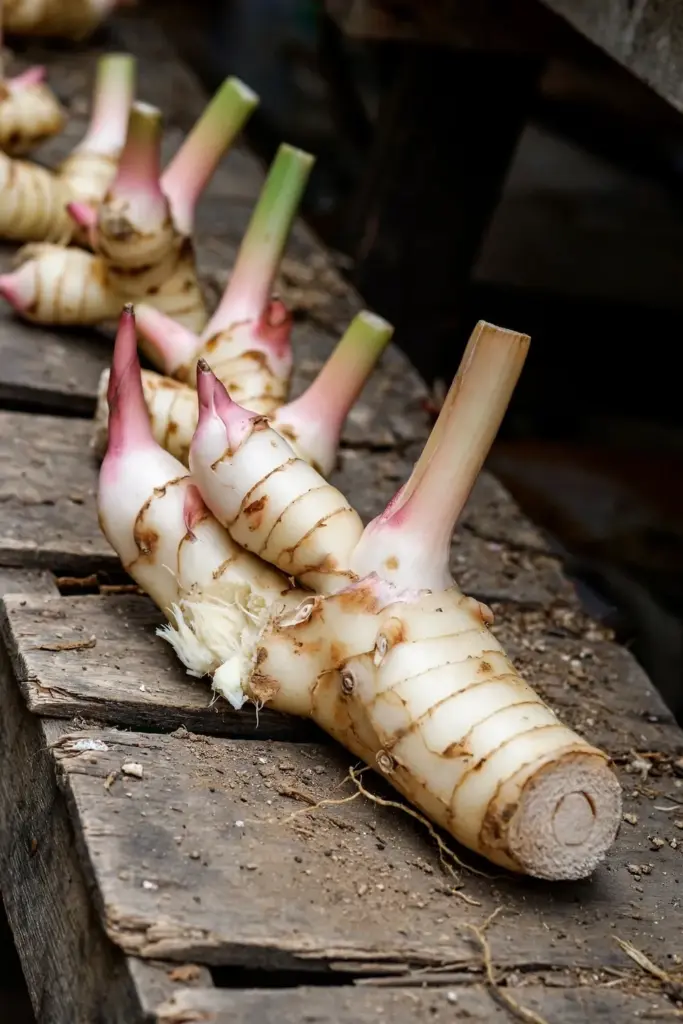
Alpinia galanga is the species behind the pale, firm rhizomes in Indonesian cooking, from rendang to soto to sambal. The rhizome tastes sharp and peppery with a citrus edge, distinctly hotter and more resinous than ginger. Gardening Know How’s galangal profile describes it as tropical Asia’s own perennial, grown for its ornamental foliage and its underground rhizomes, and notes that galangal roots run a little bigger and a lot firmer than ginger roots.
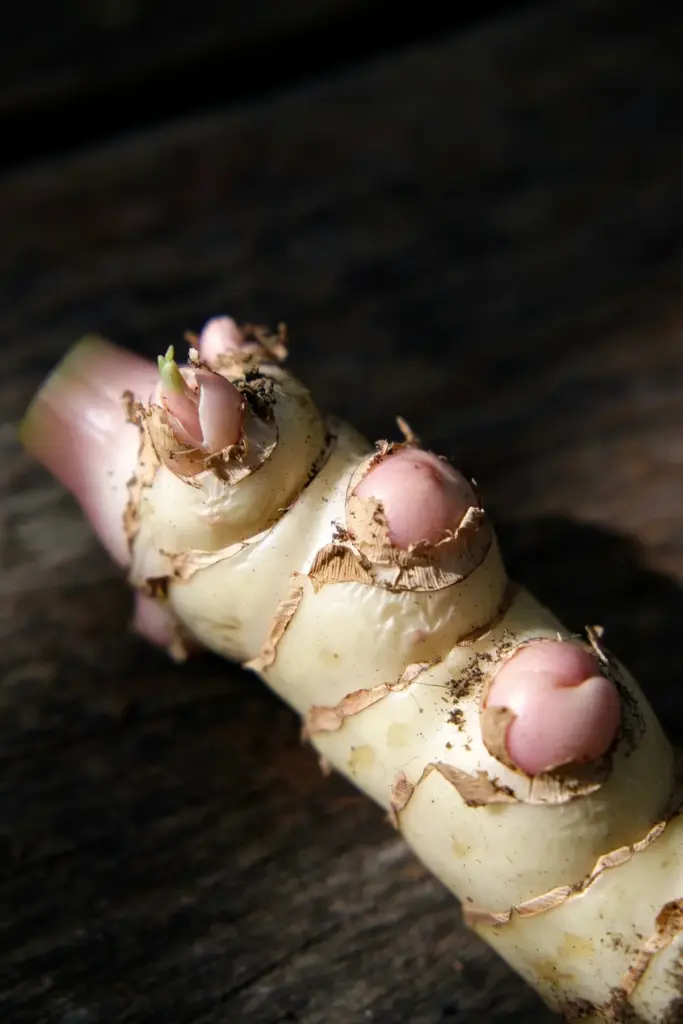
At the market, choose hands that feel dense and heavy, with smooth unbroken skin and at least two pinkish eyes per piece. Young rhizomes carry a pink hue on the skin. Shriveled, soft, or sprout-broken pieces have lost their vigor. Buy one good hand. Skip the three sad ones.
3. Cut Rhizomes into 5.1 to 7.6 cm Pieces with 2 or More Buds
Cut big hands into chunks that each carry at least two eyes. Larger pieces produce bigger rhizomes at harvest, so the cut is a yield decision.
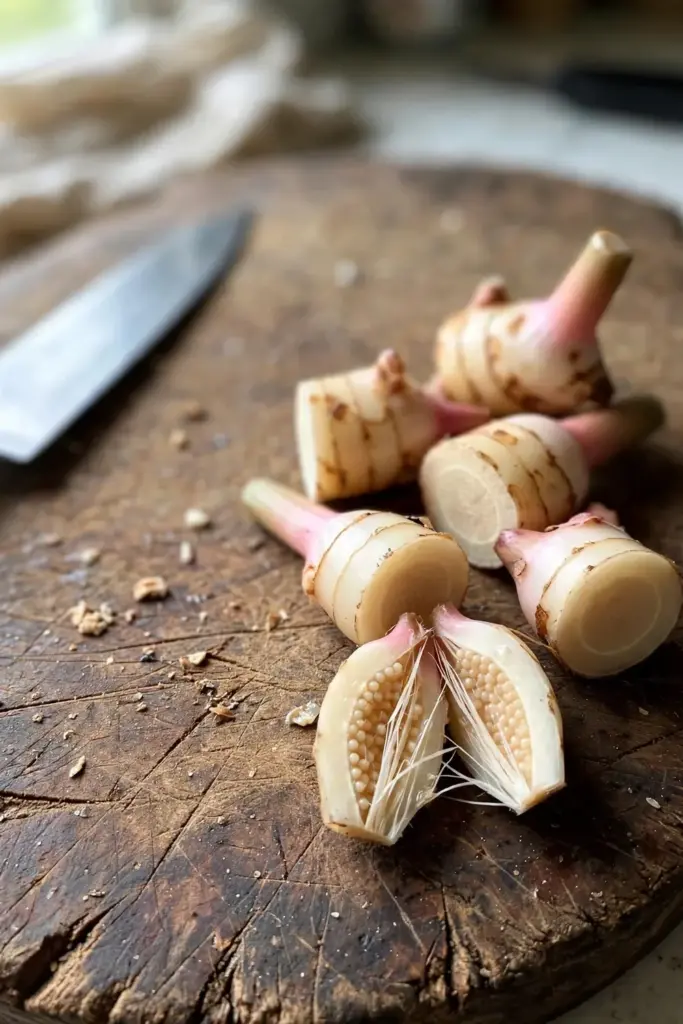
The Florida extension production guide for ginger, galangal, and turmeric gives the home gardener the exact recipe: cut 5.1-to-7.6-cm pieces (the guide’s 2 to 3 inches) with two or more buds that will form new shoots, each piece weighing roughly 28 to 57 g (1 to 2 ounces). Twelve to sixteen of these seed rhizomes come from one pound of market rhizome, so a single grocery hand is a whole bed.
Use a clean, non-serrated knife and slice straight through the knobbly joints. Each piece needs its eyes intact and at least one clean face. Keep the pieces chunky. Thin slices with one lonely bud sprout late and finish small. The piece is a battery: more stored starch means a faster shoot and a bigger first-season hand.
Disinfect the Knife Between Hands
Rinse the blade in a light bleach dip or hydrogen peroxide solution when you move between market hands. Imported food rhizomes carry more pathogen risk than a grower’s own saved seed, and a two-second dip is cheap insurance. The Florida extension guide recommends surface-sterilizing cut areas with a sanitizing solution for the same reason.
4. Air-Dry the Cut Faces for 24 to 48 Hours Before Planting
Fresh cuts rot in damp soil. Let every cut face form a dry callus before it goes underground.
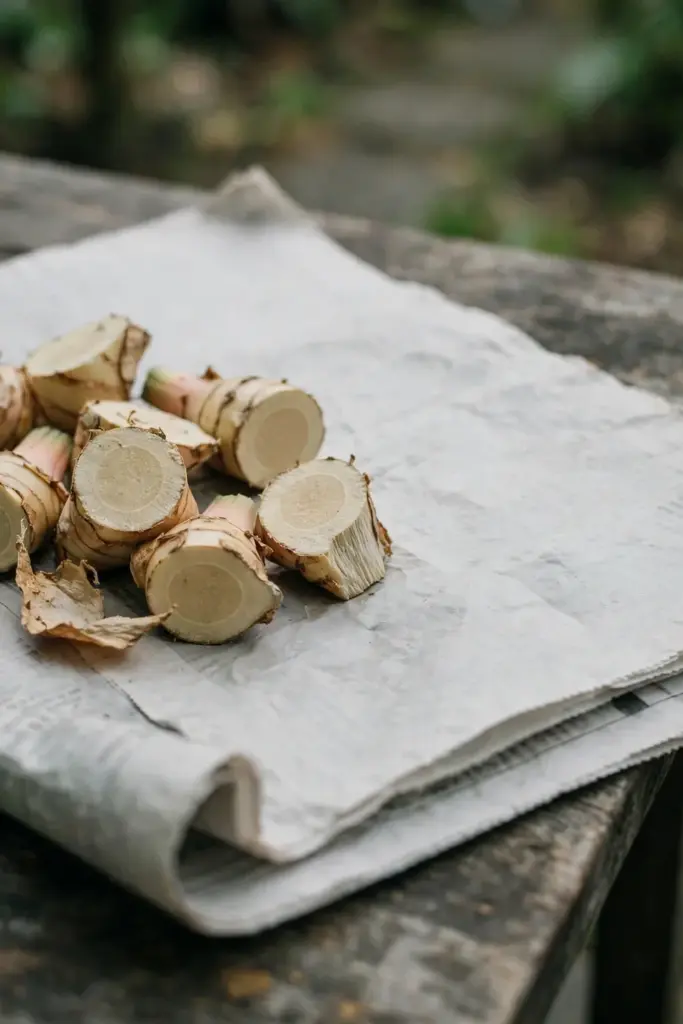
Spread the cut pieces on newspaper or a tray in a warm, shaded spot with good air movement and leave them alone for a day or two. Curing is standard practice for seed rhizomes: dry the pieces after cutting, sanitize the cut faces, and plant only when each face is firm and dry. A properly cured piece shows a dry, firm face with no wet sheen.
This step is the difference between a planting that sprouts and a planting that melts. Wet cut faces invite soft rot before the first shoot emerges. Do not skip the cure to save a day. Two days of patience at this stage protects ten months of growing.
Store Spare Pieces Dry, Not in the Fridge Drawer
Keep unplanted rhizomes dry at room temperature with air around them, or store them in peat moss in a cool dry place. A sealed plastic bag in the fridge sweats, and sweat rots rhizomes. Check stored pieces weekly through winter and discard any that soften.
5. Start Rhizomes Indoors on a Heat Mat in Cool Climates
Galangal refuses to wake in cold soil. In cool climates, start the pieces indoors on a heat mat weeks before the garden is ready.
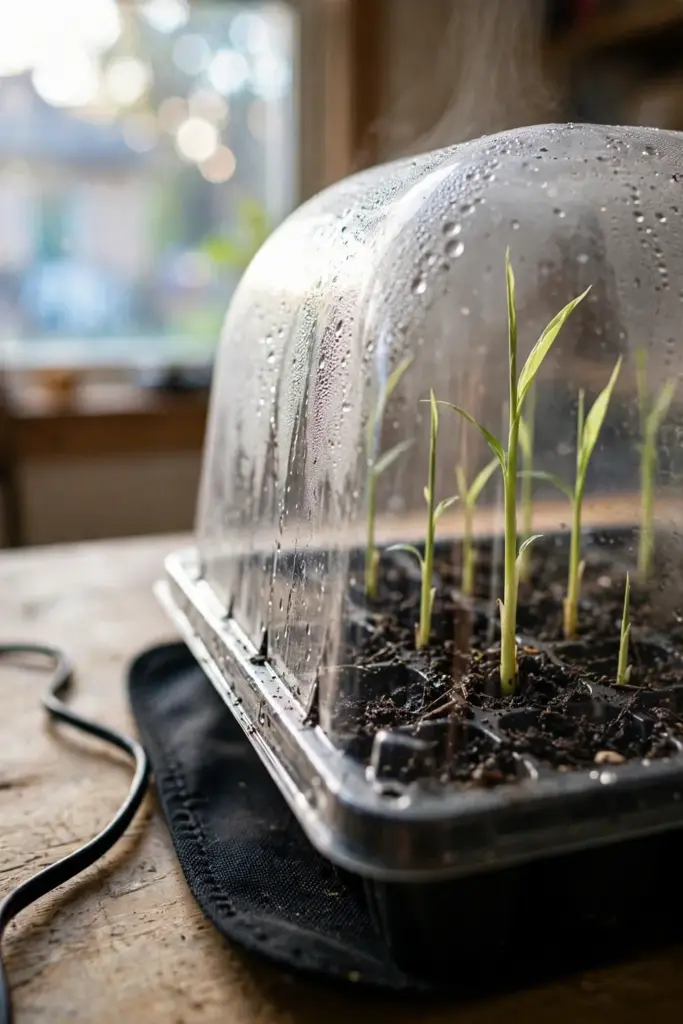
Epic Gardening’s galangal growing guide recommends exactly this: place a rhizome in moist, well-draining soil, cover it with several inches of soil, and let the heat mat hold the warmth the piece needs to break dormancy. Shoots emerge in the warm tray long before the outdoor soil catches up.
A seedling tray with a clear dome works well. Set the pieces 5.1 cm deep in moist potting mix, lid on, mat under. Check weekly and water lightly only when the mix surface dries. When the shoots stand 10 to 15 cm tall and the nights stay warm, the plants move outside. This pre-sprouting trick buys cold-climate growers four to six extra weeks of growing season.
The mat matters because the piece reads warmth, not the calendar. Galangal evolved in tropical Asia, where the soil never drops to the temperatures a temperate April offers. A tray sitting on a 24-degree mat in a 16-degree room sprouts while the garden outside still hovers at 10. Keep the dome vented once shoots touch it; trapped humidity on tender new leaves invites the same soft rot the curing step prevents.
6. Wait Until the Soil Passes 21 Degrees and Nights Pass 10 Degrees
Plant galangal after all danger of frost has passed, and only when the soil is genuinely warm. Cold wet soil rots rhizomes faster than any pest.
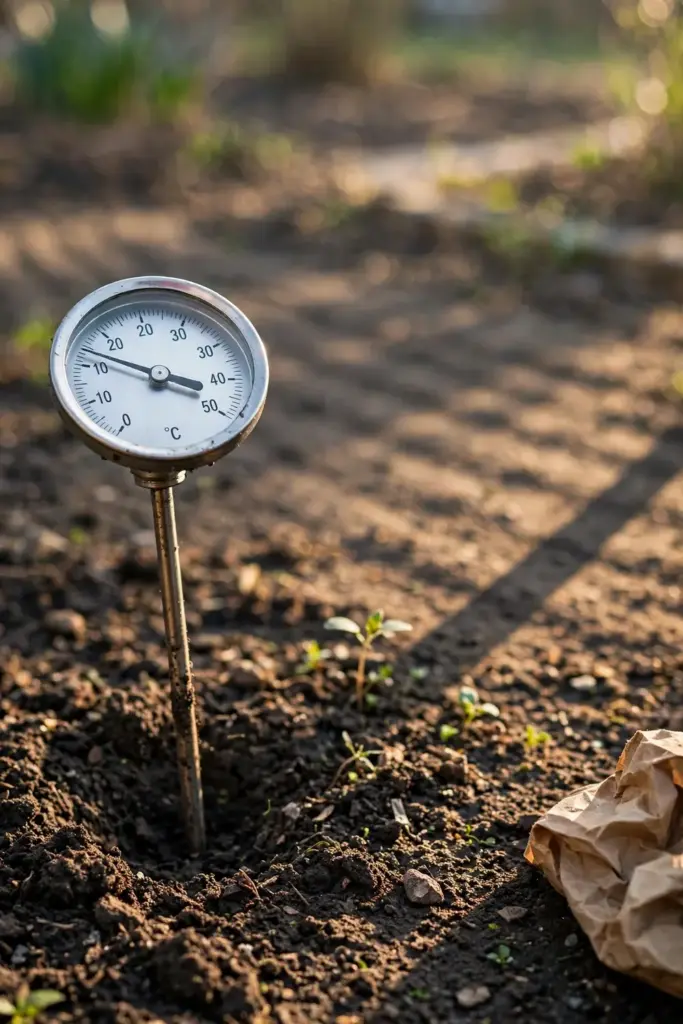
The planting rule is simple: rhizomes go in once soil temperature holds above 21 degrees Celsius and nights stay above 10 degrees. The Florida extension production guide sets that threshold for its ginger-galanga-turmeric plantings. In the US South that window opens around March; in northern Florida it waits until May. Your own soil thermometer rules, not the calendar.
Take the Temperature at Planting Depth
Push a soil thermometer 5.1 cm down in the morning and read it for three days running. Three readings above 21 degrees means plant. A week of reliably warm nights is the real green light everywhere else. Harden off indoor-started plants first: a few days in shade, a few days in morning sun, then the full-sun bed.
7. Bury Pieces 5.1 cm Deep and 30.5 cm Apart in Full Sun
Plant each piece 5.1 cm deep with the eyes facing up, spaced 30.5 cm apart. Give the bed full sun and rich, moist, well-drained soil.
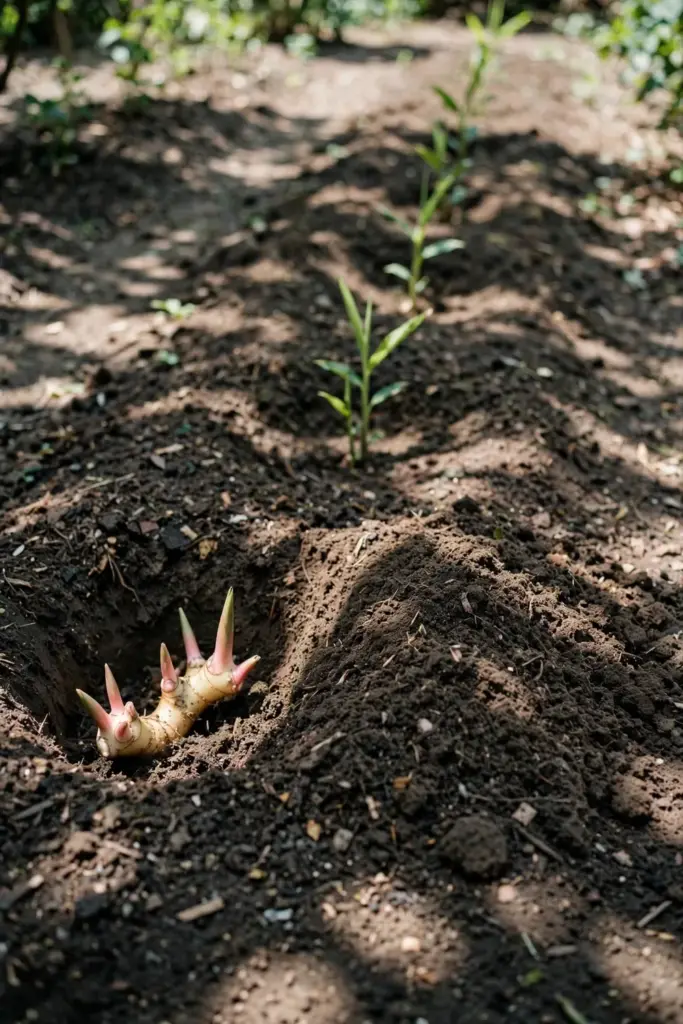
The Florida extension guide sets the planting depth at about 2 inches (5.1 cm), while Epic Gardening’s guide sets 12 inches (30.5 cm) between rhizomes so each plant has room to become a bushy perennial. Full sun suits galangal, and partial shade works in the hottest climates where afternoon heat scorches the leaves.
Dig each hole no deeper than the piece’s length. Lay the piece flat with eyes up, cover with 5.1 cm of soil, and water it in. Add a few inches of compost or well-rotted manure when the soil is poor, and a timed-release fertilizer at planting gets growth off to a good start. Do not plant in a low spot that stays soggy after rain. Galangal drinks steadily but rots in standing water.
8. Keep the Soil Evenly Moist and Never Soggy
Water as needed to keep the soil evenly moist but not saturated. Mulch thickly around the plants but keep the mulch off the rhizome crowns.
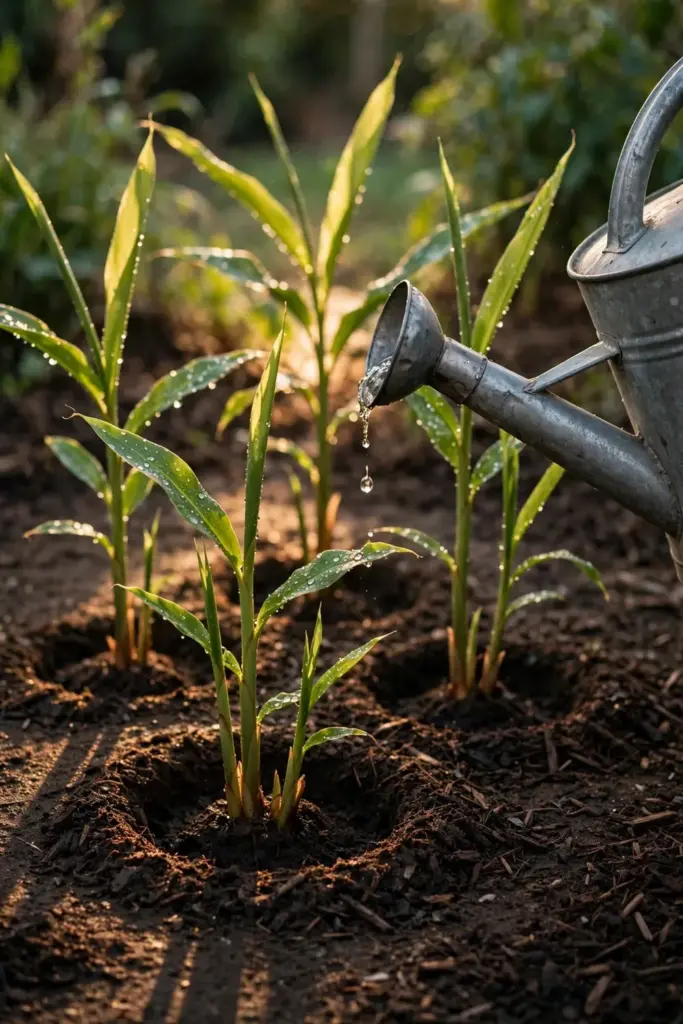
This is the whole care regime, because galangal is a low-maintenance plant once established. The Gardening Know How profile calls it very low maintenance and prescribes exactly this: steady moisture, never a swamp. A hand-width ring of bare soil around each crown keeps air moving where the rhizome sits.
Containers dry faster than beds. A pot in full summer sun may need water every day or two; in-ground plants drink once or twice a week depending on rain. Stick a finger 5.1 cm into the mix. Dry at that depth means water now. Soggy means the drainage failed, and soggy kills more galangal than drought ever does.
Deep, less frequent watering beats daily sprinkles. A good soak that reaches the full root zone trains the rhizome to grow deep and heavy, while a light daily misting keeps the top centimeter damp and the roots shallow. Water in the morning so the foliage dries by evening; leaves that stay wet overnight invite leaf spot, the one disease that bothers galangal in humid summers.
9. Feed Monthly with a General-Purpose Fertilizer
Feed the plants monthly through the growing season with a general-purpose, water-soluble fertilizer. Galangal is a hungry leafy perennial building a big underground store.
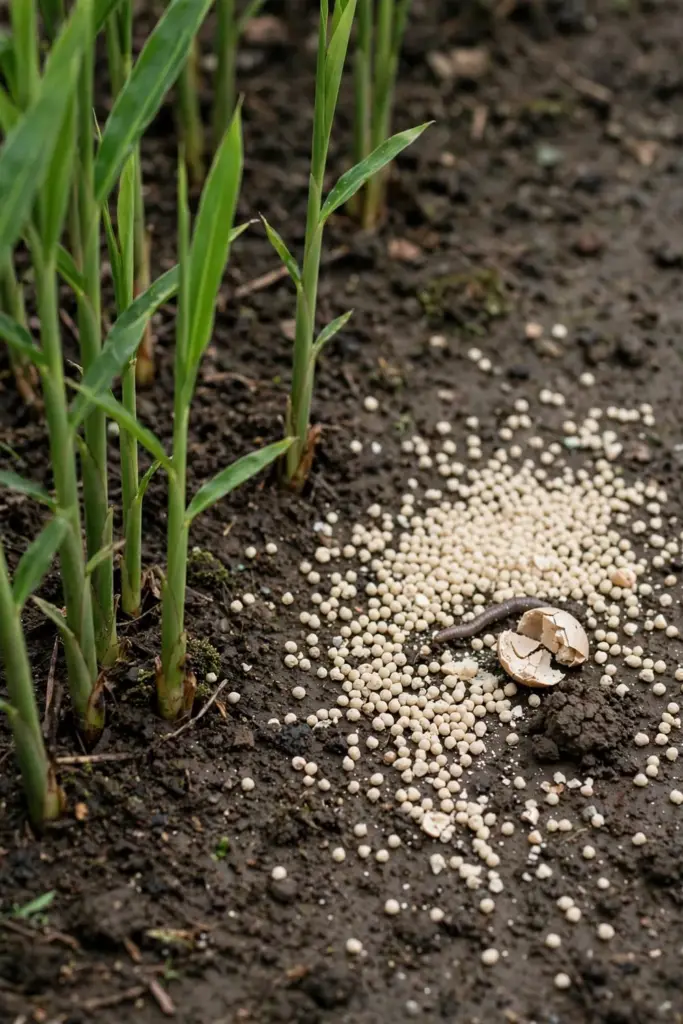
The Gardening Know How profile prescribes monthly feeding with a general-purpose water-soluble fertilizer, and the Florida extension guide runs the same crops at a moderate to high fertilization rate. The timed-release application at planting covers the first month. After that, the monthly liquid feed keeps the foliage deep green and the rhizomes swelling.
Pale, slow leaves in midsummer mean hunger. Feed once and water it in, and the stand greens up within two weeks. In containers, where every watering leaches nutrients out the drainage hole, the monthly feed matters even more. A compost-rich planting hole works as the base; the liquid feed is the top-up.
10. Learn the Zone Reality: Zones 9 and 10 Perennial, Zone 8 an Annual
Alpinia galanga is a tropical perennial hardy in zones 9 and 10, where it lives year after year. Everywhere colder, it grows as a warm-season annual or a container plant that winters indoors.
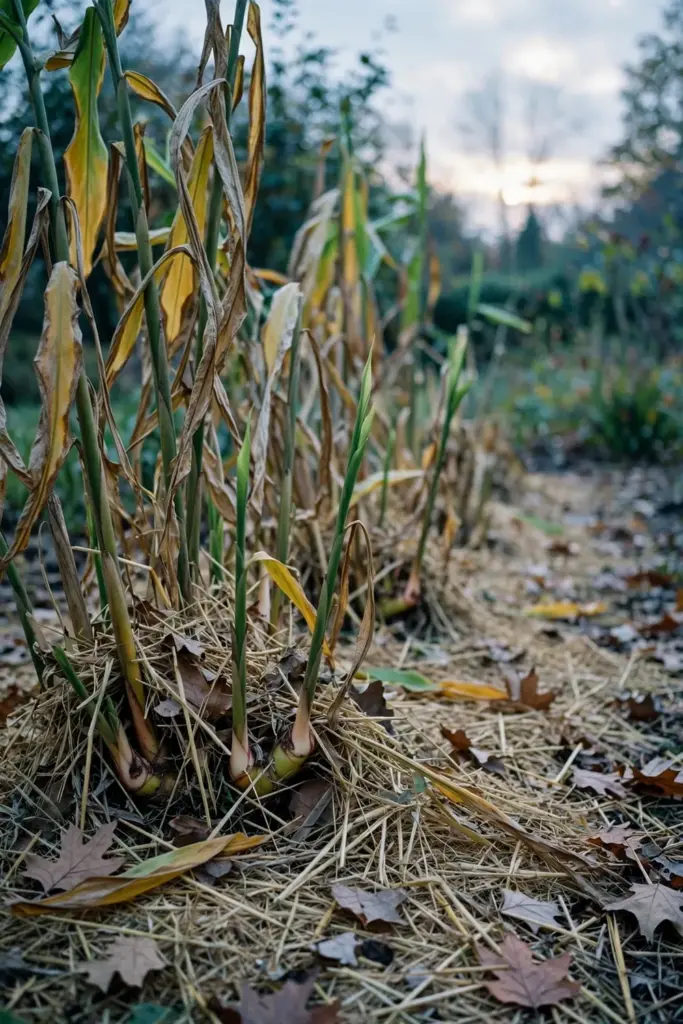
The zone map reads like this. In zones 9 and 10, mulch the bed well and leave a few rhizomes in the ground through winter, and they sprout again in spring. In zones 7 and 8, galangal works as an annual crop: plant in spring, dig everything in autumn. OneGreenPlanet’s home-growing guide puts it plainly: even a light frost seriously damages and likely kills the plant, so in colder places it lives as a container plant that winters indoors.
Mulch Hard at the Zone 9 Edge
Where winters flirt with freezing, pile a thick mulch blanket over the bed after the foliage dies back. Heavy mulch protects the rhizomes through the cold months. Dig a test hand in early spring: firm and sprouting means the clump survived, soft and brown means replant.
11. Grow Galangal in a 19-Liter Pot When Winter Bites
A container of at least 19 liters (5 gallons) carries one plant through the season and moves indoors before frost. This is the whole strategy for gardeners below zone 9.
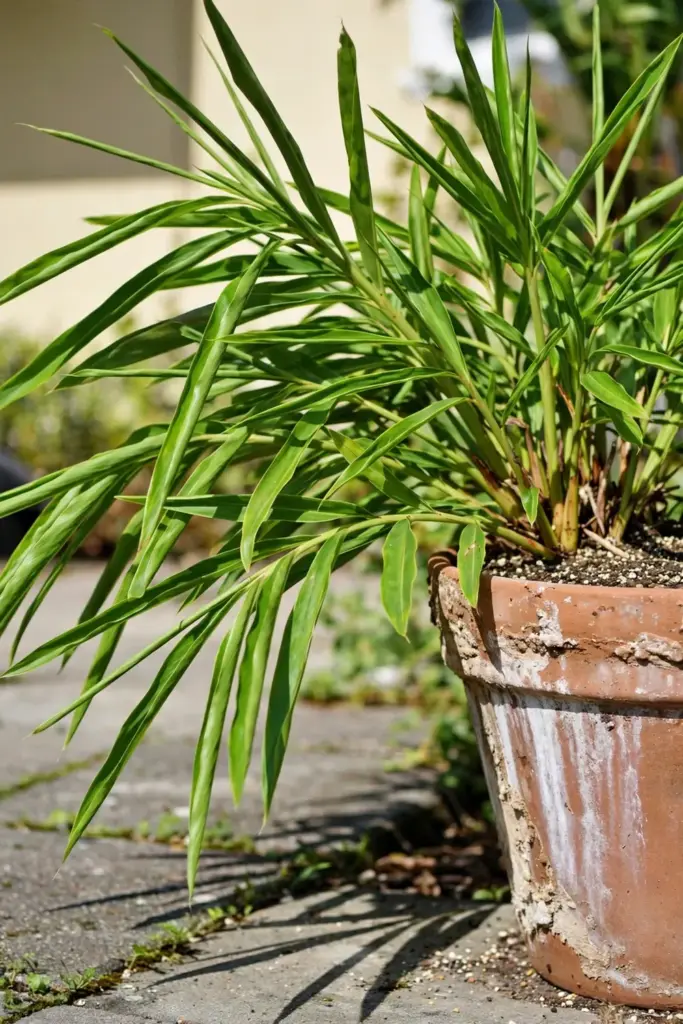
OneGreenPlanet’s galangal home-growing guide sets the pot rule at 5 gallons or larger. The Florida extension container rate runs one rhizome per 5-gallon container as its standard. Fill it with a rich, well-draining potting mix, plant one piece 5.1 cm deep, and water thoroughly at planting. One plant per pot. Two plants fight for water by August and both lose.
The pot spends summer in full sun and moves inside before the first frost. Park it at the brightest window you own, cut watering back to keep the mix barely moist, and stop feeding. Expect the foliage to die back indoors; the rhizome sleeps. In spring, warm the pot up and the shoots return. Cold-climate gardeners keep a mother pot this way for years, cutting new seed pieces from it every spring.
12. Dig the First Hand 10 to 12 Months After Planting
Harvest begins 10 to 12 months after planting, when the foliage starts to yellow and die back. Loosen the soil and lift the whole clump, then break off the hands you need.
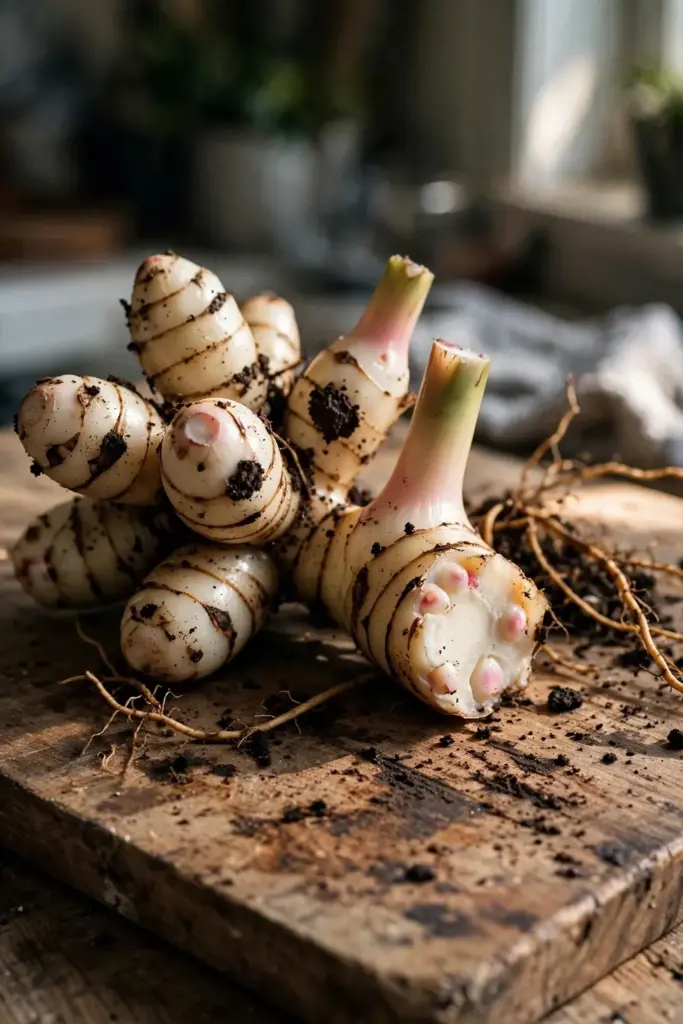
The Gardening Know How profile sets the timeline at ten to 12 months, ready in early winter after a spring planting. The sign is the foliage: when the tall leaves yellow and collapse, the rhizomes underneath have finished sizing up. Dig with a fork from the side, not a spade from above, and lift gently. Galangal hands snap off cleanly at the joints.
For fresh kitchen use, you can steal a hand earlier. Reach down the side of the clump after eight months and break off an outer piece, leaving the plant to keep growing. The plant shrugs this off. But the full harvest waits for the yellowing foliage, because the rhizomes keep gaining weight until the tops die.
Replant the Best Pieces the Same Day
Save the firmest hands with the clearest eyes from every harvest and cure them like spring seed. One season’s harvest becomes next season’s planting, and the variety adapts to your soil year by year. Leave a few roots in the ground in autumn if you want volunteers the following spring, and mulch the spot well.
13. Store Fresh Galangal for Months in the Freezer
Fresh galangal keeps for weeks in the fridge and for months in the freezer. The freezer is the home grower’s pantry.
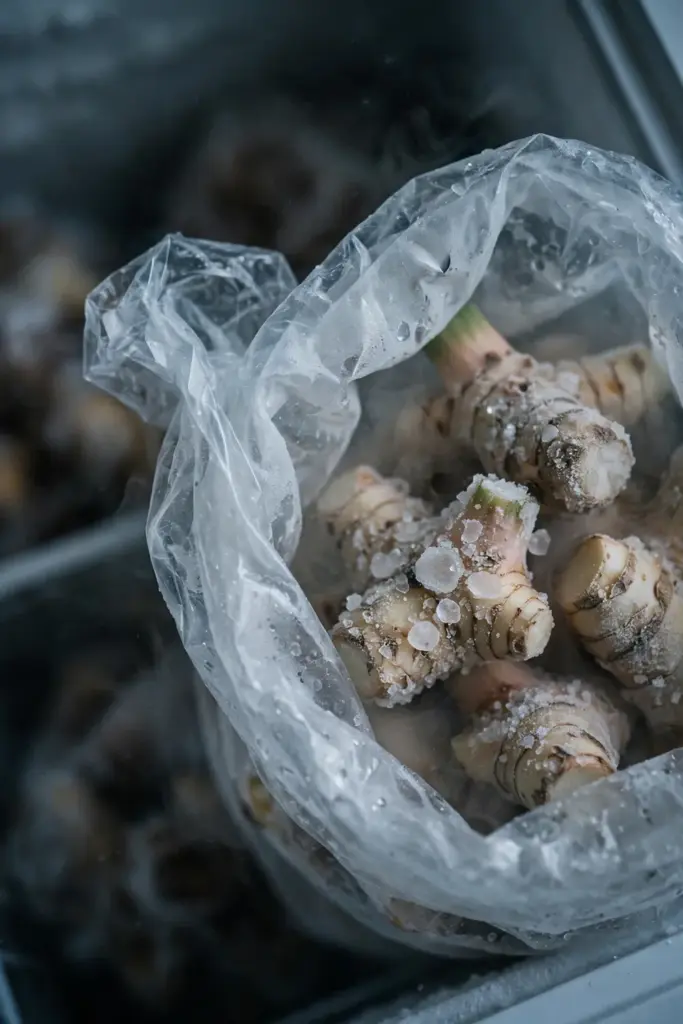
Wrap cleaned hands tightly and freeze them whole. Frozen galangal grates straight from the freezer with a microplane, and the flavor holds for months. This is how one autumn harvest covers a year of rendang. The freezer hand grates easier than a fresh one, because the cold firms the fibers.
For short-term use, keep hands in the vegetable drawer for two to three weeks. Dry storage at cool room temperature works for a week or two as well. Dried slices and powder are the traditional trade forms, but the home cook gets the best flavor from frozen hands grated fresh into the pot.
14. Cook It the Indonesian Way: Rendang, Soto, and Tom Kha
Greater galangal is the backbone of Indonesian rendang, and it seasons soto, sambal, and Thai tom kha. The kitchen is the payoff for the ten-month wait.
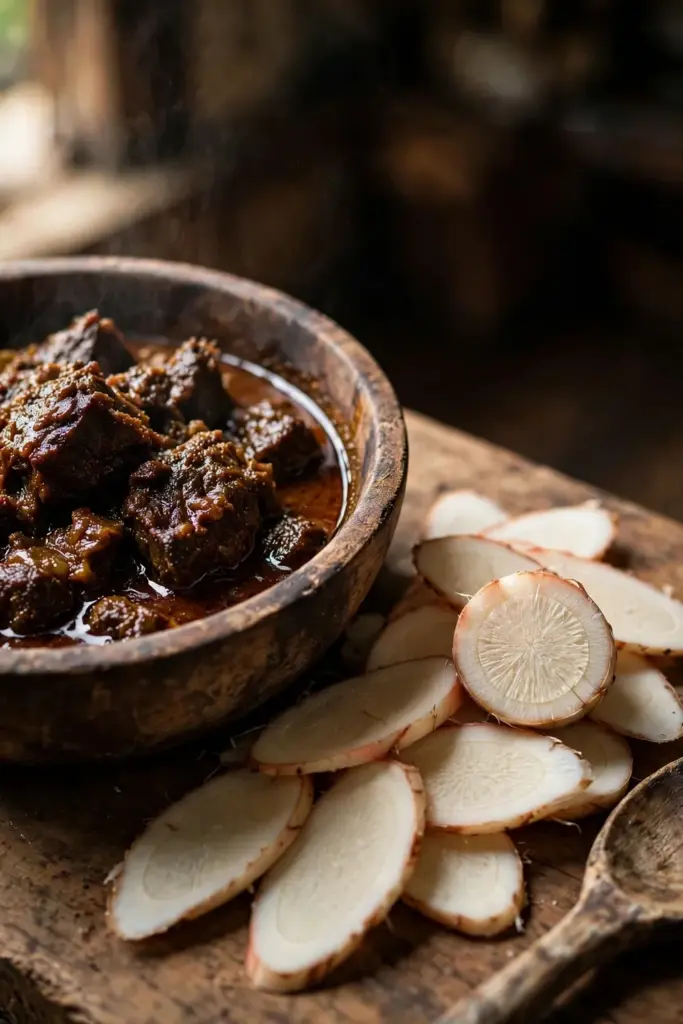
Rendang needs it. The slow-cooked beef curry builds its depth on bruised galangal simmered in coconut milk for hours, and no substitute carries the same sharp, piney heat. Soto leans on galangal for its clean aromatic lift, and tom kha would be a different soup without it. Slice the rhizome thin against the grain for salads and quick pickles, or pound it into curry paste where it grates fine.
One homegrown hand out-freshens anything from the import shelf. Market rhizomes travel for weeks; yours goes from soil to pot in an afternoon. Plant extra for the kitchen and you will never buy galangal again.
Young rhizomes taste milder and grate softer, so dig the first kitchen hands at eight months when you want gentle flavor for salads. Older rhizomes run hotter and woodier, which suits long simmers like rendang where the fibers melt into the coconut milk. Keep both stages coming by planting a few pieces in spring and a few more a month later; the staggered bed hands you young hands and mature hands in the same autumn.
15. Stop the 5 Rhizome Mistakes That Kill a Planting
Most failed plantings die from five avoidable mistakes, not bad luck. Run this checklist before the first piece goes in.
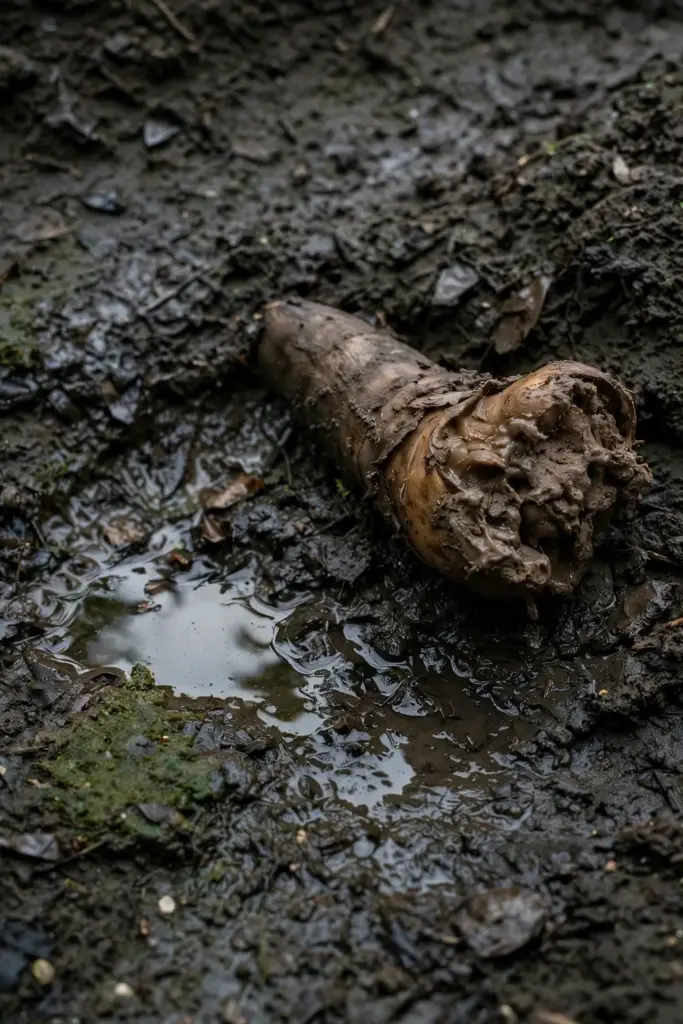
First, planting into cold soil. Pieces planted below 21 degrees sit and rot instead of sprouting. Wait for the thermometer. Second, skipping the cure. Wet cut faces in damp soil invite soft rot before the first shoot. Two days of air-drying prevents it.
Third, soggy ground. Galangal needs moist soil, not waterlogged soil, and it rots in cool, soggy conditions. Fix the drainage or plant in a raised bed. Fourth, burying the piece too deep. More than 5.1 cm of cover starves the shoot of warmth and slows emergence. Fifth, tiny pieces. A one-bud sliver sprouts late and finishes small. Cut 5.1-to-7.6-cm chunks with two or more buds, and every piece has the starch to launch.
16. Pair Galangal with Ginger and Turmeric in the Tropical Corner
Alpinia galanga, ginger, and turmeric all want the same thing: heat, full sun, and steady water. Plant them in one tropical corner and water them together.
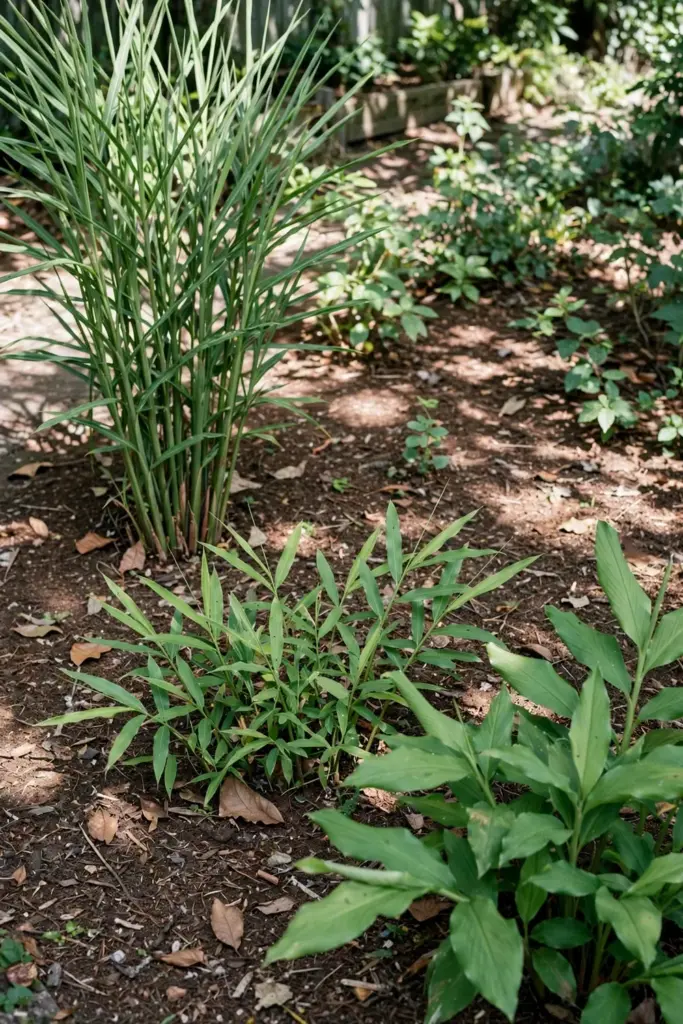
The trio shares a growing calendar. All three go out after the last frost, drink heavily through summer, and come inside or get harvested before the first frost. Galangal brings height and structure at up to 1.8 m; ginger and turmeric stay low and fill the foreground. A big container grouping on the patio works the same way, and the single watering routine keeps all three happy.
The site’s tropical growers cover the details. The beginner’s turmeric guide runs the same frost-to-frost rhythm as this page, and the broader ginger plant family overview sorts the ornamental cousins from the cooking ones. Keep the corner mulched, keep the water steady, and the whole trio cruises through summer with one routine.
17. Compare the 4 Rhizome Look-Alikes in One Table
Four rhizomes share the shelves, the spice racks, and the same botanical family. One table ends the mix-ups for good.
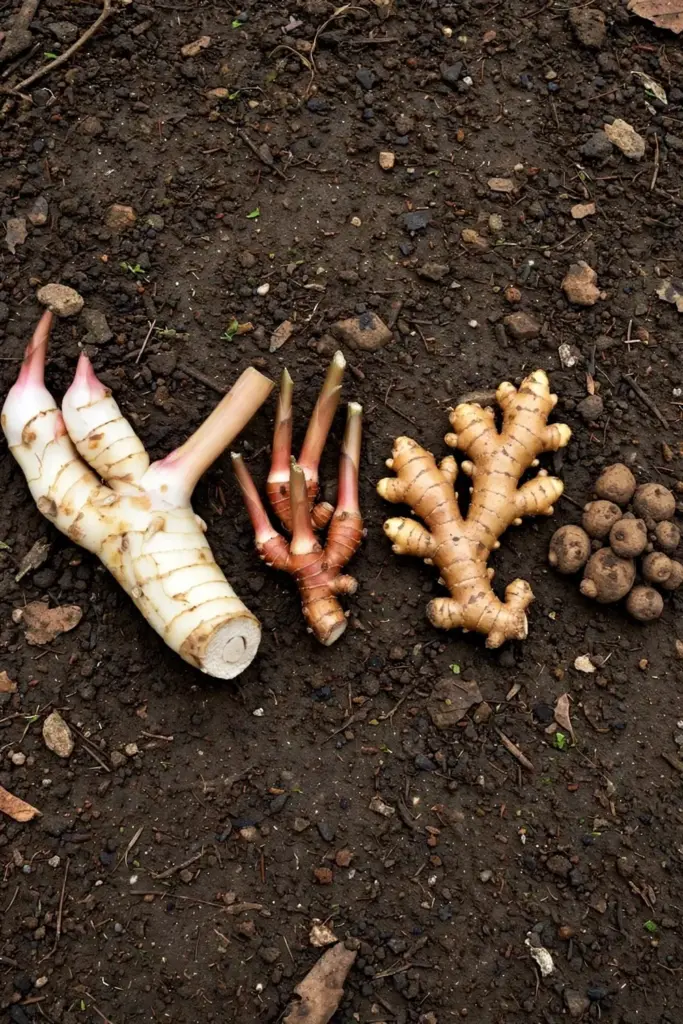
| Rhizome | Species | Flavor | Tell |
|---|---|---|---|
| Greater galangal, lengkuas | Alpinia galanga | Sharp, peppery, citrus-pine | Pale firm hands, pink-eyed when young, up to 1.8 m foliage |
| Lesser galangal | Alpinia officinarum | Hotter, more medicinal | Smaller reddish-brown rhizomes, the China-tradition species |
| Ginger | Zingiber officinale | Warm, sweet, spicy | Tan skin, juicy flesh, branching fingers |
| Kencur, aromatic ginger | Kaempferia galanga | Camphor, aromatic, peppery | Small round rhizomes, low ground-hugging leaves |
Greater galangal is Alpinia galanga. Lesser galangal is Alpinia officinarum, a smaller plant from southern China used in Chinese cooking and medicine, with darker, more pungent rhizomes. The two are different species in the same genus, and their growing needs are close but their kitchens are not. Ginger is Zingiber officinale, the warm sweet rhizome every market stocks. Kencur is Kaempferia galanga, the aromatic ginger of Indonesian pecel and jamu, a low plant with small round rhizomes.
Memorize one row: Alpinia galanga equals pale firm hands equals the Indonesian kitchen. When a tag says only “galangal” with no Latin name, ask which one. The Latin name on the tag settles every argument at the nursery.
Frequently Asked Questions
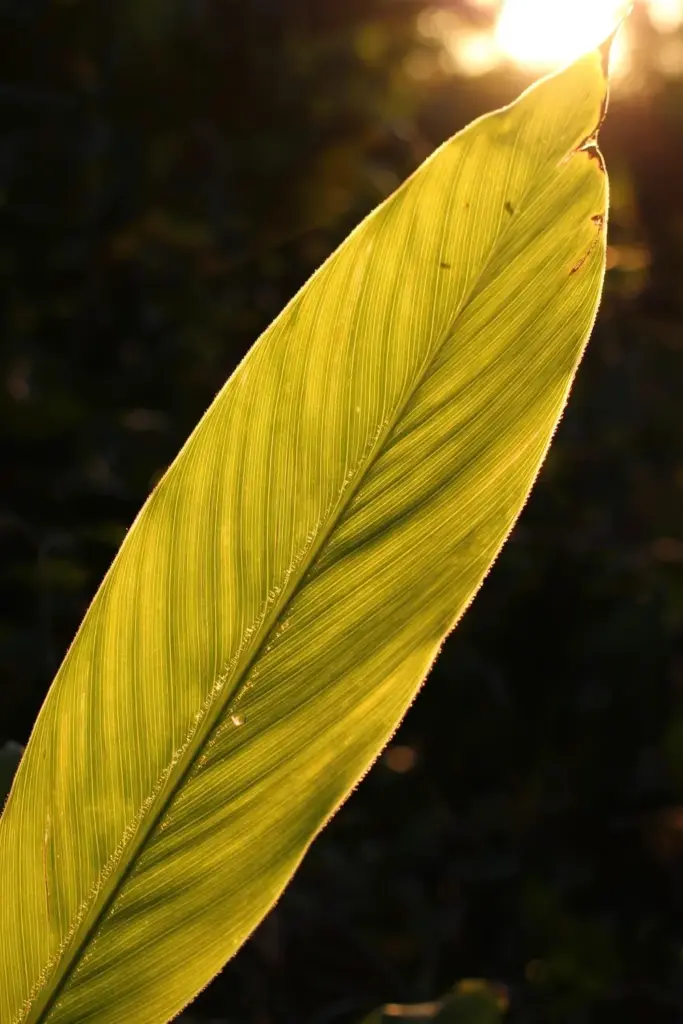
No. Galangal is Alpinia galanga and ginger is Zingiber officinale, two different species in the ginger family. Galangal tastes sharp, peppery, and citrusy, while ginger tastes warm and sweet. The rhizomes look similar on a shelf, but galangal flesh is paler, denser, and woodier, and the two are not interchangeable in rendang or tom kha. Many cooks learn this the hard way after one ginger-flavored soup.
Ten to 12 months from planting to full harvest, according to the Gardening Know How growing profile. Plant in spring after the soil passes 21 degrees Celsius, and dig when the foliage yellows in late autumn or early winter. You can steal an outer hand after eight months for the kitchen, but the main harvest waits for the yellowing tops, because the rhizomes keep gaining weight until the leaves die back completely.
Yes. Choose a firm hand with at least two pinkish eyes, cut it into 5.1 to 7.6 cm pieces, air-dry the cuts for a day or two, and plant 5.1 cm deep once nights stay above 10 degrees Celsius. Market rhizomes carry more disease risk than a grower’s own seed, so disinfect the knife between cuts and discard any soft or moldy pieces. A single good hand yields a dozen or more seed pieces.
Only in zones 9 and 10, where it grows as a perennial with a thick winter mulch. In zones 7 and 8 it works as an annual crop that you dig in autumn. Below that, grow it in a 19-liter pot and move it indoors before the first frost, keeping the mix barely moist through winter until spring warmth returns. Even one light frost can kill the foliage outright.
Cold or soggy soil is the usual killer; wait until the soil passes 21 degrees and fix drainage before planting. Skipped curing is the second cause: wet cut faces rot before shoots emerge, so air-dry every piece for 24 to 48 hours. Planting deeper than 5.1 cm also slows emergence and invites rot in cool spring soil, and one-bud slivers start too weak to survive.
[END OF DRAFT]