
Soak a spoonful of dried goji berries tonight. That is how to grow goji berries from seed: the dried fruit in your pantry already holds viable seed, and the shrub that grows from it fruits for decades. The rest of this page is 15 moves, from pantry to picking basket. I have learned that goji rewards the gardener who plants it and then mostly leaves it alone.
Goji (Lycium barbarum), also called wolfberry, is a sprawling deciduous shrub from Asia grown for sweet-tart red berries. It is hardy to USDA zone 3, surviving minus 40°C once established, which makes it one of the toughest fruiting shrubs a cold-climate gardener can plant. Unlike most perennial fruit seed, goji needs no cold stratification at all: a 24-hour warm-water soak is the entire pre-treatment. One shrub is enough, because the plants are self-fruitful and need no cross-pollination. Seed-grown plants fruit young, peak soon after, and keep bearing for decades.
1. Know What You Are Growing
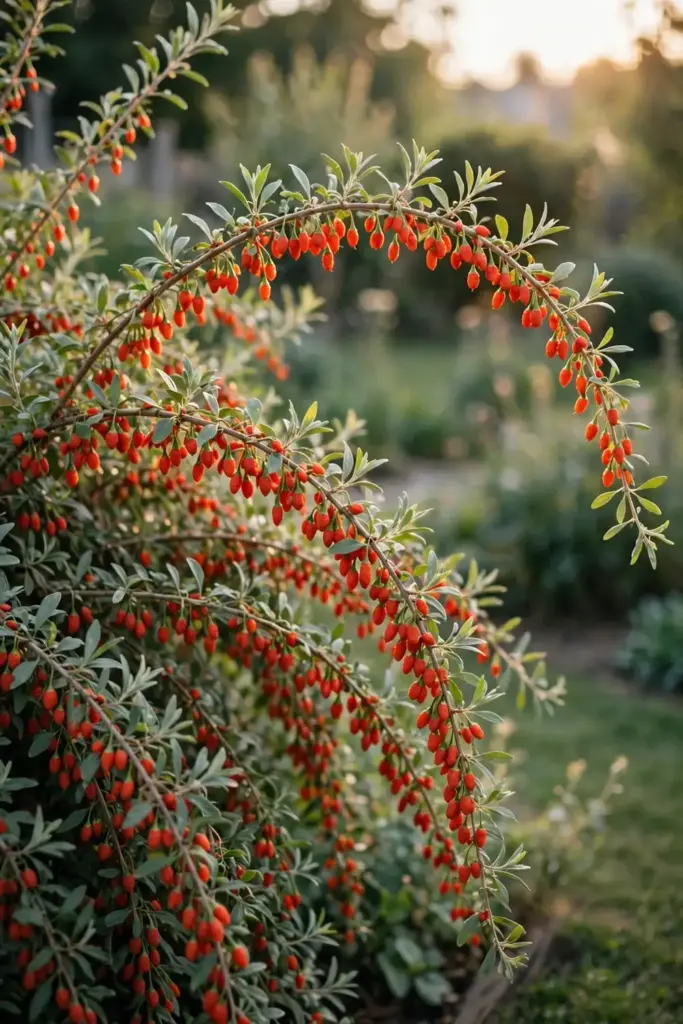
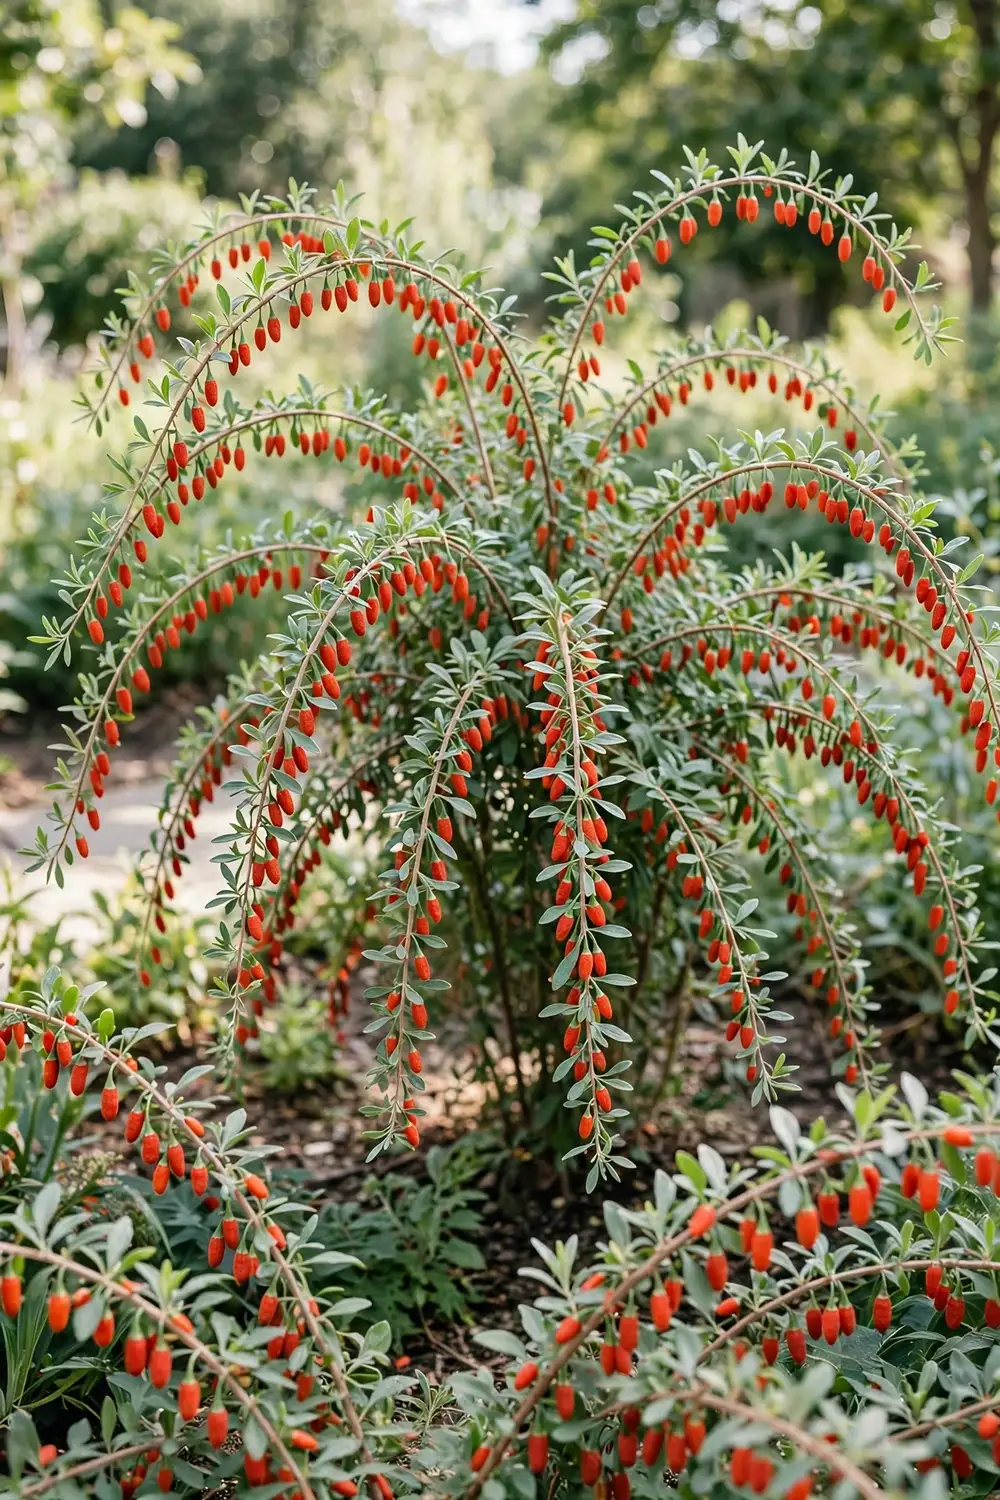
Two species share the goji name. Lycium barbarum is the common commercial goji, hardy to zone 3 and the species behind most named cultivars. Lycium chinense is the Chinese boxthorn, slightly less hardy and more often grown as an ornamental or leaf vegetable. Nurseries frequently sell either one labeled “goji,” so ask which species you are buying. Both produce edible berries, but barbarum fruits more heavily in cold climates. The berries are also sold as wolfberries; same fruit, older name. Expect a fountain-shaped shrub 1.8 to 3.0 m tall and wide at maturity, with arching, sometimes thorny branches and soft gray-green leaves. Purple bell flowers in early summer give way to oblong berries that ripen from green to brilliant red-orange.
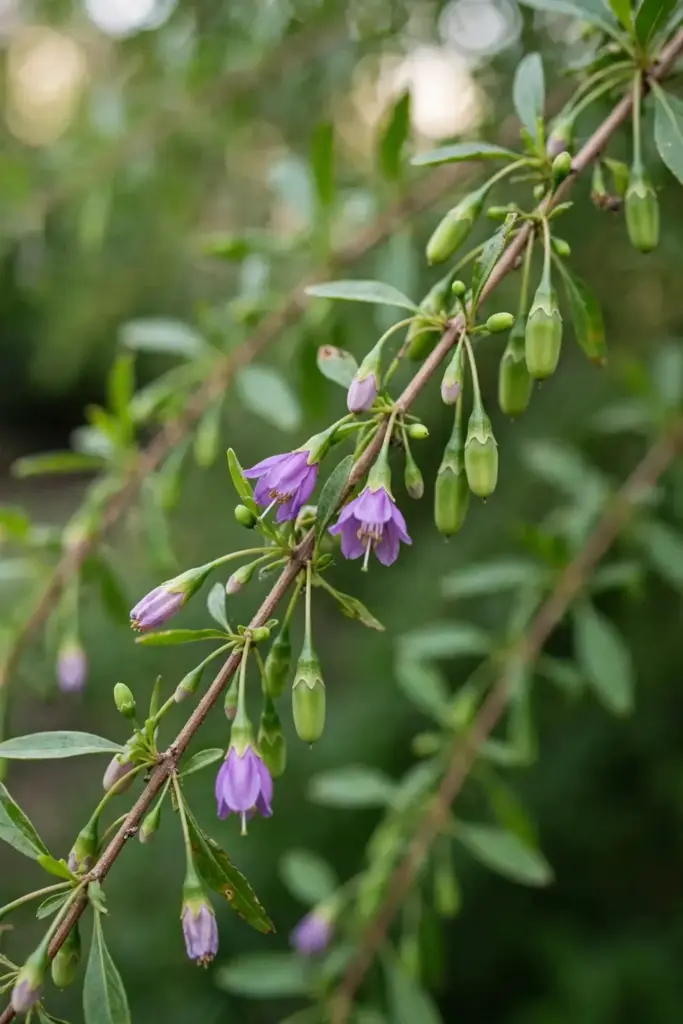
The name confusion extends to the seed trade. Packets labeled “wolfberry” and “goji” hold the same species, but packets labeled “Chinese boxthorn” may be chinense. For fruit production in cold zones, insist on barbarum. A nursery that cannot name the species is selling you a lottery ticket. Ask before you buy, because the two species look identical as young seedlings and you will not know which you have until the second winter tests it.
The shrub earns its place even before the berries arrive. The purple bell flowers feed bees in early summer, the arching branches turn a clear yellow in autumn, and the bright berries hang like lanterns against the fall foliage. Plant it where you will see it from the kitchen window. A fruiting shrub you watch daily gets watered, pruned, and harvested on time; one hidden behind the shed gets forgotten until the birds have taken the crop.
2. Confirm Your Zone: Hardy to Zone 3
This is the goji superpower. Lycium barbarum is rated to zone 3, surviving winter lows of minus 40°C once established, as Seed Bank’s complete growing guide documents. Plants may die back to the crown in a severe winter and re-sprout vigorously in spring, which counts as survival, not failure. Give first-winter transplants a thick 10 to 15 cm mulch over the root zone in zones 3 and 4. In zones 5 to 9 the plant is fully reliable with no protection. Heat is no problem either; established plants tolerate drought and hot summers. If you garden where peaches die and apples sulk, goji is your berry.
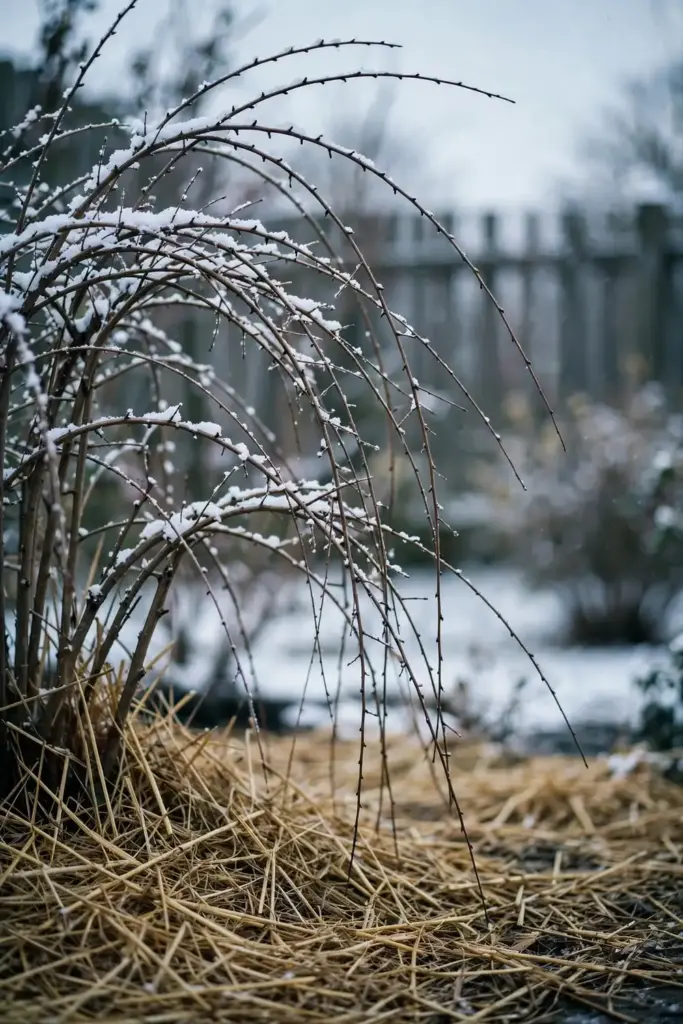
Dieback is not death, and new growers often confuse the two. In April, scratch the bark of a seemingly dead stem with your thumbnail: green underneath means alive, brown and dry means prune it off. Goji re-sprouts from the crown with shocking vigor, often sending up 1 m of new growth by midsummer. Do not replace a “dead” goji until June has passed without a single green bud. More goji plants have been composted alive in May than have ever died in January.
3. Choose Seed, Cuttings, or Nursery Plants
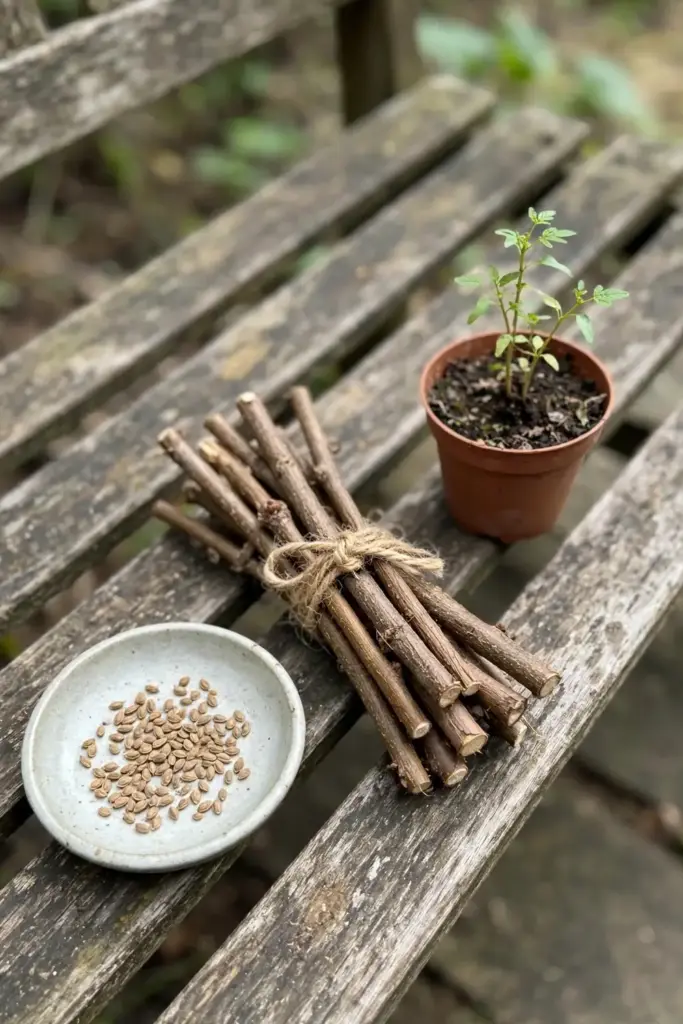
Three roads lead to a fruiting shrub, and they differ in speed, cost, and certainty. Seed is cheapest and slowest. Cuttings clone a known cultivar exactly. Nursery plants fruit soonest. Pick the road that matches your patience and your budget, because all three end at the same fountain-shaped shrub. For a single specimen, one plant suffices: goji is self-fruitful and needs no pollination partner.
| Method | Time to fruit | Cost | True to type? |
|---|---|---|---|
| Seed | 2–3 years, peak at 4–5 | Lowest | No: seedlings vary |
| Hardwood cuttings (10–15 cm, root in 2–4 weeks) | 1–2 years | Low | Yes: exact clone |
| Nursery plant (1-year-old) | Fruit the year after planting | Highest | Yes: named cultivar |
4. Extract Seed From Dried Store Berries
Yes, the pantry works. Dried goji berries contain viable seeds, though viability varies with processing; heavily sulphured or over-processed fruit germinates poorly. Soak a spoonful of dried berries in warm water for 24 to 48 hours until soft, then wash the seeds free of all pulp, because the pulp contains germination inhibitors. Keep the seeds that sink and discard the floaters. Spread the sinkers on paper to dry for a day before sowing. This trick turns a two-dollar bag of trail mix into thirty seedlings. Buy unsulphured, minimally processed berries for the best odds, and save a few berries from the packet to compare against your eventual harvest.
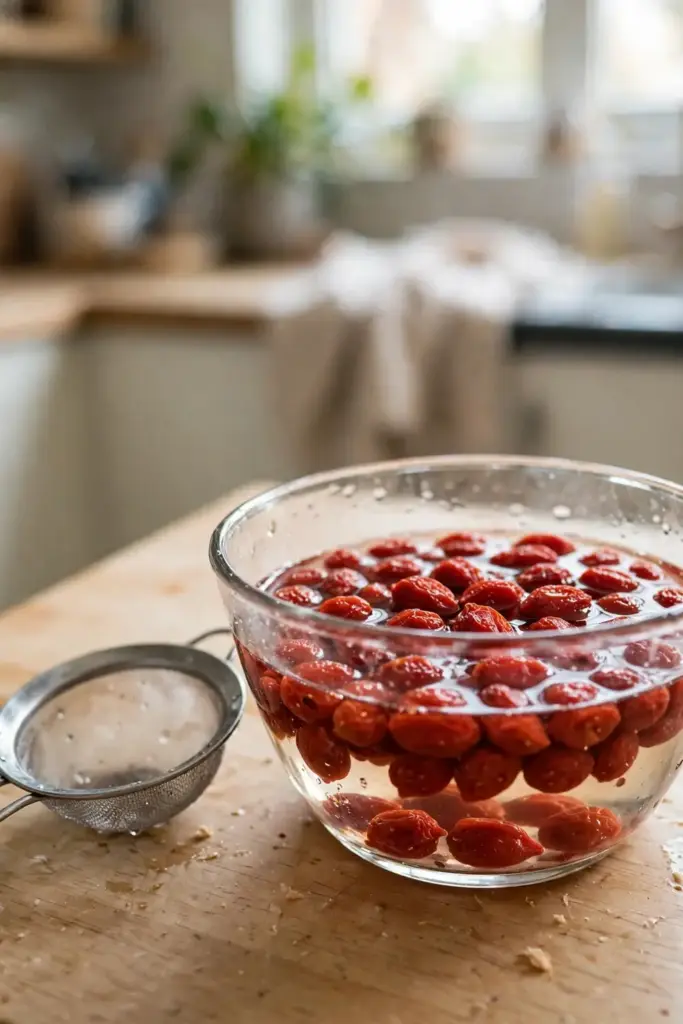
Test a small batch before committing the whole tray. Sow ten extracted seeds in one pot and watch for sprouts within three weeks. Strong germination means the berry batch was good; sow the rest with confidence. Weak germination means the berries were over-processed, and no amount of coaxing will fix dead seed. This ten-seed test takes three weeks and saves a season. Seed houses sell fresh barbarum seed cheaply, so the pantry method is a fun experiment, not a obligation.
5. Soak Seed 24 Hours in Warm Water
Goji seed wants warmth, not winter. Unlike many perennial fruit seeds, goji needs no cold stratification; it germinates best in warmth at 21 to 26°C, and a 24-hour warm-water soak before sowing is all the pre-treatment it wants, as that same Canadian guide’s germination notes explain. Drop the cleaned seed in a cup of warm water for a full day, then sow immediately. Do not refrigerate the seed, do not freeze it, do not overthink it. Every cold treatment you skip is time saved. Sow within a day of soaking; soaked seed left sitting goes soft and rots.
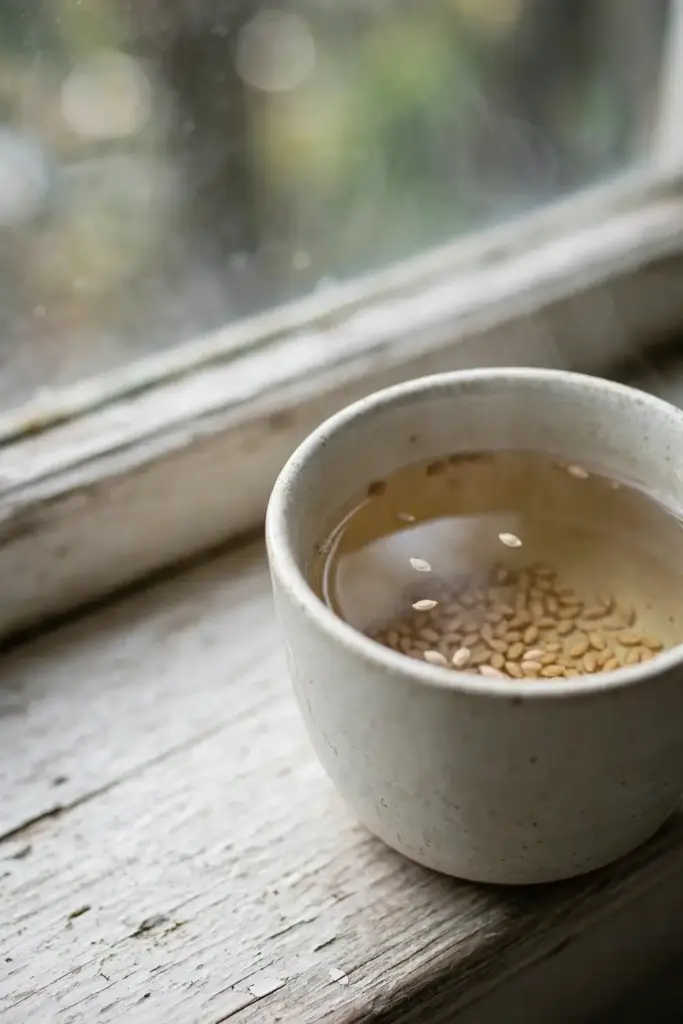
Use water that feels warm to your wrist, not hot. Water above 40°C damages the embryo; water at room temperature merely works slower. If your house runs cool, set the soaking cup on top of the refrigerator where the compressor warmth holds it steady. After 24 hours the seeds look slightly swollen and a few may show the pale tip of the emerging root. Those are the eager ones. Sow them first, handle them gently, and expect them up within two weeks.
6. Sow on the Surface at 21 to 26°C
Sow indoors 6 to 8 weeks before your last frost. Press the soaked seeds onto the surface of a free-draining seed mix and cover with only a whisper of vermiculite; goji germinates best with light. Keep the tray at 21 to 26°C: a heat mat earns its keep here. Expect sprouts in 10 to 21 days. Mist to keep the surface evenly moist, never soggy. The seed-starting steps for small-seeded perennials cover this routine exactly. Once sprouted, move the tray into strong light immediately. Goji seedlings stretch fast in dim conditions, and a leggy seedling never quite recovers its vigor.
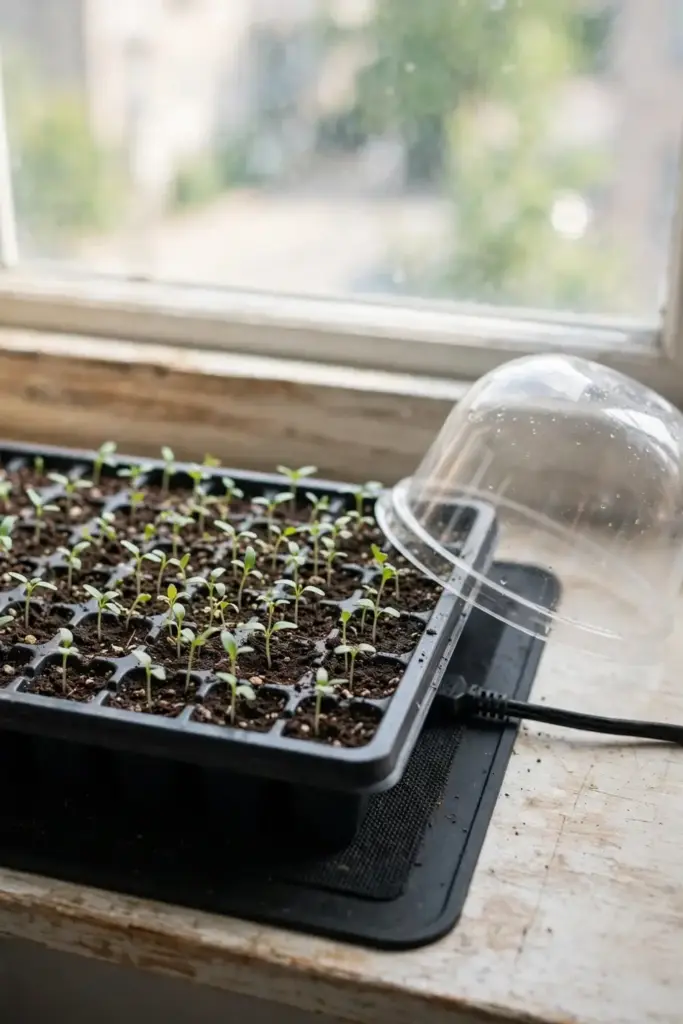
Sow more cells than you need. Even with good seed, not every seed sprouts, and the weakest seedlings are worth discarding. Twelve cells sown gives you eight strong plants, which is plenty for most gardens. Thin each cell to the single strongest seedling once the first true leaves open. Two seedlings sharing a cell become two mediocre seedlings. A domed tray holds humidity for the first week; remove the dome the day sprouts appear, because trapped humidity after germination invites the damping-off that kills more seedlings than any other cause.
7. Grow Seedlings Hard and Stocky
Pot seedlings into individual 9 cm pots when they have two sets of true leaves. Grow them cool and bright: cool days under strong light produce stocky plants, while warm dim rooms produce floppy ones. Seedlings are transplant-ready in 8 to 10 weeks. Water when the surface dries; goji seedlings tolerate short dry spells better than constant wetness, which invites damping off. If a seedling keels over at the soil line, that is damping off, the classic seedling disease: improve air flow, water from below, and start the next batch in fresh mix. Feed nothing until the plants are 10 cm tall, then begin half-strength liquid feed every two weeks.
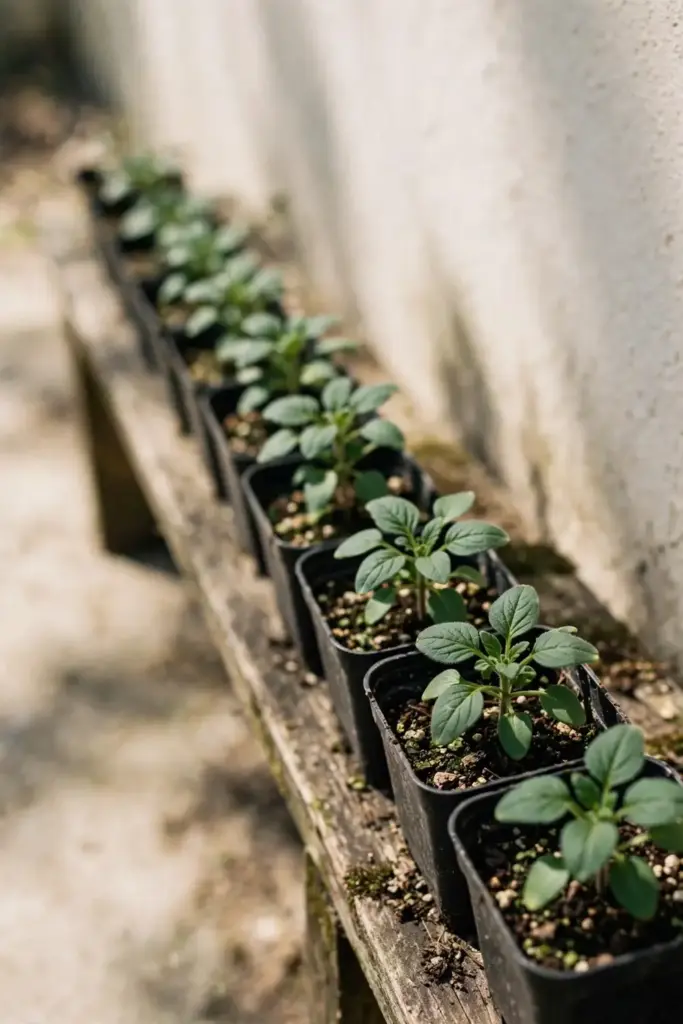
Harden the seedlings before they move outside. Set the pots in a sheltered spot for a few hours daily over ten days, lengthening the exposure and introducing direct sun gradually. Seedlings moved straight from indoors to full sun scorch within a day, and scorched seedlings stall for weeks. A cold frame with the lid propped open is the perfect halfway house. By the end of hardening, the plants should stand stiff in a breeze without wilting. That stiffness is the sign they are ready for the garden.
8. Root Cuttings for Clones
Cuttings give you an exact copy of a proven plant, which seed never does. Take pencil-thick hardwood cuttings in late winter while the parent is dormant, or softwood cuttings in early summer. Strip the lower leaves, dip the base in rooting hormone, and set in moist perlite under a humidity dome. Roots form in a few weeks; tug gently to feel the resistance that means success. Pot rooted cuttings into gritty mix and grow on like seedlings. One healthy parent yields dozens of cuttings, which makes this the method for hedgerows. Label every pot with the cultivar name. An unlabeled clone is just a mystery shrub.
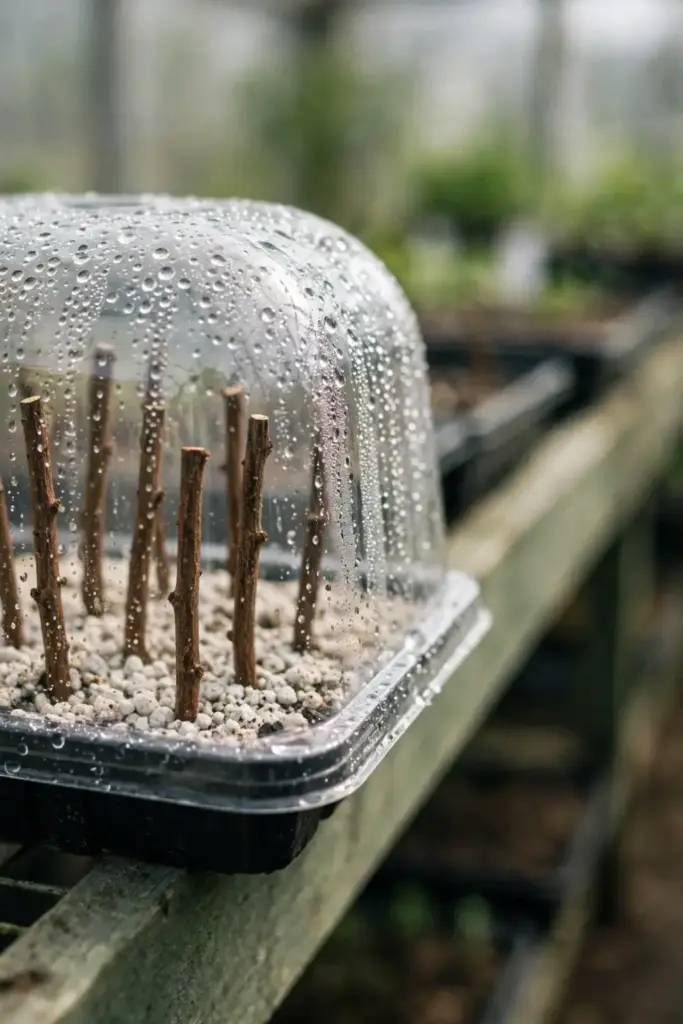
Take cuttings from fruiting wood, not from water sprouts. The previous season’s lateral branches, about pencil thickness, root best and carry the fruiting habit you want. Cut into 10 to 15 cm lengths with a slanting cut at the top (so you remember which end is up) and a straight cut at the base just below a node. Bundle ten cuttings with a rubber band and heel them into a trench outdoors over winter; they callus in the cold soil and root fast in spring. This trench method needs no dome, no hormone, and no attention until April.
9. Pick a Sunny, Alkaline Spot
Goji breaks the usual berry rules. It wants full sun for maximum fruit, though it tolerates light shade, and it prefers slightly alkaline soil: well-drained soil with pH between 6.8 and 8.1, as Gardening Know How’s planting guide specifies. Sandy, loamy, or even slightly clay-heavy soils all work if drainage is decent. This is the rare fruit that thrives in the alkaline, infertile soils where blueberries refuse to grow. Do not acidify the bed; lime it if your soil tests below 6.5. Give the shrub room: it reaches 1.8 to 3.0 m in every direction, and crowding invites mildew.
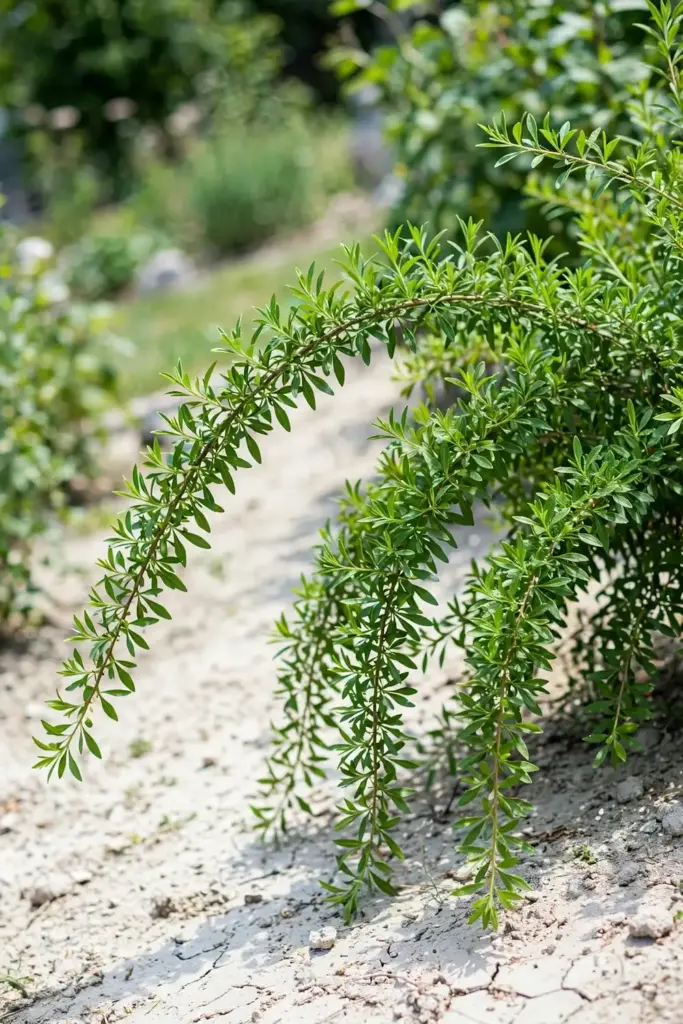
Test your soil before amending. A ten-dollar pH test beats a season of guessing, and most garden centers sell the kits. If your pH sits below 6.5, work in garden lime at the label rate in autumn and retest in spring. If it sits above 8.1, which is rare, add elemental sulfur sparingly. Goji tolerates poor soil, but it does not tolerate wet soil: in heavy clay, plant on a slight mound 15 cm high so the crown drains. That mound is the difference between a thriving shrub and a drowned one.
Containers work well for goji, especially where winter protection or sharp drainage is needed. Use a pot at least 45 to 50 cm across and deep, filled with a fast-draining mix of potting soil, perlite, and coarse grit, as that same Canadian guide recommends. Potted plants stay smaller and yield less than in-ground shrubs but remain productive for years. Move containers into an unheated garage for the first winter in zones 3 and 4. A potted goji on a sunny patio puts the harvest at arm’s reach.
10. Plant 0.9 to 1.5 m Apart
Set transplants out in spring after the last frost, at the same depth they grew in the pot. Space plants 0.9 to 1.5 m apart within the row and leave 1.8 to 2.4 m between rows for harvest access, following the LSU AgCenter’s spacing guidance. Dig the hole twice as wide as the root ball, spread the roots, and water deeply. Mulch 8 cm deep with straw or bark, keeping mulch clear of the stem. In zones 3 and 4, plant in spring only; autumn planting leaves too little time for root establishment before the deep cold.
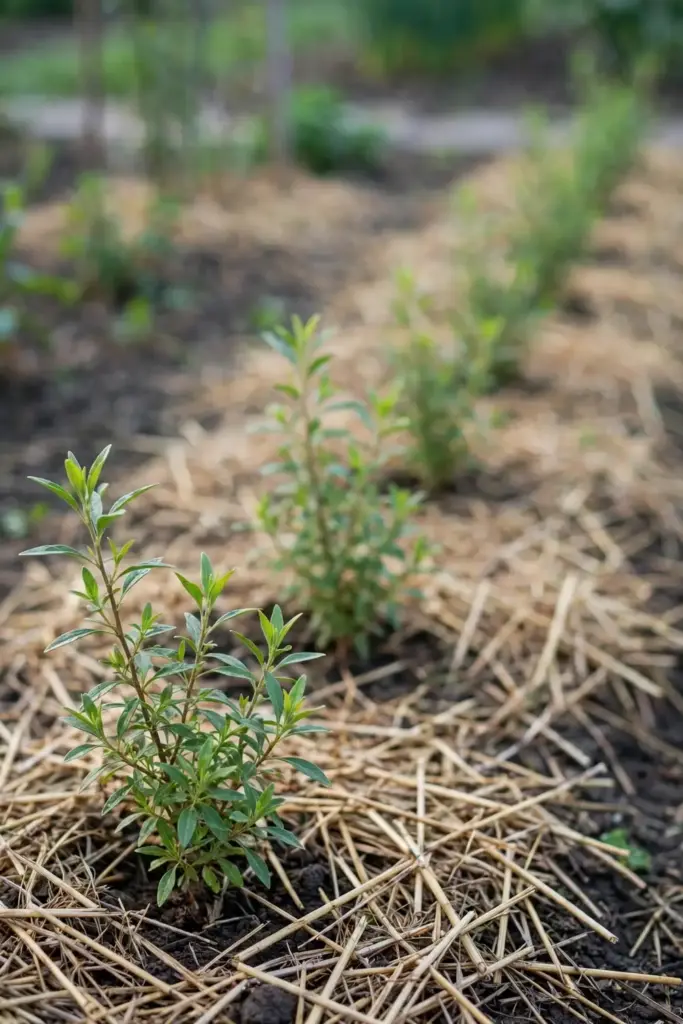
Water the hole before the plant goes in. Dry soil walls wick moisture from the root ball, and a plant set into a dry hole sulks for weeks. After planting, build a shallow watering basin around the stem with the excess soil and fill it twice. That deep initial soaking settles the soil around the roots with no air pockets. Check the plant weekly through the first summer, watering when the top 5 cm dries. By autumn, the roots should hold the root ball together when you tug gently. That grip means establishment.
11. Water Like a Tomato
Water new transplants frequently until established, then relax. Established goji is fairly drought-tolerant, but fruit size and yield improve with steady moisture: a deep weekly soaking in sandy soils, less in clay, as the Arizona Extension goji fact sheet recommends for establishment and beyond. Drip irrigation is ideal because it keeps the foliage dry and the weeds down. Water in the morning so leaves dry by evening. The LSU AgCenter recommends amending the bed as you would for tomatoes, which tells you everything about this plant’s appetite: moderate fertility, steady water, no drama. Soggy ground kills more goji plants than drought ever has.
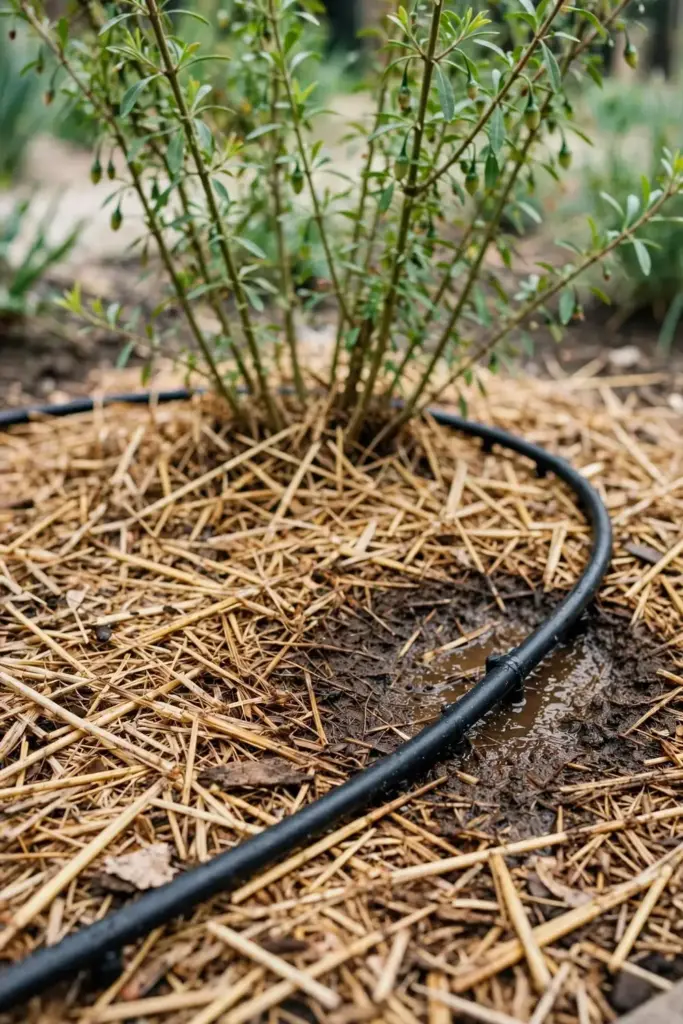
Learn the difference between thirst and drowning. Thirsty goji leaves droop in the afternoon heat and recover by morning; drowned goji leaves yellow and drop without recovering. If the leaves yellow while the soil is wet, stop watering and let the bed dry. A rain gauge near the bed ends the guessing: 2.5 cm a week from rain plus irrigation combined is the target. In a wet summer, that may mean no irrigation at all. The plant will tell you; your job is to listen before reaching for the hose.
Mulch is the quiet hero of the goji bed. An 8 cm layer of straw or bark holds soil moisture through dry spells, suppresses the weeds that compete with young roots, and keeps developing berries clean when arching canes dip low. Pull the mulch back from the stem by a few centimeters so the crown stays dry. Top up the layer each spring as it decomposes into the soil, feeding the bed gently. Never let grass grow right up to the trunk; a mowing strip or mulch ring ends the competition.
12. Feed Lightly in Alkaline Soil
Goji is a light feeder that resents rich treatment. A yearly spring top-dressing of compost is enough for most soils. If growth is weak, add a balanced fertilizer at half rate in spring; the LSU AgCenter’s published nitrogen rate for mature plantings is modest and split across the season. Goji is sensitive to high salt levels, so go easy on manures and synthetic feeds. Compost feeds gently without the salt spike. Yellowing between the veins in alkaline soil usually means iron chlorosis, not nitrogen hunger; a foliar iron spray corrects it faster than soil amendments.
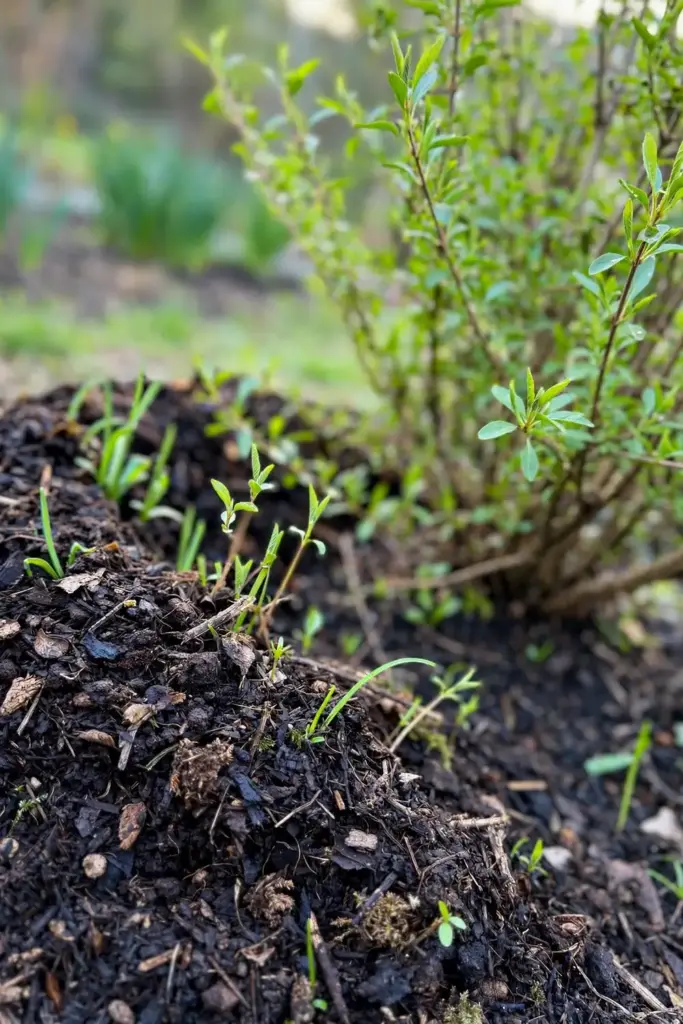
Watch the shoot tips in spring. Strong extension growth with deep green leaves means feeding is correct. Short, pale shoots mean the plant wants more; rank, floppy shoots mean it got too much. Container goji needs more feeding than in-ground plants because every watering leaches nutrients: feed monthly at quarter strength through the growing season and flush the pot each autumn. In the ground, when in doubt, mulch with compost and walk away. This shrub evolved in poor soils and fruits best when slightly lean.
13. Prune the Fountain
Fruit forms on the current year’s wood, mainly on wood grown in spring and autumn, so pruning aims to renew fruiting wood yearly, as LSU’s pruning notes describe. Prune in the dormant season: remove spindly canes, dead and damaged wood, and shorten laterals to encourage branching. Head back untipped canes, because canes that are headed back produce more laterals and higher yields. Limit the plant to a few strong main stems and keep the center open for light and air. The spring pruning techniques for cane fruits transfer well. Summer tipping of vigorous shoots keeps the fountain shape compact and the berries within reach.
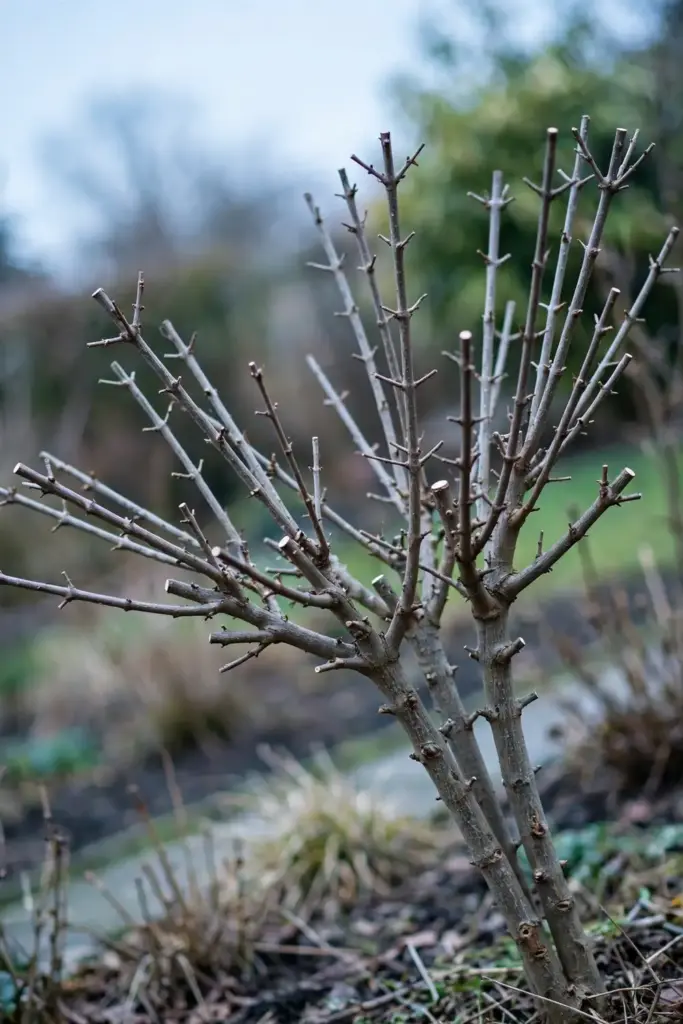
Train young plants to a clear structure in the first two years. Select three to five strong canes radiating from the base and remove the rest; this open vase carries more light to the fruiting laterals than a thicket does. Each winter, cut one old cane to the ground and let a new basal shoot replace it. This rolling renewal means no cane is ever older than four years, and old canes are the ones that fruit poorly. A neglected goji becomes a thorny mound; a pruned goji becomes a berry fountain.
14. Tame the Suckers
Goji spreads by suckers and self-sown seed, and references warn it can become weedy. In a small garden, mow or cut suckers at ground level each spring; digging them out disturbs roots and multiplies the problem. A mowing strip around the bed keeps the colony where you planted it. For a hedge, let the suckers fill in and you get a thorny, bird-friendly barrier that also fruits. Birds love the berries and spread the seed, so expect volunteers. Pot up the strongest volunteers as gifts. A free goji plant converts more gardeners than any argument.
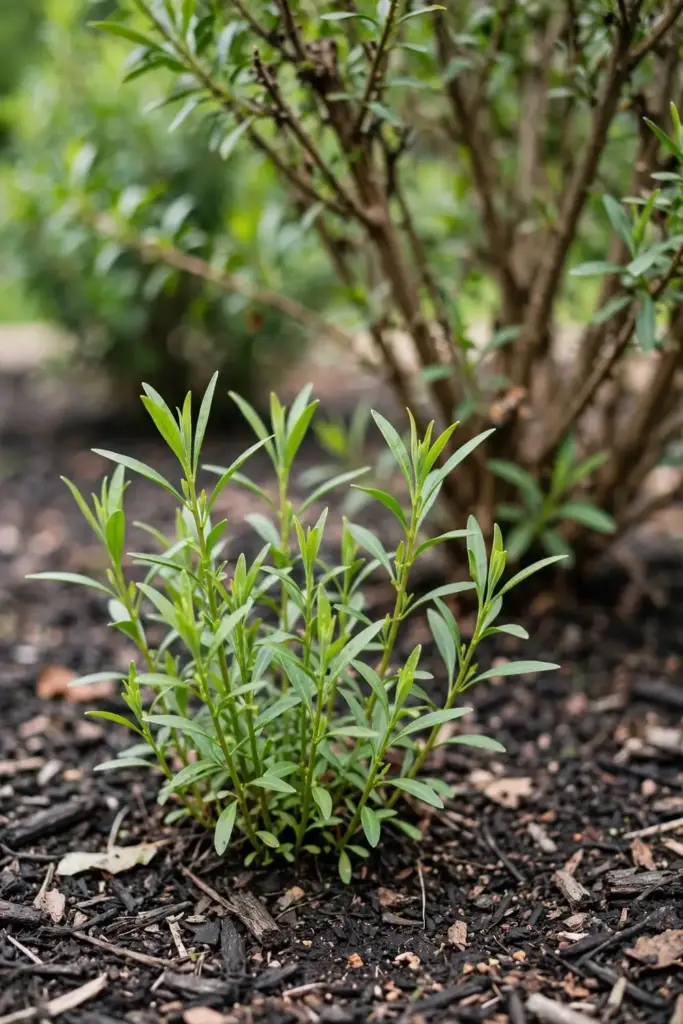
Contain the spread from day one rather than fighting it in year five. A root barrier sunk 30 cm deep around the bed stops most suckers; the mowing strip handles the rest. If the planting sits near a wild area, harvest diligently so birds spread less seed. In regions where Lycium naturalizes, check local guidance before planting a large stand. A berry patch should feed your family, not colonize the neighborhood. Five minutes of sucker patrol each spring beats a weekend of excavation later.
15. Harvest Red and Dry the Rest
Pick berries when they are fully red-orange and soft; unripe green berries are unpleasant and best left. Harvest every few days through the late-summer season, because the shrub ripens continuously. Eat fresh, freeze, or dry: spread in a single layer in a dehydrator or a warm airy room until leathery. Dried goji keeps for a year in a sealed jar. Expect a small crop in year two, a real harvest in year three, and peak production in years four and five, as that same Canadian guide’s timeline shows. A mature shrub yields generously for decades. That is the payoff for the patient start: a lifetime of berries from one planting.
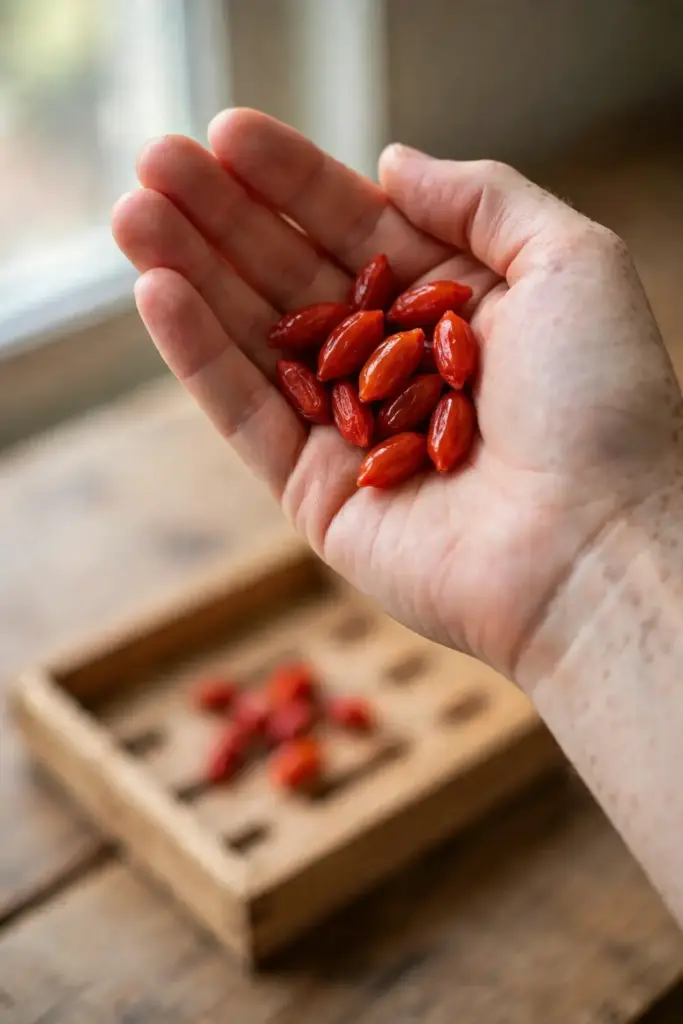
Pick with a light touch. Ripe goji berries bruise easily and their thin skins tear, so use shallow trays rather than deep buckets. Morning picking after the dew dries gives the firmest fruit. Taste as you go: the sweetest berries come from the sunniest branches, which tells you where to prune for light next winter. Dry the surplus the same day you pick it; a pile of fresh berries left overnight ferments fast. Your first real harvest will feel small. By year five you will be giving bags away.
Frequently Asked Questions
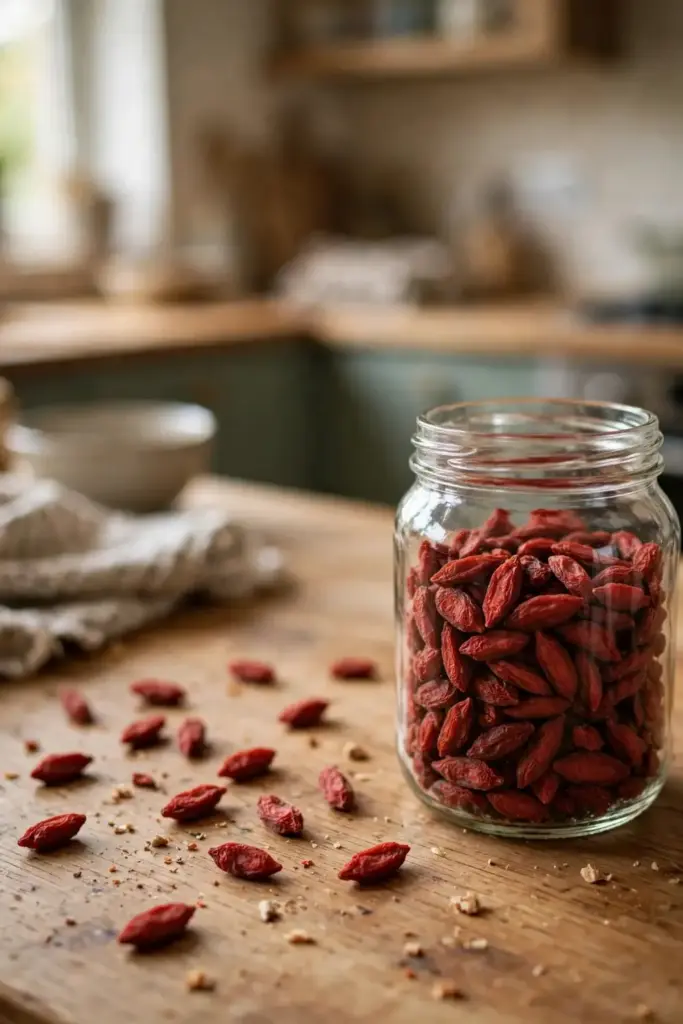
Yes. Dried goji berries contain viable seeds. Soak them in warm water for 24 to 48 hours until soft, wash the seeds completely free of pulp (the pulp inhibits germination), keep the seeds that sink, and dry them before sowing. Viability varies with processing: unsulphured, minimally processed berries germinate best, while heavily sulphured fruit may fail. Fresh seed from a seed house is more reliable, but the pantry method genuinely works.
No. Unlike many perennial fruit seeds, goji needs no cold stratification at all. The seeds germinate best in warmth, 21 to 26°C, and a 24-hour warm-water soak before sowing is the entire pre-treatment. Refrigerating or freezing the seed wastes time and can reduce viability. Sow indoors 6 to 8 weeks before the last frost on a heat mat, and expect sprouts in 10 to 21 days.
The usual causes are wet soil, not hunger. Goji hates waterlogged roots, and yellow leaves with damp soil mean too much water. In alkaline soils, yellowing between green veins signals iron chlorosis; treat with a foliar iron spray. Pale all-over yellowing with dry soil means the plant wants nitrogen: top-dress with compost. Check drainage before reaching for fertilizer, because feeding a drowned plant never helps.
Yes. Lycium barbarum is rated to zone 3, surviving minus 40°C once established. Plants may die back to the crown in a brutal winter and re-sprout vigorously in spring. Mulch first-winter transplants with 10 to 15 cm of straw or bark over the root zone in zones 3 and 4. Container plants are less hardy than in-ground ones: move pots into an unheated garage for the first winter in the coldest zones.
Where to Go From Here
Fifteen moves, one tough shrub, and twenty years of red berries. Start the seed indoors this spring and you pick your first handful in year two; plant a nursery shrub and you pick next summer. Give it sun, alkaline soil, and room to arch. The goji asks little and gives for decades.