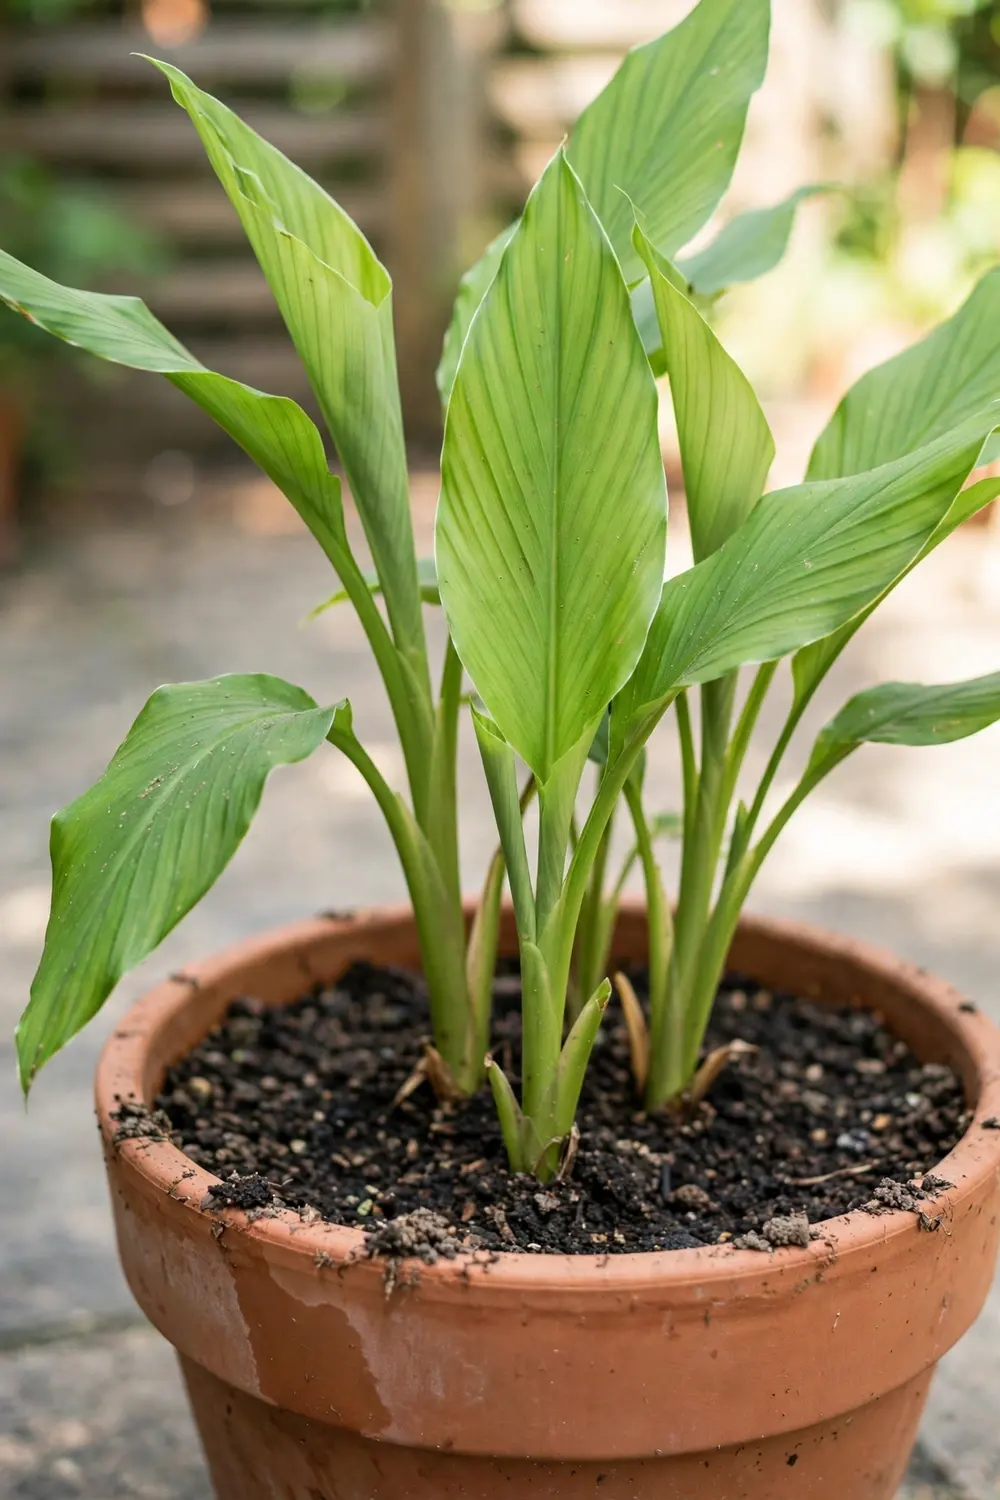

Plant three pieces of store-bought turmeric rhizome in one wide 12-inch pot this spring and you can dig up your own harvest 8 to 10 months later. That is the whole promise when you learn how to grow turmeric in pots: no tropical field, no greenhouse, just a sunny spot and patience. The timeline is honest and long, but every month of it happens on a windowsill or patio you already own.
Turmeric is Curcuma longa, a member of the ginger family sold in every grocery store spice aisle and produce bin. In China it goes by jiang huang (姜黄), where it has a long history in traditional medicine and cooking, though the plant itself originated in India and Southeast Asia, not China. Growers in non-tropical climates have kept it alive in containers for decades by treating it like a tender houseplant that happens to make rhizomes underground.
This guide walks through the pot method from rhizome to harvest: picking pieces that will actually sprout, the honest 8 to 10 month wait, watering without rotting the rhizome, overwintering indoors, and digging up the crop. Every number below comes from extension sources or experienced growers, and the mistakes section names the failures that kill most first attempts.
Turmeric at a Glance: The Numbers That Matter
| Fact | Number |
|---|---|
| Botanical name | Curcuma longa |
| Chinese name | Jiang huang (姜黄) |
| Plant from | Rhizome pieces, not seed |
| Pot size | At least 12 inches wide and deep |
| Planting depth | 2 to 3 inches, buds facing up |
| Soil temperature to sprout | 68°F (20°C) minimum |
| Days to first shoots | 30 to 60 |
| Months to mature harvest | 8 to 10 |
| Rhizomes per person per year | 8 to 10 plants |
| Hardiness | Perennial in zones 8 to 11; container annual elsewhere |
Step 1: Know What You Are Growing
Turmeric is Curcuma longa, jiang huang in Chinese, a rhizome crop in the ginger family (Zingiberaceae). It grows from pieces of rhizome, never from true seed. Anyone selling you “turmeric seeds” is selling something else. The plant sends up broad green leaves on pseudostems and, after 8 to 10 months, the underground rhizome swells into the knobby orange fingers you recognize from the store. The orange color comes from curcumin, the compound behind both the spice and turmeric’s traditional uses.
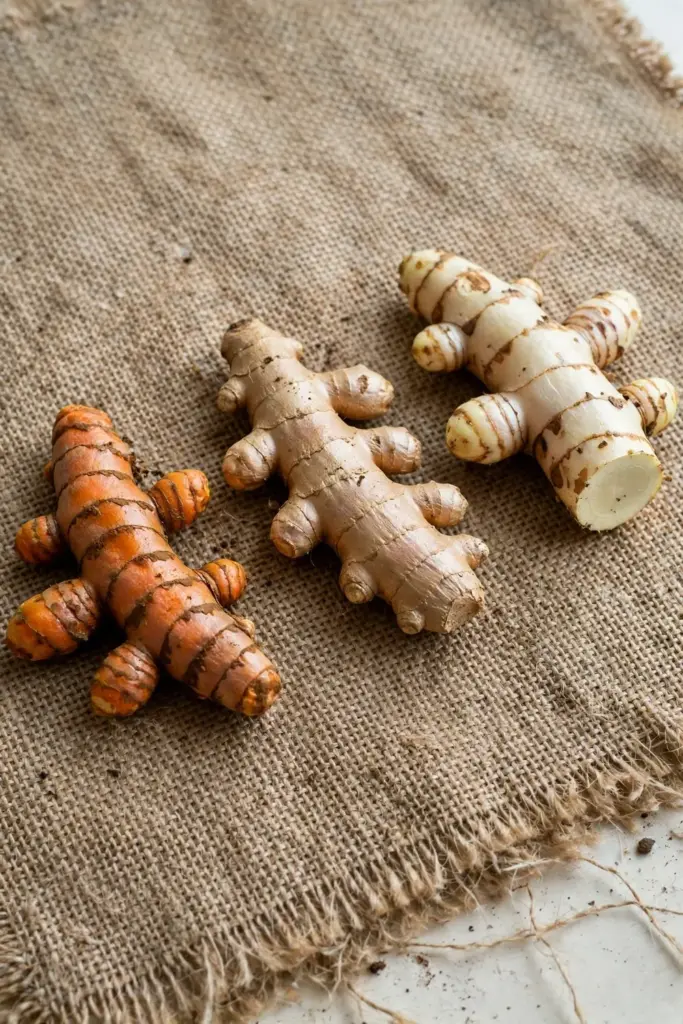
Two mix-ups cause most beginner disappointment, so sort them before you plant. Ginger (Zingiber officinale) is turmeric’s close cousin and looks similar in the produce bin, but it has tan skin, pale yellow flesh, and a sharp spicy bite. White turmeric (Curcuma zedoaria, also called zedoary) is a separate species with paler flesh and a different flavor. If your goal is the orange spice for cooking or the jiang huang of Chinese tradition, confirm the label says Curcuma longa.
| Plant | Botanical name | Flesh color | Flavor | Use |
|---|---|---|---|---|
| Turmeric | Curcuma longa | Deep orange | Warm, earthy, bitter | Spice, jiang huang |
| Ginger | Zingiber officinale | Pale yellow | Sharp, spicy | Fresh spice |
| White turmeric | Curcuma zedoaria | Pale cream | Bitter, camphor-like | Different species |
China’s connection to turmeric runs through jiang huang, the dried rhizome used in traditional Chinese medicine and regional cooking, and through the country’s role as a producing region. Keep the history honest: turmeric is native to India and Southeast Asia, and its association with China comes from centuries of trade and medicinal use, not origin. That distinction matters because it tells you the plant wants tropical warmth, not temperate resilience.
Step 2: Pick Rhizomes That Will Actually Sprout
Yes, you can plant turmeric from the store. The produce-bin rhizome is the same plant as the nursery stock, and it sprouts the same way. The catch is that conventional grocery turmeric is sometimes treated with sprout inhibitors to extend shelf life, a practice the University of Georgia Extension flags in its guide to growing ginger and turmeric at home. Organic rhizomes skip that treatment and sprout more reliably, so buy organic when the store carries it.
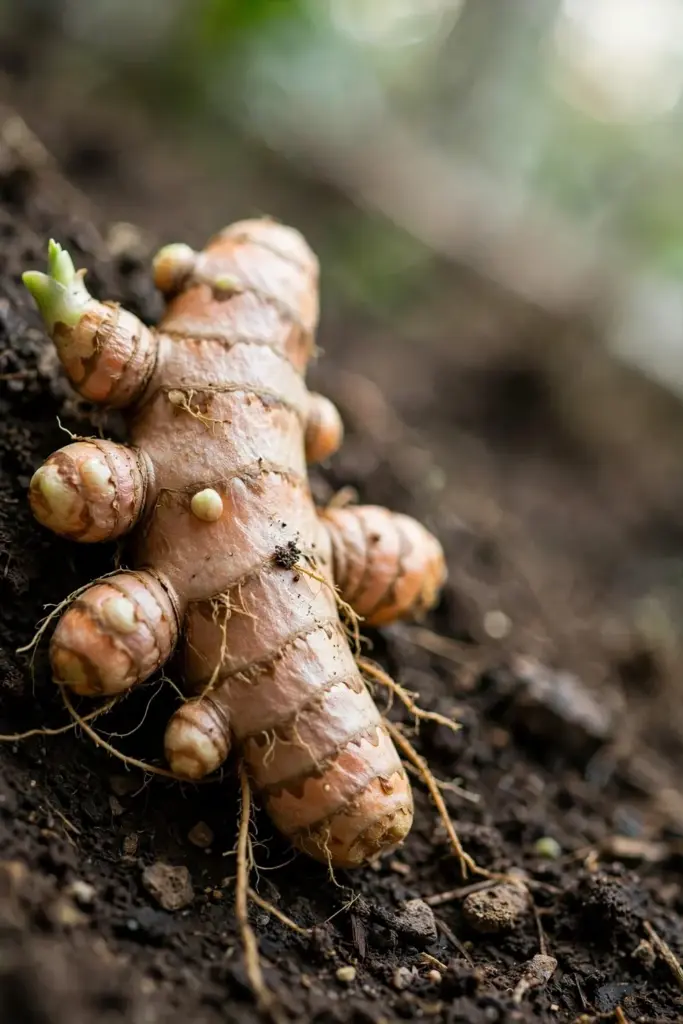
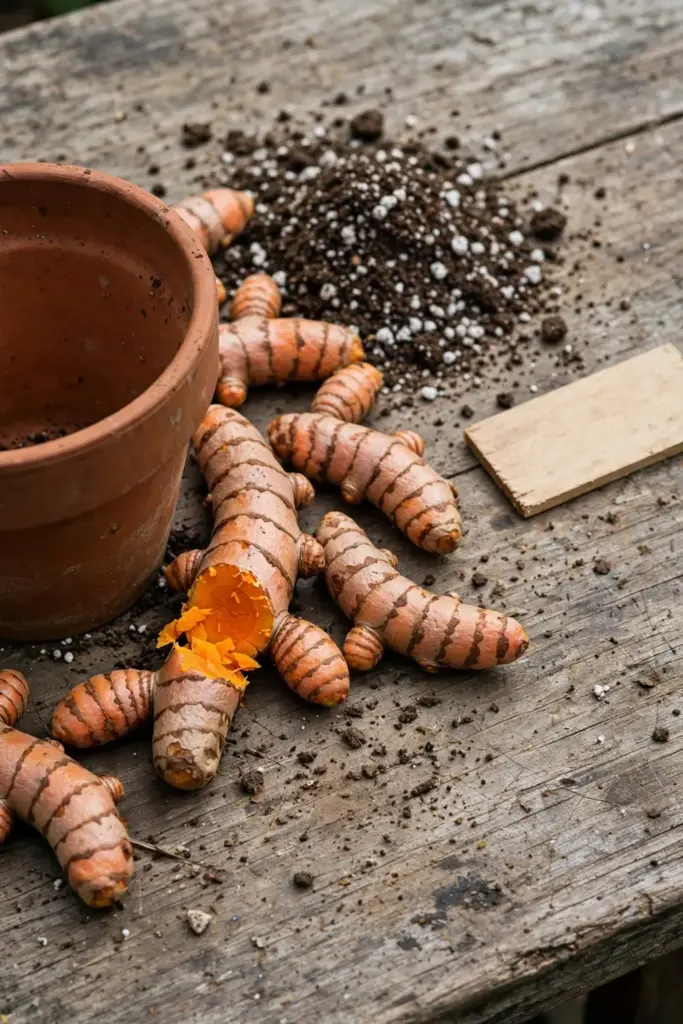
Choose firm, plump pieces with visible buds. The buds look like small raised nubs or pale eyes along the rhizome, and each one is a future shoot. Skip anything soft, shriveled, moldy, or with a sour smell. A piece the size of your thumb with two or three buds is enough for one planting spot. Three such pieces fill a 12-inch pot.
Soak the pieces in lukewarm water for 24 hours before planting. The soak rehydrates rhizomes that have sat in dry store displays for weeks and helps wash off surface residues from conventional stock. Drain the pieces and let them air-dry for a few minutes before they go into soil. If a piece floats or feels hollow, discard it.
Step 3: Time Your Planting for Warm Soil
Turmeric is tropical and refuses to start in cold soil. Wait until nighttime temperatures stay above 60°F and the potting mix holds at least 68°F (20°C) before planting outdoors. In most temperate regions that means late spring, roughly May, after the last frost has passed and the soil has had weeks to warm.
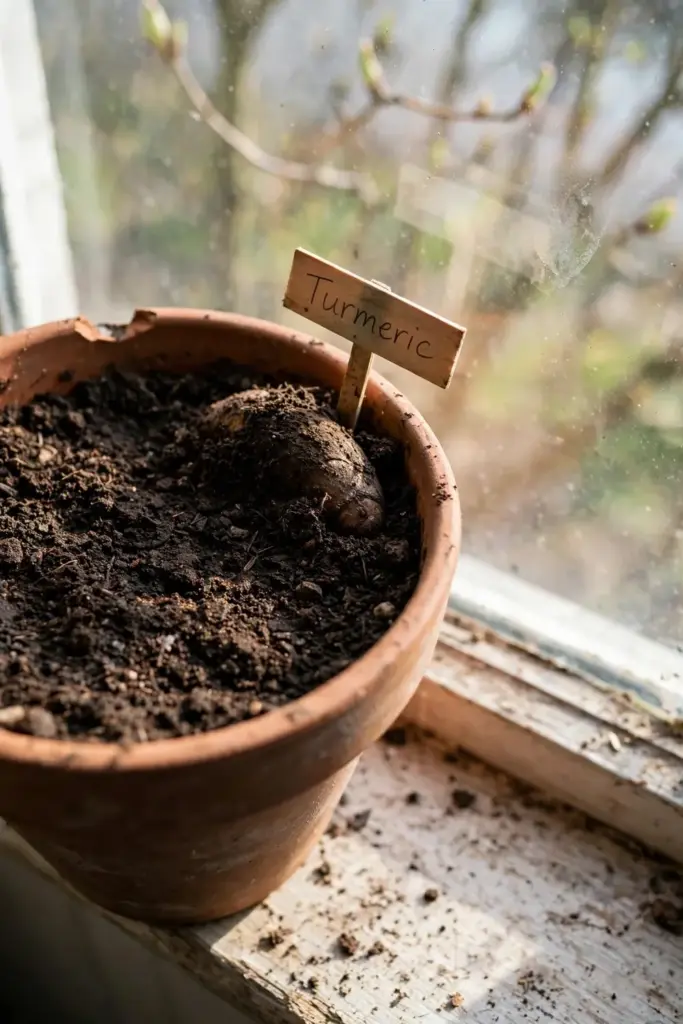
Starting indoors buys you a longer season, which matters when the finish line is 8 to 10 months away. Plant the pot indoors 4 to 6 weeks before your last frost date, keep it in the warmest room you have, and move it outside once nights stay reliably warm. Every extra week of warmth at the start shortens the wait at the end.
Cold-climate growers should count backward from the first fall frost. Turmeric needs its full 8 to 10 months, so a May planting matures in January to March of the following year. That math is exactly why the pot method wins in cold zones: you bring the pot inside in October and let the plant finish its season under a grow light or in a sunny window.
Step 4: Choose a Pot Built for Rhizomes
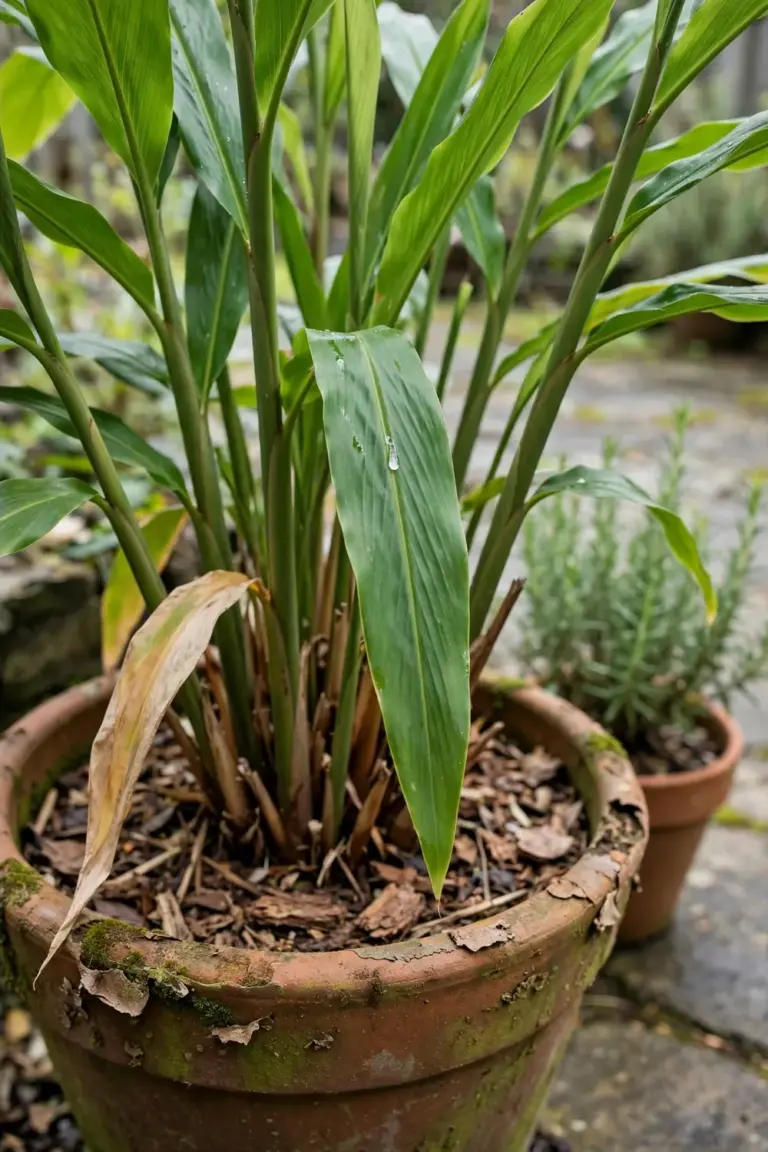
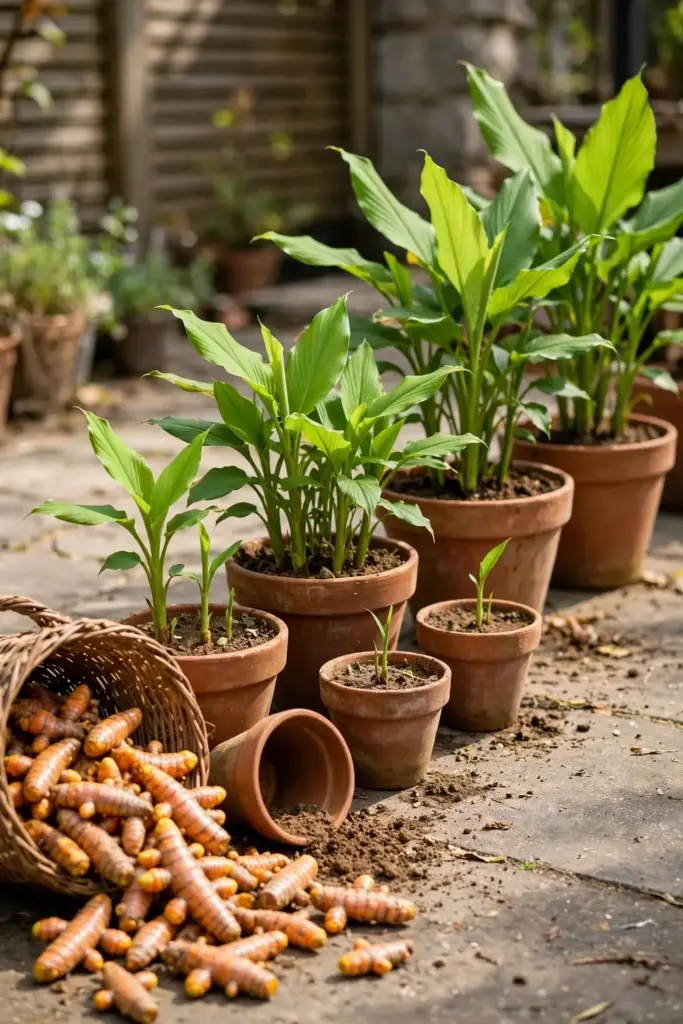
Turmeric grows its crop sideways, near the surface. It needs a wide container, not a deep narrow one. A pot at least 12 inches wide and 12 inches deep holds three rhizome pieces with room for the crop to spread. Fabric grow bags in the 10 to 15 gallon range work well because they breathe and make harvest as simple as dumping the bag.
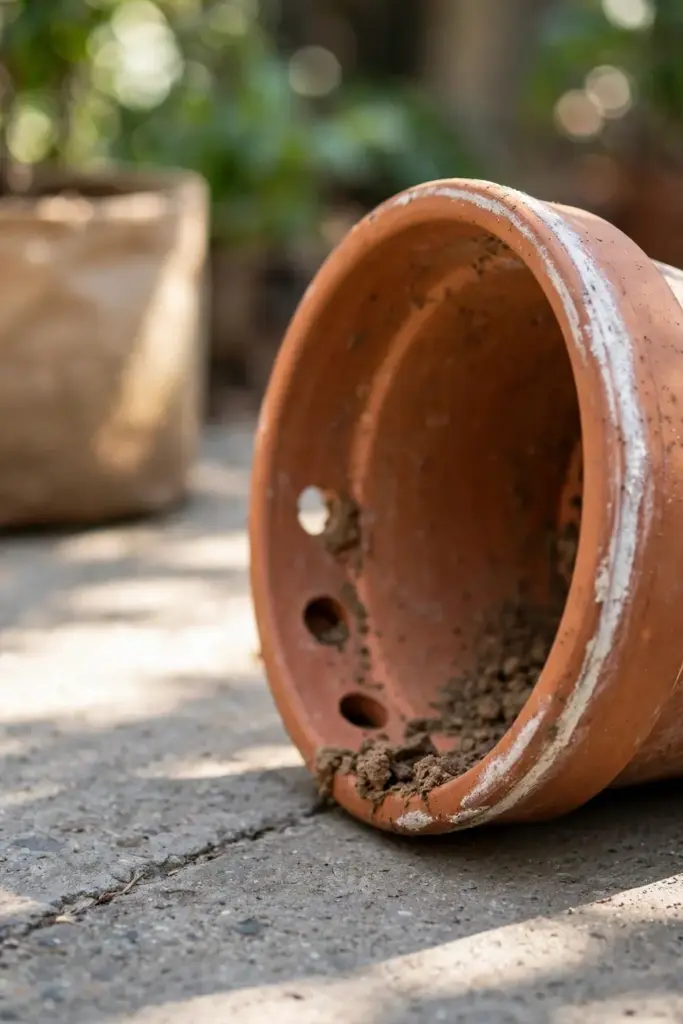
Drainage is non-negotiable. Turmeric rhizomes rot in standing water faster than almost any other container crop, and a pot without drainage holes is a death sentence. Terracotta breathes and helps the mix dry between waterings, which is an advantage for a rot-prone crop. If you use plastic, check the drainage holes are clear and consider adding a layer of coarse perlite at the bottom.
One pot per planting is enough to learn the method. Growers who want a year’s supply plant 8 to 10 pots, staggered a few weeks apart so the harvest spreads out. Start with one pot the first year. The technique transfers directly to turmeric’s relatives, and you will know by harvest whether you want the full row.
Step 5: Mix Soil That Drains and Feeds
Turmeric wants loose, rich, free-draining soil. Heavy garden soil packs down in a pot, holds water against the rhizome, and invites rot. Build the mix from components instead: two parts quality potting soil, one part compost or worm castings, and one part perlite or coarse sand for aeration. The result should feel crumbly and smell earthy, never soggy or dense.
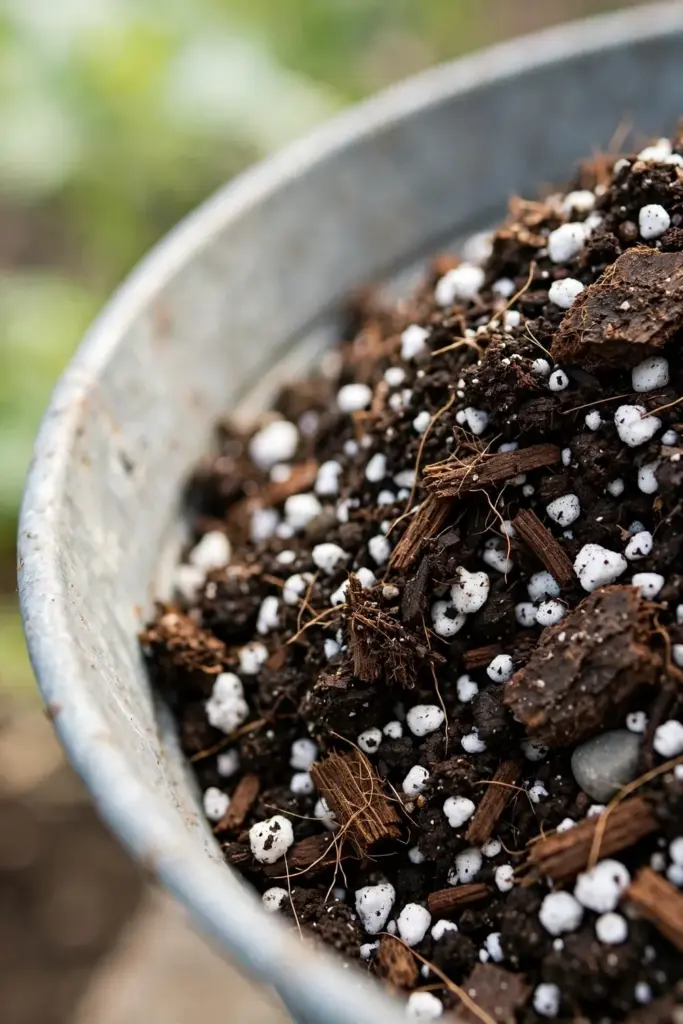
Aim for a slightly acidic to neutral pH, roughly 6.0 to 6.5, which suits most rhizome crops. A handful of finished compost worked into the top few inches at planting gives the young plant a slow-release food source for its first month. Avoid fresh manure or uncomposted amendments, which can burn new roots and introduce pathogens.
Healthy soil structure does more for pest resistance than any spray program. A well-built container mix with living compost supports the microbial community that keeps root pathogens in check, the same foundation principle behind building soil health for pest resistance.
Step 6: Plant the Rhizome 2 to 3 Inches Deep
Lay each rhizome piece horizontally with the buds facing up, 2 to 3 inches below the soil surface, the depth Florida extension trials use for turmeric. Space pieces 4 to 6 inches apart so the developing crop has room to expand without crowding. Cover with mix, firm it gently, and water once to settle the soil around the rhizome.
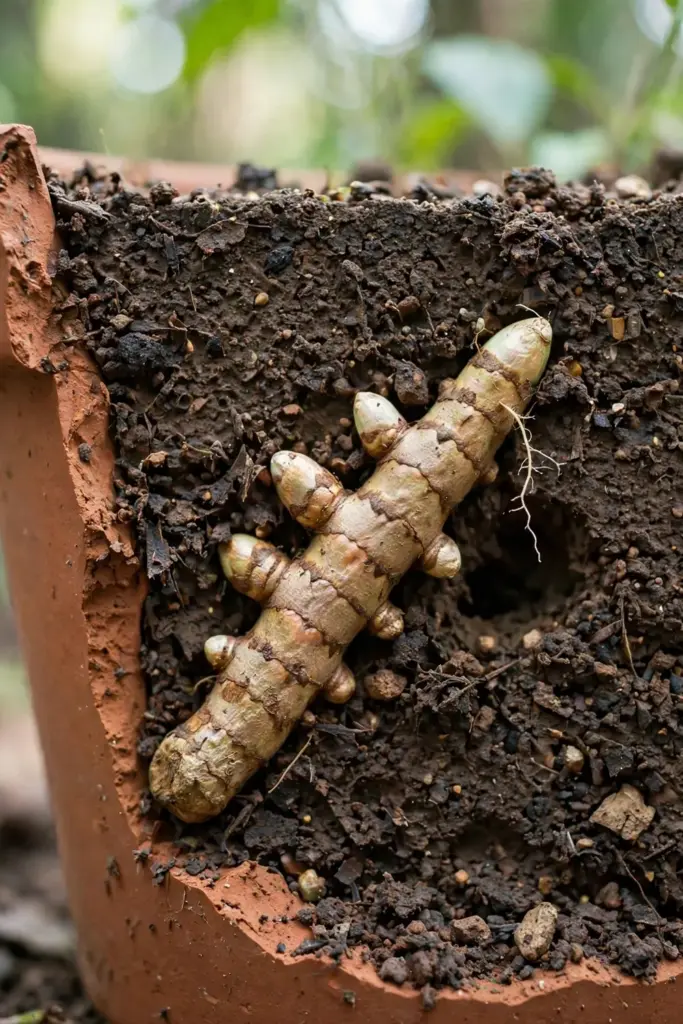
Depth matters more than it looks. Planted too shallow, the rhizome dries out and the buds stall. Planted deeper than 3 inches, the shoot burns energy reaching the surface and emerges weak. Two to 3 inches is the band where moisture stays even and the shoot reaches light quickly. Mark the planting date on the pot with a plant label, because you will need it to count the 8 to 10 month harvest window.
After planting, place the pot somewhere warm, ideally 75 to 85°F. Bottom heat from a seedling heat mat speeds sprouting noticeably. Keep the soil lightly moist but never wet during this phase. Expect shoots in 30 to 60 days. Turmeric is slow to wake, and digging up the rhizome to check progress is the most common way beginners kill it. Leave it alone.
Step 7: Water Without Rotting the Crop
Watering turmeric is a balancing act between its tropical thirst and its hatred of soggy soil. During active growth, water deeply when the top inch of mix feels dry, then let the pot drain fully. In hot weather that may mean watering every two to three days. In cool or cloudy stretches, once a week is plenty.
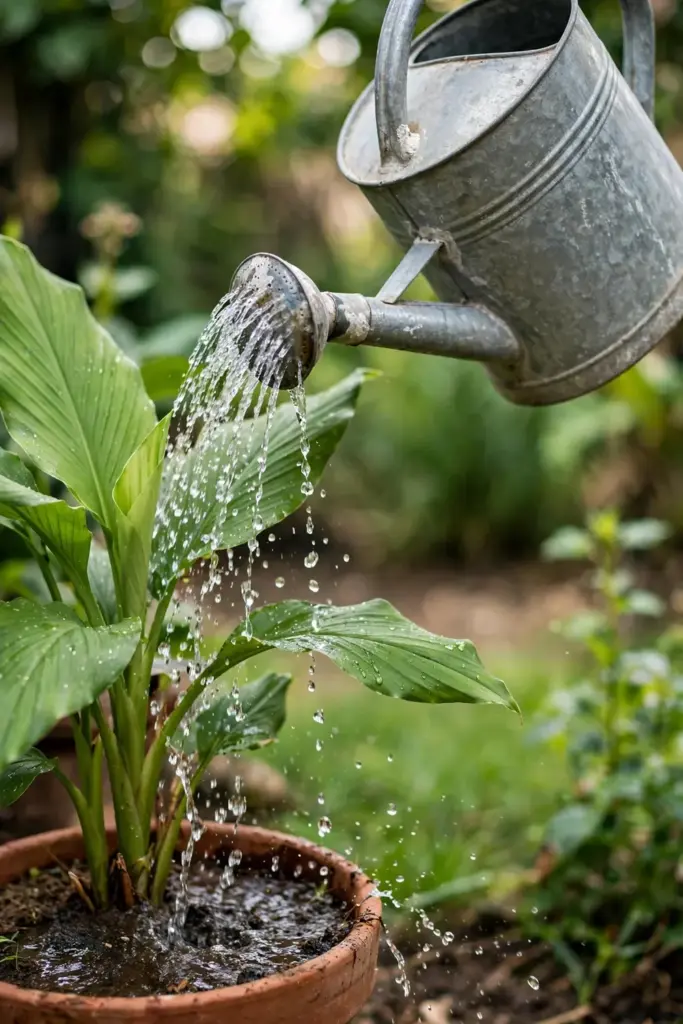
The danger zone is the dormant phase. Before shoots emerge and after the foliage dies back, the rhizome sits in soil with no leaves to pull moisture out. Water sparingly during these windows, just enough to keep the mix from going bone dry. More container turmeric dies from overwatering during dormancy than from any pest or disease.
Mulch the surface with an inch of straw or shredded leaves once shoots are up. Mulch evens out moisture swings, keeps the developing rhizomes near the surface from greening, and feeds the soil as it breaks down. Pull the mulch back slightly from the stems so air circulates at the base.
Step 8: Feed Through the Long Season
Turmeric is a hungry plant with 8 to 10 months of growing ahead of it. Start feeding about a month after shoots emerge, once the plant has three or four leaves and is clearly growing. A balanced liquid fertilizer at half strength every two to three weeks carries it through the season. Organic options like fish emulsion or compost tea work as well as synthetic blends.
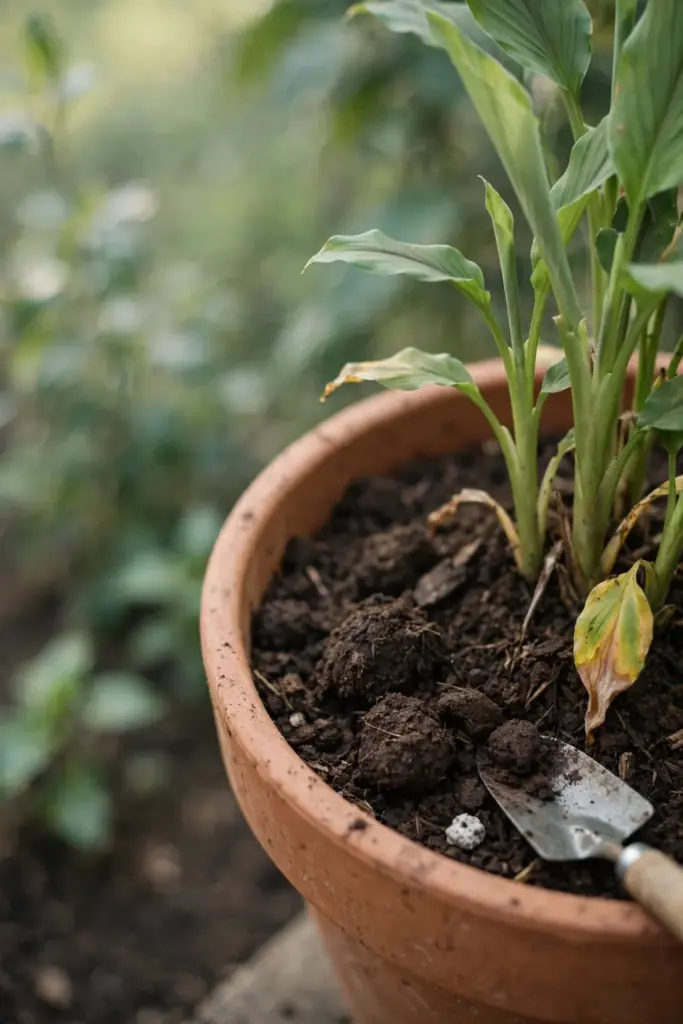
Shift the emphasis as the season progresses. Early growth wants nitrogen for leaves, but by midsummer the plant is building rhizome underground, and potassium matters more. A fertilizer with a higher middle and last number, or a top-dressing of compost plus a potassium-rich amendment like kelp meal, supports the crop phase. Stop feeding entirely when the leaves begin to yellow in fall. The plant is shutting down, and late fertilizer only softens the rhizome.
Step 9: Give It Light and Warmth
Turmeric grows best in bright light with some afternoon shade in hot climates. Indoors, place the pot in your sunniest south or west facing window, or under a grow light running 12 to 14 hours a day. Outdoors, a spot with morning sun and dappled afternoon shade keeps leaves from scorching while giving the plant the heat it craves.
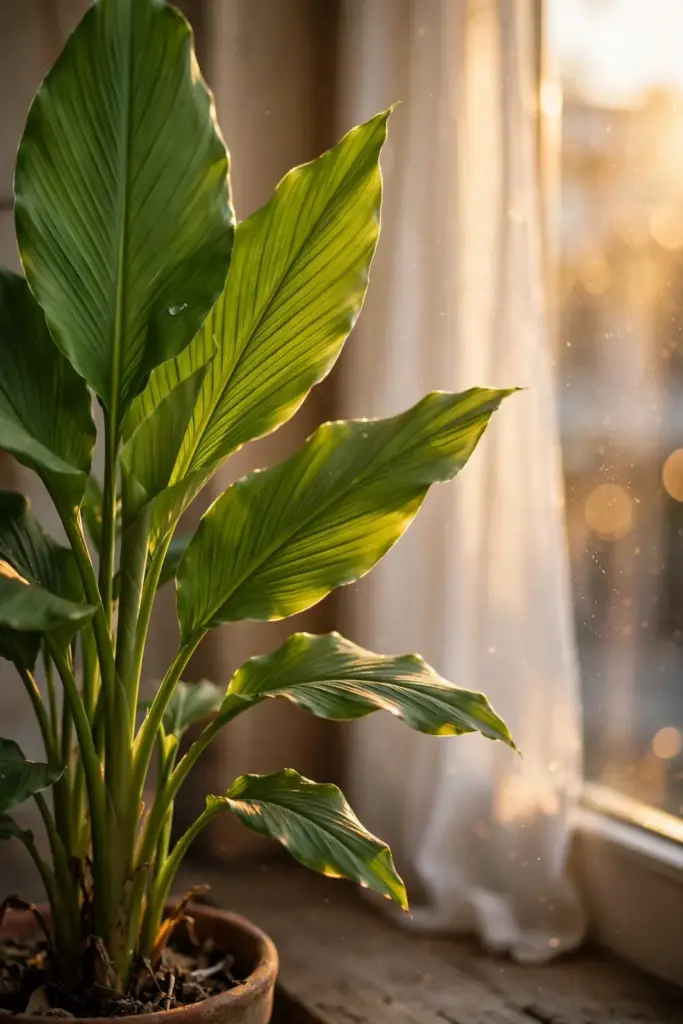
Temperature drives everything. Turmeric grows fastest between 68 and 86°F (20 to 30°C) and stalls below 60°F. If your summers are short, the indoor head start from Step 3 matters more than any other single decision when you grow turmeric in pots for cold climates. A heat mat under the pot in spring and a sheltered warm microclimate in summer can add the equivalent of a full growing zone.
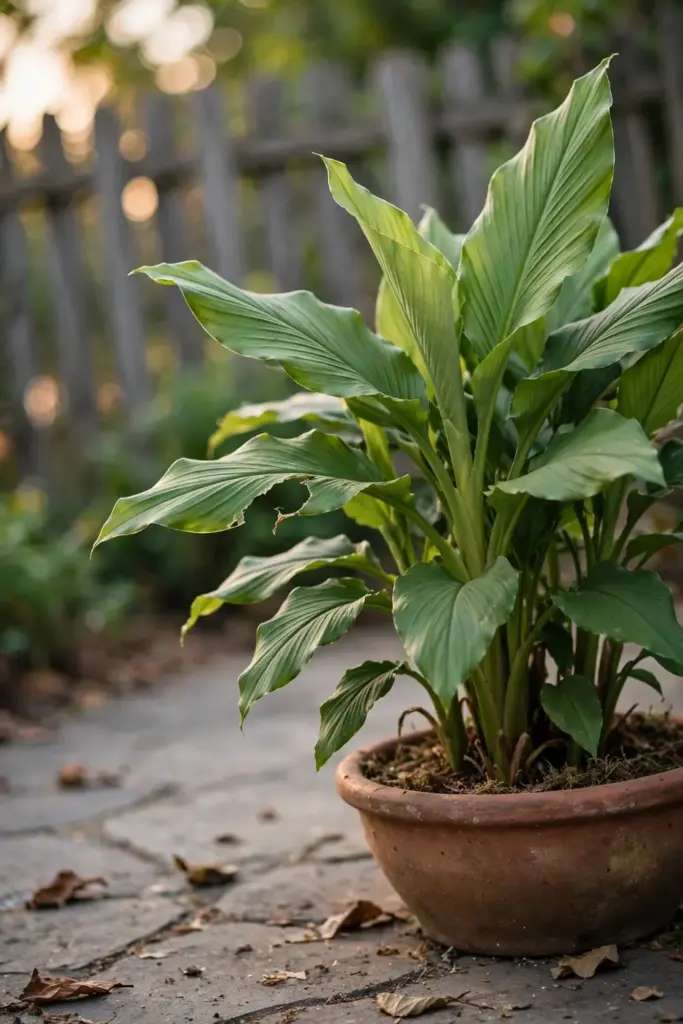
Watch the leaves for feedback. Deep green, upright foliage means the plant is happy. Pale or yellowing leaves in midsummer usually mean hunger or overwatering, not disease. Scorched brown edges mean too much direct afternoon sun. The plant tells you what it needs if you read it weekly.
Step 10: Move the Pot Outside for Summer
Once nights stay above 60°F, the pot can move outdoors for the summer. Harden it off over a week: a few hours of morning sun the first day, longer each day, until it tolerates full exposure. Skipping this step sunburns leaves that grew up behind glass, setting the plant back weeks.
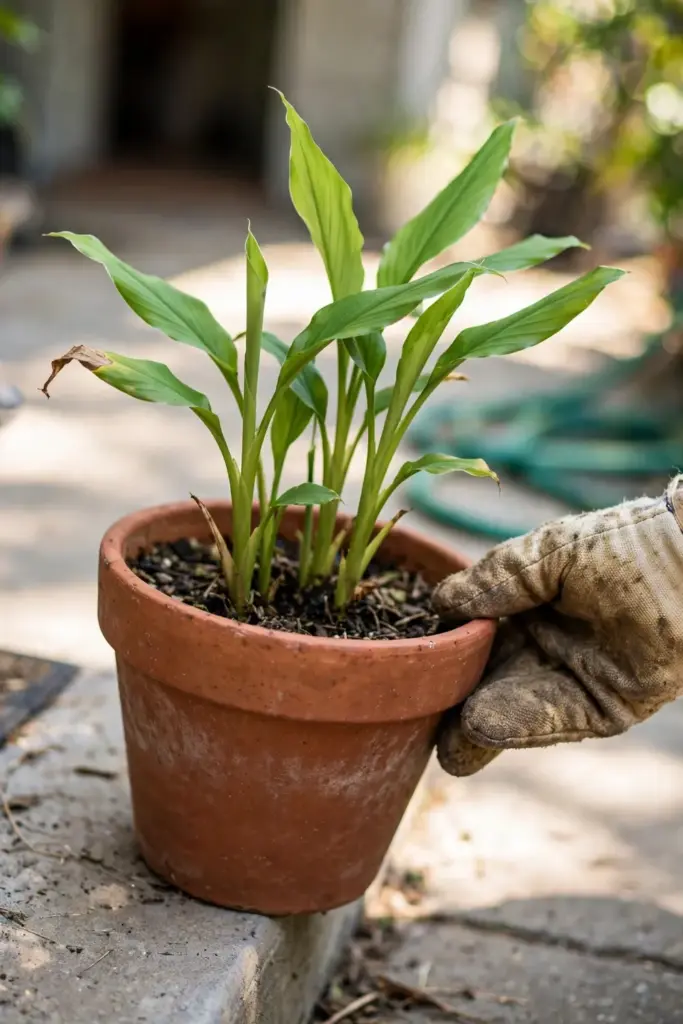
Summer outdoors is when turmeric puts on its real growth, and learning how to grow turmeric in pots means learning to read that summer surge. Rain, warmth, and full air circulation do more than any indoor setup. Place the pot where it gets morning sun and afternoon shade, and check water more often, since wind and sun dry containers fast. This is also when the plant is most attractive to pests, so inspect the undersides of leaves weekly.
Bring the pot back inside well before the first frost, when nights start dipping toward 55°F. Turmeric has zero frost tolerance. The leaves will blacken and collapse at the first freeze, and a frozen rhizome is a dead rhizome. Mark your calendar for two weeks before your average first frost date and treat that as the hard deadline.
Step 11: Overwinter the Pot Indoors
In zones 8 to 11, turmeric can stay in the ground or in an unheated shelter year-round. Everywhere else, the pot comes inside for winter. Place it in the brightest spot you have. Growth will slow dramatically as days shorten, and the foliage may yellow and die back entirely. That is normal dormancy, not failure.
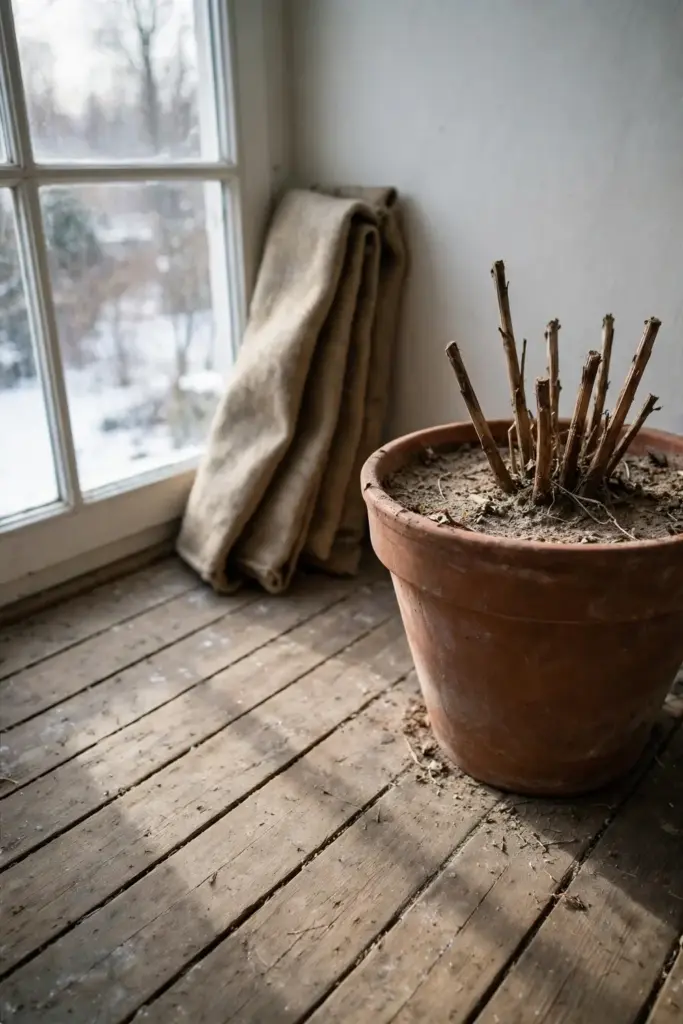
Cut watering back sharply once the leaves die. The rhizome is resting underground and needs the mix barely moist, not wet. A cool room at 60 to 65°F is ideal for dormancy. Resist the urge to dig up the rhizome to check on it. Every disturbance risks breaking the new buds forming for next spring’s growth.
Some growers lift the rhizomes and store them like dahlia tubers, in barely damp peat or sawdust in a cool dark place. That works, but leaving the crop in its pot is simpler and disturbs the roots less. Either way, the goal is the same: keep the rhizome alive, dry, and cool until spring warmth returns.
Step 12: Harvest at 8 to 10 Months
The harvest signal is unmistakable: the leaves yellow and die back on their own, usually 8 to 10 months after planting. That dieback means the plant has finished moving energy into the rhizome. Digging earlier gives you baby turmeric, pale, thin-skinned, and mild. Waiting for full dieback gives you mature rhizomes with deep orange flesh and full flavor.
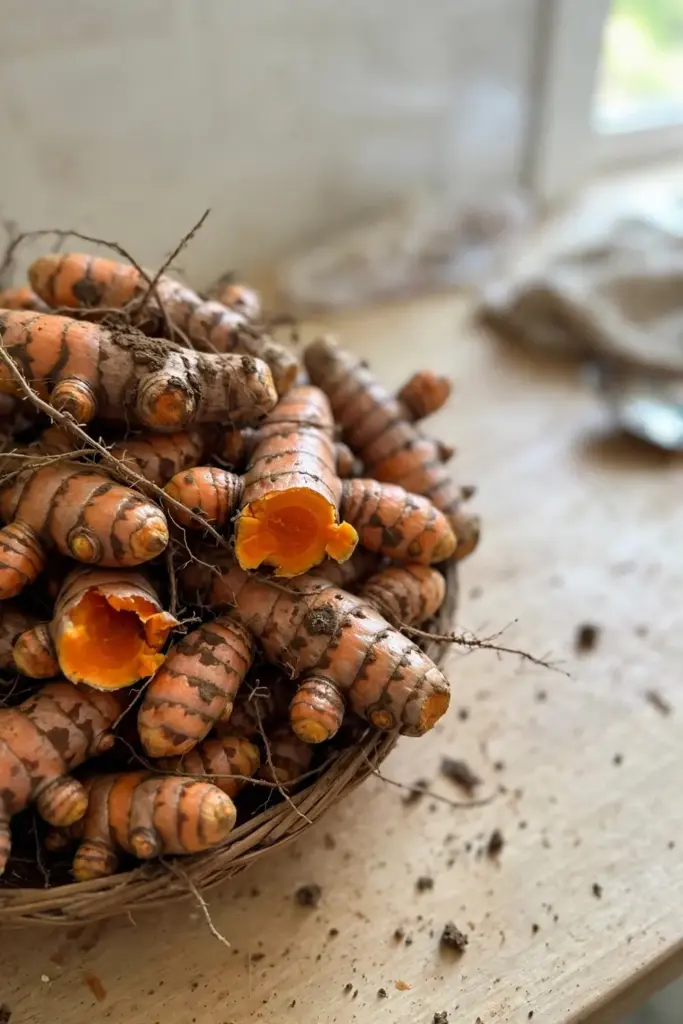
To harvest, tip the pot on its side and slide the whole root ball out, or dump a fabric grow bag onto a tarp. Break the soil apart by hand and pull the rhizome clusters free. A single 12-inch pot typically yields 1 to 2 pounds of fresh rhizome from three planted pieces, a multiplication of roughly 5 to 8 times what you planted. Brush off the soil but do not wash the rhizomes you plan to store.
Save the best pieces for replanting before you use or process the rest. Set aside firm, well-budded fingers the size of your thumb, cure them with the main harvest, and store them for next spring. A self-sustaining cycle needs only that one habit: always replant from your own best rhizomes.
Step 13: Cure and Store the Harvest
Fresh turmeric bruises easily and rots if stored wet. Cure the harvest by spreading the rhizomes in a single layer in a warm, airy, shaded spot for 7 to 10 days. The skins toughen and minor nicks heal over during curing, which dramatically extends storage life. Turn the pieces once or twice so all sides dry evenly.
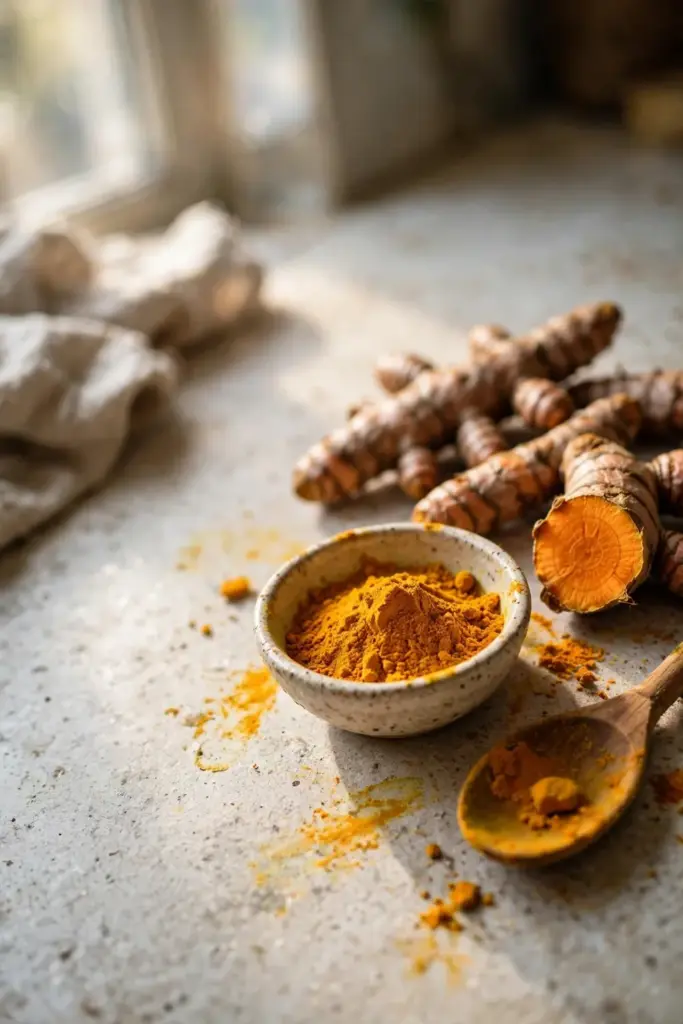
Store cured rhizomes in the refrigerator in a paper bag or wrapped in a dry paper towel inside a vented container. They keep for 3 to 6 months this way. For longer storage, slice the rhizomes thin, dehydrate at 135°F until bone dry and snapping, then grind into powder in a spice grinder. Homemade powder is brighter and more aromatic than anything from a store shelf, and a single pot’s harvest grinds down to several months of cooking supply.
The classic jiang huang preparation dries the rhizome and grinds it, the same powder used across Chinese cooking and traditional practice. If you want to explore that lane, start with culinary amounts in cooking rather than therapeutic doses. Turmeric is a food first, and this guide stays in the growing lane by design.
Common Mistakes and How to Fix Them
Planting in cold soil. Turmeric planted into soil below 68°F sits dormant and often rots before it sprouts. Fix it with a soil thermometer and patience: wait for real warmth, or start the pot indoors on a heat mat.
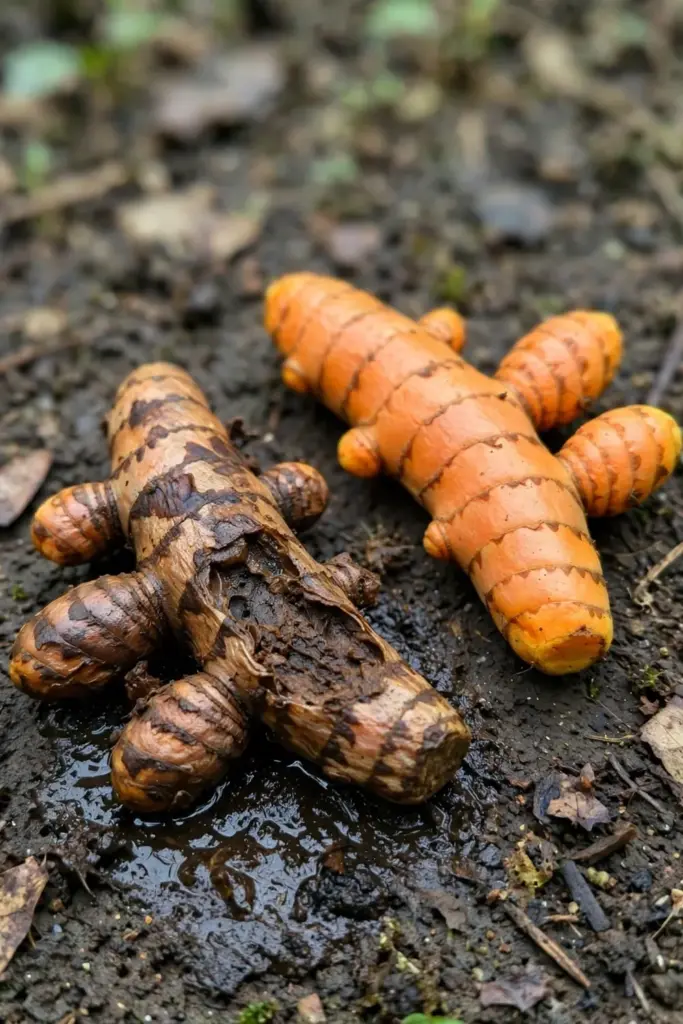
Drowning the rhizome. Daily watering in a pot without drainage turns the rhizome to mush within weeks. Fix it with drainage holes, a perlite-lightened mix, and the finger test: water only when the top inch is dry.
Digging up the rhizome to check progress. Turmeric takes 30 to 60 days to sprout, and impatient digging breaks the fragile new roots. Fix it with a plant label showing the planting date and a rule against disturbing the pot for two months.
Harvesting too early. Digging at 4 months gives baby turmeric. Edible, but a fraction of the mature yield. Fix it by waiting for natural leaf dieback. That is the plant’s own signal that the crop is finished.
Skipping the cure. Fresh-dug rhizomes stored wet mold within days, so give the harvest 7 to 10 days of air-drying in shade until the skins toughen and minor nicks heal over. Only then does it belong in the refrigerator.
Letting frost hit the pot. One hard freeze kills the rhizome outright. Fix it with a calendar reminder two weeks before your average first frost to bring the pot inside.
Planting ginger by mistake. The produce bins sit side by side and the rhizomes look alike to a beginner. Fix it by checking the label for Curcuma longa and cutting a small piece: turmeric flesh is unmistakably orange.
Pests and Diseases in Containers
Container turmeric has fewer pest problems than most garden crops, but it is not immune. Spider mites are the main indoor pest, thriving in dry heated air and stippling the leaves with tiny yellow dots. Rinse the undersides of leaves with a strong spray of water weekly, and raise humidity with a tray of water near the pot. Fungus gnats signal chronically wet soil; let the surface dry and apply yellow sticky traps.
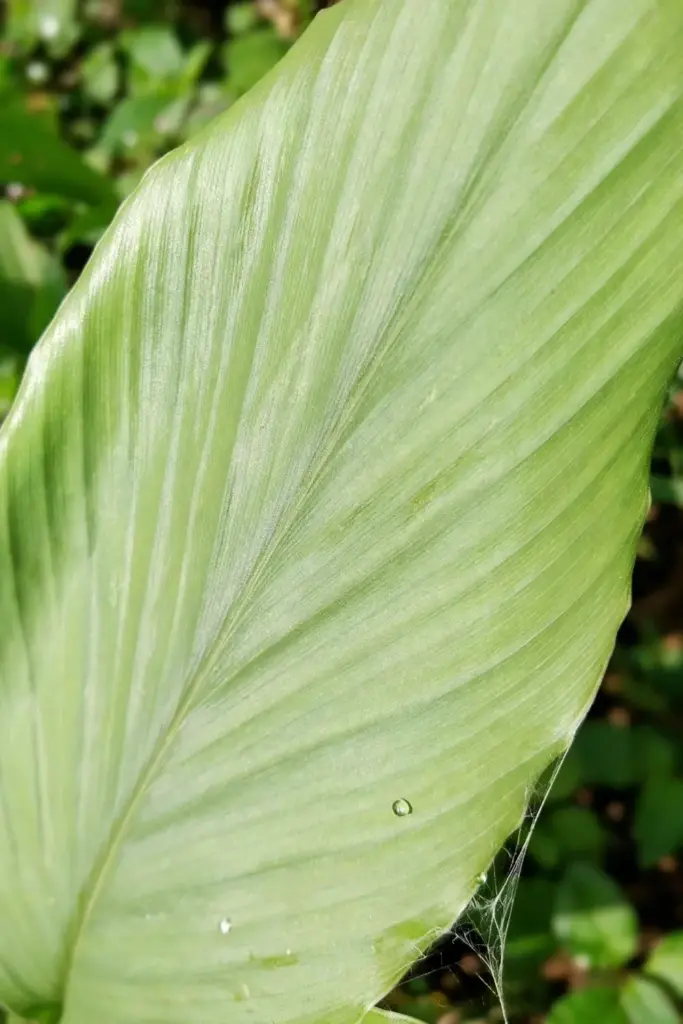
Rhizome rot from Pythium or Fusarium is the serious disease, and it is almost always a water problem, not a pathogen problem. Cold, saturated soil kills more turmeric than any fungus. Prevention is the whole treatment: drainage, perlite in the mix, and restrained watering during dormancy. Discard any rhizome piece that turns soft and brown; it will not recover.
Leaf spot shows up as brown lesions on the foliage in humid summers. Cosmetic on a rhizome crop. It rarely touches the harvest. Improve air circulation, avoid overhead watering late in the day, and remove the worst leaves. No spray program is needed for a home pot.
Troubleshooting Slow or Failed Growth
No shoots after 60 days. The usual causes are cold soil, a treated rhizome, or rot. Check the soil temperature first. If it never held 68°F, warmth is the fix. If the rhizome was conventional grocery stock, try organic next time. Gently unearth one piece: firm and unchanged means wait longer; soft and brown means rot, and the batch is lost.
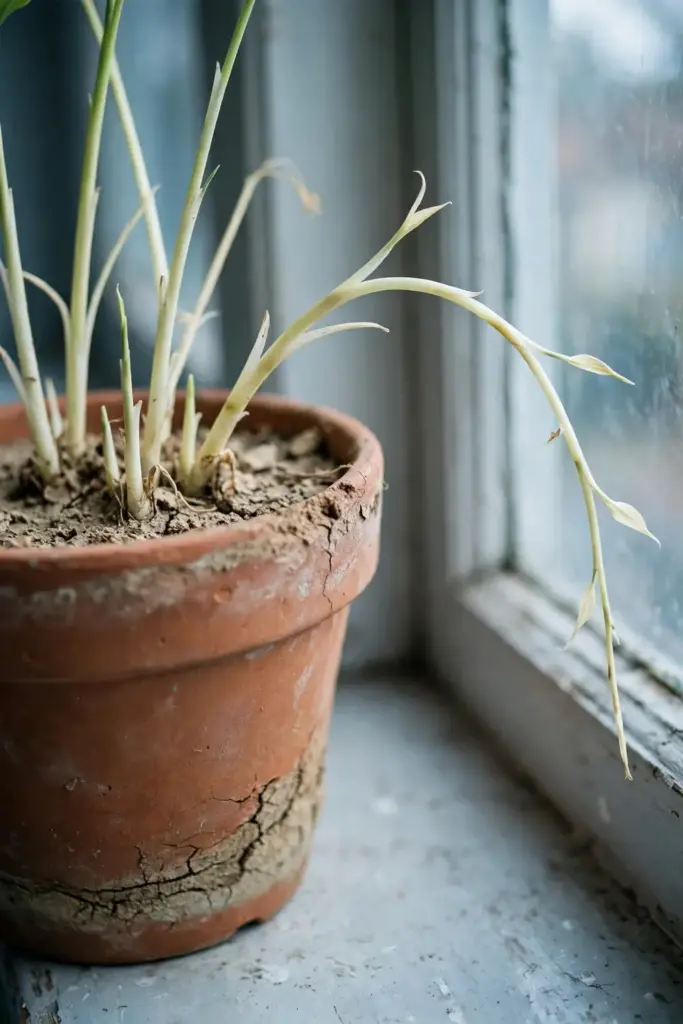
Leaves emerge then stall. The plant sprouted but stopped growing, usually from cold nights or hunger. Move the pot to the warmest spot available and start the feeding schedule from Step 8. A stalled plant in June still has time to produce a crop by winter.
Yellowing leaves in midsummer. Hunger or overwatering, in that order. Feed at the next scheduled interval. Then check whether the pot drains freely after watering. If water pools on the surface, the mix has compacted. Work perlite in.
Thin, pale shoots. Low light. The plant is stretching for sun it cannot find. Move it to a brighter window or add a grow light. Pale shoots still produce a crop if light improves, just a smaller one.
Rhizome is all skin, no flesh. Harvested too early, or grown too cool. Next season, start earlier indoors. Wait for full leaf dieback before digging. The last two months of the season do most of the bulking.
Frequently Asked Questions
Yes. Grocery store turmeric is the same Curcuma longa plant as nursery stock and sprouts the same way. Choose firm, plump pieces with visible buds and soak them 24 hours before planting. Organic rhizomes sprout more reliably because conventional stock is sometimes treated with sprout inhibitors. Plant 2 to 3 inches deep in warm soil and expect shoots in 30 to 60 days.
Eight to 10 months from planting to mature harvest. The plant signals readiness when its leaves yellow and die back naturally, which means it has finished moving energy into the rhizome. Digging at 4 to 6 months gives baby turmeric, which is edible and mild but a fraction of the mature yield. Count backward from your first frost to plan the season.
In zones 8 to 11, yes, it returns from the rhizome left in the ground like a perennial. In colder zones, the pot comes indoors for winter and the same rhizome regrows the following spring, so one planting can produce for years. Either way, save the best fingers from each harvest for replanting and the cycle continues indefinitely.
Yes, and many cold-climate growers do exactly that. Give it your brightest window or a grow light at 12 to 14 hours daily, keep temperatures above 60°F, and accept a smaller harvest than an outdoor summer would give. The plant’s broad leaves are attractive enough to earn their windowsill space even before the rhizome harvest.
Four to 6 plants supply fresh turmeric for regular cooking through the season, while 8 to 10 plants produce enough for a full year’s dried powder plus replanting stock. A 12-inch pot holds about three rhizome pieces, so plan three to four pots for a year’s supply. Start with one pot the first year to learn the method.
If you cook with it regularly, yes. Homegrown rhizome is fresher and more aromatic than store powder, and the plant asks for little beyond warmth, water, and patience. The honest cost is time: 8 to 10 months per crop. Growers who want turmeric fast should buy it; growers who enjoy the process get a crop no store can match.
Where to Go From Here
Start one 12-inch pot this spring and the method will teach itself. Once you know how to grow turmeric in pots, the routine is simple. Soak organic rhizomes, plant them 2 to 3 inches deep in a free-draining mix, keep the pot warm, and count the months. When the leaves die back on their own, tip the pot and see what 8 to 10 months of patience looks like in orange.
The container skills transfer directly. The same wide-pot logic, drainage discipline, and indoor-overwinter routine suit ginger and other rhizome crops, and the fall planter ideas guide shows how to style productive pots through the cooler months. For your next herb project, the fall herbs to plant guide maps companions that share turmeric’s calendar. One pot this year, a row of them the next, and a spice jar that never needs the store.