
Pestalotiopsis leaf spot follows damage and wet foliage. The 8 strategies below keep the fungus off conifers and palms through sanitation, dry leaves, and stress repair, starting with the dead tissue that feeds it.
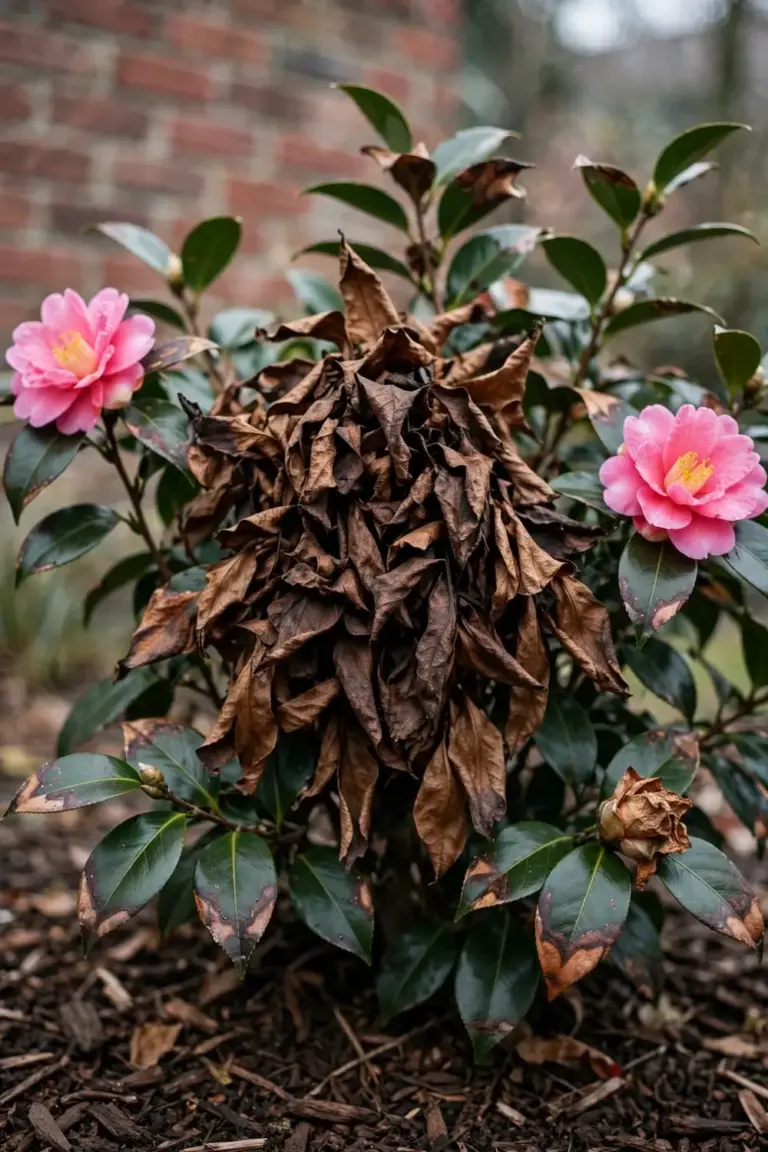
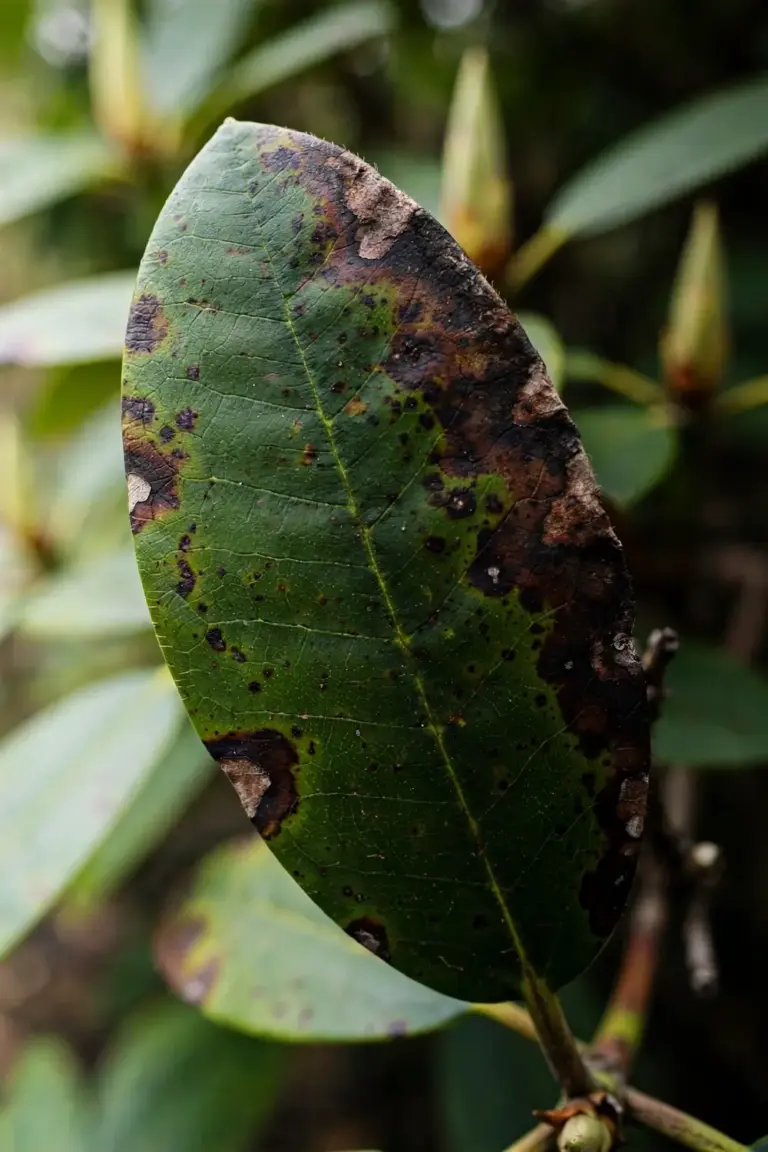
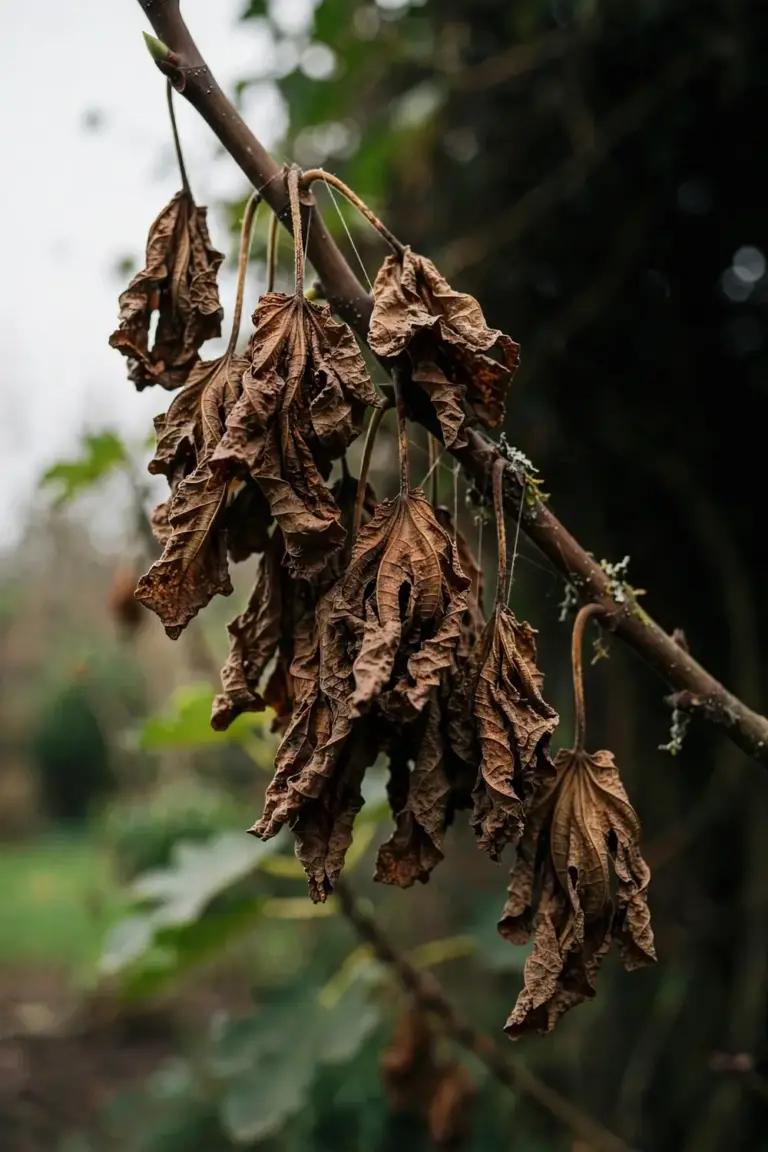
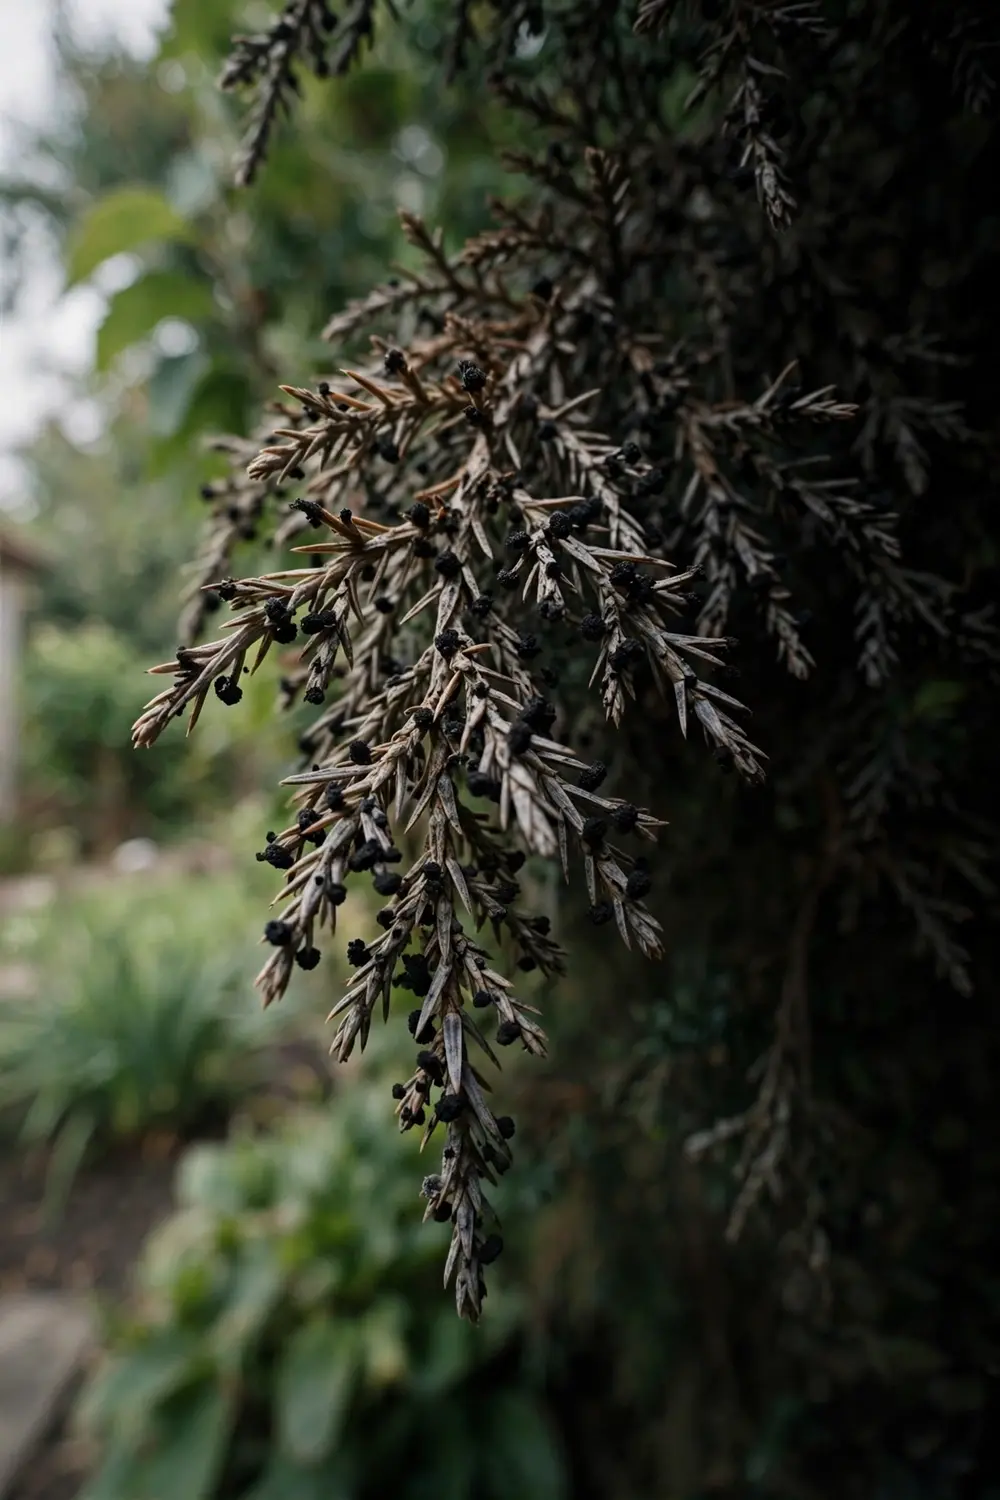
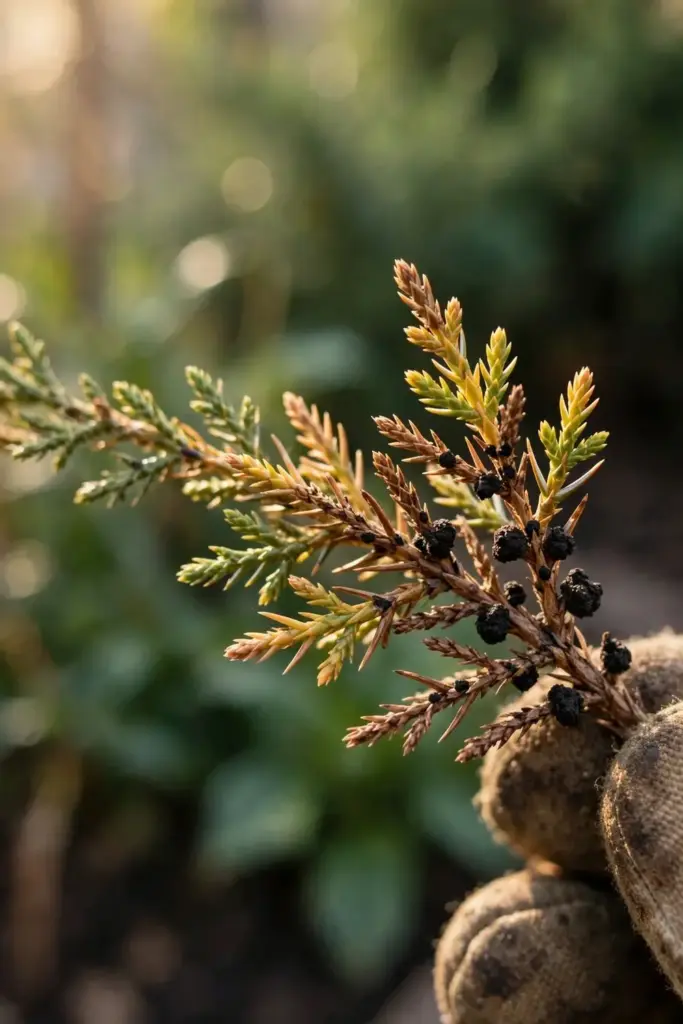
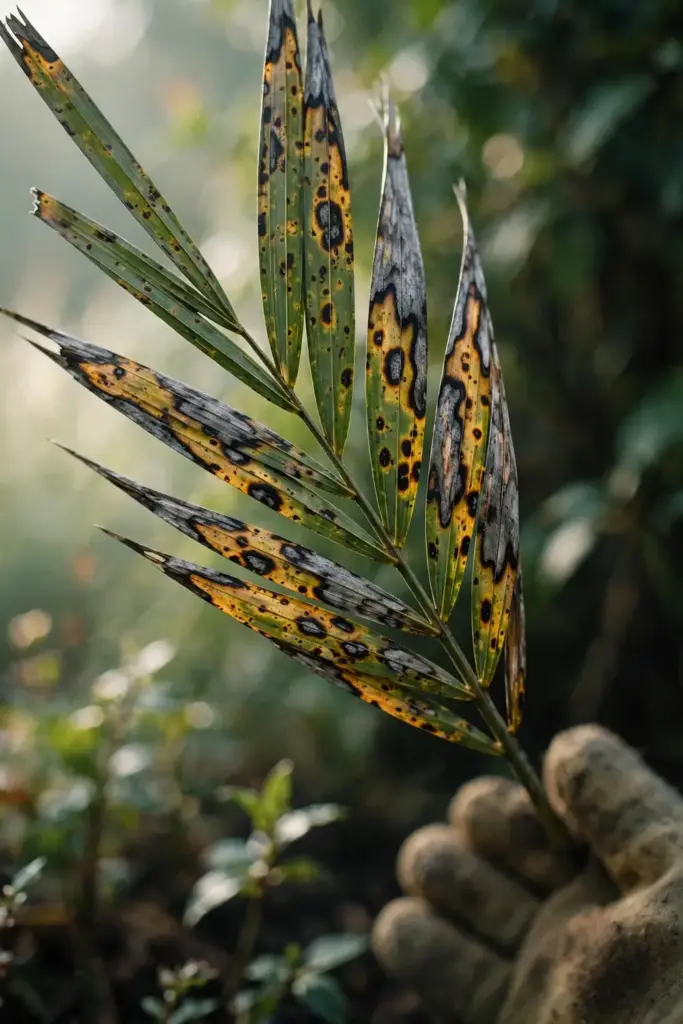
The signature on conifers is a branch tip that turns brown or gray, with black sooty fruiting structures on the dead tissue. On palms, leaf spots run yellow, brown, and black, then gray with a black border. The fungus shows up after freeze, scorch, or a wound, not on healthy growth.
The rest of this page runs the order a gardener should follow. Understand the fungus first, spot it on conifers and palms, then work the 8 strategies from pruning to buying healthy stock. I have learned that the stressed plant beside the healthy one is the one that shows spots first.
What Pestalotiopsis Leaf Spot Actually Is
Pestalotiopsis leaf spot is a fungal disease of conifers, palms, and other ornamentals. Fungi in the Pestalotiopsis group cause Pestalotiopsis leaf spot.
The honest frame comes first. Pestalotiopsis is primarily a secondary pathogen. The University of Georgia Plant Disease Laboratory describes Pestalotia, the related umbrella name, as primarily a secondary pathogen, saprophytic on dead and dying tissues, and weakly parasitic, infecting wounds under moist conditions. The fungus follows damage. It does not hunt healthy plants. A conifer that shows Pestalotiopsis spots usually carries an earlier injury: freeze damage, sun scorch, a pruning wound, drought stress, or a nutrient deficiency that weakened the tissue.
That profile sets the whole article. The job is not to kill the fungus. The job is to remove the damage it feeds on, dry the foliage it needs, and fix the stress that opened the door. A gardener who sprays and skips the stress repair treats the follower and keeps the cause.
The fungus appears on a long host list. Conifers carry the home-garden flagship cases: arborvitae, juniper, and Leyland cypress with tip blight. Palms carry the warm-region cases, with leaf spots and petiole blight. Fine Gardening names conifers and palms as the plants most likely impacted in home gardens, and notes that the disease is severe in young plants while usually not damaging to mature plants. Other hosts, from strawberry to rhododendron, get one-line mentions here. This article stays on conifers and palms.
Do not confuse this article with the taxonomy of the complex. A companion article governs the naming of the Pestalotia, Pestalotiopsis, and Neopestalotiopsis group, including spore shapes and the history of the names. This article is the prevention and care companion. It keeps the fungus off the reader’s plants. It does not re-litigate the names.
The fungus spreads in wet weather. Spores wash from fruiting structures on dead tissue onto nearby healthy tissue. Splashing water carries them. Wind-blown rain carries them further. Wet leaves give spores the hours they need to germinate and enter through a wound. Dry leaves break that chain. Every strategy below either removes a spore source, dries the foliage, or closes the wound.
How to Spot Pestalotiopsis on Conifers and Palms
| Host | Signs | First Action |
|---|---|---|
| Conifer (arborvitae, juniper, Leyland cypress) | Branch tips brown or gray, black sooty fruiting structures on dead tissue | Prune out dead tissue in dry weather, bag and trash |
| Palm | Leaf spots yellow, brown, black, then gray with a black border | Weigh pruning against nutrient loss, fix nutrition first |
| Any host after freeze or scorch | Damage first, fungus second | Fix the stress, then prune and sanitize |
Brown or gray branch tips on a conifer point at tip blight. Yellow, brown, and black spots with a gray center and a black border point at leaf spot on a palm.
On conifers, the damage starts at branch tips. Needles yellow, then brown, from the tip inward. Black blister-like spore structures form on the dead tissue. Fine Gardening describes needles that yellow and then brown from branch tips, with black blister-like spore structures. The University of Georgia lab adds the diagnostic detail for a microscope: conidia with three dark center cells, clear end cells, and two or more whisker-like appendages. A home gardener will not see that detail. A lab will.
On palms, the spots start yellow or brown, then darken, then turn gray with a black border. The University of Florida IFAS Extension palm fact sheet describes leaf spots that stay infected for the life of the leaf. That permanence matters. A spotted palm leaf never heals. The strategy is to protect the new leaves that have not yet emerged, not to rescue the spotted ones.
Check for prior damage before blaming the fungus. A conifer with tip blight after a hard freeze likely carries freeze damage that the fungus followed. A palm with spots after a cold snap or a nutrient deficiency likely carries the same story. Look for the pattern: damage first, fungus second. A plant with no prior damage and sudden spots needs a closer look and possibly a lab sample.
Field identification is presumptive. Brown tips have many causes, and tip-blight lookalikes include Phomopsis tip blight, Diplodia tip blight, winter injury, and drought scorch. Illinois Extension notes that Phomopsis symptoms are easily confused with other conditions and recommends lab testing for a definitive diagnosis. This article builds no visual differential table, because the sources do not support field separation. Brown tips are a prompt to act: prune, sanitize, dry the foliage, fix the stress. The lab names the fungus where it matters.
Check the whole plant, not one branch. Pestalotiopsis on one branch tip of a juniper may stay local. Pestalotiopsis across a whole arborvitae hedge, after a freeze, points at a hedge-wide stress event. The spread of symptoms across the plant tells the gardener whether the problem is one wound or one winter.
Strategy 1: Prune Out Dead Tissue in Dry Weather and Destroy It
Prune out dead and diseased tissue in dry weather, and destroy it. Never compost diseased prunings.
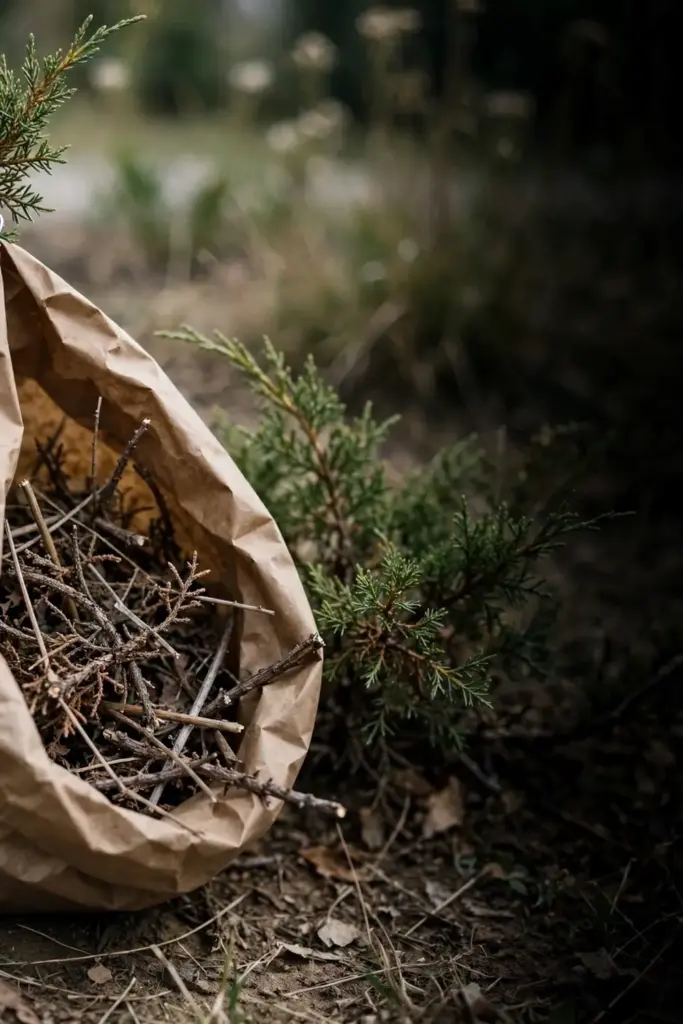
Fine Gardening gives this as the core home response: prune dead and diseased tissue in dry weather, and disinfect tools after the cut. Dry weather matters because wet foliage spreads spores on blades, hands, and clothing. A dry day keeps the spores where they are while the cut removes them.
Cut back to healthy tissue. A conifer branch tip that browned halfway earns a cut below the last brown needle, into green growth. A palm frond with spots across most of its length earns removal of the whole frond. Cut at the natural junction where the frond or branch meets its parent stem. Do not leave stubs, which seldom close over and give the fungus a fresh wound to colonize.
Bag the prunings as they come off. Drop each cutting straight into a bag or onto a tarp. Do not let cuttings fall onto healthy plants or onto the soil under the plant. A cutting left on the ground sheds spores onto the next rain. A cutting bagged and trashed leaves the garden. The same bag-first habit governs every disease article on this site, and it governs here.
Weigh the palm-leaf trade-off before cutting palm fronds. The University of Florida IFAS Extension palm fact sheet warns that pruning diseased palm leaves in the landscape can make nutrient deficiency worse. A palm with a nutrient deficiency loses nutrients stored in its leaves when those leaves are cut. The reader must weigh which problem debilitates the palm more: the spots or the deficiency. Fixing nutrition often prevents disease on its own, and that repair comes first on a deficient palm.
Strategy 2: Disinfect Tools Between Every Cut
Disinfect pruning tools between every cut. A dirty blade carries spores from a diseased branch to a healthy one.
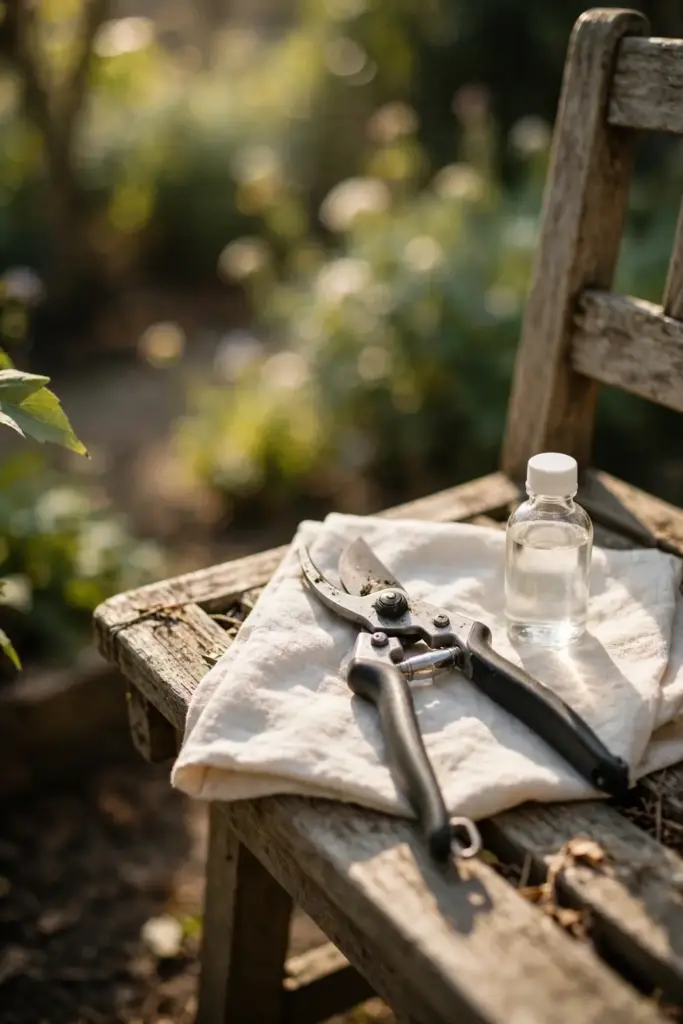
Fine Gardening gives the two standard options: 70 percent rubbing alcohol or 10 percent bleach solution, following the sanitation-first approach in the University of Florida IFAS Extension palm fact sheet. Dip the blades, wipe them, and cut again. Keep the disinfectant bucket within arm’s reach of the plant. A bucket left at the shed does not get used, and a blade that cuts five branches between dips moves spores five times.
Bleach corrodes steel fast. Wash the blades with soap and water after the last cut, dry them, and oil them before storage. Alcohol is gentler on steel and dries fast, which makes it the better choice for a long pruning session with many cuts. Either option works when used between cuts. Neither works when used once at the end of the job.
Disinfect after the job too, and wash gloves. Spores ride on glove fabric, on saw handles, and on the tarp that caught the prunings. Wash gloves with soap and water. Rinse the tarp. Let tools dry before storage. A clean tool kit is the cheapest disease prevention a gardener owns.
Do not prune through fruiting structures and keep cutting. Black blister-like structures on dead conifer tissue are spore factories. A blade that passes through them loads up with spores. A blade that passes through them needs disinfecting before the next cut, without exception. Slow down at the worst branches. The worst branches are the ones that load the blade.
Strategy 3: Keep Foliage Dry With Base Watering
Keep foliage dry. Water at the base, in the morning, and never with an overhead sprinkler that soaks the canopy.
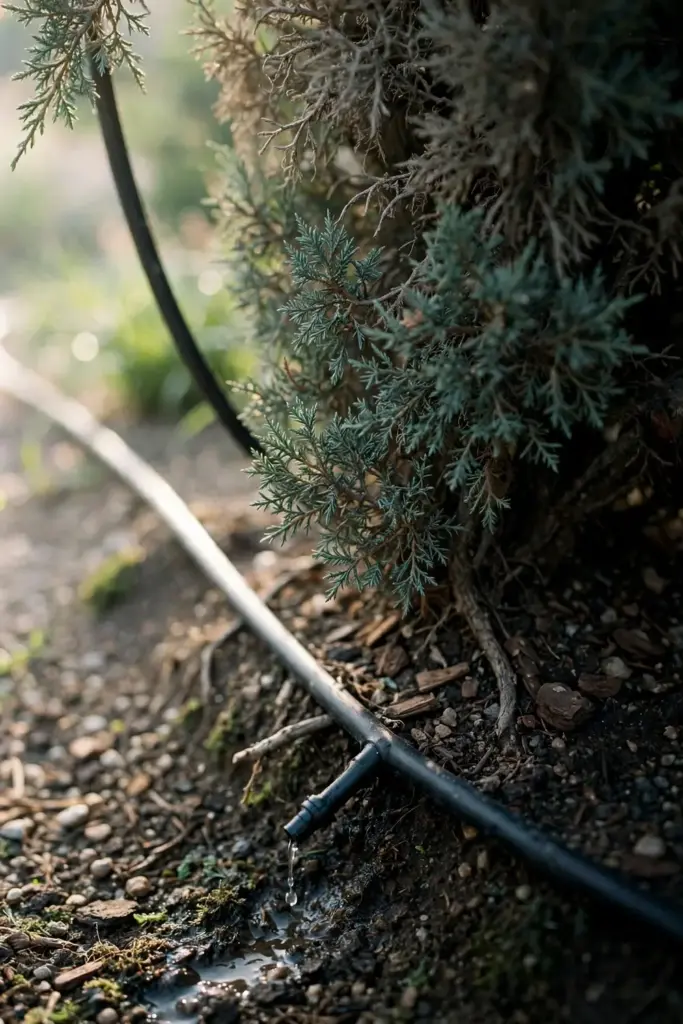
Fine Gardening gives the watering rule for conifers and palms: drip irrigation, water before noon, and no sprinkler soaking the foliage. The University of Florida IFAS Extension palm fact sheet agrees: eliminate overhead irrigation, or irrigate early in the morning so leaves dry fast. Wet leaves give spores the hours they need to germinate. Dry leaves break the chain.
Use drip or soaker watering at the root zone. Lay drip line or a soaker hose around the plant, not against the trunk. Water slowly so the soil absorbs it without runoff. Water in the morning so any splash that reaches low foliage dries during the day. A morning base watering that splashes a little beats an evening overhead watering that soaks the canopy overnight.
Fix sprinklers that hit conifers and palms. A lawn sprinkler that arcs across an arborvitae hedge every evening is an overhead irrigation system by accident. Redirect the head, shorten the arc, or move the sprinkler. A hedge that gets sprayed every night will show tip blight no matter how well the rest of the routine runs.
Reduce leaf wetness after rain too. Rain cannot be controlled, but its aftermath can. An open canopy dries fast after rain. A mulched, well-drained root zone does not pond water under the plant. A plant with space around it catches wind that dries the foliage. The spacing in Strategy 4 and the watering in Strategy 3 work together. One dries the canopy from inside. The other stops wetting it from above.
Strategy 4: Open the Canopy for Airflow
Open the canopy for airflow. Space plants so air moves through them, and thin dense growth so leaves dry fast.
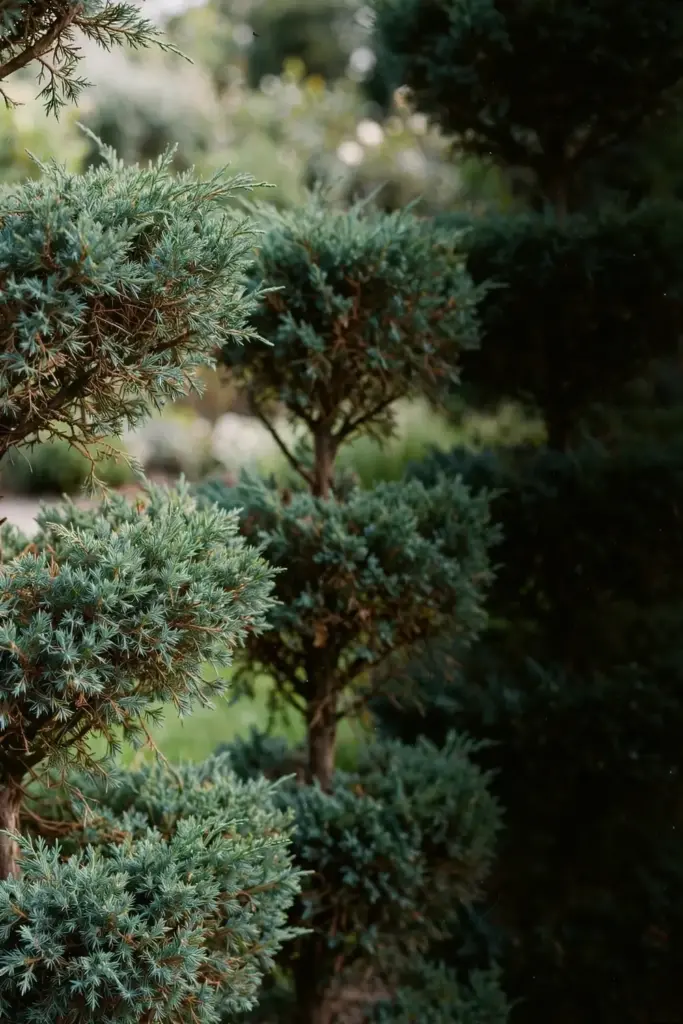
Fine Gardening names thinning for airflow as part of the home playbook for conifer tip blight. The University of Florida IFAS Extension palm fact sheet gives the same advice for palms: increase spacing and airflow. Dense growth holds moisture on foliage long after rain stops. Open growth dries fast. The difference between a hedge that stays wet until noon and a hedge that dries by 9 in the morning is often a few inches of space and a few thinning cuts.
Thin a dense conifer by removing whole small branches at their junctions, not by shearing the outside. Shearing stimulates a flush of soft, dense growth on the surface, and that flush stays wet and catches disease first. Thinning cuts remove entire branches and open real air channels through the plant. The plant keeps its natural shape. The interior dries.
Space new plantings for their mature size. A hedge planted tight for instant privacy pays for that privacy with wet foliage and tip blight. Read the mature width on the nursery tag, and plant at that spacing. A hedge with air between plants at maturity needs less thinning, dries faster, and shows fewer spots.
Prune with the airflow goal in mind at every session. Each cut should open a channel for air or light. If a cut does not improve air movement, it is decoration, not disease prevention. The guide to spring pruning techniques covers clean cut placement for garden plants in full.
Strategy 5: Fix the Stress First: Nutrition, Water, and Winter Damage
Fix the underlying stress first. Correct nutrition, fix watering, and protect plants from freeze and winter damage.
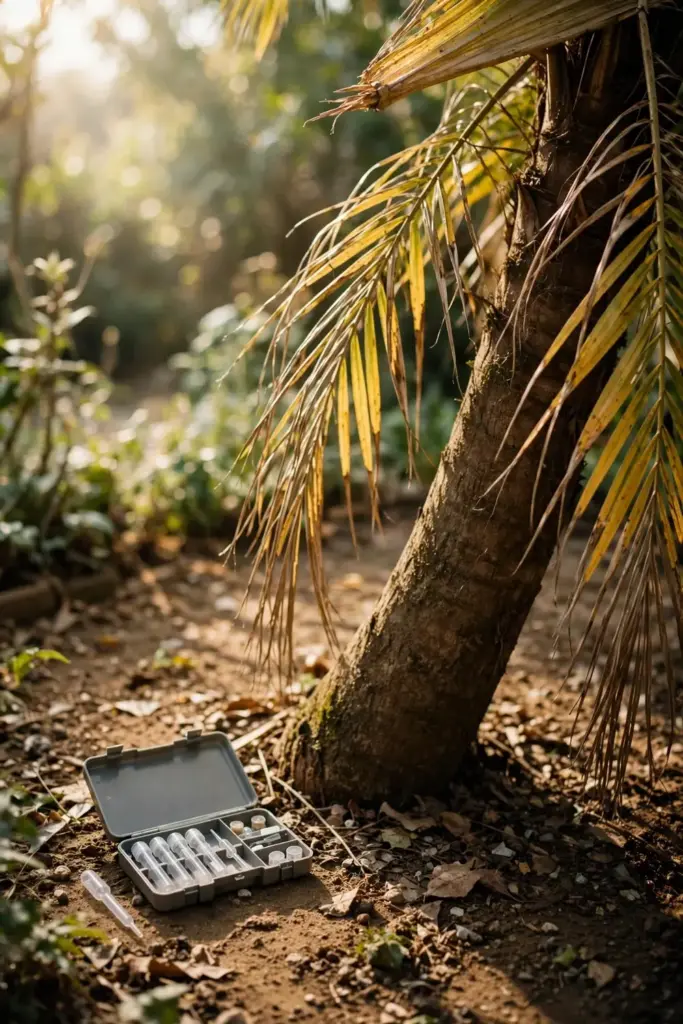
The University of Florida IFAS Extension palm fact sheet makes the nutrition link explicit. Nutrient deficiency creates the wound that lets the fungus in, and fixing nutrition often prevents disease on its own. A palm short on potassium shows yellowing and weak tissue that the fungus colonizes. A palm fed to a soil test grows sturdy tissue that resists it. Feed to the test result, not to a guess. A soil test stops the guesswork that leads to overfeeding or underfeeding.
Water with discipline. Overwatering suffocates roots and invites rot. Underwatering stresses the plant and weakens tissue. Both open the door. Water deeply and infrequently, and let the soil surface dry between waterings. Check soil moisture with a finger or a probe before watering, not on a calendar schedule. A plant watered to its actual need grows the steady tissue that resists infection.
Protect conifers from winter damage. Fine Gardening notes that conifers stressed after winter, or sitting in wet soil, carry the most risk. Arborvitae and juniper show up most often in lab samples. Wrap a young, exposed conifer in burlap for its first winter in a cold, windy site. Improve drainage where soil stays wet through winter. Wet soil plus freeze is the combination that produces the most spring tip blight.
Treat the stress, not just the spots. A gardener who prunes spots and ignores the deficiency will prune spots again next season. A gardener who fixes the deficiency, the drainage, and the watering, and then prunes, breaks the cycle. The fungus is the follower. The stress is the cause. Treat the cause.
Strategy 6: Avoid Wounds and Careless Tool Injury
Avoid wounds. No careless tool injury, no shearing that stimulates soft susceptible growth, no bark damage from mowers and trimmers.
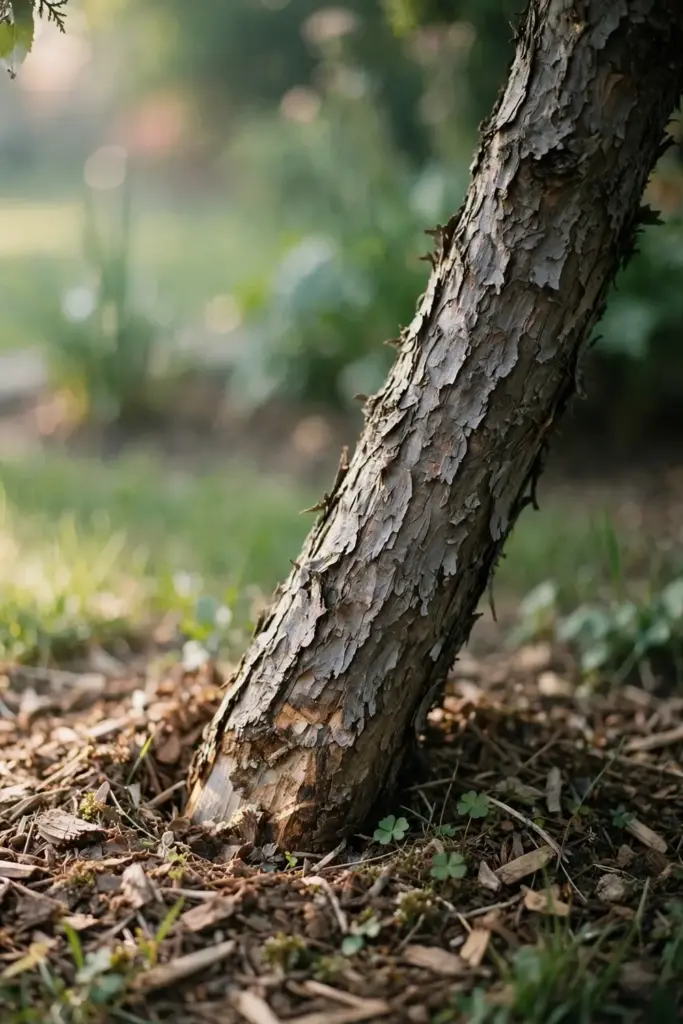
The University of Georgia lab description carries the wound warning: Pestalotia is weakly parasitic and infects wounds under moist conditions. Every wound is an entry point. A mower nick on a juniper trunk, a string trimmer cut on an arborvitae base, a shear that tears bark, or a pruning cut made with a dull blade all open doors. The fungus walks through doors that stay open in wet weather.
Keep mowers and string trimmers away from trunks and surface roots. Bark wounds are the main entry point for decay fungi and tip blight alike. A mulch ring around a conifer or palm keeps the mower at a distance and protects the base. Keep mulch pulled back from the trunk by a few inches, with the root flare visible. Mulch piled against the trunk holds moisture there and invites rot.
Use sharp tools and clean cuts. A sharp blade cuts cleanly and closes fast. A dull blade crushes and tears tissue, and the crushed tissue stays open longer. Sharpen blades before the pruning session. Replace a blade that nicks or folds. The extra ten minutes at the sharpener saves a season of wound infections.
Do not shear conifers that show tip blight. Shearing stimulates a flush of soft growth across the whole surface, and that flush is the most susceptible tissue on the plant. Thin instead. Thinning cuts remove whole branches and leave the remaining growth at its natural toughness. The plant keeps its shape, and the new growth hardens before the next wet spell.
Strategy 7: Confirm With a Lab Before Any Fungicide
Confirm with a lab before any fungicide. Fungicides do not cure existing spots, and a wrong guess wastes money and chemistry.
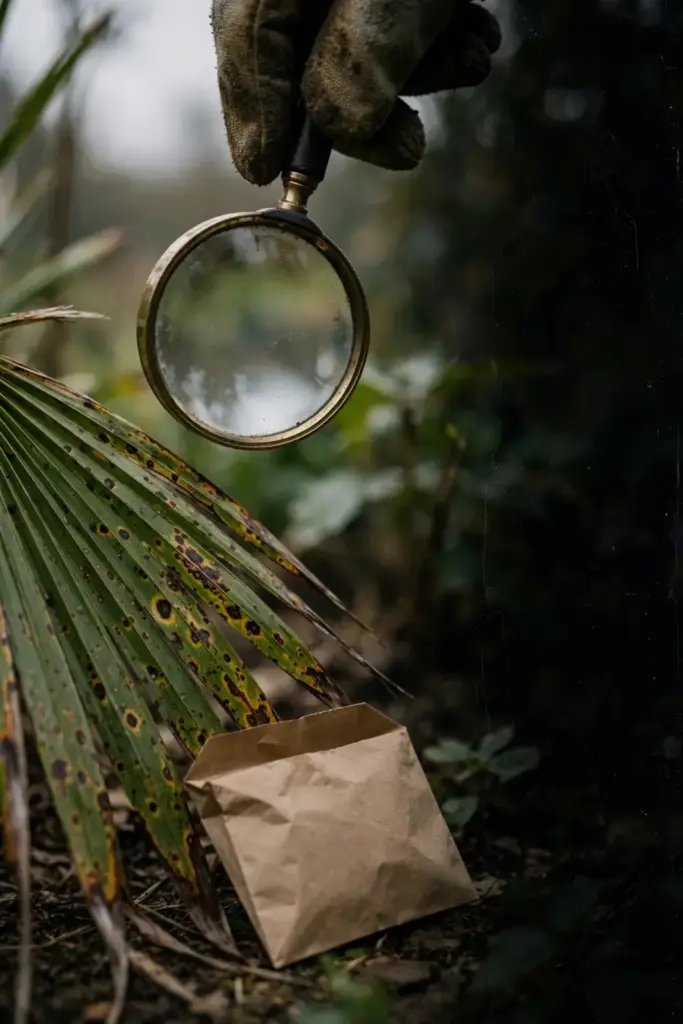
The University of Florida IFAS Extension palm fact sheet states the fungicide limit plainly. Fungicides do not cure existing leaf spot or petiole blight. Infected leaves stay infected for the life of the leaf. Fungicides only protect uninfected tissue that has not yet emerged. A spotted leaf will not heal because it was sprayed. The spray protects the next leaf, and only when the stress and sanitation steps run alongside it.
Fine Gardening gives the confirmation rule: confirm the diagnosis first, then read the label. A brown tip that is actually Phomopsis, Diplodia, or winter injury will not respond to a Pestalotiopsis spray. A lab sample settles the identity. Send a sample with fresh symptoms, kept cool and moist, to the state diagnostic lab or county extension office. The lab report names the fungus and the real options.
Treat copper as preventive-only, label-verified, and secondary to cultural steps. Some home sources mention copper in early spring as a protectant. Copper coats uninfected tissue and slows spore germination. It does not cure a spotted leaf, it does not fix a deficiency, and it does not replace pruning or dry foliage. Read the label for the crop, the rate, and the timing. Do not apply a dormant rate to open growth.
Do not carry commercial spray programs into a home garden. Nursery and production guides list products, rates, and schedules for acres of plants under commercial management. A home gardener with a hedge and a palm needs none of that. The cultural steps above carry the prevention. A labeled protectant, used after a lab confirmation, is the last resort, not the default.
Strategy 8: Buy Healthy Stock and Choose Resistant Junipers
Buy healthy stock. Inspect new plants before bringing them in, and choose resistant juniper varieties where available.
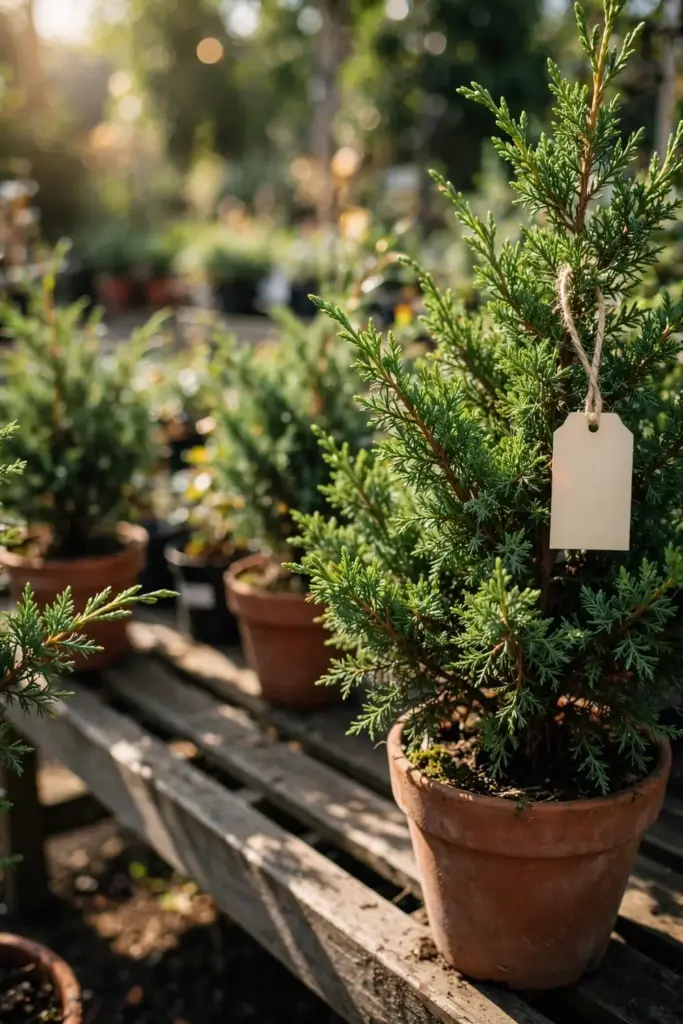
Inspect every new conifer and palm before it leaves the nursery. Look at the branch tips for browning. Look at palm fronds for spots. Look at the base for wounds and for mulch piled against the trunk. Reject a plant with tip blight, spotted fronds, or a damaged trunk. A plant that arrives infected brings the fungus into a clean garden, and the garden pays for it all season.
Quarantine new plants when the garden already holds valuable specimens. Hold a new conifer or palm apart from the main planting for a few weeks, water it at the base, and watch the tips and fronds. A plant that shows spots in quarantine stays out of the main bed. A plant that stays clean joins the garden. Quarantine costs nothing and catches the infection that inspection missed.
Choose resistant juniper varieties where the nursery offers them. Home garden sources name resistant junipers as part of the prevention playbook, and the choice is worth asking about at purchase time. A resistant variety is not immune. Resistance lowers the odds and slows the spread. Resistance does not remove the need for dry foliage, clean tools, and stress repair. Buy the resistant variety and run the routine anyway.
Ask the nursery about the plant’s history. A plant grown from clean stock, in a clean bed, with dry foliage, arrives healthy. A plant grown crowded, overhead-watered, and shipped wet arrives stressed. The history shows in the tips. Trust the tips. A healthy plant with green tips and firm tissue is the only plant worth buying.
Living With Pestalotiopsis Damage You Cannot Undo
Some damage stays. A spotted palm leaf never heals, and a browned conifer tip never greens up again.
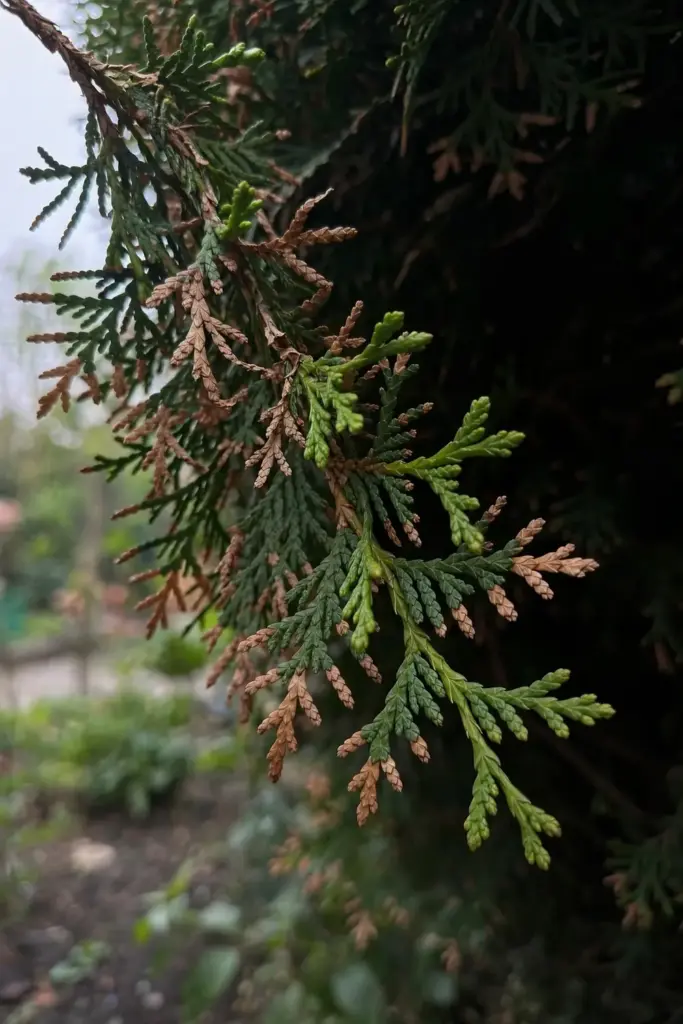
Prune the damaged tissue and let the plant replace it. A conifer pushes new growth from healthy branch tips. A palm pushes a new spear from the center. The new growth needs the same routine: dry foliage, clean tools, fixed stress. A plant that keeps its new growth clean earns its place. A plant that spots every new flush needs a harder look at site, drainage, and nutrition.
General bacterial blight care follows the same order: cut, clean, destroy, then keep the canopy dry. The guide to bacterial blight simple solutions covers that order for bacterial blight problems across the garden. The pathogens differ. The habits do not.
Tip blight on pines has its own lookalikes and its own article. The guide to Diplodia tip blight on pines covers the pine tip blight that most often confuses gardeners, with its own shoot and canker signs. Pestalotiopsis tip blight on arborvitae and juniper is a different disease. The lab separates them where it matters.
Do not replant a susceptible conifer in the same wet, airless spot and expect a different result. The fungus stays. The wet soil stays. The shade stays. A new plant in the same spot faces the same spring with the same disadvantage. Fix the site first: improve drainage, open the spacing, move the sprinkler, and give the new plant sun and air flow from the day it goes in. The guide to growing palm trees from seeds covers starting palms at home for readers who want to grow a new palm the slow way.
Frequently Asked Questions
Pestalotiopsis rarely kills a mature plant. Fine Gardening states that the disease is usually not damaging to mature plants, while severe cases hit young plants and stressed specimens hardest. A mature conifer or palm loses branch tips and fronds. It does not die from the fungus alone. Young plants and stressed plants carry the real risk. Fix the stress, prune the dead tissue, and the mature plant outgrows the damage.
No fungicide cures existing spots. The University of Florida IFAS Extension palm fact sheet states that fungicides do not cure existing leaf spot or petiole blight. Infected leaves stay infected for the life of the leaf. Fungicides only protect uninfected tissue that has not yet emerged. Confirm the diagnosis with a lab first, then read the label. Cultural steps carry the prevention. A labeled protectant is a last resort, not a default.
Weigh the trade-off before cutting palm fronds. The University of Florida IFAS Extension palm fact sheet warns that pruning diseased palm leaves in the landscape can make nutrient deficiency worse, since the palm loses nutrients stored in the cut leaves. Fix the nutrition first on a deficient palm. On a well-fed palm, cut the worst fronds in dry weather and trash them. The reader must weigh which problem debilitates the palm more.
A home gardener cannot reliably separate them by eye. Both brown conifer branch tips. Illinois Extension notes that Phomopsis symptoms are easily confused with other conditions and recommends lab testing for a definitive diagnosis. Treat brown tips as a prompt to act: prune in dry weather, disinfect tools, dry the foliage, fix the stress. Send a sample to the diagnostic lab where the identity matters for a spray decision.
Never compost diseased prunings. The fungus survives in plant debris, and a home compost pile runs too cool to kill spores and fruiting structures in thick tissue. Bag diseased prunings, tie the bag, and put it in the trash. Burn them where burning is allowed. Composting is fine for healthy garden debris. It is not a disposal method for diseased conifer or palm tissue.
Pestalotiopsis spreads by water splash and wind-blown rain from fruiting structures on dead tissue. Spores land on nearby plants and enter through wounds on wet foliage. The risk stays highest for the same plant and its near neighbors, not for the whole garden. Prune dead tissue, disinfect tools, water at the base, and keep foliage dry. Those four habits break the chain between plants better than any spray.
Where to Go From Here
Start with the worst branch. Prune it out in dry weather, bag it, and trash it today.
The order is prune, disinfect, dry the foliage, open the canopy, fix the stress, avoid wounds, confirm before spraying, and buy healthy stock. One next action beats ten good intentions. Cut the dead tissue. Clean the blade. The plant keeps more green tips next season because of the cleanup done this season.