
Most kitchen scraps will not grow a second vegetable. A spring onion base grows new greens in days. A carrot top grows greens and never grows a new carrot. This page sorts common scraps into three groups, then gives each one a start in water or soil.
I have learned that a scrap that smells fresh still grows, and a scrap that smells sour never recovers.
This guide shows how to regrow vegetables from kitchen scraps in Australia with honest limits. The three groups are leafy regrowers, bulb and tuber regrowers, and herb cuttings. Leafy regrowers give cut-and-come-again leaves for weeks. Bulb and tuber regrowers need soil and months. Herb cuttings root in water and keep going with care.
Sort Every Scrap Into Three Groups Before You Start
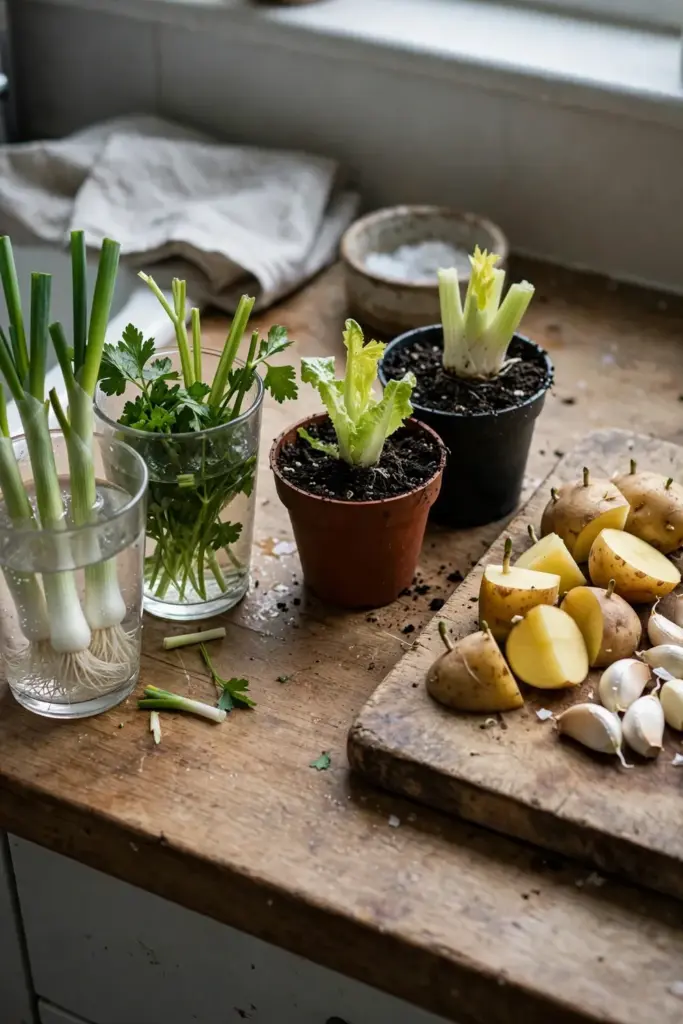
Sort the scrap before you save it. The group decides the method. A leafy base starts in water. A tuber piece goes straight into soil. A herb cutting roots in water and moves to soil once roots reach about 5 cm.
The Farmer’s Almanac regrow guide puts spring onions at 5 to 7 days, romaine at 14 days, basil at 14 to 21 days, and a garlic clove at 8 months to a full bulb. Those four numbers set the pace for the whole page. Fast greens come first. Slow bulbs come later.
Use the table to name the scrap in your hand. The last column states what you actually get. Read it before you promise yourself a harvest.
| Vegetable | Scrap Part | Start In | What You Actually Get |
|---|---|---|---|
| Spring onion | White root end, about 4 cm | Water, then soil | New green shoots, snip and come again |
| Lettuce, bok choy, Chinese cabbage | Base, about 5 cm | Water, then soil | Loose leaves, smaller than the original head |
| Celery | Base, about 5 cm | Water, then soil | New leaves and thin stalks |
| Carrot, beetroot, turnip tops | Top, about 2.5 cm | Water or soil | Greens only, never a new root |
| Potato | Piece with eyes | Soil only | New tubers |
| Garlic | Single clove | Soil | Greens fast, full bulb in months |
| Ginger | Piece with buds | Soil | New rhizome over a warm season |
| Sweet potato | Whole tuber | Water, then soil | Slips, then storage roots |
| Herbs (basil, mint, coriander, parsley) | Stem cutting, about 10 cm | Water, then soil | New plants |
| Lemongrass | Root end, about 10 cm | Water, then soil | New stalks |
| Chilli | Ripe seeds | Soil | New plants, seed quality varies |
| Pumpkin | Ripe seeds | Soil | New vines, fruit quality varies |
Two setups cover every scrap on this page. The water setup is a clear glass, about 2.5 cm of water, and a sunny windowsill. The soil setup is a pot with drainage holes and potting mix. Change the water every 2 to 3 days. Stale water turns the base to slime.
Pick scraps that look fresh and feel firm. Wash each scrap under running water before you start. A base with brown spots or a soft edge rarely roots. A cutting with yellow leaves rarely roots. Fresh scraps root fast. Old scraps from the back of the fridge rot fast. Save the best piece from tonight’s cooking and compost the rest.
1. Regrow Spring Onions From the White Root End
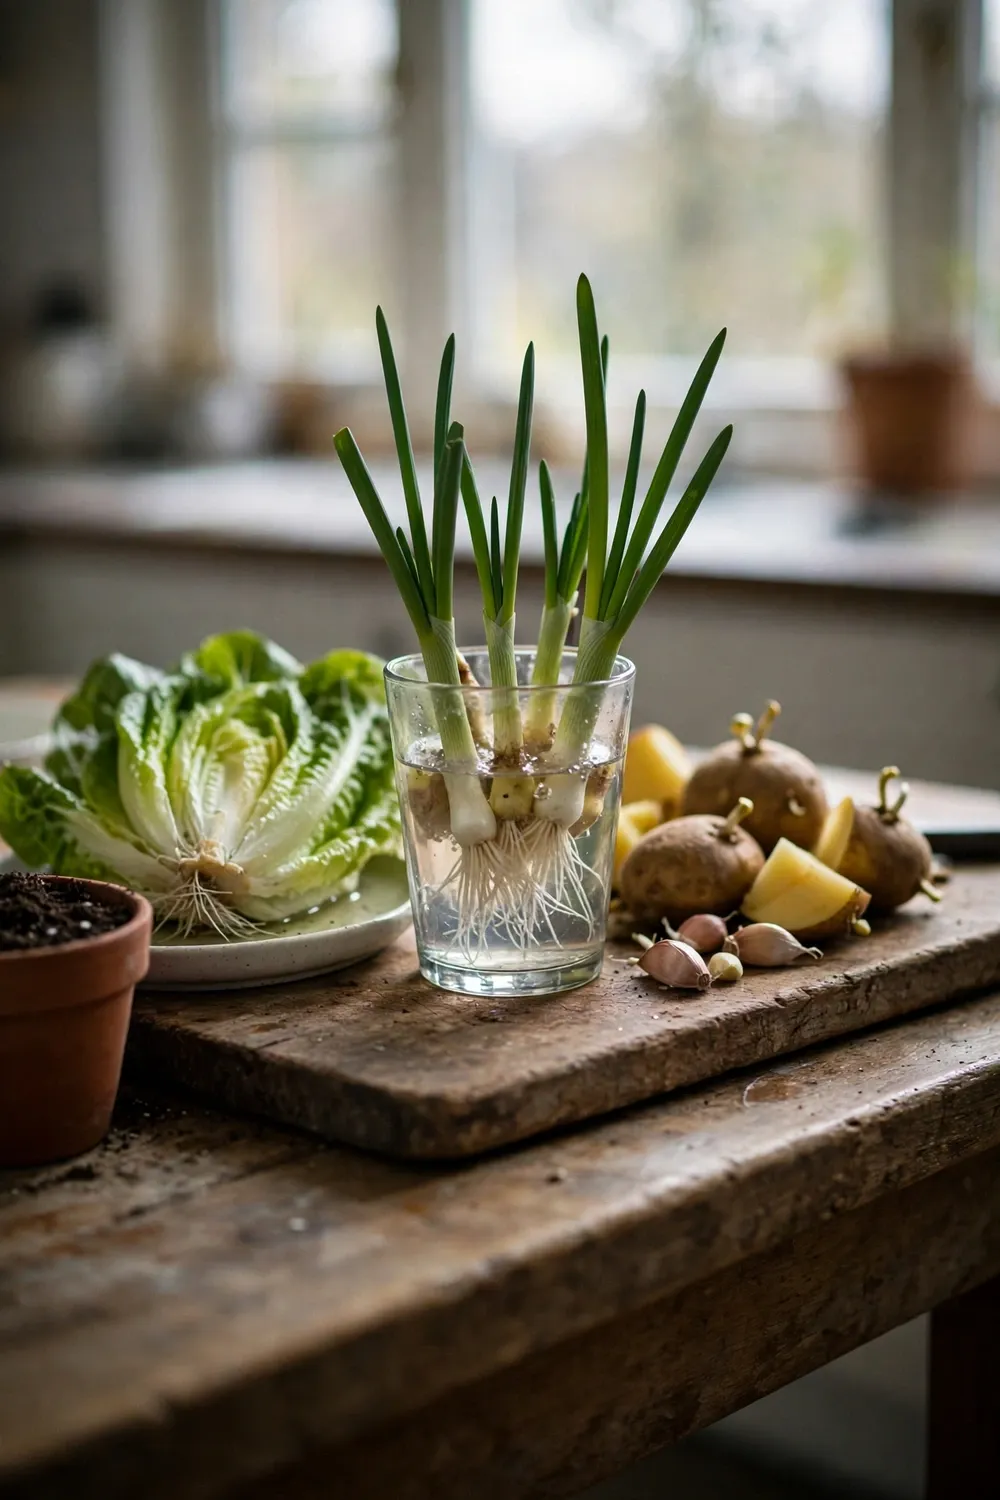
Spring onion is the most reliable regrow on this page. Save the white root end with about 4 cm of white stem attached. Stand it root end down in a glass with enough water to cover the roots. New green shoots appear within days.
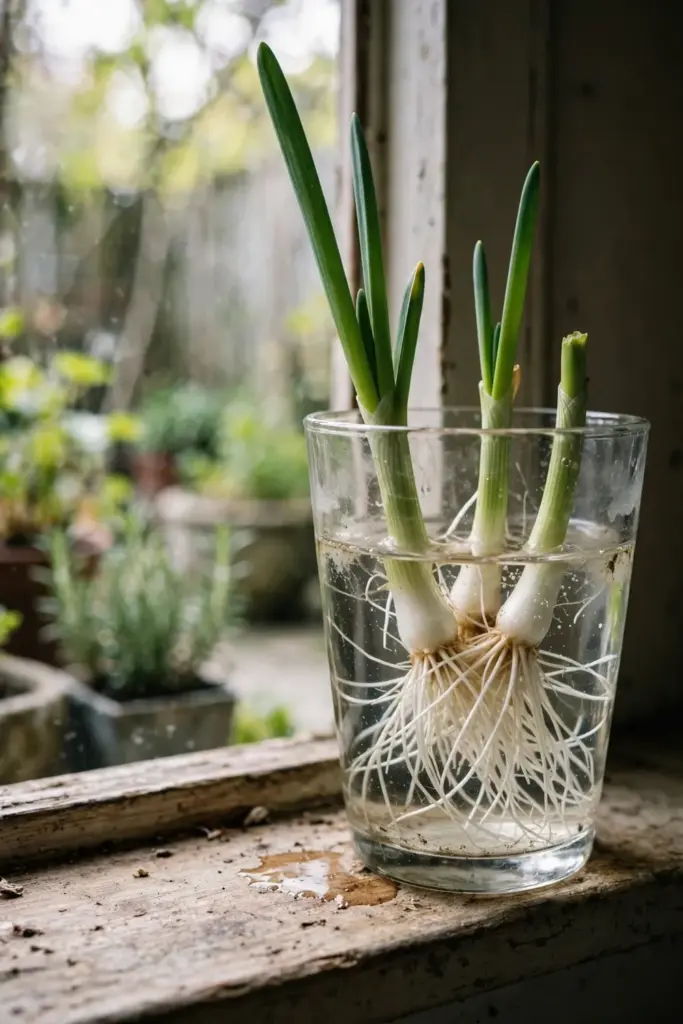
Snip the greens with scissors and leave the base in place. New shoots push up again. The plant keeps going until it bolts, then flowering ends the run. A bolted spring onion still gives one last harvest of greens before it turns woody.
Move the base to soil once roots look strong. A pot with drainage holes and potting mix holds the plant longer than a glass. Water the pot when the top 2.5 cm of mix feels dry. A spring onion in soil grows thicker shoots than a spring onion left in water.
Spring onion carries the Australian name on this page. Australian shops and recipes call this vegetable a spring onion. Overseas pages call the same plant a green onion or a scallion. The plant is one vegetable under three names. Buy it under the Australian name and regrow it under the same name.
2. Regrow Lettuce, Bok Choy, and Chinese Cabbage From the Base
Lettuce, bok choy, and Chinese cabbage regrow from the base the same way. Save the base with about 5 cm of the heart attached. Set the base cut side up in a shallow dish with about 2.5 cm of water. New leaves push from the center within days.
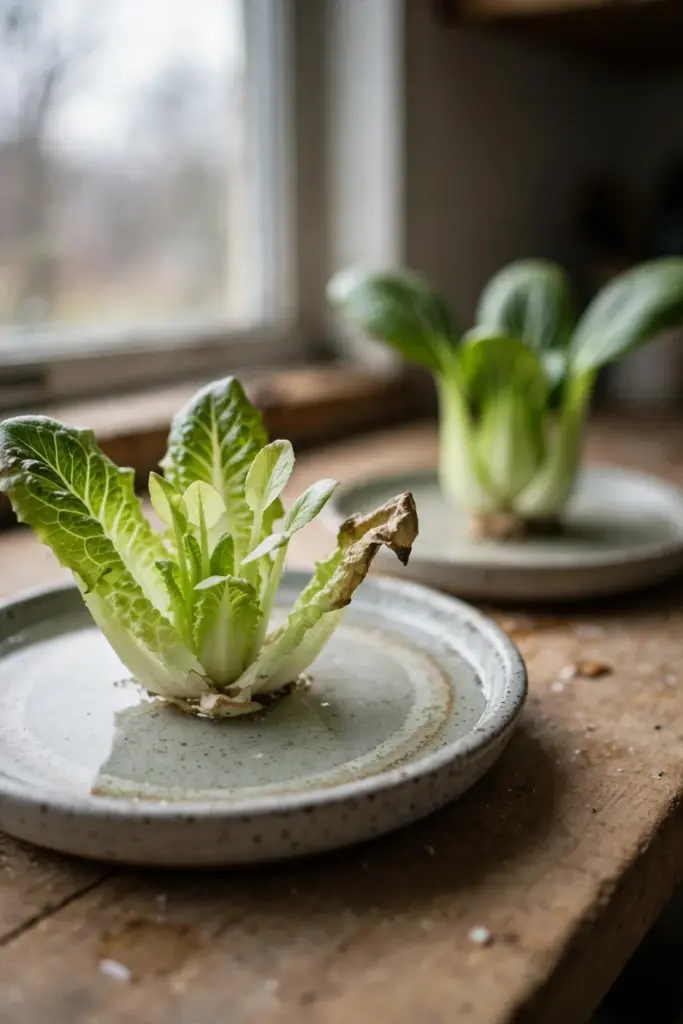
The regrown leaves stay smaller and softer than the original head. A regrown lettuce never rebuilds a tight supermarket head. Harvest outer leaves as they reach picking size. Leave the center alone and the plant keeps producing leaves.
Move the base to soil once roots appear. A pot with drainage holes and potting mix gives the plant a longer run than a dish of water. Water the pot when the top 2.5 cm of mix feels dry. A base left in water too long rots at the cut edge.
Keep the water level low. The base needs water at the cut edge only. Water that covers the leaves rots them. A dish with about 2.5 cm of water suits a lettuce base. Top the dish up when the level drops. Change the water every 2 to 3 days even if it looks clear.
Bok choy and Chinese cabbage follow the lettuce method with one difference. Both plants bolt fast in heat. A bolted plant sends up a flower stalk and the leaves turn bitter. Harvest leaves early in warm weather. Shade the pot in the hottest part of the day.
3. Regrow Celery From the Base
Celery regrows from the base. Save the base with about 5 cm of stalk attached. Set the base cut side up in a shallow dish with about 2.5 cm of water. New leaves push from the center within a week.
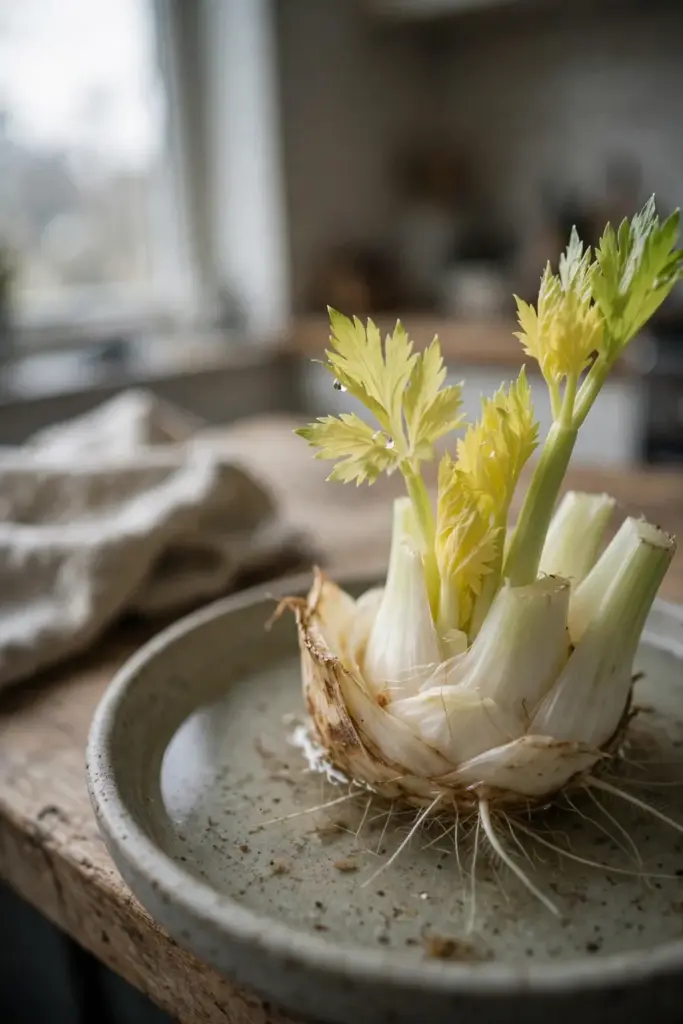
Celery results vary more than spring onion results. Some bases root fast and push strong leaves. Other bases stall and rot at the cut edge. A base that smells sour after two days goes to compost. Start again with a fresh base from a firm bunch. Pick a bunch with crisp stalks and a white base. A bunch with limp stalks or a brown base rarely roots. The base carries the growing point for new leaves. A damaged base cannot push new growth. Buy the firmest bunch on the shelf when you plan to regrow celery.
Move the base to soil once roots appear. A pot with drainage holes and potting mix holds the plant for weeks. Water the pot when the top 2.5 cm of mix feels dry. Celery wants steady moisture. Dry mix turns stalks stringy.
A regrown celery plant gives thin stalks and leaves for soups and salads. It rarely rebuilds the thick crisp stalks of a shop bunch. Harvest outer stalks first. Leave the center to keep producing.
4. Regrow Carrot, Beetroot, and Turnip Tops for Greens Only
Carrot tops grow greens. They never grow a new carrot. The growing point of the taproot sits at the tip of the root, and the shop carrot lost that tip at harvest. A carrot top in water grows feathery green leaves. Those leaves work in salads and pesto. No new orange root forms underneath.
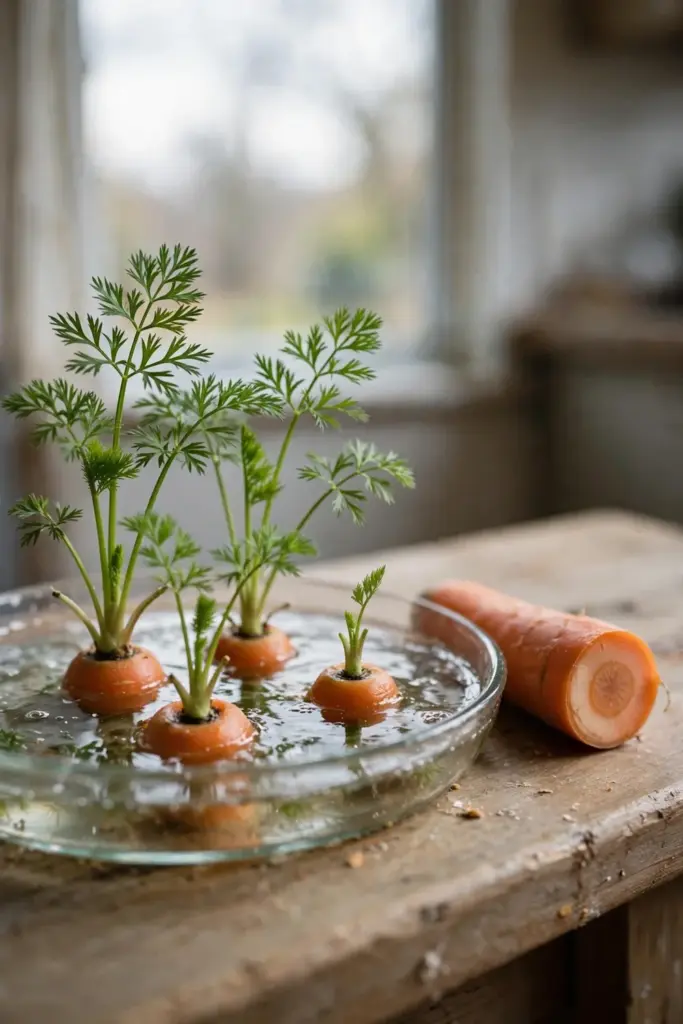
Set the top cut side down in a shallow dish with about 1 cm of water. Keep the cut edge wet and the green crown above the waterline. Change the water every 2 to 3 days. Move the top to soil once small roots appear, or keep it in the dish and harvest the greens as they grow.
Beetroot and turnip tops follow the same rule. Beetroot tops grow red-stemmed greens for salads. Turnip tops grow peppery greens for cooking. Neither top grows a new root. The greens are the harvest. Harvest a few leaves at a time and leave the center to keep producing. A top kept in fresh water gives greens for weeks. A top left in stale water rots at the cut edge.
A top that turns soft or smells sour goes to compost. Fresh tops grow within days. Old tops from the back of the fridge rarely grow at all. Start with a firm top from a fresh bunch.
5. Regrow Potatoes From Pieces With Eyes
Potatoes regrow from pieces with eyes. An eye is a dormant bud on the skin. Cut the potato so each piece carries at least one eye and a chunk of flesh. Plant the pieces in soil. Each piece grows a new plant and new tubers.
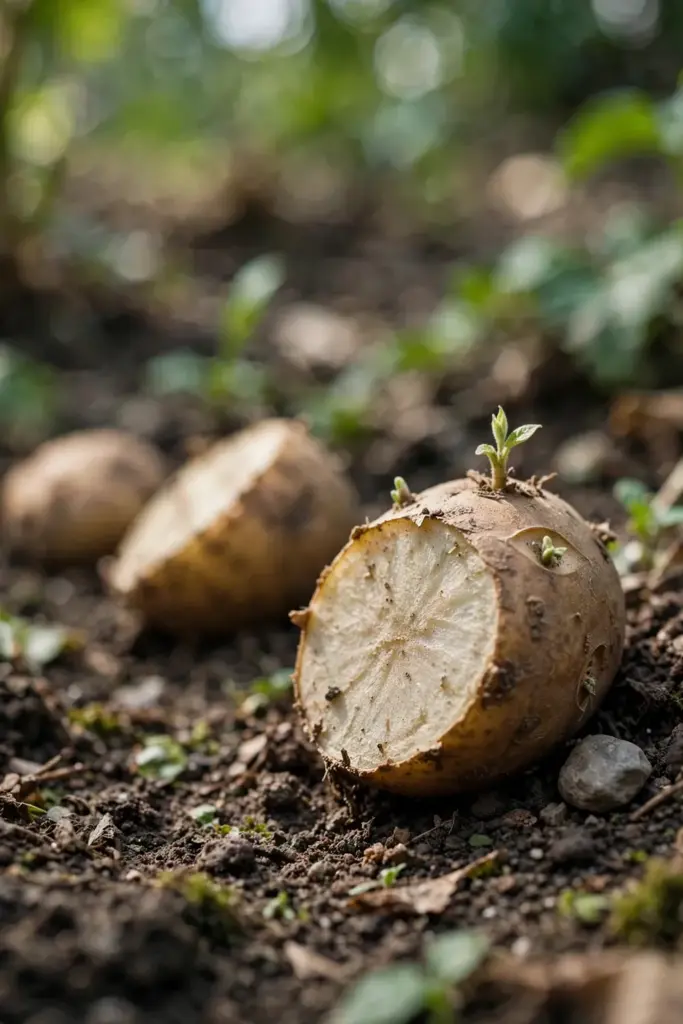
Missouri Extension directs gardeners to cut certified seed potatoes so each piece carries at least two eyes, and to cut the pieces the day before planting so cut surfaces dry. Certified seed potatoes carry less disease than shop potatoes. Shop potatoes may carry disease and may carry sprout inhibitor. Certified seed is the safer start.
Let cut pieces dry for a day before planting. A dry cut surface resists rot in damp soil. Plant pieces eye side up, about 10 cm deep, in loose soil. Space pieces about 30 cm apart. Water the bed after planting and keep the soil moist while shoots emerge.
A potato piece without an eye never grows. Peelings without eyes go to compost. Check each piece before planting. One eye per piece is the minimum. Two eyes per piece gives a stronger start.
6. Regrow Garlic From Single Cloves
Garlic regrows from single cloves. Break the bulb apart and plant one clove at a time. Set the clove pointy end up, about 5 cm deep, in loose soil. Roots grow down and a green shoot pushes up within weeks.
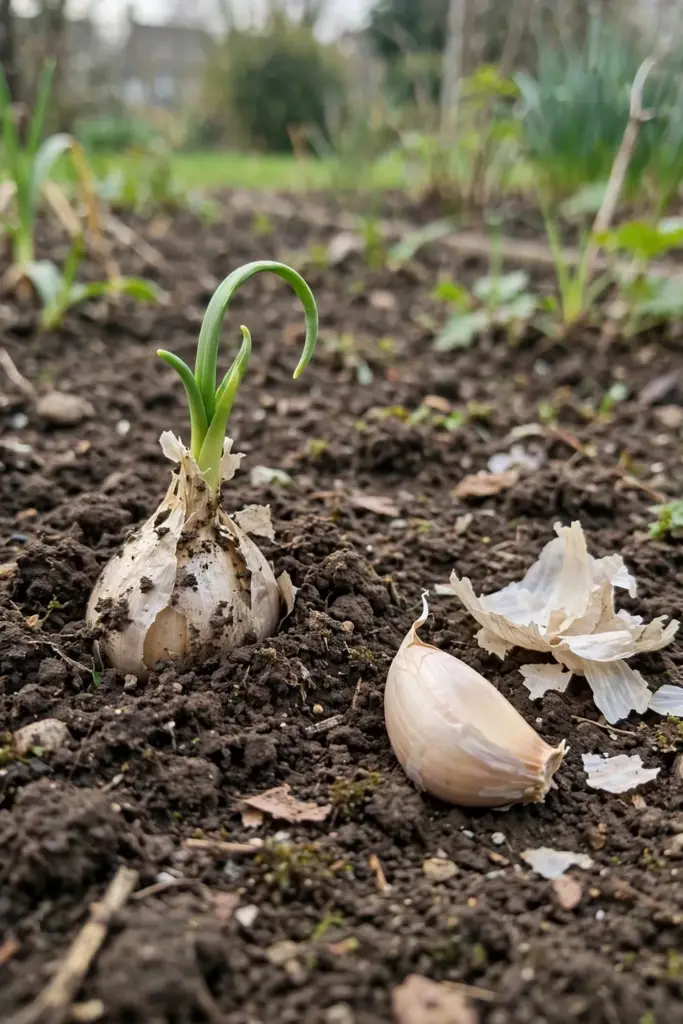
Garlic greens come fast. Snip the green shoots and use them like chives. A full bulb takes months. The plant needs a long cool season to split into cloves. A clove planted in autumn in most Australian gardens gives a bulb by late spring.
Do not plant a whole bulb. A whole bulb grows a clump of crowded shoots that fight for space. Break the bulb into cloves. Plant each clove about 15 cm from the next. One clove grows one bulb.
Garlic shoots give a second harvest before the bulb forms. Snip the green shoots and use them like chives. A garlic plant also grows a flower stalk called a scape. Cut the scape off when it curls. Cutting the scape sends energy back to the bulb. Leave the scape on and the bulb stays small.
Garlic in a pot needs depth. Use a pot at least 25 cm deep with drainage holes. A shallow pot starves the bulb. Water the pot when the top 2.5 cm of mix feels dry. Stop watering when the leaves yellow and fall. Harvest after the tops collapse.
7. Regrow Ginger and Sweet Potatoes From Sprouting Pieces
Ginger regrows from a piece with buds. A bud is a small pale knob on the rhizome. Cut a piece with at least one bud. Lay the piece on moist potting mix and cover it with about 2.5 cm of mix. Shoots push up in warm weather.
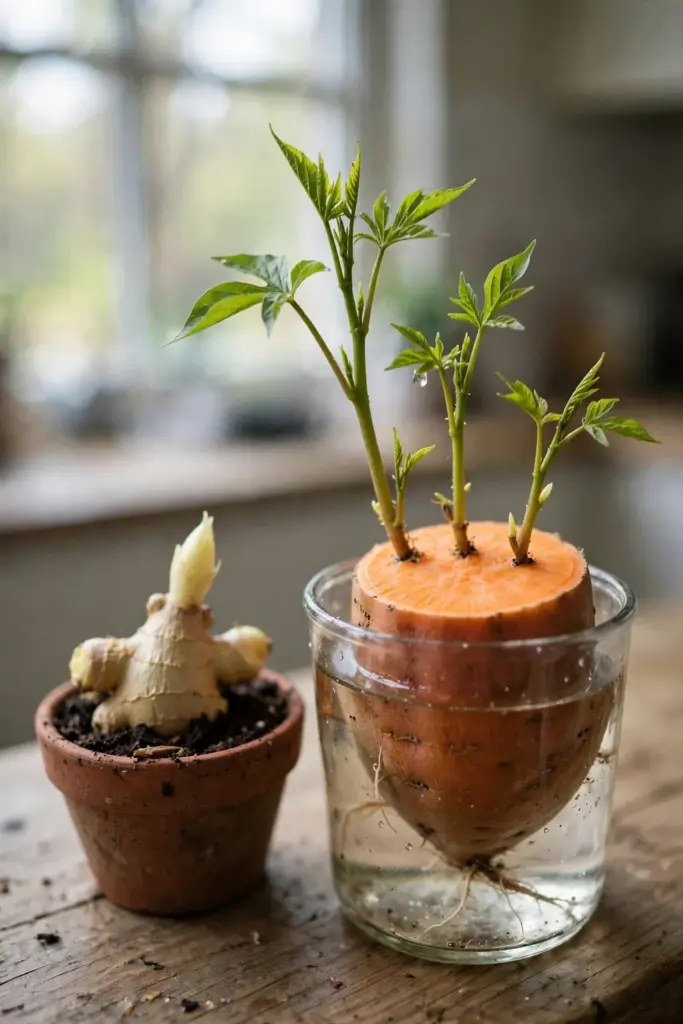
Ginger wants warmth. A ginger piece in cold soil sits still and rots. Start ginger when nights stay warm. A pot on a warm patio works. A pot indoors near a bright window works through a cool spring. Water the pot when the top 2.5 cm of mix feels dry.
Sweet potatoes grow from slips. A slip is a leafy shoot that grows from a tuber. UGA Extension starts slips by cutting a sweet potato in half, setting the cut side in about 1.3 cm of water, and twisting slips off once they reach 15 to 30 cm. Each slip grows roots in water within days. Plant rooted slips in soil after the last frost.
Iowa State Extension starts slip production 6 to 8 weeks before the intended outdoor planting date. That window gives slips time to grow and root before transplant. A slip planted too early in cold soil stalls. A slip planted after warm weather arrives grows fast.
Sweet potato vines spread wide. One slip fills a garden bed corner. A pot needs room for vines to trail. Plant one slip per large pot. Harvest storage roots at the end of the warm season when leaves yellow.
8. Regrow Herbs and Lemongrass From Stem Cuttings
Herbs regrow from stem cuttings. Basil, mint, coriander, and parsley all root in water. Cut a stem about 10 cm long from a healthy plant. Strip the leaves from the lower half. Stand the cutting in a glass of water with the bare stem submerged.
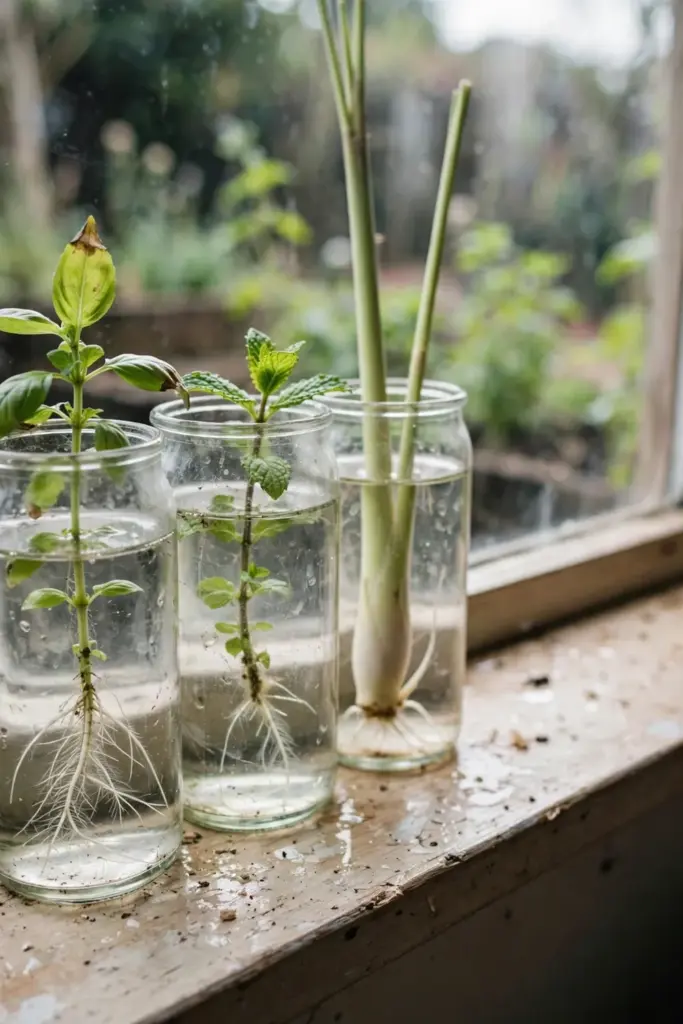
Roots appear within one to two weeks. Move the cutting to soil once roots reach about 5 cm. A pot with drainage holes and potting mix holds the plant longer than a glass. Water the pot when the top 2.5 cm of mix feels dry. Pinch the growing tip to push the plant into bushy growth.
Coriander roots slower than basil and mint. Coriander also bolts fast in heat. Take cuttings from young plants in cool weather. A coriander cutting that flowers stops producing leaves. Pinch flower buds off as they appear.
Parsley roots slower than basil and faster than coriander. A parsley cutting in water grows roots within two weeks. Move the cutting to soil once roots reach about 5 cm. Parsley in a pot on a sunny windowsill gives leaves for months. Pinch outer stems first and leave the center to keep producing.
Mint spreads fast once established. Plant mint in its own pot. Mint in a shared bed takes over the bed. One mint cutting fills a pot within a season. Cut mint back hard and it regrows from the base.
Lemongrass regrows from the root end. Save the root end with about 10 cm of stalk. Stand it in a glass with about 5 cm of water. New leaves push from the center within days. Move the stalk to soil once roots appear. Lemongrass wants warmth and sun. A pot on a sunny patio suits it.
Aphids find soft regrown herbs fast. Check leaf undersides every few days. A hard jet of water knocks aphids off. The organic pest control overview covers the full routine for garden pests.
9. Regrow Chilli and Pumpkin From Seeds You Already Bought
Chilli seeds grow new plants. Scoop seeds from a ripe chilli. Dry the seeds on paper towel for a day. Sow the seeds in potting mix and keep the mix moist. Seedlings emerge in warm weather.
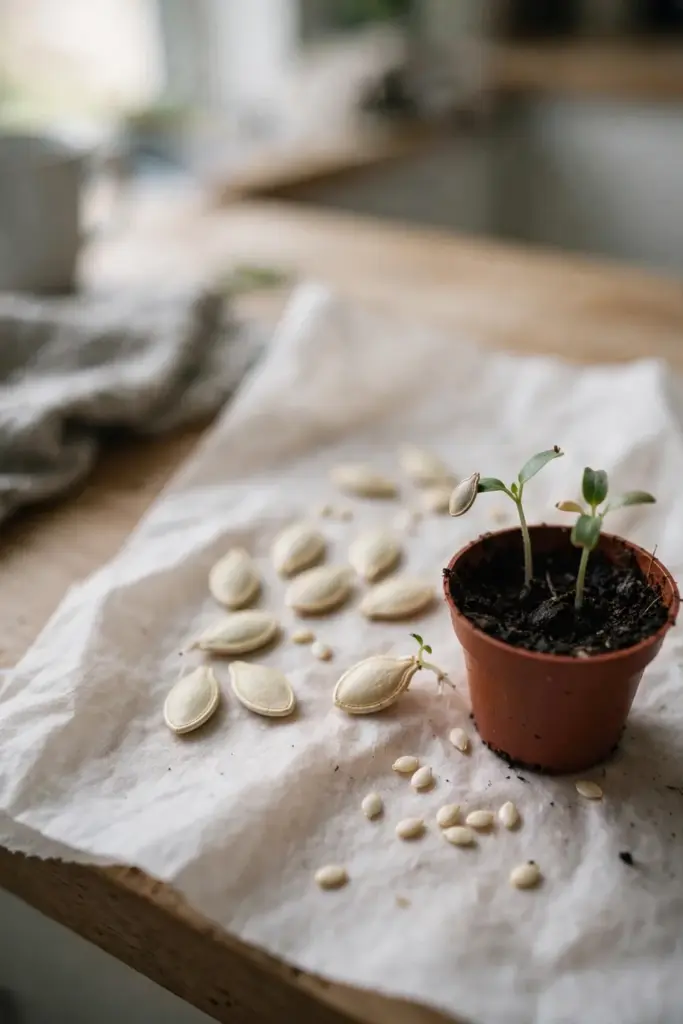
Store-bought chilli seeds vary. Some germinate fast. Some stay dormant because the fruit was picked early or treated. Sow more seeds than you need. Thin the seedlings to the strongest one per pot. The seed starting guide covers the full germination routine for seeds you save.
Pumpkin seeds grow new vines. Scoop seeds from a ripe pumpkin. Rinse the seeds and dry them on paper towel. Sow the seeds in soil after the last frost. Each seed grows a vine that spreads metres across a bed.
Pumpkin seeds from a hybrid pumpkin rarely grow true to type. A hybrid parent gives mixed offspring. The vine may grow pumpkins that differ from the one you bought. Seed from an open-pollinated pumpkin grows closer to the parent. Expect variation and treat the vine as an experiment.
Pumpkin vines need space. One vine fills a garden bed corner. A pot suits a small bush pumpkin only. Plant one seed per pot and thin to one seedling. Water the pot when the top 2.5 cm of mix feels dry.
Move Rooted Scraps to Soil and Keep Them Alive
Water starts the scrap. Soil keeps it alive. A scrap left in water too long grows weak roots and rots. Move the scrap to soil once roots reach about 5 cm. The move is the step most people skip.
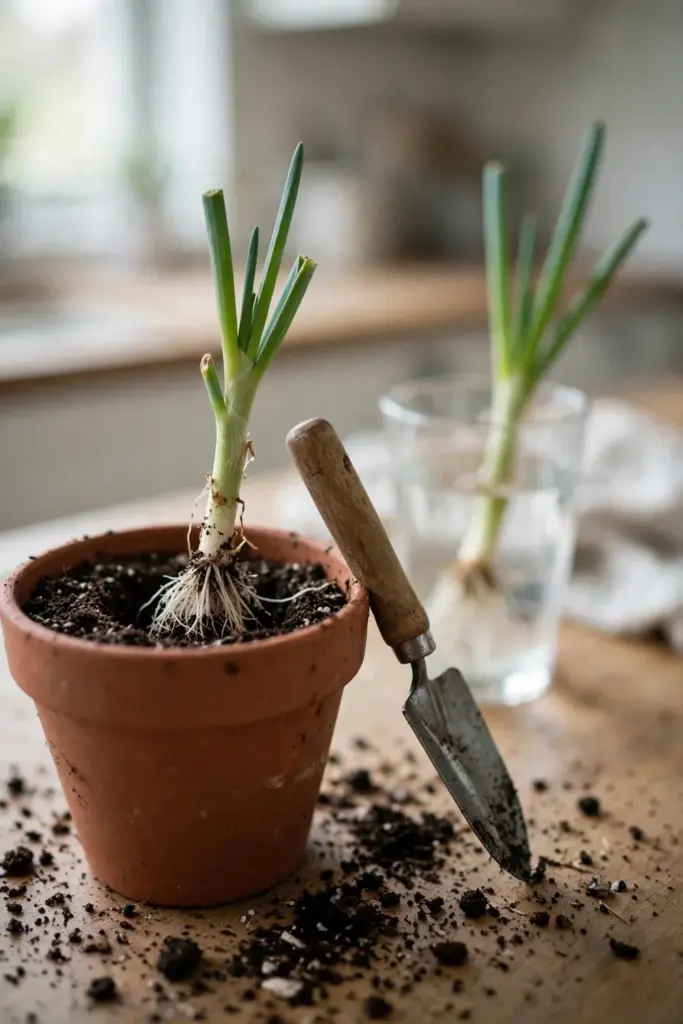
Use a pot with drainage holes and potting mix. Garden soil compacts in a pot and starves roots. Potting mix drains and holds air. Fill the pot, make a hole with a finger, set the roots in, and firm the mix around the base. Water the pot after planting.
Light decides the next week. A sunny windowsill suits leafy regrowers and herbs. A shaded spot suits a fresh transplant for two days, then sun. A transplant that wilts in direct sun needs one day of shade. A transplant that stays limp after two days in shade goes to compost.
Pot size follows the scrap. A spring onion base fits a 10 cm pot. A lettuce or celery base fits a 15 cm pot. A potato piece needs a 30 cm pot or a garden bed. A garlic clove needs a 25 cm deep pot. A small pot suits a cutting. A large pot suits a tuber. Repot when roots circle the drainage holes.
Feed lightly. A weak liquid fertilizer at half strength feeds a transplant after two weeks. Full strength burns fresh roots. No fertilizer in the first week. Water the pot before feeding. Never feed a dry pot.
Soil health shapes everything after transplant. Healthy soil holds moisture and feeds roots. A pot with dead mix grows weak plants no matter how good the scrap was.
When to Give Up and Compost the Scrap
Some scraps fail. Failure is normal. A scrap that smells sour, turns to slime, or grows mold goes to compost. Wash the glass before starting again. A dirty glass infects the next scrap.
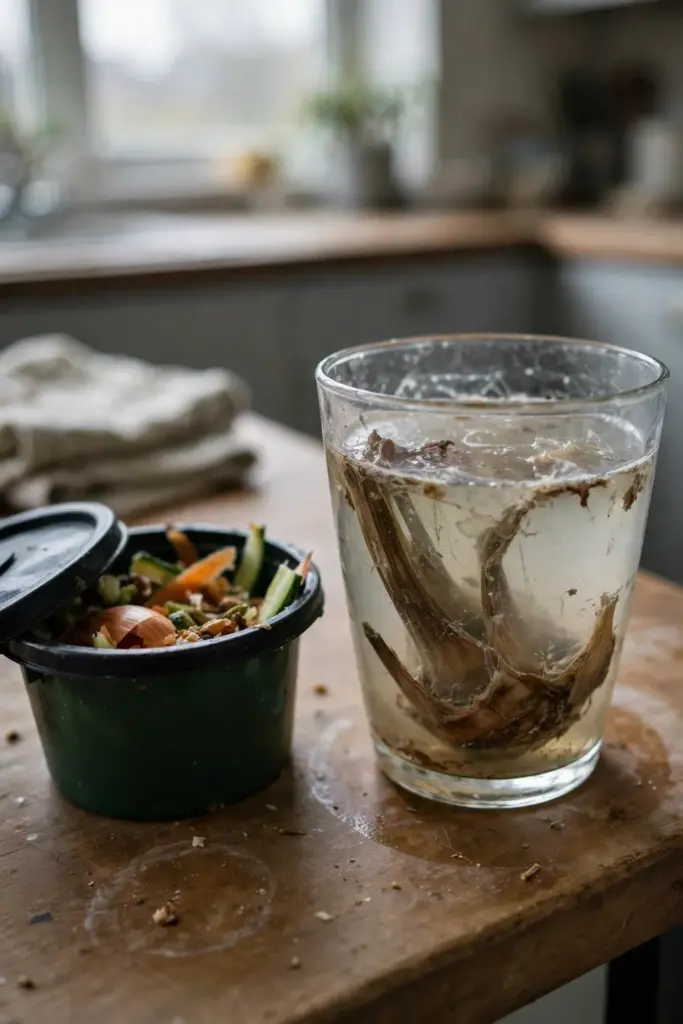
Change the water every 2 to 3 days. Stale water breeds bacteria. A glass that turns cloudy needs a water change and a rinse. A scrap that sits in cloudy water for a week rots at the cut edge.
A scrap that never roots in two weeks goes to compost. Not every scrap carries a live growing point. A celery base from an old bunch may sit still. A herb cutting from a woody stem may never root. Compost the failure and start with a fresh scrap.
Compost turns failures into soil. Compost bin options for your garden cover the bins that suit a small garden. A scrap that fails as a regrow still feeds the soil as compost.
Frequently Asked Questions About Regrowing Vegetables From Kitchen Scraps in Australia
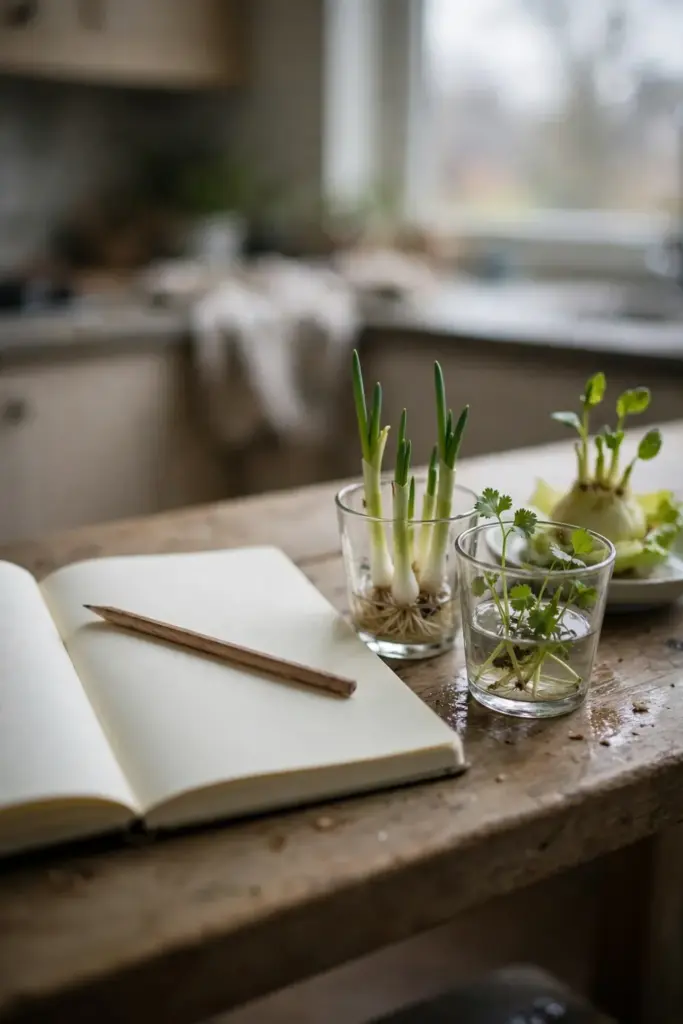
Water starts most scraps, but water alone rarely finishes them. Leafy bases and herb cuttings root in water within days. A scrap left in water too long grows weak roots and rots. Move the scrap to soil once roots reach about 5 cm. Soil gives the plant nutrients and air that water cannot supply. Water is the start. Soil is the finish.
Spring onion regrows fastest. Save the white root end with about 4 cm of white stem. Stand it in water on a sunny windowsill. New green shoots appear within days. Snip the greens and the base grows more. A spring onion base in soil keeps producing until it bolts. No other scrap on this page beats spring onion for speed and reliability.
A celery base rots when the water goes stale or the base came from an old bunch. Change the water every 2 to 3 days. Wash the dish before starting again. A base that smells sour after two days goes to compost. Start again with a fresh base from a firm bunch. Some bases stall no matter what you do. Failure is normal with celery.
Carrot tops never grow a new carrot. The growing point of the taproot sits at the tip of the root, and the shop carrot lost that tip at harvest. A carrot top in water grows feathery green leaves. Those leaves work in salads and pesto. No new orange root forms underneath. Grow carrot tops for greens. Grow carrots from seed for roots.
An onion end grows green shoots. It never grows a new onion bulb. The bulb forms from a seed or a set, not from a cut root end. An onion end in soil pushes green shoots that work like spring onion. Harvest the shoots and use them fresh. Buy onion sets or seed for a bulb harvest. The end gives shoots. Sets give bulbs.
Start With One Scrap on the Windowsill
Start with one scrap. A spring onion base in a glass of water teaches the whole method in a week. Watch the roots grow. Watch the shoots push up. Snip the greens and watch them regrow.
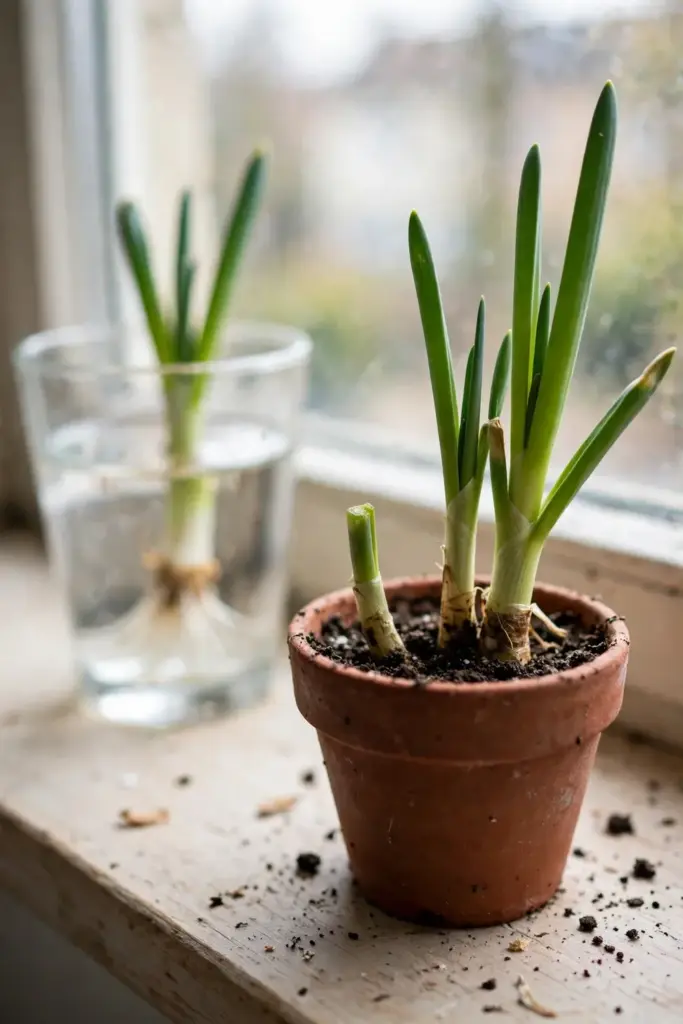
Add a second scrap once the first one roots. A lettuce base joins the spring onion on the windowsill. A herb cutting joins them both. Three glasses on a sunny sill give greens for salads within weeks.
Keep the habit small. One glass of water changed every 2 to 3 days beats a bench full of rotting scraps. Wash each scrap before you start. Discard a scrap that smells sour. A clean windowsill grows more than a crowded one. A failed scrap costs nothing. A rooted scrap pays back greens for weeks. Start tonight with the spring onion from dinner. A scrap that fails goes to compost. A scrap that roots moves to soil. The windowsill stays clean and the garden keeps growing.