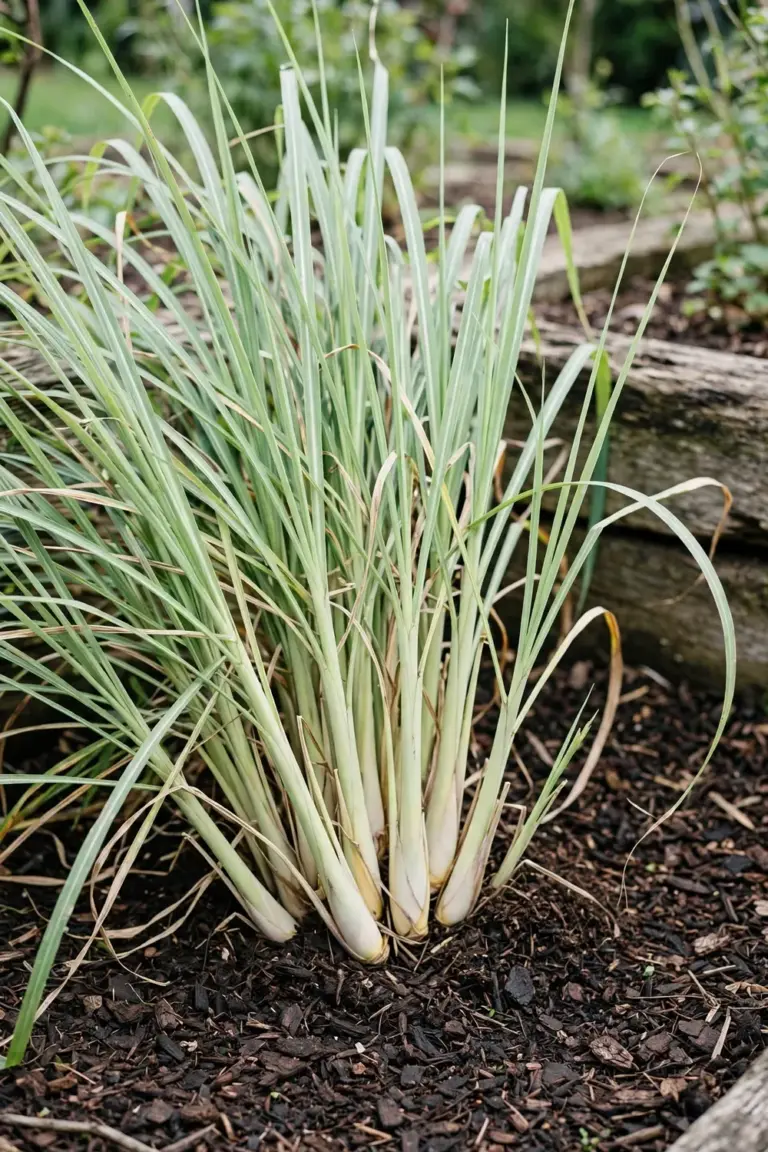

Sow a pinch of black seed this spring and eat garlic-flavored leaves for the next decade. That is how to grow garlic chives from seed: a perennial herb that shrugs off neglect, divides into free plants, and self-seeds with enough enthusiasm to fill the whole neighborhood. The rest of this page is 15 moves, from seed packet to stir-fry. I have learned that the only real management garlic chives truly demand is deadheading: let them seed everywhere and the garden pays for it.
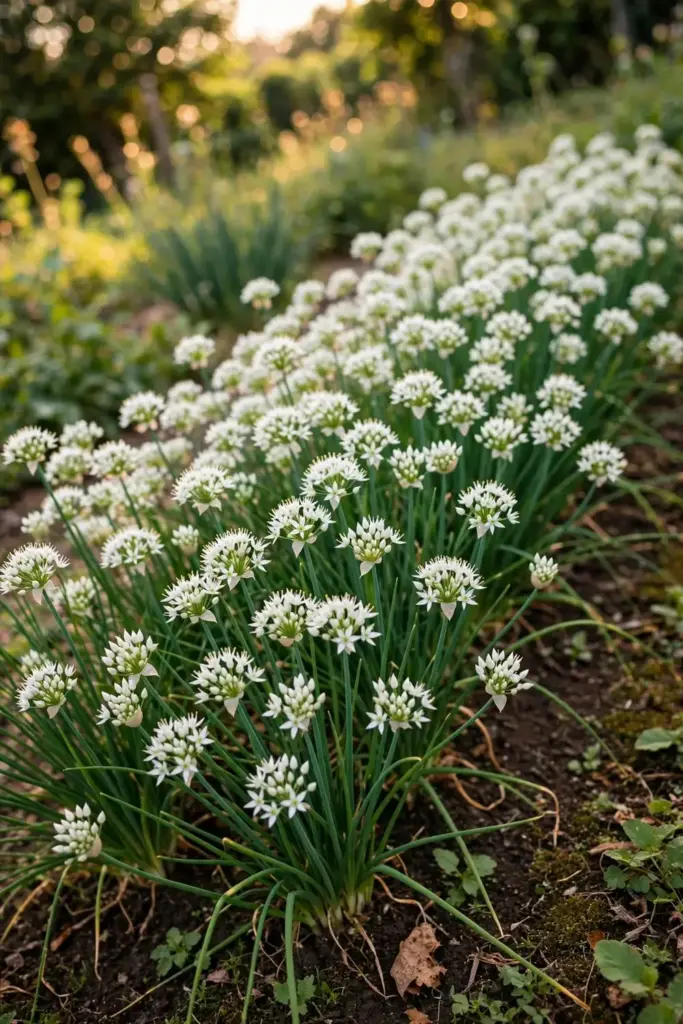
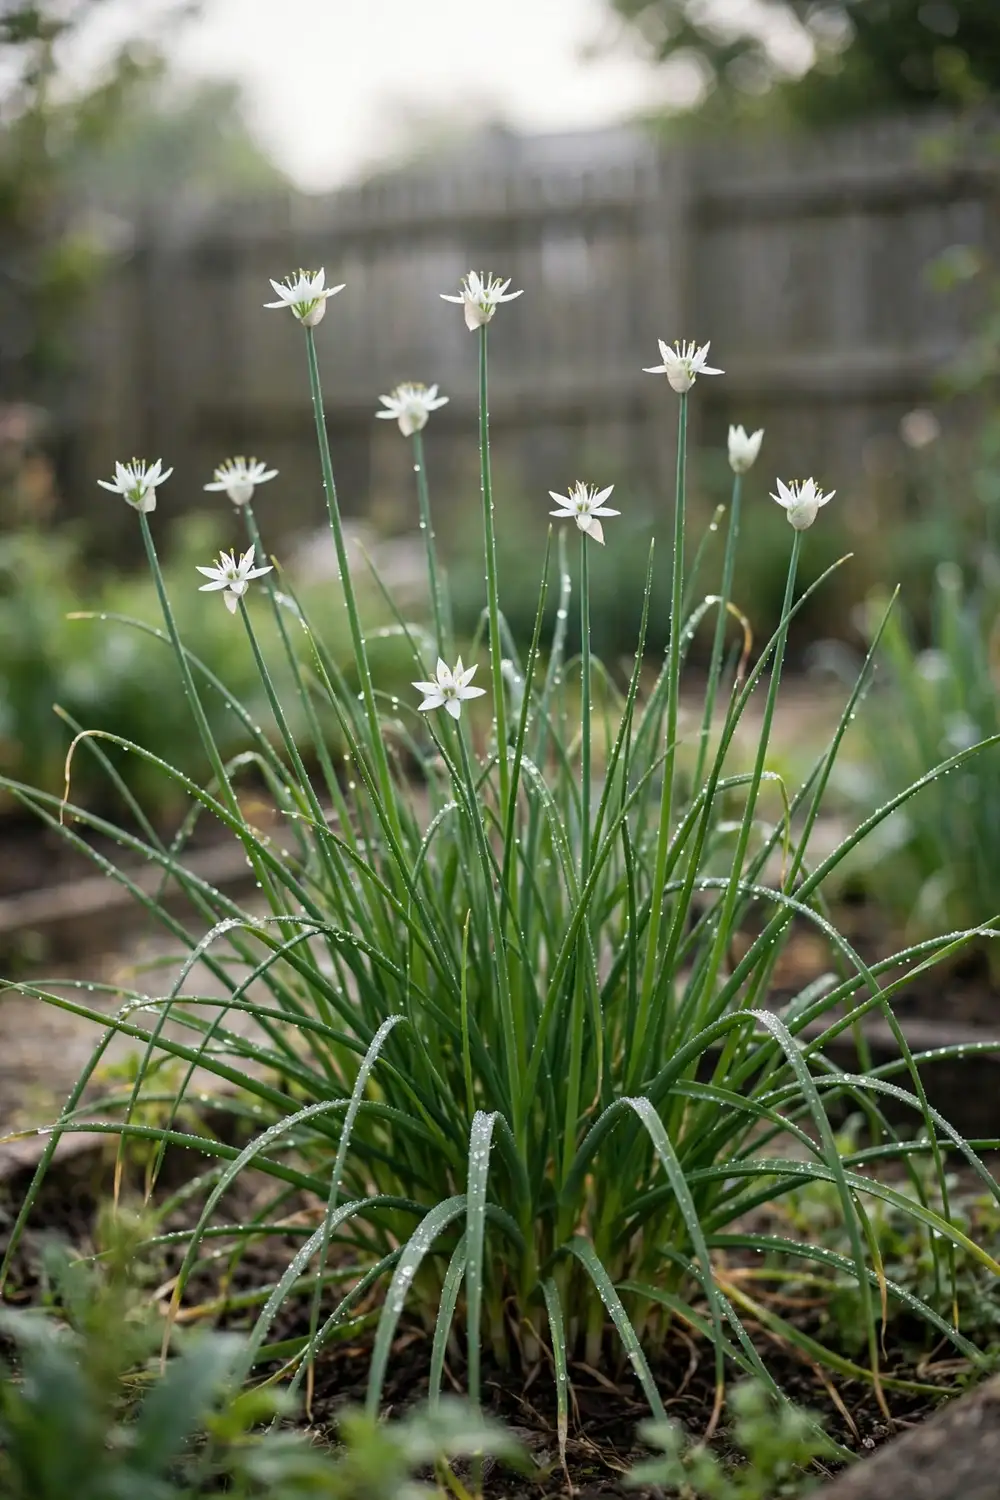
Garlic chives (Allium tuberosum) look like chives, taste like garlic, and are neither. They are a distinct species with flat, solid leaves and white star-shaped flowers, perennial and hardy to zone 3, with seed germinating in 7 to 14 days at the right temperature, according to the UNH Extension garlic chives guide. They self-seed aggressively, so plan your deadheading the day you sow. This guide grows them from seed and shows you how to keep them where you planted them.
1. Know Your Alliums
Three Alliums answer to confusingly similar names, and the table below ends the confusion. Allium tuberosum is garlic chives (Chinese chives): flat, solid, grass-like leaves with a mild garlic flavor and white flowers in late summer. Allium schoenoprasum is onion chives: round, hollow leaves with a mild onion flavor and purple flowers in spring. Allium sativum is true garlic: a bulbing plant grown for its cloves, not its leaves. Regular chives have round, hollow green leaves while garlic chives have flat, solid leaves, and the flowers tell the story too: purple for onion chives, white for garlic chives, as the Buncombe County Extension allium guide records. Buy seed labeled Allium tuberosum and you get the garlic-flavored herb this guide describes.
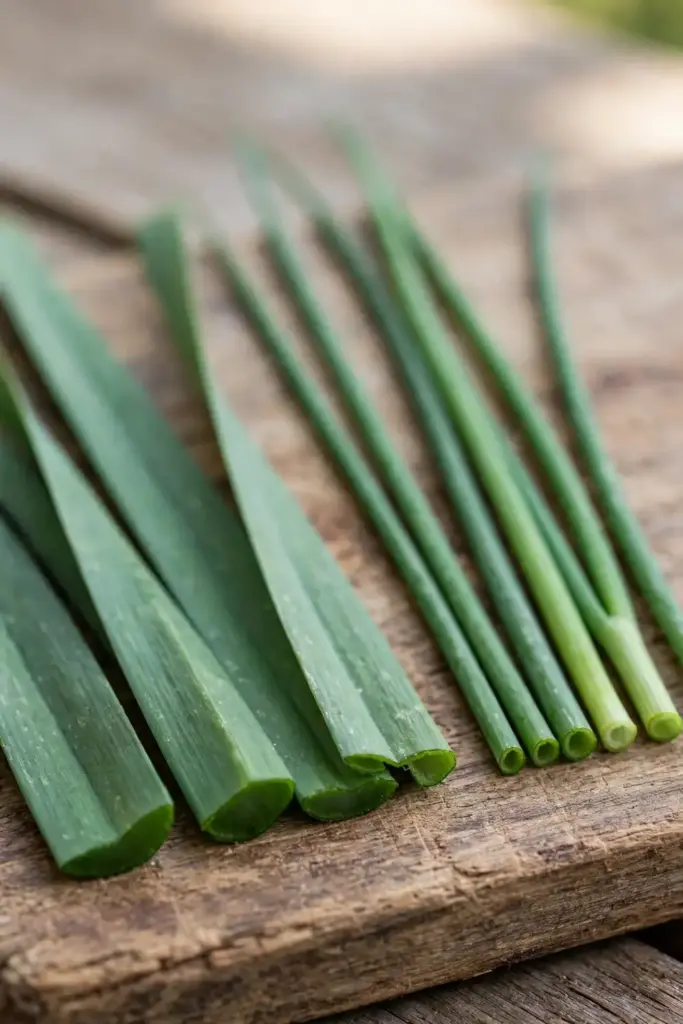
The confusion has practical consequences. Onion-chive seed sown by mistake gives you the wrong flavor and the wrong plant for the recipes you planned. Garlic bulbs planted for leaves give you one season of greens and then disappear. Read the packet twice. The Latin name is the only reliable label; common names shift by region and seed house. Once you know the three by sight, you will never confuse them again, and you will start spotting mislabeled plants in other people’s gardens.
| Feature | Allium tuberosum (garlic chives) | Allium schoenoprasum (onion chives) | Allium sativum (true garlic) |
|---|---|---|---|
| Leaves | Flat, solid, grass-like | Round, hollow | Flat, wide |
| Flavor | Mild garlic | Mild onion | Strong garlic |
| Flowers | White, late summer | Purple, spring | Bulbils or flowers |
| Part eaten | Leaves, flowers | Leaves, flowers | Bulb |
2. Confirm Your Climate
Garlic chives are tougher than they look. Hardy to zone 3, they survive winters that kill rosemary and basil twice over, dying back to the crown and re-sprouting each spring. They grow from zone 3 to zone 9 in full sun to part shade, preferring moist, well-drained soil but tolerating drought once established. Hot climates work too: in subtropical areas the plants stay evergreen year-round and can be sown in almost any month. Cold climates get a longer harvest window than you would expect, because the plants bounce back from frost faster than most herbs. Give them sun first and soil second; they forgive almost everything else.
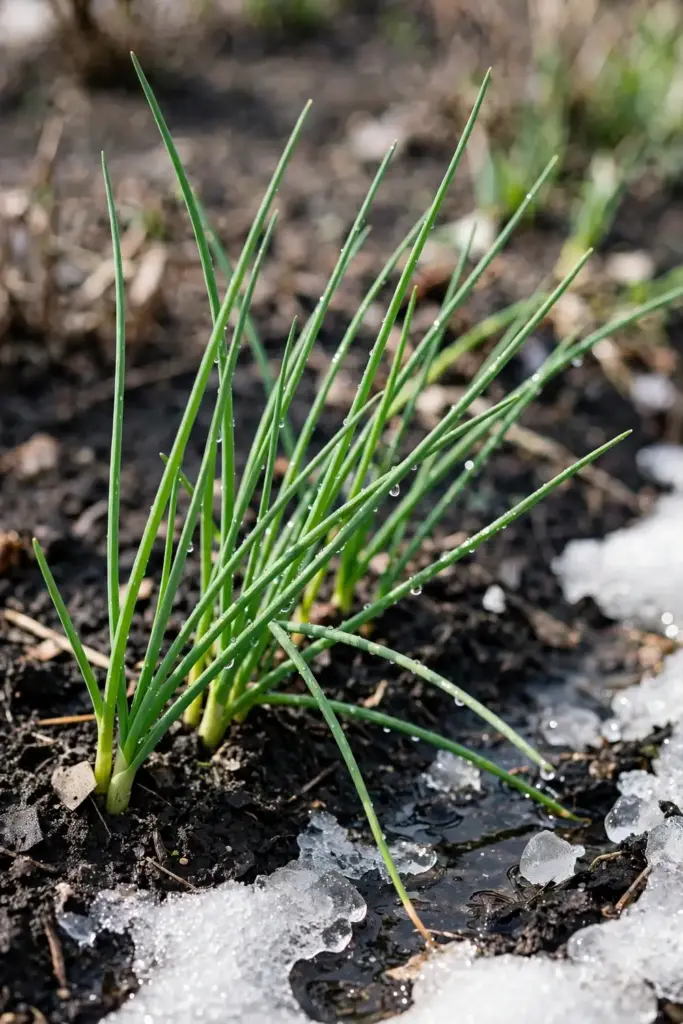
Microclimate matters more than the zone number. A bed against a south wall in zone 4 behaves like zone 5; a low frost pocket in zone 6 behaves like zone 5 in reverse. Garlic chives handle both, but the harvest calendar shifts. Watch your own garden for a season and plant accordingly. The plant’s range is so wide that almost every reader of this page can grow it outdoors year-round, which is rare for a culinary herb and one reason garlic chives deserve more garden space than they get.
3. Pick Your Method: Seed or Division
Seed is the cheapest way in and the method this guide covers: one packet becomes dozens of plants, and you get the full lifecycle from sprout to seed head. Division is the faster way: an established clump splits into instant plants every three to four years, each division ready to harvest in weeks. Beg or borrow a division if a friend grows garlic chives; a fistful of divisions beats a season of seedlings. Buy a nursery pot if you want leaves this month. Sow seed if you want a perennial bed for the decade. Both roads end at the same clump, but division skips the first season of waiting.
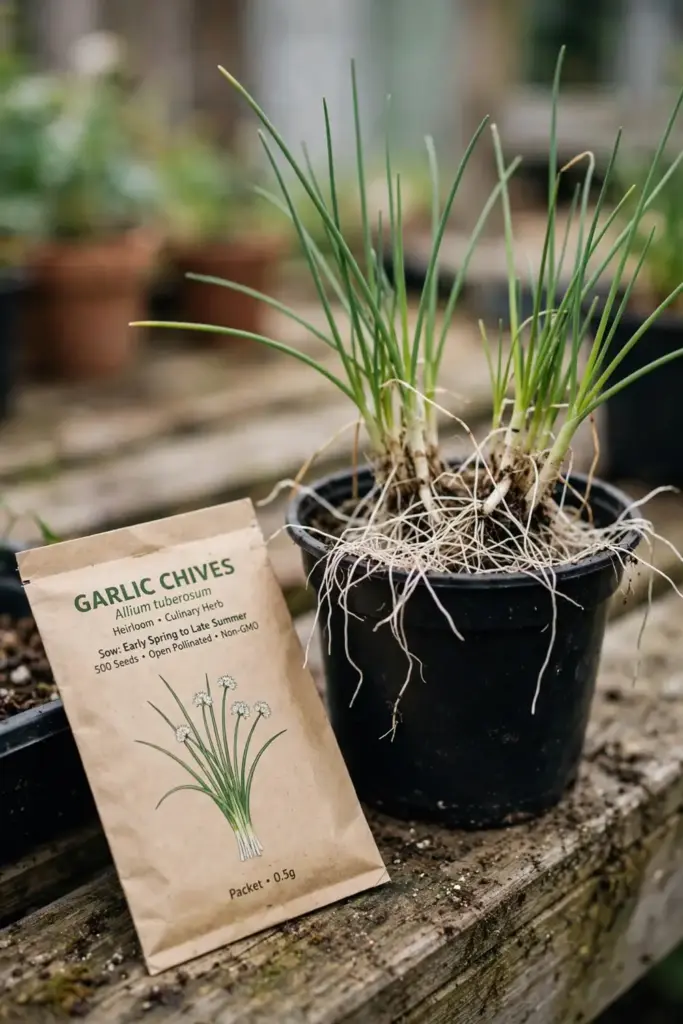
Consider doing both at once. Sow a tray of seed for the long-term bed and plant one bought division for this season’s kitchen. The division feeds you while the seedlings establish, and by autumn you cannot tell them apart. This two-track approach costs little and removes the only real drawback of seed growing: the first-year wait. Gardeners who want leaves now and a legacy bed later should always take both roads. The division teaches you the plant while the seedlings grow up.
4. Time the Sowing
Start indoors 6 to 8 weeks before the last frost, or direct-sow as soon as the soil warms in spring. Kept at 18 to 21°C, germination takes 7 to 14 days, per the Swallowtail Garden Seeds growing notes. In mild climates, autumn sowing works too: sow in early fall and the seedlings overwinter small, then explode in spring. Avoid starting in extreme summer heat; high temperatures slow germination and stress seedlings. The seed-starting steps for cool-season herbs cover the indoor routine. Time it so seedlings move out when nights stay above 10°C, and they will never look back.
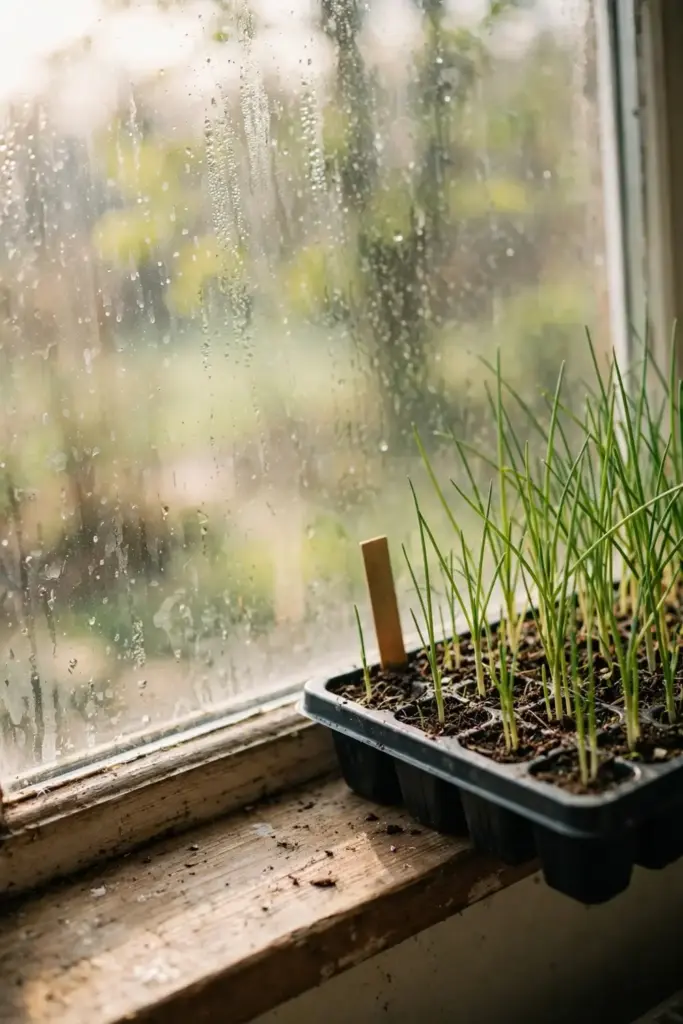
Succession sowing extends the young-leaf season. Sow a second batch six weeks after the first for a staggered clump that keeps producing tender growth while the first batch matures. Young leaves are the most tender and mild; older leaves toughen by midsummer. A gardener who sows twice eats soft leaves all season. Mark the sowing dates on the calendar; allium seed sown and forgotten is allium seed wasted. The second sowing takes ten minutes and doubles the tender harvest.
5. Sow 0.6 cm Deep
Sow the black, angular seed 0.6 cm deep in moist, well-drained mix, sowing lightly and pressing the seed into firm contact with the soil. Space seed about 2.5 cm apart in trays or direct-sow 1 to 2 seeds per 2.5 cm of row. Cover thinly: allium seed needs darkness but not depth, and 0.6 cm is the sweet spot between drying out and struggling to emerge. Water gently from below or with a fine mist so the seed does not wash away. Keep the tray at 18 to 21°C with steady moisture. Label the tray clearly. Allium seedlings look like grass, and unlabeled trays get weeded by mistake every year.
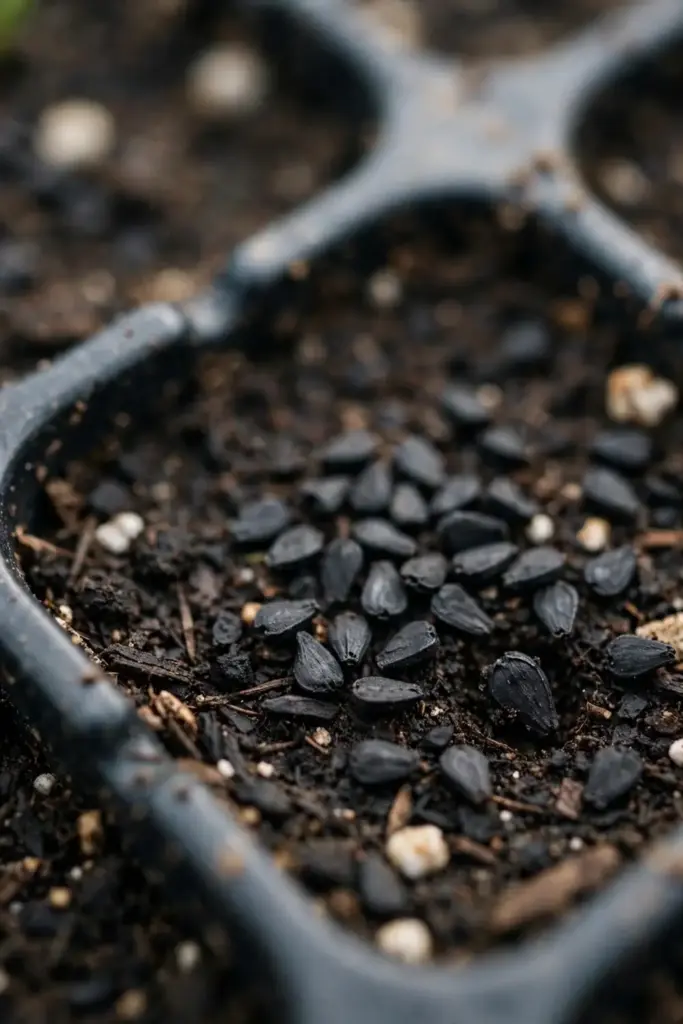
Use fresh mix, not garden soil, for trays. Garden soil compacts, crusts, and carries the damping-off fungi that kill allium seedlings at the soil line. A bagged seed-starting mix is cheap insurance. Fill the cells firmly but not packed; air pockets dry out and kill emerging roots. Sow one pinch per cell and thin later rather than sowing thickly and fighting a mat of seedlings. Five minutes of care at sowing saves an hour of rescue work later. The tray is the seedling’s whole world for six weeks; make it a good one.
6. Crack the Germination Code
Garlic chives germinate in 7 to 14 days in ideal conditions, but seed that sits cold, dry, or buried too deep can take 21 days or fail entirely. Run this checklist when germination stalls. First, temperature: the tray must hold 18 to 21°C; a cold windowsill in March is the most common failure. Second, moisture: the mix must stay evenly moist, never crusted and never soggy. Third, seed age: allium seed loses vigor after two to three years, so buy fresh seed each season. Fourth, depth: seed buried deeper than 1 cm exhausts its reserves before reaching light. Fifth, patience: give it 21 days before declaring failure. When a tray collapses at the soil line instead, read the damping-off guide and start clean.
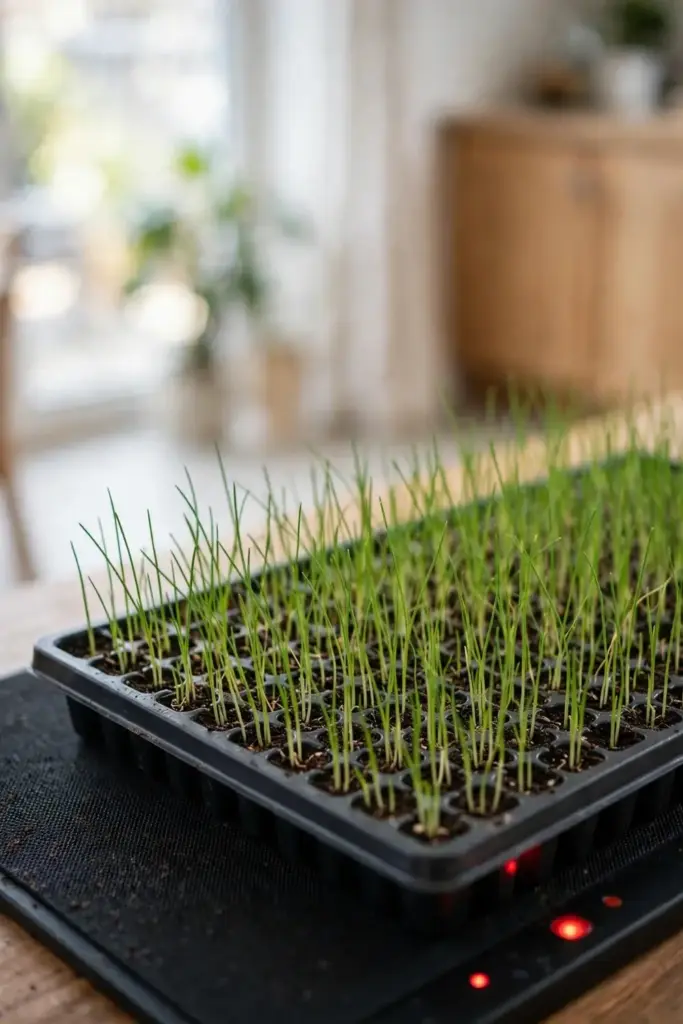
The heat mat is the single best germination investment for this crop. A basic mat holds the tray at 20°C regardless of room temperature, and germination jumps from patchy to near-total. Without one, the top of the refrigerator or a warm shelf above a radiator works as a poor substitute. Check the tray daily once sowing passes day five. The first seedlings look like tiny green needles; move the tray into strong light the day they appear, or they stretch pale and weak within 48 hours. Light timing matters as much as heat.
7. Thin and Transplant Crowded Seedlings
Allium seedlings dislike crowding but thrive in company: thin to the strongest, keeping 2 to 3 plants every 15 to 20 cm. When seedlings reach 10 cm tall, transplant them out, handling by the leaf tips, never the stem. Plant at the same depth they grew in the tray; buried crowns rot. Space final plantings 30 cm apart in all directions for a solid clump bed. Water in well and shade for two days if the sun is fierce. Seedlings look fragile but are tougher than they appear. A tray that seemed overcrowded in May becomes a thick, productive clump by August.
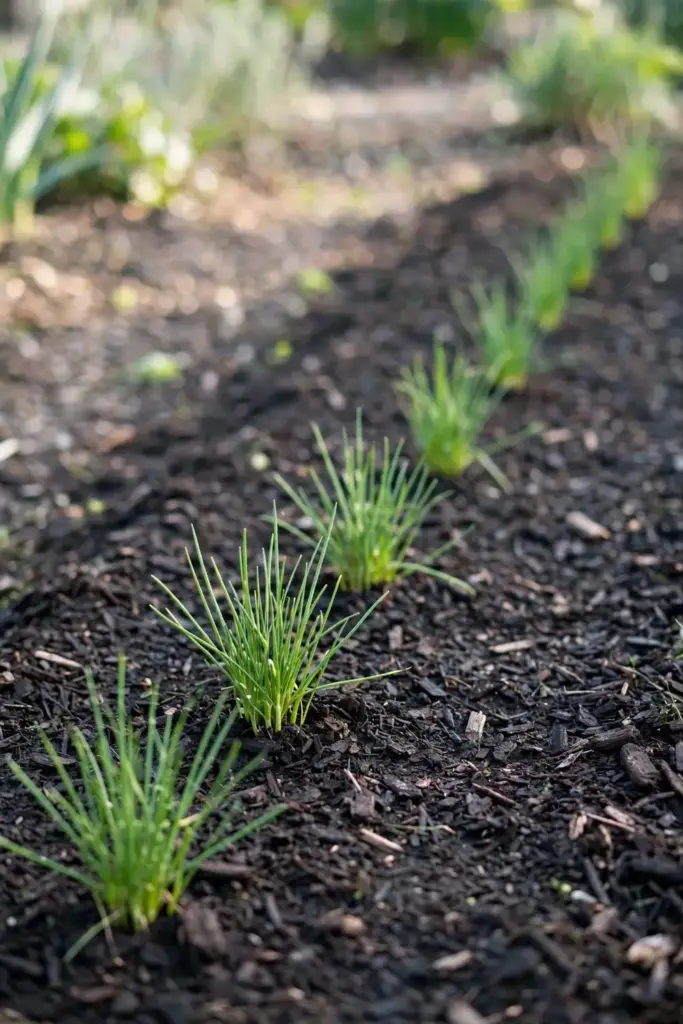
Harden the seedlings off before transplanting. A week of gradually increasing outdoor time builds toughness: two hours the first day, a full day by the seventh. This routine prevents transplant shock that sets the plants back weeks. Seedlings moved straight from a warm windowsill to full sun and wind wilt dramatically and sometimes die. The hardening week feels slow, but it is the difference between seedlings that establish in days and seedlings that sulk for a month. Start hardening when nights stay above 7°C.
8. Give Them Full Sun
Full sun grows the thickest leaves and the most flowers; part shade works but produces thinner, weaker growth. In hot climates, afternoon shade is welcome and prevents the leaf tips from scorching. Six hours of direct sun is the practical minimum for a productive bed. The bed should drain freely: garlic chives tolerate drought but sulk in waterlogged soil, where crowns rot over winter. Raised beds and containers both suit them. Avoid planting under thirsty trees; the competition for water starves the clump. Sun first, drainage second, and the plants do the rest.
Watch the bed through its first summer and adjust. If the leaf tips scorch every afternoon, add a shade cloth for the hottest weeks. If growth is pale and stretched, the spot is too shady and the clump should move in autumn. Garlic chives transplant easily, so a wrong first guess is cheap to fix. The ideal bed gets morning sun, midday brightness, and relief from the worst afternoon heat: east-facing beds are often perfect. A season of observation teaches more than any guide.
9. Water Steadily, Not Soggily
Keep the soil evenly moist through the first season while the clump establishes. After that, water during dry spells; established clumps tolerate drought but produce their best leaves with steady moisture. The leaf tips brown first when water runs short, which signals that harvest quality is slipping even though the plant survives. Mulch 5 cm deep with straw or shredded leaves to hold moisture and suppress weeds. In containers, check daily in summer; pots dry out far faster than beds. Water in the morning so foliage dries by evening. Consistent moisture grows tender leaves; boom-and-bust watering grows tough ones.
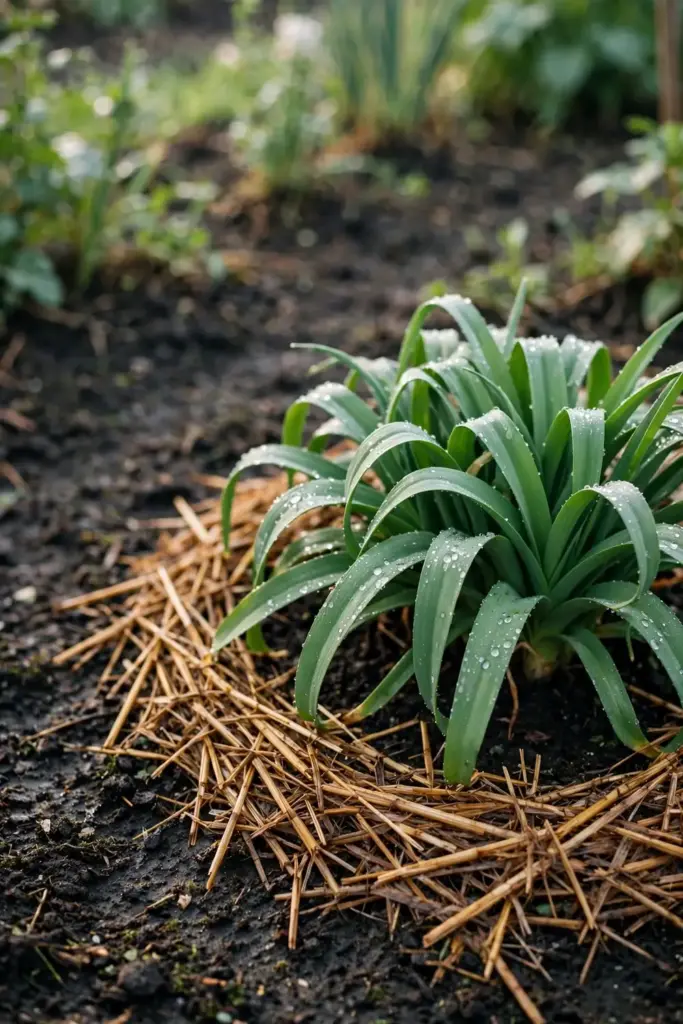
Learn to read the clump. Leaves standing stiff and green mean water is right. Leaves flopping in the afternoon heat mean the roots are dry now, not tomorrow. A deep weekly soaking beats a daily sprinkle: it drives roots down and builds the drought tolerance the species is known for. In practice, a mulched bed in most climates needs watering only in real dry spells. The plant tells you clearly; listen to the leaves. They are the most honest moisture meter in the garden.
10. Feed Lightly for Leaves
Garlic chives ask little from the soil. A yearly top-dressing of compost in spring carries the whole season’s leaf production. If leaves pale and growth stalls, side-dress with a balanced fertilizer at half the label rate once in early summer. Excess nitrogen grows weak, floppy leaves that invite disease. In rich soil, skip feeding entirely; the plants will not miss it. Stop feeding by midsummer so the plants harden off before winter. Container plants need more: top-dress each spring and feed monthly at quarter strength through the growing season, because every watering leaches the pot.
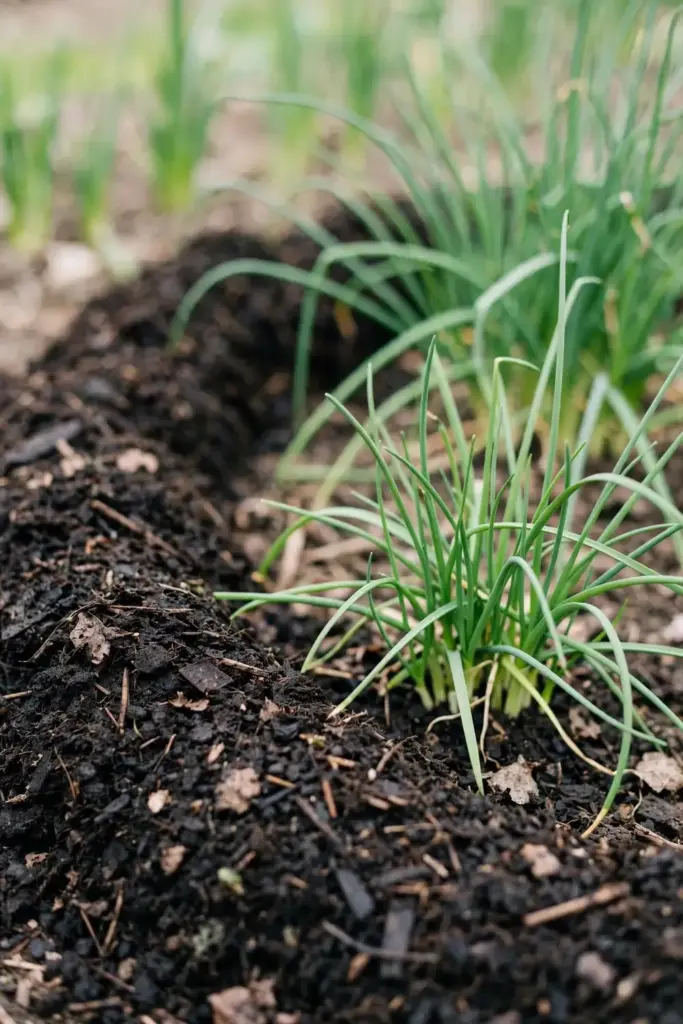
Compost does more than feed. It loosens heavy soil, holds moisture in sandy soil, and feeds the soil life that keeps allium roots healthy. Spread 5 cm under and around the clump each spring, keeping it clear of the crown center. That single annual job replaces a whole fertilizer schedule. Gardeners who compost never need to buy allium fertilizer; the plants thrive on kitchen scraps turned to black gold. The compost habit pays the whole garden, not just the chives.
11. Cut and Come Again
Harvest by cutting leaves 5 cm above the crown with scissors, taking no more than a third of the clump at once. The clump regrows in two to three weeks, giving repeated harvests from spring to frost. Cut in the morning when the flavor is brightest and the leaves are crisp. Snip rather than tear: clean cuts heal fast, ragged tears invite rot. In the first year, harvest lightly so the clump builds strength; from the second year on, cut freely. A well-managed clump yields more over the season than any single cutting suggests. The kitchen never runs out when the bed is cut in rotation.
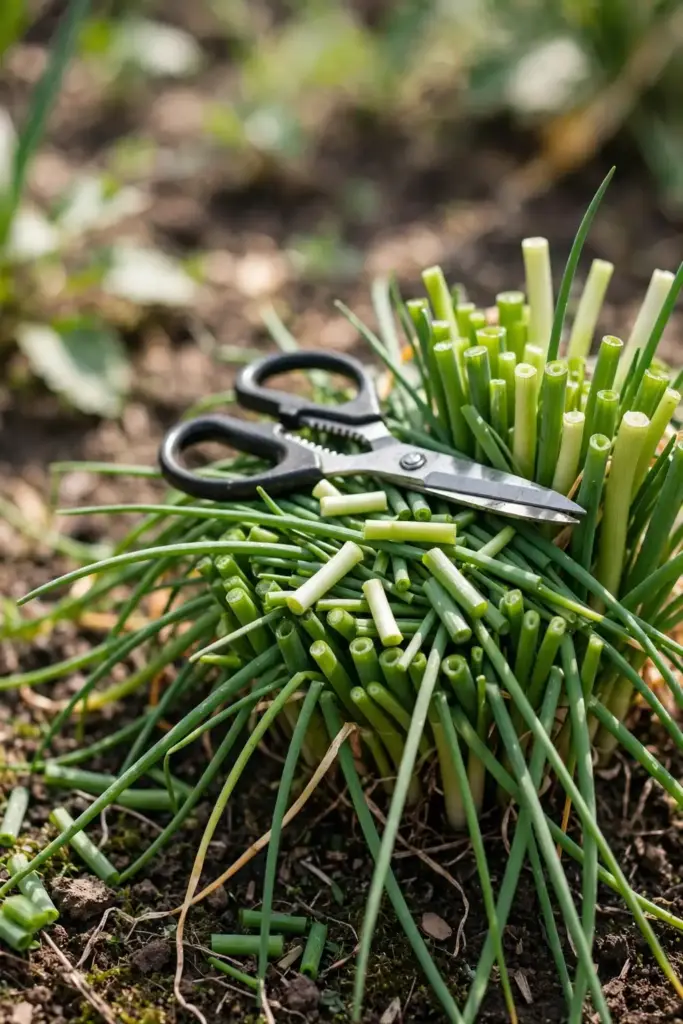
Rotate the cutting across the bed. Cut one section this week and the next section in two weeks, so some part of the bed always holds fresh regrowth. This rotation keeps the harvest tender: leaves cut at 15 to 20 cm are sweet and crisp, while leaves left to 40 cm toughen. The scissors are the most-used tool in the herb garden. Keep a pair by the back door and the garlic chives become a daily habit rather than a weekly chore. A bed cut in rotation out-yields a bed cut all at once, because the plants never stall together.
12. Deadhead to Beat Self-Seeding
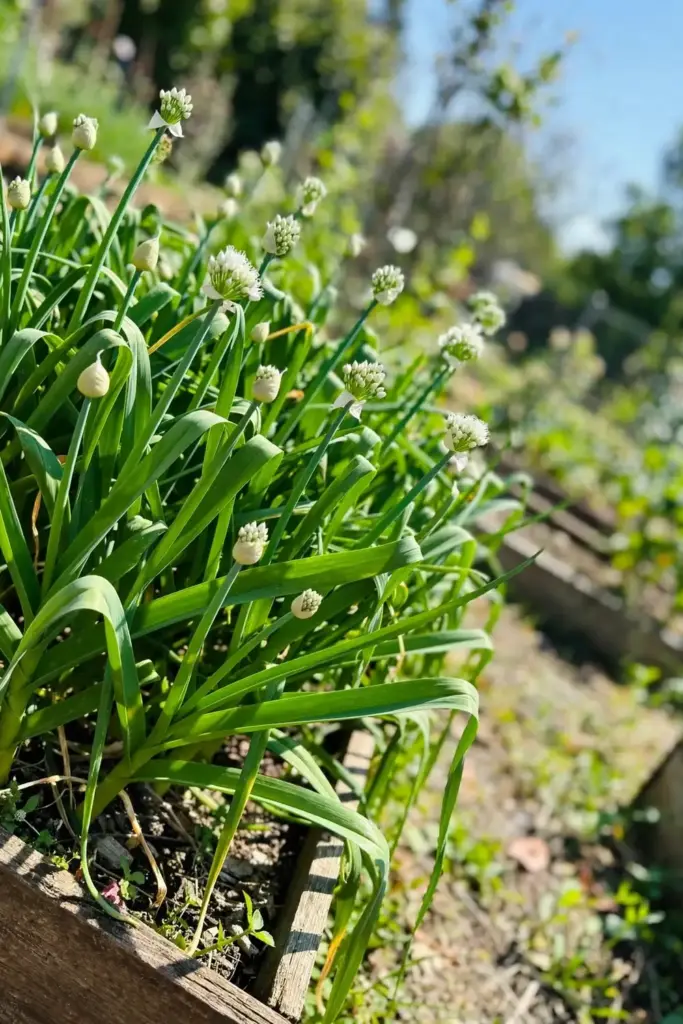
Here is the management this plant demands. Garlic chives self-seed aggressively: every flower head that matures scatters black seed that sprouts within a meter of the parent, and an unheaded bed colonizes the garden in three years. This is aggressive self-seeding rather than true invasiveness, but your beds will not care about the distinction. Deadhead relentlessly: cut the flower stalks as soon as the buds form, or at the latest before the seed ripens. The flowers are edible, so eat them in salads and stir-fries instead of composting them. A weekly deadheading walk through the bed in late summer takes five minutes and saves a spring of weeding. Miss one season and you will spend the next pulling garlic-scented “grass” from every bed.
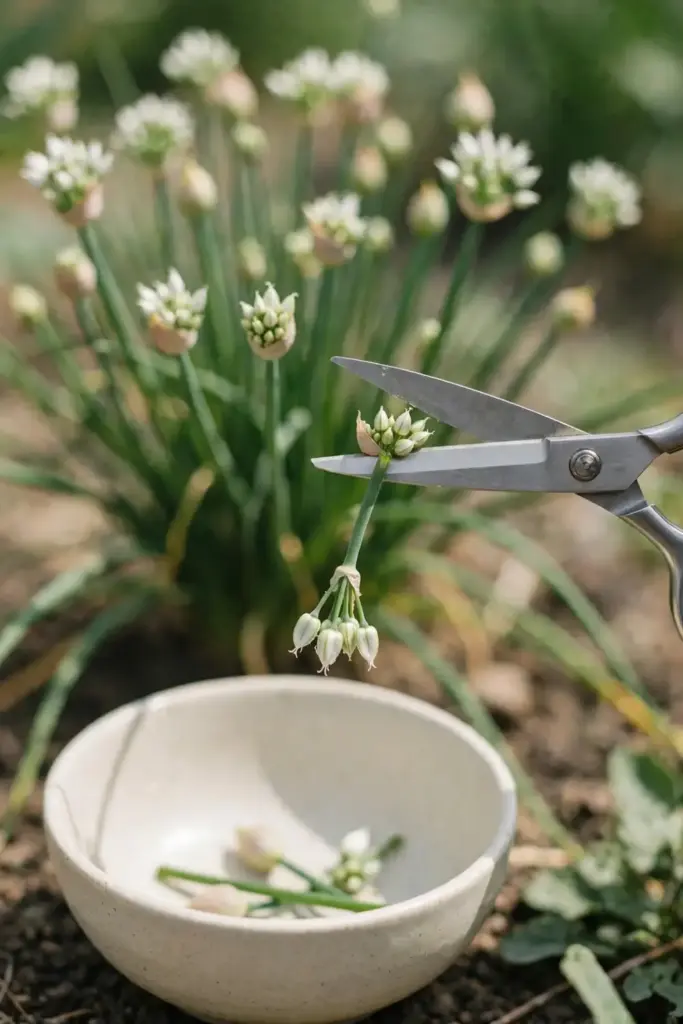
Make the deadheading walk a habit, not a chore. Pair it with the evening garden stroll: scissors in pocket, snip the forming buds, drop them in the salad bowl. The buds are at their best just before opening, with a sweet garlic pop that raw leaves lack. Children love this job; the buds are fun to pick and safe to taste. A bed deadheaded for food never seeds, and the gardener never weeds. The plant’s worst habit becomes the kitchen’s best garnish. Teach the habit to everyone who walks the garden.
13. Divide the Clump
Every three to four years, dig the clump in early spring and pull or cut it into fist-sized divisions, each with roots and leaves. Replant immediately at the same depth, water well, and cut the tops back by half to reduce transplant shock. Divisions establish in weeks and outgrow seed-started plants by midsummer. This is also the moment to share: a single old clump yields a dozen divisions, and every gardening friend wants one. Replant only what you need and give away the rest. A divided clump stays vigorous; an undivided one grows congested and declines in the center.
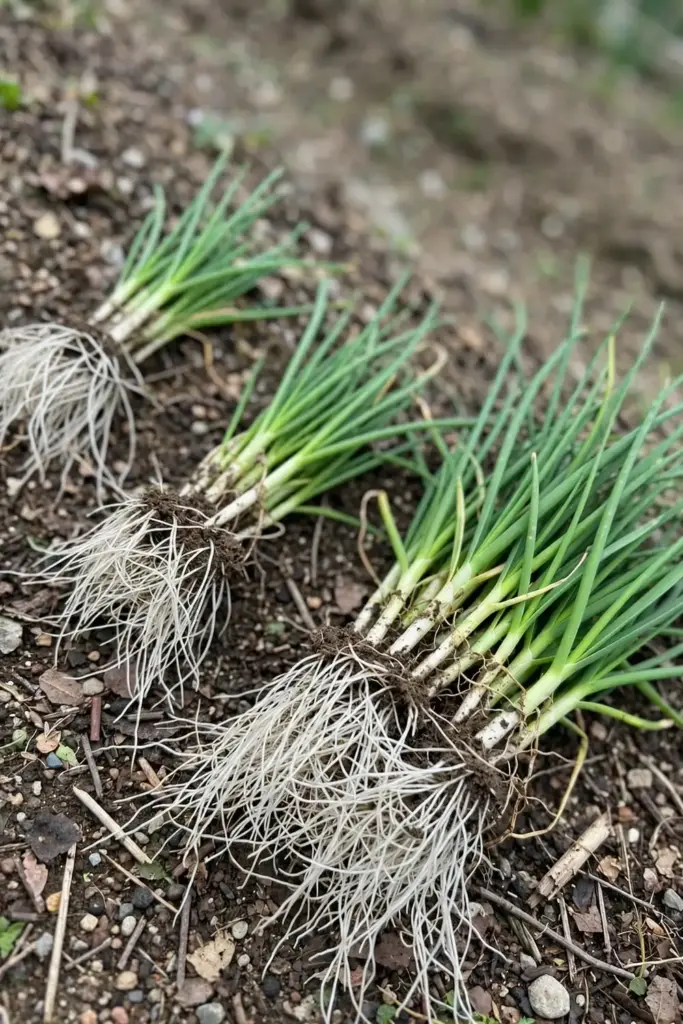
The division day is the best day in the garlic-chive calendar. Invite a friend, dig together, and split the bounty. Each division is a mature plant that skips the whole seedling phase. Pot the extras in small pots for the plant swap or the school fundraiser. Label them with the Latin name; recipients will thank you when they look it up. A clump divided on schedule never needs replacing, which makes garlic chives one of the cheapest perennials in the garden. The only cost is an afternoon with a spade and good company.
14. Overwinter With Zero Fuss
In zones 3 to 7, cut the dead foliage to the ground after the first hard frost and mulch 8 cm deep. The crown sleeps through the cold and re-sprouts in spring, often before you expect it. In zones 8 and 9, the plants stay green all winter; keep cutting lightly and skip the mulch. Containers in cold zones need protection: move the pot into an unheated garage or bury it in the ground for winter. Do not bring garlic chives indoors for winter; they need the cold dormancy to reset. Mark the bed before the snow; dormant crowns are invisible, and spring digging destroys what winter spared.
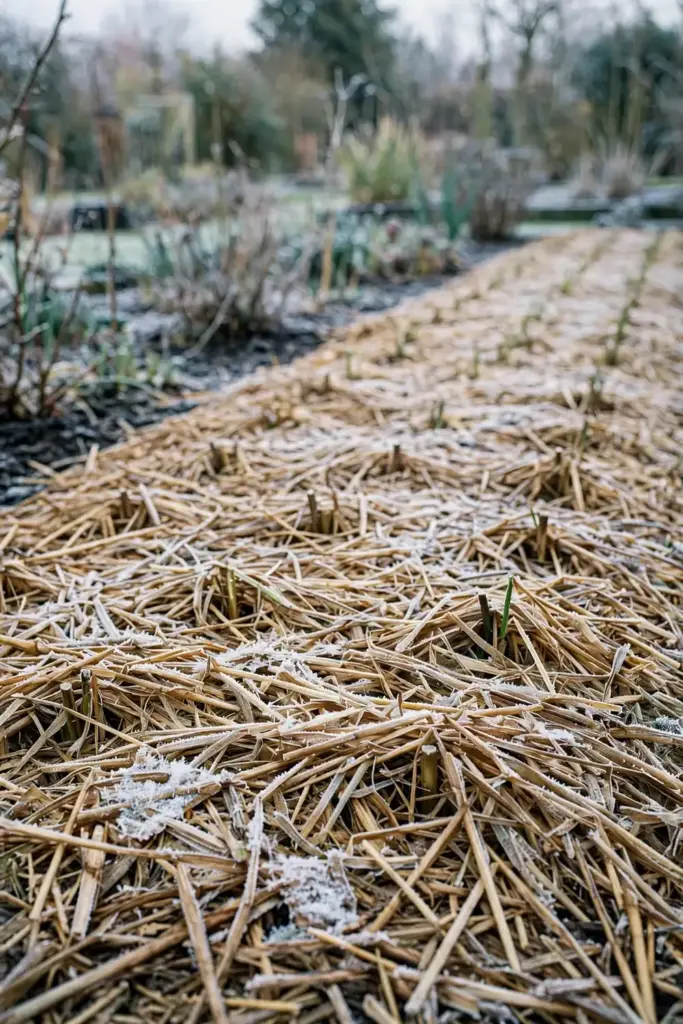
Trust the dormancy. First-year growers panic when the foliage collapses in November, but the crown underground is alive and waiting. Resist the urge to dig and check; every disturbance sets the spring regrowth back. The first green spears in March are one of the garden’s earliest harvests, weeks before most herbs wake. Cut those early leaves sparingly; the plant is spending stored energy, and heavy cutting now weakens the whole season. Patience in March is repaid all summer.
15. Harvest Flowers for Salad
The white star-shaped flower heads are edible and the prettiest harvest of the season. Pick the buds and just-opened flowers in late summer before they set seed, and scatter them over salads, soups, and stir-fries for a sweet-garlic pop. The flower stalks are tougher than the leaves: use the buds and flowers, and compost the stalks. Harvesting the flowers doubles as deadheading, so this is pest control you can eat. A bed allowed to flower fully is a bed about to seed everywhere, so eat the flowers with a clear conscience. This is the one harvest that improves the garden while it feeds the kitchen.
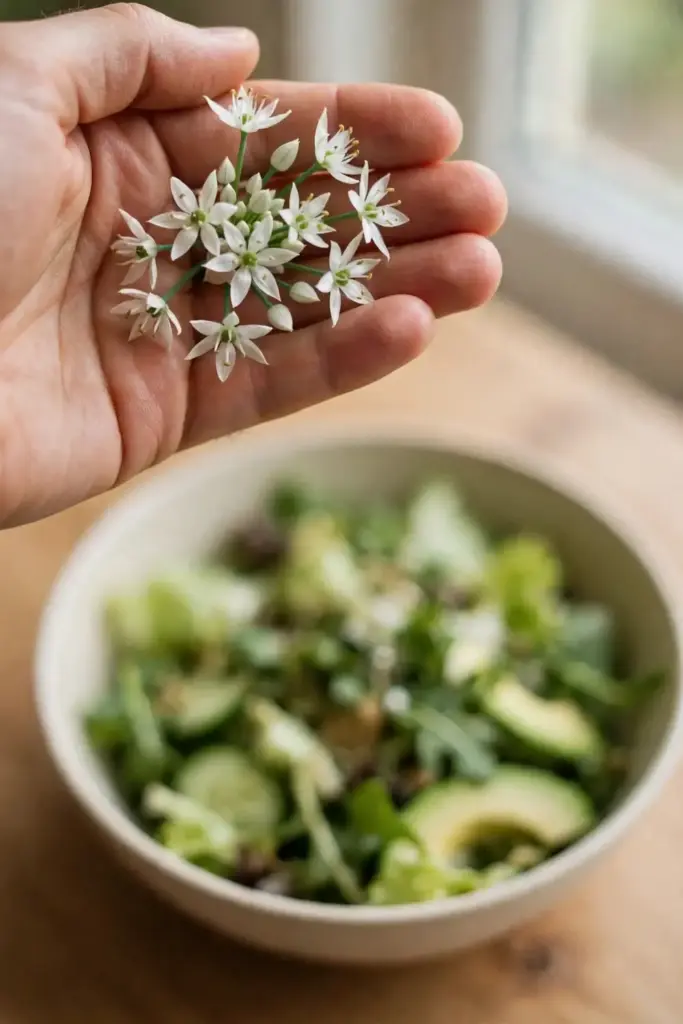
Serve the flowers where guests can see them. A salad scattered with white garlic-chive stars looks like a restaurant dish and tastes better than it looks. The flavor is milder than the leaves, sweet first with garlic lingering after. Pick in the cool of the morning and use the same day; the flowers wilt fast. Keep a small bowl of buds on the counter through August and they will find their way into every meal. Once you have eaten the flowers, you will never let a single one go to seed again.
Frequently Asked Questions
The usual causes are cold soil, old seed, or sowing too deep. Garlic chives need 18 to 21°C for 7 to 14 day germination; a cold windowsill stalls them past 21 days. Use seed bought this season, since allium seed loses vigor after two to three years. Sow 0.6 cm deep, keep the mix evenly moist, and give it three full weeks before declaring failure. A heat mat under the tray fixes most germination problems in one stroke.
They are aggressive self-seeders rather than true invasives, but your beds will not care about the distinction. An unheaded plant scatters seed within a meter each year, and seedlings pop up in lawns, paths, and neighboring beds. Deadhead every flower before seed ripens and the plant stays exactly where you put it. In containers, self-seeding is a non-issue. The plant is easy to remove by digging, unlike genuinely invasive runners, so control is simple: cut the flowers.
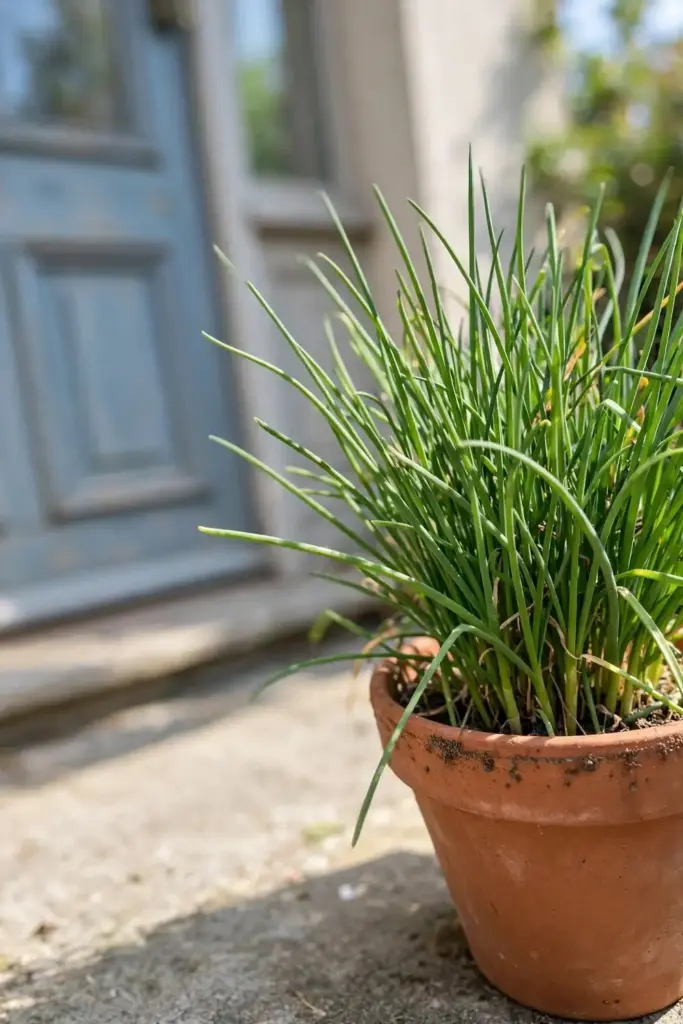
Yes, and pots solve the self-seeding problem entirely. Use a 20-liter pot or larger with drainage holes and rich, moist mix. Keep the pot in full sun and water daily in summer. Divide the clump every two to three years, since pots congest faster than beds. In cold zones, move the pot into an unheated garage for winter. A potted clump on the doorstep gives cut-and-come-again leaves all season with zero weeding.
No. Like all alliums, garlic chives are toxic to dogs and cats, causing damage to red blood cells if eaten in quantity. A curious nibble is unlikely to harm a large dog, but keep the plants out of reach of pets that graze. This is worth knowing before planting a low bed where a dog runs. Grow them in raised beds or containers if your pets are the sampling type.
Where to Go From Here
Fifteen moves, one decade of harvest, and a plant that asks for almost nothing except deadheading. Sow the seed this spring, thin with a firm hand, and cut the flowers before they seed. The clump will feed your stir-fries for ten years and then some. Just remember the weekly deadheading walk in late summer: five minutes that keeps the garlic chives in their bed and out of your lawn.