
Are you dreaming of juicy, sun-warmed tomatoes straight from your garden, but the unpredictability of spring weather leaves you anxious? You’re not alone. I’ve seen countless gardeners struggle with late frosts and sudden temperature drops, watching their tender tomato seedlings wither. It’s frustrating, isn’t it? All that effort, only to see your plants struggle. But here’s the good news: with the right knowledge and techniques, you can confidently grow thriving tomatoes, even when spring throws its curveballs. Let’s dive in and unlock the secrets to a bountiful spring tomato harvest.
1. Seed Starting: The Early Spring Advantage

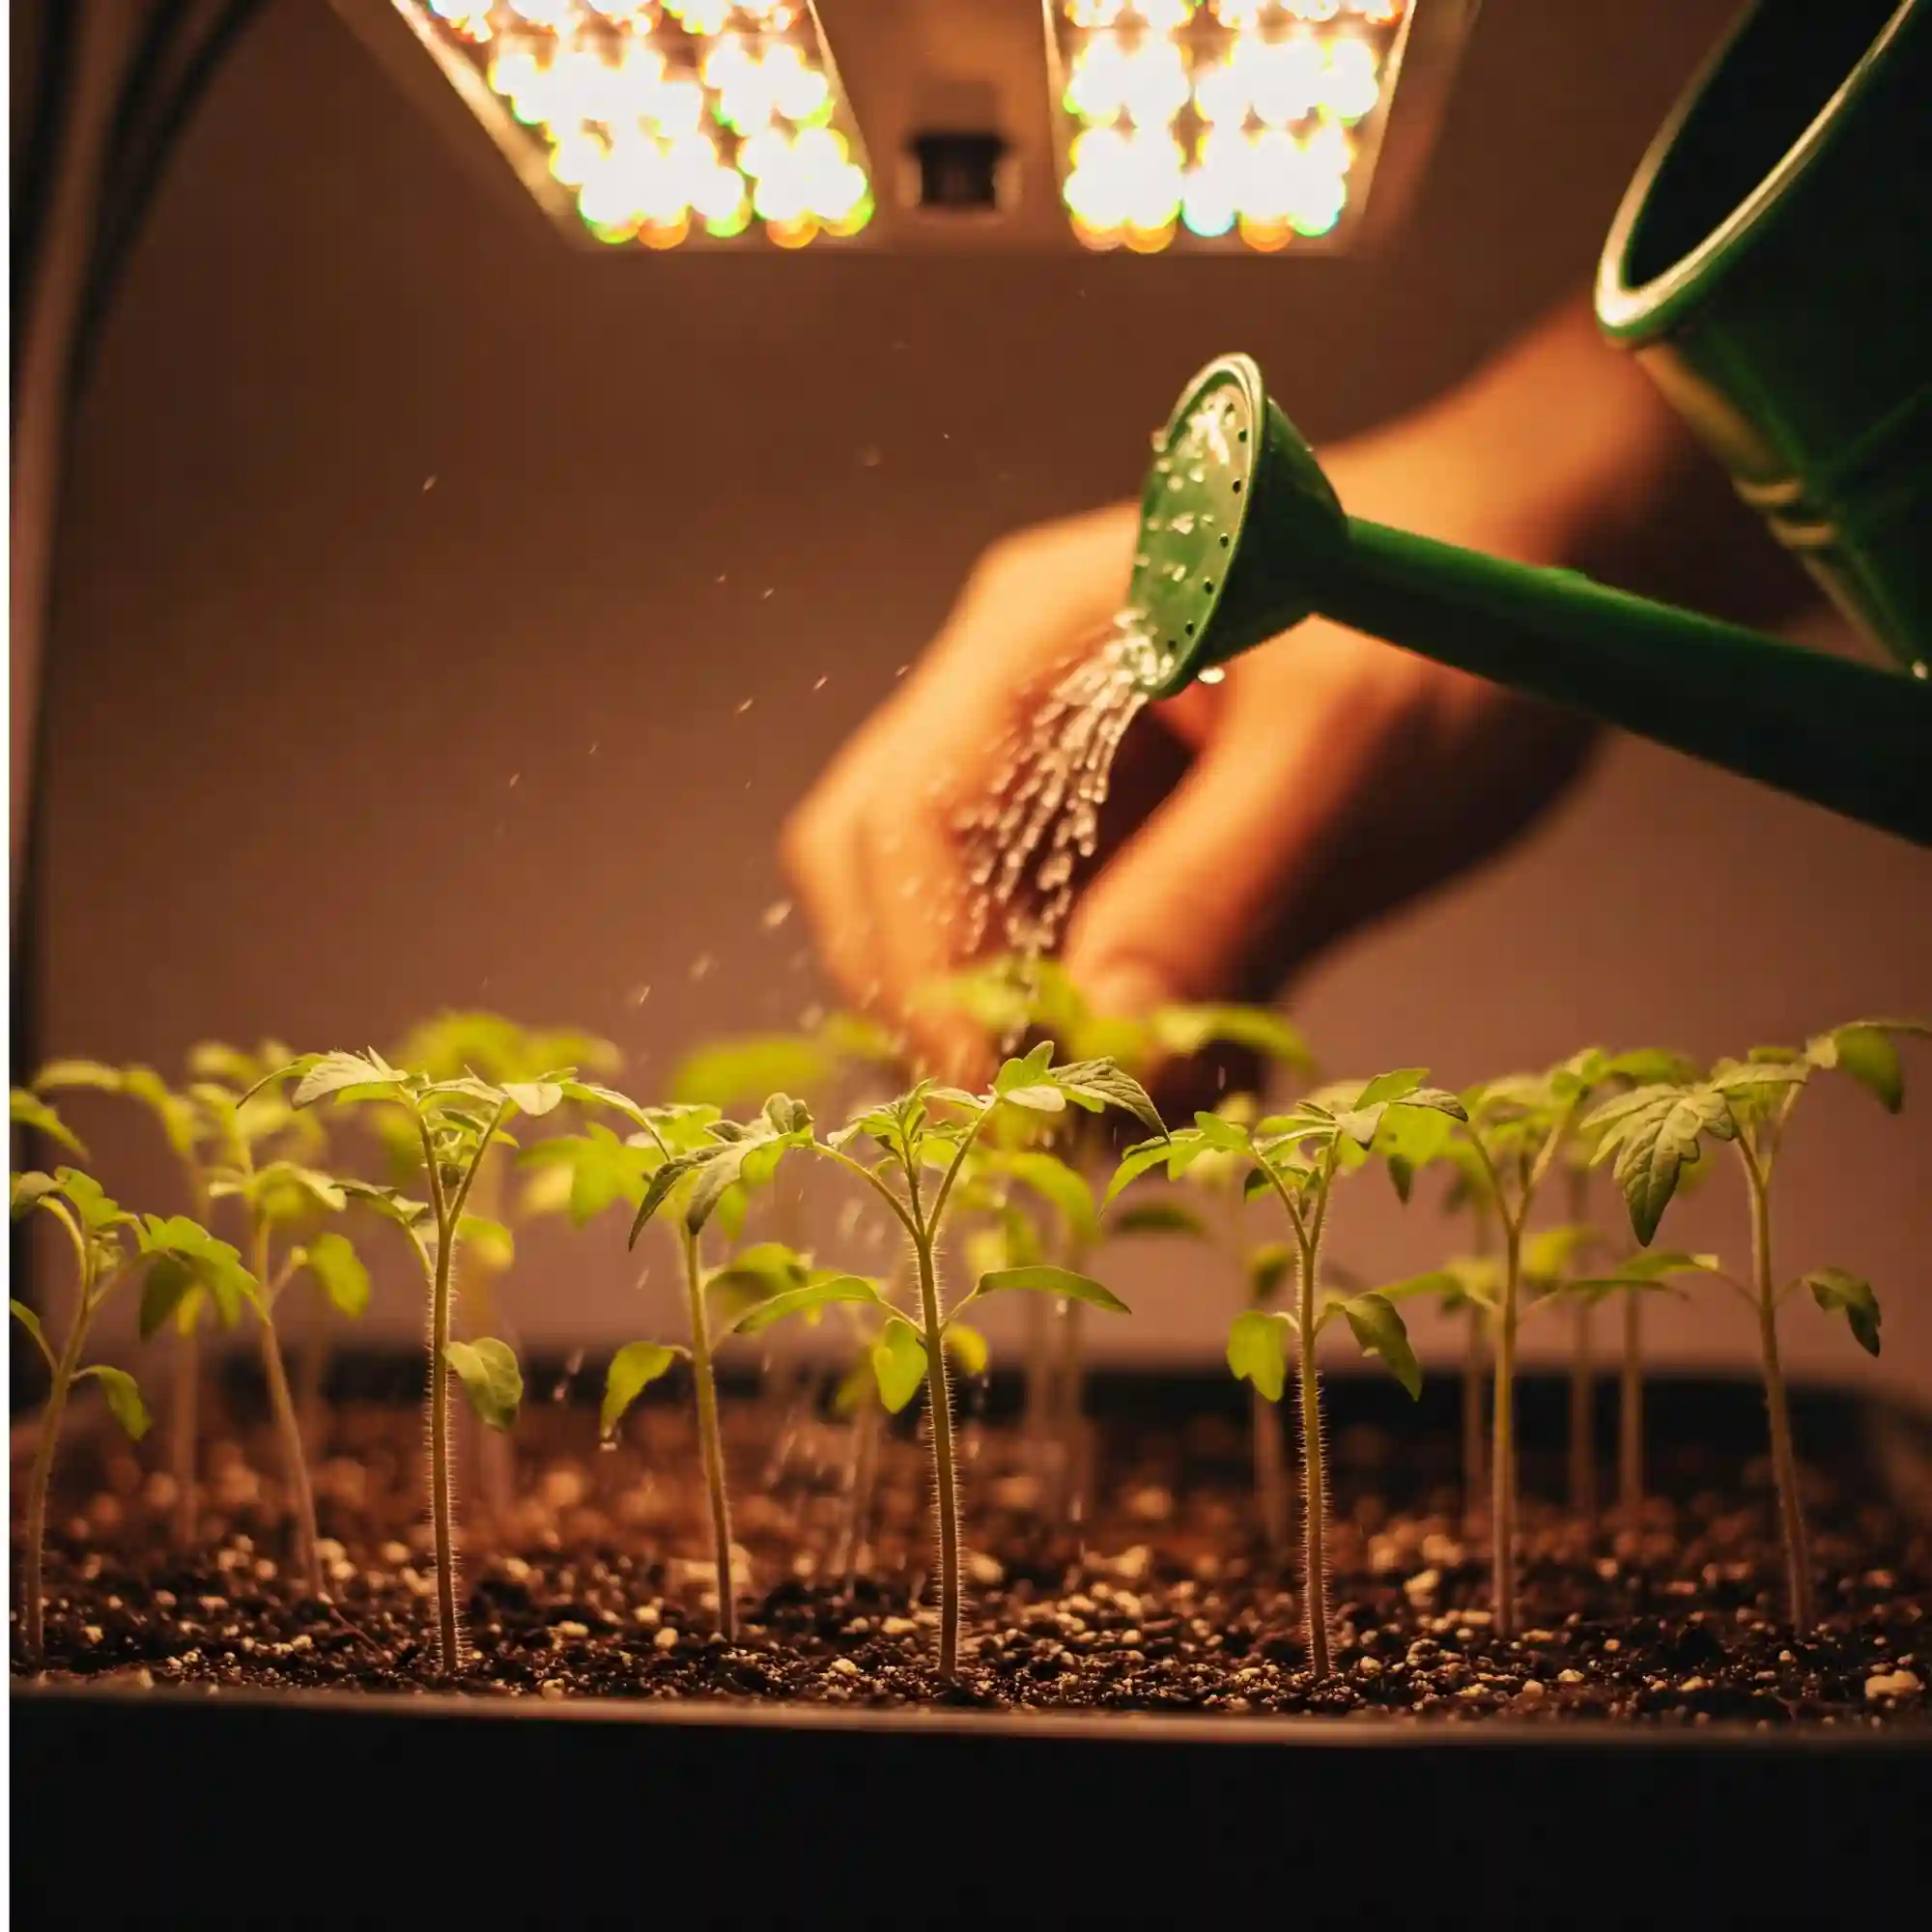
Starting your tomato seeds indoors is the strategic move that gives you a significant head start on the growing season. This is particularly crucial in regions where spring arrives late or where unexpected frosts are common. By initiating the germination process indoors, you’re essentially creating a controlled environment where you can nurture your seedlings until the weather outside becomes reliably favorable.
Why Start Indoors?
- Extended Growing Season: You gain several weeks, or even months, of extra growing time. This is vital for tomato varieties that require a long growing season to mature.
- Controlled Environment: Indoor seed starting allows you to regulate temperature, humidity, and light, ensuring optimal conditions for germination and early growth.
- Stronger Seedlings: You can develop robust and healthy seedlings that are better equipped to withstand the challenges of transplanting and outdoor conditions.
- Variety Selection: Starting seeds indoors gives you access to a wider range of tomato varieties, including those that might not be readily available as transplants at local nurseries.
Ideal Timing for Sowing
The timing of sowing your tomato seeds indoors is crucial. I’ve found that counting backward from your last expected frost date is the most effective approach. Generally, you should aim to sow your seeds 6 to 8 weeks before this date.
- Know Your Climate Zone: Understanding your USDA plant hardiness zone is essential for determining your last frost date.
- Local Weather Patterns: Pay attention to local weather forecasts and historical data to refine your timing.
- Seed Packet Information: Always consult the seed packet for specific recommendations from the seed supplier.
Essential Supplies
To create the ideal indoor seed-starting setup, you’ll need a few essential supplies:
- Seed Trays or Pots: Choose trays or pots with good drainage to prevent waterlogging.
- Seed Starting Mix: Use a fine-textured, sterile seed starting mix that provides good aeration and moisture retention.
- Grow Lights: Provide adequate light with fluorescent or LED grow lights, as natural light from a window is often insufficient.
- Heat Mats: Maintain a consistent soil temperature of 70-80°F (21-27°C) for optimal germination.
- Spray Bottle or Watering Can: Use a gentle spray or watering can to avoid disturbing the seeds and seedlings.
- Plant Labels: Label your seedlings to keep track of different varieties.
Maintaining Optimal Germination Conditions
- Consistent Moisture: Keep the seed starting mix consistently moist, but not waterlogged.
- Adequate Light: Provide 14-16 hours of light per day, adjusting the height of the grow lights as the seedlings grow.
- Proper Ventilation: Ensure good air circulation to prevent fungal diseases.
- Temperature Control: Maintain a consistent temperature using heat mats and a room thermometer.
Case Study: The Importance of Seed Starting
I remember a time when I attempted to transplant tomato seedlings directly into my garden without hardening them off. The result was disastrous. The sudden change in temperature and sunlight caused severe transplant shock, and most of the seedlings died. This experience taught me the importance of starting seeds indoors and gradually acclimating them to outdoor conditions.
Practical Tips:
- Use a spray bottle to mist the soil, preventing disturbance of the seeds.
- Ensure proper ventilation to avoid dampening off.
- Label each tray with the variety and planting date.
- Rotate the trays regularly to ensure even light distribution.
- When the seedlings produce their first set of true leaves, begin feeding them a diluted liquid fertilizer.
Facts:
- Tomato seeds typically germinate in 5-10 days under ideal conditions.
- Seedlings should be transplanted when they have 2-3 sets of true leaves.
- Starting seeds indoors can extend the growing season by several weeks.
Seed Starting Timeline
| Task | Timing |
| Sow seeds indoors | 6-8 weeks before last frost date |
| Germination | 5-10 days |
| First true leaves | 2-3 weeks |
| Hardening off | 7-10 days |
| Transplanting | After last frost date |
By following these guidelines, you can give your tomato plants the best possible start, ensuring a bountiful harvest later in the season. Remember, the effort you put in during the early stages will pay off with healthier, more productive plants.
2. Choosing the Right Tomato Varieties for Spring Gardens

Selecting the right tomato varieties for your spring garden is crucial for a successful harvest. With thousands of varieties available, it can be overwhelming to choose the best ones for your specific needs and climate. Understanding the different types of tomatoes and their characteristics will help you make informed decisions and increase your chances of success.
Determinate vs. Indeterminate Varieties
One of the most important distinctions to consider is between determinate and indeterminate varieties.
- Determinate Varieties: These tomatoes grow to a specific height and then stop, producing most of their fruit within a short period. They’re well-suited for smaller spaces and are often preferred for canning and processing. Some popular determinate varieties include ‘Early Girl’, ‘Roma’, and ‘Celebrity’.
- Indeterminate Varieties: These vigorous vines continue to grow throughout the season, producing fruit over an extended period. They require sturdy support structures like cages or stakes. Indeterminate varieties are ideal for fresh eating and can produce a continuous supply of tomatoes throughout the summer. Popular examples include ‘Brandywine’, ‘Beefsteak’, and ‘Cherry’.
Choosing Varieties for Spring Planting
When selecting tomato varieties for spring planting, consider the following factors:
- Climate: Choose varieties that are well-suited to your specific climate zone. Some varieties are more cold-tolerant and can be planted earlier in the season.
- Days to Maturity: Select varieties with shorter days to maturity to ensure they ripen before the onset of hot summer weather.
- Disease Resistance: Opt for varieties that are resistant to common tomato diseases such as early blight, late blight, and fusarium wilt.
- Personal Preferences: Consider your preferred tomato flavor and use. Do you prefer sweet, juicy tomatoes for salads or firmer, meaty tomatoes for sauces and canning?
Recommendations for Early-Maturing Tomato Types
- ‘Early Girl’: A classic early-maturing variety known for its sweet flavor and resistance to diseases.
- ‘Super Early Celebrity’: A hybrid variety that produces large, red fruits with excellent flavor.
- ‘Mountain Fresh’: An early-maturing variety that is well-suited for cooler climates.
- ‘Stupice’: A Russian heirloom variety that matures very early and produces small, flavorful fruits.
By carefully selecting the right tomato varieties for your spring garden, you can increase your chances of a successful and rewarding harvest. Remember to consider your specific needs and climate when making your choices.
3. Soil Preparation: Laying the Foundation for Growth

Just as a sturdy foundation is essential for a house, healthy soil is the cornerstone for thriving tomato plants. Tomatoes are heavy feeders, so providing them with nutrient-rich soil is crucial for optimal growth and fruit production.
The Importance of Well-Draining, Nutrient-Rich Soil
Tomato plants require well-drained soil to prevent root rot. Waterlogged soil can suffocate the roots, leading to stunted growth and reduced yields. At the same time, the soil needs to retain enough moisture to support healthy plant development.
Nutrient-rich soil provides the essential nutrients that tomatoes need to thrive. Tomatoes are particularly hungry for nitrogen, phosphorus, and potassium. Nitrogen promotes leafy growth, phosphorus encourages root development, and potassium is essential for fruit production and overall plant health.
How to Amend Soil with Compost and Organic Matter
Incorporating organic matter into your soil is one of the best ways to improve its structure and fertility. Organic matter, such as compost, manure, and leaf mold, adds nutrients, improves drainage, and increases water retention.
Here’s how to amend your soil:
- Test your soil: Conduct a soil test to determine the pH level and nutrient content.
- Incorporate compost: Add several inches of compost to your garden bed and till it into the top 6-8 inches of soil.
- Add other organic matter: Consider adding other organic materials like well-rotted manure or leaf mold to further enrich the soil.
- Till the soil: Use a garden fork or tiller to thoroughly mix the compost and other amendments into the soil.
Checking and Adjusting Soil pH
Tomato plants prefer slightly acidic soil with a pH between 6.0 and 6.8. If your soil test reveals a pH outside this range, you can adjust it by adding amendments:
- To lower pH: Add sulfur or aluminum sulfate to the soil.
- To raise pH: Add lime to the soil.
What is the Optimal Soil Temperature for Transplanting Tomato Plants in Spring?
Soil temperature plays a crucial role in tomato growth. Cold soil can stunt root development and slow down plant growth. Ideally, the soil temperature should be at least 60°F (15°C) before transplanting tomato seedlings. You can use a soil thermometer to monitor soil temperature.
By preparing your soil properly, you’re setting the stage for a successful tomato season. Remember, healthy soil equals healthy plants, which ultimately translates to a bountiful harvest.
4. Hardening Off: Transitioning Seedlings to the Outdoors

Hardening off is a crucial step in preparing your tomato seedlings for the rigors of the outdoor environment. This gradual acclimation process helps them develop strong, healthy roots and toughens their leaves against the harsher conditions they’ll encounter in the garden. Without hardening off, delicate seedlings can experience transplant shock, leading to stunted growth, wilting, and even death.
Why Hardening Off is Crucial
- Reduces Transplant Shock: Transplant shock occurs when seedlings are abruptly exposed to the full force of outdoor conditions, such as intense sunlight, wind, and fluctuating temperatures. Hardening off helps them adapt gradually, minimizing the impact of transplant shock.
- Promotes Root Development: The process encourages the development of a strong root system, enabling the seedlings to better absorb water and nutrients from the soil.
- Increases Plant Strength: Hardening off helps the seedlings develop thicker stems and leaves, making them more resistant to wind and other environmental stresses.
Step-by-Step Process of Gradually Exposing Seedlings to Outdoor Elements
- Start Gradually: Begin by placing the seedlings outdoors for a short period, such as an hour or two, in a sheltered location protected from direct sunlight and wind.
- Increase Exposure: Gradually increase the duration of outdoor exposure each day, ensuring the seedlings are protected from harsh conditions during the hottest parts of the day.
- Introduce Direct Sunlight: After a few days, start exposing the seedlings to direct sunlight for short periods, gradually increasing the duration as they acclimate.
- Monitor for Signs of Stress: Keep a close eye on the seedlings for signs of stress, such as wilting or drooping leaves. If you notice any signs of stress, reduce the duration of outdoor exposure or provide additional shade.
Tips for Protecting Seedlings During the Hardening-Off Period
- Choose a Sheltered Location: Select a location that is protected from strong winds, such as a patio or porch.
- Provide Shade: Use shade cloth or floating row covers to protect the seedlings from intense sunlight.
- Water Regularly: Ensure the seedlings receive adequate moisture, especially during the hardening-off period.
- Protect from Cold Temperatures: If nighttime temperatures are expected to drop below 50°F (10°C), bring the seedlings indoors or cover them with a frost blanket.
By following these guidelines, you can successfully harden off your tomato seedlings and prepare them for a successful transition to the garden. Remember, patience and careful observation are key to ensuring a smooth and stress-free acclimation process.
In my experience, I’ve found that starting the hardening-off process a week or two before the expected transplanting date works well for most climates. However, it’s always best to adjust the process based on your specific weather conditions and the sensitivity of your seedlings.
5. Transplanting Techniques: Setting Up for Success

The moment you’ve been waiting for has arrived: transplanting your sturdy seedlings into their permanent homes in the garden. This step requires careful handling to minimize stress on the young plants and ensure a smooth transition to their new environment.
Optimal Timing for Transplanting
Transplanting at the right time is crucial for success. Aim to transplant after the last expected frost date in your region and when soil temperatures have warmed to at least 60°F (15°C). Warmer soil temperatures encourage faster root growth and overall plant vigor.
Proper Spacing and Depth for Planting Seedlings
Proper spacing is essential for optimal growth and yield. The recommended spacing depends on the variety and growth habit of your tomato plants.
- Determinate varieties: Typically require 18-24 inches between plants and 3-4 feet between rows.
- Indeterminate varieties: Often require more space, with 24-36 inches between plants and 4-6 feet between rows.
When planting, bury the seedlings slightly deeper than they were growing in the pots. This encourages the development of additional roots along the buried stem.
How to Minimize Root Disturbance During Transplanting
Gently handle the seedlings to minimize root disturbance, as this can shock the plants.
- Water the seedlings thoroughly: Water the seedlings well before transplanting to make them easier to remove from their pots.
- Gently remove the seedlings: Carefully lift the seedlings from their pots, being mindful of the root ball. If the roots are circling around the bottom of the pot (root-bound), gently tease them apart before planting.
- Plant carefully: Create a small hole in the prepared soil and gently place the seedling in the hole. Backfill the hole with soil, firming it gently around the base of the plant.
Best Fertilizer and Watering Schedule for Tomatoes Growing in Spring Raised Beds
- Fertilizing: Apply a balanced fertilizer, such as a 5-10-10 or 10-10-10 formulation, at the time of planting. Follow the fertilizer package instructions for the correct application rate. You can also side-dress with additional fertilizer once or twice during the growing season.
- Watering: Water the newly transplanted seedlings deeply and regularly, especially during dry periods. Avoid overhead watering, as this can spread diseases. Water deeply and infrequently to encourage deep root growth.
By following these transplanting techniques, you can ensure a smooth transition for your tomato seedlings and set them up for a successful growing season. Remember to handle the plants gently and provide them with the care they need to thrive.
6. Frost Protection: Safeguarding Your Young Plants

Even after the last expected frost date, there’s always the risk of unexpected late-season frosts. These sudden drops in temperature can severely damage or even kill young tomato plants. Implementing effective frost protection measures is essential to safeguard your investment and ensure a successful harvest.
Identifying Signs of Potential Frost Damage
- Weather Forecasts: Pay close attention to weather forecasts and be prepared to take action if frost is predicted.
- Temperature Monitoring: Use a thermometer to monitor overnight temperatures in your garden.
- Plant Behavior: Keep a close eye on your tomato plants for signs of frost damage, such as wilting, discoloration, or blackened leaves.
Using Row Covers, Frost Blankets, or Cloches for Protection
- Row Covers: These lightweight, breathable fabrics create a protective barrier that shields plants from frost. They allow sunlight and moisture to penetrate while trapping heat.
- Frost Blankets: These heavier-duty covers provide more insulation and are particularly effective for protecting plants during severe frosts.
- Cloches: These bell-shaped covers create a mini-greenhouse effect, trapping heat around individual plants.
Strategies for Dealing with Unexpected Late Spring Frosts
- Watering: Water your plants deeply before a predicted frost. Moist soil retains heat better than dry soil.
- Soil Preparation: Mulching around the base of the plants can help insulate the soil and protect the roots.
- Emergency Measures: If a frost occurs unexpectedly, you can try to protect your plants by covering them with sheets, blankets, or even cardboard boxes.
How to Protect Newly Planted Tomato Seedlings from Late Spring Frost
Newly planted seedlings are particularly vulnerable to frost damage. Consider these additional protection measures:
- Delay Planting: If a late frost is predicted, delay transplanting until the risk has passed.
- Choose a Sheltered Location: Plant your tomatoes in a sheltered location, such as near a wall or fence, to minimize exposure to cold winds.
- Use Cold Frames: If available, use cold frames to provide additional protection for your seedlings.
By implementing these frost protection strategies, you can significantly reduce the risk of frost damage and increase your chances of a successful tomato harvest. Remember, prevention is key, so be prepared to take action when frost is predicted.
Additional Tips:
- Monitor the weather forecast closely and be prepared to take action quickly if a frost is predicted.
- Regularly inspect your plants for signs of frost damage and take appropriate measures if necessary.
- Consider planting frost-tolerant tomato varieties, which are less susceptible to damage from cold temperatures.
By following these guidelines and staying vigilant, you can successfully navigate the challenges of spring weather and enjoy a bountiful harvest of homegrown tomatoes.
7. Watering and Fertilizing: Essential Spring Care

Water and nutrients are essential for the healthy growth and development of your tomato plants. While spring often brings rain, it’s important to supplement with regular watering and fertilization to ensure your plants receive the resources they need to thrive.
Establishing a Consistent Watering Schedule
Tomato plants require consistent moisture, especially during dry periods. However, overwatering can lead to root rot, so it’s important to strike a balance.
- Water deeply and infrequently: Water deeply to encourage deep root growth. Aim to water thoroughly once or twice a week, depending on the weather and soil conditions.
- Check soil moisture: Stick your finger into the soil to check for moisture. If the top inch of soil is dry, it’s time to water.
- Mulch around the plants: Mulching helps to conserve soil moisture, reduce weed growth, and regulate soil temperature.
Choosing the Right Fertilizer for Spring Tomato Growth
Tomatoes are heavy feeders, so regular fertilization is essential for optimal growth and fruit production.
- Choose a balanced fertilizer: A balanced fertilizer, such as a 5-10-10 or 10-10-10 formulation, provides a good balance of nitrogen, phosphorus, and potassium.
- Apply fertilizer at planting: Apply a balanced fertilizer at the time of planting, following the package instructions for the correct application rate.
- Side-dress with additional fertilizer: Apply a second dose of fertilizer once or twice during the growing season, typically 4-6 weeks after the first application.
- Consider organic fertilizers: Organic fertilizers, such as compost tea or fish emulsion, can provide slow-release nutrients and improve soil health.
How to Avoid Over-Fertilizing and Overwatering
- Avoid over-fertilizing: Over-fertilizing can lead to excessive vegetative growth at the expense of fruit production. It can also damage the roots and cause nutrient imbalances.
- Avoid overhead watering: Overhead watering can spread diseases and encourage fungal growth. Water at the base of the plants to keep the foliage dry.
Effective Organic Pest Control Methods for Tomato Plants in Spring Gardens
- Introduce beneficial insects: Encourage beneficial insects, such as ladybugs and lacewings, to your garden to naturally control pests.
- Use organic pest control methods: Consider using organic pest control methods, such as neem oil, insecticidal soap, or diatomaceous earth.
- Practice crop rotation: Rotating your crops can help to break the life cycle of pests and diseases.
By providing your tomato plants with the right amount of water and nutrients, you can ensure their healthy growth and maximize your harvest. Remember to monitor your plants closely and adjust your watering and fertilizing practices as needed.
8. Pest and Disease Management: Preventing Spring Problems

Spring can bring a host of challenges for tomato plants, including pests and diseases. By understanding common threats and implementing effective management strategies, you can protect your plants and ensure a healthy harvest.
Common Spring Pests and Diseases Affecting Tomatoes
- Pests:
- Aphids: These small, sap-sucking insects can weaken plants and transmit diseases.
- Tomato hornworms: These large caterpillars can quickly defoliate plants.
- Whiteflies: These tiny insects can cause leaf yellowing and stunt plant growth.
- Flea beetles: These small beetles can skeletonize leaves, leaving behind small holes.
- Diseases:
- Early blight: This fungal disease causes dark spots on leaves and stems.
- Late blight: This fungal disease can cause rapid defoliation and fruit rot.
- Septoria leaf spot: This fungal disease causes small, brown spots on leaves.
Organic and Natural Pest Control Methods
- Introduce beneficial insects: Encourage beneficial insects, such as ladybugs and lacewings, to your garden to naturally control pests.
- Use organic pest control methods: Consider using organic pest control methods, such as neem oil, insecticidal soap, or diatomaceous earth.
- Practice crop rotation: Rotating your crops can help to break the life cycle of pests and diseases.
Preventative Measures to Minimize Disease Risk
- Proper watering: Avoid overhead watering, as this can spread diseases. Water at the base of the plants to keep the foliage dry.
- Maintain good air circulation: Space plants adequately to allow for good air circulation, which helps to prevent the spread of fungal diseases.
- Remove infected plant material: Remove and destroy any infected plant material to prevent the spread of diseases.
How to Prevent Blossom Drop on Tomatoes Grown in Early Spring
Blossom drop, the failure of flowers to set fruit, is a common problem in early spring, especially during cool and wet conditions. Here are some tips to prevent blossom drop:
- Maintain consistent pollination: Hand-pollinate the flowers by gently shaking the plants or using a small brush to transfer pollen between flowers.
- Provide adequate calcium: Calcium is essential for proper fruit development. Ensure your plants receive adequate calcium by fertilizing with a balanced fertilizer that contains calcium.
- Avoid extreme temperature fluctuations: Sudden temperature drops can stress plants and lead to blossom drop.
By implementing these pest and disease management strategies, you can protect your tomato plants from common threats and increase your chances of a successful harvest. Remember, prevention is key, so be vigilant and take action early to address any issues that arise.
Additional Tips:
- Regularly inspect your plants for signs of pests and diseases.
- Take action promptly to address any problems that arise.
- Choose disease-resistant tomato varieties whenever possible.
By following these guidelines and staying vigilant, you can protect your tomato plants from common threats and increase your chances of a successful harvest.
9. Trellising and Support: Encouraging Upward Growth

Trellising and staking your tomato plants are essential practices for supporting their vigorous growth and maximizing yield. These techniques provide stability, prevent the plants from sprawling on the ground, and improve air circulation, which can help to prevent diseases.
Why Trellising is Beneficial for Tomato Plants
- Improved Air Circulation: Trellising helps to improve air circulation around the plants, which can reduce the risk of fungal diseases.
- Increased Sunlight Exposure: By keeping the foliage off the ground, trellising allows more sunlight to reach the plants, promoting photosynthesis and fruit development.
- Easier Access: Trellising makes it easier to access the plants for harvesting, pruning, and pest control.
- Increased Yield: By providing support, trellising can help to increase the overall yield of your tomato plants.
Different Trellising Methods and Materials
- Cages: Tomato cages are cylindrical structures that provide support for the plants. They are easy to use and come in a variety of sizes.
- Stakes: Individual stakes can be used to support each plant. This method is particularly effective for indeterminate varieties.
- Trellis Systems: More elaborate trellis systems, such as vertical ropes or wires, can be used to support multiple plants.
How to Train Tomato Plants for Optimal Growth and Yield
- Start early: Begin training your tomato plants to the trellis or stake as soon as they are tall enough.
- Tie the plants loosely: Use soft ties, such as garden twine or fabric strips, to tie the plants to the support structure. Avoid tying them too tightly, as this can restrict growth.
- Prune suckers: Regularly prune suckers, which are the small shoots that grow from the main stem. This will encourage the plant to focus its energy on fruit production.
- Monitor and adjust: Regularly monitor the plants and adjust the ties as they grow to ensure they are properly supported.
Companion Planting Strategies for Improving Tomato Yield in Spring Gardens
Companion planting involves growing different plants together to benefit from their synergistic relationships. Here are some companion plants that can improve tomato yield:
- Basil: Basil is said to repel insects and improve tomato flavor.
- Marigolds: Marigolds can deter pests and attract beneficial insects.
- Borage: Borage is believed to improve tomato pollination and flavor.
- Chives: Chives can repel pests and add a subtle flavor to tomatoes.
By implementing effective trellising and support techniques, you can optimize your tomato plants’ growth, increase yield, and enjoy a bountiful harvest. Remember to choose the trellising method that best suits your needs and garden space, and to regularly monitor and adjust the support as the plants grow.
Additional Tips:
- Choose sturdy trellising materials that can withstand the weight of the plants.
- Consider using organic materials, such as bamboo stakes or willow branches, for a more natural look.
- Experiment with different trellising methods to find what works best for you and your garden.
By following these guidelines and staying vigilant, you can protect your tomato plants from common threats and increase your chances of a successful harvest.
10. Spring Harvesting and Beyond: Enjoying Your Rewards
The culmination of all your hard work is finally here: harvesting your homegrown tomatoes. This is the moment you’ve been waiting for, the reward for all your efforts in seed starting, planting, and nurturing your plants.
Recognizing Signs of Ripe Tomatoes
Ripe tomatoes exhibit a range of characteristics depending on the variety. Some common signs of ripeness include:
- Color: The color of the tomato will change, depending on the variety. Most varieties turn red, but some may turn yellow, orange, or even purple.
- Firmness: Ripe tomatoes will give slightly when gently pressed.
- Aroma: Ripe tomatoes often have a sweet, fragrant aroma.
Proper Harvesting Techniques to Maximize Yield
- Use sharp pruners: Use clean, sharp pruners to snip the tomatoes from the vine, leaving a short stem attached. This will help to prevent disease and damage to the plant.
- Harvest regularly: Harvest ripe tomatoes regularly to encourage the plant to continue producing fruit.
- Avoid overharvesting: Avoid picking unripe tomatoes, as they will not continue to ripen off the vine.
Extending the Tomato Season with Successive Plantings
To enjoy fresh tomatoes throughout the summer and even into the fall, consider making successive plantings. By planting a few seeds every few weeks, you can stagger the harvest and ensure a continuous supply of fresh tomatoes.
Tips for Choosing the Right Tomato Varieties for Spring Planting in [Your Region]
- Consider your climate: Choose varieties that are well-suited to your specific climate and have a shorter growing season.
- Research local recommendations: Consult with local gardeners and nurseries for recommendations on varieties that have performed well in your region.
- Experiment with different varieties: Try planting a variety of tomato types to discover your favorites.
By following these tips, you can enjoy a bountiful harvest of homegrown tomatoes and savor the fruits of your labor. Remember to experiment, learn from your experiences, and most importantly, have fun!
Additional Tips:
- Store harvested tomatoes at room temperature to allow them to fully ripen.
- Once ripe, store tomatoes in the refrigerator to extend their shelf life.
- Use your fresh tomatoes in a variety of dishes, from salads and sandwiches to sauces and soups.
By following these guidelines and staying vigilant, you can protect your tomato plants from common threats and increase your chances of a successful harvest. Remember, prevention is key, so be vigilant and take action early to address any issues that arise.
By following these guidelines and staying vigilant, you can protect your tomato plants from common threats and increase your chances of a successful harvest. Remember, prevention is key, so be vigilant and take action early to address any issues that arise.
FAQ
To further assist you in your spring tomato-growing endeavors, here are answers to some frequently asked questions:
- Q: How early can I start tomato seeds indoors?
- A: A general guideline is to start seeds 6-8 weeks before your last expected frost date. This allows ample time for the seedlings to develop a strong root system and reach a suitable size for transplanting. However, consult the seed packet instructions, as specific germination times may vary between varieties.
- Q: What’s the best way to harden off tomato seedlings?
- A: Gradual acclimation is key. Start by placing the seedlings outdoors for short periods, gradually increasing the duration of exposure over 7-10 days. Protect them from direct sunlight and wind during the initial stages. Monitor the seedlings closely for signs of stress and adjust the hardening-off schedule accordingly.
- Q: How do I protect my tomato plants from late spring frosts?
- A: Several methods can be used to protect your plants from unexpected frosts. These include using row covers, frost blankets, or cloches. Watering the plants deeply before a predicted frost can also help, as moist soil retains heat better than dry soil. If a frost occurs unexpectedly, you can try to protect your plants by covering them with sheets, blankets, or even cardboard boxes.
- Q: What is the optimal soil temperature for transplanting tomato plants in spring?
- A: The ideal soil temperature for transplanting tomatoes is around 60°F (15°C). You can use a soil thermometer to monitor soil temperature and ensure it has warmed up sufficiently.
- Q: How do I prevent blossom drop on my tomato plants?
- A: Blossom drop can be caused by various factors, including fluctuating temperatures, poor pollination, and nutrient deficiencies. To prevent blossom drop, ensure consistent pollination by gently shaking the plants or hand-pollinating the flowers. Provide adequate calcium by fertilizing with a balanced fertilizer that contains calcium. Maintain consistent watering and avoid extreme temperature fluctuations.
- Q: Best practices for hardening off tomato seedlings in spring?
- A: Start by placing the seedlings outdoors for a few hours a day, gradually increasing the duration of exposure over 7-10 days. Protect them from direct sunlight and wind during the initial stages. Monitor the seedlings closely for signs of stress and adjust the hardening-off schedule accordingly.
- Q: Tips for choosing the right tomato varieties for spring planting in [Your Region]?
- A: Select varieties that are known to perform well in your specific climate and have a shorter growing season. Consult with local gardeners and nurseries for recommendations on varieties that have performed well in your region. Consider trying a variety of tomato types to discover your favorites.
- Q: Effective organic pest control methods for tomato plants in spring gardens?
- A: Encourage beneficial insects, such as ladybugs and lacewings, to your garden to naturally control pests. Use organic pest control methods, such as neem oil, insecticidal soap, or diatomaceous earth. Practice crop rotation to break the life cycle of pests and diseases.
- Q: What is the optimal soil temperature for transplanting tomato plants in spring?
- A: The ideal soil temperature for transplanting tomatoes is around 60°F (15°C). You can use a soil thermometer to monitor soil temperature and ensure it has warmed up sufficiently.
- Q: How to prepare your garden soil for successful spring tomato cultivation?
- A: Amend the soil with compost, ensure good drainage, and test the pH level to ensure it is between 6.0 and 6.8.
- Q: Best fertilizer and watering schedule for tomatoes growing in spring raised beds?
- A: Use a balanced fertilizer, such as a 5-10-10 or 10-10-10 formulation, and apply it at the time of planting. Water deeply and infrequently to encourage deep root growth. Avoid overhead watering, as this can spread diseases.
- Q: Companion planting strategies for improving tomato yield in spring gardens?
- A: Plant basil, marigolds, or borage alongside tomatoes to deter pests and attract pollinators.
By addressing these frequently asked questions, you can gain a deeper understanding of the challenges and rewards of growing tomatoes in spring. Remember, every garden is unique, so adapt these tips to your specific needs and conditions. Happy gardening!


