
Are you tired of your garden looking lackluster after a long winter? You see the first signs of spring, but the mess left behind is overwhelming. The thought of tackling it all might feel daunting. But what if I told you that with a structured approach, you can transform your garden into a vibrant, blooming paradise? I’ve been there, feeling the same way, but I’ve learned that a solid spring garden cleanup checklist is your secret weapon. Let’s dive in and make your garden the envy of the neighborhood.
1. Debris Removal: Clearing the Winter Clutter

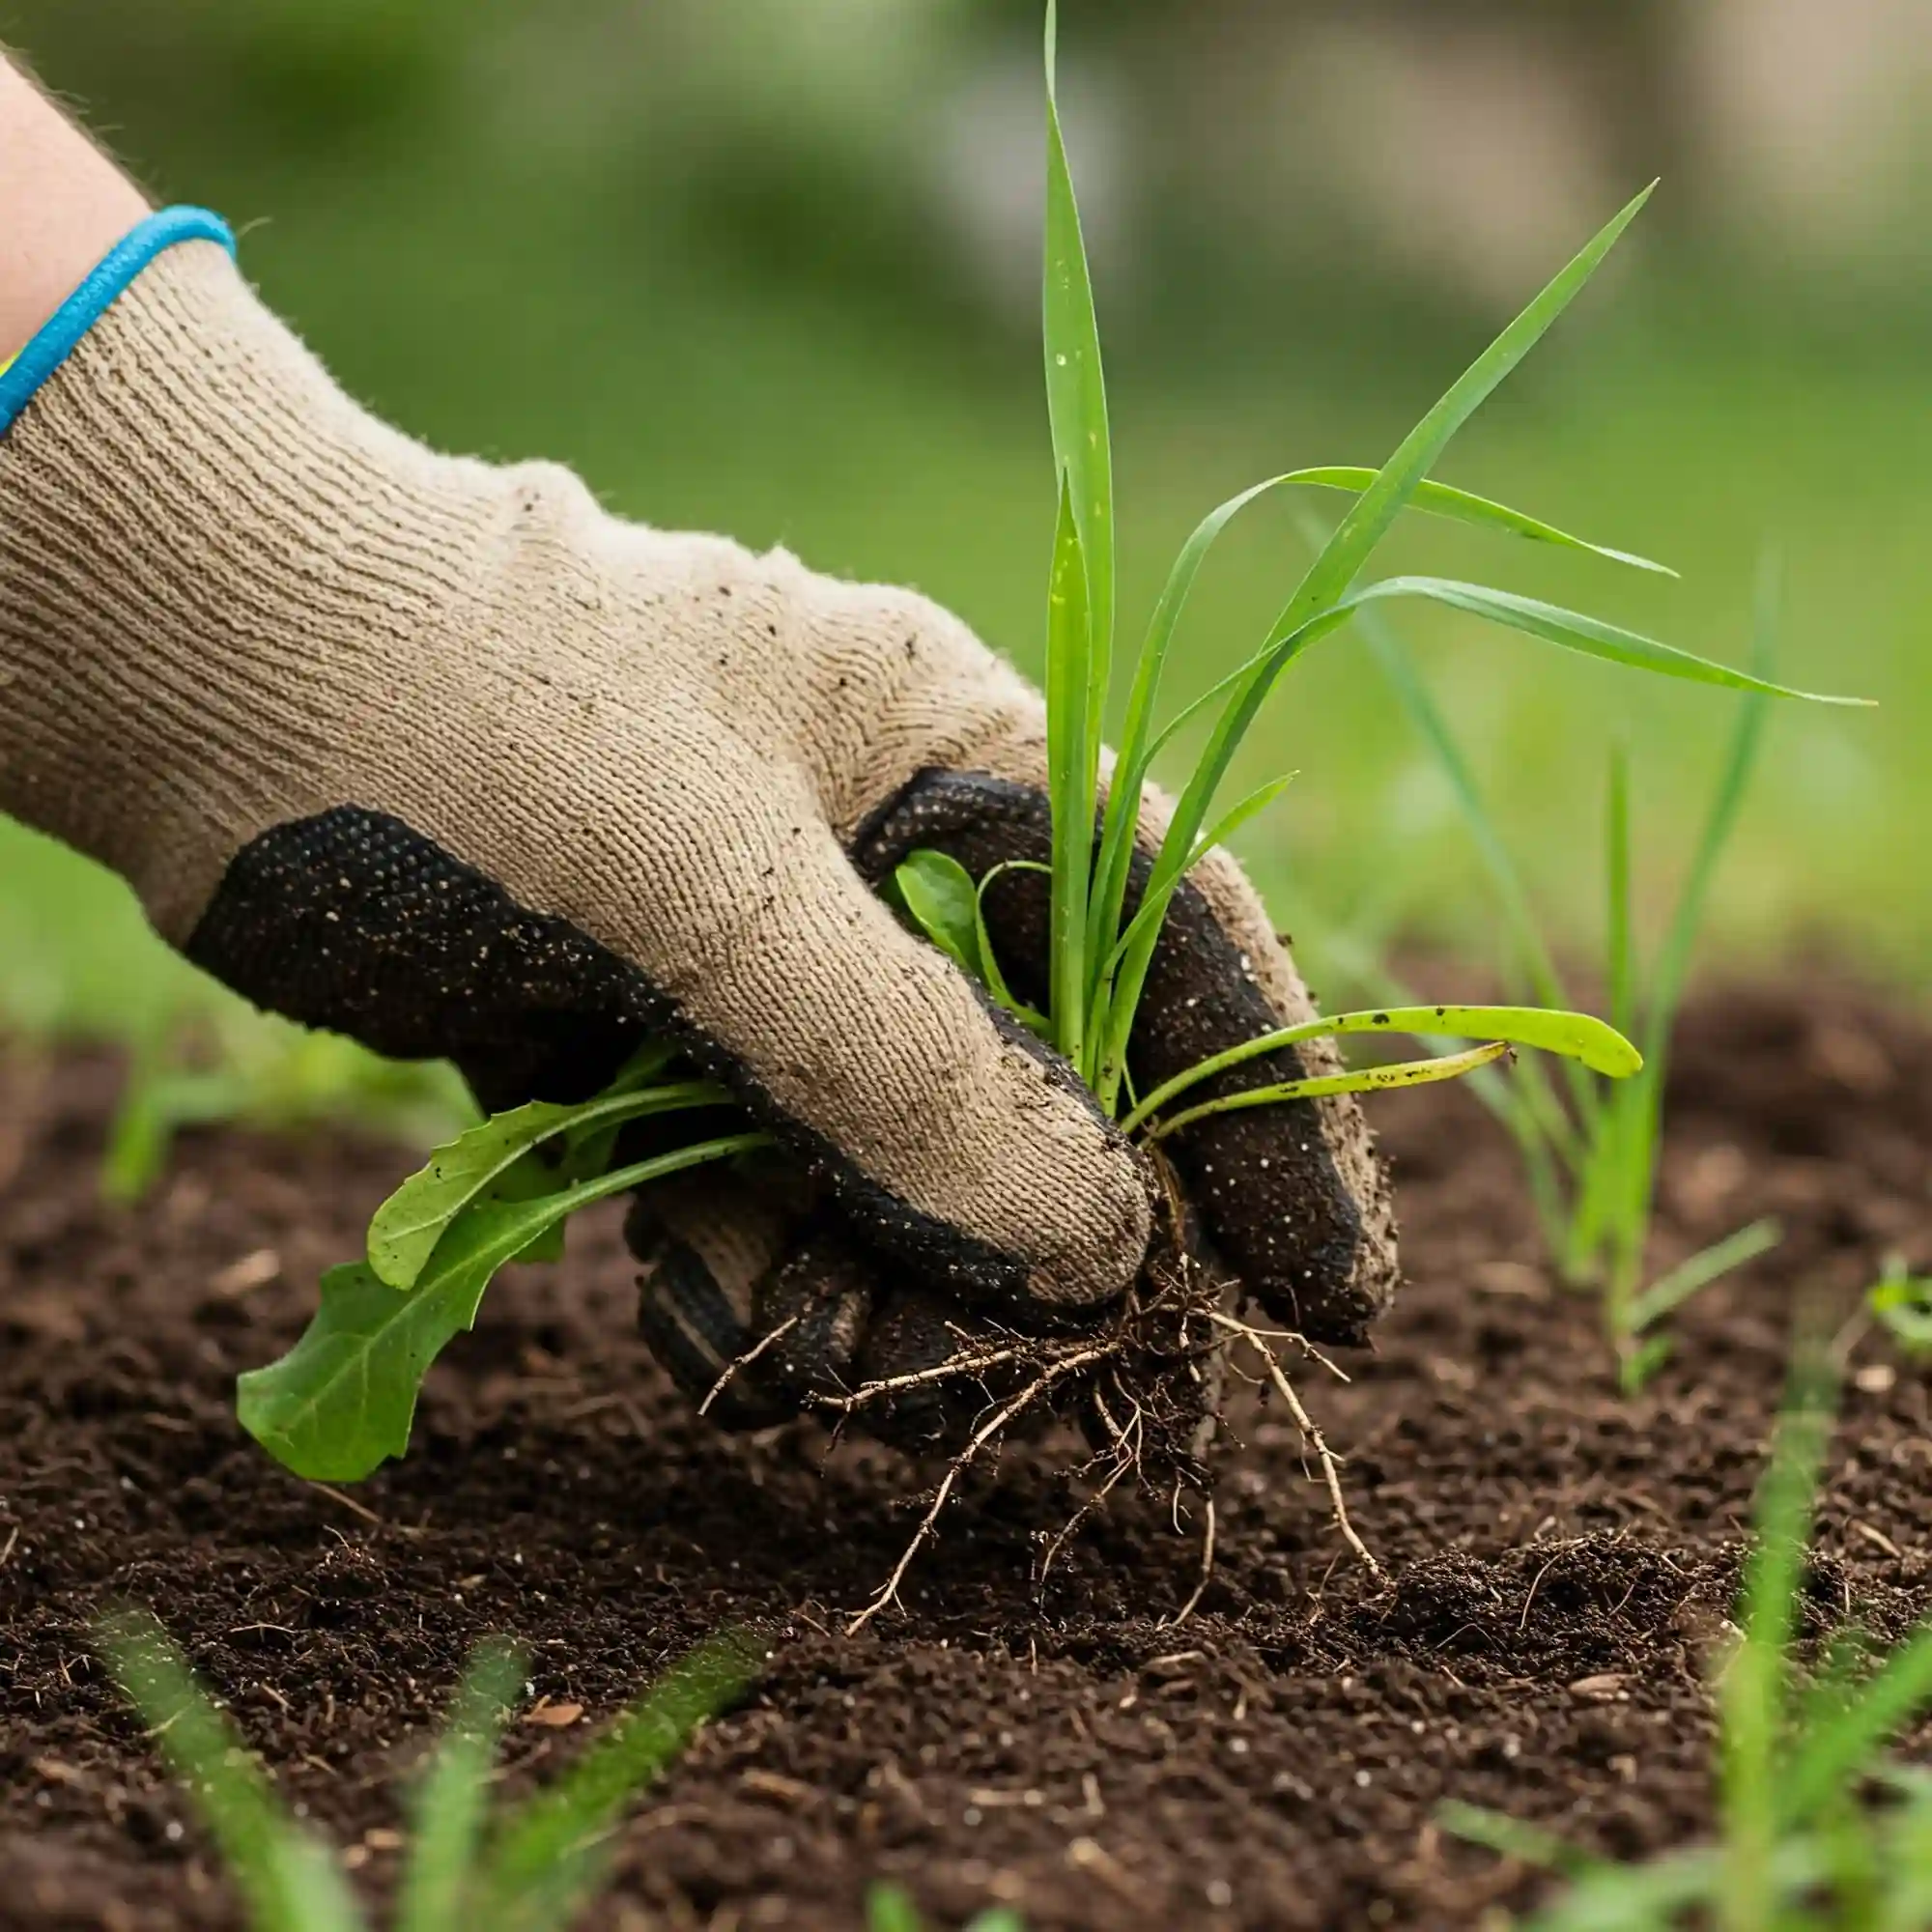
I always begin my spring garden cleanup by tackling the debris. Winter leaves behind a mess of fallen leaves, broken branches, and dead plant material. You might think, “Well, it’s just a few leaves,” but these seemingly harmless remnants can harbor pests and diseases that will wreak havoc on your new growth. You need to think of it as giving your garden a fresh start.
- Why is removing debris crucial for a healthy garden?
- Debris provides a breeding ground for fungal diseases like powdery mildew and botrytis. These diseases thrive in the damp, dark conditions created by piles of leaves and dead plant material.
- Pests like slugs, snails, and overwintering insects find shelter in these areas. By removing the debris, you’re eliminating their hiding spots, reducing the risk of infestations.
- Debris can also smother new growth. As plants emerge from the soil, they need access to sunlight and air. A thick layer of leaves can prevent this, leading to weak or stunted growth.
- What tools are best for clearing winter debris?
- Rakes: A sturdy leaf rake is essential for gathering fallen leaves and light debris. I prefer a flexible plastic rake, as it’s gentle on emerging plants.
- Pruners and Shears: For cutting back dead branches and removing larger debris, a pair of sharp pruners or shears is necessary. I recommend bypass pruners for clean cuts that promote healing.
- Gloves: Protect your hands from thorns, rough branches, and potential irritants with a good pair of gardening gloves.
- Wheelbarrow or Garden Cart: To transport large amounts of debris, a wheelbarrow or garden cart is invaluable. This saves you from making multiple trips and straining your back.
- How to properly dispose of garden waste.
- Composting: If you have a compost pile, add the organic debris to it. This will break down into nutrient-rich compost that you can use later in the season.
- Yard Waste Bags: For larger quantities of debris, use yard waste bags or bins provided by your local municipality.
- Burning: Check local regulations before burning any garden waste. Some areas have restrictions or bans on burning due to fire hazards and air quality concerns.
- Avoid Piling Near Structures: Never pile debris near your house or other structures, as this can attract pests and create fire hazards.
I’ve found that starting with a clean slate makes the rest of the cleanup process much easier. You’ll find that by removing the clutter, you’re not just tidying up; you’re setting the stage for a thriving garden.
Here is a table of common garden debris and disposal methods.
| Garden Debris | Disposal Method | Notes |
| Fallen Leaves | Composting, Yard Waste Bags | Ensure leaves are not diseased before composting. |
| Broken Branches | Pruning, Chipping, Yard Waste Bags | Larger branches can be chipped for mulch. |
| Dead Plant Material | Composting, Yard Waste Bags | Remove any signs of disease before composting. |
| Weeds | Composting, Yard Waste Bags | Avoid composting weeds with seeds to prevent spreading. |
Remember, you’re not just cleaning up; you’re creating a healthy environment for your plants to flourish.
2. Pruning Perennials and Shrubs: Encouraging New Growth

Pruning is an essential part of spring garden care. It not only helps to maintain the shape and size of your plants, but it also encourages healthy new growth and prevents diseases.
- When is the best time to prune perennials and shrubs in spring?
The best time to prune perennials and shrubs depends on the specific plant. Some plants, such as spring-flowering shrubs like forsythia and lilacs, should be pruned immediately after they bloom. This allows them to set buds for the following year’s bloom. Other plants, such as summer-flowering shrubs like hydrangeas, should be pruned in late winter or early spring before new growth begins.
- Which plants benefit most from spring pruning?
Many different plants benefit from spring pruning, including:
- Shrubs: Forsythia, lilacs, hydrangeas, roses, and more.
- Perennials: Black-eyed Susans, coneflowers, and other herbaceous perennials.
- Trees: Fruit trees, ornamental trees, and more.
- What are the proper pruning techniques to avoid damaging plants?
Here are a few tips for proper pruning:
- Use sharp, clean pruning shears to make clean cuts.
- Prune at an angle, just above a bud or leaf node.
- Avoid pruning into old wood, as this can damage the plant.
- Remove any dead, diseased, or crossing branches.
- For more information on pruning specific plants, consult a reputable gardening guide or consult with a local nursery or arborist.
By following these tips, you can ensure that your pruning efforts promote healthy growth and enhance the beauty of your garden.
3. Soil Preparation: Revitalizing Your Garden Beds

Just like our bodies need healthy food to thrive, our plants need healthy soil. Preparing your garden beds for the new growing season is crucial for their success. Think of it as giving your plants a nutrient-rich home to flourish in.
- How to test your soil’s pH and nutrient levels.
Before you start adding amendments, it’s important to understand the current condition of your soil. You can purchase a simple soil test kit from your local garden center. These kits typically test for pH and nutrient levels like nitrogen, phosphorus, and potassium. Alternatively, you can send a soil sample to a local agricultural extension office for a more detailed analysis.
- What soil amendments are best for spring garden preparation?
- Compost: This is the gold standard for soil improvement. Compost is rich in organic matter, which improves soil structure, drainage, and nutrient retention.
- Manure: Well-rotted manure adds nutrients and improves soil texture. However, be cautious with fresh manure, as it can burn plants.
- Lime: If your soil is too acidic, lime can help raise the pH.
- Rock Dust: Rock dust provides essential trace minerals that can benefit your plants.
- How to properly till or loosen the soil for planting.
Tilling or loosening the soil helps to break up compacted areas, improve drainage, and prepare a seedbed for planting. You can use a garden fork, tiller, or even a shovel to loosen the soil. Be careful not to till too deeply, as this can damage plant roots.
By following these steps, you can create a healthy and productive environment for your plants to thrive. Remember, healthy soil equals healthy plants!
4. Weed Control: Preventing Early Infestations

Weeds are the unwanted guests in our gardens, competing with our plants for water, sunlight, and nutrients. Early spring is the perfect time to get a head start on weed control, preventing them from taking over and hindering the growth of your desired plants.
- What are the best organic weed control methods?
- Hand-pulling: This is the most effective method for controlling small weeds. Pull weeds when the soil is moist, which makes it easier to remove the entire root system.
- Hoeing: Hoeing can be used to control weeds before they emerge or when they are young seedlings. Shallow cultivation can disrupt weed growth and prevent them from establishing themselves.
- Mulching: Applying a layer of mulch around your plants helps to suppress weed growth by blocking sunlight and preventing weed seeds from germinating. Organic mulches like wood chips, straw, and shredded leaves also provide nutrients to the soil as they decompose.
- Cover Crops: Planting cover crops like clover or rye between growing seasons can help to suppress weeds and improve soil health.
- How to identify and remove common spring weeds?
Some common spring weeds include:
- Dandelions: These bright yellow weeds are easily recognizable and spread quickly.
- Crabgrass: This grassy weed thrives in warm weather and can quickly take over lawns and gardens.
- Chickweed: This low-growing weed can form dense mats that smother other plants.
- Plantain: This weed has broad leaves and long flower stalks and can be difficult to control.
- How to use mulch to suppress weed growth.
Mulch is a valuable tool for weed control. Apply a layer of mulch, typically 2-3 inches thick, around your plants, leaving a small space around the base of the stems to prevent rot. Choose a mulch that is appropriate for your plants and garden style.
By implementing these weed control strategies early in the spring, you can prevent weeds from becoming a major problem and ensure that your garden thrives. Remember, prevention is key to a weed-free garden!
5. Mulching: Retaining Moisture and Suppressing Weeds

Mulching is one of the most beneficial practices you can do for your garden. It’s like giving your plants a cozy blanket that helps them thrive.
- What types of mulch are best for spring gardening?
There are many types of mulch available, each with its own benefits:
- Wood chips: A readily available and affordable option that decomposes slowly, adding nutrients to the soil over time.
- Straw: Lightweight and effective at suppressing weeds, especially in vegetable gardens.
- Shredded bark: Visually appealing and long-lasting, but can be more expensive than other options.
- Composted manure: Rich in nutrients and improves soil health as it decomposes.
- Pine needles: Acidic, making them a good choice for acid-loving plants like blueberries and azaleas.
- How much mulch should you apply?
The ideal depth of mulch depends on the type of mulch and the plants you’re growing. Generally, a layer of 2-3 inches is sufficient. Avoid piling mulch up against the stems of plants, as this can promote rot.
- Where should you apply mulch for maximum benefit?
Apply mulch around the base of your plants, extending beyond the drip line (the outer edge of the plant’s canopy). This helps to retain moisture, suppress weeds, and regulate soil temperature.
By using mulch effectively, you can create a more efficient and productive garden. It’s a simple yet powerful tool that can save you time and effort while improving the health of your plants.
Remember, mulch is your garden’s best friend, providing a protective layer that helps your plants thrive.
6. Tool Maintenance: Ensuring Your Equipment is Ready

Just like any other equipment, your gardening tools need regular care and maintenance to perform their best. Neglecting your tools can lead to frustration, inefficiency, and even damage to your plants.
- How to clean and sharpen gardening tools.
After each use, it’s a good practice to clean your tools. This helps to remove dirt, sap, and plant residue that can corrode the metal. Here are some tips for cleaning your tools:
- Use a stiff brush or wire brush to remove any dirt or debris.
- Wash the tools with soap and water to remove any remaining residue.
- Dry the tools thoroughly to prevent rust.
- Sharpen blades with a file or sharpening stone to ensure clean cuts.
- What tools should you inspect and repair before spring?
Before you start your spring gardening, take some time to inspect and repair your tools. Look for any signs of wear and tear, such as broken handles, loose parts, or dull blades. Here are some common tools that need attention:
- Pruning shears
- Loppers
- Shovels
- Rakes
- Hoes
- Spades
- How to store your tools properly to prevent damage.
Proper storage can help to protect your tools from damage and prolong their lifespan. Here are some tips for storing your tools:
- Clean and dry your tools before storing them.
- Store tools in a dry, sheltered location, such as a shed or garage.
- Keep tools organized and easily accessible.
- Consider using tool hooks or racks to keep tools off the ground and prevent damage.
By following these simple maintenance tips, you can ensure that your gardening tools are in top condition and ready to help you create a beautiful and productive garden. Remember, taking care of your tools is an investment in your gardening success.
7. Planting Preparation: Planning Your Spring Garden

Just as you would plan a vacation or a party, it’s essential to plan your spring garden. This ensures you have the right plants in the right places and sets you up for a successful growing season.
- What plants should you start indoors in early spring?
Many plants benefit from starting indoors a few weeks before the last frost. Some popular choices include:
- Tomatoes
- Peppers
- Eggplants
- Flowers like petunias and marigolds
- How to plan your garden layout for optimal sunlight and space.
Consider the amount of sunlight different areas of your garden receive throughout the day. Map out your garden and note which areas receive full sun, partial shade, and full shade. This will help you choose the right plants for each location. Also, consider the size of your plants at maturity to ensure they have enough space to grow.
- How to select healthy seedlings and transplants.
When purchasing seedlings or transplants, look for healthy, vigorous plants with no signs of disease or pests. Avoid plants that are overcrowded or appear stressed. Choose plants that are appropriate for your climate and soil conditions.
By taking the time to plan your spring garden, you can set yourself up for success. Remember, a well-planned garden is a beautiful and productive garden.
8. Fertilizing: Nourishing Your Plants for Growth

Just as we need a balanced diet to stay healthy, our plants need a steady supply of nutrients to thrive. Fertilizing provides the essential elements that help your plants grow strong, produce abundant blooms, and develop healthy fruits and vegetables.
- What type of fertilizer is best for spring planting?
There are many types of fertilizers available, each with its own unique blend of nutrients. Here are a few popular choices:
- Organic fertilizers: These fertilizers are derived from natural sources such as compost, manure, and bone meal. They release nutrients slowly, providing a steady supply to your plants.
- Inorganic fertilizers: These fertilizers are chemically synthesized and provide a quick release of nutrients. They are often used to provide a boost of nutrients to plants during periods of rapid growth.
- Slow-release fertilizers: These fertilizers release nutrients gradually over an extended period, reducing the risk of nutrient burn.
- How to apply fertilizer without burning your plants.
Always follow the instructions on the fertilizer package carefully. It’s important to apply the correct amount of fertilizer to avoid burning your plants. Here are some general tips:
- Water your plants thoroughly before applying fertilizer.
- Sprinkle the fertilizer evenly around the base of the plants, avoiding direct contact with the leaves.
- Water the plants gently after applying fertilizer to help it dissolve and reach the roots.
- When is the best time to fertilize in spring?
The best time to fertilize your plants depends on the type of plant and the specific fertilizer you are using. As a general rule, it’s best to fertilize after the first flush of spring growth.
By fertilizing your plants correctly, you can provide them with the nutrients they need to grow and thrive. Remember, a little bit of fertilizer goes a long way, so it’s always best to err on the side of caution.
9. Pest and Disease Prevention: Protecting Your Garden

Just as we take precautions to protect our own health, we need to take steps to protect our plants from pests and diseases. Early prevention is key to maintaining a healthy and thriving garden.
- What are common spring garden pests and diseases?
Some common spring pests include:
- Aphids: These tiny insects suck sap from plants, causing leaves to curl and wilt.
- Slugs and snails: These slimy creatures can devour young seedlings and leaves.
- Cutworms: These caterpillars cut off young plants at ground level.
Some common spring diseases include:
- Powdery mildew: This fungal disease causes a white, powdery coating on leaves.
- Botrytis blight: This fungal disease affects many plants, causing gray mold and rot.
- How to use organic pest control methods?
There are many organic methods for controlling pests and diseases:
- Handpicking: Manually removing pests like aphids and slugs can be effective for small infestations.
- Beneficial insects: Introducing beneficial insects like ladybugs and lacewings can help to control pests.
- Neem oil: This natural oil can be used to control a variety of pests.
- Organic fungicides: There are many organic fungicides available that can help to control fungal diseases.
- How to identify and treat early signs of disease?
Regularly inspect your plants for signs of pests and diseases. Look for unusual spots, discoloration, wilting, or insect activity. If you notice any problems, take action immediately to prevent the problem from spreading.
By taking proactive steps to prevent pests and diseases, you can protect your garden and ensure a healthy and productive growing season. Remember, early detection and prevention are key to a successful garden.
10. Watering Strategies: Getting Ready for Spring Growth

Water is essential for plant life, and proper watering is crucial for a healthy and thriving garden. Spring is a time of renewed growth, and your plants will need consistent moisture to establish themselves and flourish.
- How often should you water your garden in spring?
The frequency of watering depends on several factors, including weather conditions, soil type, and the type of plants you are growing. As a general rule, it’s best to water deeply and infrequently rather than shallowly and frequently. This encourages deep root growth, which makes plants more drought-tolerant.
- What are the best watering techniques?
- Deep watering: Water slowly and deeply, allowing the water to penetrate the soil to a depth of 6-8 inches. This encourages deep root growth and helps plants withstand dry periods.
- Avoid overhead watering: Overhead watering can lead to fungal diseases and can splash soil onto the leaves of plants.
- Water in the morning: Watering in the morning allows the plants to dry off during the day, reducing the risk of fungal diseases.
- How to conserve water in your garden?
- Mulching: Mulching helps to retain soil moisture, reducing the need for frequent watering.
- Water efficiently: Use a watering wand or soaker hose to direct water to the base of plants, minimizing water loss through evaporation.
- Collect rainwater: Rain barrels can be used to collect rainwater for watering your garden.
- Choose drought-tolerant plants: Select plants that are well-suited to your local climate and require less water.
By following these watering strategies, you can ensure that your plants receive the moisture they need to thrive. Remember, proper watering is an essential part of spring garden care.
FAQ:
Here are answers to some frequently asked questions about spring garden cleanup:
Detailed spring garden cleanup checklist for vegetable gardens:
- What specific tasks should be included in a vegetable garden cleanup?
- Remove all plant debris from the previous season, including dead leaves, stems, and fruits.
- Till or loosen the soil to a depth of 6-8 inches.
- Amend the soil with compost or other organic matter.
- Test the soil pH and add lime if necessary.
- Remove any rocks or large debris.
- Install or repair garden fencing or netting to protect against pests.
- How do you prepare vegetable garden soil for spring planting?
- Add a layer of compost or well-rotted manure to the soil.
- Till or loosen the soil to incorporate the amendments.
- Test the soil pH and add lime if necessary to raise the pH to the desired level.
- Water the soil thoroughly to settle it before planting.
Printable spring garden cleanup checklist for first-time homeowners:
- What are the most important steps for first-time homeowners?
- Remove all debris from the garden.
- Rake the lawn and remove any thatch.
- Test the soil and amend as needed.
- Mow the lawn to a proper height.
- Prune any overgrown shrubs or trees.
- Clean and repair any garden tools.
- Where can a printable list be found?
- You can find printable spring garden cleanup checklists online by searching for “spring garden cleanup checklist printable” on your favorite search engine. Many gardening websites and blogs offer free printable checklists.
Comprehensive spring garden cleanup checklist with organic soil preparation:
- What organic amendments should be used?
- Compost
- Well-rotted manure
- Grass clippings
- Leaves
- Coffee grounds
- Eggshells
- How to create organic compost?
- Collect organic materials such as kitchen scraps, yard waste, and manure.
- Layer the materials in a compost bin or pile, alternating between green (nitrogen-rich) materials and brown (carbon-rich) materials.
- Keep the compost pile moist and aerated by turning it regularly.
- The composting process can take several months.
Early spring garden cleanup checklist before new plants emerge:
- What are the early spring tasks?
- Remove any remaining debris from the garden.
- Rake the lawn and remove any thatch.
- Test the soil and amend as needed.
- Prepare the soil for planting by tilling or loosening it.
- Install or repair any garden fencing or netting.
- How to avoid damaging early plants?
- Be careful not to damage emerging plants when tilling or weeding.
- Avoid walking on the soil when it is wet and muddy.
- Water gently and avoid overwatering.
- Protect young plants from frost with row covers or other protective measures.
Spring garden cleanup checklist and tool maintenance recommendations:
- What tools need maintenance?
- Pruning shears
- Loppers
- Shovels
- Rakes
- Hoes
- Spades
- How to properly maintain gardening tools?
- Clean tools after each use to remove dirt, sap, and plant residue.
- Sharpen blades regularly to ensure clean cuts.
- Oil metal parts to prevent rust.
- Store tools in a dry, sheltered location.
Step by step spring garden cleanup checklist for flower beds:
- Remove all dead plant material from the flower beds.
- Rake the area to remove any debris.
- Till or loosen the soil to a depth of 6-8 inches.
- Amend the soil with compost or other organic matter.
- Remove any weeds or rocks.
- Add a layer of mulch to suppress weeds and retain moisture.
- Plant new flowers or transplants.
- How to prepare flower beds for planting?
- Amend the soil with compost or other organic matter to improve drainage and fertility.
- Remove any weeds or rocks that could interfere with plant growth.
- Water the soil thoroughly before planting.
- Space plants according to their mature size.
Complete spring garden cleanup checklist to prevent common pests:
- What are the most common pests?
- Aphids
- Slugs and snails
- Cutworms
- Grubs
- Mice and voles
- How to prevent pests?
- Clean up all debris from the garden.
- Remove any weeds that could harbor pests.
- Install barriers around plants to deter pests.
- Introduce beneficial insects like ladybugs and lacewings.
- Use organic pest control methods like neem oil or insecticidal soap.
Spring garden cleanup checklist for raised beds in cold climates:
- What are the unique challenges?
- Soil in raised beds can freeze and thaw, which can damage plant roots.
- Raised beds can be more susceptible to drying out in cold climates.
- Cold weather can slow down the decomposition of organic matter in raised beds.
- How to prepare raised beds?
- Add a layer of insulating material, such as straw or leaves, to the top of the raised beds to protect the soil from freezing.
- Water the beds deeply before the ground freezes to help prevent frost heaving.
- Amend the soil with compost or other organic matter to improve drainage and fertility.
How to create a spring garden cleanup checklist for beginners:
- What are the basic tasks?
- Remove debris from the garden.
- Rake the lawn.
- Test the soil.
- Amend the soil with compost.
- Water the garden thoroughly.
- Plant new flowers or vegetables.
- How to simplify the process?
- Break down the tasks into smaller, more manageable steps.
- Create a schedule for completing each task.
- Work with a friend or family member to help with the cleanup.
- Don’t try to do everything at once.
Spring garden cleanup checklist with tips for composting yard waste:
- What yard waste can be composted?
- Grass clippings
- Leaves
- Small twigs and branches
- Vegetable scraps
- Fruit scraps
- Coffee grounds
- Eggshells
- How to compost yard waste?
- Collect yard waste in a designated area.
- Layer the materials in a compost bin or pile, alternating between green (nitrogen-rich) materials and brown (carbon-rich) materials.
- Keep the compost pile moist and aerated by turning it regularly.
- The composting process can take several months.
By following these tips and using the provided checklists, you can effectively prepare your garden for the spring growing season and ensure a successful and bountiful year.
Conclusion:
By following this spring garden cleanup checklist and incorporating the tips and techniques discussed, you’ll be well on your way to creating a thriving and beautiful garden. Remember that each step, from removing debris to proper watering, plays a crucial role in ensuring your plants’ success. Embrace the process, enjoy the journey, and reap the rewards of a flourishing garden. Happy gardening!
Remember, a successful garden is a reflection of your dedication and care. Embrace the process, enjoy the journey, and reap the rewards of a flourishing garden. Happy gardening!


