
Are you longing for a burst of color and fresh greenery but feel confined by a small patio or balcony? Do you dream of harvesting your own vegetables but lack the space for a traditional garden? The frustration of limited space can feel overwhelming, especially when spring arrives and the urge to garden is strong. But what if I told you that you could transform any small space into a thriving garden oasis? With spring container gardening, you can cultivate a vibrant array of flowers, herbs, and vegetables right at your doorstep. Let’s unlock the secrets to blooming brighter this season!
Choose the Right Containers for Spring Planting

When I first started container gardening, I quickly learned that the container is as important as the plant itself. You might think any pot will do, but choosing the right one can make a huge difference in your plants’ health and growth. You need to consider several factors, from drainage to size and material.
Drainage is Key
I’ve seen firsthand what happens when containers lack proper drainage. Waterlogged soil leads to root rot, which can quickly kill your plants. Always ensure your containers have drainage holes at the bottom. If you’re using a decorative pot without holes, I recommend placing a smaller plastic pot with drainage holes inside.
Size Matters
The size of your container should match the root system of your plants. A small seedling won’t thrive in a large pot, as the excess soil retains too much moisture. Conversely, a large, mature plant will quickly outgrow a small container.
- Small pots (6-8 inches): Ideal for herbs, seedlings, and small flowers like pansies.
- Medium pots (10-14 inches): Suitable for most vegetables, flowering plants like petunias, and larger herbs.
- Large pots (16 inches and above): Perfect for larger plants like tomatoes, peppers, and small shrubs.
Material Choices
The material of your container affects its ability to retain moisture and heat.
- Terracotta: Classic and porous, allowing for excellent drainage. However, they can dry out quickly and crack in freezing temperatures.
- Plastic: Lightweight and affordable, plastic pots retain moisture well and are durable. However, they can overheat in direct sunlight.
- Grow bags: Made from fabric, grow bags offer excellent drainage and aeration. They are lightweight and foldable for easy storage.
- Raised beds: These are good for larger container gardens, and can be placed on patios or decks. They are often made from wood, or metal.
How to Grow Plants in Appropriate Containers
When I choose a container, I always consider the plant’s mature size. This helps me avoid repotting too frequently. For example, if I’m planting tomatoes, I opt for a large pot (at least 16 inches) to accommodate their extensive root system. For herbs like mint, which spread quickly, I use a medium pot to give them room to grow.
Here’s a quick guide to help you choose the right container:
| Plant Type | Container Size | Material Recommendation |
| Herbs (Mint, Basil) | 10-12 inches | Terracotta or Plastic |
| Flowers (Pansies, Petunias) | 8-14 inches | Plastic or Grow Bags |
| Vegetables (Tomatoes, Peppers) | 16+ inches | Large Plastic or Raised Beds |
| Bulbs (Tulips, Daffodils) | 8-12 inches | Terracotta or Plastic |
I also recommend using a good quality potting mix designed for containers. These mixes are lighter and provide better drainage than garden soil. By choosing the right containers, you’re setting your plants up for success and ensuring a vibrant spring garden.
Case Study: Success with Terracotta
A friend of mine, Sarah, struggled with root rot in her petunias. After switching to terracotta pots, she noticed a significant improvement. The porous material allowed excess water to evaporate, keeping the soil moist but not waterlogged. Her petunias thrived, producing abundant blooms throughout the spring.
Quote:
“The right container is the foundation of a successful container garden.” – Alan Titchmarsh
By understanding the importance of drainage, size, and material, you can create a thriving spring container garden.
Selecting the Best Soil Mix for Spring Container Gardens

Just as choosing the right container is crucial, selecting the appropriate soil mix is equally vital for a thriving spring container garden. The soil is the foundation upon which your plants will grow, providing essential nutrients and moisture. While garden soil might seem like the obvious choice, it often lacks the necessary drainage and aeration for container gardening.
Why Garden Soil Isn’t Always Ideal
Garden soil, while rich in nutrients, can be too heavy and dense for container gardening. Its compact nature can hinder drainage, leading to waterlogged roots and potentially suffocating your plants. Additionally, garden soil can shrink and pull away from the container walls as it dries, exposing roots to the air and increasing the risk of desiccation.
The Benefits of a Well-Draining Potting Mix
A quality potting mix is specially formulated for container gardening, offering several advantages over traditional garden soil:
- Improved Drainage: Potting mixes typically contain ingredients like perlite and vermiculite, which increase aeration and drainage. This prevents waterlogging and ensures that roots receive adequate oxygen.
- Enhanced Water Retention: While well-draining, potting mixes also retain moisture effectively, preventing plants from drying out quickly. This is particularly important for containers, which can dry out more rapidly than in-ground gardens.
- Nutrient-Rich Composition: Many potting mixes contain added nutrients such as peat moss, compost, and fertilizers to provide a steady supply of essential elements for plant growth.
Creating Your Own Custom Potting Mix
If you’re feeling adventurous, you can create your own custom potting mix. Here’s a basic recipe:
- Start with a base of peat moss: Peat moss provides excellent drainage and aeration while retaining moisture.
- Add perlite or vermiculite: These lightweight materials improve drainage and aeration further.
- Incorporate compost: Compost adds valuable organic matter, enriching the soil with nutrients.
- Consider adding slow-release fertilizer: This provides a steady supply of nutrients throughout the growing season.
Choosing the Right Potting Mix for Specific Plants
Different plants have varying soil preferences. Here are some general guidelines:
- Flowering Plants: A well-balanced potting mix with added perlite and vermiculite is ideal for most flowering plants.
- Vegetables: Choose a potting mix specifically formulated for vegetables, as it often contains higher levels of nutrients.
- Herbs: A lightweight and well-draining mix is best for herbs. You can also add a small amount of sand to improve drainage further.
By selecting the right soil mix, you’re providing your plants with the optimal environment for healthy growth and development. Remember, the quality of the soil directly impacts the health and vigor of your spring container garden.
How to Plant Spring Bulbs and Flowers in Containers

Now that you’ve selected your containers and prepared the soil, it’s time for the fun part: planting! Whether you’re starting with bulbs, seedlings, or young plants, here’s a step-by-step guide to ensure a successful spring container garden.
Planting Spring Bulbs
Spring-flowering bulbs like tulips, daffodils, and hyacinths are a delightful way to kick off your container garden season. Here’s a simple guide to planting them:
- Choose the right bulbs: Select healthy bulbs that are firm and free from any signs of mold or rot.
- Prepare the container: Fill your container with a well-draining potting mix. Leave a few inches of space at the top.
- Plant the bulbs: Plant the bulbs at the recommended depth, typically two to three times the height of the bulb. Point the pointy end upwards.
- Water gently: Water the soil lightly after planting.
- Provide adequate drainage: Ensure the container has proper drainage to prevent waterlogging.
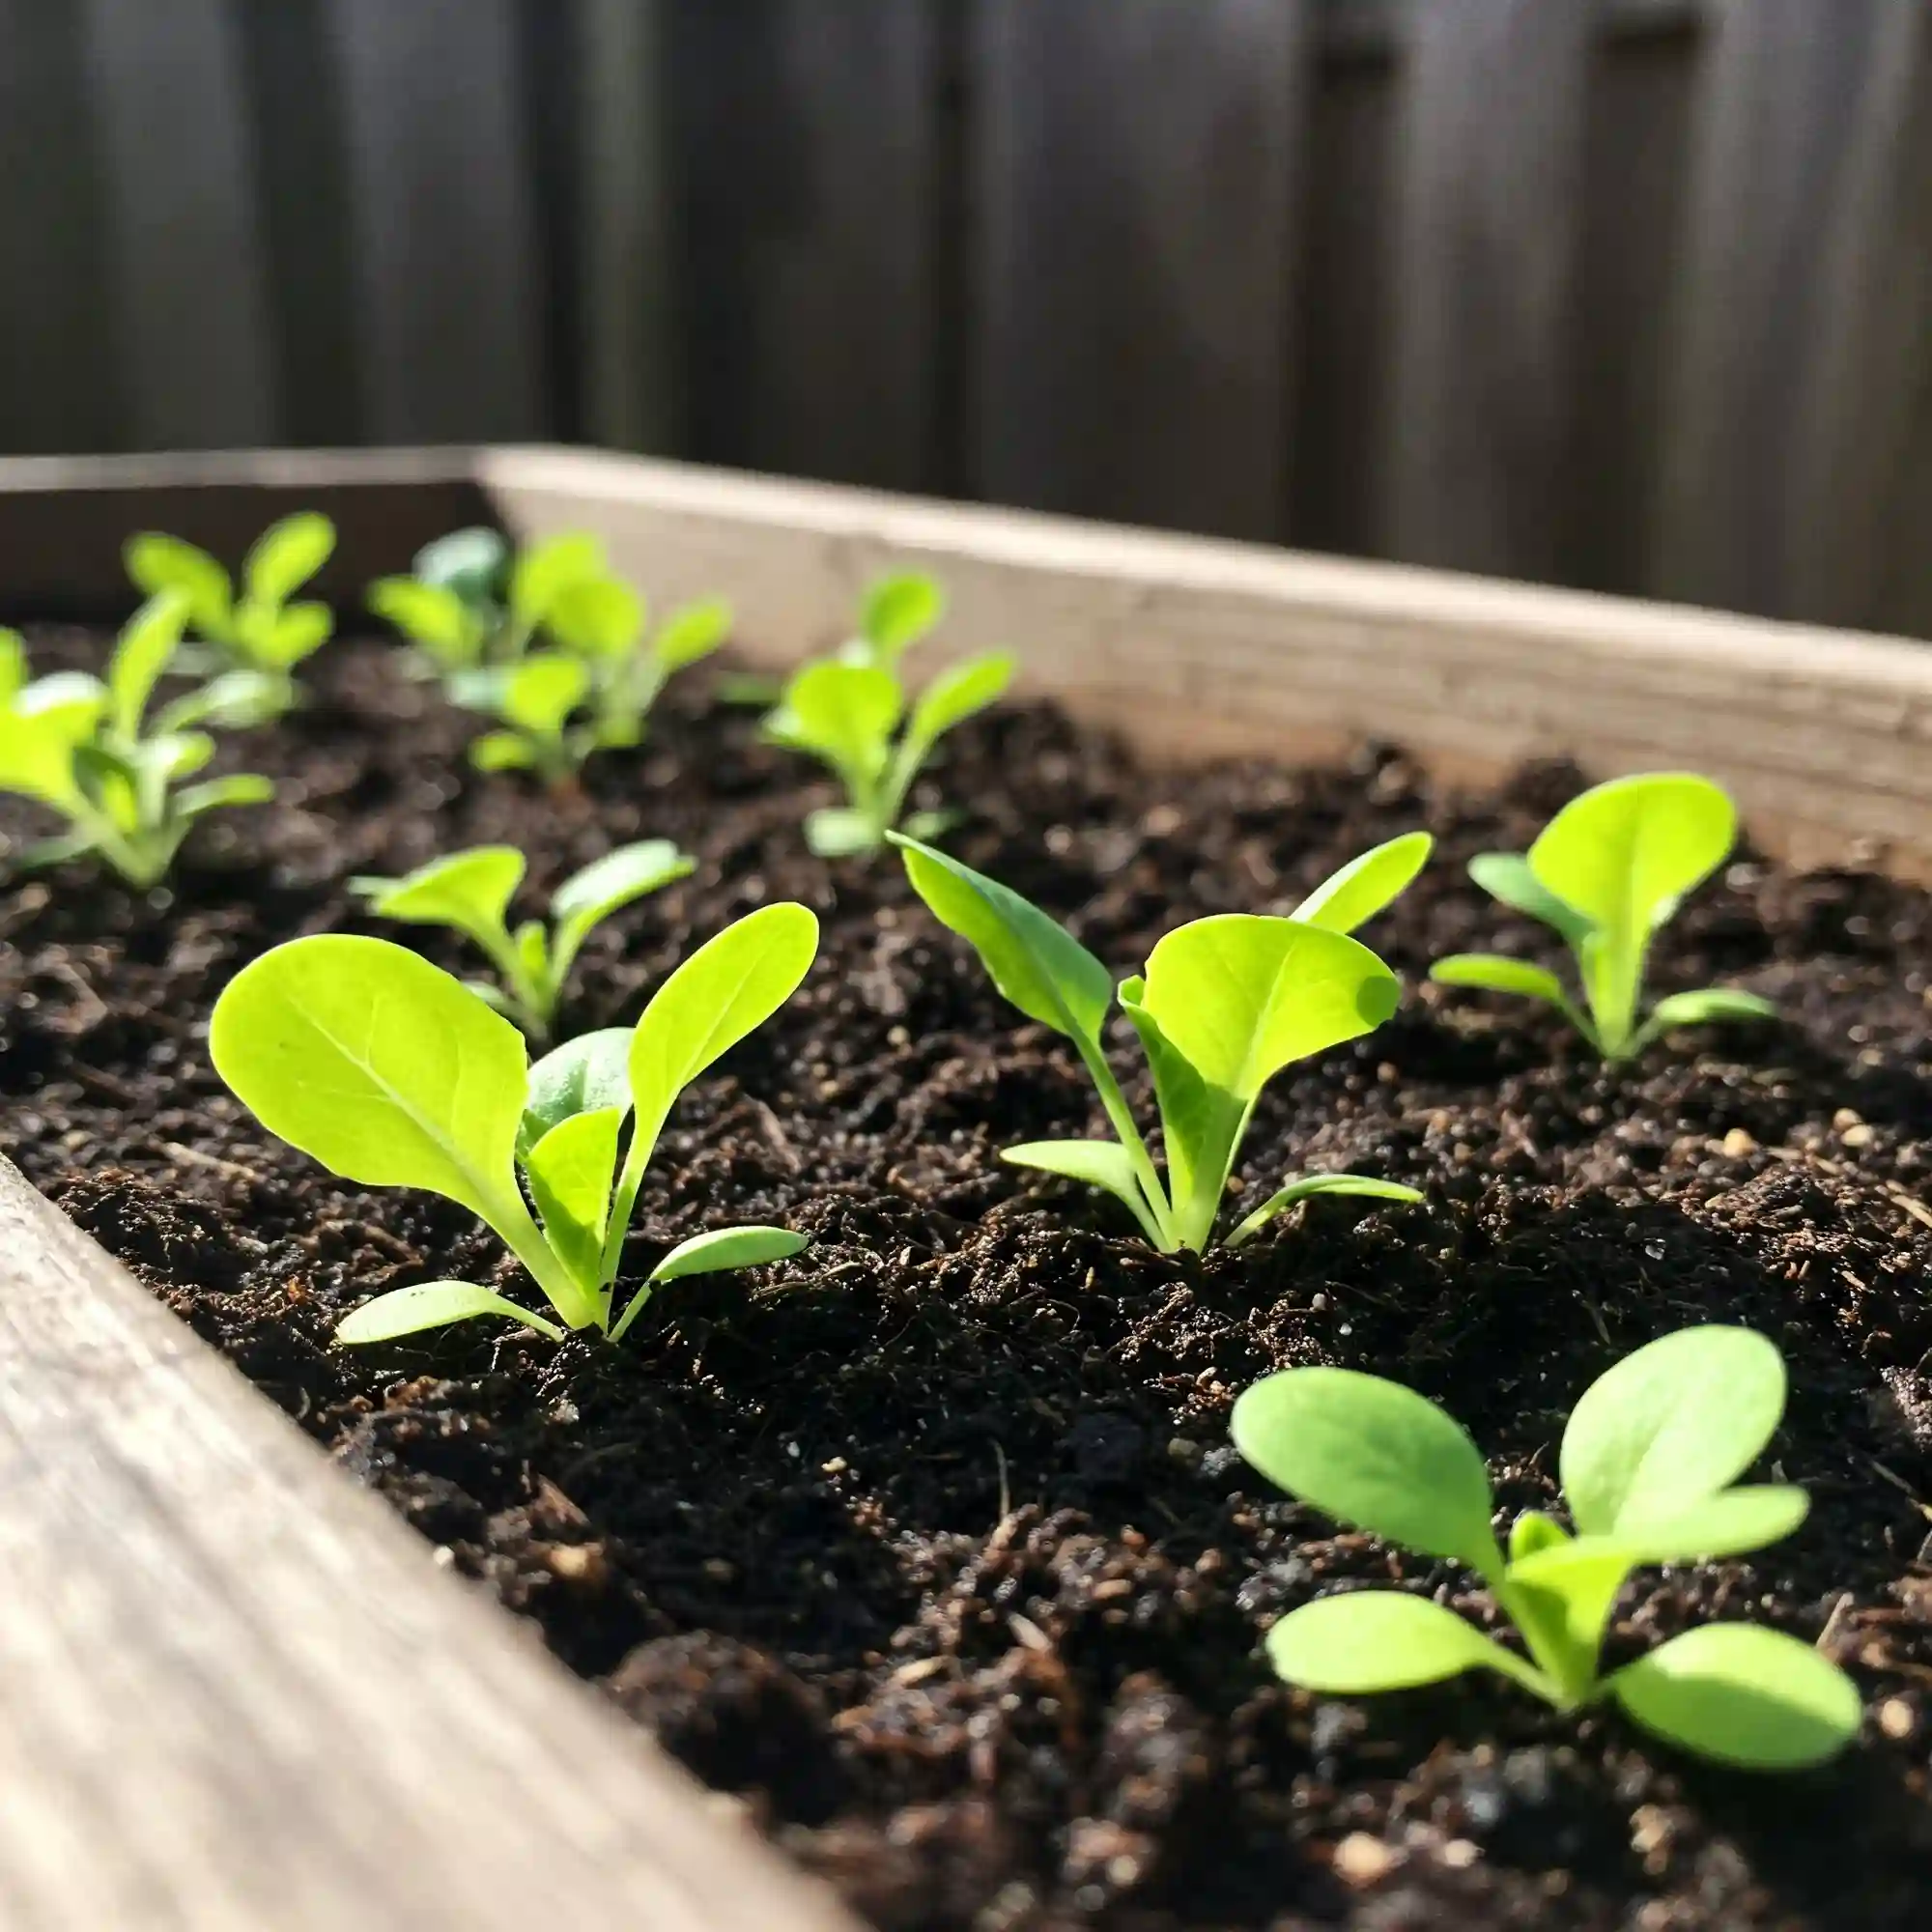
Planting Seedlings and Young Plants
If you’re starting with seedlings or young plants, follow these steps:
- Prepare the container: Fill your container with a well-draining potting mix.
- Create a planting hole: Use your finger or a small trowel to create a planting hole slightly larger than the root ball of the plant.
- Gently remove the plant from its pot: Carefully remove the plant from its nursery pot, being mindful not to disturb the roots.
- Place the plant in the hole: Place the plant in the hole, ensuring the top of the root ball is level with the soil surface.
- Backfill with soil: Gently backfill the hole with soil, firming it gently around the base of the plant.
- Water thoroughly: Water the plant thoroughly, ensuring the soil is evenly moistened.
Spacing and Depth
Proper spacing is crucial for optimal plant growth. Refer to the plant labels or gardening resources for specific spacing recommendations. As a general rule, allow enough space for each plant to grow without overcrowding.
Choosing the Right Plants
Spring offers a plethora of colorful options for your container garden. Consider these popular choices:
- Bulbs: Tulips, daffodils, hyacinths, crocus
- Annuals: Pansies, petunias, geraniums, impatiens
- Biennials: Forget-me-nots, foxgloves
- Herbs: Mint, chives, parsley
Designing Your Container Garden
Don’t be afraid to experiment with color combinations and textures. Consider incorporating plants with varying heights and bloom times to create a continuous display of color throughout the spring season.
By following these simple steps, you can successfully plant a vibrant and flourishing spring container garden.
Growing Spring Vegetables in Pots: A Practical Guide

One of the most rewarding aspects of spring container gardening is the ability to grow your own fresh vegetables. While you might not be able to cultivate a full-sized zucchini plant in a pot, many vegetables thrive in containers, providing a steady supply of homegrown goodness throughout the season.
Choosing the Right Vegetables
Not all vegetables are suited for container gardening. Opt for compact varieties that have shallow root systems. Here are some excellent choices:
- Leafy Greens: Lettuce, spinach, and arugula are easy to grow and perfect for small spaces.
- Root Vegetables: Radishes, carrots (short varieties), and beets can be successfully grown in containers.
- Bush Varieties: Consider bush varieties of tomatoes, peppers, and cucumbers, as they are more compact than vining varieties.
Planting and Care
- Start with high-quality seedlings: Purchase healthy seedlings from a local nursery or start your own from seeds.
- Choose the right container: Select a container that is deep enough to accommodate the root system of your chosen vegetables. A depth of at least 12 inches is ideal for most vegetables.
- Use a well-draining potting mix: As discussed earlier, a well-draining potting mix enriched with compost is essential for container-grown vegetables.
- Provide adequate sunlight: Most vegetables require at least six hours of direct sunlight per day. Choose a sunny location for your containers.
- Water regularly: Keep the soil consistently moist but avoid overwatering, which can lead to root rot.
- Fertilize regularly: Use a balanced liquid fertilizer or a slow-release fertilizer to provide essential nutrients.
- Protect from pests and diseases: Monitor your plants regularly for pests and diseases, and take appropriate action if necessary.
Tips for Success
- Succession planting: To enjoy a continuous harvest, plant seeds or seedlings at intervals of a few weeks.
- Consider companion planting: Plant compatible vegetables together, such as lettuce and radishes, to maximize space and deter pests.
- Mulch the soil: Apply a layer of mulch around the base of your plants to help retain moisture and suppress weeds.
Easy Vegetable Container Gardening Ideas for Beginners
- Salad Bowl: Combine a variety of salad greens like lettuce, spinach, and arugula in a single container.
- Radish Roundup: Plant a variety of radish colors and sizes for a colorful and quick harvest.
- Cherry Tomato Tower: Grow cherry tomatoes vertically using a tomato cage or trellis.
By following these tips, you can enjoy a bountiful harvest of fresh, homegrown vegetables from your spring container garden.
Spring Container Herb Gardens: Fresh Flavors at Your Fingertips

Nothing quite compares to the taste of freshly picked herbs from your own garden. Growing herbs in containers is a rewarding endeavor, offering a convenient way to enjoy fragrant and flavorful additions to your culinary creations.
Choosing the Right Herbs
Certain herbs are particularly well-suited for container gardening:
- Mint: A vigorous grower, mint thrives in containers. However, be mindful of its tendency to spread aggressively, as it can root from cuttings. Plant mint in a container with no drainage holes or consider using a root barrier to prevent it from overtaking other plants.
- Basil: This aromatic herb is a staple in many cuisines. It prefers warm temperatures and plenty of sunlight. Choose a variety that suits your culinary needs, such as sweet basil, lemon basil, or Thai basil.
- Chives: Chives are a versatile herb that adds a delicate onion flavor to dishes. They are easy to grow and require minimal maintenance.
- Parsley: This versatile herb is a must-have in any herb garden. It adds a fresh, bright flavor to salads, soups, and stews.
- Cilantro/Coriander: This herb has a unique, slightly citrusy flavor. It is best sown directly in containers as it does not transplant well.
Planting and Care
- Choose a well-draining potting mix: As with other container-grown plants, a well-draining potting mix is essential for herbs.
- Provide adequate sunlight: Most herbs thrive in full sun, but some, like mint, can tolerate partial shade.
- Water regularly: Keep the soil consistently moist but avoid overwatering, which can lead to root rot.
- Fertilize regularly: Use a balanced liquid fertilizer or a slow-release fertilizer to provide essential nutrients.
- Harvest regularly: Regular harvesting encourages bushier growth and prevents the plants from bolting (going to seed).
Tips for Success
- Succession planting: To enjoy a continuous supply of fresh herbs, sow seeds or plant seedlings at intervals of a few weeks.
- Companion planting: Plant herbs together that benefit from each other’s presence. For example, basil and tomatoes are often planted together as they repel pests and enhance each other’s flavor.
- Protect from pests: Monitor your herb plants for pests such as aphids and spider mites, and take appropriate action if necessary.
- Create a visual display: Arrange your herb containers in a visually appealing way, such as a tiered herb garden or a colorful window box.
By incorporating these tips, you can create a thriving spring container herb garden that will provide you with a continuous supply of fresh, flavorful herbs throughout the season.
Spring Container Garden Watering and Feeding Tips

Proper watering and feeding are essential for the health and vitality of your spring container garden. While these may seem like simple tasks, understanding the specific needs of your plants can make a significant difference in their growth and overall success.
Watering Wisely
Consistent watering is crucial, especially during the warmer spring months. However, overwatering can be just as detrimental as underwatering. Here are some tips for watering your spring container garden effectively:
- Check soil moisture: Before watering, insert your finger into the soil. If the top inch of soil feels dry, it’s time to water.
- Water deeply and thoroughly: When you do water, water deeply until excess water drains from the bottom of the container. This encourages deep root growth.
- Avoid overhead watering: Overhead watering can splash soil onto leaves, which can lead to fungal diseases. Water at the base of the plants instead.
- Water in the morning: Watering in the morning allows the plants to dry off during the day, reducing the risk of fungal diseases.
- Consider self-watering containers: These innovative containers use a reservoir system to provide a consistent supply of moisture to your plants.
Feeding Your Plants
Plants require essential nutrients to grow and thrive. While potting mix often contains some nutrients, regular fertilization is necessary to ensure optimal growth and flowering.
- Choose the right fertilizer: Use a balanced liquid fertilizer or a slow-release fertilizer specifically formulated for container plants.
- Follow the fertilizer instructions: Always follow the manufacturer’s instructions carefully, as over-fertilizing can harm your plants.
- Fertilize regularly: Fertilize your plants every two to three weeks during the growing season.
- Monitor your plants: Pay attention to your plants’ growth and appearance. If they appear to be lacking in nutrients, adjust your fertilization schedule accordingly.
Tips for Success
- Use a watering can with a fine rose: This helps to avoid dislodging soil and minimizes the risk of overwatering.
- Mulch the soil surface: A layer of mulch around the base of your plants can help to retain moisture and suppress weeds.
- Consider using a moisture meter: These handy tools can help you monitor soil moisture levels accurately.
By following these watering and feeding tips, you can ensure that your spring container garden receives the care it needs to thrive. In the next section, we’ll explore the importance of protecting your spring container garden from late frosts.
Protecting Spring Container Gardens from Late Frosts

Spring can be a fickle season, with unpredictable temperature fluctuations. Late frosts can pose a significant threat to your delicate spring container garden, potentially damaging or even killing your plants. However, there are several strategies you can employ to protect your precious plants from the ravages of frost.
Understanding the Risks of Late Frosts
Late frosts occur when the temperature drops below freezing after the typical last frost date. These unexpected cold snaps can severely damage young plants, causing their leaves and stems to freeze and blacken. While some plants may recover, others may succumb to the damage.
Protecting Your Plants
Here are some effective methods to protect your spring container garden from late frosts:
- Utilize Frost Cloth: One of the most effective methods is to cover your plants with a frost cloth. This lightweight, breathable fabric creates a protective barrier that helps to insulate plants and prevent them from freezing.
- Move Containers Indoors: If you have smaller containers, consider moving them indoors to a protected location such as a garage or shed during a frost warning.
- Water Plants Thoroughly Before a Frost: Moist soil retains heat more effectively than dry soil, helping to protect plant roots from the cold. However, avoid overwatering, as waterlogged soil can freeze and damage roots.
- Create a Microclimate: Surround your container garden with taller plants or shrubs to create a microclimate that provides some protection from the cold.
- Use Cloches or Buckets: You can also use inverted cloches or buckets to cover individual plants or small groups of plants.
Monitoring Weather Forecasts
Staying informed about the weather forecast is crucial for protecting your spring container garden. Pay close attention to frost warnings and take steps to protect your plants accordingly.
Tips for Success
- Choose frost-tolerant varieties: Select plant varieties that are known for their cold tolerance.
- Harden off plants gradually: If you’re starting plants indoors, gradually acclimate them to outdoor conditions before planting them in containers.
- Monitor your plants closely: Keep a close eye on your plants during periods of cold weather.
By implementing these protective measures, you can minimize the risk of frost damage and ensure that your spring container garden thrives throughout the season.
Choosing the Right Location and Sun Exposure for Spring Containers

Just as plants have individual preferences for soil and water, they also have specific sunlight requirements. Choosing the right location for your spring container garden is crucial to ensure that your plants receive the appropriate amount of sun.
Understanding Sun Exposure
- Full Sun: Plants in full sun receive at least six hours of direct sunlight per day. This is ideal for sun-loving plants such as tomatoes, peppers, and many herbs.
- Partial Sun: Plants in partial sun receive four to six hours of direct sunlight per day. This is a good option for plants that prefer some shade during the hottest part of the day.
- Shade: Plants in shade receive less than four hours of direct sunlight per day. Shade-loving plants thrive in areas that are sheltered from direct sunlight, such as under trees or on north-facing patios.
Choosing the Right Location
Consider the following factors when selecting a location for your spring container garden:
- Sunlight: Observe the area throughout the day to determine how much sunlight it receives.
- Wind exposure: Protect your plants from strong winds, which can dry out the soil and damage delicate blooms.
- Accessibility: Choose a location that is easily accessible for watering, fertilizing, and harvesting.
- Aesthetics: Consider the overall aesthetics of the location. Where will your container garden look most attractive?
Tips for Success
- Rotate your containers: If you notice that certain plants are not receiving enough sunlight, rotate your containers periodically to ensure even exposure.
- Use reflective surfaces: You can increase sunlight exposure by placing reflective surfaces, such as white boards or mirrors, near your containers.
- Provide shade during the hottest part of the day: If your plants are receiving too much sun, consider providing some shade during the hottest part of the day. You can use shade cloth, umbrellas, or even move your containers to a shadier location.
By carefully considering the sunlight requirements of your plants and choosing the right location for your spring container garden, you can create an environment where your plants can thrive.
Designing a Visually Appealing Spring Container Garden

Beyond simply planting and caring for your plants, designing a visually appealing container garden can elevate your outdoor space to a true work of art. By carefully considering color combinations, textures, and heights, you can create a garden that is both beautiful and harmonious.
Color Combinations
Color plays a vital role in the overall aesthetics of your container garden. Consider these tips:
- Create a Color Palette: Choose a color palette that complements your outdoor space and personal style. You can opt for a monochromatic scheme, using different shades of the same color, or a more vibrant combination of contrasting colors.
- Use Color Theory: Familiarize yourself with basic color theory. Complementary colors (colors opposite each other on the color wheel) create a striking contrast, while analogous colors (colors next to each other on the color wheel) create a more harmonious and soothing effect.
- Consider Bloom Times: Choose plants with different bloom times to ensure a continuous display of color throughout the spring season.
Textures and Heights
Adding a variety of textures and heights can create visual interest and depth in your container garden.
- Textures: Incorporate plants with different leaf textures, such as smooth, feathery, or spiky leaves.
- Heights: Combine tall, medium, and low-growing plants to create a layered effect. For example, you could plant tall grasses or flowering plants in the back, medium-sized plants in the middle, and trailing plants or smaller flowers in the front.
Creating a Focal Point
A focal point is a key element in any garden design. It draws the eye and adds visual interest. Here are some ideas for creating a focal point in your spring container garden:
- Use a statement plant: Choose a large, eye-catching plant, such as a flowering shrub or a unique variety of ornamental grass, as the centerpiece of your container garden.
- Incorporate decorative elements: Add decorative elements such as colorful pots, unique containers, or garden ornaments to create a focal point.
- Use trailing plants: Trailing plants, such as ivy or petunias, can create a cascading effect, adding visual interest and softening the edges of your container garden.
Tips for Success
- Take inspiration from nature: Observe natural landscapes for inspiration. Look at how plants grow together in nature and try to recreate those harmonious combinations in your container garden.
- Don’t be afraid to experiment: Try different color combinations, textures, and plant arrangements until you find a design that you love.
- Step back and admire your work: Take a step back and admire your creation from a distance. This will help you identify any areas that need adjustment.
By incorporating these design principles, you can create a visually stunning spring container garden that will be the envy of your neighbors.
Spring Container Garden Maintenance and Care
Just as a beautiful house requires ongoing maintenance, so too does a thriving spring container garden. Regular care ensures that your plants remain healthy, vibrant, and productive throughout the season.
Deadheading and Pruning
- Deadheading: Regularly remove spent blooms from flowering plants. This encourages continuous blooming and prevents the plant from expending energy on seed production.
- Pruning: Prune overgrown or leggy plants to maintain their shape and encourage bushier growth. Remove any yellowing or diseased leaves to prevent the spread of problems.
Pest and Disease Control
- Monitor regularly: Keep a close eye on your plants for signs of pests and diseases. Common pests include aphids, spider mites, and whiteflies. Diseases such as powdery mildew and fungal leaf spots can also affect container plants.
- Identify and address problems promptly: If you notice any signs of pests or diseases, take action immediately. You can use organic methods such as insecticidal soap or neem oil to control pests. For diseases, remove affected leaves and improve air circulation around your plants.
Preparing for the Next Season
As the spring season progresses, some of your plants may begin to decline. Here’s how to prepare for the next season:
- Remove spent plants: Once your plants have finished flowering or producing, remove them from the containers.
- Clean the containers: Wash the containers thoroughly with soap and water to remove any debris or disease.
- Amend the soil: Add fresh potting mix to the containers to replenish nutrients.
- Store containers properly: Store your containers in a clean, dry location to prevent damage during the off-season.
Tips for Success
- Use a garden journal: Keep track of your planting dates, watering schedule, and any pest or disease issues you encounter. This information will be valuable for future gardening seasons.
- Don’t be afraid to experiment: Try different plant combinations and gardening techniques to discover what works best for you.
- Enjoy the process: Gardening is a rewarding experience. Take pride in your accomplishments and enjoy the beauty and bounty of your spring container garden.
By following these maintenance tips, you can ensure that your spring container garden remains healthy, vibrant, and productive throughout the season. Remember, gardening is a journey of continuous learning and experimentation. Embrace the process, enjoy the rewards, and happy gardening!
FAQ
Throughout this guide, we’ve covered many aspects of spring container gardening. However, you may still have some lingering questions. Here are answers to some frequently asked questions:
1. What is the best soil mix for spring container gardens?
A well-draining potting mix is crucial for container gardening success. A good mix typically includes components such as peat moss, perlite, and vermiculite. These ingredients provide excellent drainage, aeration, and water retention. You can also add compost to enrich the soil and provide essential nutrients.
2. How to protect spring container gardens from late frost?
Late frosts can pose a significant threat to young plants. To protect your spring container garden, consider using frost cloth, moving containers indoors temporarily, or creating a microclimate around your plants. Watering your plants thoroughly before a frost can also help protect them.
3. Easy vegetable container gardening ideas for beginners in spring?
Leafy greens like lettuce and spinach are excellent choices for beginner container gardeners. They are easy to grow, require minimal space, and provide a quick harvest. Other easy-to-grow vegetables include radishes, carrots (short varieties), and bush varieties of tomatoes and peppers.
4. Growing herbs in containers during early spring months?
Many herbs thrive in containers, including mint, basil, chives, parsley, and cilantro. Choose a well-draining potting mix and ensure they receive adequate sunlight. Regular harvesting encourages bushier growth and prevents the plants from bolting.
5. Tips for designing a colorful spring container garden layout?
Consider using a variety of colors, textures, and heights to create a visually appealing container garden. Combine plants with different bloom times to ensure a continuous display of color throughout the season. Use trailing plants to soften the edges of your containers and create a cascading effect. Don’t be afraid to experiment with different plant combinations and design ideas.
6. What is the best soil mix for spring container gardens?
A well-draining potting mix is essential for container gardening success. A good mix typically includes components such as peat moss, perlite, and vermiculite. These ingredients provide excellent drainage, aeration, and water retention. You can also add compost to enrich the soil and provide essential nutrients.
7. Choosing the right container size for spring flowering bulbs?
Select containers that are at least twice the depth of the bulbs. This allows for adequate root growth and prevents the bulbs from becoming overcrowded.
Conclusion:

Creating a thriving spring container garden is a rewarding endeavor that brings beauty, life, and a sense of accomplishment. By carefully selecting the right containers, soil, and plants, and by providing consistent care, you can transform any small space into a vibrant oasis of color and productivity.
Remember, gardening is a journey of continuous learning and experimentation. Don’t be afraid to try new things, experiment with different plant combinations, and embrace the process. Enjoy the satisfaction of nurturing your plants, the beauty of their blooms, and the delicious taste of homegrown produce.
Happy gardening!


