Are you dreaming of fresh, homegrown pinto beans gracing your dinner table? Frustrated with store-bought beans that just don’t taste the same? I understand. I’ve been there. There’s nothing quite like the satisfaction of nurturing a tiny seed into a bountiful harvest, and with pinto beans, it’s easier than you might think. In this guide, I’ll share my personal experiences and proven techniques to help you successfully grow pinto beans in your own garden, even if you’re a complete beginner. We’ll cover everything from preparing the soil to harvesting and storing your delicious crop. Let’s get our hands dirty and grow some pinto beans!
1. Choosing the Right Spot for Your Pinto Beans

Sunlight is the lifeblood of any plant, and pinto beans are no exception. They require at least 6-8 hours of direct sunlight each day to thrive. When choosing a location for your pinto bean patch, I recommend observing your garden throughout the day to identify the spot that receives the most sun. South-facing areas are often ideal. Consider also the space you have available. Pinto beans come in two main varieties: bush and pole. Bush beans are compact and grow in a shrub-like fashion, making them perfect for smaller gardens or even containers. Pole beans, on the other hand, are vining plants that require a trellis or other support to climb. They can add vertical interest to your garden but do need more space. I’ve personally grown both, and I find bush beans are a great starting point for new gardeners. They’re less demanding and still provide a generous harvest.
Beyond sunlight and space, think about accessibility. Choose a spot that’s easy for you to reach for watering, weeding, and harvesting. You don’t want to be trekking across your entire yard every time your beans need attention. I once planted my beans in a far corner of my garden, and it quickly became a chore to tend to them. Now, I prioritize easy access.
2. Preparing the Soil for Pinto Bean Success
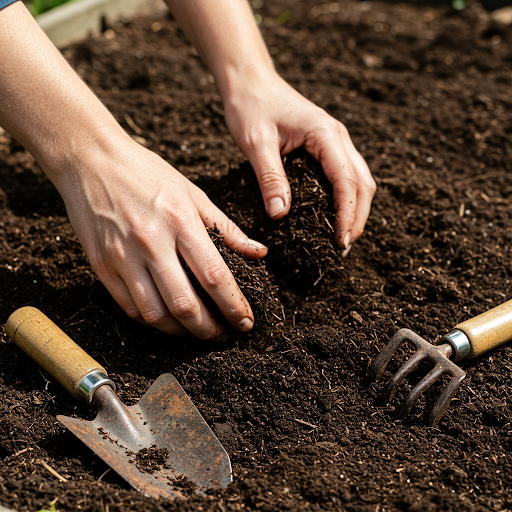
The soil is the foundation of your pinto bean garden. These legumes prefer well-drained soil that’s rich in organic matter. Before planting, I highly recommend amending your soil with compost or well-rotted manure. This will significantly improve drainage, aeration, and the overall nutrient content of the soil, creating a happy home for your pinto bean roots. I’ve seen firsthand how amending the soil can boost yields. One year, I neglected to add compost, and my bean harvest was significantly smaller compared to previous years when I had enriched the soil.
Here’s a simple soil amendment recipe I often use:
- Compost: 2-3 inches layer spread over the garden bed.
- Aged Manure (optional): 1-2 inches layer, if available.
- Mix thoroughly: Incorporate the amendments into the top 6-8 inches of soil.
If you’re unsure about your soil type, you can get a soil test from your local agricultural extension office. This will tell you the pH and nutrient levels of your soil, allowing you to amend it more effectively. I had my soil tested a few years ago and discovered it was slightly acidic. I added lime to raise the pH, which made a noticeable difference in the health of my plants.
3. Planting Your Pinto Beans: Seeds vs. Seedlings
You have two options when planting pinto beans: starting from seeds or using seedlings. Directly sowing seeds into the ground is the most common and generally preferred method. It’s less stressful for the plants and allows their root systems to develop naturally. However, starting with seedlings can give you a head start, especially if you have a short growing season.
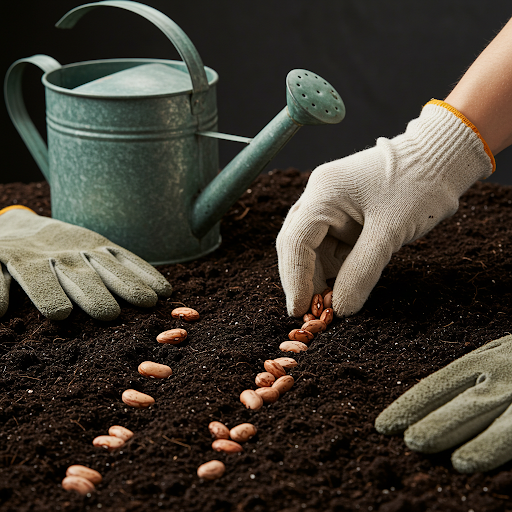
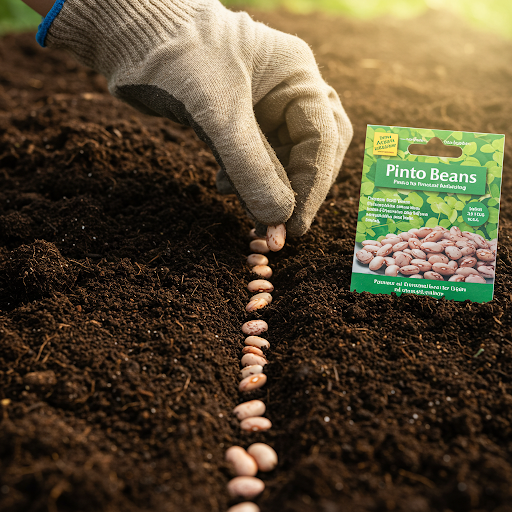
Planting from Seeds:
- Timing: Plant pinto bean seeds after the last frost in your area, when the soil temperature has reached at least 60°F (15°C).
- Depth and Spacing: Sow seeds about 1 inch deep and 2-3 inches apart within the row. Space rows about 18-24 inches apart.
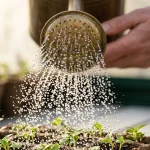
- Watering: Water the seeds thoroughly after planting and keep the soil consistently moist until they germinate.
Starting from Seedlings:
- Start Indoors: Sow seeds indoors 2-3 weeks before the last expected frost. Use seed starting trays or small pots.
- Transplanting: Once the seedlings have a few sets of true leaves and the weather outside is warm, carefully transplant them into your garden. Space them according to the recommendations for your chosen variety.
I’ve tried both methods, and I’ve found that direct sowing tends to be more successful for me. The plants seem to be more robust and less prone to transplant shock. However, if you live in an area with a very short growing season, starting with seedlings might be a better option.
4. Caring for Your Pinto Bean Plants: Watering, Support, and More
Once your pinto bean plants are established, they’ll need regular care to thrive. This includes watering, providing support (if needed), and fertilizing.
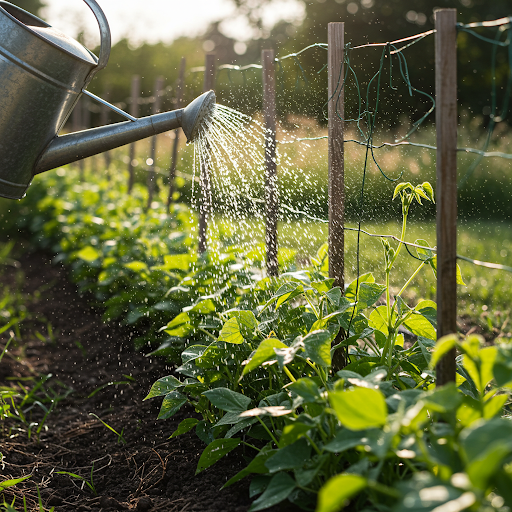
Watering:
Pinto beans need consistent moisture, especially during flowering and pod development. Water deeply at the base of the plant, avoiding overhead watering which can lead to fungal diseases. I like to check the soil moisture by sticking my finger about an inch into the soil. If it feels dry, it’s time to water. Mulching around the plants can help retain moisture and suppress weeds.
Support:
If you’re growing pole beans, you’ll need to provide them with a trellis, fence, or other structure to climb. Bush beans generally don’t need support, but they may benefit from staking if they become heavy with pods. I’ve used bamboo stakes, netting, and even repurposed ladders as trellises for my pole beans.
Fertilizing:
Pinto beans are legumes, which means they can fix nitrogen from the air, reducing their need for nitrogen fertilizer. However, they can still benefit from a side dressing of compost or a balanced fertilizer during the growing season. I usually add a layer of compost around my bean plants a few weeks after they start flowering.
Weeding:
Keep your pinto bean patch free of weeds, which can compete with your beans for water and nutrients. I like to weed regularly by hand or with a hoe. Mulching can also help suppress weeds.
Pest and Disease Monitoring:
Regularly inspect your plants for signs of pests or diseases. Early detection is key to preventing major problems.
5. Pest and Disease Control for Healthy Pinto Beans
Pinto beans, like all plants, can be susceptible to pests and diseases. Common pests include aphids, bean beetles, and spider mites. Common diseases include bean rust, powdery mildew, and bacterial blight.
Pest Control:
- Handpicking: For small infestations, handpicking pests can be effective.
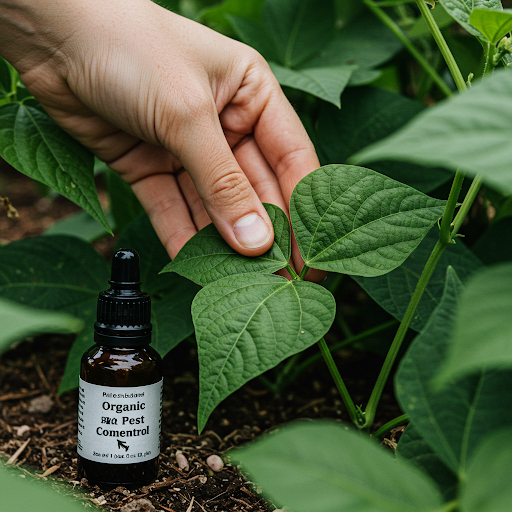
- Insecticidal Soap: Insecticidal soap is an organic option for controlling many common pests. It works by disrupting the cell membranes of insects, causing them to dehydrate and die. It’s generally safe for beneficial insects like bees and butterflies, making it a good choice for organic gardeners.
- Neem Oil: Neem oil is another effective organic pesticide derived from the neem tree. It disrupts the insect’s life cycle and can also help prevent fungal diseases. Neem oil is generally safe for humans and pets when used as directed.
- Beneficial Insects: Introducing beneficial insects like ladybugs and lacewings can help control aphid populations.
Disease Control:
- Crop Rotation: Rotating your crops each year can help break the disease cycle and prevent the buildup of pathogens in the soil.
- Good Sanitation: Remove any diseased plant material promptly to prevent the spread of disease. Dispose of infected plants in the trash, not in the compost pile.
- Resistant Varieties: Choose bean varieties that are resistant to common diseases in your area. You can find information on disease-resistant varieties from your local extension office or seed catalogs.
- Spacing: Adequate spacing between plants can improve air circulation and reduce the risk of fungal diseases.
I’ve had my share of pest and disease problems in my garden. One year, I had a major aphid infestation on my bean plants. I used insecticidal soap to control them, and it worked well. I also learned the importance of crop rotation after a bout of bean rust wiped out my entire crop one year. By implementing these preventive measures and taking prompt action when necessary, you can minimize the impact of pests and diseases on your pinto bean plants.
6. Harvesting and Storing Your Pinto Beans
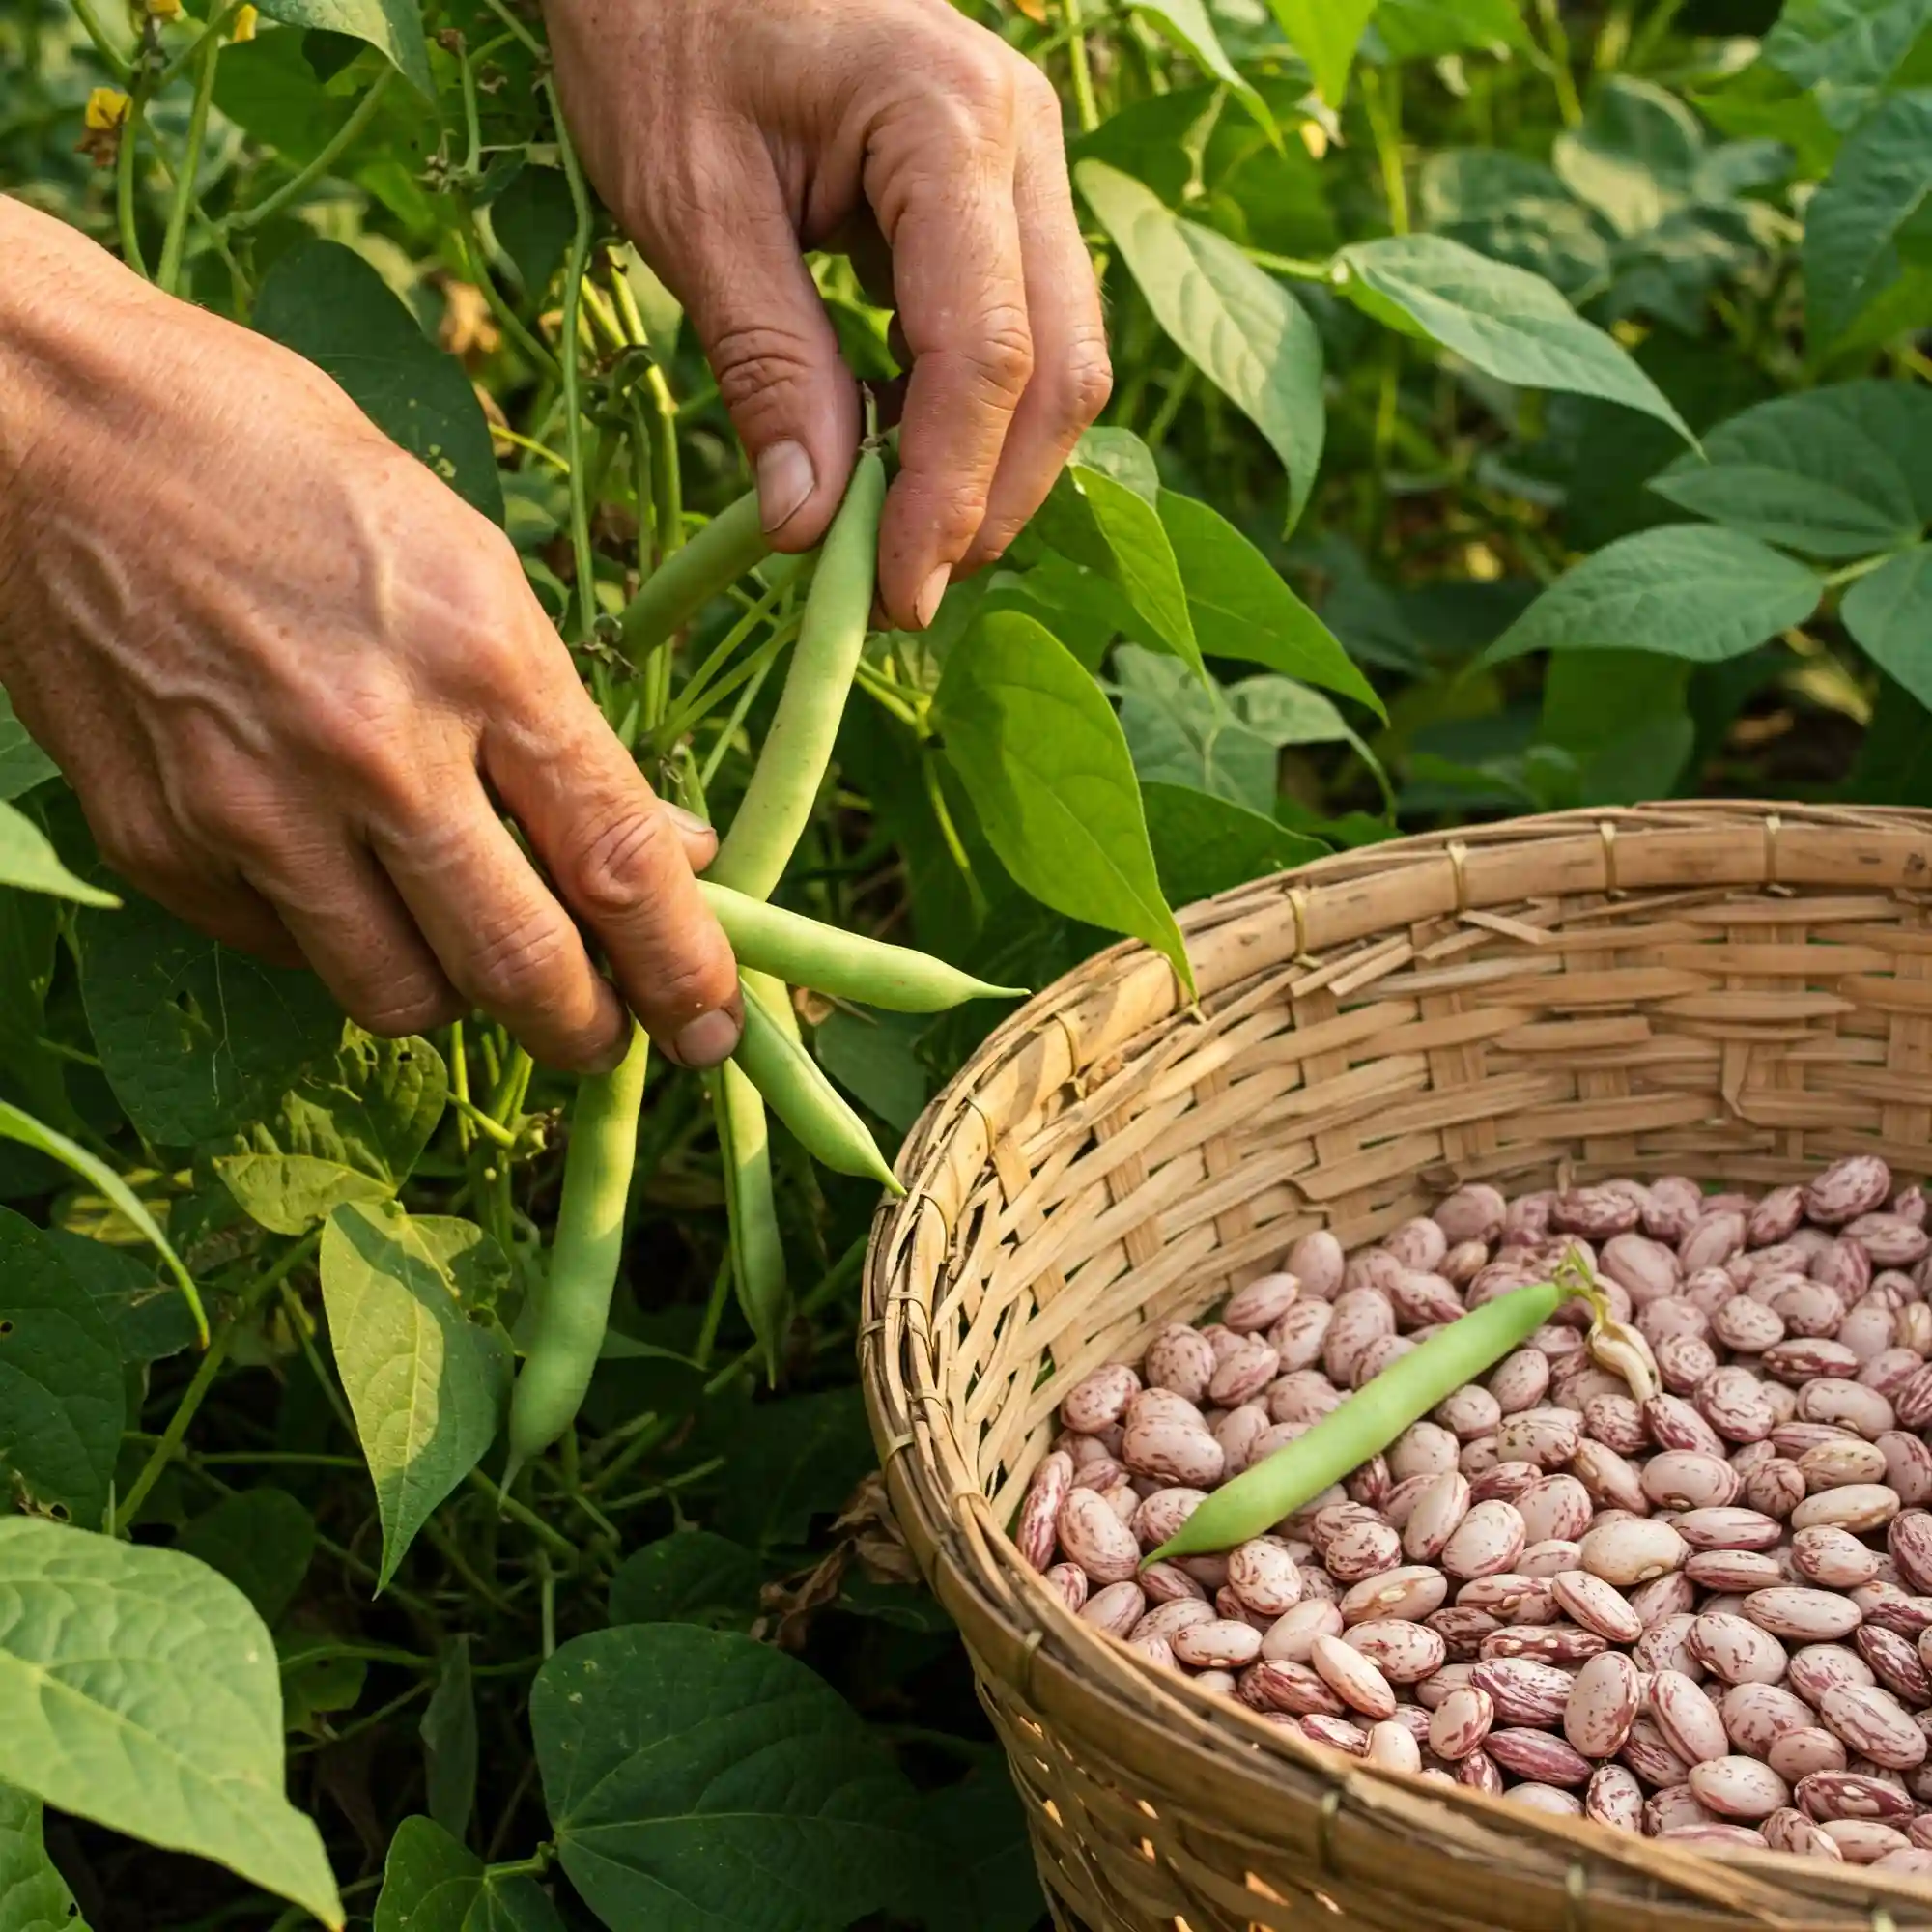
The moment you’ve been waiting for – harvest time! Pinto beans can be harvested at two stages:
- Snap Beans: You can pick the pods when they’re young and tender, like green beans. These are called snap beans and can be eaten fresh.
- Dry Beans: For dry beans, leave the pods on the plant until they turn yellow or brown and the beans inside are mature and hard.
Harvesting Snap Beans:
- Timing: Harvest snap beans when the pods are young and tender, usually about 50-60 days after planting.
- Picking: Snap the pods off the plant by hand, leaving a short stem attached.
- Storage: Store fresh snap beans in the refrigerator for up to a week.
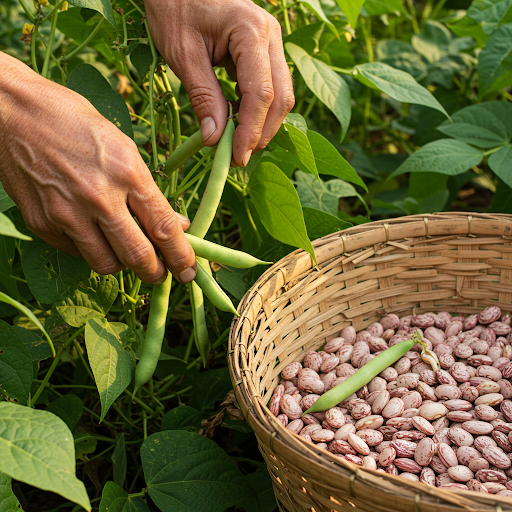
Harvesting Dry Beans:
- Timing: Leave the pods on the plant until they turn yellow or brown and the beans inside are mature and hard. This usually takes 80-100 days after planting.
- Picking: Carefully pick the pods from the plant and allow them to dry further in a warm, dry place.
- Shelling: Once the pods are completely dry, shell the beans from the pods.
- Storage: Store dried beans in airtight containers in a cool, dark, and dry place. They can be stored for up to a year.
Tips for Harvesting:
- Harvest your beans in the morning or evening when the temperatures are cooler.
- Wear gloves to protect your hands from thorns.
- Use a basket or bucket to collect your harvest.
- Enjoy the fruits of your labor!
By following these tips, you can enjoy a bountiful harvest of fresh or dried pinto beans from your garden.
7. Troubleshooting Common Pinto Bean Problems
Even the most experienced gardeners can encounter challenges when growing pinto beans. Here are some common problems you may encounter and how to address them:
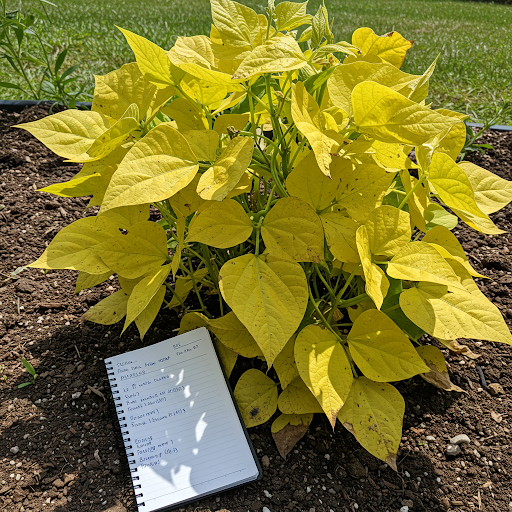
- Yellowing Leaves: This can indicate a variety of issues, including:
- Overwatering: Overwatering can lead to root rot, which can cause yellowing leaves. Allow the soil to dry out slightly between waterings.
- Nutrient Deficiency: If the soil is deficient in nutrients, especially nitrogen, the leaves may turn yellow. You can address this by applying a balanced fertilizer or adding compost to the soil.
- Disease: Some diseases, such as bean rust and powdery mildew, can cause yellowing leaves. Monitor your plants regularly for signs of disease and take appropriate action.
- Lack of Pods: If your pinto bean plants are not producing many pods, there could be several reasons:
- Pollination Problems: Poor pollination can occur if there are not enough pollinators (bees, butterflies) present. You can hand-pollinate the flowers by gently transferring pollen from one flower to another with a cotton swab.
- Stress: Heat stress, drought stress, or nutrient deficiencies can also reduce pod production. Ensure your plants receive adequate water and provide shade during hot periods.
- Variety Selection: Some bean varieties are more prolific than others. Choose varieties that are known for their high yields.
- Pest Problems: As mentioned earlier, pests like aphids and bean beetles can damage your plants. Monitor your plants regularly for signs of infestation and take appropriate control measures.
- Disease Problems: Diseases like bean rust and powdery mildew can affect pinto bean plants. Practice good sanitation, rotate crops, and choose disease-resistant varieties to minimize the risk of disease.
If you encounter any problems with your pinto bean plants, don’t despair. Identify the issue, take appropriate action, and learn from the experience. Growing plants is a learning process, and even the most experienced gardeners encounter challenges from time to time.
By following the tips and troubleshooting advice in this guide, you can increase your chances of a successful pinto bean harvest. Remember to observe your plants regularly, address any issues promptly, and enjoy the process of growing your own food!
Frequently Asked Questions (FAQs

Q: How often should I water my pinto bean plants?
A: Water deeply and regularly, especially during flowering and pod development. Check the soil moisture before watering. A good rule of thumb is to water when the top inch of soil feels dry to the touch. Avoid overwatering, as this can lead to root rot.
Q: When is the best time to plant pinto beans?
A: Plant pinto beans after the last frost in your area, when the soil temperature has warmed up to at least 60°F (15°C). This typically occurs in late spring or early summer.
Q: Can I grow pinto beans in containers?
A: Yes, you can grow bush varieties of pinto beans in containers. Choose a container that is at least 12 inches deep and wide enough to accommodate the plant’s root system. Make sure the container has drainage holes to prevent waterlogging.
Q: How do I know when my pinto beans are ready to harvest?
A: For snap beans, harvest the pods when they are young and tender, usually about 50-60 days after planting. For dry beans, leave the pods on the plant until they turn yellow or brown and the beans inside are mature and hard, usually 80-100 days after planting.
Q: What are some good companion plants for pinto beans?
A: Corn and squash are excellent companion plants for pinto beans. Corn provides natural support for pole beans to climb, and squash can help suppress weeds.
Q: How do I dry pinto beans for storage?
A: Once the pods are dry, shell the beans and spread them out on a screen or tray in a warm, dry, and well-ventilated location. Allow them to dry completely for several days, then store them in airtight containers in a cool, dark, and dry place.
Q: How can I prevent pests and diseases in my pinto bean plants?
A: Practice good sanitation, rotate crops, and monitor your plants regularly for signs of pests or disease. Use organic pest control methods like insecticidal soap or neem oil when necessary.
Q: What kind of fertilizer do pinto beans need?
A: Pinto beans are legumes, which means they can fix nitrogen from the air, reducing their need for nitrogen fertilizer. However, they can still benefit from a side dressing of compost or a balanced fertilizer during the growing season.
Q: How long does it take for pinto beans to mature?
A: The time it takes for pinto beans to mature depends on the variety and growing conditions. Snap beans are typically ready to harvest in 50-60 days, while dry beans take 80-100 days.
Q: How do I grow pinto beans organically?
A: Use organic compost and fertilizers, practice crop rotation, and employ natural pest control methods. Avoid using synthetic pesticides and herbicides.
I hope these FAQs have been helpful! Remember, growing pinto beans is a rewarding experience. Enjoy the process and savor the delicious results of your hard work.


")