Tired of the same old vegetables in your garden? Looking for a unique and rewarding growing experience?
The thought of growing something new and exotic can be both exciting and daunting. You might be wondering, “How do I even begin to grow this unusual vegetable?” The uncertainty can be overwhelming, especially when you’re eager to add a touch of exoticism to your garden.
Fear not, fellow gardener. Discover the Oca, a fascinating Andean tuber that offers a delightful culinary adventure. This guide will equip you with the knowledge and confidence to cultivate thriving Oca plants and enjoy a bountiful harvest. We’ll delve into every aspect of Oca cultivation, from selecting the right tubers to harvesting and enjoying your delicious rewards.
Understanding Oca: A Closer Look
Oca, scientifically known as Oxalis tuberosa, is a fascinating tuberous plant native to the Andes Mountains of South America. It has been cultivated for centuries by indigenous communities for its edible tubers and leaves. While often referred to as the “New Zealand Yam,” it’s crucial to note that it’s not closely related to true yams. Oca belongs to the Oxalidaceae family, which also includes wood sorrel.
Oca plants are characterized by their delicate, clover-like leaves and vibrant, often multi-colored tubers. These tubers come in a dazzling array of colors, ranging from creamy white and pale pink to deep purple and even yellow. The flavor of Oca can vary depending on the variety, with some having a slightly tart or tangy taste, while others are more subtly sweet.
Beyond their culinary appeal, Oca tubers are a nutritional powerhouse. They are rich in vitamins and minerals, including vitamin C, vitamin B6, and potassium. Oca also contains antioxidants and dietary fiber, making it a healthy addition to any diet.
Cultivating Oca can be a rewarding experience for gardeners of all levels. It adds a unique element to your garden and provides a sense of accomplishment when you harvest your own supply of this unusual and delicious tuber.
Choosing the Right Oca Tubers
The quality of your Oca harvest begins with selecting the right tubers for planting. Look for plump, firm tubers that are free of any signs of rot, mold, or disease. Avoid tubers that are shriveled, discolored, or have any soft spots.
When choosing Oca tubers, consider the variety. There are numerous Oca varieties available, each with its own unique characteristics in terms of color, size, and flavor. Some popular varieties include ‘Yellow Finger,’ ‘Red Amaru,’ and ‘Purple Delight.’ Research different varieties to find those that best suit your culinary preferences and growing conditions.
Sourcing your Oca tubers from reputable sources is crucial. Local nurseries, online retailers, and seed exchanges are excellent options. If possible, try to source tubers from local growers or those who specialize in heirloom varieties. This will help ensure you’re getting healthy and high-quality planting material.
Preparing Your Garden Bed for Oca
Oca thrives in well-prepared soil. Begin by selecting a sunny location in your garden that receives at least six hours of direct sunlight per day. Oca prefers well-drained soil that is rich in organic matter.
To prepare your garden bed, start by tilling the soil to a depth of 8-10 inches. This will loosen the soil, allowing for better root penetration and improving drainage. Incorporate plenty of organic matter into the soil, such as compost or well-rotted manure. This will improve soil fertility and provide essential nutrients for Oca growth.
Aim for a slightly acidic soil pH between 5.5 and 6.5. You can test your soil pH using a home soil test kit, which is readily available at most garden centers. If your soil pH is too high, you can amend it with sulfur or other soil acidifiers.
Planting Oca Tubers: A Step-by-Step Guide
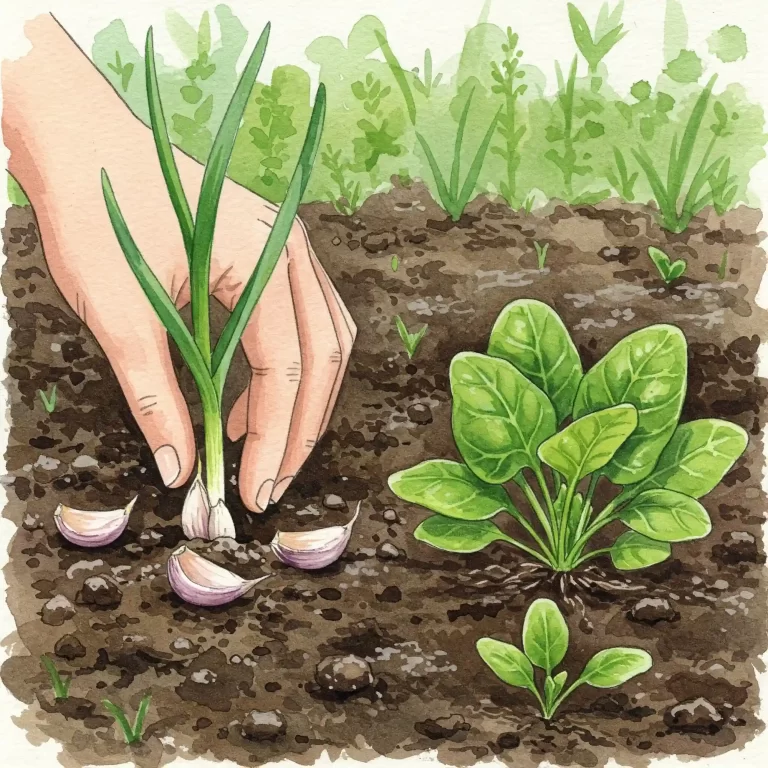
Once your garden bed is prepared, it’s time to plant your Oca tubers. The ideal planting time depends on your local climate. In general, aim to plant Oca tubers after the last expected frost has passed and the soil has warmed up.
- Planting Depth: Plant Oca tubers 2-3 inches deep in the soil.
- Spacing: Space the tubers 6-8 inches apart in rows that are 12-18 inches apart.
- Planting Method: You can plant Oca tubers directly in the garden bed or start them indoors in pots. If starting indoors, transplant the seedlings outdoors after the danger of frost has passed.
Gently press the tubers into the soil and cover them lightly. Water the planting area thoroughly after planting.
Providing Optimal Care for Your Oca Plants
Consistent watering is essential for healthy Oca growth. Water your Oca plants regularly, especially during dry periods. Aim to keep the soil consistently moist but not waterlogged. Overwatering can lead to root rot, so be sure to allow the soil to dry slightly between waterings.
Fertilizing your Oca plants can boost their growth and productivity. Apply a balanced fertilizer, such as a 10-10-10 formulation, at the time of planting. You can also side-dress your plants with compost or other organic matter mid-season to provide additional nutrients.
Weed control is important to prevent weeds from competing with your Oca plants for water, nutrients, and sunlight. Regularly remove weeds by hand or use a shallow hoe to cultivate the soil around your plants. Mulching around your Oca plants can help suppress weed growth, conserve soil moisture, and regulate soil temperature.
Protecting Oca from Pests and Diseases
While Oca plants are generally disease-resistant, they can still be susceptible to certain pests and diseases.
- Common Pests: Aphids, slugs, and snails are some of the common pests that can affect Oca plants. Aphids can sap plant sap, while slugs and snails can chew on the leaves and tubers. You can control these pests by handpicking them off the plants, using insecticidal soap, or introducing beneficial insects like ladybugs to your garden.
- Diseases: Powdery mildew and blight are some of the diseases that can affect Oca plants. Powdery mildew appears as a white, powdery coating on the leaves, while blight can cause leaf spots and wilting. Proper spacing between plants and ensuring good air circulation can help prevent these diseases. If you notice any signs of disease, promptly remove and destroy affected plant parts.
Harvesting Your Oca Crop
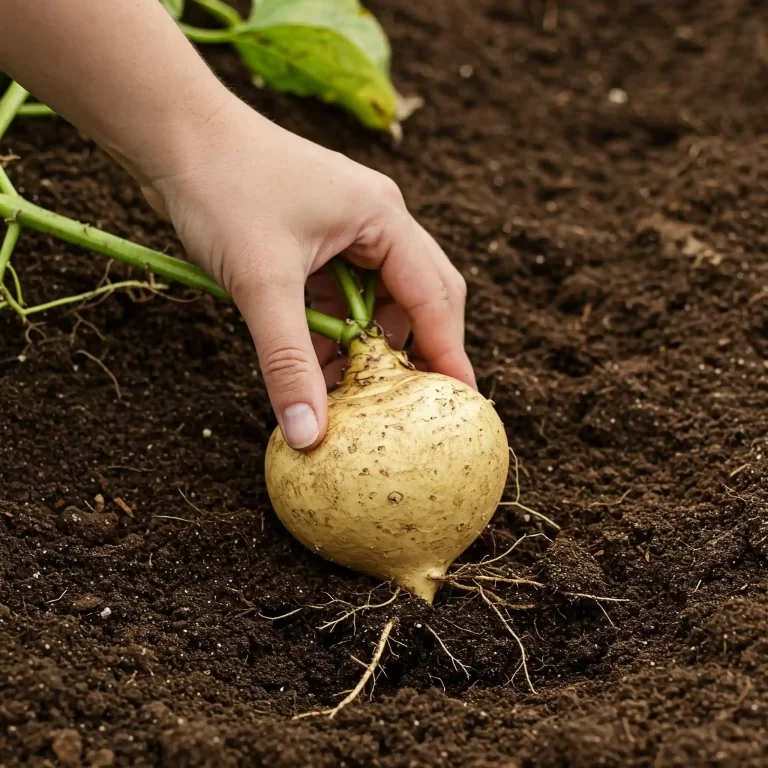
Oca tubers are typically ready for harvest in late summer or early fall, approximately 120-150 days after planting. The tops of the plants will begin to yellow and die back as the tubers mature. You can gently tug on the plants to see if they are ready for harvest. If the plants come up easily, the tubers are likely mature.
To harvest Oca tubers, carefully dig around the base of the plants with a garden fork. Be gentle to avoid damaging the tubers. Once you’ve loosened the soil, carefully lift the plants out of the ground. Gently brush off any excess soil from the tubers.
After harvesting, it’s important to handle the tubers carefully to prevent bruising or damage. Allow the tubers to air dry in a cool, shaded location for a few hours. Then, store the tubers in a cool, dry, and well-ventilated location, such as a basement or root cellar.
Utilizing Your Oca Harvest
Once you’ve harvested your Oca tubers, it’s time to enjoy the fruits of your labor! Oca tubers are incredibly versatile and can be used in a variety of dishes.
- Cooking Methods: Oca tubers can be boiled, roasted, baked, or fried. Boiling is a simple and quick method of cooking Oca. You can also roast or bake Oca tubers for a slightly sweeter flavor.
- Culinary Uses: Oca tubers can be used in a variety of dishes, including salads, soups, stews, and stir-fries. They can also be mashed, pureed, or made into chips.
Propagating Oca: Growing From Cuttings
Propagating Oca from cuttings is a simple and effective way to increase your Oca stock. It allows you to preserve your favorite varieties and expand your Oca patch.
- Preparing Cuttings: Select healthy Oca leaves with attached stems. Cuttings should be taken from young, vigorous plants. Cut the stems just below a node, which is the point where the leaf attaches to the stem.
- Rooting Cuttings: Dip the cut ends of the stems in rooting hormone powder to encourage root growth. Plant the cuttings in small pots filled with a well-draining potting mix. Keep the potting mix moist but not soggy.
- Caring for Cuttings: Place the pots in a warm, bright location, but avoid direct sunlight. Keep the potting mix consistently moist. Within a few weeks, the cuttings should develop roots and start to grow.
- Transplanting Cuttings: Once the cuttings have developed a strong root system, you can transplant them into your garden bed. Follow the same planting guidelines as for tubers.
Propagating Oca from cuttings is a rewarding experience and allows you to enjoy a continuous supply of this unique and delicious tuber.
Troubleshooting Common Oca Growing Challenges
While Oca plants are generally resilient, you may encounter some growing challenges. Here are some common issues and how to address them:
- Yellowing Leaves: Yellowing leaves can indicate nutrient deficiencies, overwatering, or pest infestations. Ensure your Oca plants are receiving adequate nutrients and water. Check for pests and address any infestations promptly.
- Stunted Growth: Stunted growth can be caused by insufficient sunlight, poor soil drainage, or nutrient deficiencies. Ensure your Oca plants are receiving adequate sunlight and that the soil is well-drained and fertile.
- Disease Outbreaks: Keep a close eye on your Oca plants for signs of disease, such as powdery mildew or blight. If you notice any disease symptoms, take steps to control the spread of the disease and prevent further damage to your plants.
By being proactive and addressing these potential challenges, you can ensure a healthy and productive Oca harvest.
Conclusion
I hope this comprehensive guide has equipped you with the knowledge and confidence to successfully grow Oca in your own garden. Remember to choose healthy tubers, prepare your garden bed properly, and provide your Oca plants with the care they need. With a little patience and attention, you’ll be rewarded with a bountiful harvest of this unique and delicious Andean tuber.
Share your Oca growing experiences in the comments section below! I’d love to hear about your successes and any challenges you encounter along the way. Happy gardening!


