| – Growing a plant from a seed is a fun and educational activity for kids. |
| – You will need seeds, pots, soil, water, and some tools to grow a plant from a seed. |
| – You will learn how to plant a seed, how to observe and record the changes as the seed sprouts and grows, and how to have fun and be creative with your plant project. |
| – You will also get access to some free printable worksheets that you can use to guide your kids through the process and reinforce their learning. |
Do you want to teach your kids about the life cycle of plants, the parts of plants, the needs of plants, and the factors that affect plant growth? Do you want to help your kids develop important skills and knowledge, such as science, math, literacy, art, and more? Do you want to have fun and be creative with your kids, and see the results of your hard work and care?
If you answered yes to any of these questions, then this article is for you. In this article, you will learn how to grow a plant from a seed with your kids, using simple materials and steps that you can find at home or in the classroom. You will also discover how this activity can benefit your kids in many ways, and how to make it more enjoyable and memorable. You will also get access to some free printable worksheets that you can use to guide your kids through the process and reinforce their learning.
So, are you ready to grow a plant from a seed with your kids? Let’s get started!
What You Need to Grow a Plant from a Seed
To grow a plant from a seed, you will need the following items:
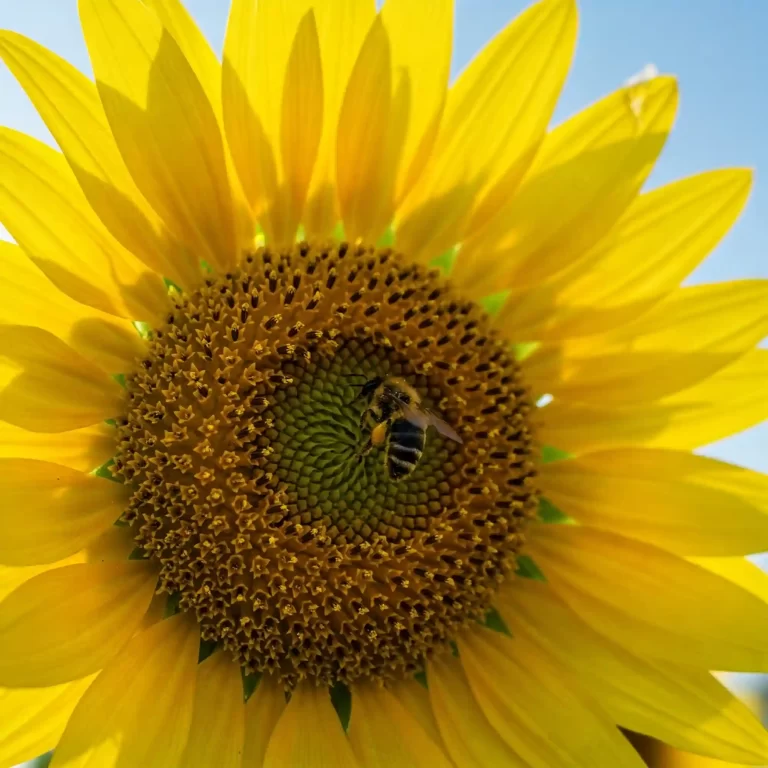
- Seeds: You can use any kind of seeds that you like, such as flowers, vegetables, fruits, herbs, etc. However, some seeds are easier to grow than others, especially for beginners. Some examples of easy-to-grow seeds are beans, peas, sunflowers, radishes, lettuce, etc. You can buy seeds from a garden center, a supermarket, or online. You can also collect seeds from the fruits and vegetables that you eat, such as tomatoes, peppers, apples, etc.
- Pots: You will need something to hold the soil and the seeds. You can use any kind of pots that you have, such as plastic, ceramic, metal, etc. You can also use recycled materials, such as yogurt cups, egg cartons, or plastic bottles, as pots. Just make sure that they have drainage holes at the bottom, or poke some holes with a nail or a screwdriver. You will also need a tray or a plate to catch the excess water that drains from the pots.
- Soil: You will need something to fill the pots and provide nutrients and support for the seeds. You can use any kind of soil that you have, such as garden soil, potting soil, compost, etc. You can also make your own soil by mixing sand, peat moss, and perlite. You can buy soil from a garden center, a supermarket, or online. You can also collect soil from your backyard or a nearby park, but make sure that it is not contaminated with chemicals or pests.
- Water: You will need something to moisten the soil and the seeds. You can use any kind of water that you have, such as tap water, bottled water, rain water, etc. You will also need a watering can, a spray bottle, or a cup to pour or spray the water on the soil and the seeds.
- Spoon: You will need something to dig the soil and make a hole for the seed. You can use any kind of spoon that you have, such as metal, plastic, wood, etc. You can also use your finger or a stick to make a hole in the soil.
- Ruler: You will need something to measure the height of the plant as it grows. You can use any kind of ruler that you have, such as plastic, metal, wood, etc. You can also use a tape measure, a string, or your hand to measure the plant.
- Marker: You will need something to write the name of the seed and the date of planting on the label. You can use any kind of marker that you have, such as permanent, washable, crayon, etc. You can also use a pencil, a pen, or a sticker to write on the label.
- Labels: You will need something to stick on the pot and identify the seed and the date of planting. You can use any kind of labels that you have, such as paper, plastic, cardboard, etc. You can also use a piece of paper, a post-it note, or a tape to make your own label.
Here is a table that summarizes what you need to grow a plant from a seed:
| Item | Purpose | Examples |
|---|---|---|
| Seeds | To grow a plant | Flowers, vegetables, fruits, herbs, etc. |
| Pots | To hold the soil and the seeds | Plastic, ceramic, metal, recycled materials, etc. |
| Soil | To fill the pots and provide nutrients and support for the seeds | Garden soil, potting soil, compost, homemade soil, etc. |
| Water | To moisten the soil and the seeds | Tap water, bottled water, rain water, etc. |
| Spoon | To dig the soil and make a hole for the seed | Metal, plastic, wood, finger, stick, etc. |
| Ruler | To measure the height of the plant as it grows | Plastic, metal, wood, tape measure, string, hand, etc. |
| Marker | To write the name of the seed and the date of planting on the label | Permanent, washable, crayon, pencil, pen, sticker, etc. |
| Labels | To stick on the pot and identify the seed and the date of planting | Paper, plastic, cardboard, piece of paper, post-it note, tape, etc. |
How to Plant a Seed
To plant a seed, you need to follow these steps:
- Fill a pot with soil, leaving some space at the top.
- Make a small hole in the center of the soil with your spoon or your finger.
- Place a seed in the hole and cover it with some soil.
- Water the soil gently until it is moist, but not soggy.
- Label the pot with the name of the seed and the date of planting.
- Place the pot in a sunny and warm spot, such as a windowsill or a balcony.
Here are some tips and suggestions on how to plant a seed successfully:
- You can plant more than one seed in a pot, but make sure they are not too close to each other, as they will compete for space and nutrients.
- You can also plant different kinds of seeds in different pots, and compare how they grow.
- You can also experiment with different factors that affect plant growth, such as light, water, temperature, etc. For example, you can place some pots in a dark place, some pots in a cold place, some pots in a dry place, etc. and see what happens.
How to Observe and Record the Changes as the Seed Sprouts and Grows
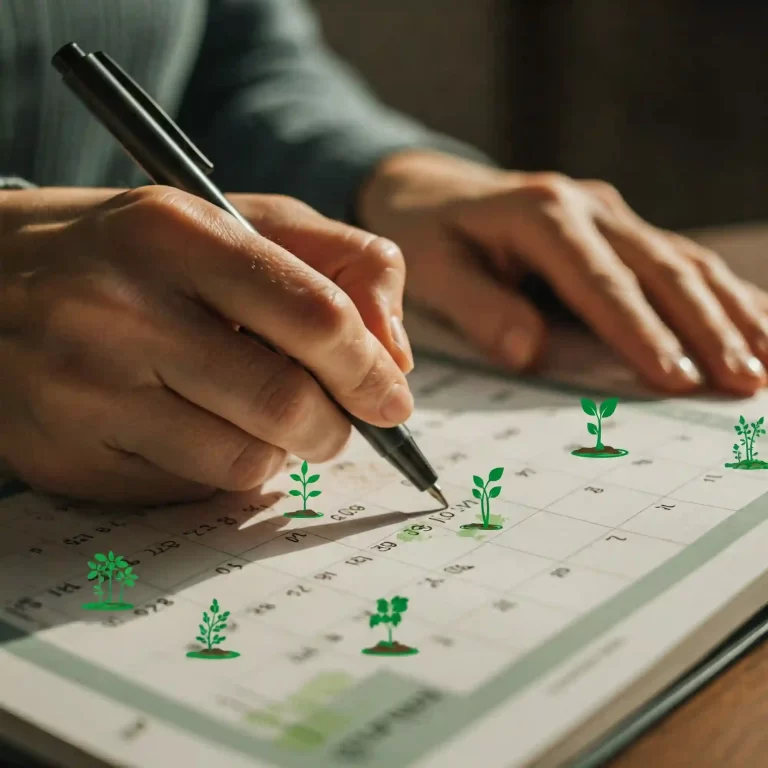
Observing and recording the changes as the seed sprouts and grows is a great way to learn about the life cycle of plants, the parts of plants, the needs of plants, and the factors that affect plant growth. It is also a fun and exciting way to see the results of your hard work and care. It is also a good opportunity to practice some skills and knowledge, such as measuring, counting, writing, drawing, etc.
To observe and record the changes as the seed sprouts and grows, you need to do the following:
- Check your pot every day and look for any signs of sprouting, such as a green shoot or a leaf.
- Measure the height of the plant with a ruler and write it down.
- Draw a picture of the plant and label its parts, such as stem, leaf, root, etc.
- Write a sentence or a paragraph to describe the plant and its changes, such as color, shape, size, etc.
- Repeat these steps every week until the plant reaches maturity, flowers, or produces fruits.
Here are some examples or templates that you can use to observe and record the changes as the seed sprouts and grows:
| Date | Height | Description |
|---|---|---|
| March 1 | 0 cm | I planted a bean seed in a pot with soil. I watered the soil and put the pot on the windowsill. |
| March 8 | 2 cm | My bean seed sprouted! I saw a green shoot coming out of the soil. It has two tiny leaves. |
| March 15 | 5 cm | My bean plant grew taller. It has four bigger leaves. It also has a thin stem and some roots. |
| March 22 | 10 cm | My bean plant grew even taller. It has eight leaves. It also has a thicker stem and more roots. |
| March 29 | 15 cm | My bean plant grew very tall. It has twelve leaves. It also has a strong stem and many roots. It also has some flowers. |
You can also download some free printable worksheets that you can use to observe and record the changes as the seed sprouts and grows. Just click on the link below and enter your email address to get them. Download free worksheets
Here are some tips and suggestions on how to observe and record the changes as the seed sprouts and grows:
- You can use a chart, a graph, a journal, or a scrapbook to record the changes as the seed sprouts and grows. You can also use a digital device, such as a camera, a tablet, or a computer, to take pictures, make videos, or create slideshows of your plant project.
- You can compare your plant with other plants that you have or that you see around you. You can also compare your plant with the pictures or the information that you find online or in books. You can also ask questions or make predictions about your plant, such as “What will happen next?”, “Why did this happen?”, “How can I make my plant grow faster?”, etc.
- You can share your plant project with your family, friends, classmates, or online. You can also join a community or a club of people who are interested in plants or gardening. You can also participate in a contest or a challenge that involves growing plants from seeds. You can also visit a garden, a farm, or a museum that has plants or seeds on display.
How to Have Fun and Be Creative with Your Plant Project
Having fun and being creative with your plant project is a great way to make your learning more enjoyable and memorable. It is also a good way to express your personality and style, and to share your work and ideas with others. It is also a chance to explore your interests and passions, and to discover new things and possibilities.
To have fun and be creative with your plant project, you can do the following:
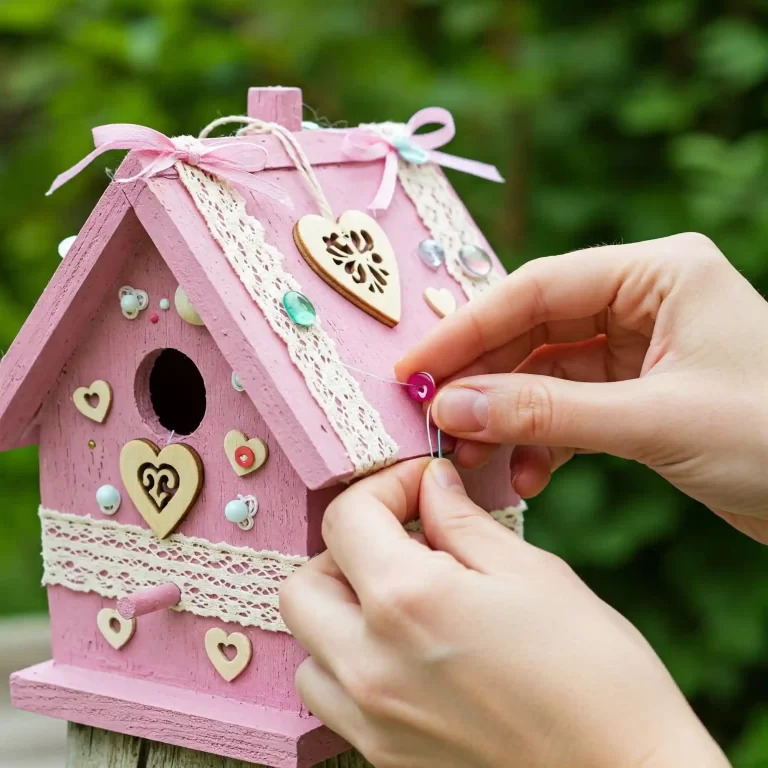
- Decorate your pot with paint, stickers, glitter, etc. You can use any kind of materials and colors that you like, and make your pot look unique and beautiful. You can also write or draw something on your pot, such as your name, a message, a picture, etc.
- Name your plant and give it a backstory or a personality. You can use any kind of name that you like, such as a human name, an animal name, a fantasy name, etc. You can also give your plant a backstory or a personality, such as where it came from, what it likes, what it dislikes, what it dreams of, etc. You can also talk to your plant and listen to what it has to say.
- Make a storybook or a comic strip about your plant and its adventures. You can use any kind of format and style that you like, such as a book, a comic, a magazine, etc. You can also use any kind of characters and settings that you like, such as animals, people, aliens, etc. You can also use any kind of plot and theme that you like, such as a mystery, a comedy, a romance, etc. You can also use any kind of tools and media that you like, such as paper, pencil, crayon, computer, etc.
- Make a song or a poem about your plant and its features. You can use any kind of genre and tone that you like, such as a rock, a rap, a ballad, etc. You can also use any kind of rhyme and rhythm that you like, such as a couplet, a haiku, a limerick, etc. You can also use any kind of words and sounds that you like, such as nouns, verbs, adjectives, onomatopoeia, etc. You can also use any kind of instruments and vocals that you like, such as a guitar, a piano, a drum, etc.
- Make a collage or a sculpture with your plant and other materials. You can use any kind of materials and shapes that you like, such as paper, cardboard, clay, etc. You can also use any kind of colors and textures that you like, such as bright, dark, smooth, rough, etc. You can also use any kind of themes and concepts that you like, such as abstract, realistic, symbolic, etc. You can also use any kind of tools and techniques that you like, such as scissors, glue, paint, etc.
- Make a presentation or a video about your plant and its growth. You can use any kind of format and style that you like, such as a slideshow, a documentary, a tutorial, etc. You can also use any kind of information and data that you like, such as facts, figures, charts, graphs, etc. You can also use any kind of tools and media that you like, such as a camera, a microphone, a computer, etc.
Conclusion
In this article, you learned how to grow a plant from a seed with your kids, using simple materials and steps that you can find at home or in the classroom. You also learned how this activity can help your kids develop important skills and knowledge, such as science, math, literacy, art, and more. You also learned how to observe and record the changes as the seed sprouts and grows, and how to have fun and be creative with your plant project.
Now that you know how to grow a plant from a seed with your kids, why not give it a try and see what happens? You can also download some free printable worksheets that you can use to guide your kids through the process and reinforce their learning. Just click on the link below and enter your email address to get them. Download free worksheets
What kind of seeds are you going to plant? What are you looking forward to seeing? Let us know in the comments below or share your plant project with us on social media using the hashtag #plantproject. We would love to see your amazing work and hear your feedback. Happy planting!


