
Have you ever dreamed of digging up your own homegrown yams, those versatile and delicious root vegetables? I know I have! There’s something incredibly satisfying about nurturing a plant from a tiny sprout to a bountiful harvest. But maybe you’ve hesitated, thinking yam cultivation is too complex or time-consuming. You might be worried about choosing the right variety, preparing the soil correctly, or tackling potential problems like pests and diseases. I understand these concerns. Many gardeners, especially those just starting out, feel overwhelmed by the prospect of growing yams. That’s exactly why I created this guide. I’ll walk you through every step of the process, from selecting the perfect yams for your garden to troubleshooting common issues and finally, enjoying the fruits (or rather, roots!) of your labor. Whether you’re a seasoned gardener or just starting out, you’ll discover how accessible and rewarding yam cultivation can be.
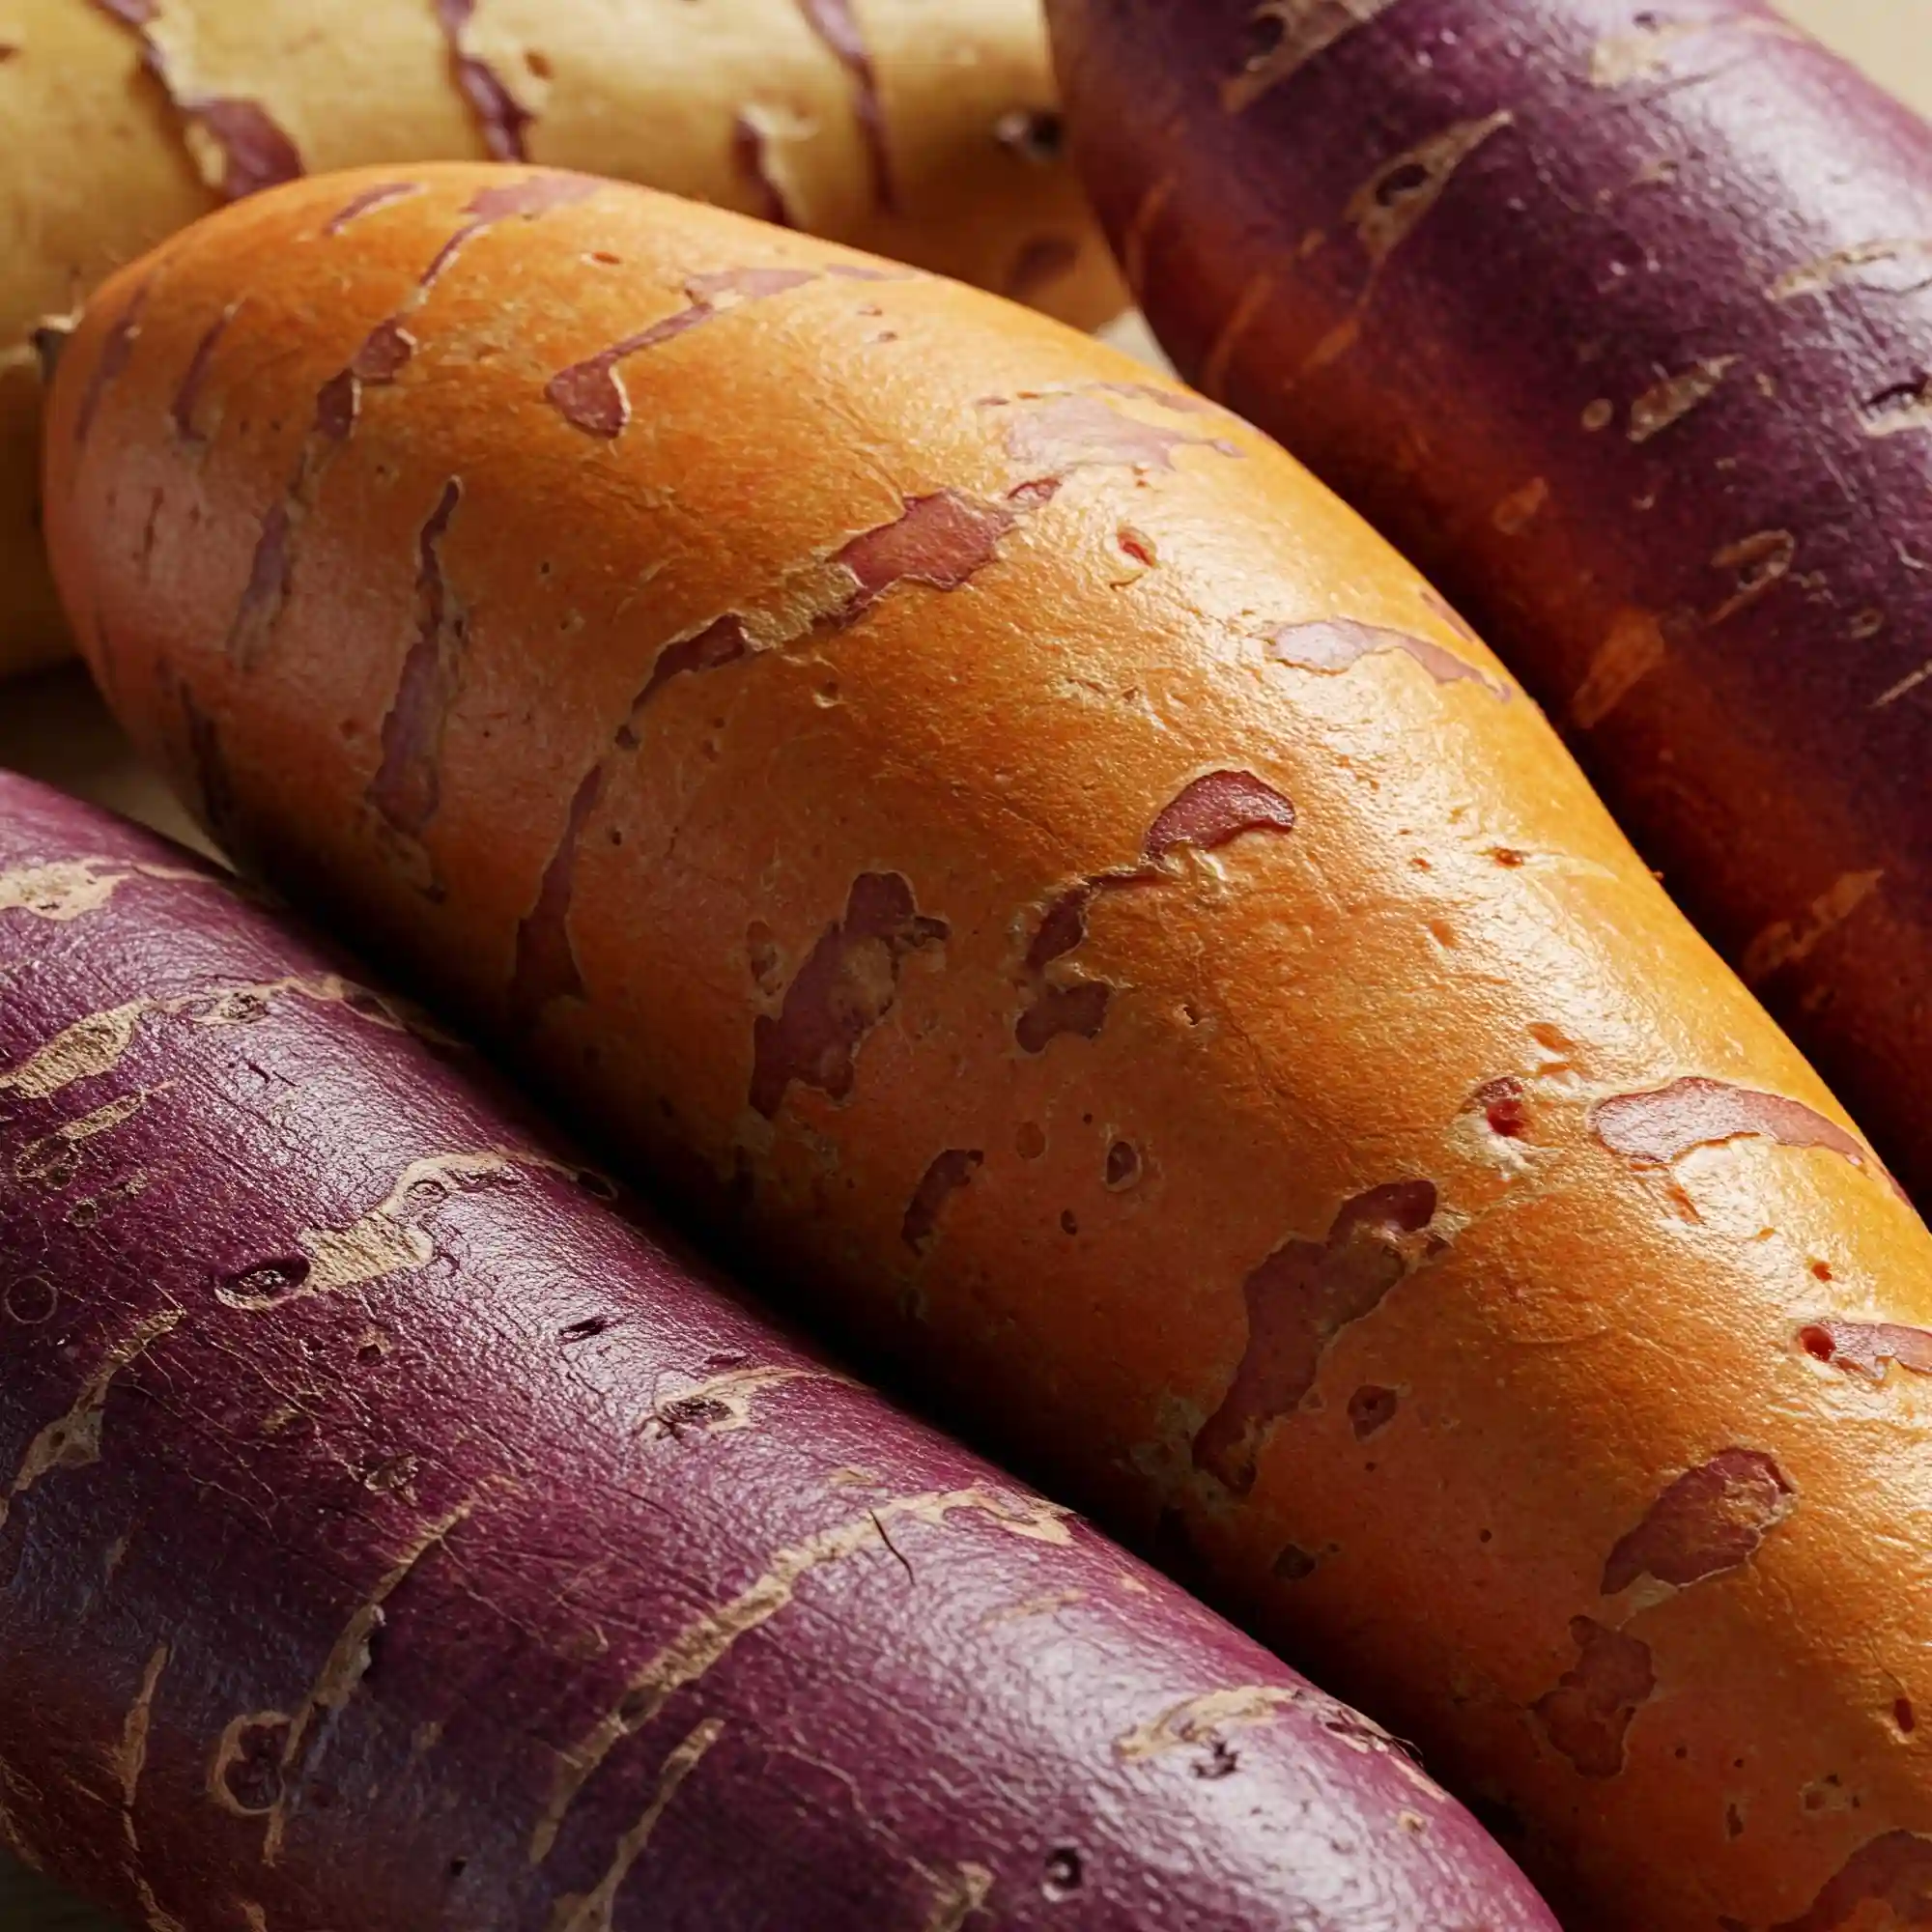
Choosing the Right Yam Variety for Your Garden

One of the first things you’ll discover when you start exploring yam cultivation is the sheer diversity of yam varieties. It’s not just about the classic orange-fleshed yam you might find in the grocery store. The world of yams is full of exciting colors, textures, and flavors. Choosing the right yam variety for your garden is a crucial first step, and it’s a decision I encourage you to take some time over. Think about your climate, the amount of space you have available, and, of course, what flavors you enjoy most.
Let’s explore some popular options:
- Sweet Yam (Dioscorea alata): Often confused with sweet potatoes (which are botanically different), sweet yams are known for their vibrant orange flesh, sweet flavor, and smooth texture. They’re a popular choice for baking, roasting, and making desserts. If you enjoy a yam with a touch of sweetness, this is a great option.
- White Yam (Dioscorea rotundata): A staple in many cuisines, particularly in West Africa, white yams have a milder, more neutral flavor and a slightly drier texture compared to sweet yams. They’re excellent for boiling, mashing, or frying. I’ve found they hold their shape well in stews and curries.
- Yellow Yam (Dioscorea cayenensis): Similar to white yams in texture, yellow yams offer a subtle sweetness and a richer flavor profile. They’re a versatile option that works well in both savory and sweet dishes.
- Chinese Yam (Dioscorea polystachya): Smaller and more slender than other varieties, Chinese yams have a delicate, almost nutty flavor. They’re often used in soups and stir-fries. I particularly enjoy them roasted with a drizzle of honey.
Beyond these common types, you might also encounter other varieties like the winged yam (Dioscorea alata), the trifoliate yam (Dioscorea trifolia), or even purple yams, each with its own unique characteristics. I encourage you to explore local nurseries and seed suppliers to discover what varieties thrive in your region. Don’t be afraid to experiment! You might just discover your new favorite yam.
Preparing the Soil for Yam Growth
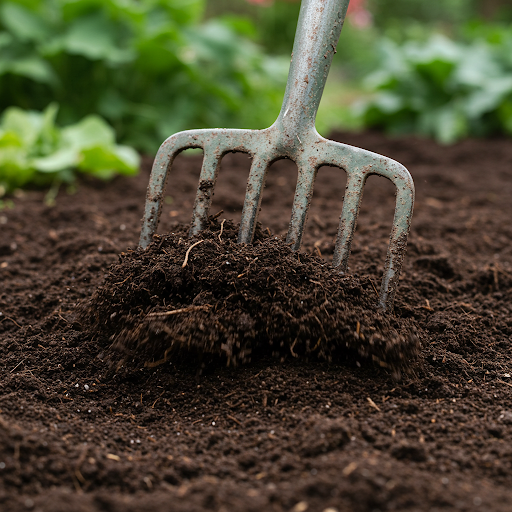
Yams, like most plants, thrive in well-prepared soil. Think of it as creating a cozy home for your future harvest. Just as you wouldn’t want to live in a house with a leaky roof and a rocky foundation, yams need a soil environment that provides adequate support, drainage, and nutrients.
Soil Texture and Composition
Yams prefer a loose, well-draining soil that is rich in organic matter. This type of soil allows for proper root development and prevents waterlogging, which can lead to root rot. Avoid heavy clay soils, as they can retain too much moisture and hinder root growth.
Soil pH
Yams prefer a slightly acidic to neutral soil pH, ideally between 6.0 and 7.0. You can test your soil’s pH using a home soil test kit, which is readily available at most garden centers. If your soil is too acidic, you can amend it with lime to raise the pH. If it’s too alkaline, you can add sulfur to lower it.
Improving Soil Quality
To enhance your soil’s quality, incorporate plenty of organic matter. This can include:
- Compost: A rich source of nutrients and beneficial microorganisms.
- Well-rotted manure: Adds organic matter and improves soil structure.
- Leaf mold: A natural soil conditioner that improves drainage and aeration.
Work the organic matter into the top 6-8 inches of soil before planting. This will not only improve soil structure but also provide essential nutrients for your growing yams.
Additional Tips for Soil Preparation
- Clear the area of weeds and debris. Weeds compete with yams for nutrients and moisture, so it’s important to remove them before planting.
- Till the soil to a depth of 8-10 inches. This will loosen the soil and allow for better root penetration.
- Create raised beds if necessary. Raised beds can improve drainage and soil warmth, which is beneficial for yam growth.
By taking the time to prepare your soil properly, you’ll be creating an ideal environment for your yams to thrive. Remember, healthy soil equals healthy plants, and healthy plants lead to a bountiful harvest.
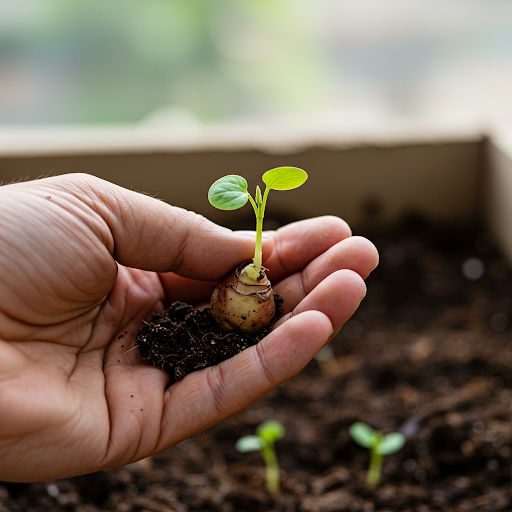
Planting Your Yam Vegetables
Now that your soil is ready, it’s time to plant your yam tubers! This is an exciting step in the growing process. Here’s what you need to know:
When to Plant
The ideal planting time for yams varies depending on your climate. Generally, aim to plant after the last frost, when the soil temperature has warmed up to at least 60°F (15°C). Yams are warm-season crops, so they need warm soil to germinate and grow properly.
Planting Methods
You can plant yams from either tubers or vine cuttings:
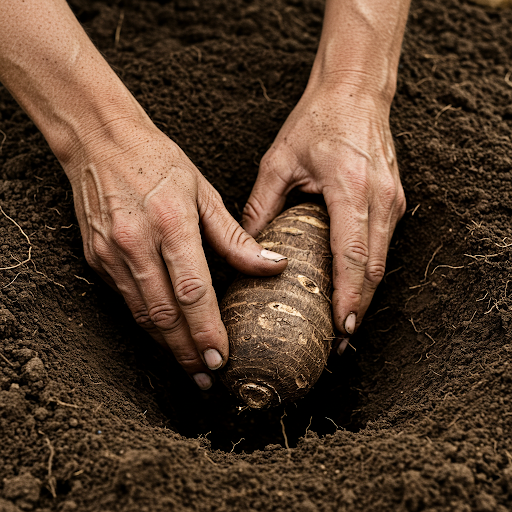
- Planting Tubers:
- Choose healthy, disease-free tubers with at least one “eye” or bud.
- You can plant the entire tuber or cut it into smaller pieces, ensuring each piece has at least one eye.
- Plant the tubers 4-6 inches deep and 1-2 feet apart.
- Planting Vine Cuttings:
- Some yam varieties can be propagated from vine cuttings.
- Cuttings should be 6-8 inches long and have at least one node.
- Dip the cut end of the vine in rooting hormone to encourage root development.
- Plant the cuttings horizontally in the soil, burying the nodes.
Planting Techniques
- Make planting holes: Use a trowel or garden fork to create planting holes in the prepared soil.
- Place the tubers/cuttings: Gently place the tubers or cuttings in the holes.
- Cover with soil: Cover the tubers/cuttings with soil, firming it gently around them.
- Water thoroughly: Water the newly planted yams deeply to settle the soil around them.
Planting in Raised Beds
If you’re using raised beds, follow the same planting guidelines as for in-ground planting. Raised beds can provide several advantages, including improved drainage and warmer soil temperatures, which can benefit yam growth.
By following these steps and choosing the appropriate planting method for your chosen yam variety, you’ll be well on your way to a successful yam harvest.
Caring for Your Yam Plants
Now that your yam plants are nestled in their new home, it’s time to provide them with the care they need to thrive. This includes regular watering, fertilizing, and support for their climbing vines.
Watering
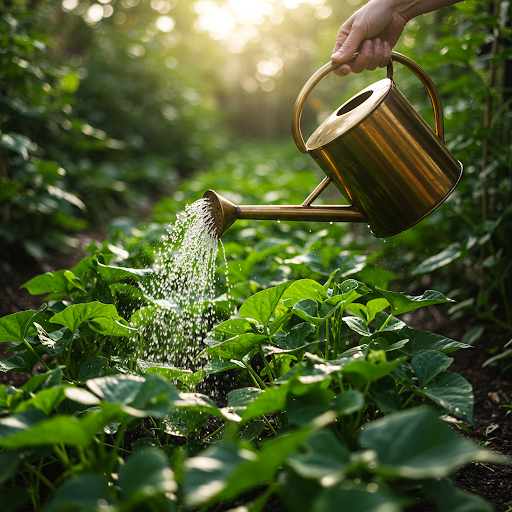
Yams are thirsty plants and require consistent moisture throughout their growing season. However, overwatering can lead to root rot, so it’s important to strike a balance. Water your yam plants deeply and regularly, especially during dry periods. Allow the top few inches of soil to dry out slightly between waterings.
Fertilizing
Yams are heavy feeders and benefit from regular fertilization. Apply a balanced fertilizer, such as a 10-10-10 formulation, every 4-6 weeks during the growing season. You can also use organic fertilizers like compost tea or fish emulsion.
Supporting the Vines
As mentioned earlier, yams are vigorous climbers. To prevent the vines from sprawling on the ground, provide them with a sturdy support structure. This could include:
- Trellis: A trellis made of wood or metal can provide excellent support for yam vines.
- Fence: A sturdy fence can also be used to support yam vines.
- Bamboo poles: You can create a simple support structure by inserting bamboo poles into the ground and tying the vines to them.
Pest and Disease Control
Keep a watchful eye for common pests and diseases that can affect yam plants. Some common pests include:
- Aphids: These small, sap-sucking insects can weaken plants.
- Nematodes: These microscopic worms can damage roots.
- Yam beetles: These beetles can feed on the leaves and stems of yam plants.
Common diseases that can affect yams include:
- Anthracnose: This fungal disease causes leaf spots and can weaken plants.
- Leaf spot: This fungal disease causes brown or black spots on the leaves.
If you notice any signs of pests or diseases, take appropriate measures to control them. This may involve using insecticidal soap, neem oil, or other organic pest control methods.
By providing your yam plants with the proper care, you’ll be well on your way to a successful harvest.
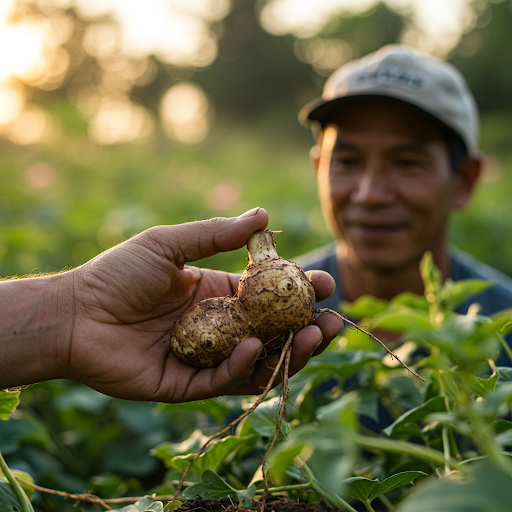
Harvesting Your Yam Vegetables
After months of care and attention, the time has finally come to harvest your delicious yams. This is a rewarding moment, but it’s important to harvest them at the right time and with the proper techniques to avoid damaging the tubers.
When to Harvest
Yams are typically ready for harvest when the vines begin to die back and the leaves turn yellow. This usually occurs 6-10 months after planting, depending on the variety and growing conditions. You can also check the size of the tubers; they should feel firm and heavy for their size.
Harvesting Techniques
- Clear the area around the plant: Remove any weeds or debris from around the base of the plant.
- Gently loosen the soil: Use a garden fork or shovel to gently loosen the soil around the base of the plant.
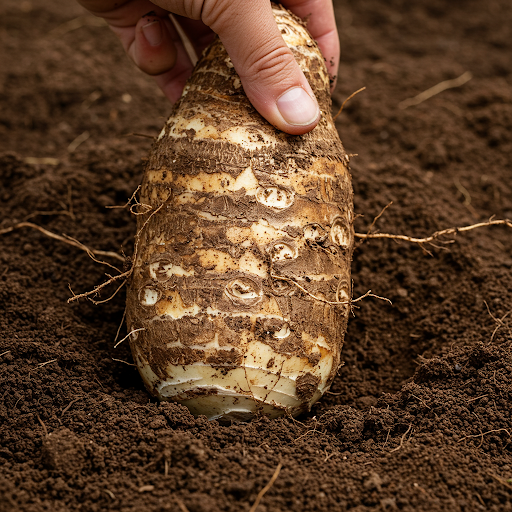
- Carefully lift the tubers: Gently lift the tubers from the ground, being careful not to damage them.
- Brush off excess soil: Gently brush off any excess soil from the tubers.
- Handle with care: Avoid bruising or cutting the tubers, as this can lead to spoilage.
Handling and Curing
Once you’ve harvested your yams, it’s important to handle them properly. Gently brush off any excess soil and allow them to air dry in a cool, shady place for a few hours. This curing process helps to heal any minor wounds and improve their storage life.
Troubleshooting Common Yam Growing Issues
Even with the best care, you might encounter some challenges while growing yams. Let’s explore some common problems and how to address them.
Pests and Diseases
- Aphids: These tiny, sap-sucking insects can weaken your yam plants. Look for clusters of aphids on the undersides of leaves.
- Control: You can control aphids by spraying them with a strong jet of water or using insecticidal soap.
- Nematodes: These microscopic worms can damage yam roots. You might notice stunted growth or wilting plants.
- Control: Nematode problems can be difficult to manage. Consider crop rotation and planting nematode-resistant varieties.
- Yam beetles: These beetles can feed on the leaves and stems of yam plants.
- Control: Handpick and remove adult beetles from your plants. You can also use row covers to protect your plants from beetles.
- Anthracnose: This fungal disease causes leaf spots and can weaken plants.
- Control: Plant disease-resistant varieties and avoid overhead watering, which can spread fungal spores.
- Leaf spot: This fungal disease also causes leaf spots, but it typically doesn’t cause significant damage.
- Control: Remove infected leaves and improve air circulation around your plants.
Nutrient Deficiencies
- Yellowing leaves: Yellowing leaves can be a sign of nutrient deficiencies, such as nitrogen, magnesium, or potassium deficiency.
- Solution: Amend your soil with appropriate fertilizers to correct any nutrient imbalances.
Poor Growth
- Stunted growth: Stunted growth can be caused by a variety of factors, including poor soil, insufficient water, or pest/disease problems.
- Troubleshooting: Review your care practices and address any potential issues, such as improving soil drainage, increasing watering frequency, or controlling pests.
Remember, early detection and prompt action are key to addressing these issues successfully. By carefully monitoring your yam plants and taking appropriate measures, you can minimize problems and maximize your harvest.
Conclusion
Growing your own yam vegetables can be a truly rewarding experience. It connects you with the natural world, provides a sense of accomplishment, and ensures you have access to fresh, nutritious food. By following the tips and techniques outlined in this guide, you can increase your chances of success and enjoy a bountiful harvest.
Remember that every garden is unique, and your yams may have specific needs. Observe your plants closely, adapt your approach as necessary, and don’t hesitate to experiment. The journey of growing yams is as much about the process as it is about the final product. Embrace the learning process, enjoy the satisfaction of nurturing your plants, and savor the delicious rewards of your labor.
I encourage you to share your yam-growing experiences with others. Connect with fellow gardeners, swap tips, and inspire others to embark on their own yam-growing adventures. Let’s celebrate the joy of homegrown food and the satisfaction of cultivating our own delicious yams.


")

