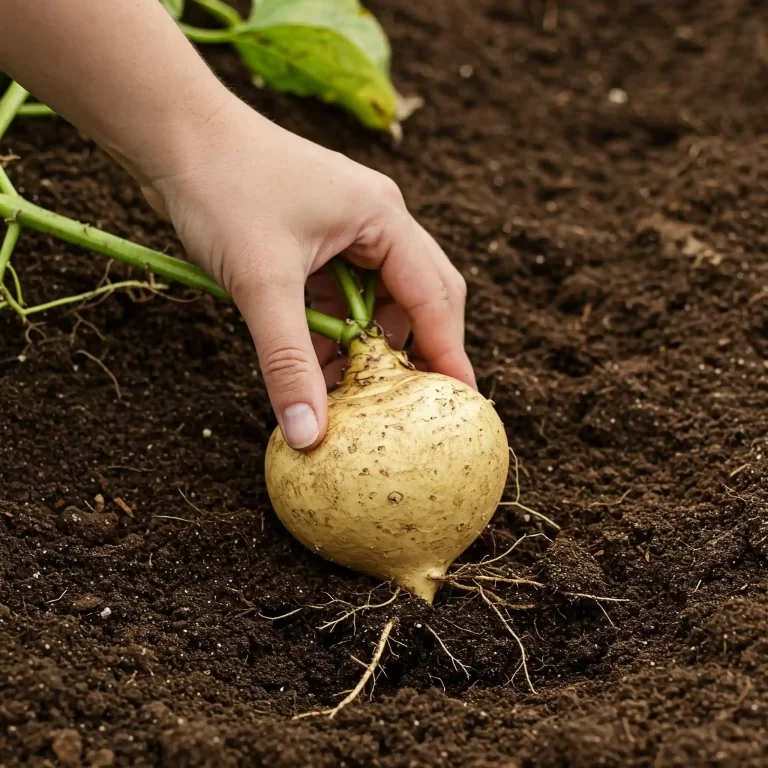
Have you ever craved the tangy sweetness of a homemade rhubarb pie, only to be disappointed by store-bought options that lack that fresh, garden-to-table flavor? It’s frustrating to spend money on subpar rhubarb when you could be enjoying the fruits (or rather, vegetables!) of your own labor. I’m here to tell you that growing your own rhubarb is easier than you think. With a few simple steps, you can cultivate a thriving rhubarb patch and enjoy delicious harvests for years to come.
Choosing the Right Rhubarb Variety
Selecting the right rhubarb variety is paramount to a fulfilling harvest. Just like choosing the right apple for baking, different rhubarb varieties offer unique characteristics in terms of flavor, color, and growth habits. I remember when I first started growing rhubarb; I haphazardly chose a variety without considering my local climate, and my harvest was less than ideal. You can avoid this by doing a little research beforehand.
When we discuss “How to grow rhubarb vegetable,” the first thing to consider is which rhubarb vegetable variety suits you best. Here’s a breakdown of some popular choices:
- Victoria: This is a classic, reliable variety known for its high yields and well-balanced flavor. It’s a great all-around choice for pies, crumbles, and jams. If you’re unsure where to start, Victoria is a safe bet.
- Canada Red: If vibrant red stalks are what you’re after, Canada Red is an excellent option. It’s also known for its sweeter taste compared to some other varieties. I find this variety particularly appealing in presentations, adding a splash of color to any dessert.
- Crimson Red: Similar to Canada Red, Crimson Red boasts deep red stalks and a sweet flavor profile. It’s a vigorous grower and a good choice for those looking for a high-yielding variety.
- Valentine: This variety is known for its early yields and bright red stalks. It’s a good choice for gardeners in cooler climates who want to get a head start on the harvest season.
- ‘Timperley Early’: As the name suggests, this variety is one of the earliest to crop, producing tender green stalks with a good flavour. It’s particularly useful in areas with shorter growing seasons.
Factors to Consider When Choosing a Variety:
- Climate: Some varieties are more cold-hardy than others. If you live in a region with harsh winters, choose a variety that can withstand the cold. Similarly, if you experience hot summers, choose a heat-tolerant variety.
- Soil Conditions: While rhubarb is adaptable, it prefers well-drained soil. If your soil is heavy clay, you may want to choose a variety that is more tolerant of these conditions.
- Flavor Preference: Do you prefer tart rhubarb or sweeter rhubarb? Some varieties are naturally sweeter than others.
- Intended Use: Are you primarily going to use your rhubarb for baking, jams, or other culinary creations? Some varieties are better suited for certain uses.
Rhubarb Variety Comparison
| Variety | Stalk Color | Flavor | Cold Hardiness | Best Use |
| Victoria | Green/Pink | Balanced | Hardy | All-purpose |
| Canada Red | Deep Red | Sweet | Hardy | Baking, Jams |
| Crimson Red | Deep Red | Sweet | Hardy | Baking, Jams |
| Valentine | Red | Tart | Very Hardy | Early Harvest |
| Timperley Early | Green | Good | Very Hardy | Early Harvest |
I’ve found that talking to local gardeners or visiting a local nursery can offer valuable insights into which varieties thrive in your specific area. They often have firsthand experience with the different varieties and can provide tailored recommendations. I highly recommend you do this. I remember one time a local gardener told me about a special variety perfect for my area and it was the best rhubarb i’ve ever had.
This detailed breakdown should give you a solid foundation for choosing the right rhubarb variety for your garden. Remember, selecting the right variety is the first step towards a successful and delicious harvest.
Preparing the Planting Site
Now that you’ve selected the perfect rhubarb variety, it’s time to prepare the planting site. This is a crucial step that will significantly impact the health and productivity of your plants. I’ve learned over the years that rhubarb is a bit of a “diva” when it comes to its growing conditions. It needs the right balance of sunlight, soil, and drainage to truly thrive.
Sunlight:
Rhubarb is a sun-loving plant, so you’ll want to choose a location that receives at least 6 hours of direct sunlight per day. I’ve found that a spot that gets morning sun and some afternoon shade is ideal, especially in hotter climates. This helps to prevent the plants from getting scorched during the hottest part of the day.
Soil:
When considering “How to grow rhubarb vegetable”, the soil is a key factor. Rhubarb prefers well-drained, fertile soil that is rich in organic matter. This means that the soil should be able to retain moisture but also allow excess water to drain away easily. Heavy clay soils can be amended with compost or other organic matter to improve drainage. Sandy soils, on the other hand, may need amendments to improve their water-holding capacity.
Soil pH:
Rhubarb prefers a slightly acidic soil pH between 6.0 and 6.8. You can test your soil pH using a simple home test kit or by sending a soil sample to your local extension office. If your soil is too alkaline, you can amend it with sulfur or peat moss to lower the pH. If it’s too acidic, you can add lime to raise the pH.
Preparing the Planting Bed:
- Clear the Area: Remove any weeds, rocks, or other debris from the planting area.
- Dig a Hole: Dig a hole that is about 12-18 inches deep and wide. This will give the rhubarb roots plenty of room to grow.
- Amend the Soil: Mix in plenty of compost or well-rotted manure into the soil you removed from the hole. This will improve drainage, fertility, and water-holding capacity.
- Test the Drainage: Before planting, fill the hole with water and see how quickly it drains. If the water sits for more than a few hours, you’ll need to improve the drainage further by adding more organic matter or creating a raised bed.
Improving Heavy Clay Soil:
If you have heavy clay soil, here are some additional tips for preparing the planting site:
- Add Organic Matter: Incorporate a generous amount of compost, well-rotted manure, or other organic matter into the soil. This will help to break up the clay and improve drainage.
- Create a Raised Bed: Building a raised bed can significantly improve drainage in heavy clay soils.
- Add Gypsum: Gypsum can help to break up clay soil and improve drainage.
Improving Sandy Soil:
If you have sandy soil, here are some tips for preparing the planting site:
- Add Organic Matter: Incorporate compost, peat moss, or other organic matter to improve the soil’s water-holding capacity.
- Add Clay: Adding a small amount of clay to sandy soil can also help to improve its water-holding capacity.
Planting Rhubarb Crowns or Seeds
Now that your planting site is prepped and ready, it’s time to get your rhubarb in the ground. You have two main options for starting your rhubarb patch: crowns or seeds. I’ve personally used both methods, and while starting from seed can be rewarding, planting crowns is generally faster and more reliable, especially for beginners. When discussing “How to Plant Rhubarb Vegetable,” it’s important to understand the nuances of each method.
Planting Rhubarb Crowns:
Planting crowns is the most common method, as it provides a quicker start and ensures you’re getting a known variety. Crowns are essentially dormant root sections that are ready to sprout.
- When to Plant: The best time to plant rhubarb crowns is in early spring or late fall when the plants are dormant. I prefer fall planting in my area, as it allows the crowns to establish roots over the winter and get a head start in the spring. If you live in an area with very cold winters, spring planting might be a better option.
- How to Plant:
- Dig a hole that is about 6 inches deep and wide enough to accommodate the crown.
- Place the crown in the hole with the buds (or growing points) facing upwards.
- Cover the crown with about 2-4 inches of soil.
- Firm the soil gently around the crown.
- Water thoroughly.
- Spacing: Space rhubarb crowns about 3-4 feet apart. This gives the plants plenty of room to grow and prevents overcrowding.
Planting Rhubarb Seeds:
Starting rhubarb from seed is a more involved process, but it can be a fun and rewarding experience. It gives you more control over the varieties you grow and can be more economical.
- When to Plant: Start seeds indoors 8-10 weeks before the last expected frost in your area.
- How to Plant:
- Sow seeds about 1/2 inch deep in seed starting mix.
- Keep the soil moist but not soggy.
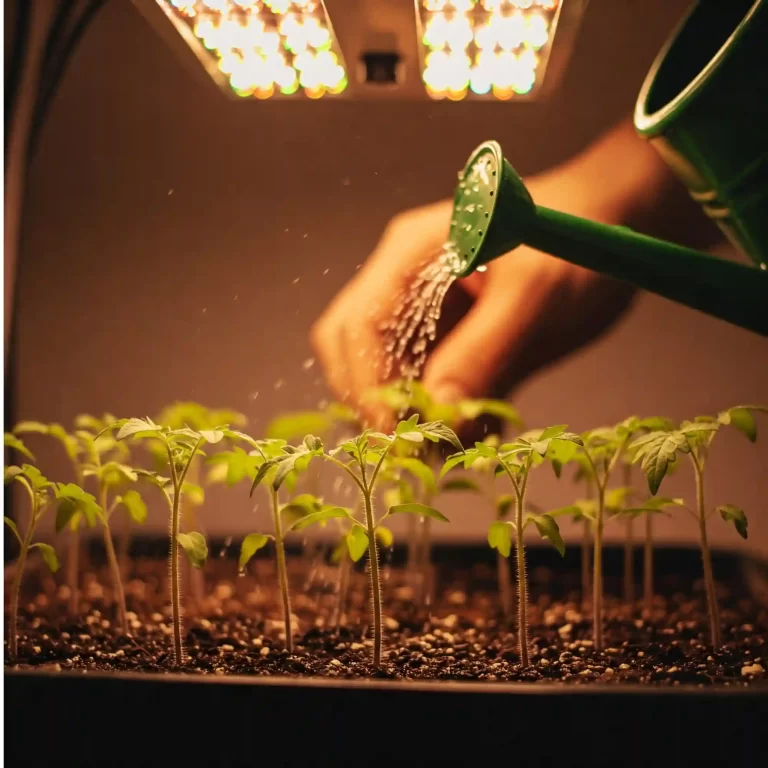
- Provide plenty of light, either from a sunny window or grow lights.
- Once the seedlings have developed a few sets of true leaves, you can transplant them into individual pots.
- Harden off the seedlings by gradually exposing them to outdoor conditions before planting them in the garden.
- Transplanting: Transplant seedlings into the garden in the spring after the last frost. Space them about 3-4 feet apart.
Direct Sowing:
In some climates, you can direct sow rhubarb seeds in the garden in the spring. However, this method is less reliable than starting seeds indoors.
Key Considerations for Planting:
- Soil Contact: Ensure good soil contact with the crown or seeds to promote root growth.
- Depth: Planting too deep or too shallow can hinder growth.
- Watering: Water regularly after planting to keep the soil moist but not waterlogged.
A Quick Comparison Table
| Feature | Planting Crowns | Planting Seeds |
| Speed | Faster | Slower |
| Reliability | More Reliable | Less Reliable |
| Variety Control | Direct (known variety) | Less Direct (potential variation) |
| Cost | More Expensive | Less Expensive |
I remember the first time I tried growing rhubarb from seed. I was so excited to see the tiny seedlings emerge, but I made the mistake of not hardening them off properly before transplanting them into the garden. As a result, many of them didn’t survive. You can avoid this by taking the time to properly harden off your seedlings. I really encourage you to try both methods if you have the time and space. It’s a great way to learn more about the plant and appreciate the different stages of its growth.
Caring for Your Rhubarb Plants
Once your rhubarb is planted, consistent care is key to ensuring a healthy and productive patch. This section will delve into the essential practices for nurturing your rhubarb plants, from watering and fertilizing to pest control and winterizing. I’ve learned that a little bit of regular attention goes a long way in keeping these plants thriving. When we discuss “How to grow rhubarb vegetable,” care is an essential part of the process.
Watering:
Rhubarb needs consistent moisture, especially during dry periods. Water deeply and regularly, aiming to keep the soil consistently moist but not waterlogged. I usually check the soil moisture by sticking my finger about an inch into the soil. If it feels dry, it’s time to water.
- Frequency: Water deeply once or twice a week, depending on the weather conditions.
- Method: Water at the base of the plant to avoid wetting the leaves, which can encourage fungal diseases.
- Mulching: Applying a layer of mulch around the plants can help to retain moisture and suppress weeds.
Fertilizing:
Rhubarb is a heavy feeder and benefits from regular fertilization.
- When to Fertilize: Fertilize in early spring as new growth emerges. You can also apply a second light feeding after harvesting.
- Type of Fertilizer: Use a balanced fertilizer or a fertilizer that is higher in phosphorus and potassium. I often use well-rotted manure or compost as a natural fertilizer.
- Application: Apply the fertilizer according to the package directions.
Weeding:
Keeping your rhubarb patch free of weeds is important to prevent competition for nutrients and water.
- Regular Weeding: Weed regularly by hand or with a garden hoe.
- Mulching: Mulching can also help to suppress weeds.
Pest and Disease Control:
Rhubarb is relatively pest and disease-free, but there are a few issues to watch out for:
- Rhubarb Curculio: This beetle can damage the stalks. Handpicking beetles or using appropriate insecticides can help control them.
- Crown Rot: This fungal disease can cause the crown to rot. Avoid overwatering and ensure good drainage to prevent this.
- Leaf Spot: This fungal disease can cause spots on the leaves. Improve air circulation and remove infected leaves to control it.
Winterizing:
In colder climates, it’s important to protect your rhubarb plants over the winter.
- Remove Dead Foliage: After the first frost, remove any dead or damaged foliage.
- Mulch: Apply a thick layer of mulch around the plants to protect the crown from freezing temperatures.
A Quick Care Guide
| Care Aspect | Action | Frequency |
| Watering | Deep watering at the base of the plant | Once or twice a week |
| Fertilizing | Apply balanced fertilizer or compost | Early spring, after harvest |
| Weeding | Remove weeds by hand or with a garden hoe | Regularly |
| Pest/Disease Control | Monitor for pests and diseases, take action as needed | As needed |
| Winterizing | Remove dead foliage, apply mulch | After first frost |
I remember one year I neglected to water my rhubarb during a particularly dry spell, and the leaves started to wilt. I quickly learned the importance of consistent watering. You can avoid this by setting up a regular watering schedule and checking the soil moisture regularly. I also encourage you to observe your plants regularly for any signs of pests or diseases. Early detection and treatment can prevent more serious problems down the line.
Harvesting Rhubarb Stalks
Harvesting your rhubarb is the exciting culmination of all your hard work. But knowing when and how to harvest is crucial for the plant’s continued health and future yields. I remember the first time I harvested my rhubarb; I was so eager that I harvested too many stalks at once, which weakened the plant. You can avoid this by following these simple guidelines. When discussing “How to grow rhubarb vegetable”, harvesting is a crucial step to enjoy the fruits of your labor.
When to Harvest:
- Established Plants: Do not harvest any rhubarb in the first year after planting crowns or in the second year after planting from seed. This allows the plant to establish a strong root system.
- Harvest Season: The main harvest season is typically in spring and early summer, lasting for about 8-10 weeks.
- Stalk Size: Harvest stalks when they are at least 10-12 inches long and about 1 inch thick.
How to Harvest:
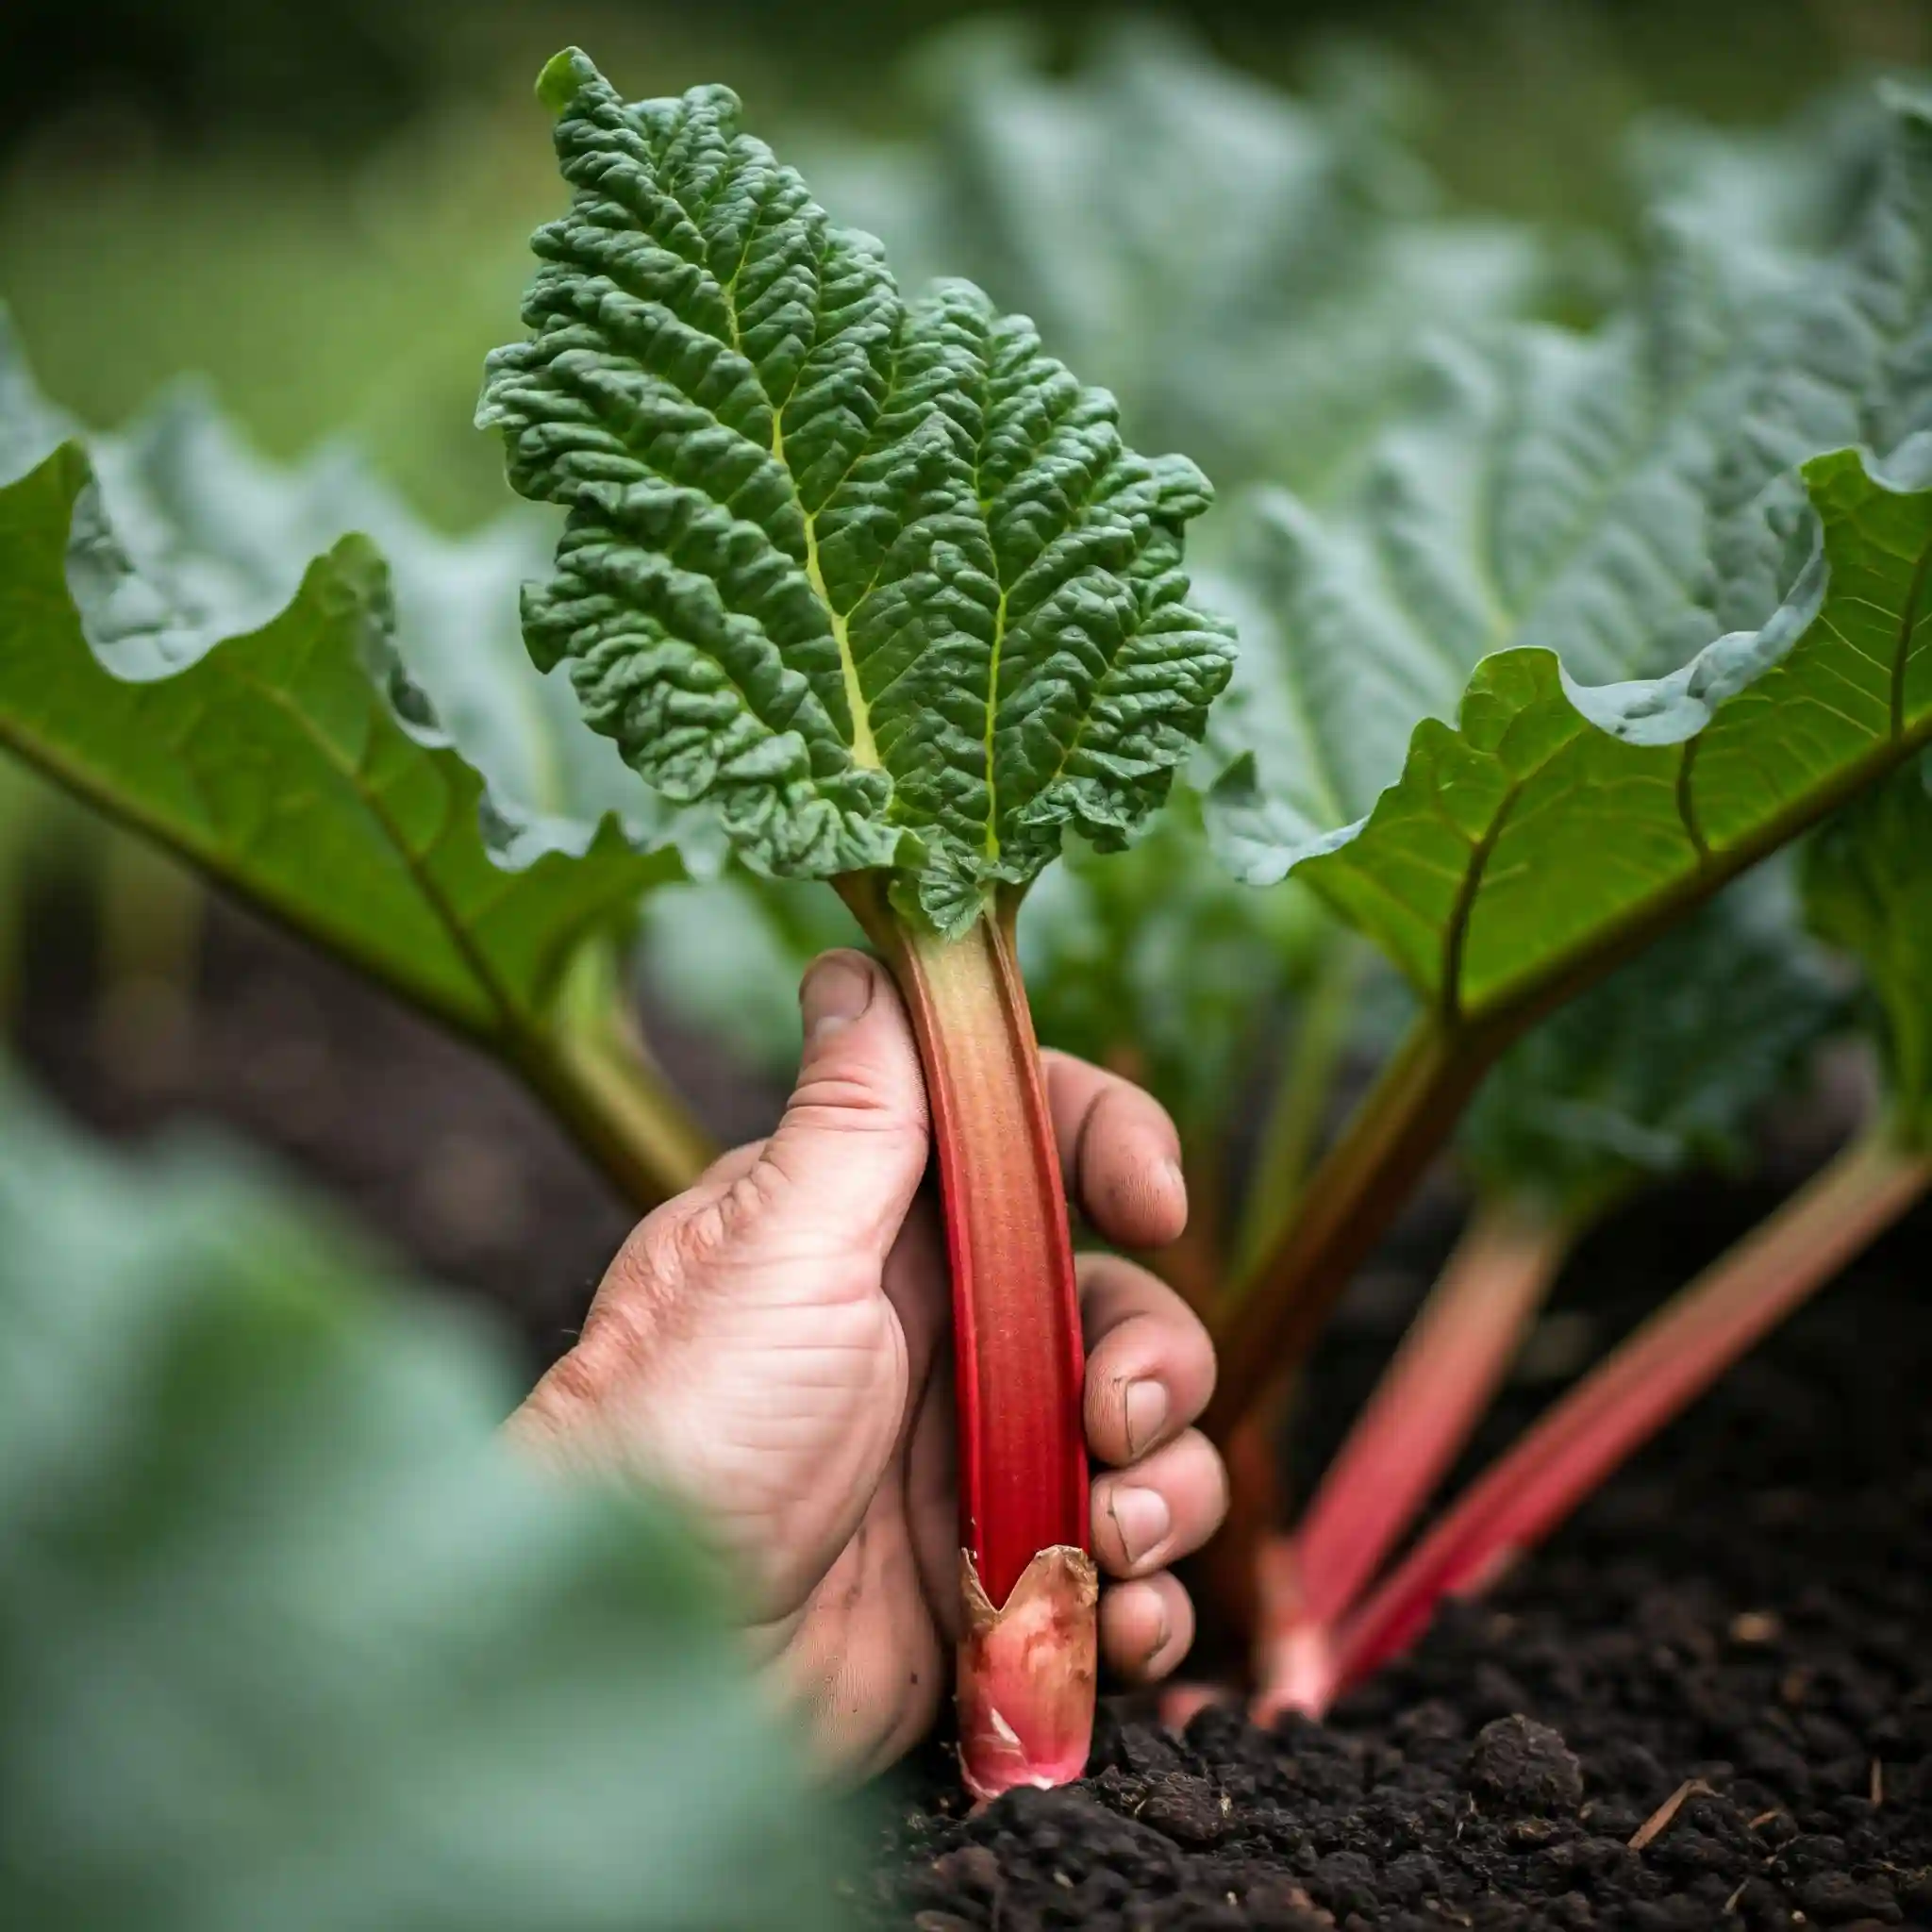
- Do Not Cut: Instead of cutting the stalks, gently pull them from the base of the plant with a twisting motion. This method is less likely to damage the crown.
- Remove the Leaves: The leaves of the rhubarb plant contain high levels of oxalic acid and are toxic. Remove and discard them immediately after harvesting the stalks. You can compost the leaves, but do not feed them to livestock or pets.
- Limit Harvesting: Do not harvest more than one-third of the stalks at a time. This allows the plant to continue to produce energy and maintain its health.
- Stop Harvesting: Stop harvesting rhubarb by mid-summer to allow the plant to build up energy reserves for the following year.
A Quick Harvesting Guide
| Aspect | Action | Timing |
| First Year/Second Year | Do not harvest | First year (crowns), second year (seeds) |
| Established Plants | Gently pull stalks, remove leaves | Spring and early summer (8-10 weeks) |
| Amount | Harvest no more than one-third of stalks | Throughout the harvest season |
| End of Season | Stop harvesting | Mid-summer |
I’ve found that harvesting in the morning, when the stalks are crisp and turgid, is the easiest way to remove them. You can also use a sharp knife to cut the stalks at the base, but be careful not to damage the crown. I also recommend you to wear gloves when harvesting rhubarb, as the oxalic acid in the leaves can irritate the skin in some people.
Troubleshooting Common Rhubarb Problems
While rhubarb is generally a hardy and low-maintenance plant, it can occasionally encounter some problems. Being able to identify and address these issues promptly will help keep your rhubarb patch healthy and productive. In my years of gardening, I’ve faced my fair share of rhubarb challenges, from pest infestations to fungal diseases. I’ve learned that early detection and appropriate action are key to preventing these problems from becoming serious. When considering “How to grow rhubarb vegetable,” it’s important to be prepared for potential issues.
Common Rhubarb Pests:
- Rhubarb Curculio: This beetle is a common pest that can damage rhubarb stalks by laying eggs inside them. The damage appears as small, dark spots on the stalks.
- Control: Handpicking the beetles is an effective method for small infestations. For larger infestations, you can use appropriate insecticides.
- Aphids: These small insects can suck sap from the leaves, causing them to curl and distort.
- Control: A strong spray of water can often dislodge aphids. You can also use insecticidal soap or neem oil.
Common Rhubarb Diseases:
- Crown Rot: This fungal disease is a serious problem that can cause the crown of the plant to rot. It’s often caused by overwatering or poor drainage.
- Prevention: Ensure good drainage by amending the soil with organic matter and avoiding overwatering.
- Treatment: If crown rot occurs, remove the infected parts of the plant and improve drainage. In severe cases, you may need to remove the entire plant.
- Leaf Spot: This fungal disease causes small, circular spots on the leaves.
- Control: Improve air circulation by spacing plants adequately and removing infected leaves. You can also use a fungicide if necessary.
Other Rhubarb Problems:
- Bolting: This occurs when the plant sends up a flower stalk prematurely. It’s often caused by stress, such as drought or heat.
- Prevention: Provide adequate water and protect plants from extreme heat.
- Action: Remove the flower stalk as soon as you see it to encourage the plant to focus its energy on producing stalks.
- Small Stalks: This can be caused by a variety of factors, including poor soil fertility, lack of sunlight, or overcrowding.
- Solutions: Amend the soil with compost or fertilizer, ensure the plant is getting at least 6 hours of sunlight per day, and divide overcrowded plants.
Troubleshooting Table
| Problem | Cause(s) | Control/Solution |
| Rhubarb Curculio | Beetle infestation | Handpicking, insecticides |
| Aphids | Insect infestation | Water spray, insecticidal soap, neem oil |
| Crown Rot | Overwatering, poor drainage | Improve drainage, remove infected parts, avoid overwatering |
| Leaf Spot | Fungal disease | Improve air circulation, remove infected leaves, fungicide |
| Bolting | Stress (drought, heat) | Adequate water, protection from heat, remove flower stalk |
| Small Stalks | Poor soil fertility, lack of sunlight, overcrowding | Amend soil, ensure adequate sunlight, divide plants |
I recall one season when my rhubarb patch was infested with aphids. I tried spraying them with water, but they kept coming back. I eventually used insecticidal soap, which effectively controlled the infestation. I learned that it’s important to identify the specific problem you’re dealing with to choose the most effective solution. I also encourage you to consult with your local extension office or a gardening expert if you’re unsure about how to address a particular problem.
Frequently Asked Questions About Growing Rhubarb
This section addresses specific questions based on general inquiries about growing rhubarb. I’ve compiled these questions based on my experience and what I frequently hear from other gardeners. I hope you find these answers helpful.
FAQs:
- How to grow rhubarb vegetable in containers on a patio?
- Growing rhubarb in containers is possible, especially if you have limited garden space. Choose a large container with good drainage and use a high-quality potting mix. Select a dwarf variety if possible. Ensure the container receives at least 6 hours of sunlight per day and water regularly. Be aware that container-grown rhubarb may need more frequent fertilization.
- How to grow rhubarb vegetable from crowns in cold climates?
- In cold climates, plant rhubarb crowns in the early spring as soon as the ground can be worked. Choose a cold-hardy variety. Mulch heavily in the fall to protect the crown from freezing temperatures.
- How to grow rhubarb vegetable organically without using pesticides?
- Organic rhubarb growing involves using natural methods for fertilization and pest control. Use compost or well-rotted manure as fertilizer. For pest control, handpicking beetles and using insecticidal soap or neem oil for aphids are effective organic methods.
- How to grow rhubarb vegetable for a bountiful harvest every year?
- To maximize your rhubarb harvest, ensure proper planting site preparation, regular watering and fertilization, and appropriate harvesting practices. Don’t harvest in the first year after planting crowns or the second year after planting from seed. Limit harvesting to one-third of the stalks at a time and stop harvesting by mid-summer.
- How to grow rhubarb vegetable and prevent common diseases like crown rot?
- Preventing crown rot involves ensuring good drainage and avoiding overwatering. Amend the soil with organic matter to improve drainage. If crown rot occurs, remove the infected parts of the plant and improve drainage.
- How to grow rhubarb vegetable from seed step by step guide?
- Start seeds indoors 8-10 weeks before the last frost.
- Sow seeds 1/2 inch deep in seed starting mix.
- Keep the soil moist and provide plenty of light.
- Transplant seedlings into individual pots once they have a few sets of true leaves.
- Harden off seedlings before planting them in the garden in the spring after the last frost.
- How to grow rhubarb vegetable in heavy clay soil with good drainage?
- Improving drainage in heavy clay soil is crucial for growing rhubarb. Amend the soil with plenty of compost or well-rotted manure. You can also create a raised bed to improve drainage.
- How to grow rhubarb vegetable for beginners in a raised garden bed?
- Growing rhubarb in a raised bed is a great option for beginners, especially if you have poor soil. Raised beds offer improved drainage and easier weed control. Choose a raised bed that is at least 12 inches deep to accommodate the rhubarb roots.
General Rhubarb FAQs:
- Are rhubarb leaves poisonous?
- Yes, rhubarb leaves contain high levels of oxalic acid, which is toxic. Do not eat the leaves.
- How long does it take for rhubarb to grow?
- It takes about 2-3 years for rhubarb to reach full maturity.
- How do I divide rhubarb plants?
- You can divide rhubarb plants every 3-4 years to prevent overcrowding and rejuvenate the plants. Dig up the crown in the fall or early spring and divide it into sections, ensuring each section has at least one bud.
- Can I grow rhubarb in shade?
- Rhubarb prefers full sun (at least 6 hours per day) but can tolerate some partial shade.
I remember one time I was helping a friend plant rhubarb in their garden. They were concerned about the heavy clay soil in their yard. We amended the soil with a lot of compost and created a small raised bed, and their rhubarb thrived. It taught me the importance of adapting to your specific growing conditions. I encourage you to try growing rhubarb, even if you face some challenges. With a little bit of knowledge and effort, you can enjoy a bountiful harvest of this delicious vegetable.
Conclusion
Growing your own rhubarb can be a delightful and rewarding experience. By following these simple steps and understanding the specific needs of this unique vegetable, you can cultivate a thriving rhubarb patch and enjoy its tangy goodness in a variety of culinary creations. Remember, choosing the right variety, preparing the planting site, providing consistent care, and harvesting correctly are all essential components of successful rhubarb cultivation.
I encourage you to embark on this gardening adventure and experience the satisfaction of growing your own rhubarb. With a little patience and attention, you’ll be enjoying fresh, homegrown rhubarb in no time. Happy gardening!
