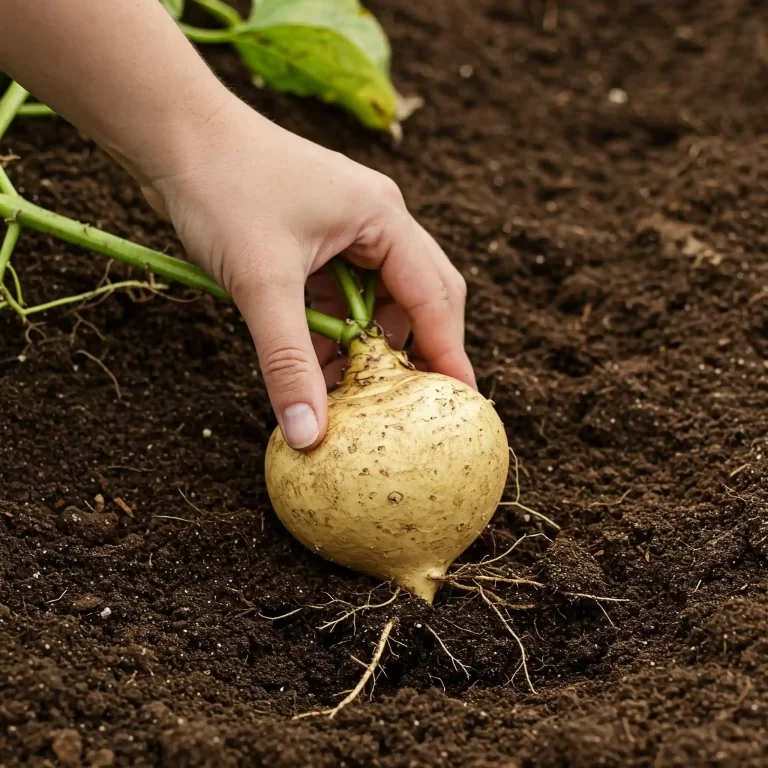
Are you tired of bland, store-bought produce lacking that fresh, vibrant kick?
I know I was. There’s nothing quite like the taste of something you’ve grown yourself, especially when it comes to adding a bit of zing to your meals. The disappointment of relying on lackluster store-bought options can be frustrating, leaving you craving that fresh, homegrown flavor.
If you’re looking for a simple and rewarding way to elevate your dishes, growing your own onion sprouts is the perfect solution. It’s easier than you might think, even if you’re a beginner gardener. I’ve experimented with various methods over the years, and I’m excited to share seven easy ways to grow these flavorful greens right in your own home. Whether you have a sprawling garden or just a sunny windowsill, you can enjoy the fresh, zesty taste of homegrown onion sprouts. This guide will walk you through everything from planting to harvesting, so you can start enjoying fresh onion sprouts in no time.
Growing Onion Sprouts from Leftover Bulbs
One of the easiest ways to get started with growing onion sprouts is by using leftover onion bulbs. I find this method particularly satisfying because it feels like I’m giving new life to something that would otherwise be discarded. It’s a fantastic way to practice sustainability in your kitchen garden. You can easily regrow onions from scraps.
Here’s how I do it, and how you can too:
- Select your bulb: Choose a firm, healthy onion bulb. It doesn’t matter if it has already started to sprout a little; in fact, that’s a bonus! I’ve found that red, yellow, and white onions all work well for this method.
- Prepare the bulb: Using a sharp knife, carefully cut off the bottom portion of the onion bulb, about an inch or two from the root end. Make sure you leave the root base intact, as this is where the new growth will emerge.
- Place in water: Find a shallow dish or small bowl. Place the cut onion bulb in the dish, ensuring that only the roots are submerged in water. You want to keep the cut surface dry to prevent rot. I usually use about half an inch of water.
- Find a sunny spot: Place the dish on a sunny windowsill where it will receive plenty of indirect sunlight. Sunlight is crucial for the sprouting process. If you don’t have a very sunny window, a grow light can work wonders.
- Change the water regularly: This is important to prevent bacterial growth and keep your sprouts healthy. I recommend changing the water every day or two. You’ll notice the water getting cloudy after a day or two, this is a sign it needs changing.
- Observe the growth: Within a few days, you should start to see green shoots emerging from the top of the onion bulb. As they grow, you can begin to harvest them.
This method is incredibly simple and requires minimal effort. It’s a great project for kids, too, as they can easily observe the growth process.
Why this method is good:
- Easy and accessible: You likely already have the materials you need.
- Reduces waste: It’s a great way to reuse leftover onion scraps.
- Quick results: You’ll see growth within days.
Tips for Success:
- Use filtered water if your tap water is heavily chlorinated.
- If you notice any mold growing on the bulb, discard it and start with a fresh one.
- Don’t over-submerge the bulb; only the roots should be in the water.
Troubleshooting:
Sometimes, you might encounter some issues. Don’t worry, I’ve been there too. Here are a few common problems and how to fix them:
- No Sprouting: If you don’t see any growth after a week, the bulb may be too old or damaged. Try with a fresh bulb.
- Rotting: This is usually due to overwatering or keeping the cut surface submerged. Make sure only the roots are in the water.
- Slow Growth: This can be due to insufficient sunlight. Try moving the dish to a sunnier location.
Additional Information:
This method is also known as regrowing onions from ends or regrowing onions from scraps. It’s a form of vegetative propagation, where a new plant grows from a part of the parent plant. This is why it’s so easy to do with onions.
Case Study:
I remember when I first tried this method. I had some leftover red onion ends and decided to give it a try. I followed the steps above and was amazed to see green shoots emerging in just three days! Within a week, I was adding fresh onion sprouts to my salads. It was so rewarding to see something I had grown from scraps adding so much flavor to my meals.
How to Grow Onion Sprouts from Seed
While regrowing from bulbs is quick and easy, starting from seed offers a wider variety of onion types to choose from. It also gives you a deeper understanding of the plant’s life cycle. I often start some of my onions from seed to try different varieties and have a continuous supply. If you’re looking to learn how to plant onion sprouts from seed, this section is for you.
Here’s my step-by-step guide:
- Choose your seeds: Select high-quality onion seeds from a reputable supplier. You can find a wide variety of onion seeds online or at your local garden center. Look for varieties specifically suited for sprouting or green onions.
- Start seeds indoors (optional): For the best results, especially if you live in a colder climate, I recommend starting your onion seeds indoors about 6-8 weeks before the last expected frost. This gives them a head start and ensures they are strong enough to transplant later.
- Prepare your seed starting mix: Use a light and well-draining seed starting mix. You can find this at most garden centers, or you can make your own by mixing equal parts peat moss, perlite, and vermiculite.
- Sow the seeds: Moisten the seed starting mix and fill your seed trays or small pots. Sprinkle the onion seeds evenly over the surface of the soil. You don’t need to bury them too deep; a light covering of soil is sufficient.
- Provide warmth and moisture: Cover the seed trays with a clear plastic lid or plastic wrap to create a humid environment. Place them in a warm location, ideally around 70-75°F (21-24°C). Keep the soil consistently moist but not waterlogged. I use a spray bottle to gently mist the soil.
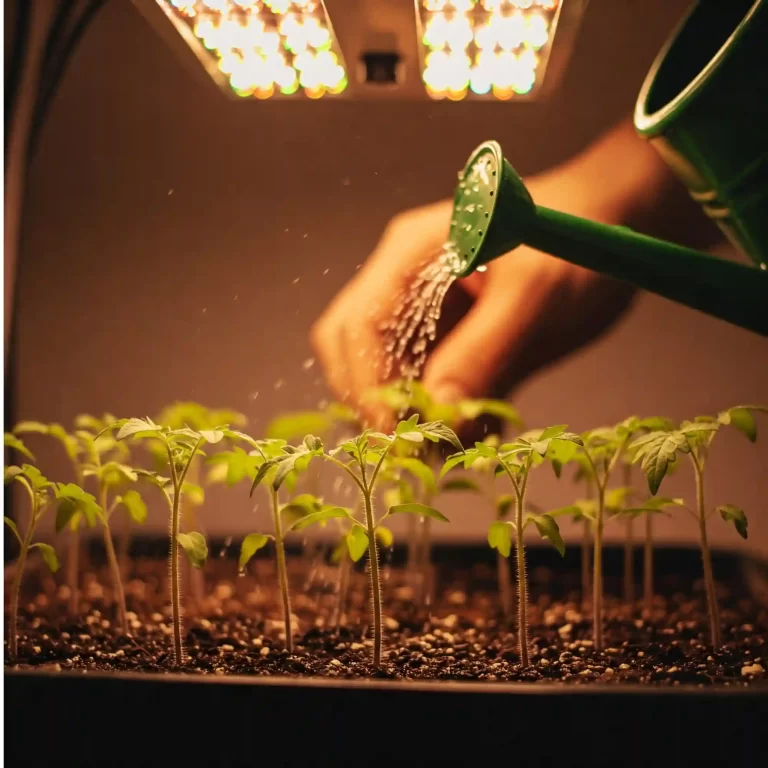
- Provide light: Once the seedlings emerge (usually within 7-10 days), remove the plastic covering and move the trays to a sunny windowsill or under grow lights. Adequate light is crucial for healthy seedling development.
- Transplant (optional): If you started your seeds indoors, you can transplant the seedlings into larger containers or directly into your garden once they have developed a few sets of true leaves and the weather is suitable. Space them a few inches apart to allow for growth.
Why this method is good:
- Wider variety selection: You can choose from many different onion varieties.
- Greater control: You have more control over the growing process from the very beginning.
- Cost-effective: Starting from seed is generally cheaper than buying bulbs or sets.
Tips for Success:
- Use fresh seeds for the best germination rates.
- Don’t overwater the seedlings, as this can lead to damping-off disease.
- Provide adequate light to prevent leggy growth.
Troubleshooting:
- Poor Germination: This can be due to old seeds, incorrect soil temperature, or insufficient moisture.
- Damping Off: This fungal disease can kill young seedlings. Ensure good air circulation and avoid overwatering.
- Leggy Seedlings: This is caused by insufficient light. Provide more light or move the seedlings closer to the light source.
Additional Information:
Onion seeds are relatively small and have a short shelf life. It’s best to use fresh seeds each year for optimal germination. You can also save your own onion seeds from mature onion plants, but this requires a longer growing season.
Case Study:
I remember one year I wanted to grow a specific variety of red onion that I couldn’t find as sets or bulbs. I decided to start from seed. I followed the steps outlined above, and although it took a little longer than using bulbs, I was rewarded with a plentiful harvest of delicious red onion sprouts. It was a great learning experience and allowed me to try a new variety I wouldn’t have otherwise had access to.
Growing Onion Sprouts in Water (Hydroponically)
Growing onion sprouts hydroponically, or in water, is a clean, simple, and fascinating way to watch the roots develop alongside the green shoots. I often use this method when I want a quick harvest and enjoy observing the plant’s growth without the mess of soil. It’s a fantastic project for a kitchen windowsill, adding a touch of green to your space.
Here’s how you can easily grow onion sprouts in water:
- Select your onions: Choose firm, healthy onions. Like with regrowing from bulbs, it’s perfectly fine if they’ve already started to sprout a bit.
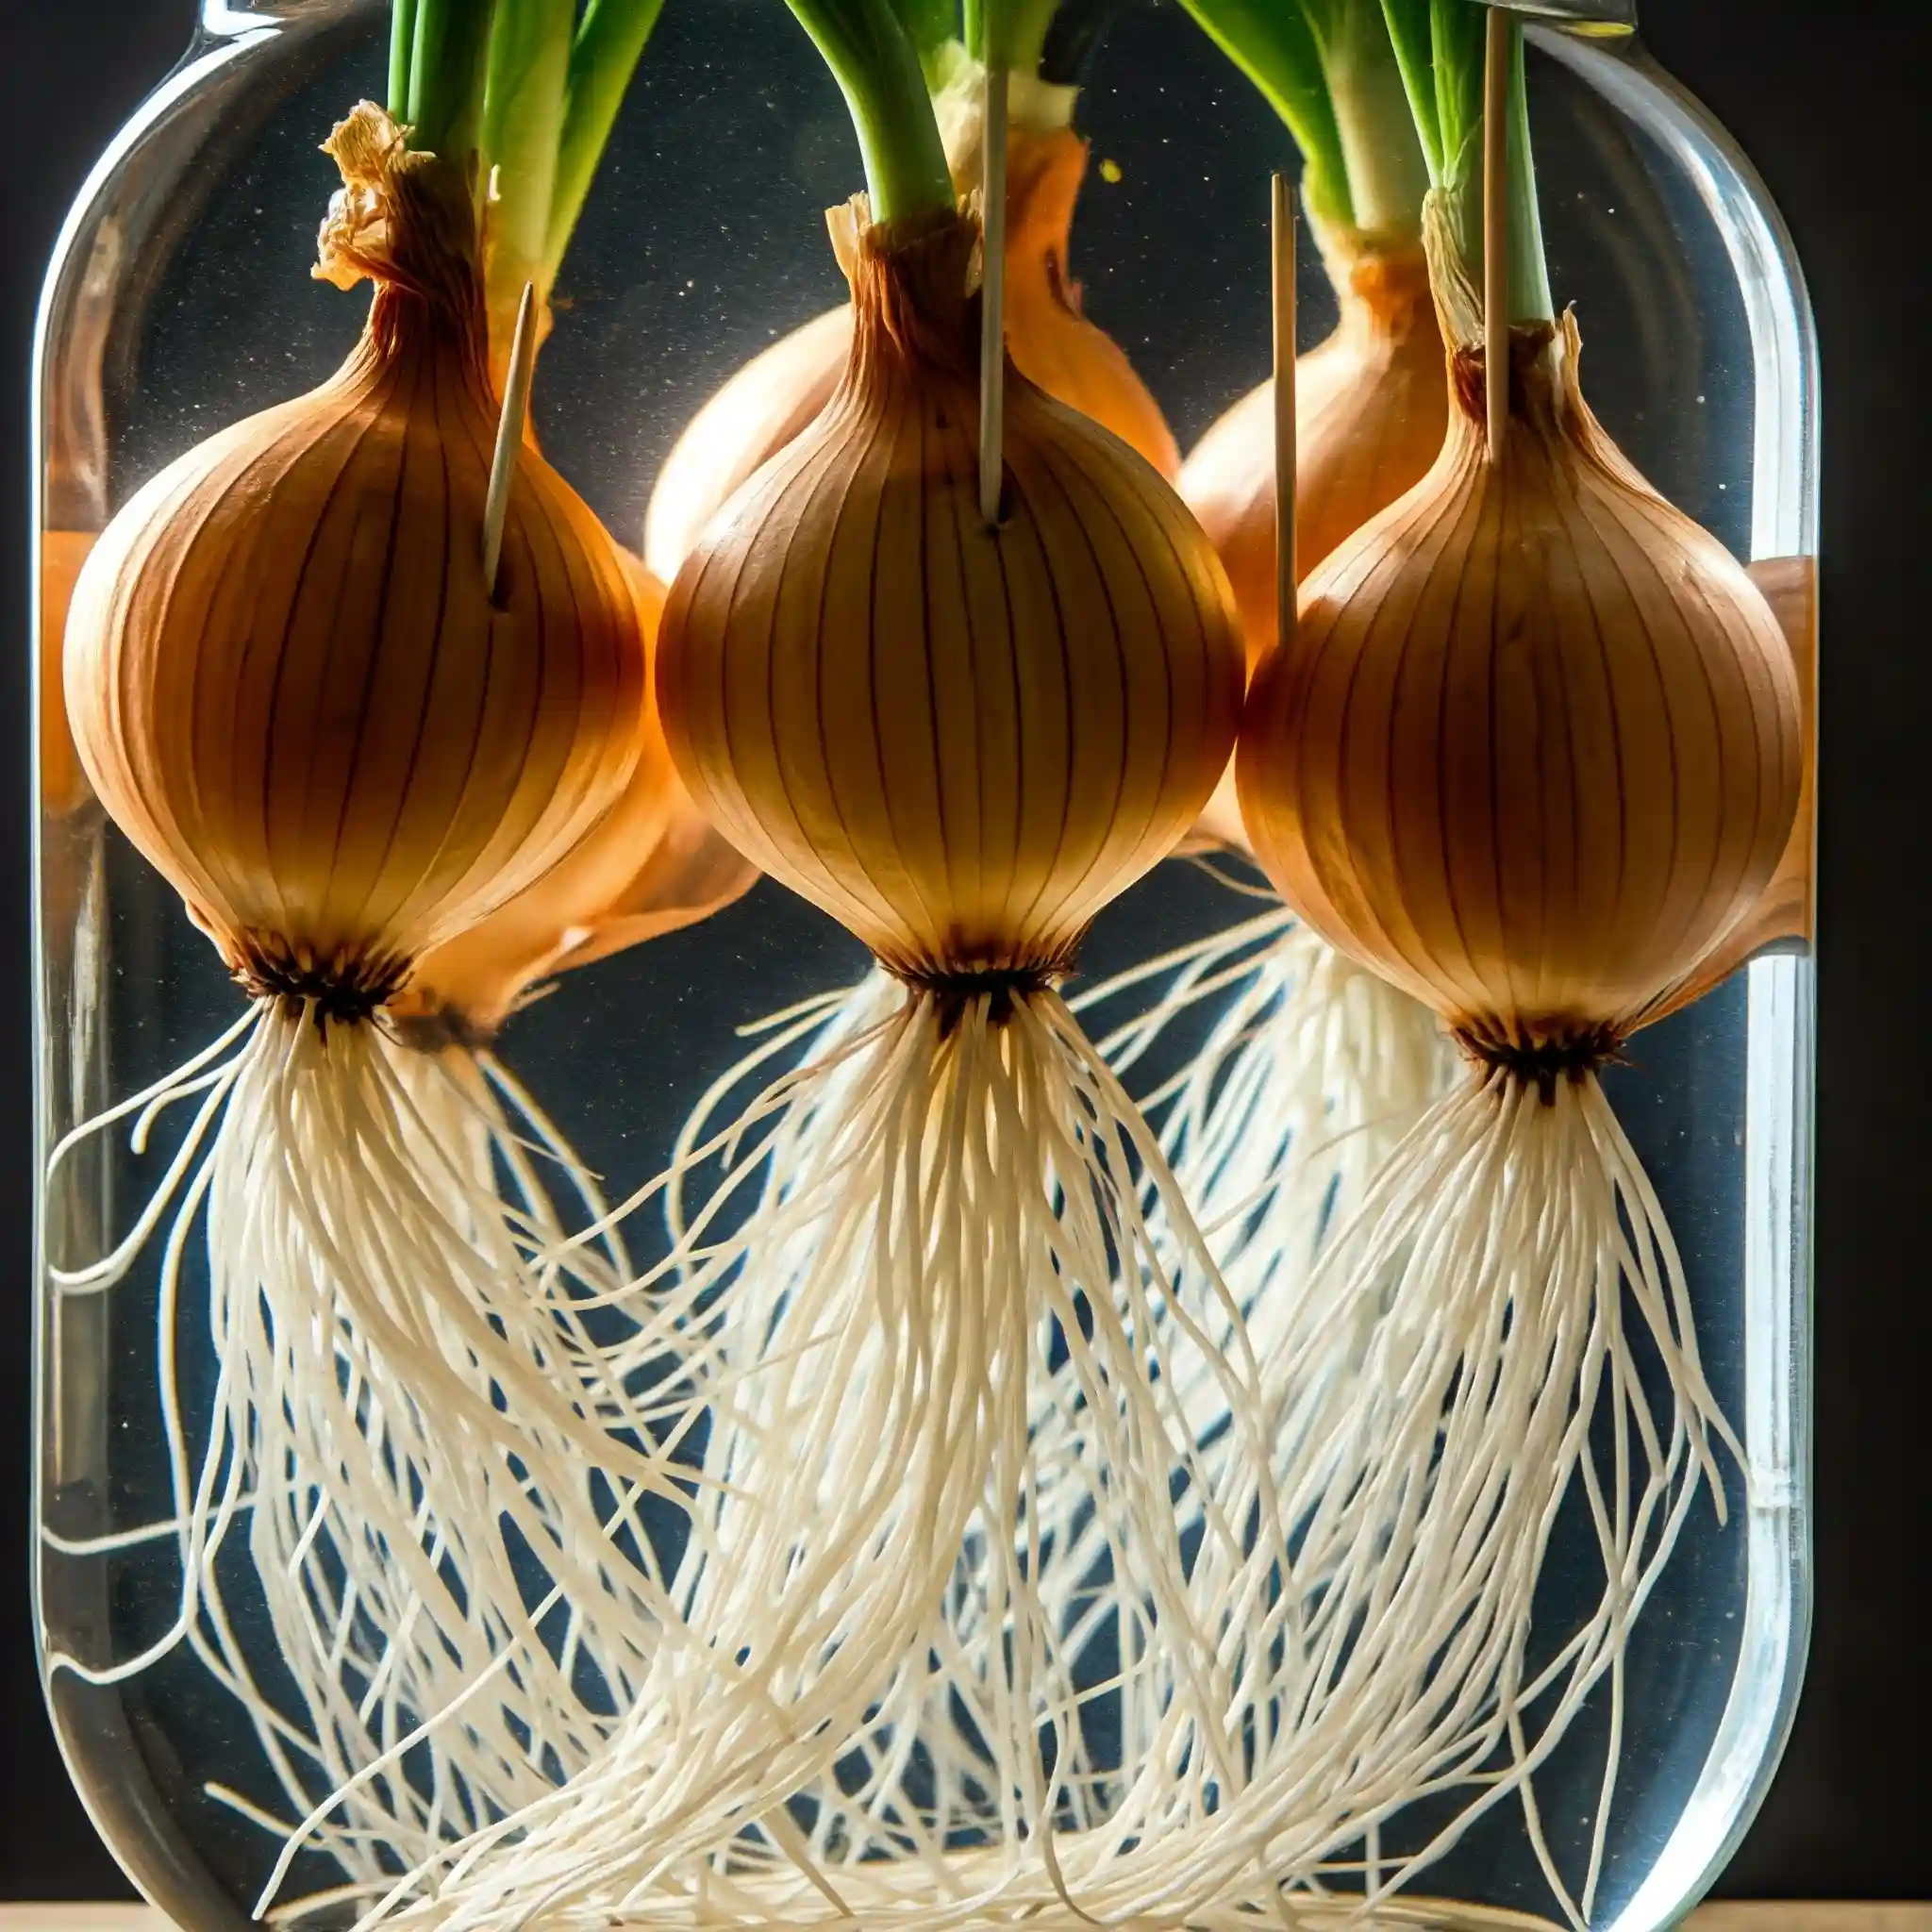
- Prepare your container: Find a jar or glass with a wide enough mouth to support the onion. I prefer clear glass so I can easily monitor the water level and root growth.
- Position the onion: This is where the toothpicks come in. Insert three or four toothpicks around the middle of the onion bulb. These will act as a support system, allowing you to suspend the onion over the water.
- Add water: Fill the jar with enough water so that only the very bottom of the onion, where the roots will emerge, is submerged. It’s crucial not to submerge the entire bulb, as this will likely cause it to rot.
- Find a sunny spot: Place your jar on a sunny windowsill where it will receive plenty of indirect sunlight. A south-facing window is usually ideal.
- Change the water regularly: To prevent bacterial growth and keep your sprouts healthy, change the water every one to two days. This also helps to provide fresh oxygen to the roots.
- Watch them grow: Within a few days, you’ll notice roots starting to grow down into the water, and the green shoots will continue to lengthen.
Why this method is good:
- Clean and mess-free: No soil is required, making it ideal for indoor growing.
- Easy to monitor growth: The clear container allows you to easily observe the root development.
- Quick harvest: You can start harvesting sprouts within a week or two.
Tips for Success:
- Use filtered water to avoid exposing your sprouts to chlorine and other chemicals that can be found in tap water.
- Make sure the onion base is just barely touching the water. If too much of the bulb is submerged, it will rot.
- If you notice any mold or foul odor, discard the onion and start with a fresh one, ensuring you clean the container thoroughly.
Troubleshooting:
- Rotting: This is the most common issue. Make sure only the base of the onion is in the water.
- Slow growth: This could be due to insufficient sunlight or infrequent water changes.
- No root development: The onion might be too old, or the water might be contaminated. Try with a fresh onion and clean water.
Additional Information:
This method is a simple form of hydroponics, a technique of growing plants without soil, using mineral nutrient solutions in a water solvent. It’s a great way to introduce yourself to the basic principles of hydroponic gardening.
Case Study:
I once had a small kitchen with limited counter space. I wanted to grow some fresh herbs and sprouts, but I didn’t want to deal with the mess of soil. I decided to try growing onion sprouts in water, and it worked wonderfully! I placed a few jars with onions on my windowsill, and they quickly became a charming and useful addition to my kitchen. I was able to snip fresh sprouts whenever I needed them, and the clear jars allowed me to easily monitor their growth.
Growing Onion Sprouts in Soil
Growing onion sprouts in soil is a more traditional method that provides the sprouts with a steady supply of nutrients, leading to robust growth. I often use this method when I want a larger harvest of sprouts or when I’m growing them alongside other herbs and vegetables in containers. It’s also a great option if you prefer a more “hands-on” gardening experience.
Here’s how I successfully grow onion sprouts in soil:
- Choose your container: Select a pot or container with drainage holes to prevent waterlogging. The size of the container will depend on how many sprouts you want to grow. I usually use a small to medium-sized pot for a decent harvest.
- Prepare your soil: Use a well-draining potting mix. You can find this at any garden center. Avoid using garden soil, as it can be too heavy and compact, which can lead to drainage problems.
- Plant your onions: You can either plant whole onion bulbs or start with onion sets (small, immature onion bulbs). If using bulbs, you can cut them in half or quarters, making sure each section has a root base. Plant the onions about an inch deep in the soil, spacing them a few inches apart.
- Watering: Water the soil thoroughly after planting, and then keep the soil consistently moist but not soggy. Overwatering can lead to rot, so it’s important to allow the top inch of soil to dry out slightly between waterings.
- Provide sunlight: Place the container in a sunny location where it will receive at least 6 hours of sunlight per day. A south-facing window is usually ideal. If you don’t have a sunny spot indoors, you can use grow lights.
- Observe the growth: Within a week or two, you should start to see green shoots emerging from the soil. As they grow, you can begin to harvest them.
Why this method is good:
- Nutrient-rich: Soil provides essential nutrients for healthy sprout growth.
- Larger harvests: You can typically grow more sprouts in a container of soil than in water.
- Versatile: You can easily grow other herbs or vegetables alongside your onion sprouts.
Tips for Success:
- Use a high-quality potting mix that is specifically designed for container gardening.
- Make sure your container has drainage holes to prevent water from pooling at the bottom.
- Avoid overcrowding the onions in the container.
Troubleshooting:
- Rotting: This is usually caused by overwatering. Make sure the soil is well-draining and allow it to dry out slightly between waterings.
- Slow growth: This can be due to insufficient sunlight or lack of nutrients. Try moving the container to a sunnier location or adding a diluted liquid fertilizer.
- Pests: Although less common with indoor growing, pests like aphids can sometimes infest onion sprouts. You can usually remove them by hand or with a gentle spray of soapy water.
Additional Information:
Growing onion sprouts in soil is similar to growing mature onions, but you’re harvesting them at an earlier stage. This method is also suitable for growing other members of the Allium family, such as garlic and chives.
Case Study:
I once had a small balcony garden where I grew various herbs and vegetables in containers. I decided to add some onion sprouts to my collection. I planted some onion sets in a pot alongside some parsley and cilantro. They grew beautifully together, and I was able to harvest fresh onion sprouts whenever I needed them for my cooking. It was a great way to maximize my limited space and enjoy fresh, homegrown produce.
Growing Onion Sprouts Indoors During Winter
Winter can be a challenging time for gardeners, but it doesn’t mean you have to give up on fresh, homegrown produce. Growing onion sprouts indoors is a perfect way to bring a touch of green to your kitchen and enjoy fresh flavors even when the weather outside is cold and dreary. I find this method particularly rewarding during the winter months when fresh produce can be scarce and expensive.
Here’s how I successfully grow onion sprouts indoors during winter:
- Choose your growing method: You can use any of the methods mentioned earlier – regrowing from bulbs, starting from seed, or growing hydroponically. I find that regrowing from bulbs or growing hydroponically is particularly well-suited for winter indoor growing, as it requires minimal space and equipment.
- Provide adequate light: This is the most crucial factor for growing healthy sprouts indoors during winter. Natural sunlight is often limited during this time of year, so you’ll need to supplement with grow lights. I recommend using LED grow lights, as they are energy-efficient and provide a full spectrum of light that is essential for plant growth.
- Maintain a consistent temperature: Onions prefer cooler temperatures, but they still need a consistent environment to thrive. Aim for a temperature between 60-70°F (15-21°C). Avoid placing your sprouts near drafts or heat sources, as this can cause temperature fluctuations.
- Ensure good air circulation: Good air circulation is essential for preventing fungal diseases, especially in the humid indoor environment. You can improve air circulation by using a small fan or by opening a window for a short period each day.
- Watering: Adjust your watering schedule according to the growing method you’ve chosen. If you’re growing in soil, make sure the soil is moist but not soggy. If you’re growing hydroponically, change the water regularly to prevent bacterial growth.
Why this method is good:
- Year-round harvest: You can enjoy fresh onion sprouts even during the winter months.
- Space-saving: You can grow sprouts in a small space, making it ideal for apartments or homes with limited outdoor space.
- Educational: It’s a great way to learn about plant growth and experiment with different growing methods.
Tips for Success:
- Use a timer for your grow lights to ensure your sprouts receive consistent light each day.
- Monitor the temperature and humidity levels in your growing area.
- Choose a location that is easily accessible so you can regularly check on your sprouts.
Troubleshooting:
- Slow growth: This is usually due to insufficient light or low temperatures.
- Fungal diseases: This can be caused by poor air circulation or high humidity.
- Pests: Although less common with indoor growing, pests can sometimes be an issue.
Additional Information:
Growing onion sprouts indoors during winter can be a fun and rewarding way to stay connected to nature and enjoy fresh produce year-round. It’s also a great way to introduce children to gardening and teach them about the plant life cycle.
Case Study:
I remember one particularly harsh winter when I was craving fresh greens. I decided to set up a small indoor growing area in my kitchen and try growing onion sprouts. I used a combination of regrowing from bulbs and starting from seed, and I was amazed at how well they grew under the grow lights. It was a great way to brighten up my kitchen and enjoy fresh onion sprouts throughout the winter months.
Harvesting and Using Your Onion Sprouts
After nurturing your onion sprouts through the growing process, the most rewarding part is finally here: harvesting and using them in your culinary creations! I always feel a sense of accomplishment when I harvest something I’ve grown myself, and onion sprouts are no exception. Their fresh, mild onion flavor adds a delightful touch to various dishes.
Here’s how I harvest and use my onion sprouts:
- When to harvest: You can start harvesting your onion sprouts once they reach about 4-6 inches in height. At this stage, they’ll have a good balance of flavor and tenderness.
- How to harvest: Using a sharp pair of scissors or kitchen shears, simply snip off the green shoots about an inch above the base (either the bulb or the soil surface). This allows the sprouts to continue growing and producing more shoots for future harvests.
- How to store: Freshly harvested onion sprouts are best used immediately for optimal flavor and texture. However, if you have more than you need, you can store them in the refrigerator for a few days. To store them, gently rinse the sprouts and pat them dry with a paper towel. Then, place them in a resealable plastic bag or container lined with a damp paper towel.
Ways to use onion sprouts:
Onion sprouts are incredibly versatile and can be used in a variety of ways:
- Salads: Add them to fresh green salads for a mild onion flavor and a pleasant crunch.
- Soups and stews: Sprinkle them over soups and stews as a garnish for a burst of freshness.
- Omelets and frittatas: Incorporate them into omelets and frittatas for added flavor and texture.
- Sandwiches and wraps: Use them as a topping for sandwiches and wraps.
- Dips and sauces: Add them to dips and sauces for a subtle oniony kick.
- Stir-fries: Add them towards the end of cooking stir-fries to retain their crispness and flavor.
Why this part is good:
- Fresh flavor: Homegrown onion sprouts offer a superior flavor compared to store-bought ones.
- Nutrient boost: Onion sprouts are a good source of vitamins and minerals.
- Versatility: They can be used in a wide range of dishes.
Tips for Success:
- Harvest your sprouts regularly to encourage continued growth.
- Don’t over-harvest, as this can weaken the plant.
- Use sharp scissors or shears for a clean cut.
Troubleshooting:
- Sprouts wilting after harvest: This is usually due to improper storage. Make sure to pat them dry and store them in a bag or container with a damp paper towel.
Additional Information:
Onion sprouts are a great source of Vitamin C, Vitamin K, and antioxidants. They also contain sulfur compounds that are believed to have health benefits.
Case Study:
I remember one time I was making a simple tomato and mozzarella salad. I decided to add some freshly harvested onion sprouts from my windowsill garden, and it completely elevated the dish! The sprouts added a subtle onion flavor and a pleasant crunch that complemented the other ingredients perfectly. It was a simple addition that made a big difference.
Troubleshooting Common Onion Sprout Problems
Even with the best care, you might encounter some challenges while growing your onion sprouts. Don’t worry, this is perfectly normal! I’ve faced my fair share of setbacks over the years, and I’ve learned that troubleshooting is all part of the gardening process. Here are some common problems you might encounter and how to address them:
1. Rotting Bulbs:
- Problem: The base of the onion bulb becomes soft, mushy, and starts to decay. This is often accompanied by a foul odor.
- Cause: Overwatering or keeping the cut surface of the bulb submerged in water.
- Solution: Ensure that only the roots are in contact with the water when growing hydroponically. If growing in soil, make sure the soil is well-draining and allow the top inch to dry out between waterings. If the bulb is already rotting, it’s best to discard it and start with a fresh one.
2. Mold Growth:
- Problem: You might notice white or grayish mold growing on the onion bulb or the surrounding growing medium.
- Cause: High humidity, poor air circulation, or contaminated water.
- Solution: Improve air circulation by using a small fan or opening a window for a short period each day. If growing hydroponically, change the water more frequently. You can also try lightly spraying the affected area with a diluted hydrogen peroxide solution.
3. Slow Growth:
- Problem: Your onion sprouts are growing very slowly or not at all.
- Cause: Insufficient sunlight, low temperatures, or lack of nutrients.
- Solution: Move your sprouts to a sunnier location or provide supplemental light with grow lights. Ensure the temperature is consistently between 60-70°F (15-21°C). If growing in soil, you can add a diluted liquid fertilizer to provide extra nutrients.
4. Pests:
- Problem: Although less common with indoor growing, pests like aphids or spider mites can sometimes infest onion sprouts.
- Cause: Pests can be introduced from other houseplants or through open windows.
- Solution: You can usually remove pests by hand or with a gentle spray of soapy water. For more severe infestations, you can use insecticidal soap or neem oil.
5. Wilting Sprouts:
- Problem: The green shoots of your onion sprouts start to wilt or droop.
- Cause: Underwatering, excessive heat, or transplant shock (if you’ve recently transplanted seedlings).
- Solution: If growing in soil, make sure the soil is consistently moist. Avoid placing your sprouts near heat sources. If you’ve recently transplanted seedlings, give them some time to adjust to their new environment.
Tips for Preventing Problems:
- Start with healthy onion bulbs or seeds from a reputable source.
- Use clean containers and growing mediums.
- Provide adequate light, warmth, and air circulation.
- Water properly and avoid overwatering.
- Regularly inspect your sprouts for any signs of problems.
Additional Information:
Remember that each growing method has its own specific challenges. For example, rotting is more common with hydroponic growing if the water isn’t changed regularly. Similarly, damping-off disease is more common when starting seeds in soil if the soil is kept too wet.
Case Study:
I once had a batch of onion sprouts that were growing very slowly. I couldn’t figure out what was wrong until I realized that they weren’t getting enough light. I moved them to a sunnier location and within a few days, they started to grow much more vigorously. This experience taught me the importance of providing adequate light for healthy sprout growth.
By being aware of these common problems and their solutions, you can successfully troubleshoot any issues that arise and enjoy a bountiful harvest of fresh onion sprouts.
Frequently Asked Questions (FAQ)
I’ve compiled a list of frequently asked questions to provide you with quick and easy answers to common queries about growing onion sprouts.
- How long does it take to grow onion sprouts from bulbs in water indoors? You’ll generally observe sprouts within a few days, and they’ll be ready to harvest in about one to two weeks.
- What is the best way to grow onion sprouts quickly? Starting with bulbs is typically faster than starting from seed. Providing optimal light and warmth will also accelerate growth.
- How to grow onion sprouts from seed in a container garden? Sow seeds in well-draining potting mix in containers, maintain consistent moisture, and provide ample sunlight.
- How to grow onion sprouts without soil using paper towels? Place onion seeds on a damp paper towel in a container, keep it moist, and they will sprout within a few days.
- How to grow and harvest onion sprouts for kitchen use? Grow using any of the methods mentioned earlier, and harvest by snipping off the green shoots as needed for cooking.
- How to grow onion sprouts indoors during the winter months? Utilize grow lights, maintain a warm temperature, and ensure good air circulation.
- How to grow onion sprouts from scraps for beginners easily? Growing from leftover bulbs in water is the easiest method for beginners.
- Are onion sprouts nutritious? Yes, onion sprouts are a good source of vitamins, minerals, and antioxidants.
- Can I eat the white part of the onion sprout? Yes, both the green shoots and the white base are edible.
- How often should I water onion sprouts grown in soil? Water when the top inch of soil feels dry to the touch.
- Can I use any type of onion to grow sprouts? Red, yellow, and white onions all work well for sprouting.
- Do I need to fertilize onion sprouts? Fertilizing is not usually necessary, especially if you’re growing them in water or for a short period. However, if you’re growing them in soil for an extended period, you can use a diluted liquid fertilizer.
- What if my onion bulb doesn’t sprout? The bulb may be too old or damaged. Try with a fresh bulb.
- How do I prevent mold on my onion sprouts? Ensure good air circulation and avoid overwatering.
- Can I grow other types of sprouts using these methods? Yes, you can use similar methods to grow other types of sprouts, such as garlic sprouts or leek sprouts.
- Where can I find onion seeds for sprouting? You can find onion seeds at most garden centers or online seed suppliers.
I hope these frequently asked questions have addressed any queries you had about growing onion sprouts. If you have any further questions, feel free to leave a comment below, and I’ll be happy to assist you.
Conclusion: Your Sprout-tastic Journey to Flavorful Dishes
Growing onion sprouts is a simple yet rewarding endeavor that brings a touch of freshness and flavor to your culinary creations. Whether you choose to regrow them from leftover bulbs, nurture them from tiny seeds, or cultivate them in water or soil, the process is both educational and gratifying.
From adding a zesty crunch to salads to enhancing the aroma of soups and omelets, onion sprouts are a versatile ingredient that can elevate your dishes with their subtle oniony flavor.
So, why wait? Embark on your own sprout-growing adventure today and discover the joy of harvesting fresh, homegrown flavors right from your kitchen. With a little patience and care, you’ll soon be enjoying the delightful taste of homegrown onion sprouts in your favorite meals.
