Are you tired of feeling stressed and overwhelmed by the daily grind? Do you long for a natural way to unwind and find inner peace? Many people, just like you, seek natural remedies for relaxation. I understand this desire deeply, having experienced the pressures of modern life myself. You’re not alone in this search for tranquility. You might have heard of Kava, a traditional Pacific Island remedy known for its calming properties. What if I told you that you could cultivate this remarkable herb in your own home garden? This guide will provide you with a detailed roadmap on how to grow Kava herbs, empowering you to create your own personal oasis of calm.
Kava ( Piper methysticum), a member of the pepper family, has been used for centuries in the South Pacific for ceremonial and social purposes. Its roots contain kavalactones, which are believed to be responsible for its relaxing and anxiolytic effects. As interest in natural wellness grows, so does the desire to cultivate Kava at home. Growing your own Kava not only provides you with a fresh supply of this beneficial herb but also connects you to a rich cultural heritage.
In this comprehensive guide, I will walk you through every step of the process, from understanding the basics of Kava to planting, caring for, harvesting, and processing its roots. Whether you are a seasoned gardener or just starting out, I believe you will find this guide valuable and informative, offering you a pathway to cultivating your own peace and tranquility. So, let’s embark on this journey together and discover the secrets of growing Kava herbs.
This guide will cover:
- Understanding the origins and characteristics of Kava.
- Step-by-step instructions on planting and propagating Kava.
- Essential growing conditions for thriving Kava plants.
- Care and maintenance tips for healthy growth.
- Proper harvesting and processing techniques.
- Answers to frequently asked questions about growing Kava.
This introduction sets the stage for a deep dive into the world of Kava cultivation. We will begin by exploring the fascinating background of this unique plant.
Understanding Kava
Origins and Traditional Uses
Kava, scientifically known as Piper methysticum, is a fascinating plant with a rich history and cultural significance. Originating from the South Pacific Islands, particularly Vanuatu, Fiji, and Tonga, Kava has been used for centuries in traditional ceremonies, social gatherings, and medicinal practices. The word “Kava” itself translates to “bitter” in many Polynesian languages, referring to the taste of the prepared drink.
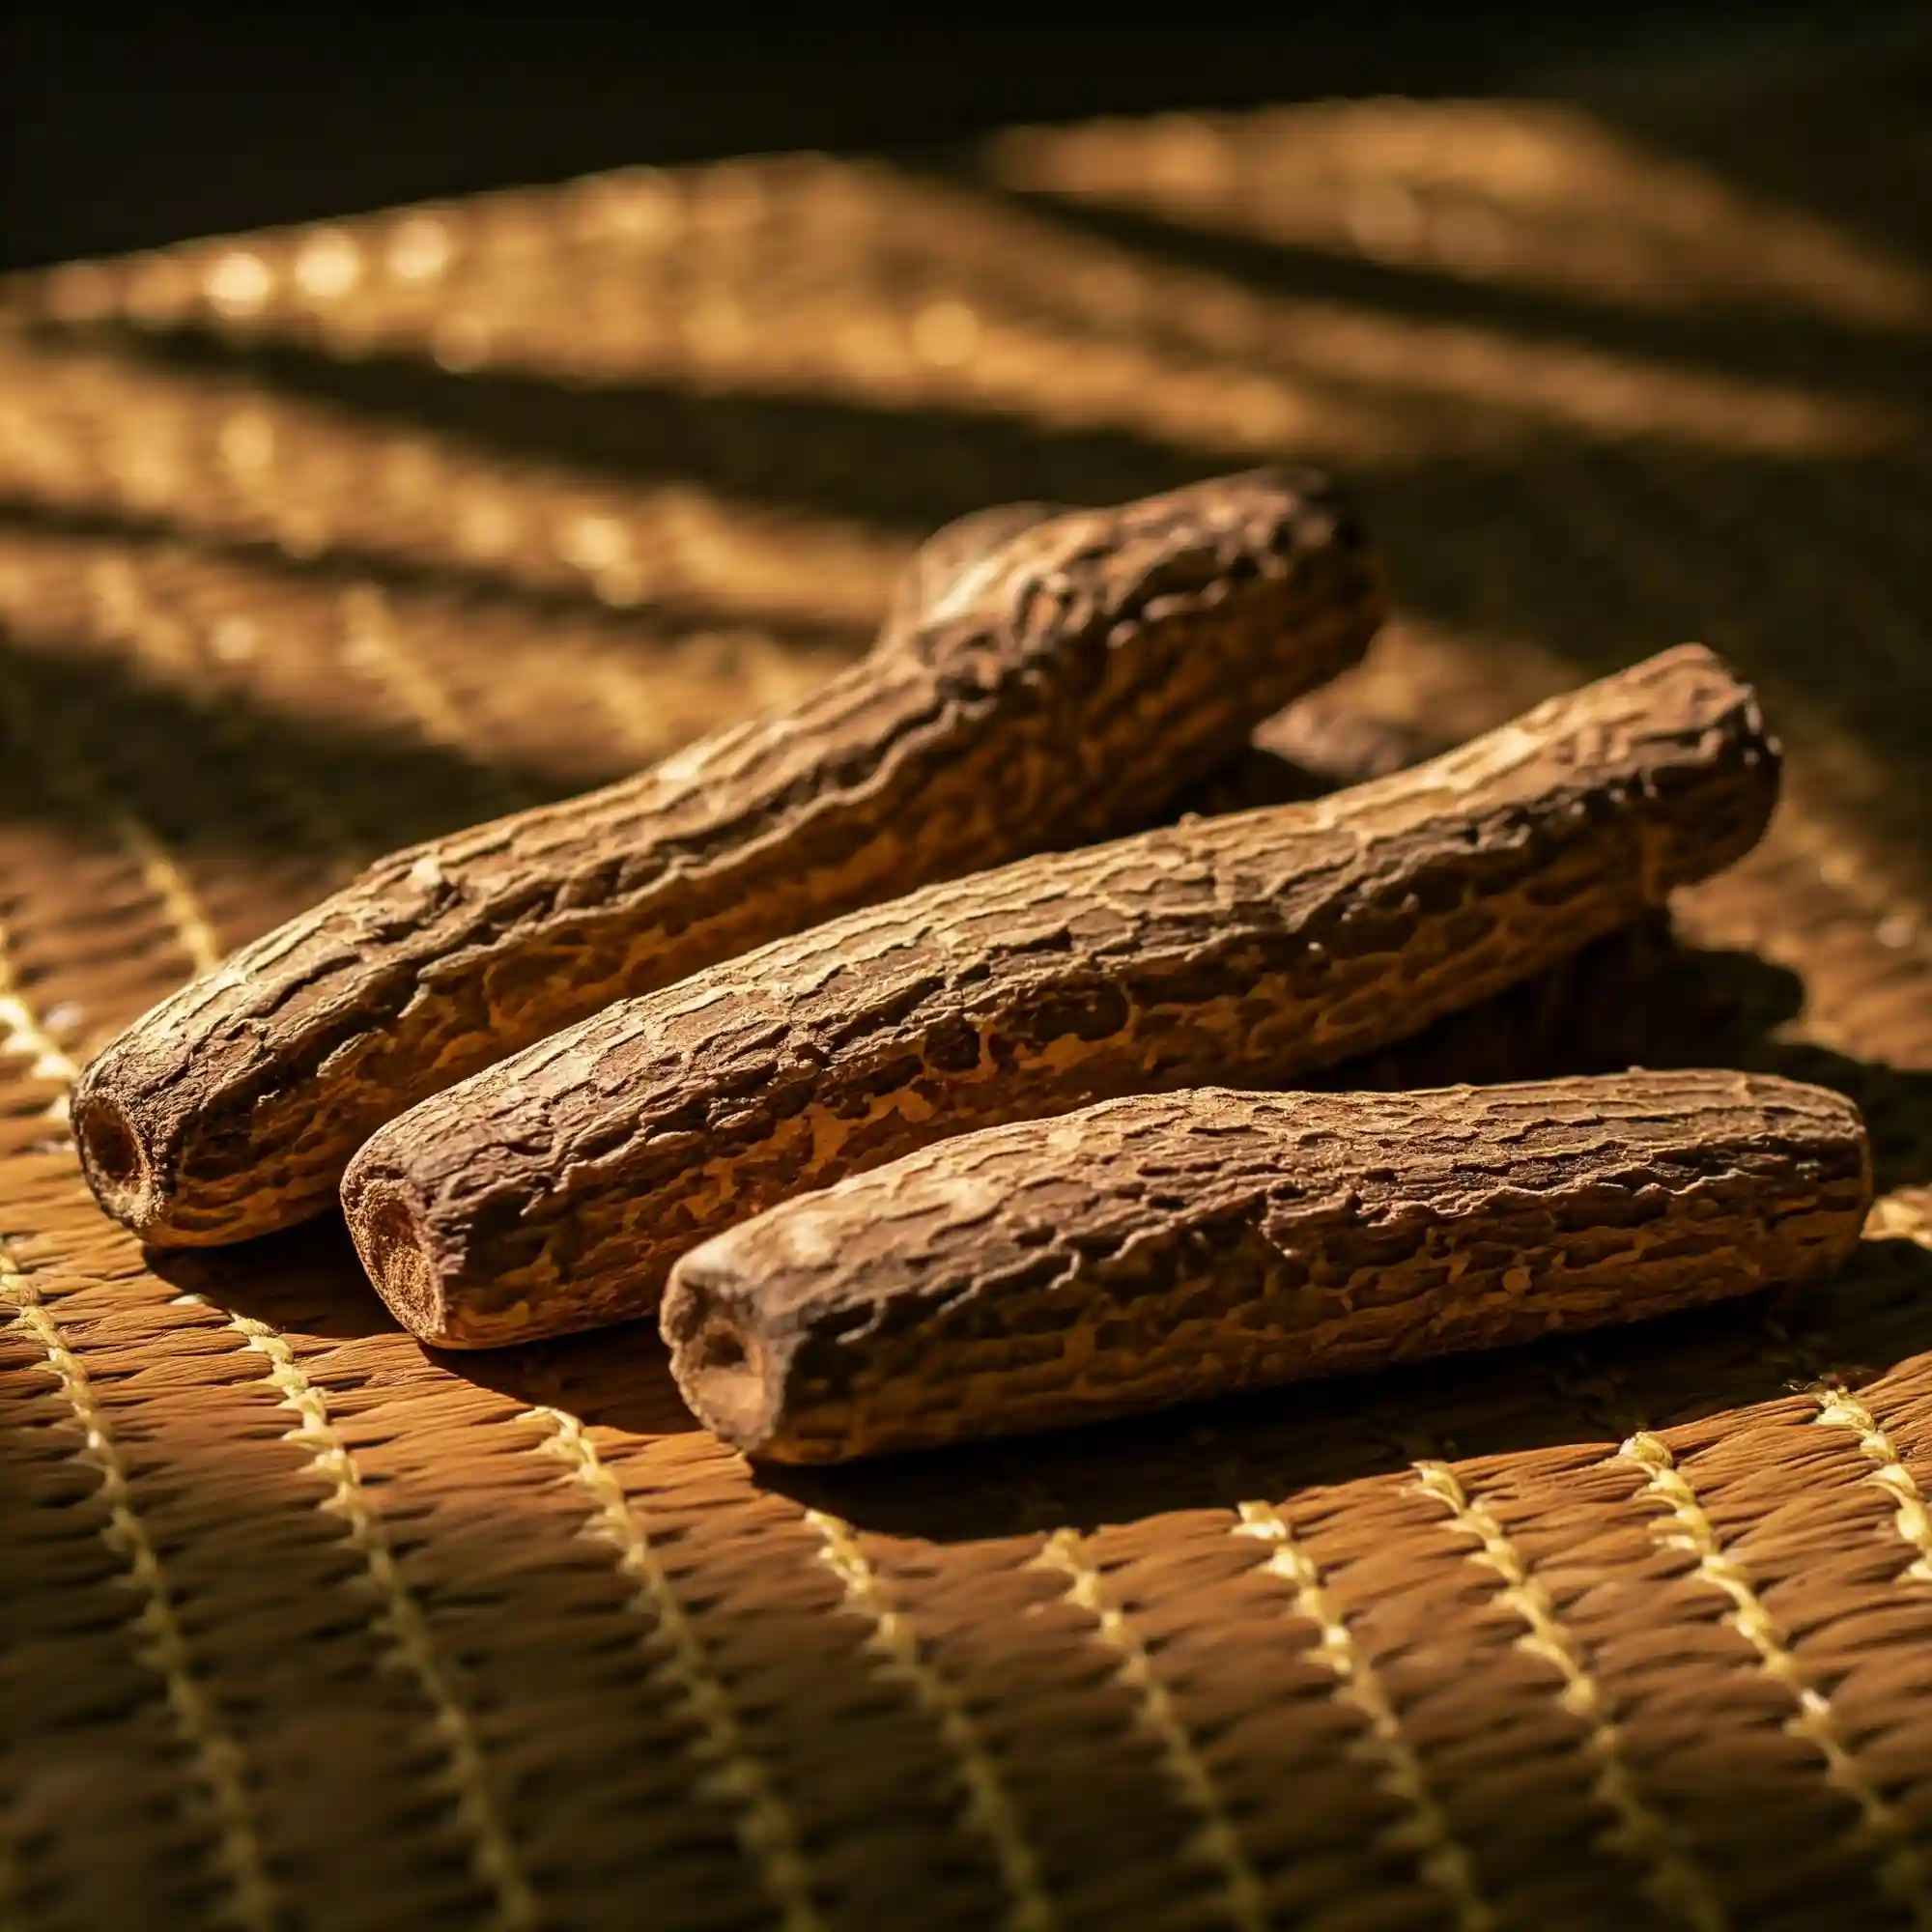
Traditionally, the preparation of Kava involves grinding or pounding the roots of the plant and then mixing them with water or coconut milk. The resulting beverage is consumed for its relaxing and calming effects. In many Pacific Island cultures, Kava ceremonies play a vital role in social and political events, symbolizing peace, unity, and respect.
Chemical Composition and Effects
The unique properties of Kava are attributed to its active compounds called kavalactones. These kavalactones interact with the central nervous system, producing a range of effects, including:
- Relaxation: Kava is well-known for its ability to promote relaxation and reduce stress.
- Anxiolytic effects: Studies have shown that Kava can help alleviate anxiety and improve mood.
- Muscle relaxation: Kava may also have muscle-relaxant properties, helping to ease tension and discomfort.
- Sleep promotion: Some people use Kava as a natural sleep aid to improve sleep quality.
It’s important to note that while Kava offers potential benefits, it’s crucial to use it responsibly and in moderation. Consulting with a healthcare professional before using Kava is advisable, especially if you have any underlying health conditions or are taking medications.
Cultivation and Growth
Kava is a tropical plant that thrives in warm and humid climates. It requires specific growing conditions to flourish, including well-draining soil, partial shade, and consistent moisture. The plant can be propagated from seeds, cuttings, or rhizome divisions. However, growing Kava from seeds can be challenging, and using cuttings or rhizome divisions is generally more successful.
Kava plants typically take several years to mature and reach their full size. The roots are the most valuable part of the plant, as they contain the highest concentration of kavalactones. Harvesting the roots is usually done after the plant has reached at least three to four years of age.
Cultural and Economic Significance
Kava holds deep cultural significance in the South Pacific Islands, where it’s not just a beverage but a symbol of social and cultural identity. Kava ceremonies are an integral part of many important events, such as weddings, funerals, and chiefly gatherings.
Economically, Kava is an important crop for many Pacific Island nations. The export of Kava roots and products contributes significantly to their economies. However, it’s essential to ensure sustainable harvesting practices to protect wild Kava populations and preserve the cultural heritage associated with this unique plant.
Legal Considerations
Before you start growing Kava, it’s essential to be aware of the legal regulations in your region. In some countries, there may be restrictions on the cultivation, sale, or use of Kava. It’s crucial to research and comply with local laws to ensure you’re growing Kava legally and responsibly.
In the United States, for example, there are no federal restrictions on growing Kava for personal use. However, some states may have specific regulations regarding the sale or commercial cultivation of Kava. It’s always best to check with your local authorities to ensure compliance.
By understanding the background and legal considerations surrounding Kava, you can embark on your growing journey with knowledge and confidence.
Planting and Propagating Kava Herbs
Now that you have a solid understanding of Kava, let’s dive into the practical steps of planting and propagating this fascinating herb. Whether you’re starting from seeds, cuttings, or rhizome divisions, I’ll guide you through each method to ensure your Kava growing journey is a success.
Starting from Seeds
While it’s possible to grow Kava from seeds, it’s worth noting that this method can be quite challenging. Kava seeds have a low germination rate, and the process can be slow and unpredictable. However, if you’re up for the challenge, here are some tips to increase your chances of success:
- Obtain fresh seeds: Look for reputable suppliers who offer fresh Kava seeds.
- Soak the seeds: Before planting, soak the seeds in warm water for 24-48 hours to soften the outer shell.
- Plant in well-draining soil: Use a seed-starting mix or a combination of perlite and vermiculite to ensure proper drainage.
- Maintain warmth and humidity: Keep the soil consistently moist and maintain a temperature of around 70-80°F (21-27°C).
- Be patient: Germination can take several weeks or even months, so don’t get discouraged if you don’t see results immediately.
Growing from Cuttings
The most common and successful method of propagating Kava is through cuttings. This involves taking a section of a mature Kava plant and encouraging it to root and grow into a new plant. Here’s a step-by-step guide:
- Select healthy cuttings: Choose cuttings from healthy, disease-free Kava plants. Look for stems that are about 6-8 inches (15-20 cm) long with at least two nodes (the points where leaves emerge).
- Prepare the cutting: Remove the lower leaves from the cutting, leaving only a few at the top. This will help prevent rot and encourage root growth.
- Root the cutting: There are two main methods for rooting Kava cuttings: Water rooting: Place the cutting in a glass or jar of water, ensuring that the bottom node is submerged. Change the water every few days to prevent bacterial growth. Rooting hormone: Dip the cut end of the cutting in rooting hormone powder or gel. This will help stimulate root growth.
- Plant the cutting: Once the cutting has developed roots (usually after a few weeks), it’s time to plant it in a pot with well-draining soil.
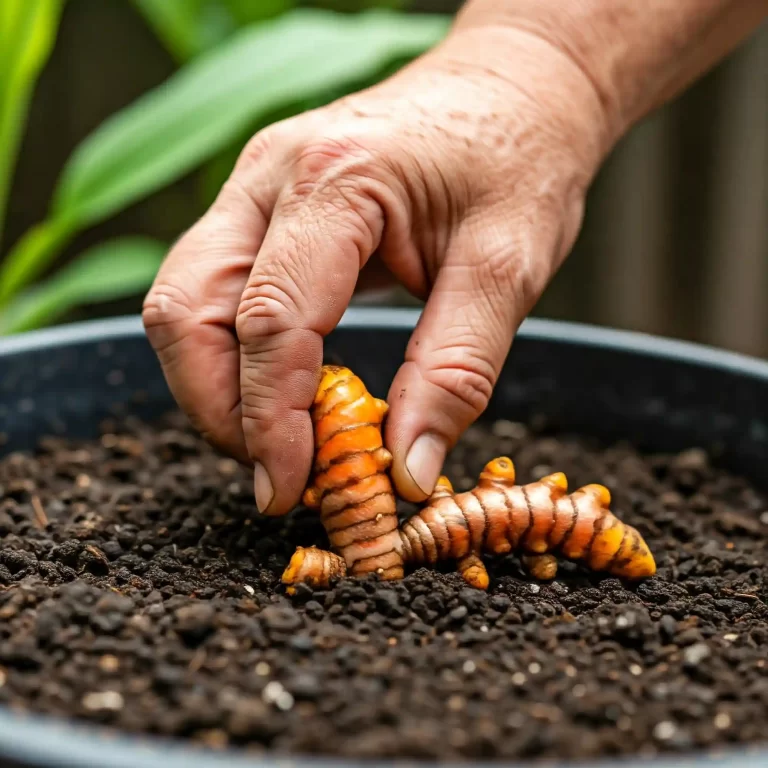
Propagating from Rhizome Division
Another effective method for propagating Kava is through rhizome division. This involves dividing the underground rhizome (rootstock) of a mature Kava plant into smaller sections, each with its own set of roots and shoots. Here’s how it’s done:
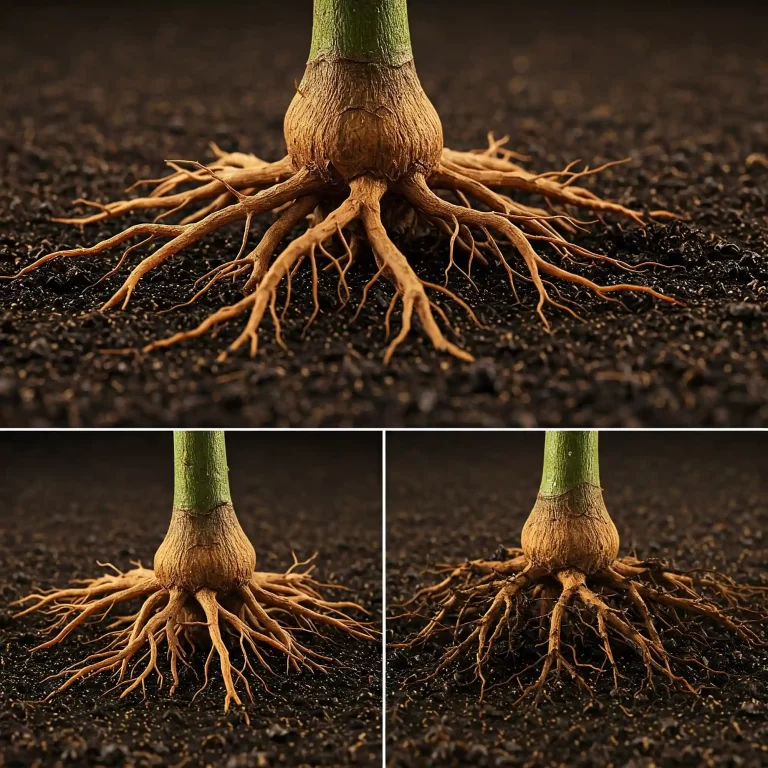
- Carefully dig up the rhizome: Gently remove the soil around the base of the Kava plant to expose the rhizome.
- Divide the rhizome: Use a sharp, clean knife or pruning shears to divide the rhizome into sections. Ensure each section has at least one eye (a growth bud) and some roots.
- Plant the divisions: Plant each rhizome division in a separate pot with well-draining soil.
Choosing the Right Pot and Soil
When planting Kava, it’s essential to choose the right pot and soil to ensure proper drainage and healthy growth. Here are some recommendations:
- Pot: Select a pot that is at least 12 inches (30 cm) in diameter and has drainage holes at the bottom.
- Soil: Use a well-draining potting mix or create your own by combining equal parts perlite, vermiculite, and coco coir.
By following these planting and propagation tips, you’ll be well on your way to growing your own Kava herbs.
Kava Growing Conditions
Now that your Kava plants are planted, it’s crucial to provide them with the right growing conditions to ensure their health and vitality. Kava is a tropical plant that thrives in warm, humid environments. By replicating these conditions in your home garden, you can create the perfect environment for your Kava to flourish.
Climate and Temperature
Kava prefers a warm and humid climate, similar to its native South Pacific Islands. The ideal temperature range for Kava growth is between 70-90°F (21-32°C). It’s essential to protect your Kava plants from frost and cold temperatures, as they are sensitive to freezing conditions.
If you live in a region with colder winters, you can grow your Kava plants in containers and bring them indoors during the colder months. This will allow you to maintain the ideal temperature and humidity levels for their growth.
Sunlight Requirements
Kava plants thrive in partial shade, mimicking the conditions of their natural habitat under the forest canopy. While they need some sunlight to grow, it’s crucial to avoid direct sunlight, which can scorch their leaves.
If you’re growing Kava outdoors, choose a location that receives dappled sunlight or morning sun and afternoon shade. If you’re growing Kava indoors, place it near a window that receives indirect sunlight.
Watering
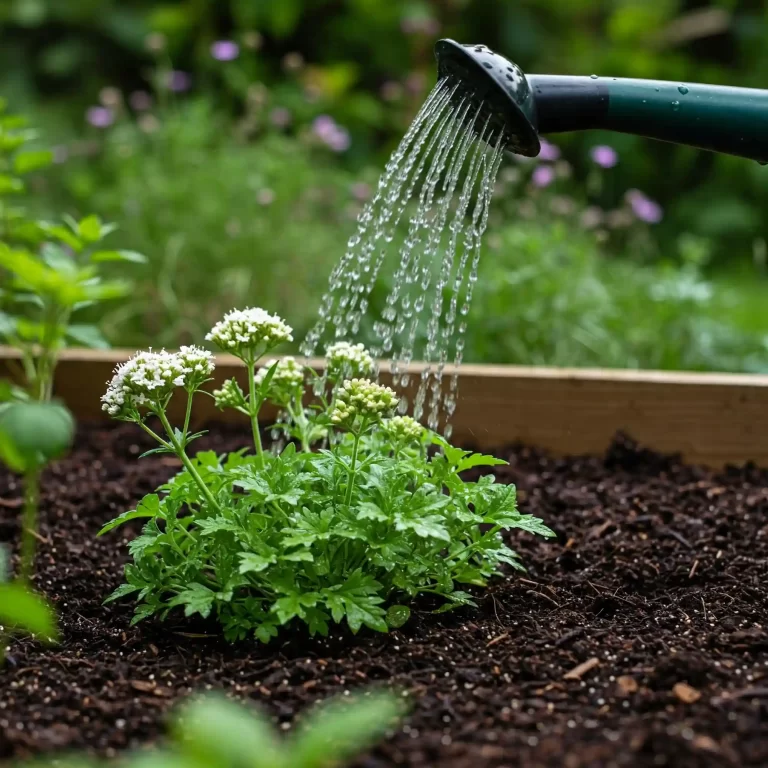
Consistent moisture is essential for Kava growth, but it’s crucial to avoid overwatering, which can lead to root rot. Water your Kava plants regularly, ensuring that the soil is moist but not waterlogged.
The frequency of watering will depend on various factors, such as the climate, the type of soil, and the size of the pot. As a general rule, water your Kava plants when the top inch of soil feels dry to the touch.
Humidity
Kava thrives in high humidity levels, ideally around 70-80%. If you live in a dry climate, you can increase the humidity around your Kava plants by:
- Grouping plants together to create a microclimate.
- Placing a tray of water near the plants.
- Using a humidifier.
Fertilizing
Kava plants benefit from regular fertilization, especially during the growing season. Use a balanced liquid fertilizer diluted to half strength and apply it every few weeks.
Avoid over-fertilizing, as this can damage the roots and harm the plant. During the dormant season (winter), reduce the frequency of fertilization.
By providing your Kava plants with the right growing conditions, you can ensure their health and promote vigorous growth.
Kava Plant Care and Maintenance
Maintaining healthy Kava plants involves more than just providing the right growing conditions. Regular care and maintenance are essential to prevent problems and ensure vigorous growth. In this section, I’ll share some valuable tips on pruning, pest and disease control, and troubleshooting common Kava issues.
Pruning
Pruning Kava plants is not always necessary, but it can help maintain their shape, remove dead or damaged branches, and encourage bushier growth. Here are some guidelines for pruning Kava:
- When to prune: The best time to prune Kava is during the dormant season (winter) or early spring before new growth begins.
- How to prune: Use sharp, clean pruning shears to make clean cuts. Remove any dead, damaged, or crossing branches. You can also trim back overly long branches to maintain a desired shape.
Pest and Disease Control
While Kava is generally resistant to pests and diseases, there are a few common issues to watch out for:
- Pests: Aphids, spider mites, and mealybugs can sometimes infest Kava plants. You can control these pests by using insecticidal soap, neem oil, or by handpicking them off the plant.
- Diseases: Root rot is the most common disease affecting Kava, especially in overly moist conditions. To prevent root rot, ensure proper drainage and avoid overwatering.
Troubleshooting Common Problems
Even with the best care, you may encounter some common problems while growing Kava. Here are some troubleshooting tips:
- Yellowing leaves: This can be a sign of overwatering, nutrient deficiency, or pest infestation. Adjust your watering habits, fertilize your plant, or treat for pests as needed.
- Slow growth: This can be caused by insufficient sunlight, low temperatures, or nutrient deficiency. Ensure your plant is receiving adequate light, warmth, and nutrients.
- Wilting: This can be a sign of underwatering or root rot. Check the soil moisture and adjust your watering accordingly. If the soil is waterlogged, repot your plant in fresh, well-draining soil.
By following these care and maintenance tips, you can keep your Kava plants healthy and thriving.
Harvesting and Processing Kava Roots
After nurturing your Kava plants for several years, the time will finally come to harvest their valuable roots. This section will guide you through the process of harvesting, cleaning, drying, and curing Kava roots, ensuring you obtain the highest quality product.
When to Harvest
Kava plants typically reach maturity and are ready for harvest after three to four years of growth. However, some varieties may take longer. Here are some signs that your Kava roots are ready for harvesting:
- Plant size: The plant should be well-established with a thick base and numerous stems.
- Root size: The roots should be thick and well-developed.
- Plant age: As mentioned earlier, the plant should be at least three to four years old.
How to Harvest
Harvesting Kava roots is a labor-intensive process that requires care and patience. Here’s how it’s done:
- Prepare the area: Clear the area around the base of the plant to make digging easier.
- Dig carefully: Use a shovel or digging fork to carefully loosen the soil around the roots. Avoid damaging the roots during this process.
- Lift the plant: Once the soil is loosened, gently lift the plant out of the ground, taking care not to break the roots.
- Separate the roots: Use a sharp knife or pruning shears to separate the roots from the base of the plant.
Cleaning and Drying the Roots
After harvesting the roots, it’s crucial to clean and dry them properly to prevent mold and ensure their quality. Here’s how:
- Remove excess soil: Use a brush or hose to remove any excess soil from the roots.
- Cut into smaller pieces: Cut the roots into smaller pieces to facilitate drying.
- Dry the roots: Spread the root pieces on a clean, dry surface in a well-ventilated area. You can also use a dehydrator to speed up the drying process.
Curing Kava
Curing Kava is a traditional practice that involves allowing the roots to dry and ferment slightly. This process is believed to enhance the flavor and effects of the Kava. Here’s how to cure Kava:
- Place the dried roots in a woven basket or bag.
- Store the basket or bag in a cool, dry place for several weeks.
- Check the roots regularly for mold.
By following these harvesting and processing techniques, you can ensure that you obtain high-quality Kava roots for your personal use.
Frequently Asked Questions (FAQ)
Growing Kava can bring up many questions, especially for beginners. I’ve compiled a list of frequently asked questions to address common concerns and provide you with clear and concise answers.
General Growing Questions
- How long does it take to grow Kava herbs from cuttings?
Growing Kava from cuttings requires patience. It can take several weeks for the cuttings to root and several months for them to establish into healthy plants. I’ve found that providing consistent warmth and humidity significantly speeds up the rooting process. - How big do Kava plants get?
Kava plants can grow into substantial shrubs or small trees, reaching heights of 6 to 10 feet (2 to 3 meters) in their natural habitat. However, when grown in pots, they tend to stay smaller. - Can I grow Kava indoors?
Yes, you can grow Kava indoors, especially if you live in a region with colder climates. You’ll need to provide adequate warmth, humidity, and indirect sunlight. I recommend using grow lights to supplement natural light, especially during the winter months. - Is Kava difficult to grow?
Kava can be a bit challenging to grow, especially if you’re starting from seeds. However, with the right conditions and care, it’s definitely achievable. I’ve found that the key is to mimic its natural tropical environment as closely as possible.
Specific Growing Concerns
- How often should I water my Kava herbs in the summer heat?
During hot summer months, Kava plants need more frequent watering. I suggest checking the soil moisture regularly and watering whenever the top inch feels dry. However, be careful not to overwater, as this can lead to root rot. - What is the best soil mix for growing Kava herbs indoors?
A well-draining soil mix is crucial for growing Kava indoors. I recommend a combination of equal parts perlite, vermiculite, and coco coir. This mix provides excellent drainage and aeration, preventing waterlogging. - How to protect Kava herbs from root rot in humid climates?
Root rot is a common problem in humid climates. To protect your Kava plants, ensure proper drainage by using pots with drainage holes and well-draining soil. Avoid overwatering and improve air circulation around the plants. - What are the signs of overwatering in growing Kava herbs outdoors?
Signs of overwatering include yellowing leaves, wilting, and soggy soil. If you notice these signs, reduce watering frequency and improve drainage.
Kava Varieties and Legality
- How to grow noble Kava herbs for traditional ceremonial use?
Growing noble Kava varieties requires the same basic care as other Kava types. However, it’s essential to ensure proper curing of the roots to achieve the desired effects for traditional ceremonial use. - What are the legal restrictions on growing Kava herbs in the United States?
In the United States, there are generally no federal restrictions on growing Kava for personal use. However, some states may have regulations regarding the sale or commercial cultivation of Kava. It’s always best to check with your local authorities to ensure compliance.
Propagation Questions
- How to propagate Kava herbs using rhizome division step by step?
Rhizome division is a relatively simple method of propagating Kava. Here’s a quick step-by-step guide:- Carefully dig up the rhizome.
- Use a sharp, clean knife to divide the rhizome into sections, each with at least one eye (growth bud).
- Plant the divisions in separate pots with well-draining soil.
- How to grow Kava herbs in a greenhouse for optimal root development?
Growing Kava in a greenhouse can provide optimal conditions for root development. Maintain warm temperatures (70-90°F or 21-32°C), high humidity (70-80%), and good ventilation.
By addressing these frequently asked questions, I hope to provide you with a clearer understanding of growing Kava herbs and empower you to embark on your own Kava growing journey.
Conclusion
Growing Kava herbs can be a rewarding experience, connecting you to a rich cultural heritage and providing you with a natural way to promote relaxation and well-being. By following the guidelines and tips I’ve shared in this comprehensive guide, you can successfully cultivate your own Kava plants and enjoy the benefits of this remarkable herb.
Remember, patience is key when growing Kava. It takes time for the plants to mature and for the roots to develop their full potential. But with consistent care and attention, you’ll be rewarded with a thriving Kava garden and a personal source of tranquility.
I encourage you to embark on this Kava-growing journey with confidence and enthusiasm. Whether you’re a seasoned gardener or just starting out, I believe you have the ability to cultivate these fascinating herbs and experience the many benefits they offer.
Additional Resources
To further enhance your knowledge and understanding of Kava, I recommend exploring these additional resources:
These resources offer valuable information on Kava’s history, cultural significance, scientific research, and potential health benefits.
Growing Kava herbs is more than just cultivating a plant; it’s about connecting with a tradition, embracing a natural approach to wellness, and nurturing your own personal oasis of calm. I hope this guide has provided you with the knowledge and inspiration to embark on this rewarding journey.
Remember, every gardener’s experience is unique. Don’t be afraid to experiment, adapt, and learn from your own observations. With patience, dedication, and a little bit of green thumb magic, you can successfully grow Kava herbs and enjoy the many benefits they offer.
