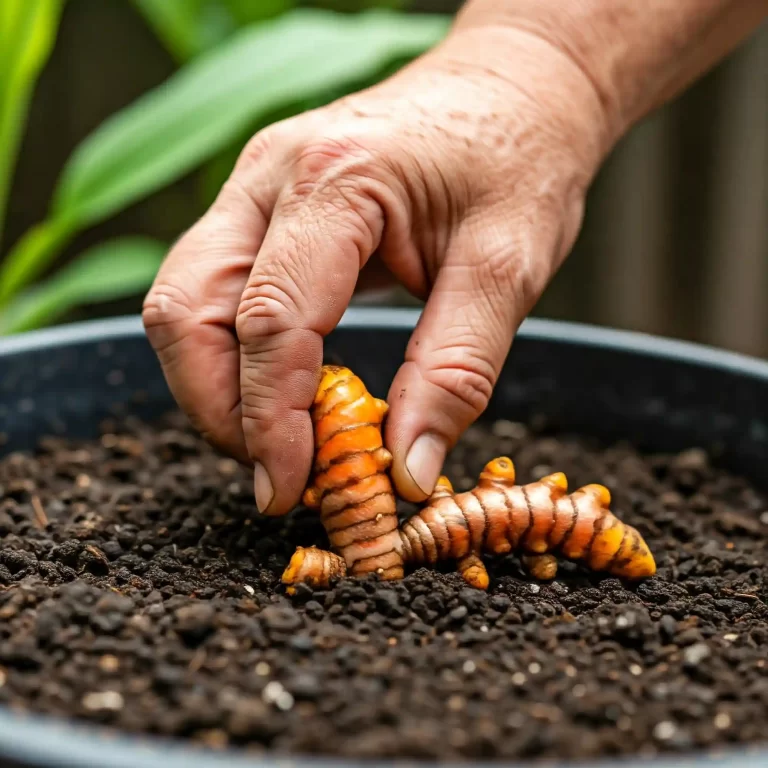
Are you tired of store-bought tea that lacks the fresh, vibrant flavor you crave? Do you dream of sipping a cup of tea made from leaves you nurtured yourself? Many gardeners I’ve met share this desire, but they often feel intimidated by the idea of growing their own tea. They think it’s too complicated or only possible in specific climates. I understand this feeling; I felt the same way when I first started. But I’m here to tell you that growing your own green tea herbs (or rather, tea plants) is not only achievable but also incredibly rewarding. You can enjoy the freshest, most flavorful tea imaginable, knowing exactly how it was grown. In this comprehensive guide, I’ll share everything I’ve learned over years of cultivating Camellia sinensis, from planting and care to harvesting and processing. You’ll discover how to create your own thriving tea garden, no matter your experience level.
Understanding the Green Tea Plant (Camellia sinensis)
The plant we commonly refer to as the “green tea herb” is actually Camellia sinensis, an evergreen shrub or small tree belonging to the Theaceae family. While we use the term “herb” in a general gardening context, botanically speaking, tea is not an herb. This distinction is important for understanding its growth habits and care requirements.
Camellia sinensis is native to Southeast Asia, specifically the region encompassing present-day China, India, and Myanmar. It has been cultivated for thousands of years for its leaves, which are used to produce various types of tea, including green, black, oolong, and white tea. The differences between these tea types arise from the processing methods applied to the harvested leaves, not from different varieties of the plant itself (though there are cultivars with slightly different characteristics).
Key Characteristics of Camellia sinensis
- Evergreen: The plant retains its leaves year-round, providing a constant source of greenery in your garden.
- Shrub or Small Tree: In its natural habitat, Camellia sinensis can grow into a small tree, but when cultivated for tea production, it is typically pruned to maintain a shrub-like form.
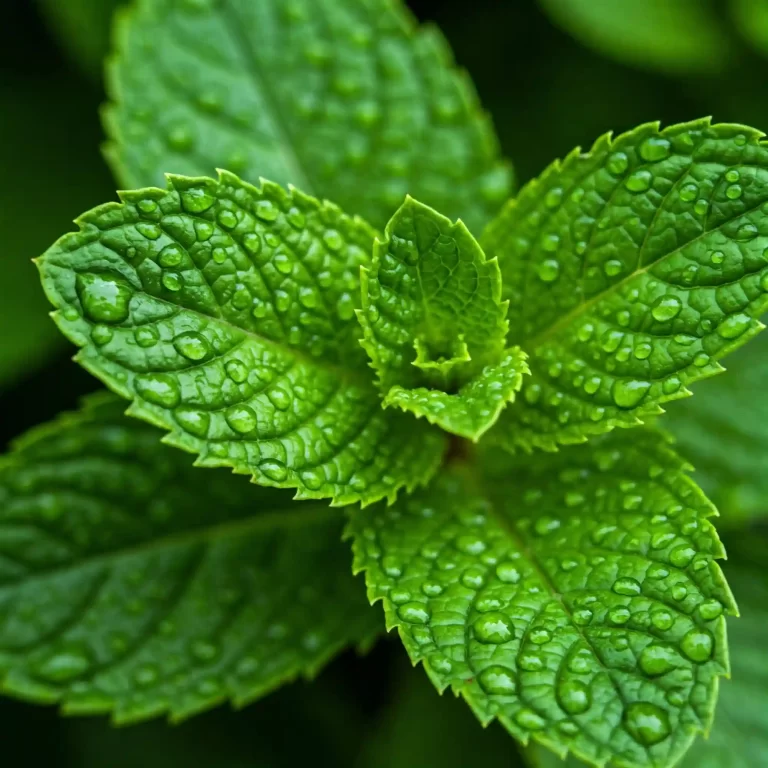
- Leaves: The leaves are the most important part of the plant for tea production. They are typically dark green, glossy, and serrated along the edges. Young leaves are tender and light green, while older leaves are darker and more leathery.
- Flowers: Camellia sinensis produces fragrant, white flowers with yellow centers. These flowers typically appear in the fall or early winter.
- Seeds: The plant also produces seeds, which can be used for propagation, although this method is less common than propagation from cuttings.
Varieties for Home Growing
While the species Camellia sinensis is the foundation for all teas, there are variations within the species, known as cultivars, that have been developed for specific traits, such as yield, flavor, or cold hardiness. When choosing a plant for your home garden, consider these factors:
- Climate: Select a cultivar that is suited to your local climate. Some cultivars are more cold-hardy than others.
- Space: If you have limited space, choose a smaller, more compact cultivar.
- Desired Flavor: Different cultivars may have slightly different flavor profiles.
Some commonly available cultivars you might find include:
- Camellia sinensis ‘Sinensis’: This is the classic variety, known for its smaller leaves and delicate flavor.
- Camellia sinensis ‘Assamica’: This variety has larger leaves and is typically used for producing black tea. It is generally more heat-tolerant.
Comparison of Camellia sinensis Varieties
| Feature | Camellia sinensis ‘Sinensis’ | Camellia sinensis ‘Assamica’ |
| Leaf Size | Smaller | Larger |
| Flavor Profile | Delicate | Stronger |
| Climate | Cooler | Warmer |
| Common Use | Green tea, white tea | Black tea |
Understanding the basic biology of Camellia sinensis is essential for successfully growing your own tea. It will help you provide the optimal growing conditions and care for your plants effectively.
The “Herb” Misconception
It’s common to hear Camellia sinensis referred to as a “green tea herb.” While this is widely used in gardening circles and among home growers, it’s botanically inaccurate. Herbs are typically defined as non-woody plants used for culinary, medicinal, or aromatic purposes. Tea plants, being woody shrubs or small trees, don’t fit this strict definition. However, because we use the leaves of the tea plant in a similar way to culinary herbs (for making infusions), the term has become ingrained in common usage. I use it here to align with common searches and language, but it’s important for you to understand the botanical distinction.
How to Plant Green Tea Herbs: Seeds vs. Cuttings vs. Starter Plants
Now that you understand the basics of the tea plant, let’s dive into the practical side: how to actually get your tea garden started. You have three main options: growing from seeds, propagating from cuttings, or purchasing starter plants. Each method has its own advantages and disadvantages, and I’ll break them down for you based on my experience.
How to Grow Green Tea from Seeds:
Growing tea from seed can be a fascinating process, allowing you to witness the entire life cycle of the plant. However, it’s also the most time-consuming method and requires a bit more patience.
- Sourcing Viable Seeds: The key to success with seeds is sourcing them from a reputable supplier. Fresh seeds have a higher germination rate. Look for seeds that are dark brown or black and feel firm to the touch. Avoid seeds that are cracked, shriveled, or show signs of mold. I’ve found that local nurseries specializing in unusual plants or online seed suppliers specializing in tea or camellias are good places to start.
- Seed Stratification Process: Tea seeds often require a period of cold stratification to break dormancy and encourage germination. This process mimics the natural winter conditions that the seeds would experience in their native environment. Here’s how I typically do it:
- Moisten a paper towel: Lightly dampen a paper towel with distilled water.
- Place the seeds: Arrange the tea seeds on the moist paper towel, spacing them out evenly.
- Fold and seal: Fold the paper towel over the seeds and place it in a resealable plastic bag.
- Refrigerate: Place the bag in the refrigerator (not the freezer) for 2-3 months. Check the paper towel periodically to ensure it remains moist.
- Germination Tips: After stratification, you can plant the seeds.
- Prepare the planting medium: Use a well-draining seed starting mix. I often mix equal parts peat moss, perlite, and vermiculite.
- Plant the seeds: Sow the seeds about 1 inch deep in small pots or seed trays.
- Maintain moisture and warmth: Keep the soil consistently moist but not waterlogged. Place the pots in a warm location with indirect sunlight.
- Be patient: Germination can take several weeks or even months.
How to Propagate Green Tea from Cuttings:
Propagating from cuttings is a faster way to get a tea plant that is genetically identical to the parent plant. This method is especially useful if you have a specific cultivar you want to reproduce.
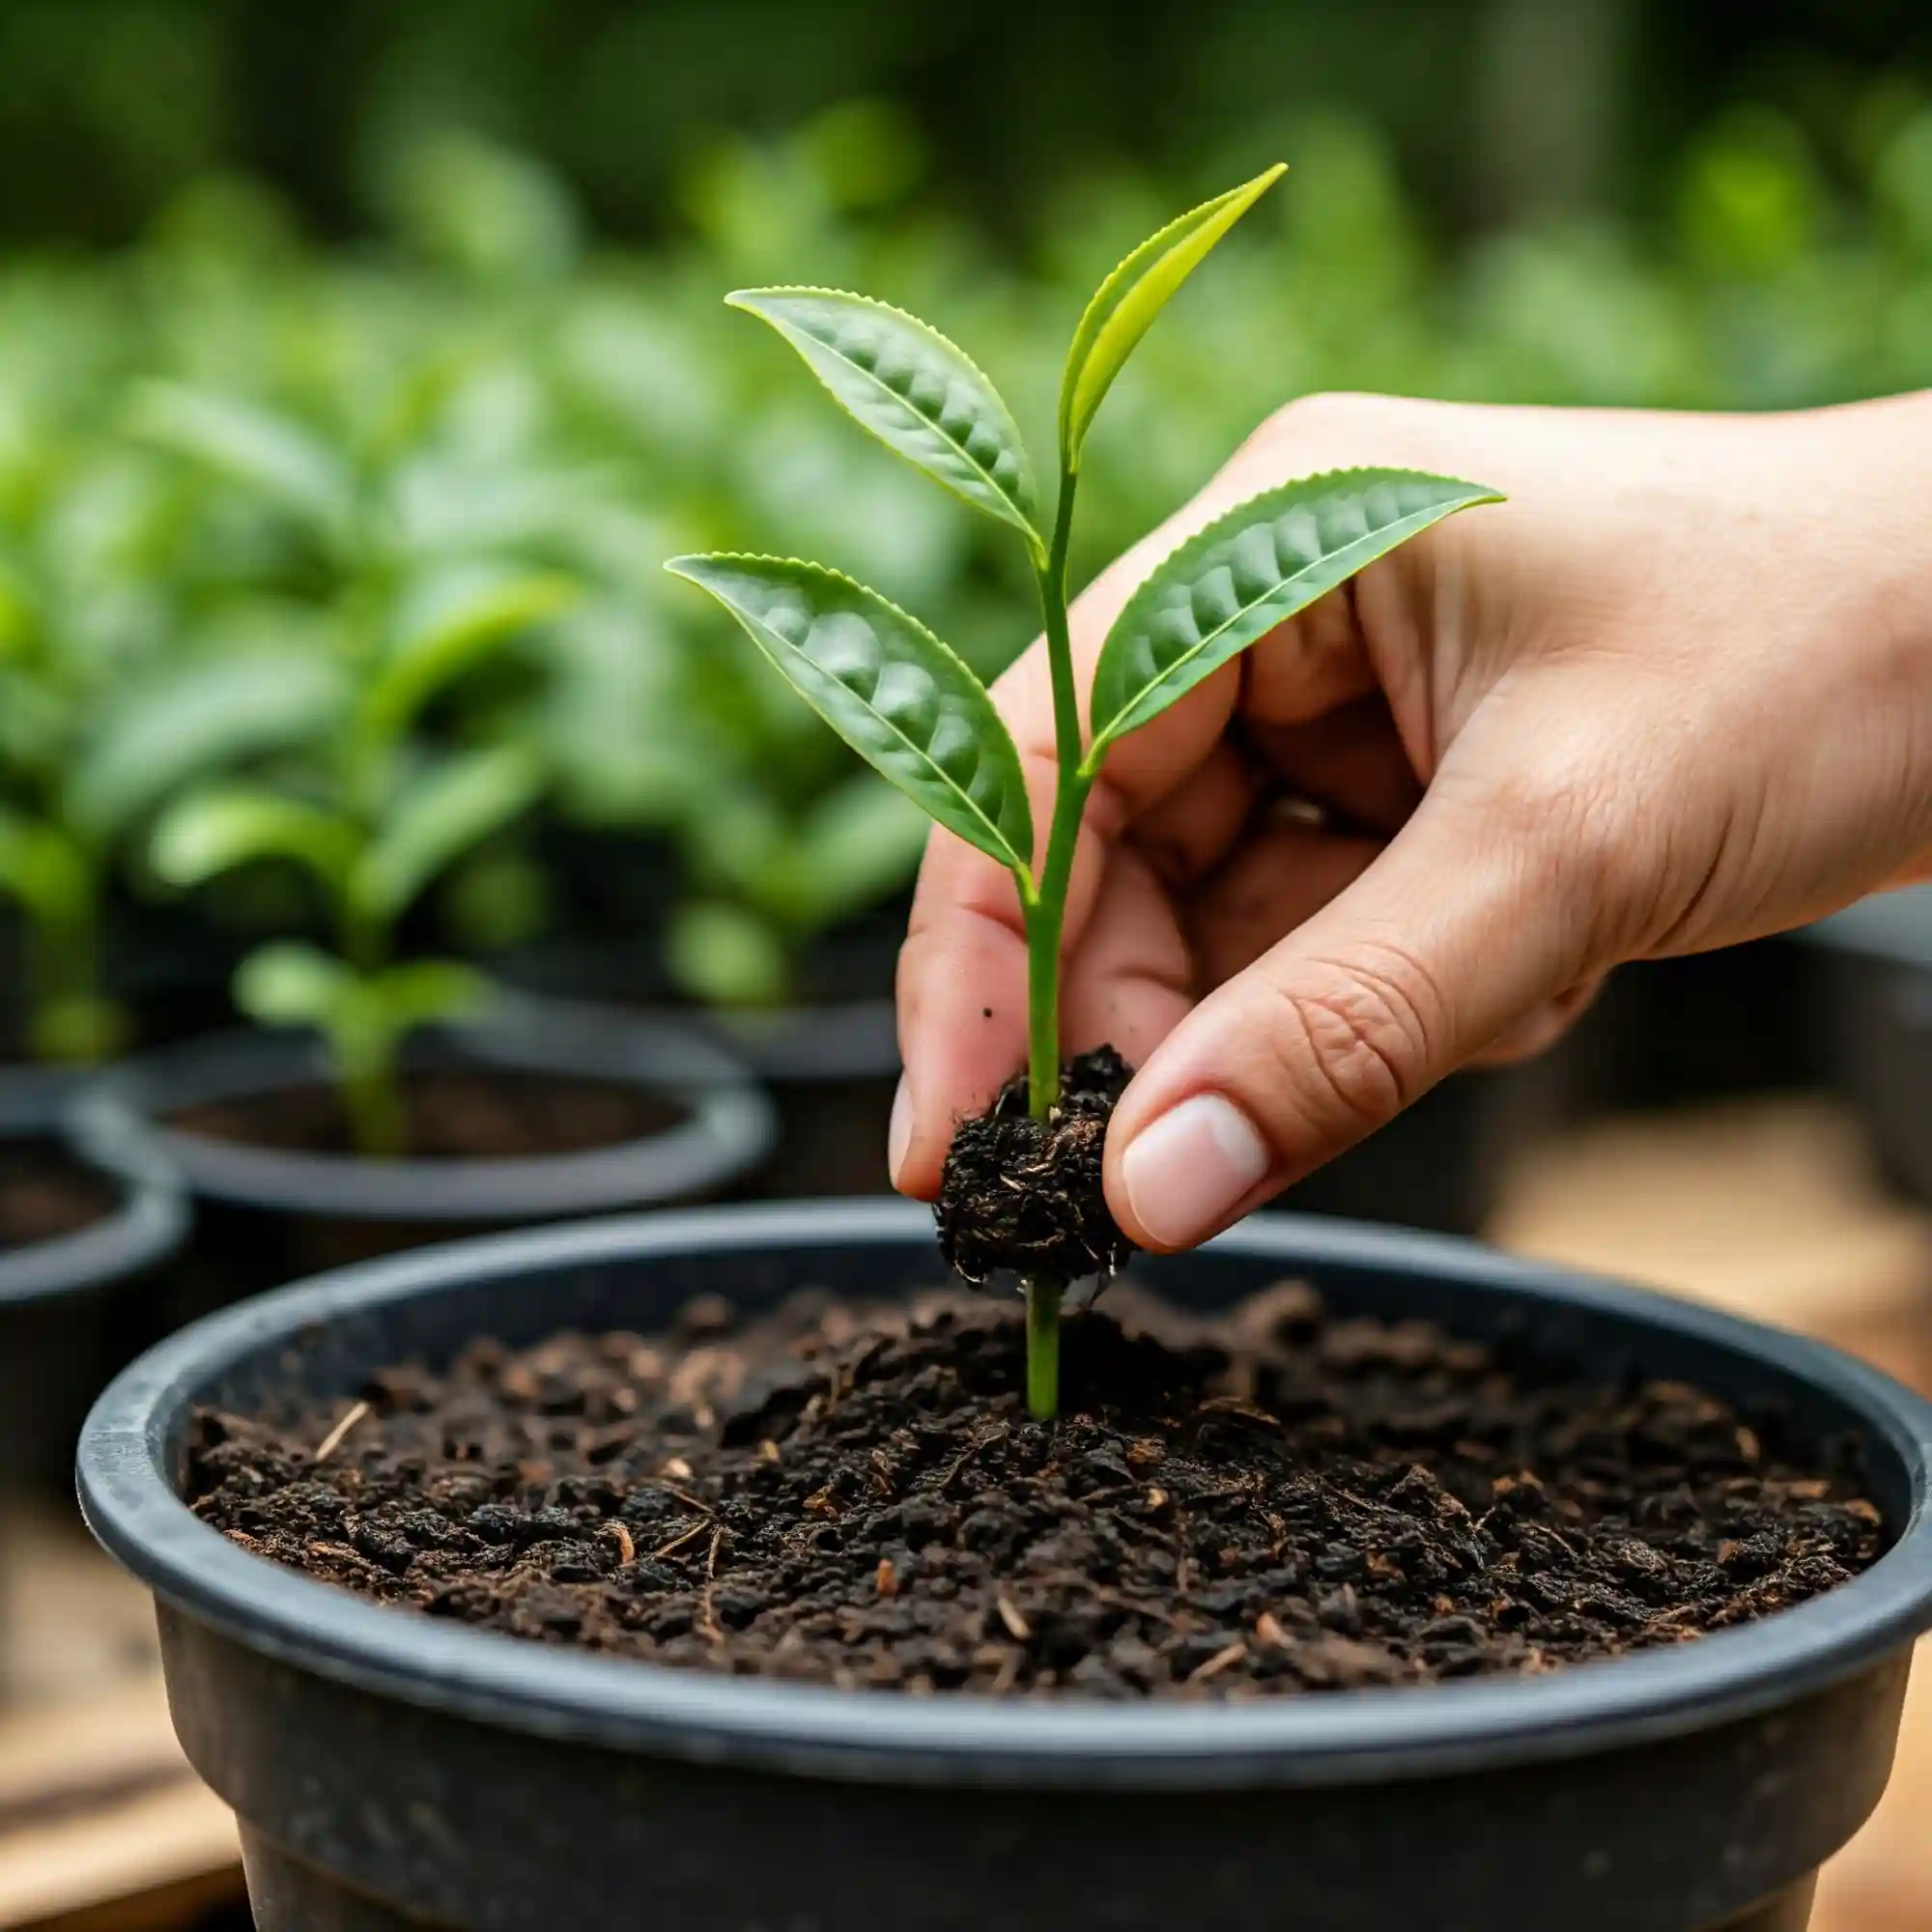
- Selecting Healthy Cuttings: Choose healthy, disease-free stems from the current year’s growth. The cuttings should be about 4-6 inches long and have several leaves. I usually take cuttings in the spring or early summer.
- Rooting Hormone and Propagation Medium: Dip the cut end of each cutting in rooting hormone powder or gel. This will encourage root development. Plant the cuttings in a well-draining propagation medium, such as perlite or a mix of perlite and vermiculite.
- Maintaining Humidity and Warmth: To create a humid environment, you can cover the cuttings with a plastic bag or place them in a propagation dome. Keep the medium moist and provide gentle warmth and indirect light. Rooting typically takes several weeks.
Starting with Starter Plants:
Purchasing starter plants from a nursery is the easiest and quickest way to begin your tea garden.
- Benefits of Buying Established Plants: You bypass the germination and rooting stages, getting a head start on your tea growing journey.
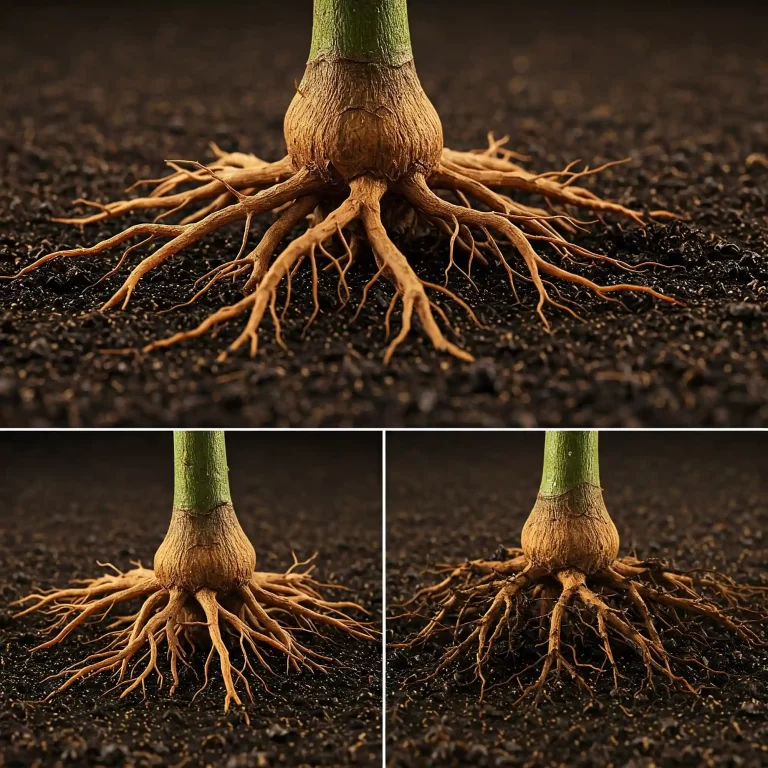
- Selecting Healthy Starter Plants from Nurseries: When selecting starter plants, look for plants that are healthy, vigorous, and free from pests and diseases. The leaves should be a vibrant green, and the plant should have a well-developed root system. I recommend checking the root ball; if it’s tightly bound and circling the pot, it might be root-bound and take longer to establish.
Comparison of Propagation Methods
| Method | Advantages | Disadvantages | Time to Maturity |
| Seeds | Genetic diversity, cost-effective | Time-consuming, lower success rate | Several years |
| Cuttings | Faster than seeds, identical to parent plant | Requires a parent plant, can be challenging | 2-3 years |
| Starter Plants | Fastest, easiest | Most expensive, limited cultivar selection | 1-2 years |
Choosing the right starting method depends on your patience, budget, and access to resources. If you’re eager to start harvesting quickly, starter plants are the way to go. If you enjoy the process of nurturing a plant from its earliest stages, growing from seed or cuttings can be a rewarding experience.
Creating the Perfect Growing Environment for Your Tea Plants
Now that you have your tea plants (whether from seed, cuttings, or a nursery), providing the right environment is crucial for their healthy growth and eventual tea production. From my experience, mimicking their natural habitat as closely as possible is key. Camellia sinensis thrives in specific conditions, and understanding these will set you up for success.
Sunlight:
In their native environment, tea plants often grow under the canopy of taller trees, receiving filtered sunlight. This means they prefer partial shade, especially in hotter climates. However, they can also tolerate full sun in cooler regions.
- Partial Shade: This is ideal for most climates, especially during the hottest part of the day. Aim for about 4-6 hours of direct sunlight per day, with protection from the intense afternoon sun.
- Full Sun: In cooler climates with milder summers, tea plants can tolerate full sun. However, you’ll need to monitor them closely for signs of stress, such as leaf burn.
- Signs of Too Much Sun: If the leaves start to turn yellow or brown at the edges, it’s a sign that your plant is getting too much sun. Move it to a shadier location or provide some shade during the hottest hours.
Soil:
Tea plants prefer well-draining, acidic soil. This is crucial for preventing root rot, a common problem with tea plants.
- Well-Draining: The soil should allow excess water to drain away quickly. You can improve drainage by adding perlite, coarse sand, or gravel to the soil mix.
- Acidic Soil: Tea plants thrive in soil with a pH between 4.5 and 5.5. You can test your soil pH with a home testing kit and amend it with sulfur or peat moss if needed.
- Soil Composition: A good soil mix for tea plants is a combination of equal parts peat moss, perlite, and composted bark. This provides good drainage, aeration, and nutrients.
Watering:
Consistent moisture is important for tea plants, but they don’t like to be waterlogged.
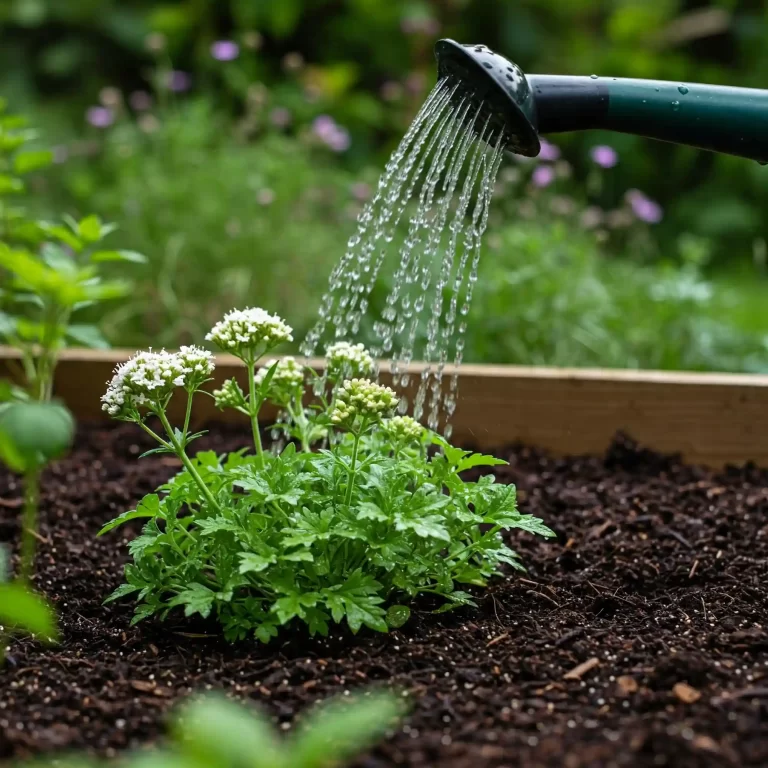
- Consistent Moisture: Keep the soil consistently moist, but not soggy. Water deeply when the top inch of soil feels dry to the touch.
- Avoid Overwatering: Overwatering can lead to root rot, which can be fatal to tea plants. Make sure your pots have drainage holes and avoid letting them sit in standing water.
- Watering Frequency: The frequency of watering will depend on your climate, the size of your pot, and the time of year. In general, you’ll need to water more frequently during the warmer months and less frequently during the cooler months.
Temperature and Humidity:
Tea plants prefer moderate temperatures and high humidity.
- Temperature Range: The ideal temperature range for tea plants is between 60°F and 80°F (15°C and 27°C). They can tolerate slightly cooler temperatures, but they are not frost-hardy.
- Humidity Levels: Tea plants thrive in high humidity (around 50-70%). You can increase humidity by misting the plants regularly, placing them on a tray filled with pebbles and water, or using a humidifier.
Growing Zones:
Tea plants are typically hardy in USDA plant hardiness zones 7-9. However, with proper protection, they can be grown in colder zones as well.
- Zone 7-9: In these zones, tea plants can be grown outdoors year-round.
- Colder Zones: In colder zones, you’ll need to protect your tea plants from frost. You can do this by growing them in containers and bringing them indoors during the winter or by providing winter protection, such as mulching and wrapping the plants.
Growing Green Tea Herbs in Pots:
Growing tea plants in containers is a great option if you have limited space or live in a colder climate.
- Choosing the Right Container: Select a pot that is large enough to accommodate the plant’s root system. The pot should also have drainage holes to prevent waterlogging.
- Pot Material: You can use pots made of various materials, such as terracotta, plastic, or ceramic. Terracotta pots are porous and allow for good aeration, but they can dry out quickly. Plastic pots are lightweight and retain moisture well, but they can overheat in hot weather.
- Drainage Considerations: Make sure to use a well-draining potting mix and avoid letting the pot sit in standing water.
By providing the right growing environment, you’ll give your tea plants the best chance to thrive and produce delicious tea leaves for years to come. This detailed information gives you a solid foundation for creating a happy home for your tea plants.
Caring for Your Growing Green Tea Herbs
Once your tea plants are established in their ideal environment, consistent care is essential to ensure healthy growth and abundant harvests. From my years of experience, I’ve learned that regular attention to a few key areas makes all the difference. Let’s explore the essential aspects of caring for your growing green tea herbs.
Fertilizing:
Like all plants, tea plants require nutrients to thrive. However, it’s important to use the right type of fertilizer and apply it at the appropriate times.
- Best Type of Fertilizer: Tea plants prefer acidic conditions, so an acid-loving fertilizer, such as those formulated for azaleas or camellias, is ideal. These fertilizers typically have a higher proportion of nitrogen, which promotes leafy growth.
- Fertilizing Schedule: I recommend fertilizing your tea plants in the spring and early summer, when they are actively growing. Avoid fertilizing in the late summer or fall, as this can encourage new growth that is susceptible to frost damage.
- Application: Follow the instructions on the fertilizer package for application rates. I usually dilute the fertilizer to half strength to avoid burning the roots.
Pruning:
Pruning is an important part of tea plant care. It helps to maintain the plant’s shape, encourage new growth, and improve air circulation.
- Importance of Pruning: Regular pruning helps to keep the plant compact and encourages the development of new shoots, which are the source of your tea leaves. It also helps to prevent the plant from becoming too dense, which can lead to poor air circulation and increased risk of disease.
- Pruning Techniques: I typically prune my tea plants in the early spring, before new growth begins. I remove any dead, damaged, or crossing branches. I also prune back the tips of the branches to encourage bushier growth.
Pest and Disease Control:
While tea plants are relatively pest and disease-resistant, they can occasionally be affected by certain problems.
- Common Pests: Aphids and spider mites are the most common pests that affect tea plants. These can be controlled with insecticidal soap or neem oil.
- Common Diseases: Fungal diseases, such as leaf spot and root rot, can also affect tea plants. These can be prevented by providing good air circulation and avoiding overwatering.
- Organic Pest Control Methods: I prefer to use organic pest control methods whenever possible. These include using insecticidal soap, neem oil, or introducing beneficial insects, such as ladybugs.
Overwintering:
In colder climates, tea plants will need protection during the winter months.
- Protecting Tea Plants: If you are growing your tea plants in containers, you can bring them indoors for the winter. If you are growing them in the ground, you can protect them by mulching around the base of the plant and wrapping the branches with burlap.
By following these care tips, you can ensure that your tea plants remain healthy and productive for years to come.
Harvesting and Processing Your Homegrown Green Tea
After all your hard work nurturing your tea plants, the most exciting part arrives: harvesting and processing your own homegrown green tea. This is where the magic happens, transforming fresh leaves into the fragrant beverage you enjoy. From my experience, the process is surprisingly simple and deeply satisfying.
When to Harvest:
The timing of your harvest significantly impacts the flavor of your tea. You’ll want to harvest young leaves and buds for the best quality green tea.
- Young Leaves and Buds: The most tender and flavorful leaves are the top two leaves and the unopened bud (known as the “two leaves and a bud” pluck). These are typically harvested in the spring and early summer, during periods of active growth.
- Harvesting Frequency: You can harvest your tea plants every few weeks during the growing season. Regular harvesting encourages new growth, so don’t be afraid to pluck those leaves!
How to Harvest:
Harvesting tea is a delicate process that requires a gentle touch.
- Plucking the Leaves: Use your thumb and forefinger to gently pluck the top two leaves and a bud from the stem. Avoid tearing or damaging the leaves.
- Harvesting Time: I recommend harvesting in the morning, after the dew has dried but before the sun gets too hot. This is when the leaves are at their peak freshness.
Drying and Curing the Leaves:
After harvesting, the leaves need to be processed to prevent them from fermenting and to develop their characteristic flavor.
- Withering: This is the first step in the processing process. Spread the harvested leaves out on a clean, dry surface and allow them to air dry for several hours. This reduces the moisture content of the leaves and makes them more pliable.
- Pan-Firing or Steaming: This step helps to stop the oxidation process and preserve the green color of the leaves. You can pan-fire the leaves in a dry skillet over low heat or steam them for a few minutes.
- Drying: After pan-firing or steaming, the leaves need to be dried completely. You can use a dehydrator, a low-temperature oven, or simply air dry them in a well-ventilated area.
Basic Steps of Green Tea Processing:
Here’s a simplified overview of the green tea processing steps:
- Harvesting: Pluck the top two leaves and a bud.
- Withering: Air dry the leaves for several hours.
- Pan-Firing/Steaming: Heat the leaves to stop oxidation.
- Drying: Dry the leaves completely.
- Sorting: Remove any stems or unwanted leaf particles.
- Storing: Store the dried tea in an airtight container in a cool, dark place.
By following these steps, you can transform your homegrown tea leaves into delicious, aromatic green tea.
Troubleshooting Common Green Tea Growing Problems
Even with the best care, you might encounter some challenges while growing your green tea herbs. From my experience, early detection and prompt action are key to resolving most issues. Let’s explore some common problems and their solutions.
Yellowing Leaves:
Yellowing leaves can be a sign of several issues, but the most common are nutrient deficiency and overwatering.
- Nutrient Deficiency: If the leaves are uniformly yellowing, especially the older leaves, it could indicate a lack of essential nutrients, particularly nitrogen. I recommend testing your soil pH and using an acid-loving fertilizer to address this.
- Overwatering: If the leaves are yellowing and drooping, and the soil feels soggy, you’re likely overwatering. Ensure your pot has good drainage and allow the soil to dry out slightly between waterings.
Stunted Growth:
If your tea plant isn’t growing as vigorously as you’d expect, several factors could be at play.
- Lack of Sunlight: Tea plants need adequate sunlight to thrive. If your plant is in a shady location, it might not be getting enough light for optimal growth. Move it to a sunnier spot or supplement with grow lights.
- Poor Soil: If the soil is compacted or lacks essential nutrients, it can hinder growth. Amend the soil with compost and other organic matter to improve its structure and fertility.
Pest Infestations:
While tea plants are relatively resistant to pests, they can occasionally be targeted by certain insects.
- Aphids: These small, soft-bodied insects suck sap from the leaves, causing them to curl and distort. You can control aphids with insecticidal soap or neem oil.
- Spider Mites: These tiny mites create fine webs on the leaves and cause them to become speckled and dry. You can control spider mites with insecticidal soap or by increasing humidity.
Fungal Diseases:
Fungal diseases can also affect tea plants, especially in humid conditions.
- Leaf Spot: This disease causes dark spots to appear on the leaves. You can prevent leaf spot by providing good air circulation and avoiding overhead watering.
- Root Rot: This disease is caused by overwatering and poor drainage. It can be prevented by ensuring your pot has drainage holes and using a well-draining potting mix.
Troubleshooting Table:
| Problem | Possible Causes | Solutions |
| Yellowing Leaves | Nutrient deficiency, overwatering | Test soil pH, use acid-loving fertilizer, improve drainage, adjust watering frequency |
| Stunted Growth | Lack of sunlight, poor soil | Move to a sunnier location, amend soil with organic matter |
| Aphids | Pest infestation | Use insecticidal soap or neem oil |
| Spider Mites | Pest infestation, low humidity | Use insecticidal soap, increase humidity |
| Leaf Spot | Fungal disease, poor air circulation | Improve air circulation, avoid overhead watering |
| Root Rot | Fungal disease, overwatering, poor drainage | Improve drainage, adjust watering frequency |
By being observant and addressing these common issues promptly, you can keep your tea plants healthy and productive. Remember, consistent care and attention are key to a thriving tea garden.
Frequently Asked Questions About Growing Green Tea Herbs
Throughout my years of gardening and sharing my experiences, I’ve encountered numerous questions about growing green tea herbs. I’ve compiled some of the most frequently asked questions to provide you with quick and helpful answers.
Q: How to grow organic green tea herbs in pots?
A: Growing organic green tea herbs in pots involves a few key considerations. First, choose a pot that is large enough to accommodate the plant’s root system and has drainage holes. Use an organic potting mix that is well-draining and acidic. Fertilize with an organic acid-loving fertilizer in the spring and early summer. Finally, use organic pest control methods, such as insecticidal soap or neem oil, if needed.
Q: What is the best soil for growing green tea herbs at home?
A: The best soil for growing green tea herbs at home is a well-draining, acidic soil with a pH between 4.5 and 5.5. You can achieve this by mixing equal parts peat moss, perlite, and composted bark.
Q: How to propagate green tea herbs from cuttings easily?
A: Propagating green tea herbs from cuttings is a relatively easy process. Take 4-6 inch cuttings from healthy stems, dip them in rooting hormone, and plant them in a well-draining propagation medium. Maintain humidity and warmth, and roots should develop in a few weeks.
Q: How often should I water my green tea herbs in containers?
A: The watering frequency depends on various factors, such as climate, pot size, and time of year. In general, water deeply when the top inch of soil feels dry to the touch. Avoid overwatering and ensure the pot has good drainage.
Q: How long does it take to grow green tea herbs from seed to harvest?
A: Growing green tea herbs from seed to harvest can take several years. It can take several weeks or even months for the seeds to germinate. Once the seedlings are established, it will take another 1-2 years before you can start harvesting leaves.
Q: What are the signs of disease in green tea herbs and how to treat them?
A: Common signs of disease in green tea herbs include yellowing leaves, stunted growth, and leaf spots. Yellowing leaves can indicate nutrient deficiency or overwatering. Stunted growth can be caused by lack of sunlight or poor soil. Leaf spots are often a sign of fungal disease. Treatment depends on the specific problem, but organic solutions are often available.
Q: How to harvest and dry green tea herbs for homemade tea?
A: Harvest the top two leaves and a bud from the stem. Spread the leaves out on a clean, dry surface and allow them to air dry for several hours. Then, pan-fire or steam the leaves to stop oxidation. Finally, dry the leaves completely using a dehydrator, low-temperature oven, or air drying.
Q: How to grow green tea herbs indoors during the winter months?
A: If you live in a colder climate, you can grow green tea herbs indoors during the winter months. Provide them with plenty of sunlight or grow lights, maintain consistent moisture, and ensure good air circulation.
Q: What kind of fertilizer is best for growing green tea herbs organically?
A: An organic acid-loving fertilizer is best for growing green tea herbs organically. Look for fertilizers specifically formulated for azaleas or camellias.
These are just a few of the many questions I’ve received about growing green tea herbs. If you have any other questions, feel free to leave a comment below, and I’ll do my best to answer them.
Conclusion: Cultivate Your Own Tea Oasis
Growing your own green tea herbs is a journey of patience, care, and reward. It’s about more than just producing a beverage; it’s about connecting with nature, understanding the life cycle of a plant, and enjoying the fruits (or rather, leaves) of your labor. You can enjoy the freshest, most flavorful tea imaginable, knowing exactly how it was grown.
Key Takeaways:
- Camellia sinensis is the plant from which all true teas originate.
- You can start your tea garden from seeds, cuttings, or starter plants.
- Providing the right growing environment is crucial for healthy growth.
- Regular care, including fertilizing and pruning, is essential.
- Harvesting and processing your own leaves is a simple and rewarding process.
I encourage you to embark on this fulfilling journey of growing your own tea. With a little patience and attention, you can create your own tea oasis at home. Whether you have a spacious garden or a small balcony, there’s a way to cultivate these wonderful plants.
Additional Resources:
Now that you’re equipped with the knowledge to grow your own green tea herbs, I encourage you to start your own tea garden. Share your experiences and any further questions in the comments below – I’m always eager to connect with fellow tea enthusiasts!
