Do you suffer from debilitating migraines or frequent headaches? You’re not alone. Millions of people experience the throbbing pain and sensitivity to light and sound that can disrupt daily life. I’ve been there myself, searching for relief from the relentless pounding in my head. While over-the-counter medications can offer temporary respite, many are seeking natural alternatives. That’s where feverfew comes in – a traditional herbal remedy with a long history of use for headache relief. And what’s even better? You can grow it yourself! This guide will show you how to grow feverfew herbs at home, empowering you to cultivate your own natural source of relief.
Understanding Feverfew
Feverfew (Tanacetum parthenium) is a member of the Asteraceae family, a group that includes daisies, sunflowers, and chrysanthemums. This perennial herb, native to Southeastern Europe, has been used for centuries in traditional medicine, primarily for its purported ability to alleviate migraines and reduce fevers. The name “feverfew” itself is derived from the Latin word “febrifugia,” meaning “fever reducer.”
I remember the first time I encountered feverfew. I was researching natural remedies for my own occasional headaches, and its name kept popping up. Intrigued, I delved deeper and discovered its rich history and potential benefits. It’s not just a pretty plant with delicate white flowers; it’s a powerhouse of natural compounds.
The active compounds in feverfew are thought to be parthenolides, which are believed to inhibit the release of serotonin, a chemical involved in inflammation and the development of migraines. While more research is still needed, numerous studies suggest that regular consumption of feverfew can reduce the frequency and severity of migraines. You should always consult with your doctor before using feverfew medicinally, especially if you are pregnant, breastfeeding, or taking other medications.
Here are some key characteristics of the feverfew plant:
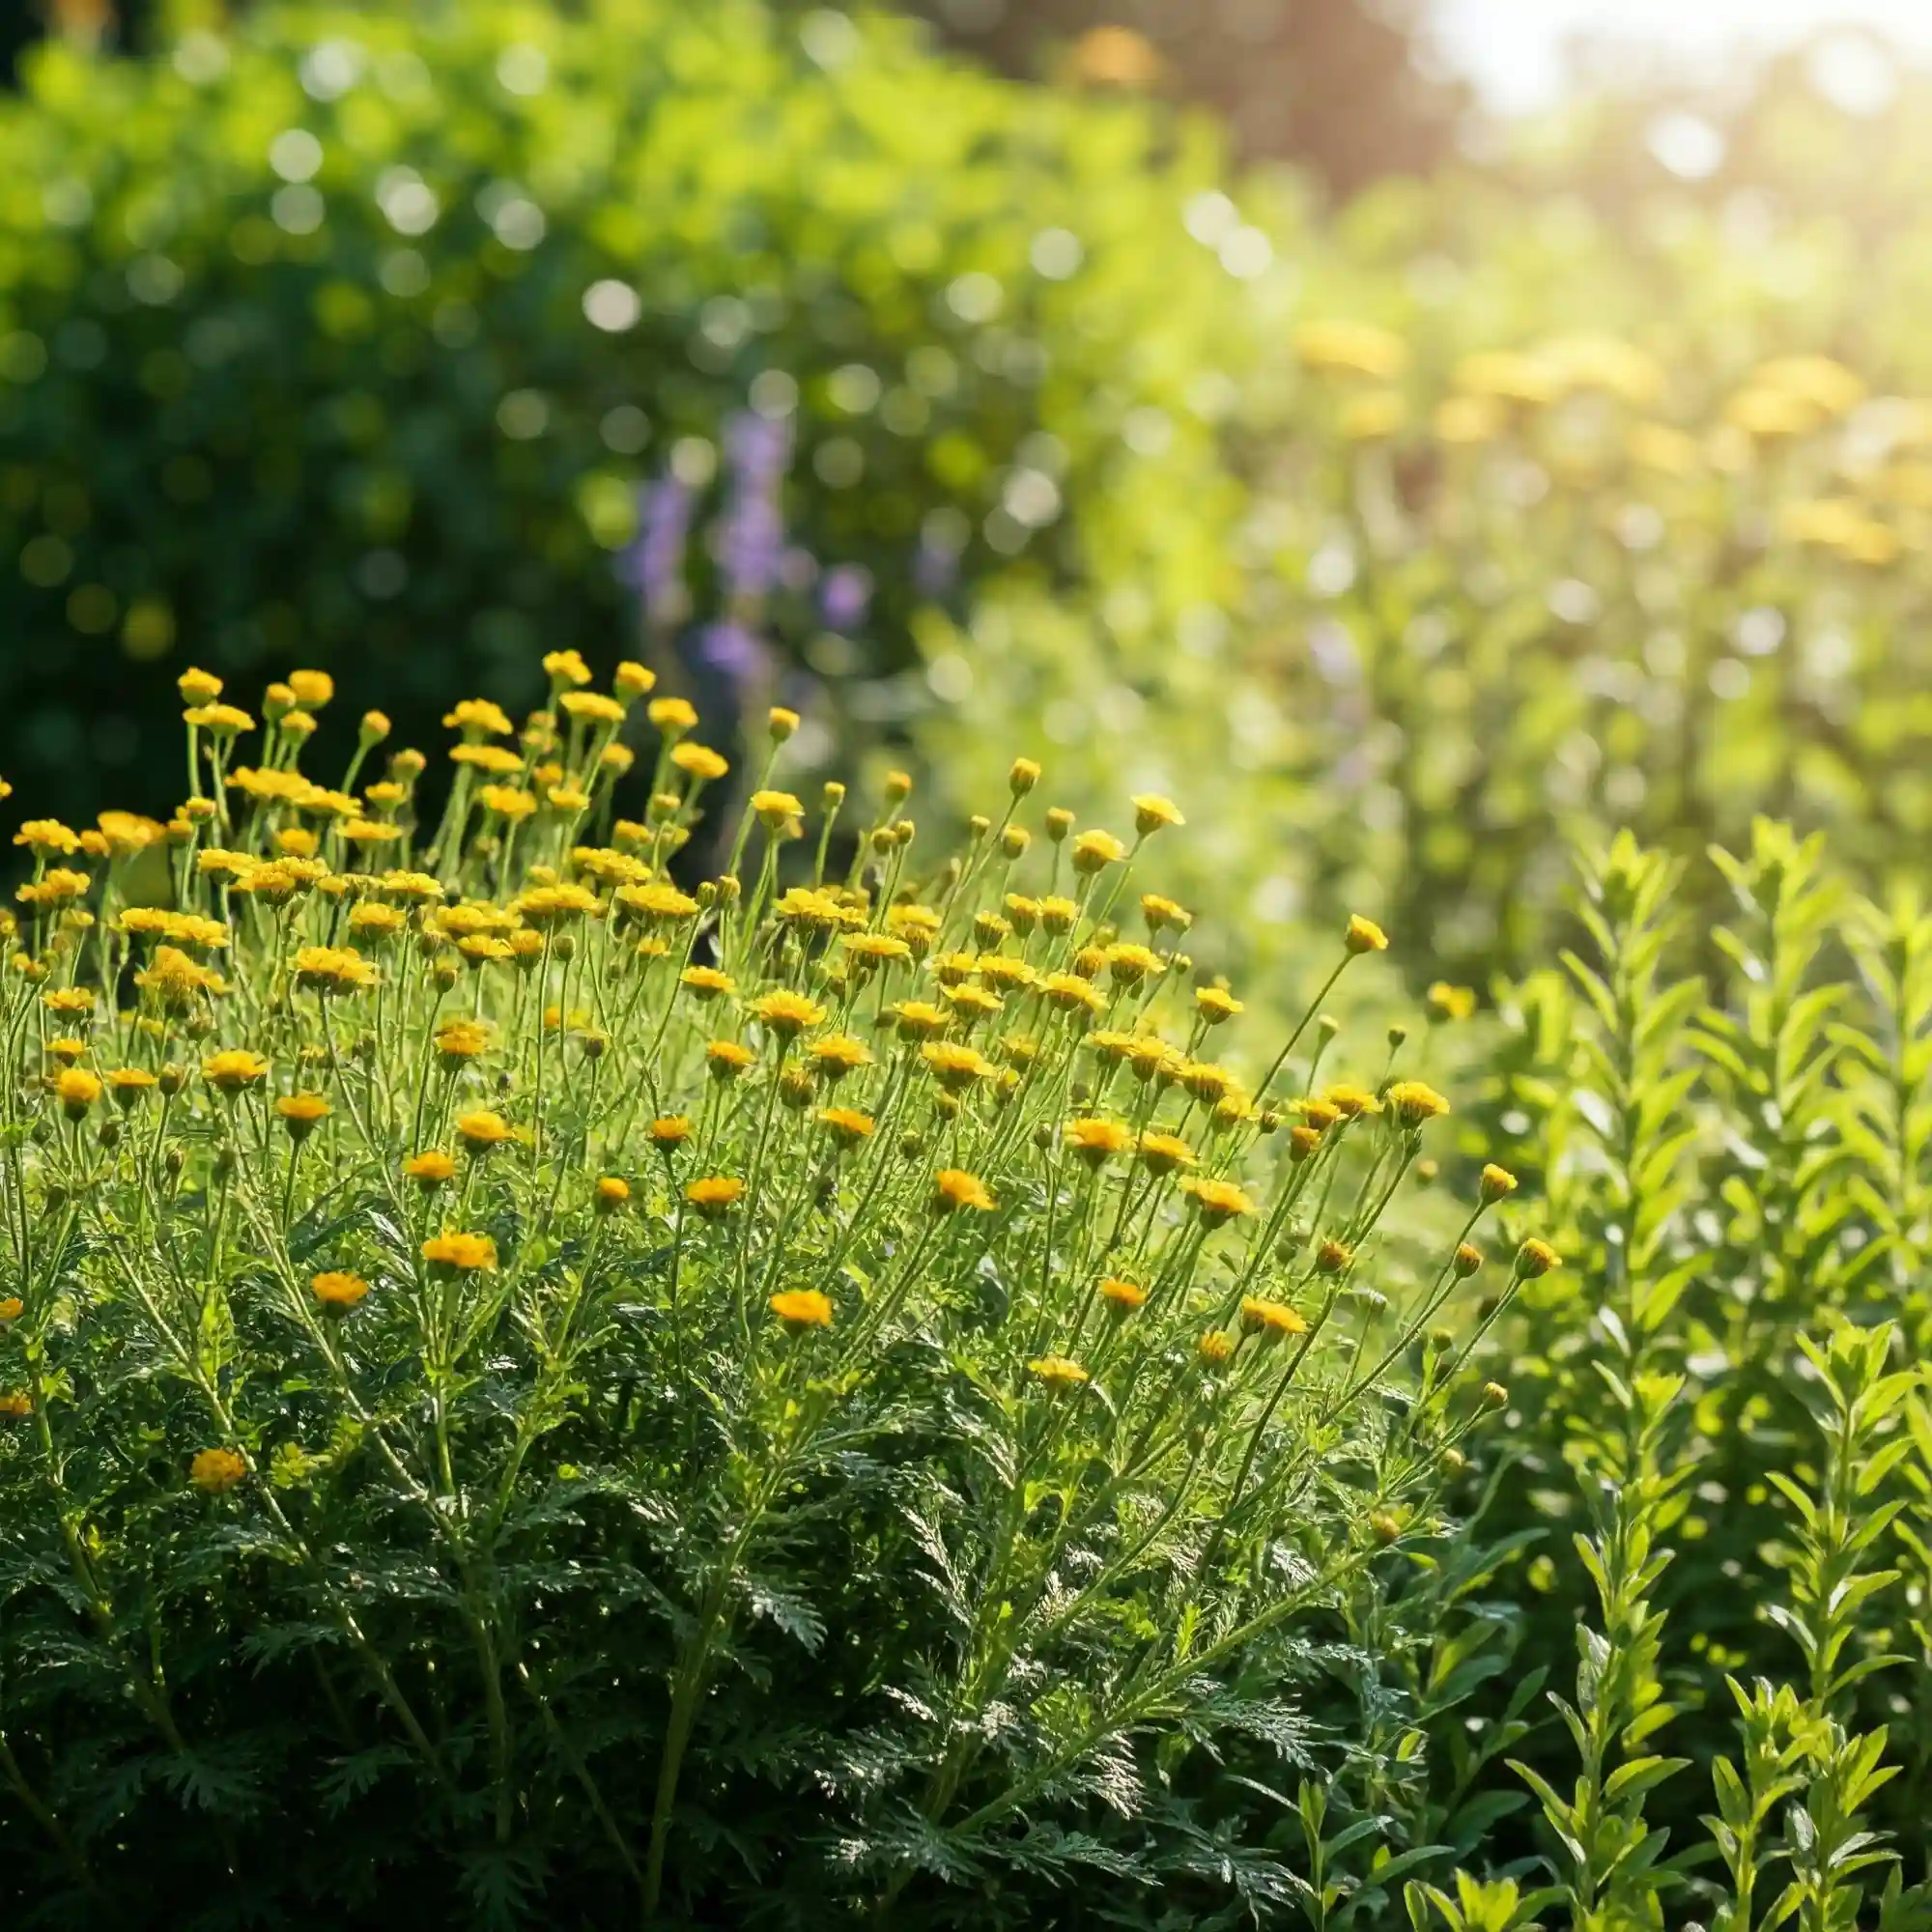
- Appearance: Feverfew is a bushy plant that typically grows to a height of 18-24 inches. Its leaves are feathery and deeply divided, resembling those of chamomile. The flowers are small and daisy-like, with white petals surrounding a yellow center.
- Growth Habit: Feverfew is a perennial, meaning it will live for more than two years. It’s relatively easy to grow and can self-seed readily, so you might find new plants popping up in your garden each year.
- Hardiness Zones: Feverfew is hardy in USDA zones 5-9. This means it can tolerate a wide range of temperatures and climates. If you live in these zones, you can successfully grow feverfew outdoors.
- Invasiveness: While feverfew can self-seed, it’s generally not considered invasive in most regions. However, it’s always a good idea to monitor its spread and remove any unwanted seedlings to prevent it from taking over your garden.
Feverfew thrives in full sun but can also tolerate partial shade. It prefers well-drained soil and moderate watering. Now that you understand a bit more about this fascinating herb, let’s dive into the specifics of how to grow feverfew herbs in your own garden. I can assure you, it is a rewarding experience.
How to Grow Feverfew Herbs from Seed
Growing feverfew from seed is a cost-effective way to start your own patch of this medicinal herb. You can either start seeds indoors a few weeks before the last frost or sow them directly into your garden once the danger of frost has passed.
Starting Seeds Indoors
If you choose to start your feverfew seeds indoors, here are some tips to ensure success:
- Timing: Start your seeds 6-8 weeks before the last expected frost in your area. This will give the seedlings enough time to develop before transplanting them into the garden.
- Seed Starting Mix: Use a fine-textured seed starting mix that is well-draining and free of weed seeds. You can find this at your local garden center.
- Planting Depth: Sow the seeds thinly on the surface of the soil and gently press them in. Feverfew seeds need light to germinate, so don’t bury them too deeply.
- Light Requirements: Place the seed trays in a bright, sunny location or under grow lights. Aim for at least 12 hours of light per day.
- Germination Time: Feverfew seeds typically germinate within 10-14 days. Keep the soil moist but not soggy during this time.
Direct Sowing
Once the danger of frost has passed and the soil has warmed up, you can sow feverfew seeds directly into your garden. Here’s how:
- Soil Preparation: Choose a location in your garden that receives full sun to partial shade. Feverfew prefers well-drained soil that is rich in organic matter. Amend the soil with compost or aged manure before planting.
- Sowing: Sow the seeds thinly on the surface of the soil and gently press them in. Space the seeds about 12 inches apart.
- Watering: Water the seeds gently after planting and keep the soil moist until they germinate.
Tips for Success
- Cold Stratification: Feverfew seeds benefit from a period of cold stratification, which mimics the natural winter conditions they would experience in the wild. To cold stratify your seeds, place them in a sealed container in the refrigerator for 2-4 weeks before planting.
- Patience: Feverfew seedlings can be slow to develop at first. Be patient and don’t overwater them. Once they have a few sets of true leaves, they will start to grow more quickly.
Addressing Potential Problems
- Damping Off: Damping off is a fungal disease that can affect seedlings. To prevent damping off, use a sterile seed starting mix and avoid overwatering.
- Poor Germination Rates: If your feverfew seeds aren’t germinating well, make sure they are getting enough light and that the soil is warm enough. You can also try scarifying the seeds by gently rubbing them with sandpaper before planting.
With a little care and attention, you can successfully grow feverfew from seed and enjoy its many benefits.
How to Plant Feverfew Seedlings and Mature Plants
Once your feverfew seedlings have developed a few sets of true leaves, they are ready to be transplanted into the garden or into larger containers. If you’ve purchased mature feverfew plants from a nursery, this section also applies to you.
Choosing the Right Location
Feverfew thrives in full sun, which means it needs at least 6 hours of direct sunlight per day. However, it can also tolerate partial shade, especially in hot climates. When choosing a location for your feverfew plants, consider the following:
- Sunlight: Select a spot that receives plenty of sunlight.
- Soil: Feverfew prefers well-drained soil that is rich in organic matter.
- Spacing: Space your feverfew plants about 12-18 inches apart to allow for adequate air circulation.
Soil Preparation
Before planting your feverfew seedlings or mature plants, it’s important to prepare the soil properly. Here’s how:
- Amend the soil: If your soil is heavy clay or sandy, amend it with compost or other organic matter to improve drainage and fertility.
- Test the pH: Feverfew prefers a soil pH between 6.0 and 7.0. You can test your soil pH with a home test kit or by sending a sample to your local extension office.
- Dig the holes: Dig holes that are slightly larger than the root balls of your feverfew plants.
Planting Feverfew Seedlings
When transplanting feverfew seedlings, handle them with care to avoid damaging their delicate roots. Here’s how:
- Gently remove the seedlings: Gently remove the seedlings from their seed trays or pots.
- Plant at the same depth: Plant the seedlings at the same depth they were growing in their containers.
- Water well: Water the seedlings well after planting.
Planting Mature Feverfew Plants
If you’ve purchased mature feverfew plants from a nursery, here’s how to plant them:
- Remove from container: Gently remove the plant from its container.
- Loosen the roots: If the roots are circling the pot, gently loosen them before planting.
- Plant at the same depth: Plant the feverfew plant at the same depth it was growing in its container.
- Water well: Water the plant well after planting.
Growing Feverfew in Containers
Feverfew can also be grown successfully in containers. Here are some tips:
- Choose the right pot: Select a pot that is at least 12 inches in diameter and has drainage holes.
- Use well-draining potting mix: Use a high-quality potting mix that is well-draining.
- Place in a sunny location: Place the container in a location that receives full sun.
- Water regularly: Water the feverfew plant regularly, especially during hot weather.
With proper care and attention, your feverfew plants will thrive and provide you with a bountiful harvest of this medicinal herb.
Feverfew Plant Care: Watering, Fertilizing, and Pruning
Once your feverfew is planted, consistent care will ensure healthy growth and a plentiful harvest. This involves proper watering, occasional fertilizing, and regular pruning.
Watering Feverfew
Consistent watering is essential, especially during dry periods. However, overwatering can lead to root rot, so it’s crucial to find the right balance. Here’s what I’ve learned:
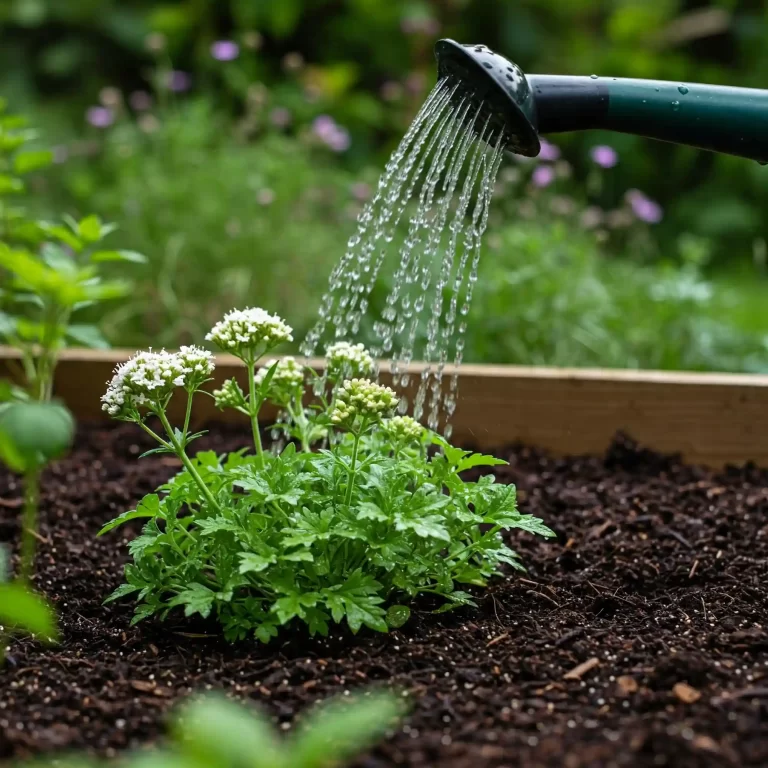
- Frequency: Water deeply when the top inch of soil feels dry to the touch. You can check this by inserting your finger into the soil.
- Method: Water at the base of the plant, avoiding wetting the foliage. This helps prevent fungal diseases.
- Observation: Pay attention to your plants. Wilting leaves indicate underwatering, while yellowing leaves can signal overwatering.
Fertilizing Feverfew
Feverfew isn’t a heavy feeder, but a little boost can encourage healthy growth and abundant flowering. Here’s my approach:
- Type of Fertilizer: I prefer using a balanced organic fertilizer, such as compost tea or diluted fish emulsion.
- Frequency: Fertilize once in the spring and again in mid-summer.
- Application: Follow the instructions on the fertilizer packaging. Avoid over-fertilizing, as this can lead to leggy growth and fewer flowers.
Pruning and Deadheading
Regular pruning and deadheading (removing spent flowers) will keep your feverfew looking its best and encourage continuous blooming.
- Deadheading: Remove faded flowers regularly to prevent seed production and encourage more blooms. Simply pinch or cut off the spent flower heads just below the flower.
- Pruning: In late fall or early spring, you can cut back the plant to about 6 inches above the ground. This will encourage new growth in the spring.
- Controlling Self-Seeding: If you want to prevent feverfew from self-seeding too aggressively, deadhead the flowers before they go to seed.
Seasonal Care
Feverfew is a hardy perennial, but it benefits from some extra care during extreme weather:
- Winter Care: In colder climates (zones 5-6), you can mulch around the base of the plant with straw or leaves to protect it from frost.
- Hot Climates: In hot climates, provide some afternoon shade to prevent the plants from getting scorched.
Organic Practices
I always encourage organic gardening practices whenever possible. Here are some tips for growing feverfew organically:
- Use organic fertilizers: As mentioned earlier, compost tea and fish emulsion are excellent organic fertilizer options.
- Control pests naturally: Use natural methods for pest control, such as handpicking insects or using insecticidal soap.
- Prevent diseases: Provide good air circulation and avoid overwatering to prevent fungal diseases.
By following these care tips, you’ll be well on your way to enjoying a thriving feverfew patch in your garden. This hardy herb is quite resilient, and with a little attention, you’ll be rewarded with its beauty and potential health benefits.
Harvesting and Drying Feverfew
Knowing when and how to harvest and dry your feverfew leaves is crucial for preserving their medicinal properties. I’ve learned that timing and proper drying techniques are key to maximizing the potency of this herb.
When to Harvest Feverfew Leaves
The best time to harvest feverfew leaves is just before the plant flowers or when it is in early bloom. At this stage, the concentration of parthenolides, the active compounds responsible for feverfew’s medicinal benefits, is at its peak. Here are some visual cues to look for:
- Leaf Appearance: Choose healthy, vibrant green leaves that are free from blemishes or damage.
- Time of Day: Harvest in the morning after the dew has dried but before the sun gets too hot. This will help prevent the leaves from wilting.
How to Harvest Feverfew Leaves
Harvesting feverfew is a simple process:
- Use Sharp Scissors or Pruning Shears: Carefully snip off the individual leaves or small stems with leaves attached.
- Avoid Damaging the Plant: Be gentle and avoid pulling or tearing the leaves, as this can damage the plant.
- Don’t Harvest Too Much at Once: It’s best to harvest only what you need at the time, or enough for one batch of drying. This allows the plant to continue growing and producing more leaves.
How to Dry Feverfew Leaves
Proper drying is essential for preventing mold and preserving the medicinal properties of feverfew. Here are two effective methods:
- Air Drying: This is the most common and straightforward method:
- Spread the Leaves: Spread the harvested leaves in a single layer on a clean, dry surface, such as a screen or a piece of cheesecloth.
- Choose a Well-Ventilated Area: Place the leaves in a warm, dry, and well-ventilated area away from direct sunlight.
- Turn Regularly: Turn the leaves regularly to ensure even drying.
- Drying Time: The drying process can take several days to a week, depending on the humidity and temperature. The leaves are dry when they are brittle and crumble easily.
- Using a Dehydrator: A dehydrator can speed up the drying process:
- Set the Temperature: Set the dehydrator to a low temperature (around 95-100°F or 35-38°C).
- Arrange the Leaves: Arrange the leaves in a single layer on the dehydrator trays.
- Drying Time: The drying time will vary depending on the dehydrator and the thickness of the leaves, but it usually takes several hours.
Storing Dried Feverfew
Once the leaves are completely dry, store them in an airtight container in a cool, dark, and dry place. Properly stored dried feverfew can last for up to a year.
By following these harvesting and drying techniques, you can ensure that you have a supply of potent feverfew leaves ready to use whenever you need them.
Common Problems and Solutions
Even with the best care, you might encounter some challenges when growing feverfew. I’ve certainly had my share of pest and disease issues over the years. Here’s what I’ve learned about common problems and how to address them:
Common Pests
While feverfew is relatively pest-resistant, a few common garden pests can sometimes cause problems:
- Aphids: These small, soft-bodied insects suck sap from plants, causing distorted growth and sticky honeydew.
- Solution: I’ve found that a strong spray of water from the hose can often dislodge aphids. You can also use insecticidal soap or neem oil for more severe infestations.
- Spider Mites: These tiny mites are difficult to see with the naked eye, but their presence is often indicated by fine webbing on the leaves. They also suck plant sap, causing stippling and discoloration.
- Solution: Increasing humidity around the plants can help deter spider mites. You can also use insecticidal soap or horticultural oil.
Common Diseases
Feverfew is also susceptible to a few fungal diseases:
- Powdery Mildew: This fungal disease appears as a white, powdery coating on the leaves. It’s more common in humid conditions with poor air circulation.
- Solution: Improving air circulation by spacing plants adequately and pruning can help prevent powdery mildew. You can also use a fungicide if necessary.
- Root Rot: This fungal disease occurs in overly wet soil and can cause the roots to rot.
- Solution: Ensure your feverfew is planted in well-draining soil and avoid overwatering.
Troubleshooting Other Issues
Besides pests and diseases, you might encounter other problems when growing feverfew:
- Why is my feverfew not growing? Several factors can contribute to poor growth, including inadequate sunlight, poor soil, or nutrient deficiencies. Make sure your plants are getting enough sunlight, and amend the soil with compost or fertilizer if needed.
- Yellowing Leaves: Yellowing leaves can be a sign of overwatering, nutrient deficiency, or disease. Check the soil moisture and adjust your watering accordingly. You can also fertilize the plants with a balanced fertilizer.
- Lack of Flowers: If your feverfew isn’t flowering, it might not be getting enough sunlight. Make sure it’s planted in a location that receives at least 6 hours of sunlight per day. Deadheading spent flowers can also encourage more blooms.
Preventative Measures
Prevention is always the best approach when it comes to pests and diseases. Here are some tips to keep your feverfew healthy:
- Choose Disease-Resistant Varieties: When purchasing feverfew plants or seeds, look for varieties that are resistant to common diseases.
- Provide Good Air Circulation: Space your plants adequately and prune them regularly to improve air circulation.
- Water Properly: Avoid overwatering and water at the base of the plant to prevent fungal diseases.
- Monitor Your Plants Regularly: Inspect your plants regularly for signs of pests or diseases. Early detection is key to preventing serious problems.
By being vigilant and taking proactive steps, you can minimize the risk of pests and diseases and ensure that your feverfew plants thrive.
Frequently Asked Questions (FAQ)
I’ve compiled a list of frequently asked questions about growing feverfew, drawing from my own experience and the questions I often receive from fellow gardeners:
- What are the best conditions for growing feverfew herbs in zone 7? Feverfew thrives in full sun (at least 6 hours of direct sunlight per day) in zone 7. It prefers well-drained soil with a pH between 6.0 and 7.0. While it’s relatively drought-tolerant once established, regular watering during dry periods is beneficial.
- How to grow feverfew herbs in containers on a patio? Choose a container that is at least 12 inches in diameter and has drainage holes. Use a well-draining potting mix and place the container in a sunny spot on your patio. Water regularly, especially during hot weather.
- How to grow feverfew herbs for migraine headache relief? Growing feverfew for medicinal use is the same as growing it for ornamental purposes. The key is to harvest and dry the leaves properly to preserve their active compounds. Remember to consult with a healthcare professional before using feverfew for medicinal purposes.
- What is the best time of year to grow feverfew herbs from seed? You can start seeds indoors 6-8 weeks before the last expected frost in your area. Direct sowing can be done in the spring once the danger of frost has passed and the soil has warmed up.
- How to grow feverfew herbs from cuttings of existing plants? Feverfew can be propagated from cuttings taken in the spring or early summer. Choose healthy stems and cut them just below a node. Remove the lower leaves and place the cuttings in a moist rooting medium.
- How to grow feverfew herbs in hot dry climates successfully? In hot, dry climates, provide some afternoon shade to prevent the plants from getting scorched. Mulching around the base of the plants can help retain moisture in the soil.
- What is the best way to grow feverfew herbs organically? Use organic fertilizers, such as compost tea or fish emulsion. Control pests naturally with methods like handpicking or insecticidal soap. Prevent diseases by providing good air circulation and avoiding overwatering.
- How to grow feverfew herbs from seed indoors? Sow the seeds thinly on the surface of a seed starting mix and gently press them in. Keep the soil moist and provide plenty of light. Once the seedlings have a few sets of true leaves, they can be transplanted into larger pots or into the garden.
- How deep to plant feverfew seeds? Feverfew seeds are very small and need light to germinate, so they should be sown on the surface of the soil and gently pressed in, not buried.
- Is feverfew easy to grow from seed? Yes, feverfew is relatively easy to grow from seed, although the seedlings can be slow to develop at first. With a little patience and proper care, you can successfully grow feverfew from seed.
This FAQ section addresses common queries about growing feverfew, providing concise and practical answers to help you succeed in cultivating this useful herb.
Conclusion
Growing feverfew is a rewarding experience for any gardener, whether you’re drawn to its delicate beauty or its potential health benefits. With its cheerful blossoms and ease of cultivation, feverfew is a welcome addition to any garden. By following the simple steps outlined in this guide, you can cultivate your own thriving patch of this versatile herb.
From sowing the tiny seeds to harvesting the fragrant leaves, each stage of the growing process offers a connection to the natural world and a deeper understanding of this remarkable plant. Not only will you have a ready supply of feverfew for your own needs, but you’ll also create a haven for pollinators and other beneficial insects in your garden.
So, whether you’re seeking a natural approach to wellness or simply enjoy the pleasures of gardening, I encourage you to give feverfew a try. With a little care and attention, you’ll be rewarded with a bountiful harvest and the satisfaction of growing your own natural remedies.


