Tired of the same old fruit trees and want to add a touch of the tropics to your garden? Have you ever dreamed of sipping fresh coconut water straight from your own backyard? Growing coconut fruits might seem like a daunting task, but with the right approach, it’s an achievable goal for even the most novice of home gardeners. You might be worried about the tropical climate requirements or the complex care involved, but I’m here to guide you through the process step-by-step. This guide will equip you with the knowledge and confidence to successfully cultivate your own coconut palm and enjoy the sweet rewards of your labor.
Choosing the Right Coconut Seed
The foundation of any successful coconut growing endeavor lies in selecting a viable seed. Just like any other plant, the quality of the seed directly impacts the health and vigor of the resulting tree. You have a few options when it comes to sourcing your coconut seeds:
- Purchasing from a reputable nursery: This is often the easiest and most reliable method. Nurseries specialize in cultivating healthy coconut seedlings and can provide valuable advice on the specific varieties that thrive in your region. Inquire about the age of the seedlings and their overall health before making a purchase. Reputable nurseries often provide care instructions and can answer any questions you may have.
- Collecting fresh coconuts from local markets: If you have access to fresh coconuts, you can attempt to germinate them yourself. Choose coconuts that appear fresh, with a green husk and no signs of mold or damage. Avoid coconuts with cracks or splits in the husk, as these may indicate internal damage.
- Germinating coconuts from fallen fruits: This option requires a bit more effort but can be rewarding. Collect fallen coconuts that are still relatively fresh and attempt to germinate them. However, be mindful that fallen coconuts may have been damaged during the fall and may not be viable for germination.
Once you have your coconut, it’s crucial to assess its viability.
- Look for the presence of germination eyes, which are small brown spots on the surface of the coconut. These eyes indicate the potential for sprouting. A healthy coconut will typically have three germination eyes.
- Inspect the husk for any signs of mold or damage. Discard any coconuts that appear unhealthy. A healthy coconut will have a firm, intact husk.
By carefully selecting your coconut seed, you’re setting the stage for a healthy and productive coconut palm.
Remember, the quality of your starting material significantly influences the success of your coconut growing venture. Take the time to choose a viable seed to increase your chances of success.
Preparing the Growing Medium
Coconut palms thrive in well-drained soil that allows for proper root aeration. Poor drainage can lead to root rot, a serious issue that can severely impact the health of your tree. To ensure optimal growth, you’ll need to create a suitable growing medium:
- Ideal Soil Composition: A well-balanced blend of sand, peat moss, and perlite often provides the ideal growing medium for coconut palms. The sand promotes drainage, while peat moss and perlite improve soil aeration and water retention. This combination creates a lightweight and airy soil that allows for easy root penetration and prevents waterlogging.
- Benefits of Organic Matter: Incorporating organic matter such as compost or coconut coir into the growing medium can significantly enhance its quality. Organic matter improves soil structure, increases water retention, and provides essential nutrients for the developing seedling. Compost, rich in microorganisms, can also help suppress soil-borne diseases. Coconut coir, a byproduct of the coconut industry, is a sustainable and environmentally friendly option that offers excellent drainage and aeration.
- Preparing the Growing Medium: Before planting, it’s essential to sterilize the growing medium to prevent the introduction of harmful pathogens. This can be achieved by heating the soil in an oven at a temperature of 180-200°F (82-93°C) for 30 minutes. Alternatively, you can use a commercial soil sterilizer. Once sterilized, fill your chosen containers with the prepared medium, leaving enough space for the coconut seed.
By carefully preparing the growing medium, you’re creating a nurturing environment for your coconut seedling to thrive. In the next section, we’ll explore different germination techniques to bring your coconut seed to life.
Germination Techniques
Germination is the crucial first step in the coconut growing process. It’s during this stage that the coconut seed awakens from its dormant state and begins to develop into a seedling. There are two primary methods for germinating coconut seeds:
- Soaking Method: This method involves submerging the entire coconut in a container of water. The water helps to soften the husk and stimulate germination. Maintain the water temperature between 75-85°F (24-29°C). This warm temperature mimics the tropical environment where coconut palms naturally thrive. Change the water regularly to prevent bacterial growth and maintain optimal water quality. Typically, germination occurs within 2-4 weeks using this method. You’ll notice the emergence of a small sprout from one of the germination eyes.
- Burying Method: This method involves directly planting the coconut seed in the soil. Bury the seed horizontally, ensuring that the germination eyes are facing upwards. This positioning allows the sprout to emerge easily. Maintain consistent moisture levels in the soil by watering regularly. Germination may take slightly longer compared to the soaking method, but this approach allows the seedling to establish its root system directly in the soil.
Regardless of the method you choose, it’s essential to maintain a warm and humid environment to encourage germination. You can create a mini-greenhouse using plastic wrap or a clear plastic bag to maintain optimal humidity levels. This will help to mimic the tropical conditions that coconut palms require for successful germination.
Once you notice the emergence of the sprout, you’ll know that germination has been successful. At this stage, you can proceed to the next step: transplanting the young coconut seedling.
Planting the Coconut Seedling
Once your coconut seed has successfully germinated, it’s time to transplant the seedling into its permanent home. The timing of planting depends on your local climate. Ideally, plant during the warm, wet season when the seedling can establish itself more readily.
- Choosing the Ideal Location: Select a location that provides ample sunlight. Coconut palms are tropical plants and require at least 6-8 hours of direct sunlight per day. Choose a location protected from strong winds, as they can damage the delicate fronds. Ensure the soil is well-drained to prevent waterlogging. Avoid planting near buildings or structures that may cast shadows on the tree.
- Planting Procedure:
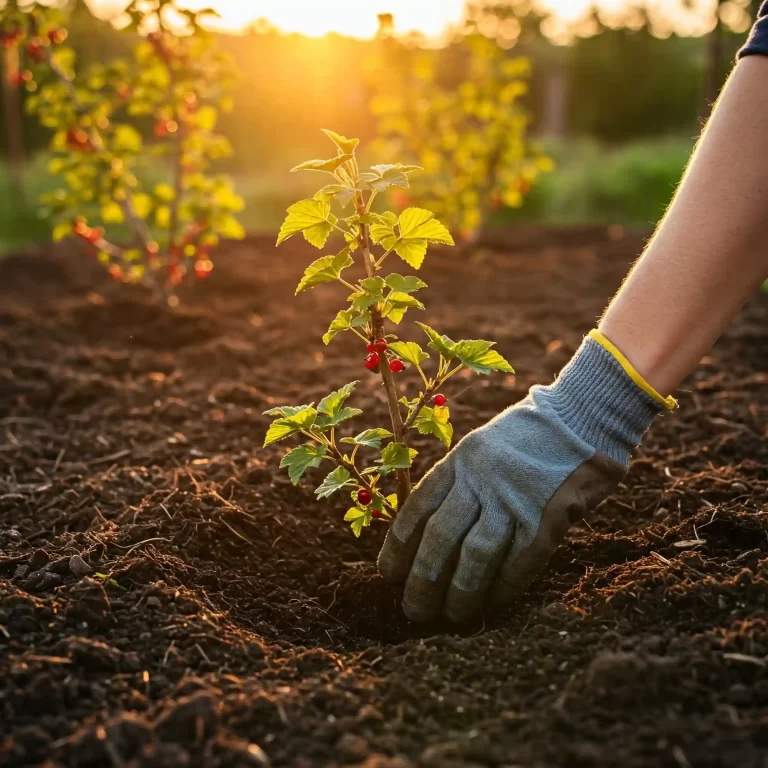
- Dig a hole: Dig a hole that is slightly larger than the root ball of the seedling. The depth of the hole should be sufficient to accommodate the roots without bending or overcrowding them.
- Amend the soil: Amend the soil with organic matter such as compost or well-rotted manure. This will improve soil fertility and drainage. Mix the organic matter thoroughly with the existing soil.
- Place the seedling: Gently place the seedling in the hole, ensuring that the root ball is level with the surrounding soil. Avoid planting the seedling too deeply, as this can hinder root development.
- Backfill the hole: Backfill the hole with the amended soil, firming it gently around the base of the seedling. Avoid compacting the soil too tightly, as this can restrict root growth.
- Water thoroughly: Water the newly planted seedling deeply to settle the soil and ensure proper moisture levels.
- Dig a hole: Dig a hole that is slightly larger than the root ball of the seedling. The depth of the hole should be sufficient to accommodate the roots without bending or overcrowding them.
By following these steps and providing the appropriate conditions, you’ll set your young coconut tree on the path to healthy growth and development. In the next section, we’ll discuss the ongoing care required to nurture your coconut tree and ensure its continued success.
Remember, patience is key when growing coconut trees. It may take several years for your tree to reach maturity and start producing fruit. However, the rewards of enjoying fresh coconuts from your own backyard will make the wait worthwhile.
Providing Optimal Care for Young Coconut Trees
Continued care is crucial for the successful growth of your coconut tree. This includes providing adequate water, nutrients, and protection from pests and diseases.
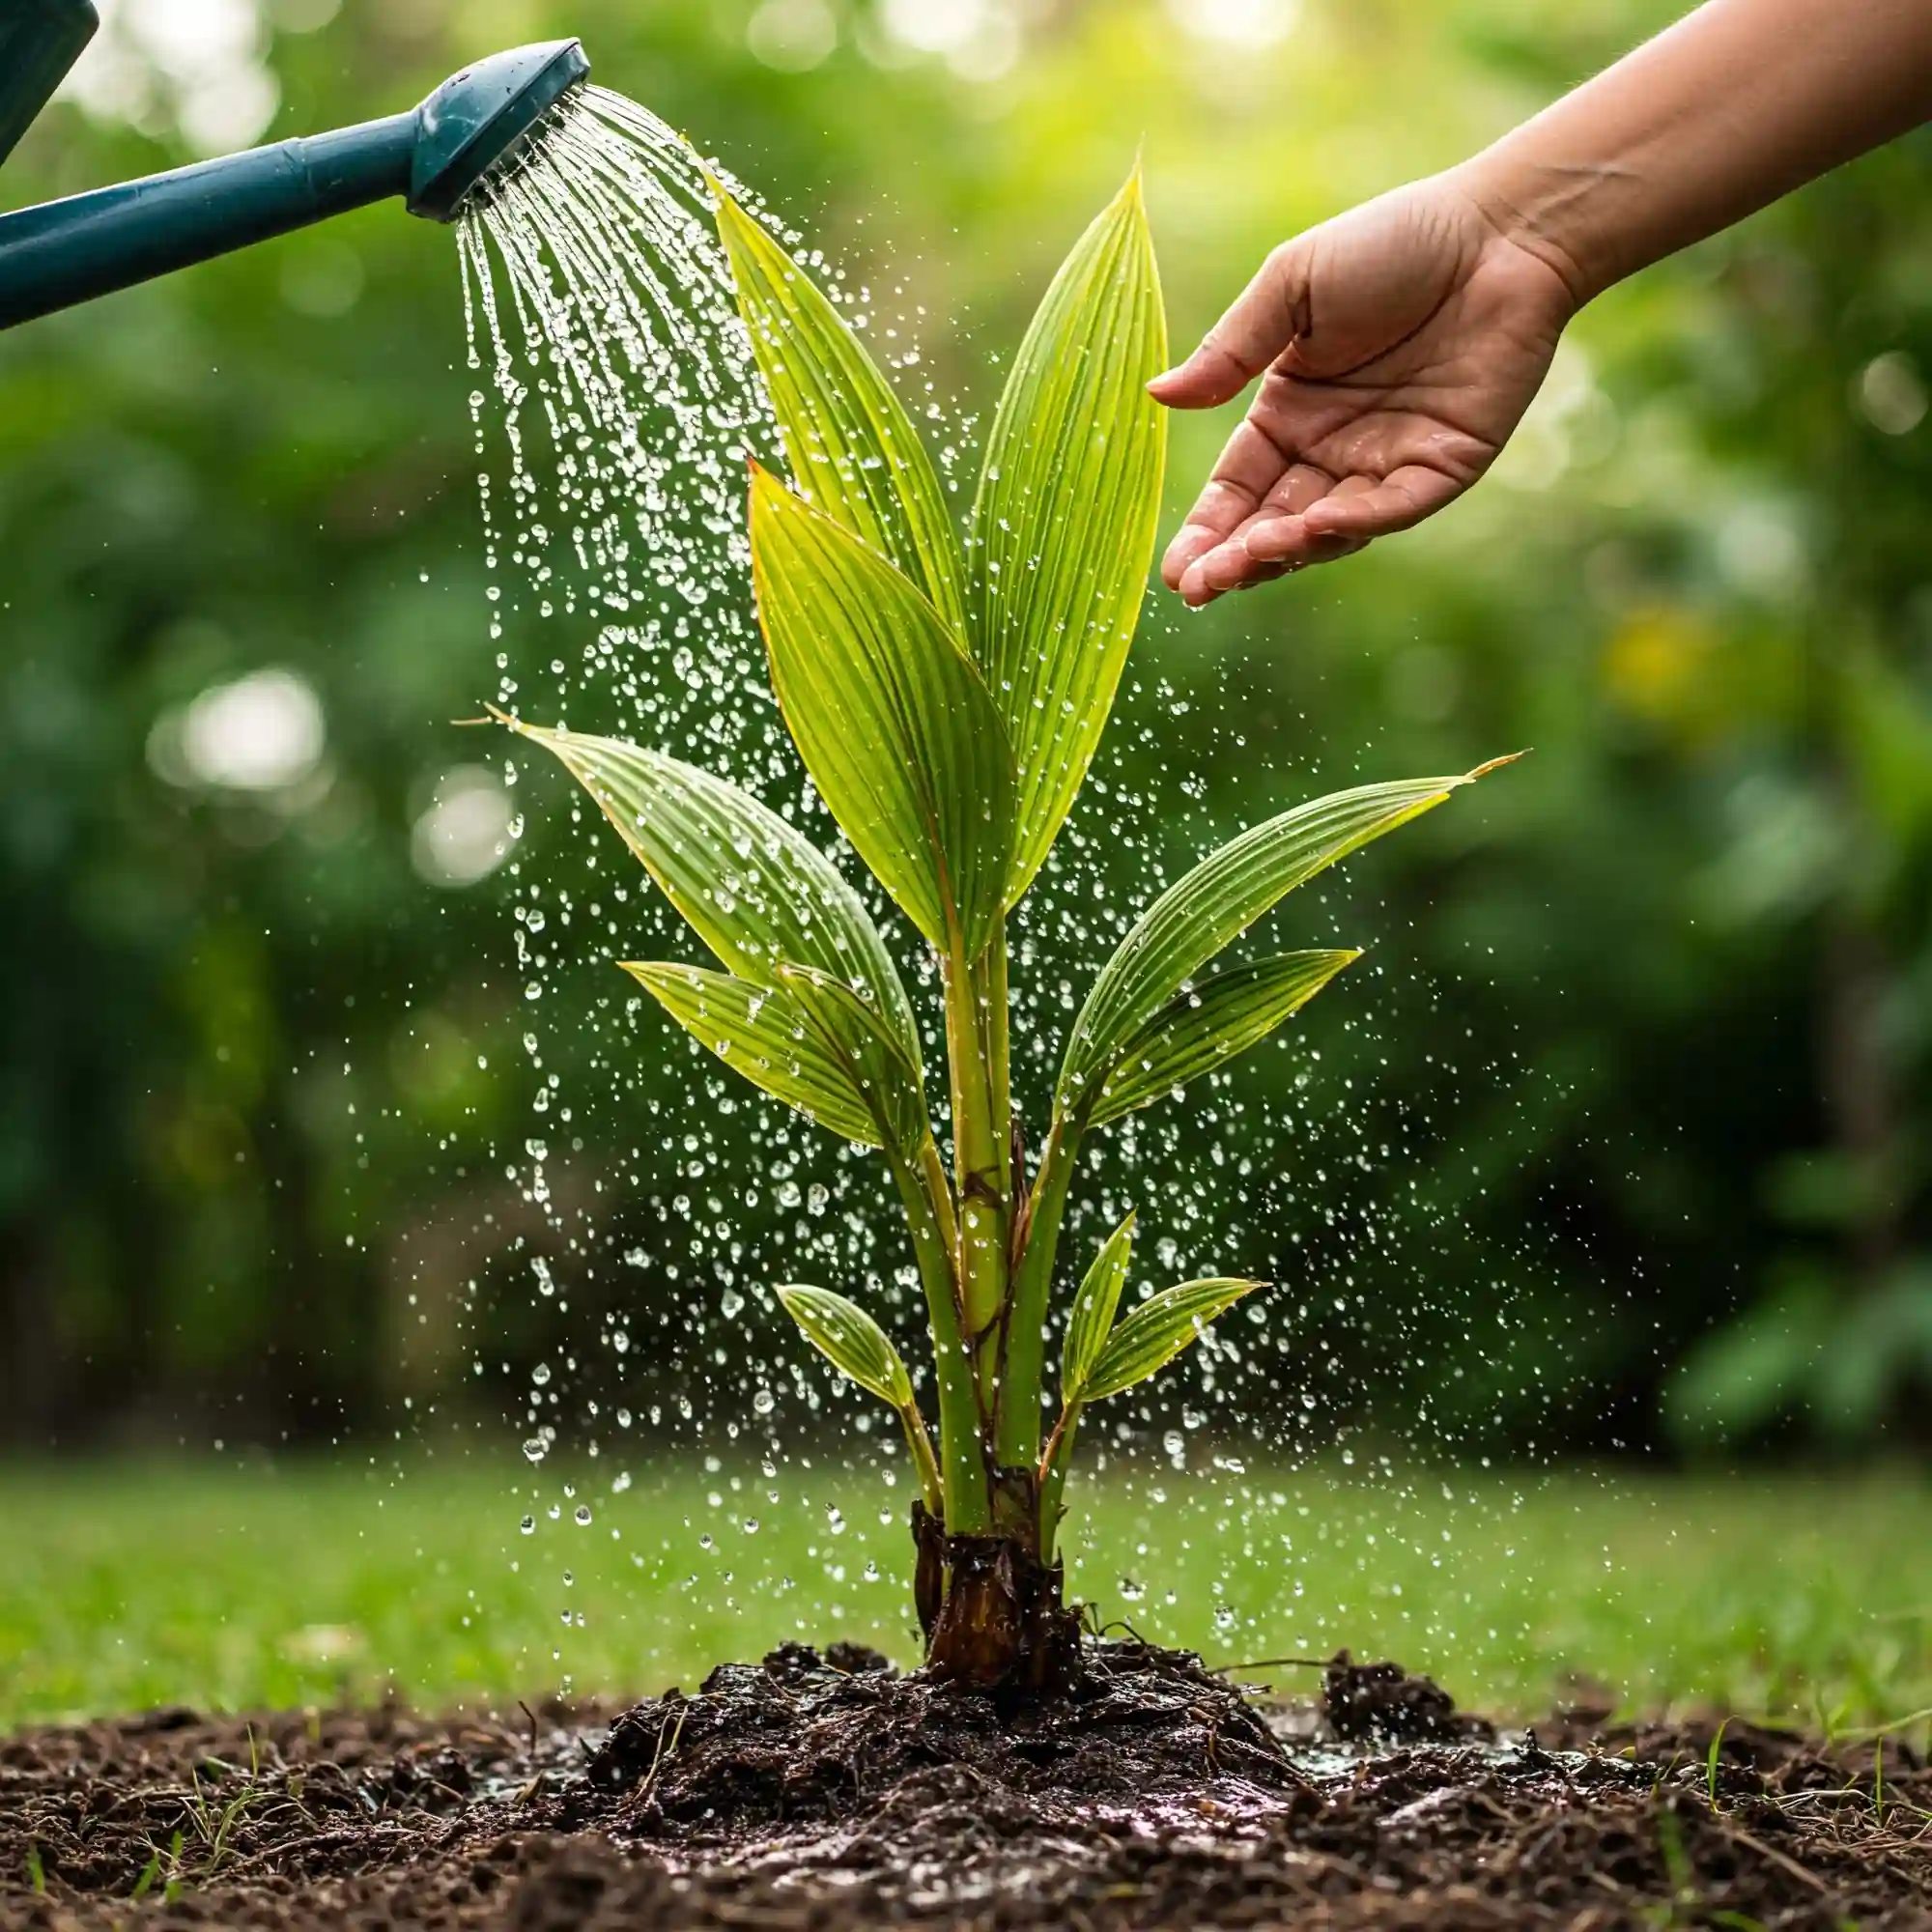
- Watering Requirements: Young coconut trees require regular watering, especially during dry periods. Water deeply and consistently, ensuring that the soil remains moist but not waterlogged. Overwatering can lead to root rot, a serious issue that can damage your tree. Adjust your watering schedule based on rainfall and soil moisture levels. During the dry season, you may need to water more frequently.
- Fertilization Needs: Fertilize your coconut tree regularly during the growing season. Use a balanced fertilizer that provides a good ratio of nitrogen, phosphorus, and potassium. These nutrients are essential for healthy growth and development. Consider using organic fertilizers such as compost tea or fish emulsion, which can also improve soil health. Apply fertilizer according to the manufacturer’s instructions and avoid over-fertilizing, as this can damage the roots.
- Mulching: Applying a layer of mulch around the base of the tree can help retain soil moisture, suppress weeds, and regulate soil temperature. Mulch also helps to prevent soil erosion and protect the roots from extreme temperature fluctuations. Use organic mulches such as wood chips, coconut coir, or shredded leaves. Avoid using plastic mulch, as it can hinder air and water circulation.
- Pest and Disease Control: Monitor your coconut tree regularly for signs of pests and diseases. Common pests include coconut mites, beetles, and scale insects. These pests can damage the leaves and reduce the tree’s overall health. Diseases such as root rot and leaf spot can also affect coconut trees. Implement appropriate pest control measures, such as using insecticidal soap or neem oil. Avoid using harsh chemicals, as they can harm beneficial insects and pollinator populations.
By providing consistent care and attention, you can ensure that your coconut tree thrives and reaches its full potential. Remember, patience is key when growing coconut trees. It may take several years for your tree to reach maturity and start producing fruit. However, the rewards of enjoying fresh coconuts from your own backyard will make the wait worthwhile.
Common Challenges and Troubleshooting
Even with the best care, you may encounter some challenges while growing coconut trees. Recognizing and addressing these issues promptly is crucial for maintaining the health and vitality of your tree.
Common Problems:
- Slow Growth: Slow growth can be attributed to various factors, including nutrient deficiencies, inadequate watering, or poor soil drainage. Regularly monitor your tree’s growth and address any potential issues promptly.
- Pests and Diseases: Coconut trees are susceptible to various pests and diseases. Common pests include coconut mites, beetles, and scale insects. These pests can damage the leaves and reduce the tree’s overall health. Diseases such as root rot and leaf spot can also affect coconut trees. Regularly inspect your tree for any signs of infestation or disease.
- Nutrient Deficiencies: Nutrient deficiencies can manifest in various ways, such as yellowing leaves, stunted growth, and poor fruit production. Conduct regular soil tests to determine nutrient levels and supplement with appropriate fertilizers as needed.
- Environmental Stress: Extreme weather conditions, such as drought, strong winds, and sudden temperature fluctuations, can stress coconut trees. Providing adequate protection during extreme weather events can help mitigate these risks.
Troubleshooting Tips:
- Identify the Cause: Carefully observe your tree and try to identify the underlying cause of the problem. Is it a pest infestation, nutrient deficiency, or environmental stress?
- Address the Issue Promptly: Once you’ve identified the cause, take appropriate action. This may involve adjusting watering schedules, applying fertilizer, implementing pest control measures, or providing additional protection from environmental stressors.
- Monitor and Adjust: Continuously monitor your tree’s progress and adjust your care practices as needed. Regular observation will help you identify and address any emerging issues early on.
By proactively addressing these challenges and providing consistent care, you can increase the chances of successfully growing a healthy and productive coconut tree.
Harvesting and Enjoying Your Coconuts
The moment you’ve been waiting for has finally arrived: harvest time! Knowing when your coconuts are ripe is crucial for ensuring the best flavor and quality.
Signs of Maturity:
- Brown Husk: As the coconut matures, the green husk gradually turns brown. This color change is a visual cue that the fruit is nearing ripeness.
- Hard, Woody Shell: Tap the coconut with your knuckles. A mature coconut will have a hard, woody shell that produces a solid, resonant sound.
- Three Distinct Eyes: Look for three distinct eyes on the coconut. These are the points of germination. In a mature coconut, these eyes will be well-defined and slightly sunken.
Safe Harvesting Techniques:
- Use Proper Tools: Avoid climbing the tree bare-handed. Use a sturdy ladder or climbing gear designed for tree work. Always prioritize safety and wear appropriate protective gear.
- Choose the Right Coconuts: Select coconuts that are easily accessible and appear mature. Avoid coconuts that are too high or difficult to reach, as this increases the risk of accidents.
- Cut the Stalk: Use a sharp knife or pruning shears to cut the stalk of the coconut close to the fruit. Be careful not to damage the coconut itself.
- Lower the Coconut: Carefully lower the coconut to the ground. You can use a rope or a long pole to guide the coconut down safely.
Enjoying Your Harvest:
Once you’ve harvested your coconuts, it’s time to enjoy the fruits of your labor! Here are a few ways to savor the bounty:
- Drink the Coconut Water: Young, green coconuts are prized for their refreshing coconut water. Use a clean knife to puncture one of the eyes and drain the water into a glass.
- Eat the Coconut Meat: The white flesh of the coconut, known as copra, is a delicious and nutritious treat. Use a machete or a coconut scraper to remove the meat from the shell.
- Make Coconut Milk: Coconut milk is a versatile ingredient used in various cuisines. You can make your own coconut milk by grating the coconut meat and extracting the milk.
- Create Coconut Oil: Coconut oil is a popular cooking oil and has numerous health benefits. You can make coconut oil by extracting the oil from dried coconut meat.
Growing coconut trees is a rewarding experience that connects you with nature and provides a taste of the tropics in your own backyard. By following these guidelines and providing consistent care, you can successfully cultivate your own coconut palm and enjoy the sweet rewards of your labor for years to come.
Remember, patience is key when growing coconut trees. It may take several years for your tree to reach maturity and start producing fruit. However, the satisfaction of harvesting your own coconuts and enjoying their unique flavor is well worth the wait.
FAQs
Growing coconut trees can present unique challenges and raise several questions. Here are some frequently asked questions and their answers:
Q: What is the best time of year to plant a coconut tree?
A: The best time to plant a coconut tree is during the warm, wet season when the tree can establish itself more readily. This typically coincides with the growing season in your region. Planting during the rainy season can help ensure adequate moisture for the young seedling.
Q: How long does it take for a coconut tree to start producing fruit?
A: Coconut trees are known for their relatively long juvenile phase. It can take anywhere from 5 to 10 years for a coconut tree to start producing fruit, depending on the variety and growing conditions. Factors such as soil fertility, water availability, and climate can influence the time to first fruiting.
Q: Can I grow a coconut tree indoors?
A: While you can germinate a coconut seed indoors, coconut trees require ample sunlight and space, making them unsuitable for long-term indoor cultivation. Coconut trees are tropical plants that thrive in warm, sunny climates. Indoor environments typically lack the necessary sunlight and space for healthy coconut tree growth.
Q: How do I know if my coconut tree is getting enough water?
A: Check the soil moisture regularly. The soil should be moist but not waterlogged. Stick your finger into the soil a few inches deep. If the soil feels dry, it’s time to water. You can also observe the tree itself. Wilting leaves or a lack of new growth can indicate insufficient water.
Q: What are the benefits of growing coconut trees?
A: Growing coconut trees offers numerous benefits:
- Fresh Produce: Enjoy the bounty of fresh coconuts, including refreshing coconut water and delicious coconut meat.
- Shade and Shelter: Mature coconut trees provide ample shade, creating a cool and inviting space in your garden.
- Environmental Benefits: Coconut trees contribute to environmental sustainability by sequestering carbon dioxide and providing habitat for various wildlife.
- Aesthetics: Coconut palms add a touch of tropical beauty and elegance to any landscape.
Conclusion
Growing coconut trees can be a rewarding and enriching experience for any home gardener. By following the steps outlined in this guide, you can increase your chances of success and enjoy the fruits of your labor for years to come. Remember that patience is key when growing coconut trees. It may take several years for your tree to reach maturity and start producing fruit. However, the satisfaction of harvesting your own coconuts and enjoying their unique flavor is well worth the wait.
Remember to choose a healthy coconut seed, prepare the appropriate growing medium, and provide consistent care to your young tree. By addressing challenges promptly and providing optimal growing conditions, you can nurture a thriving coconut palm that will bring beauty and abundance to your garden.
If you have any further questions or encounter any challenges along the way, don’t hesitate to seek advice from experienced gardeners or consult reliable resources on coconut tree cultivation. With dedication and perseverance, you can successfully grow coconut fruits at home and enjoy the sweet rewards of your efforts.
