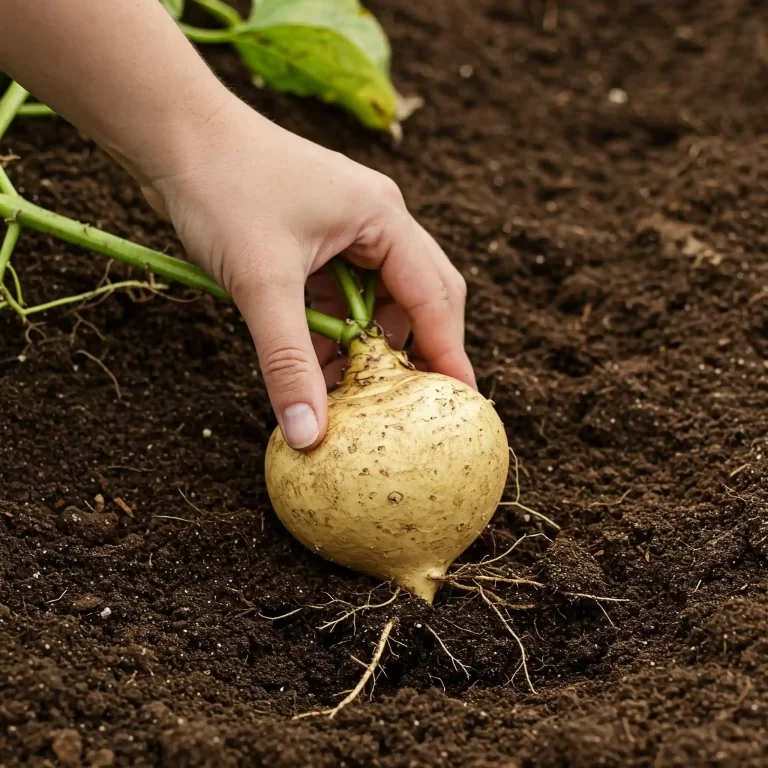
Let’s start with the basics. What exactly is broccoflower? As I mentioned, it’s a hybrid, a cross between broccoli ( Brassica oleracea var. italica) and cauliflower (Brassica oleracea var. botrytis). This parentage gives it some interesting characteristics. You’ll notice it has the distinctive florets of cauliflower but with a vibrant green color reminiscent of broccoli. However, its taste is milder and sweeter than either of its parents, making it quite versatile in the kitchen.
You might have heard of Romanesco broccoli. It’s easy to confuse the two, as they both have a unique, almost fractal-like appearance. However, Romanesco is a distinct cultivar of cauliflower, not a broccoli-cauliflower hybrid. Romanesco has more pointed, spiraling florets, whereas broccoflower has a smoother, more rounded head, similar to a traditional cauliflower.
Nutritional Benefits of Broccoflower
From my experience, not only is broccoflower delicious and fun to grow, but it’s also packed with nutrients. Like its parent vegetables, it’s a good source of:
- Vitamin C: An important antioxidant that supports immune function.
- Fiber: Aids digestion and promotes gut health.
- Vitamin K: Essential for blood clotting and bone health.
- Folate: Important for cell growth and development.
- Potassium: Helps regulate blood pressure and muscle function.
Here’s a simple table comparing the nutritional content of Broccoflower with its parent vegetables, per 100g serving (values are approximate and can vary):
Nutritional Comparison
| Nutrient | Broccoflower | Broccoli | Cauliflower |
| Vitamin C (mg) | 65 | 89 | 48 |
| Fiber (g) | 3 | 2.6 | 2 |
| Vitamin K (µg) | 85 | 102 | 16 |
This table illustrates that broccoflower holds its own nutritionally, offering a balanced mix of vitamins and minerals.
Growing broccoflower also allows you to enjoy it at peak freshness, maximizing its nutritional value. When you grow your own, you know exactly what’s gone into it – no pesticides or long transport times that can degrade nutrients.
I’ve found that understanding the basic botany and nutritional profile of broccoflower makes the growing process even more rewarding. It connects you to the plant on a deeper level and reinforces the benefits of growing your own food.
Key Differences Between Broccoflower and Romanesco
| Feature | Broccoflower | Romanesco |
| Parentage | Broccoli x Cauliflower | Cauliflower cultivar |
| Floret Shape | Rounded, smooth | Pointed, spiraling (fractal-like) |
| Color | Typically green | Light green to yellowish-green |
| Taste | Milder, sweeter than broccoli or cauliflower | Nutty, slightly more intense than cauliflower |
This table neatly summarizes the key distinctions between these two often-confused vegetables. You can easily see how their different origins lead to variations in appearance and taste.
How to Start Broccoflower Seeds: Indoor vs. Direct Sowing
Now that you understand what broccoflower is, let’s dive into the practical side of how to grow broccoflower vegetable. The first step is starting your seeds. You have two main options: starting them indoors or direct sowing them into your garden. Each method has its own advantages and considerations. From my experience, I’ve found that starting seeds indoors offers more control, especially if you live in an area with a shorter growing season. However, direct sowing can be simpler if your climate is suitable.
Starting Broccoflower Seeds Indoors
If you choose to start your broccoflower seeds indoors, you’ll need to begin about 4-6 weeks before the last expected frost in your area. This gives the seedlings enough time to develop before being transplanted into the garden. Here’s a step-by-step guide based on what I’ve learned over the years:
- Gather your supplies: You’ll need seed starting trays or small pots, a seed starting mix (a fine-textured soil mix specifically designed for seedlings), and a spray bottle or gentle watering can.
- Sow the seeds: Moisten the seed starting mix and fill your trays or pots. Sow the broccoflower seeds about ¼ inch deep. I usually plant 2-3 seeds per cell or pot to increase the chances of germination.
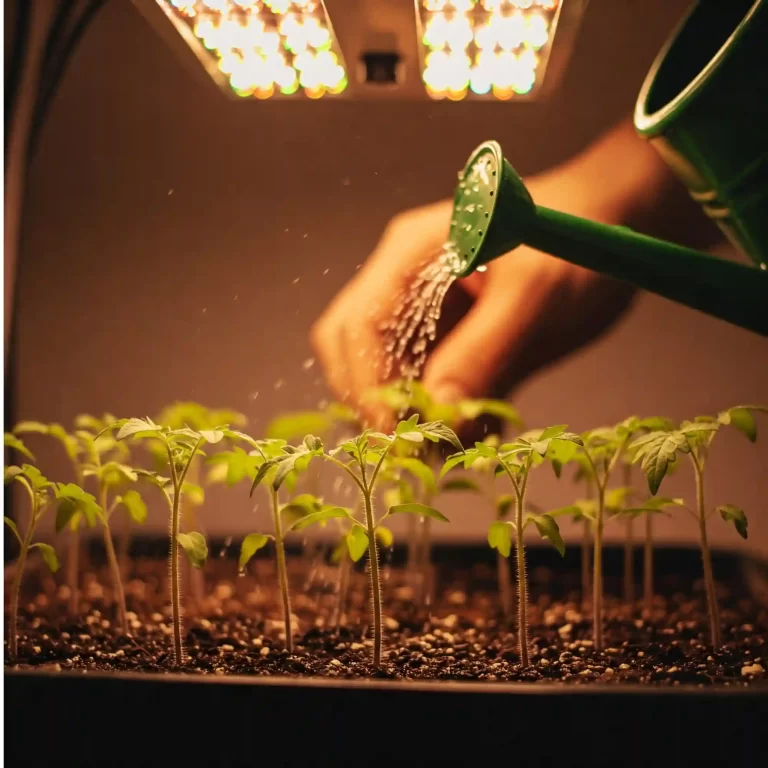
- Provide warmth and light: Broccoflower seeds germinate best in warm conditions (around 70-75°F). You can use a heat mat to provide bottom heat. Once the seedlings emerge, they’ll need plenty of light. A sunny windowsill might work, but I recommend using grow lights for consistent and optimal growth.
- Keep the soil moist: Water the seedlings regularly, keeping the soil consistently moist but not waterlogged. I prefer using a spray bottle to avoid disturbing the delicate seedlings.
- Thin the seedlings: Once the seedlings have a couple of sets of true leaves, thin them to one strong seedling per cell or pot.
Direct Sowing Broccoflower Seeds
Direct sowing is a simpler method, but it’s only suitable if your growing season is long enough and the soil temperature is consistently above 50°F. Here’s how I approach direct sowing:
- Prepare the garden bed: Choose a sunny spot in your garden with well-drained soil. Amend the soil with compost or other organic matter to improve its fertility and structure.
- Sow the seeds: Sow the broccoflower seeds directly into the garden bed about ½ inch deep. Space the seeds according to the recommendations on the seed packet (usually about 18-24 inches apart).
- Water regularly: Keep the soil consistently moist until the seedlings emerge.
- Thin the seedlings: Once the seedlings are a few inches tall, thin them to the strongest plants, spacing them appropriately.
Comparing Indoor Starting and Direct Sowing
Here’s a quick comparison to help you decide which method is best for you:
Starting Seeds: Indoor vs. Direct Sowing
| Feature | Indoor Starting | Direct Sowing |
| Timing | 4-6 weeks before last frost | After last frost, when soil is warm |
| Control | More control over temperature, light, and moisture | Less control over environmental conditions |
| Protection | Protects seedlings from early pests and weather | Seedlings are exposed to potential pests and weather |
| Best for | Short growing seasons, cool climates | Long growing seasons, warm climates |
| Effort | More effort required (transplanting) | Less effort required |
From my experience, if you’re unsure which method to choose, starting seeds indoors is generally a safer bet. It gives you a head start on the growing season and allows you to protect your young plants from potential problems. However, if you live in a warm climate with a long growing season, direct sowing can be a convenient option.
How to Plant Broccoflower Seedlings: Choosing the Right Spot
Once your broccoflower seedlings have developed a few sets of true leaves and the danger of frost has passed, it’s time to transplant them into your garden. This is an exciting step, as you’ll finally see your broccoflower taking root in its permanent home. But before you start digging, it’s important to choose the right spot and prepare the soil properly.
Choosing the Right Location
Broccoflower, like its parent vegetables, thrives in a sunny location. I’ve found that at least 6-8 hours of direct sunlight per day is ideal for optimal growth and head development. If your garden doesn’t get that much sun, choose the spot that receives the most sunlight possible.
In addition to sunlight, consider the soil. Broccoflower prefers well-drained soil that is rich in organic matter. If your soil is heavy clay or sandy, amend it with compost or other organic matter to improve its drainage and fertility. This will help the roots grow strong and access the nutrients they need.
Preparing the Soil
Before transplanting your seedlings, take some time to prepare the soil. This will give your broccoflower a head start and help it establish quickly. Here’s what I recommend:
- Remove weeds and debris: Clear the area where you’ll be planting your broccoflower. This will prevent competition for water and nutrients.
- Amend the soil: As mentioned earlier, amend the soil with compost or other organic matter. This will improve its fertility, drainage, and water retention.
- Test the soil pH: Broccoflower prefers a soil pH between 6.0 and 7.0. You can test your soil using a home test kit or by sending a sample to your local extension office. If your soil is too acidic or alkaline, you can amend it with lime or sulfur, respectively.
Transplanting Your Seedlings
Now that you’ve chosen the right spot and prepared the soil, it’s time to transplant your broccoflower seedlings. Here’s how I do it:
- Water the seedlings: Water the seedlings thoroughly a few hours before transplanting. This will help them handle the transplanting process better.
- Dig holes: Dig holes that are slightly larger than the root balls of your seedlings. Space the holes about 18-24 inches apart, depending on the variety of broccoflower you’re growing.
- Remove the seedlings from their containers: Gently remove the seedlings from their containers, being careful not to damage the roots.
- Place the seedlings in the holes: Place the seedlings in the holes, making sure the top of the root ball is level with the soil surface.
- Fill the holes with soil: Fill the holes with soil, gently firming it around the base of the seedlings.
- Water thoroughly: Water the seedlings thoroughly after transplanting.
Protecting Young Transplants
Newly transplanted seedlings can be vulnerable to pests and weather. Here are a few tips to protect them:
- Use row covers: Row covers can protect your seedlings from insects, birds, and harsh weather.
- Water regularly: Keep the soil consistently moist, especially during dry periods.
- Fertilize: Once the seedlings have established, you can start fertilizing them with a balanced fertilizer.
By following these tips, you can ensure that your broccoflower seedlings get off to a strong start and have the best chance of producing a bountiful harvest.
How to Care for Growing Broccoflower: Watering, Fertilizing, and Weeding
Once your broccoflower seedlings are safely in the ground, your focus shifts to providing consistent care. Proper watering, fertilization, and weeding are crucial for healthy growth and a bountiful harvest. From my experience, I’ve learned that consistency is key. Regular attention to these basic needs will make a significant difference in the health and productivity of your broccoflower plants.
Watering Broccoflower
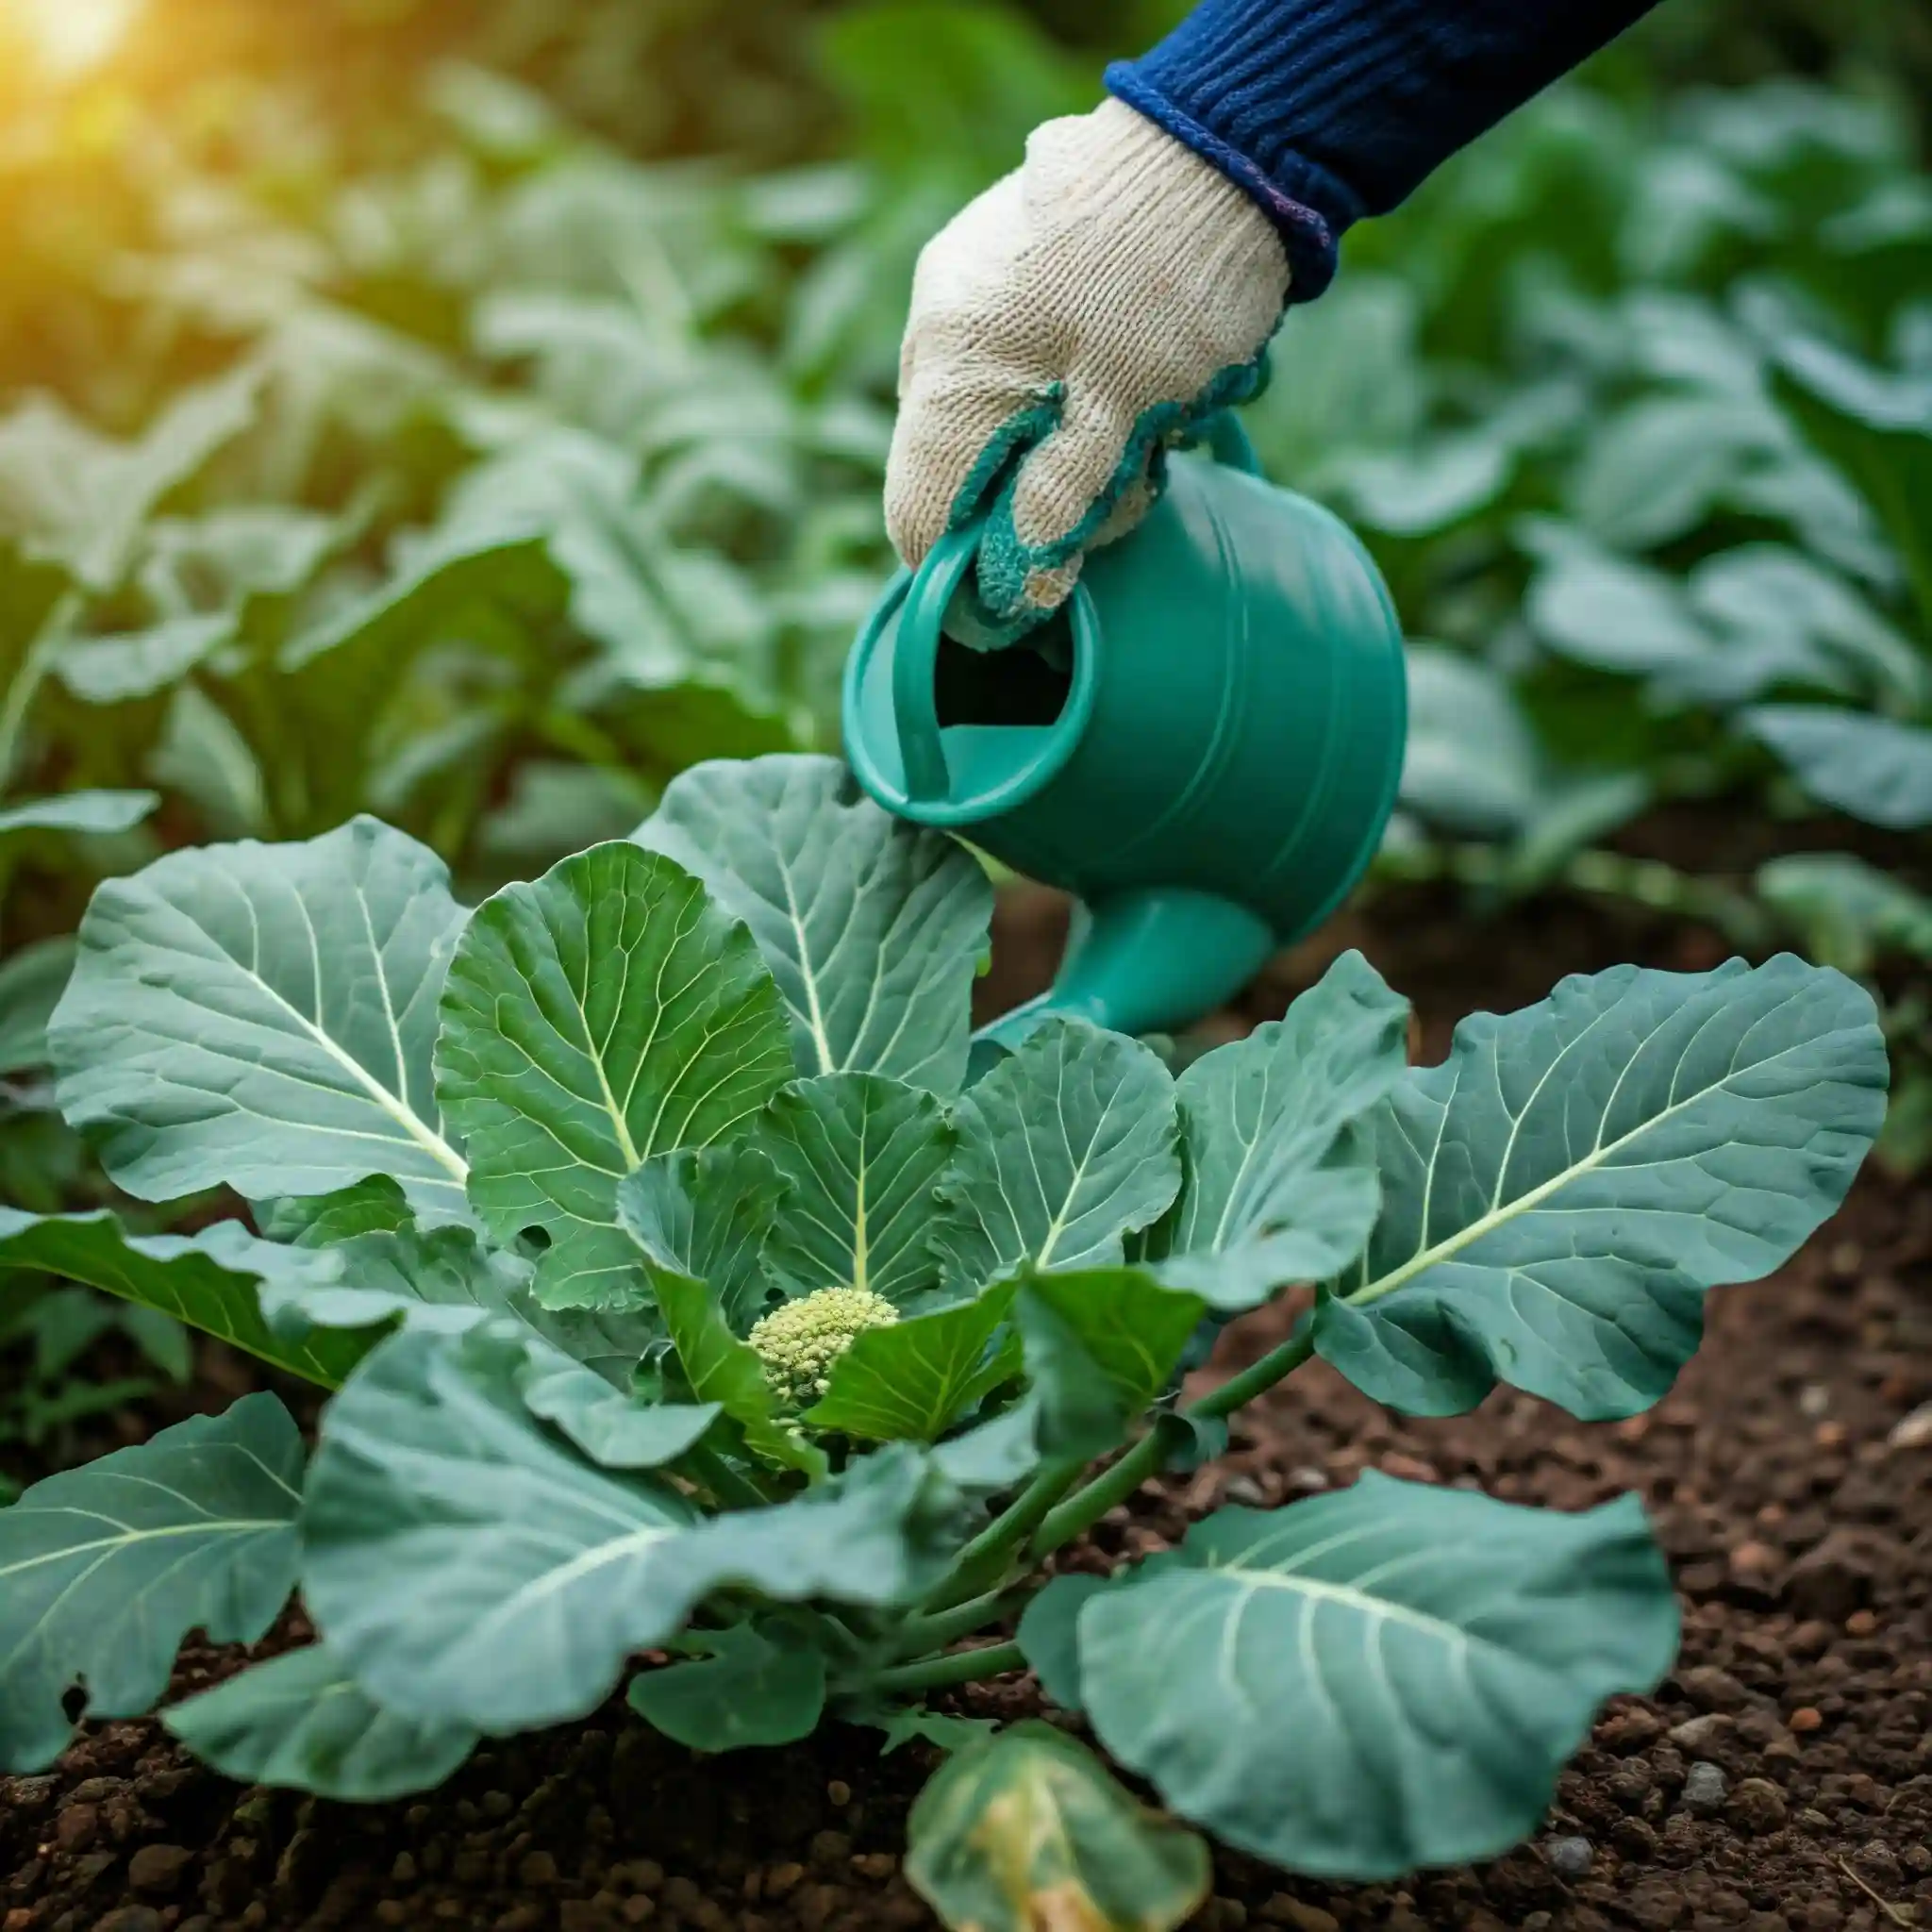
Broccoflower needs consistent moisture to thrive. I’ve found that the best way to determine when to water is to check the soil moisture. Stick your finger about an inch into the soil. If it feels dry, it’s time to water. Water deeply at the base of the plant, avoiding wetting the leaves as much as possible. This helps prevent fungal diseases.
Here are some additional watering tips I’ve found helpful:
- Water early in the morning: This allows the leaves to dry before nightfall, reducing the risk of disease.
- Use a soaker hose or drip irrigation: These methods deliver water directly to the roots, conserving water and reducing weed growth.
- Mulch around the plants: This helps retain moisture in the soil and suppress weeds.
Fertilizing Broccoflower
Broccoflower is a heavy feeder, meaning it needs a good supply of nutrients to grow well. I recommend fertilizing your plants every 2-3 weeks with a balanced fertilizer. You can use a granular fertilizer or a liquid fertilizer diluted according to the package directions.
In addition to regular fertilization, I also like to amend the soil with compost or other organic matter. This provides a slow-release source of nutrients and improves the soil structure.
Weeding Broccoflower
Weeds compete with your broccoflower plants for water, nutrients, and sunlight. It’s important to keep your garden bed free of weeds to ensure your plants thrive. I recommend weeding regularly by hand or using a hoe. Be careful not to damage the roots of your broccoflower plants when weeding.
Additional Care Tips
Here are a few other care tips I’ve learned over the years:
- Monitor for pests and diseases: Keep an eye out for common broccoflower pests and diseases, such as aphids, cabbage worms, and clubroot. Take action promptly if you see any signs of problems.
- Provide support: As your broccoflower heads grow larger, they may need some support to prevent them from falling over. You can use stakes or cages to provide support.
- Rotate your crops: Avoid planting broccoflower in the same spot year after year. This helps prevent the buildup of soilborne diseases.
By following these care tips, you can help your broccoflower plants thrive and produce a bountiful harvest.
How to Protect Broccoflower from Pests and Diseases: Organic Solutions
Protecting your broccoflower from pests and diseases is an important part of ensuring a successful harvest. While chemical solutions are available, I prefer to use organic methods whenever possible. These methods are not only better for the environment but also for your health. From my experience, a combination of preventative measures and targeted treatments can effectively keep your broccoflower plants healthy and thriving.
Common Broccoflower Pests
Here are some of the most common pests that can affect broccoflower:
- Aphids: These small insects suck sap from plants, causing them to weaken and become distorted.
- Cabbage worms: These green caterpillars feed on the leaves of broccoflower, leaving behind holes and damage.
- Flea beetles: These small beetles chew small holes in the leaves of broccoflower seedlings.
Organic Pest Control Methods
Here are some organic methods I use to control these pests:
- Handpicking: For larger pests like cabbage worms, handpicking them off the plants is an effective method.
- Companion planting: Planting certain herbs and flowers alongside your broccoflower can help repel pests. For example, planting marigolds can help deter flea beetles.
- Neem oil: Neem oil is a natural insecticide that can be effective against aphids and other pests.
- Insecticidal soap: Insecticidal soap is another organic option that can be used to control aphids and other soft-bodied insects.
Common Broccoflower Diseases
Here are some of the most common diseases that can affect broccoflower:
- Clubroot: This soilborne disease causes the roots of broccoflower plants to become swollen and distorted, preventing them from absorbing water and nutrients.
- Black rot: This bacterial disease causes dark spots to appear on the leaves of broccoflower plants.
- Downy mildew: This fungal disease causes white or grayish patches to appear on the leaves of broccoflower plants.
Organic Disease Control Methods
Here are some organic methods I use to control these diseases:
- Crop rotation: Rotating your crops each year can help prevent the buildup of soilborne diseases like clubroot.
- Healthy soil: Maintaining healthy soil with good drainage and plenty of organic matter can help prevent many diseases.
- Proper watering: Avoid overhead watering, as this can create conditions that favor disease development.
- Fungicides: Organic fungicides, such as copper or sulfur-based sprays, can be used to control fungal diseases like downy mildew.
Preventative Measures
In addition to these targeted treatments, I also take some preventative measures to keep my broccoflower plants healthy:
- Start with healthy seeds and transplants: Choose disease-resistant varieties and inspect transplants carefully before planting.
- Provide good air circulation: Space your plants properly to allow for good air circulation, which can help prevent disease.
- Keep your garden clean: Remove any diseased plant debris from your garden to prevent the spread of disease.
By using these organic methods, you can effectively protect your broccoflower plants from pests and diseases without harming the environment or your health.
How to Harvest Broccoflower: Knowing When It’s Ready
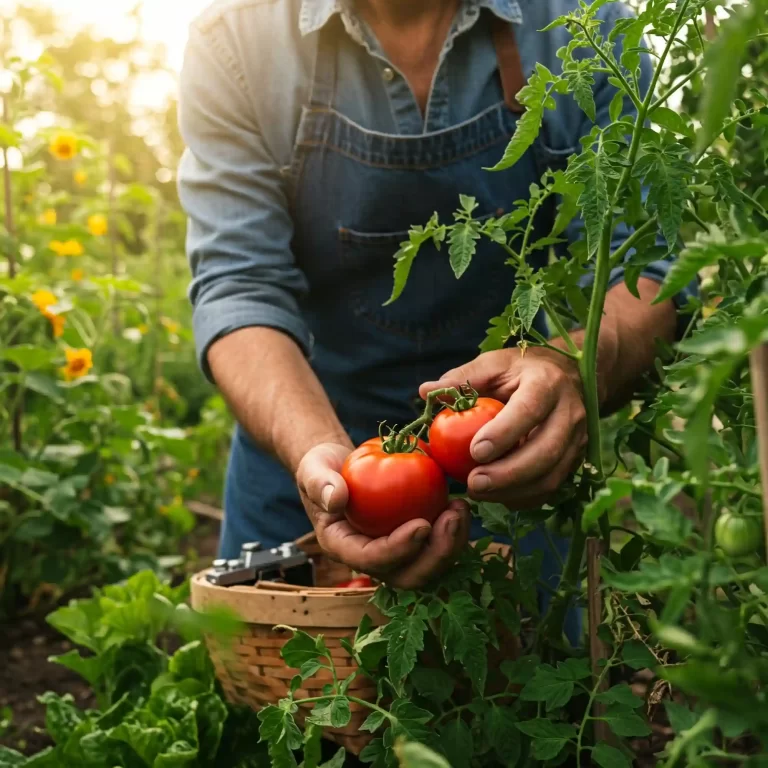
Harvesting your broccoflower at the right time is crucial for enjoying its optimal flavor and texture. From my experience, I’ve learned that timing is everything. Harvest too early, and the head will be small and underdeveloped. Harvest too late, and the florets may start to separate and become tough.
Knowing When to Harvest
Here are some signs that your broccoflower is ready to harvest:
- Head size: The head should be firm and compact, reaching a diameter of about 6-8 inches.
- Floret tightness: The florets should be tightly packed together.
- Color: The color should be a vibrant green.
- Timeframe: Depending on the variety and growing conditions, broccoflower typically takes about 50-80 days to mature after transplanting.
How to Harvest
Here’s how I harvest broccoflower:
- Use a sharp knife: Use a sharp knife to cut the head from the plant.
- Cut at an angle: Cut the stalk at an angle, about 5-6 inches below the head.
- Leave some stem: Leaving some stem attached to the head will help it stay fresh longer.
Post-Harvest Care
Here are some tips for storing your harvested broccoflower:
- Refrigerate: Store the head in the refrigerator in a plastic bag or container.
- Use within a week: Broccoflower is best used within a week of harvesting.
Extending Your Harvest
To extend your harvest, you can try these techniques:
- Succession planting: Plant new broccoflower seedlings every few weeks to have a continuous harvest.
- Side shoots: After harvesting the main head, the plant may produce side shoots that can also be harvested.
By following these tips, you can enjoy a bountiful harvest of fresh, homegrown broccoflower throughout the growing season.
Extending Your Broccoflower Harvest: Succession Planting
To extend your harvest of broccoflower, you can try succession planting. This involves planting new broccoflower seedlings every few weeks to have a continuous supply of mature heads throughout the growing season.
Here’s how to do it:
- Start with a staggered planting schedule: Plant your first broccoflower seedlings in early spring, a few weeks before the last expected frost. Then, plant additional seedlings every 2-3 weeks.
- Choose the right varieties: Some broccoflower varieties are earlier or later maturing than others. Choose a mix of varieties to extend your harvest window.
- Consider your climate: In warmer climates, you can plant broccoflower for a fall harvest as well.
- Plant in different locations: If you have the space, plant your broccoflower in different areas of your garden. This can help to extend your harvest, as different areas may have slightly different microclimates.
By following these tips, you can enjoy fresh, homegrown broccoflower for a longer period.
Additional Tips for Growing Broccoflower
Here are a few additional tips for growing broccoflower:
- Choose the right variety: There are many different broccoflower varieties available, so choose one that is well-suited to your climate and growing conditions.
- Start with healthy seedlings: If you’re not starting your broccoflower from seed, purchase healthy seedlings from a reputable nursery.
- Provide consistent care: Broccoflower needs consistent moisture and fertilization to thrive.
- Monitor for pests and diseases: Keep an eye out for common broccoflower pests and diseases, and take action promptly if you see any signs of problems.
- Harvest at the right time: Harvest your broccoflower when the heads are firm and compact.
With a little care and attention, you can successfully grow broccoflower in your garden. This unique and delicious vegetable is a great addition to any meal.
FAQ: Your Broccoflower Questions Answered
Here are some frequently asked questions about growing broccoflower:
Q: How do I know when my broccoflower is ready to harvest?
A: Broccoflower is ready to harvest when the head is firm and compact, about 6-8 inches in diameter. The florets should be tightly packed together and the color should be a vibrant green.
Q: What are some common pests that attack broccoflower?
A: Common broccoflower pests include aphids, cabbage worms, and flea beetles.
Q: What are some common diseases that affect broccoflower?
A: Common broccoflower diseases include clubroot, black rot, and downy mildew.
Q: How can I prevent pests and diseases from attacking my broccoflower?
A: You can prevent pests and diseases from attacking your broccoflower by using organic pest control methods, such as handpicking, companion planting, neem oil, and insecticidal soap. You can also use organic disease control methods, such as crop rotation, healthy soil, proper watering, and fungicides.
Q: How do I extend my broccoflower harvest?
A: To extend your broccoflower harvest, you can try succession planting. This involves planting new broccoflower seedlings every few weeks to have a continuous supply of mature heads throughout the growing season.
Q: Can I grow broccoflower in containers?
A: Yes, you can grow broccoflower in containers. Choose a pot that is at least 12 inches in diameter and make sure it has drainage holes. Use a high-quality potting mix and water regularly.
Q: How much sun does broccoflower need?
A: Broccoflower needs at least 6 hours of sun per day.
Q: How often should I water my broccoflower?
A: Water your broccoflower deeply whenever the top inch of soil feels dry.
Q: How do I fertilize my broccoflower?
A: Fertilize your broccoflower every 2-3 weeks with a balanced fertilizer.
Q: What is the best time to plant broccoflower?
A: The best time to plant broccoflower is in early spring, a few weeks before the last expected frost.
Q: How long does it take for broccoflower to mature?
A: Broccoflower typically takes about 50-80 days to mature after transplanting.
Q: Is broccoflower easy to grow?
A: Yes, broccoflower is relatively easy to grow. It is a good choice for beginner gardeners.
Q: Where can I find more information about growing broccoflower?
A: You can find more information about growing broccoflower at your local library or online. You can also talk to your local nursery or garden center.
Conclusion: The Joys of Growing Your Own Broccoflower
Growing your own food is a rewarding experience, and broccoflower is a particularly fun and interesting vegetable to cultivate. Not only is it delicious and nutritious, but it’s also relatively easy to grow, making it a great choice for beginner gardeners.
By following the tips and advice in this guide, you can successfully grow broccoflower in your own backyard. You’ll be able to enjoy fresh, homegrown broccoflower throughout the growing season, and you’ll have the satisfaction of knowing that you grew it yourself.
So what are you waiting for? Get out there and start growing!
Here are some of the benefits of growing your own broccoflower:
- Freshness: Homegrown broccoflower is much fresher than store-bought broccoflower.
- Flavor: Homegrown broccoflower has a more intense flavor than store-bought broccoflower.
- Nutrition: Homegrown broccoflower is more nutritious than store-bought broccoflower.
- Cost: Growing your own broccoflower can save you money.
- Satisfaction: There’s nothing quite like the satisfaction of eating food that you grew yourself.
I encourage you to give broccoflower a try. You might be surprised at how easy and rewarding it is to grow your own food.
Happy gardening!
Additional Resources
I hope you enjoyed this guide on how to grow broccoflower. If you have any questions, please feel free to leave a comment below.
Happy gardening!
