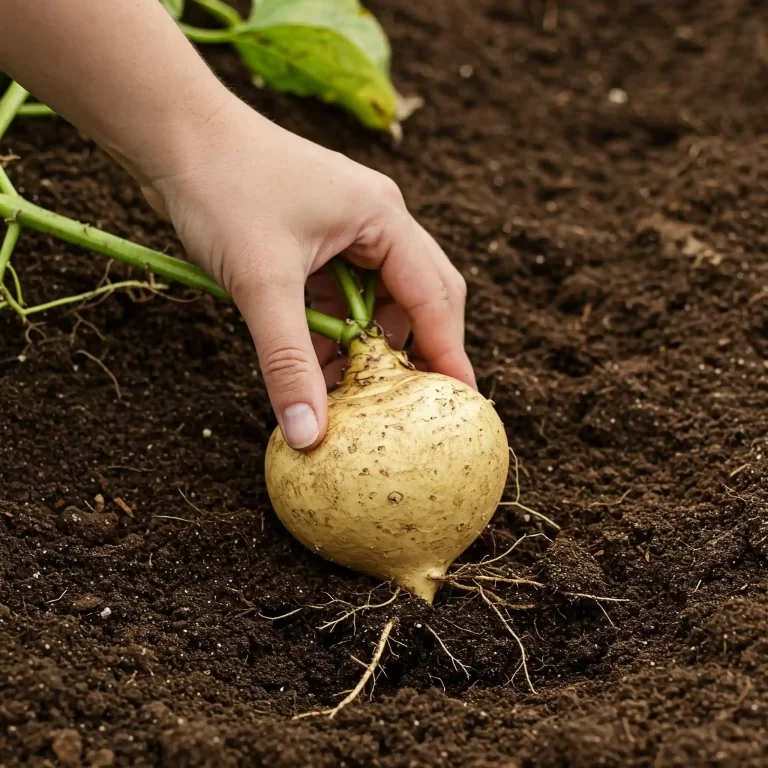
Are you tired of bland salads and looking to add a zesty, peppery bite to your meals? Do you want to try growing your own fresh greens but feel intimidated by the process? I understand. Many people think growing their own food is difficult, especially if they live in a city or have limited space. You might feel like you don’t have the “green thumb” or the time to dedicate to a full-blown garden. But what if I told you that growing your own fresh, flavorful watercress is surprisingly easy, even if you’re a beginner? I’m here to tell you it is! In this guide, I’ll walk you through 7 simple steps on how to grow watercress vegetable, ensuring you have a thriving crop in no time.
1. Choosing the Right Location for Your Watercress
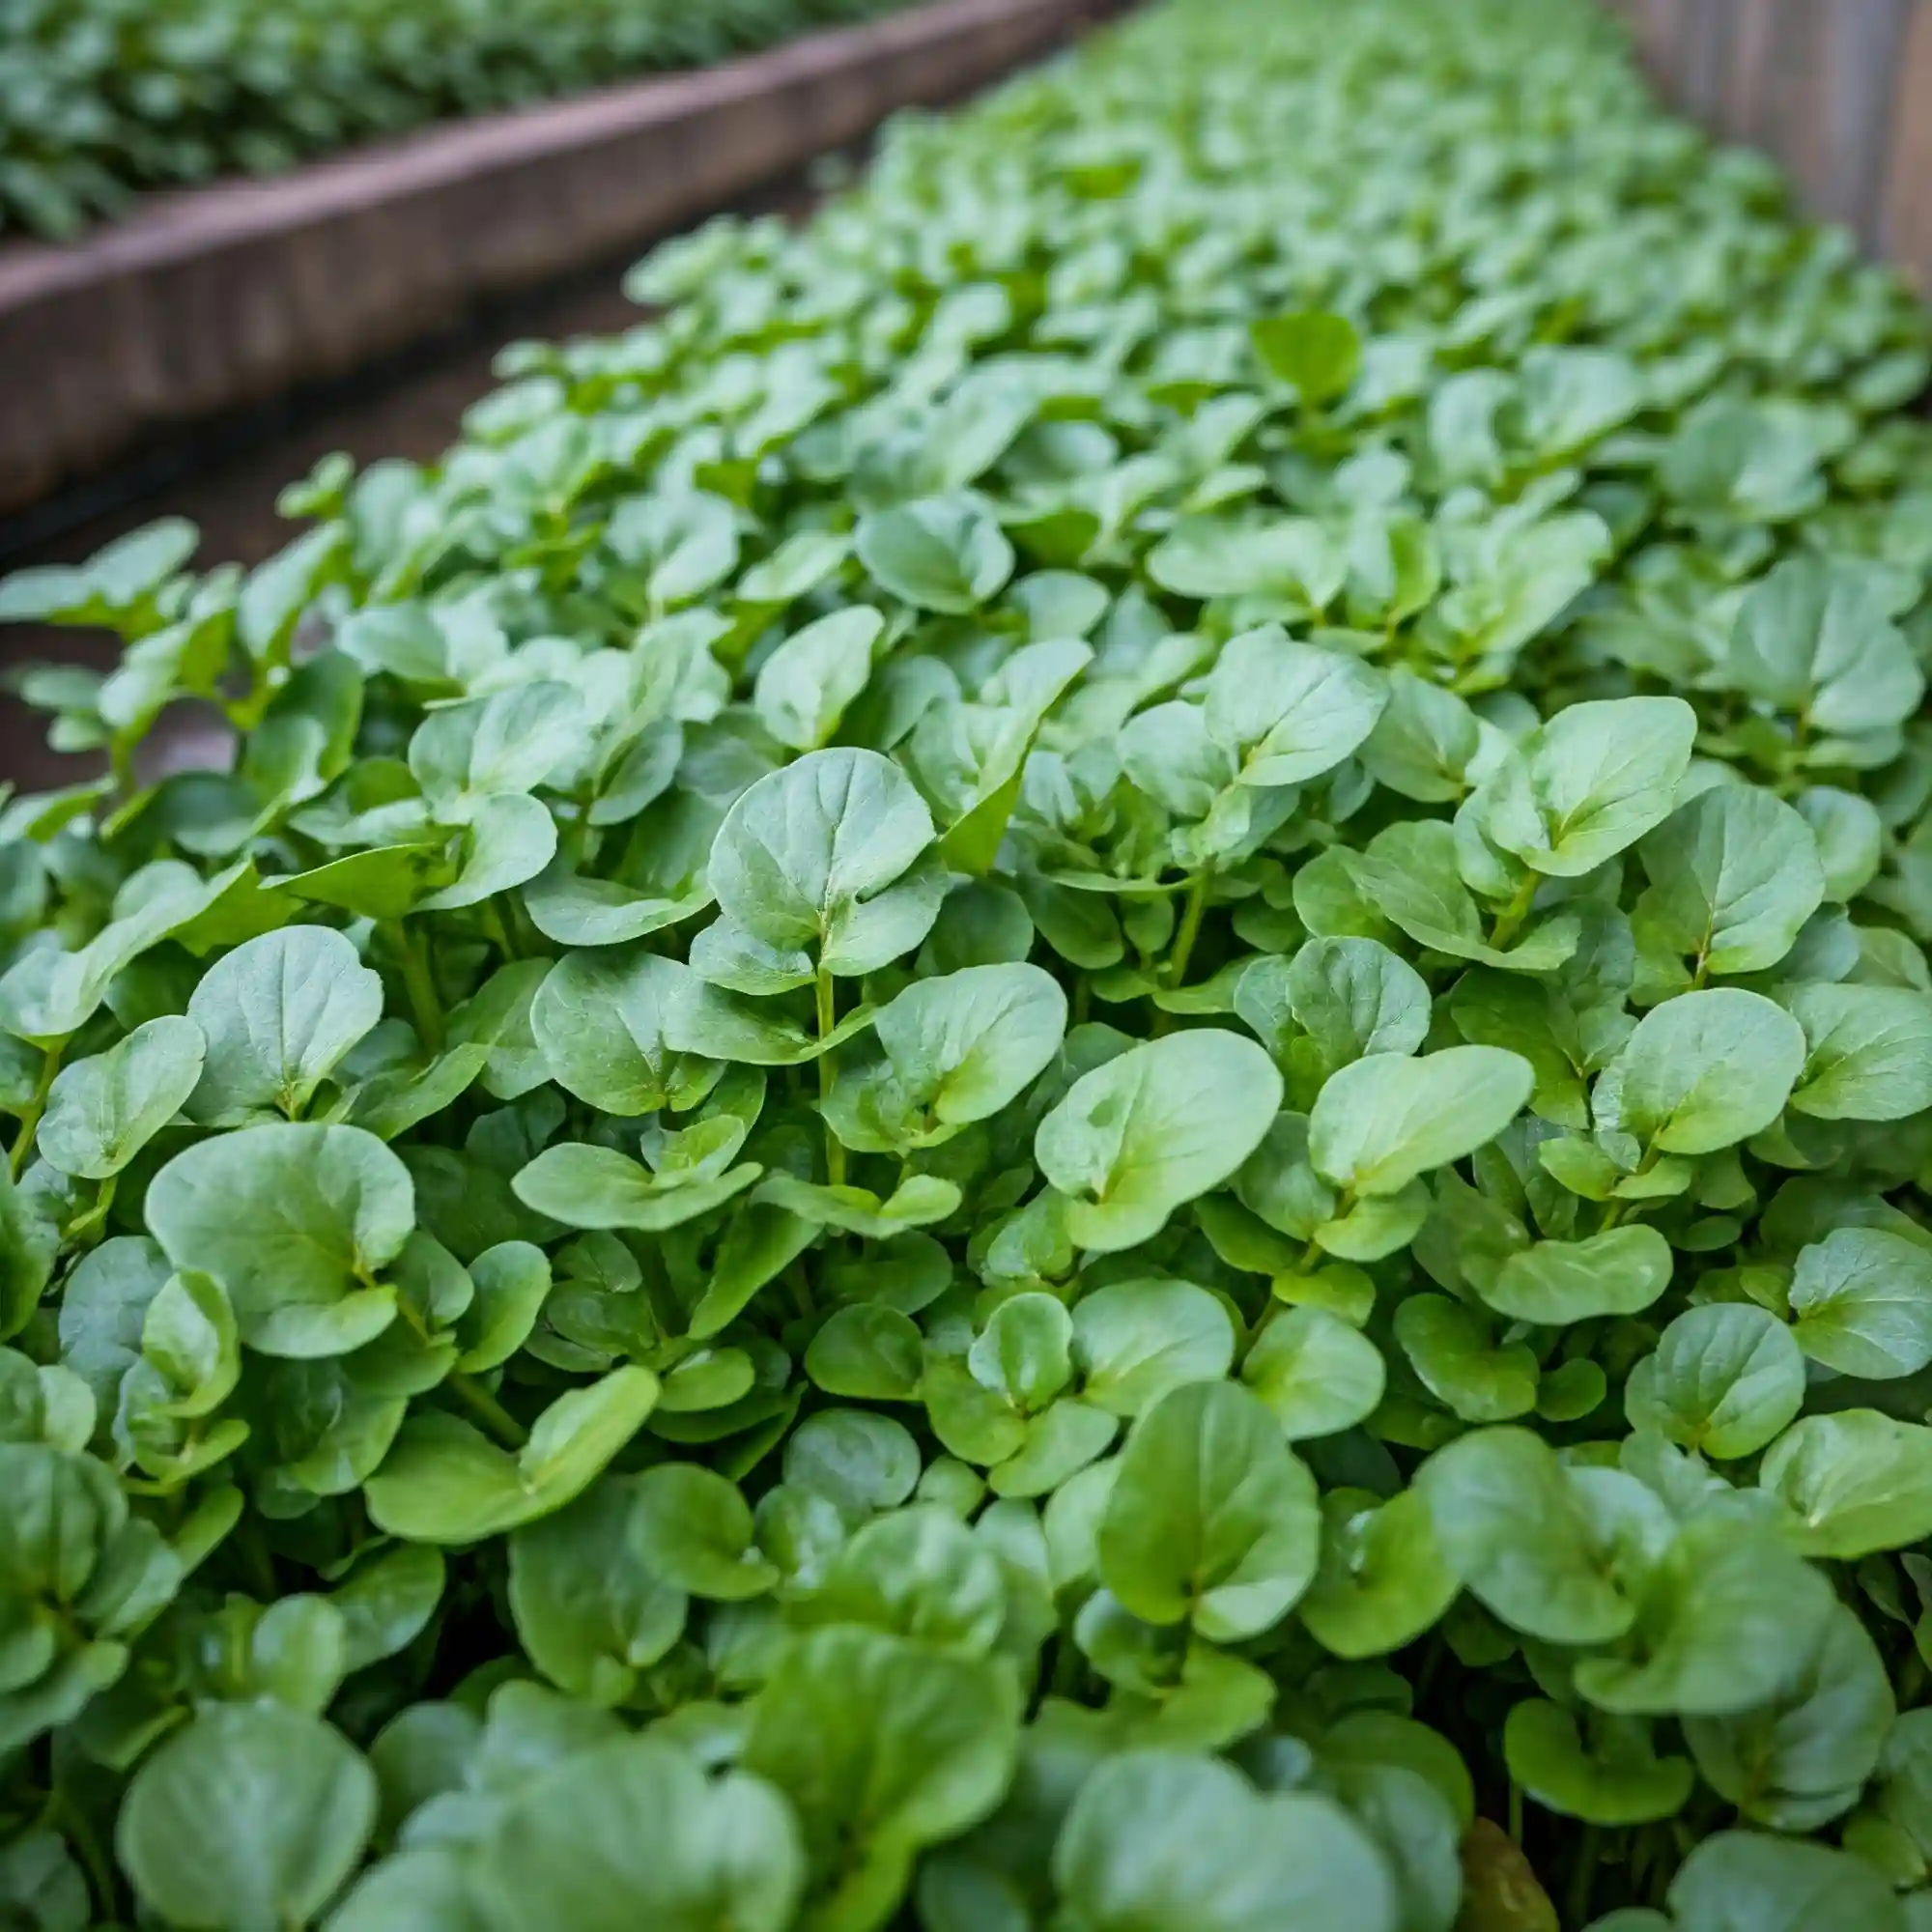
Choosing the right location is paramount when you learn how to grow watercress vegetable. It’s not as demanding as some other plants, but mimicking its natural habitat will significantly boost your success. In my experience, and from observing countless thriving watercress patches, I’ve found these key elements are essential:
Sunlight:
Watercress thrives in partial shade. Direct sunlight, especially during the hottest part of the day, can scorch its delicate leaves, making them bitter and less palatable. Think dappled sunlight filtering through trees or a spot that receives morning sun and afternoon shade. This is crucial whether you are growing watercress vegetable in your backyard or on a balcony.
Water Source:
As the name suggests, watercress loves water. It naturally grows along streams, in shallow ponds, and in consistently moist areas. You must provide a similar environment for successful cultivation. If you have a natural water feature in your garden, that’s ideal. If not, you’ll need to ensure consistent moisture through regular watering or even consider a bog garden setup. I’ve even seen people successfully grow watercress in containers placed in a shallow tray of water.
Container Growing Considerations:
If you’re limited on space or prefer container gardening, you can absolutely grow watercress in pots or troughs. The key here is to choose containers with drainage holes but also provide a way to maintain consistent moisture. I recommend placing the container in a tray of water, ensuring the water level doesn’t reach the top of the pot. This creates a miniature bog-like environment that watercress loves. I have successfully grown watercress in containers on my balcony using this method, and I have found it to be very effective.
Specific Location Tips:
- Avoid areas with strong winds: Strong winds can dry out the leaves quickly.
- Consider a north-facing wall: This provides consistent shade, especially in the Northern Hemisphere.
- Mimic natural conditions: Think about where you’ve seen watercress growing in nature and try to replicate those conditions.
Case Study:
I once helped a friend who was struggling to grow watercress in his sunny backyard. We moved his container to a spot under a large oak tree, providing ample shade. We also placed the container in a tray of water. Within a few weeks, his watercress was thriving, producing lush, green growth. This simple change in location made all the difference.
Why Location is Crucial:
The location directly impacts the plant’s access to light, water, and air circulation. These three elements are fundamental for any plant’s survival and growth. For watercress, which is naturally adapted to damp, shady environments, replicating these conditions is especially important. If you get the location right, you’ll be well on your way to a successful harvest.
I remember when I first started growing watercress, I placed it in a sunny spot, thinking it would get plenty of energy. I was wrong. The leaves quickly turned yellow and wilted. It was a valuable lesson that taught me the importance of understanding a plant’s specific needs. You can avoid this by ensuring your watercress gets partial shade.
Further Considerations:
- Temperature: Watercress prefers cooler temperatures, ideally between 50-70°F (10-21°C).
- Air Circulation: While watercress loves moisture, good air circulation is still important to prevent fungal diseases.
This detailed explanation should give you a strong foundation for choosing the perfect location for your watercress. Remember, mimicking its natural environment is key to success.
2. Preparing the Soil or Growing Medium
Now that you’ve chosen the perfect spot, let’s talk about what your watercress will be growing in. The right soil or growing medium is almost as important as location. I’ve learned over the years that watercress is quite adaptable, but providing it with the ideal conditions will result in the healthiest and most flavorful crop. You will find that preparing the soil is a key step when you learn how to grow watercress vegetable.
Soil Type:
In its natural habitat, watercress thrives in rich, consistently moist soil. When growing it in your garden, aim to replicate these conditions. The ideal soil for watercress is:
- Rich in organic matter: This provides essential nutrients for growth.
- Moisture-retentive: This helps to keep the soil consistently damp, which watercress loves.
- Slightly acidic to neutral pH (6.0-7.0): This pH range allows watercress to absorb nutrients effectively.
If your garden soil is heavy clay or sandy, you’ll need to amend it to improve its structure and water retention.
Improving Drainage:
If you have clay soil, which tends to hold water and become waterlogged, it’s crucial to improve drainage. I recommend incorporating plenty of organic matter, such as:
- Compost: This adds nutrients and improves soil structure.
- Well-rotted manure: This provides a slow-release source of nutrients.
- Coarse sand or perlite: This improves drainage and aeration.
These amendments will help prevent root rot, a common problem for watercress grown in poorly draining soil.
Container Medium:
If you’re growing watercress in containers, you’ll need a well-draining potting mix that also retains moisture. I’ve found the following mix to be very effective:
- High-quality potting soil: This provides a base for the mix.
- Compost: This adds nutrients and improves water retention.
- Perlite or vermiculite: This improves drainage and aeration.
This combination creates a light and airy mix that holds moisture without becoming waterlogged.
Specific Soil Preparation Tips:
- Test your soil pH: You can purchase a simple soil testing kit at your local garden center.
- Amend your soil in the fall: This gives the amendments time to break down before planting in the spring.
- Avoid using garden soil in containers: Garden soil can become compacted in containers, leading to drainage problems.
Case Study:
I once observed two gardeners growing watercress side-by-side. One gardener used unimproved heavy clay soil, while the other amended their clay soil with plenty of compost. The watercress grown in the amended soil was significantly healthier and more productive. This clearly demonstrated the importance of proper soil preparation.
Why Soil Preparation is Crucial:
The soil or growing medium provides the foundation for your watercress plants. It supplies essential nutrients, water, and support for the roots. By preparing the soil properly, you’re setting your plants up for success from the very beginning.
I remember when I first started gardening, I didn’t pay much attention to soil preparation. I simply planted my seeds and hoped for the best. I quickly learned that healthy soil is the key to healthy plants. Now, I always take the time to prepare the soil properly before planting anything, and I encourage you to do the same.
Further Considerations:
- Nutrient availability: The pH of the soil affects the availability of nutrients to the plants.
- Water retention and drainage: These factors affect the health of the roots and the overall growth of the plants.
This detailed explanation should give you a solid understanding of how to prepare the ideal growing medium for your watercress. Taking the time to do this properly will pay off with a bountiful harvest.
3. Planting Watercress Seeds or Cuttings
Now that you’ve got the perfect location and your soil is ready, it’s time to get your watercress growing! You have two main options: starting from seeds or propagating from cuttings. Both are relatively easy, and I’ll walk you through each method.
Starting from Seed:
If you’re starting from scratch, seeds are a great option. Here’s how I usually do it:
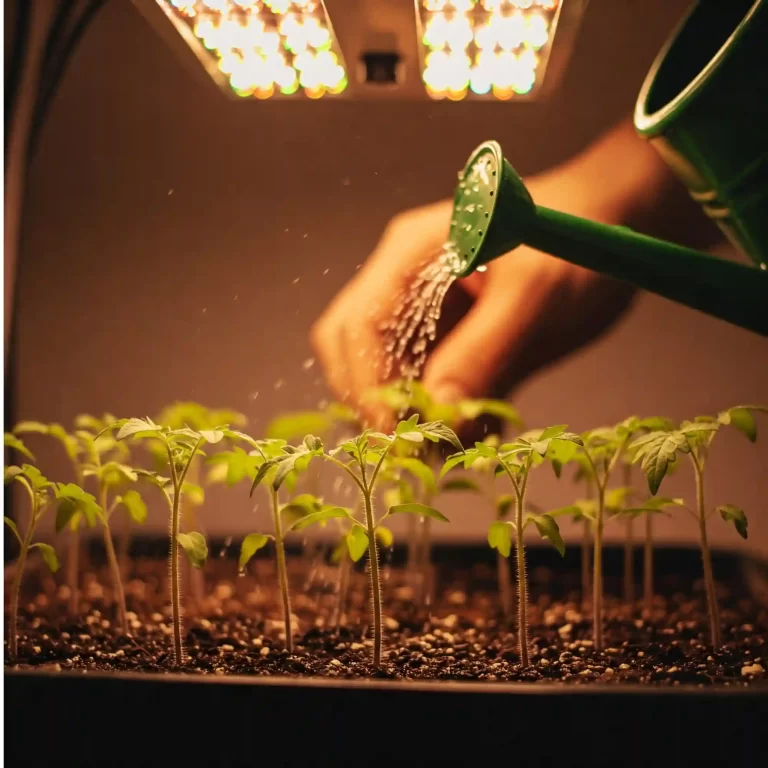
- Sowing Seeds: You can sow watercress seeds directly into your prepared garden bed or container. I prefer to start them indoors in seed trays or small pots, especially if it’s still early in the season.
- Seed Starting Mix: When starting seeds indoors, use a fine-textured seed starting mix. This provides good drainage and aeration for the delicate seedlings.
- Planting Depth: Sprinkle the tiny seeds on the surface of the soil and gently press them down. They don’t need to be buried deeply; about 1/4 inch is sufficient.
- Moisture is Key: Keep the soil consistently moist by misting it regularly. You can also cover the seed tray or pots with a plastic lid or bag to create a humid environment.
- Germination: Watercress seeds typically germinate within 7-14 days, depending on the temperature. Once the seedlings emerge, remove the cover and provide them with plenty of light.
Propagating from Cuttings:
Propagating from cuttings is a quick and easy way to get new watercress plants, especially if you already have some growing. Here’s how I do it:
- Selecting Cuttings: Choose healthy stems that are about 4-6 inches long.
- Preparing Cuttings: Remove the lower leaves from the stems, leaving only a few at the top.
- Rooting Cuttings: You can root watercress cuttings in water or directly in moist soil. I’ve had success with both methods. If rooting in water, place the cuttings in a glass of water and change the water every few days. Roots should develop within a week or two.
- Planting Cuttings: Once the cuttings have developed roots, you can plant them in your prepared garden bed or container.
Planting Depth and Spacing:
- Planting Depth: Whether you’re planting seeds or cuttings, make sure the base of the plant is level with the soil surface.
- Spacing: Space your watercress plants about 6-8 inches apart. This gives them enough room to grow and prevents overcrowding.
Case Study:
I remember when I first tried propagating watercress from cuttings, I was amazed at how easy it was. I simply took some cuttings from a store-bought bunch of watercress, placed them in water, and within a few days, they had developed roots. It was a great way to get a free supply of watercress!
Why Planting Method Matters:
The way you plant your watercress directly affects its establishment and growth. Proper planting depth and spacing ensure that the plants have enough room to develop a strong root system and access nutrients and water efficiently.
I’ve learned that patience is key when it comes to starting plants from seed. It can be tempting to give up if you don’t see any sprouts right away, but with consistent moisture and warmth, they will eventually emerge.
Further Considerations:
- Timing: The best time to plant watercress is in the spring or fall, when temperatures are cooler.
- Light: Seedlings need plenty of light to grow strong. If starting them indoors, place them near a sunny window or under grow lights.
This detailed explanation should help you choose the best planting method for your watercress and get your plants off to a great start.
4. Watering and Maintaining Your Watercress
You will find that consistent watering and maintenance is crucial when you learn how to grow watercress vegetable. Now that your watercress is planted, it’s time to focus on providing the care it needs to thrive. Watercress is a water-loving plant, so consistent moisture is key. However, there’s a fine line between moist and waterlogged, so let’s dive into the details.
Consistent Moisture:
Watercress thrives in consistently moist conditions, mimicking its natural habitat along streams and in damp areas. I recommend watering your watercress regularly, especially during dry periods. The goal is to keep the soil consistently damp, but not soggy. You can check the moisture level by sticking your finger about an inch into the soil. If it feels dry, it’s time to water.
Watering Techniques:
- Water deeply: When you water, water thoroughly so that the water reaches the roots.
- Water at the base of the plant: Avoid wetting the leaves as much as possible, as this can encourage fungal diseases.
- Water in the morning: This gives the leaves time to dry before nightfall, reducing the risk of disease.
Avoid Overwatering:
While watercress loves moisture, overwatering can be detrimental. Waterlogged soil can lead to root rot, which can kill your plants. Make sure your soil or growing medium has good drainage to prevent this. If you’re growing in containers, ensure they have drainage holes.
Fertilizing:
Watercress doesn’t require heavy fertilization, but a light feeding can be beneficial, especially if you’re growing it in containers. I recommend using a balanced liquid fertilizer diluted to half strength. You can fertilize every few weeks during the growing season.
Other Maintenance Tips:
- Weeding: Keep the area around your watercress free of weeds, which can compete for nutrients and water.
- Thinning: If you started your watercress from seed, you may need to thin the seedlings to provide adequate spacing.
- Pruning: You can prune your watercress to encourage bushier growth. Simply snip off the top portions of the stems.
Case Study:
I once had a patch of watercress that was growing very slowly. I realized that I wasn’t watering it deeply enough. I started watering it more thoroughly, and within a few weeks, it was thriving. This experience taught me the importance of proper watering techniques.
Why Watering and Maintenance are Crucial:
Consistent watering and proper maintenance are essential for healthy watercress growth. Water provides the necessary hydration for the plant, while maintenance practices like weeding and pruning help to ensure that the plant has access to the resources it needs to thrive.
I’ve learned that observing your plants is key to understanding their needs. If the leaves are wilting, they likely need more water. If they’re turning yellow, they may be getting too much water or need fertilizer.
Further Considerations:
- Water quality: Avoid using water that is high in chlorine or other chemicals, as this can harm your plants.
- Humidity: Watercress prefers humid conditions. If you live in a dry climate, you may need to mist your plants regularly.
This detailed explanation should help you provide the proper care for your watercress and ensure a bountiful harvest.
5. Protecting Your Watercress from Pests and Diseases
Maintaining healthy watercress involves vigilance against potential pests and diseases. While watercress is relatively hardy, it can be susceptible to certain problems, especially if growing conditions aren’t ideal. I’ve encountered my fair share of garden pests over the years, and I’ve learned that early detection and prevention are the best defense. You will find that protecting your plant is an important step when you learn how to grow watercress vegetable.
Common Pests:
Here are some common pests that can affect watercress:
- Aphids: These small, sap-sucking insects can cluster on new growth, causing distorted leaves.
- Slugs and Snails: These mollusks can chew holes in leaves, especially in damp conditions.
- Caterpillars: These can also feed on the leaves, causing significant damage if left unchecked.
- Watercress Leaf Beetle: This beetle specifically targets watercress, both the adults and larvae feeding on the leaves.
Organic Pest Control Methods:
I always prefer using organic methods to control pests in my garden. Here are some effective options:
- Handpicking: For larger pests like slugs, snails, and caterpillars, handpicking them off the plants is a simple and effective method.
- Insecticidal Soap: This organic spray can be effective against aphids and other soft-bodied insects.
- Neem Oil: This natural oil can disrupt the life cycle of many pests.
- Companion Planting: Planting certain herbs or flowers near your watercress can help repel pests. For example, planting marigolds can deter aphids.
- Barriers: Copper tape around containers can deter slugs and snails.
Disease Prevention:
Watercress is also susceptible to certain fungal diseases, especially in humid conditions or when the plants are overcrowded. Here are some preventive measures I recommend:
- Good Air Circulation: Ensure good air circulation around your plants by spacing them adequately and avoiding overcrowding.
- Avoid Overwatering: Overwatering can create ideal conditions for fungal diseases to develop.
- Proper Drainage: Make sure your soil or growing medium has good drainage.
- Crop Rotation: If you’re growing watercress in the same area year after year, rotate your crops to prevent the buildup of soilborne diseases.
Specific Pest and Disease Tips:
- Monitor your plants regularly: Check your watercress plants regularly for signs of pests or diseases.
- Act quickly: If you spot any problems, take action immediately to prevent them from spreading.
- Identify the problem correctly: Make sure you correctly identify the pest or disease before choosing a treatment method.
Case Study:
I once had a severe aphid infestation on my watercress. I tried spraying them with water, but it didn’t solve the problem. I then used insecticidal soap, and it effectively controlled the aphids without harming the plants. This experience taught me the importance of choosing the right treatment method.
Why Pest and Disease Management is Crucial:
Protecting your watercress from pests and diseases is essential for ensuring a healthy and productive crop. By taking preventive measures and acting quickly when problems arise, you can keep your plants thriving.
I’ve learned that every garden is different, and the specific pests and diseases you encounter may vary depending on your location and climate. It’s important to stay informed and adapt your approach as needed.
Further Considerations:
- Beneficial Insects: Encourage beneficial insects like ladybugs and lacewings, which can help control pests naturally.
- Organic Gardening Practices: Using organic gardening practices can help to create a healthy ecosystem in your garden, making your plants less susceptible to pests and diseases.
This detailed explanation should equip you with the knowledge you need to protect your watercress from common pests and diseases. Remember, prevention is key, so monitor your plants regularly and take action promptly if you spot any problems.
6. Harvesting Your Fresh Watercress
After nurturing your watercress through the growing process, the most rewarding part arrives: harvesting your fresh, flavorful greens! Knowing when and how to harvest correctly ensures a continuous supply of this peppery delight. This is what you have been waiting for when you learn how to grow watercress vegetable.
When to Harvest:
You can begin harvesting your watercress once the plants reach about 4-6 inches in height. At this stage, they’ll have developed a good amount of foliage and will be ready to provide you with a tasty addition to your meals. I usually start harvesting a few weeks after planting cuttings or a few weeks after the seedlings have established themselves.
How to Harvest:
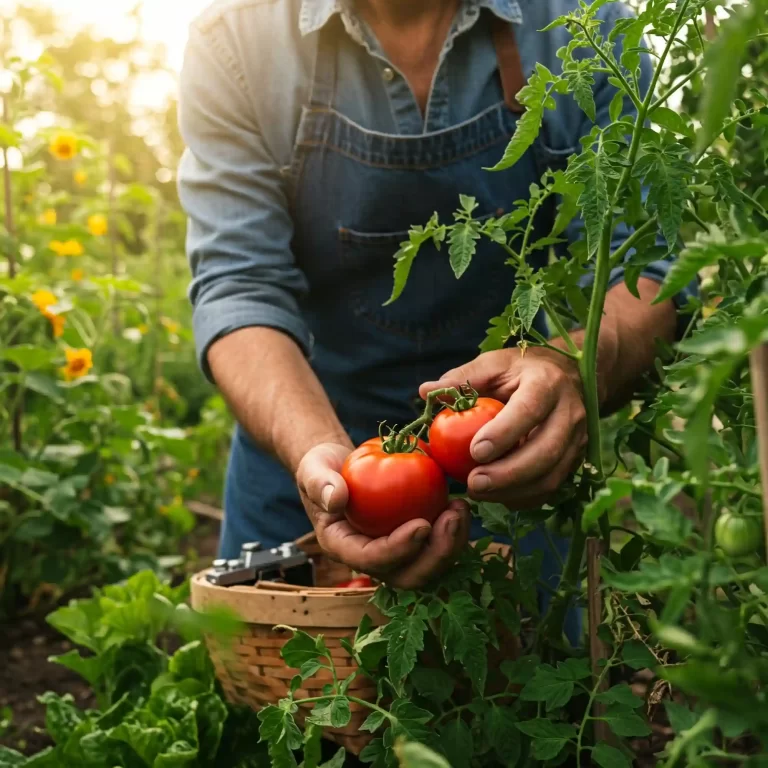
The key to harvesting watercress is to avoid pulling up the entire plant. Instead, use a sharp pair of scissors or garden shears to snip off the outer leaves and stems. This allows the plant to continue growing and producing more leaves for future harvests.
Harvesting Techniques:
- Snip the stems: Cut the stems a couple of inches above the soil surface. This encourages new growth from the base of the plant.
- Harvest regularly: Regular harvesting encourages the plant to produce more leaves, resulting in a more abundant crop.
- Harvest in the morning: I find that harvesting in the morning, after the dew has dried, results in the freshest and most flavorful watercress.
Continuous Harvest:
With proper care and regular harvesting, you can enjoy a continuous supply of fresh watercress throughout the growing season. The plant will continue to produce new leaves as long as you leave some of the stems and leaves intact.
Specific Harvesting Tips:
- Avoid harvesting more than one-third of the plant at a time: This helps to prevent stressing the plant and ensures continued growth.
- Wash your watercress thoroughly: Before using your harvested watercress, wash it thoroughly to remove any dirt or debris.
- Store your watercress properly: Freshly harvested watercress can be stored in the refrigerator for a few days. Wrap it in a damp paper towel and place it in a plastic bag or container.
Case Study:
I once neglected to harvest my watercress regularly, and it became overgrown and leggy. I learned that regular harvesting is essential for maintaining healthy and productive plants. Now, I make it a habit to harvest my watercress every week or two, even if I don’t need it right away.
Why Harvesting Technique Matters:
The way you harvest your watercress directly impacts its ability to continue producing new growth. By snipping the outer leaves and stems, you’re encouraging the plant to branch out and produce more leaves, resulting in a more abundant harvest over a longer period.
I remember the first time I harvested watercress, I pulled up the entire plant. I quickly realized that this was a mistake, as it meant I had to start all over again. Now, I always use the snipping method, and I’ve been able to enjoy a continuous supply of fresh watercress for months at a time.
Further Considerations:
- Flowering: If your watercress starts to flower, you can still harvest the leaves, but they may become slightly more bitter. You can also pinch off the flowers to encourage more leaf growth.
- Seed Saving: If you want to save seeds for future planting, allow some of your watercress plants to flower and go to seed.
This detailed explanation should help you harvest your watercress correctly and enjoy a continuous supply of fresh greens.
7. Troubleshooting Common Watercress Growing Problems
Even with the best care, you might encounter some challenges while growing watercress. I’ve certainly had my share of troubleshooting moments in my gardening journey. Recognizing and addressing these issues promptly is key to keeping your watercress healthy and productive. You can find that troubleshooting is a helpful skill when you learn how to grow watercress vegetable.
Common Problems and Solutions:
- Yellowing Leaves: This can be a sign of several issues:
- Nutrient Deficiency: Watercress needs adequate nutrients to thrive. If the leaves are yellowing, especially older leaves, it may indicate a nutrient deficiency. I recommend using a balanced liquid fertilizer diluted to half strength.
- Overwatering: While watercress loves moisture, overwatering can lead to root rot, which can also cause yellowing leaves. Ensure proper drainage and avoid waterlogging the soil.
- Sunlight: Too much direct sunlight can scorch the leaves, causing them to turn yellow or even brown. Make sure your watercress is in a partially shaded location.
- Slow Growth: If your watercress isn’t growing as quickly as you’d like, consider these factors:
- Insufficient Sunlight: While watercress prefers partial shade, it still needs some sunlight to grow. Make sure it’s getting enough light, especially if you’re growing it indoors.
- Poor Soil: If your soil is lacking in nutrients or doesn’t retain moisture well, it can hinder growth. Amend your soil with compost or other organic matter.
- Temperature Extremes: Watercress prefers cooler temperatures. Extreme heat or cold can slow down growth.
- Pest Infestations: As mentioned in the previous section, pests like aphids, slugs, and snails can damage your watercress. Monitor your plants regularly and take action promptly if you spot any pests.
- Fungal Diseases: Fungal diseases can develop in humid conditions or when plants are overcrowded. Ensure good air circulation and avoid overwatering.
Specific Troubleshooting Tips:
- Observe your plants closely: Regularly inspect your watercress for any signs of problems.
- Identify the problem correctly: Make sure you correctly identify the issue before choosing a solution.
- Take action promptly: Addressing problems early can prevent them from becoming more serious.
Case Study:
I once had a patch of watercress that was growing very slowly. I realized that the soil was compacted and wasn’t draining well. I amended the soil with perlite and compost, and the watercress started growing much more vigorously.
Why Troubleshooting is Crucial:
Troubleshooting is an essential part of gardening. Even experienced gardeners encounter problems from time to time. By learning to recognize and address common issues, you can keep your watercress healthy and productive.
I’ve learned that gardening is a continuous learning process. There’s always something new to discover, and even mistakes can be valuable learning experiences.
Further Considerations:
- Soil testing: If you’re consistently having problems with your watercress, consider getting your soil tested to determine if there are any nutrient deficiencies or pH imbalances.
- Local resources: Your local garden center or agricultural extension office can be a valuable resource for information on pest and disease control in your area.
This detailed explanation should help you troubleshoot common problems and keep your watercress thriving.
FAQ: Answering Your Watercress Growing Questions
I’ve compiled some of the most frequently asked questions about growing watercress. These questions are based on my experience and the common queries I’ve encountered from fellow gardeners. You will find that this section is a great resource when you learn how to grow watercress vegetable.
General Watercress Growing Questions:
- Is watercress easy to grow? Yes, watercress is relatively easy to grow, especially if you provide it with the right conditions. It prefers consistently moist soil and partial shade.
- Where does watercress grow best? Watercress thrives in cool, damp environments, such as along streams or in boggy areas. In your garden, choose a spot that receives partial shade and has consistently moist soil.
- Can I grow watercress indoors? Yes, you can grow watercress indoors in containers. Make sure to provide it with plenty of light and keep the soil consistently moist.
- How long does it take to grow watercress? You can start harvesting watercress about 4-6 weeks after planting seeds or a few weeks after planting cuttings.
- Is watercress a perennial? Yes, watercress is a perennial plant, meaning it can live for multiple years. However, it may need protection in colder climates.
Questions Based Data:
- How to grow watercress vegetable in a container indoors? Choose a container with drainage holes and use a moisture-retentive potting mix. Place the container in a tray of water to ensure consistent moisture. Provide plenty of light, either from a sunny window or grow lights.
- What is the best way to grow watercress vegetable organically? Use organic compost and avoid synthetic fertilizers and pesticides. Handpick pests or use organic pest control methods like insecticidal soap or neem oil.
- How to grow watercress vegetable from cuttings for beginners? Snip 4-6 inch stems, remove the lower leaves, and place them in a glass of water or directly into moist soil. Once roots develop, transplant them into your garden or container.
- How to grow watercress vegetable in a small garden for continuous harvest? Plant your watercress in a partially shaded area with consistently moist soil. Harvest regularly by snipping off the outer leaves and stems, leaving the inner parts to continue growing.
- How to grow watercress vegetable and prevent common plant diseases? Ensure good air circulation, avoid overwatering, and provide proper drainage. Monitor your plants regularly for signs of disease and take action promptly if you spot any problems.
Questions About Specific Growing Methods:
- How to grow watercress vegetable in water without soil outside? You can grow watercress in a container filled with water, similar to growing it in a bog garden. Make sure the container is in a partially shaded location and change the water regularly to prevent stagnation.
- How to grow watercress vegetable in a hydroponic system easily? You can grow watercress in a simple hydroponic system using a container filled with water and a nutrient solution. Provide adequate light and maintain the pH of the water.
Why FAQs are Helpful:
FAQs provide a quick and easy way to find answers to common questions. They can be especially helpful for beginner gardeners who are just starting out.
I’ve found that addressing common questions upfront can help to prevent problems down the road. It’s always better to be prepared and have the information you need to succeed.
Further Considerations:
- Local conditions: The specific growing conditions in your area may affect how you grow watercress. Consult local resources or experienced gardeners in your area for more specific advice.
- Personal preferences: There are many different ways to grow watercress. Experiment and find what works best for you.
This FAQ section should provide you with answers to many of your questions about growing watercress. Remember, gardening is a learning process, so don’t be afraid to experiment and try new things.
Conclusion: Cultivate Your Culinary Oasis with Watercress
Growing watercress is not just about cultivating a plant; it’s about nurturing a connection with nature and adding a touch of homegrown freshness to your culinary adventures. As you’ve discovered in this comprehensive guide, the process is surprisingly simple, even for novice gardeners. By following these steps and understanding the needs of this vibrant green, you can transform your garden or even your windowsill into a thriving watercress haven.
I encourage you to embrace the journey of growing your own watercress. There’s a unique satisfaction in nurturing a plant from seed to harvest, and the reward of enjoying its peppery flavor in your meals makes the effort all the more worthwhile. So, whether you’re a seasoned gardener or just starting out, I hope this guide has inspired you to embark on your own watercress-growing adventure.
