Are you fascinated by unique, drought-tolerant plants? Do you find yourself drawn to the rugged beauty of arid landscapes? I know I have always been. Perhaps you’ve heard whispers of Ephedra, a plant shrouded in both botanical intrigue and historical significance. The problem many gardeners face is knowing where to begin with this unique plant. It can be intimidating to begin growing this plant, especially with the information available online. This is where this guide can help you. You may have read conflicting information online, or you may be worried about the plant’s reputation. You may be unsure of the legal implications of growing it. This uncertainty can take the joy out of the process. I remember feeling the same way when I started growing Ephedra. But what if I told you that growing Ephedra can be a rewarding experience with the right guidance? I’m here to provide you with a comprehensive, easy-to-follow guide that will transform you from an Ephedra novice to a confident grower. This guide is designed to empower you with the knowledge and confidence to cultivate your own thriving Ephedra plants.
Understanding Ephedra: Choosing the Right Species
Let’s begin by understanding what Ephedra actually is. Ephedra is a genus of gymnosperm shrubs, often found in arid and semi-arid regions around the world. These plants, sometimes referred to as “Mormon tea,” “squaw tea,” or “joint fir,” have a long history of traditional use. However, it’s important to be aware that some species contain alkaloids like ephedrine, which has led to regulations in many areas. I want to emphasize right from the start that this guide focuses on the horticultural aspects of growing Ephedra. I urge you to consult with medical professionals before considering using Ephedra for any health-related purposes. It is also essential to research the legal status of growing Ephedra in your specific region.
When you’re considering growing Ephedra, one of the first things I recommend you do is choose the right species. Not all Ephedra species are created equal, especially when it comes to home gardening. Some are better suited to certain climates than others, and some are simply easier to grow. Here are a few species that I’ve found to be particularly well-suited for home cultivation:
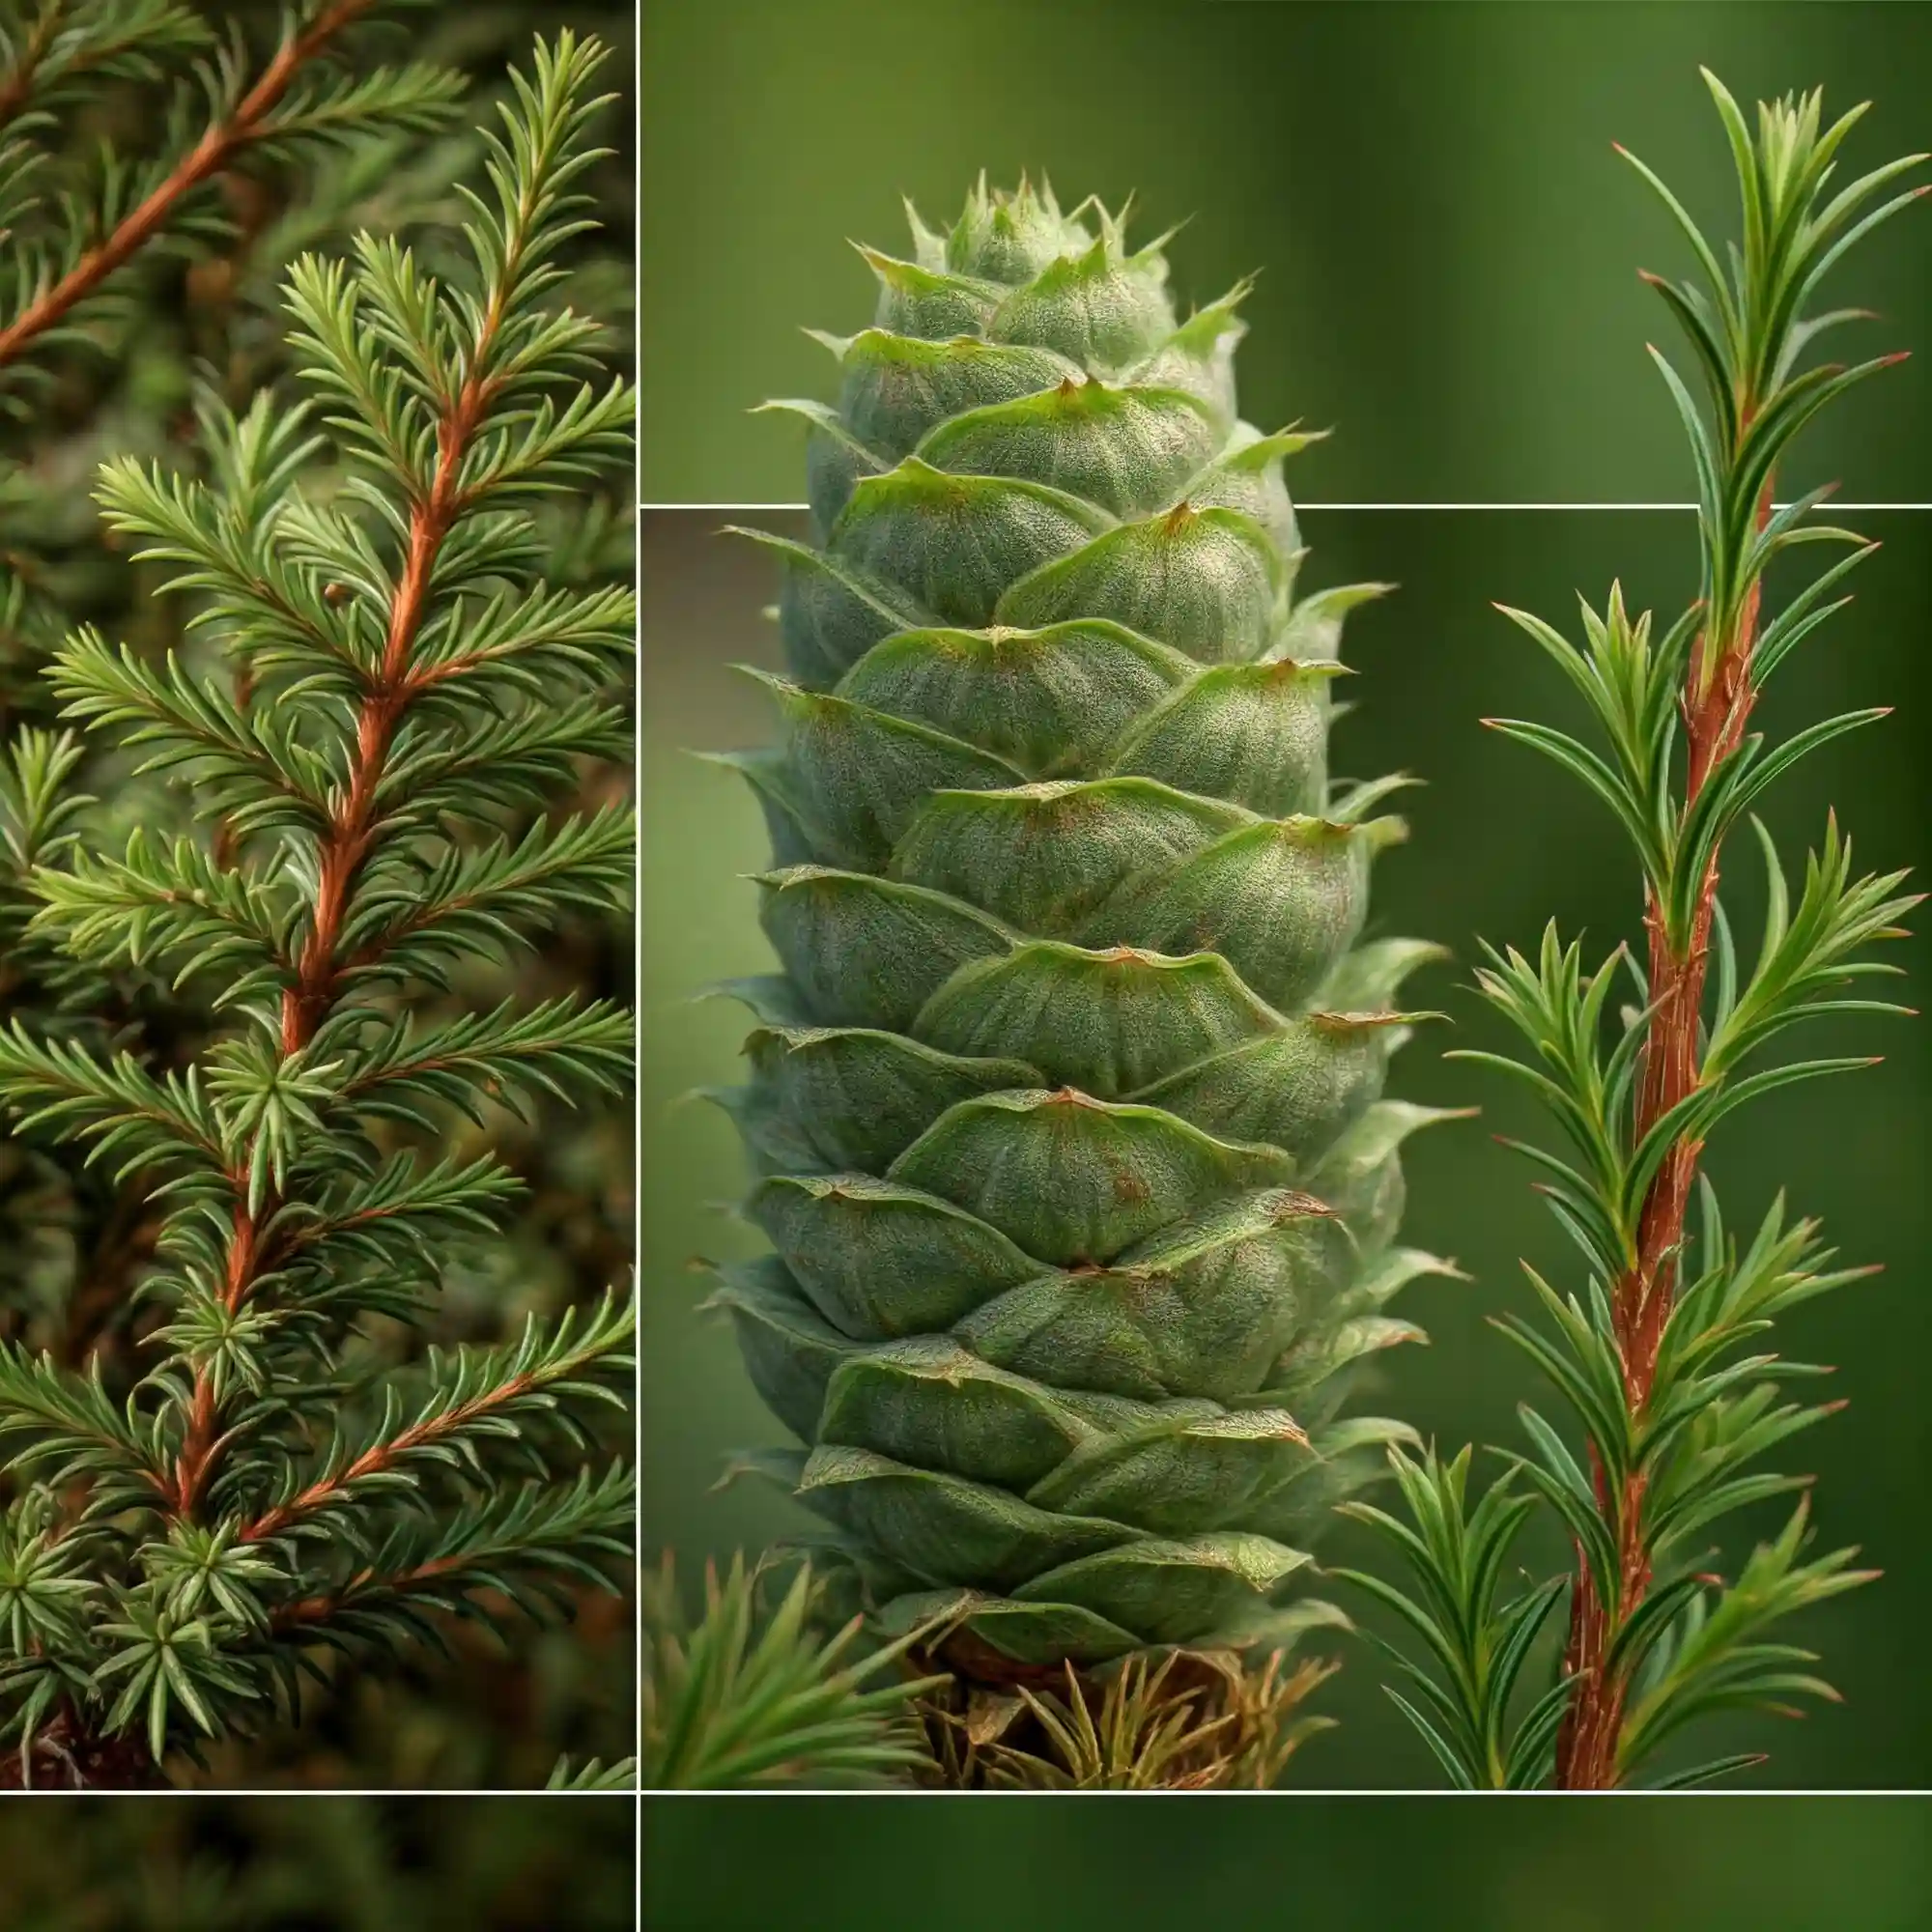
- Ephedra viridis: This species, commonly known as Green Ephedra, is native to the southwestern United States. I’ve found it to be incredibly hardy and drought-tolerant, making it a great choice for beginners. Its vibrant green stems add a splash of color to any garden.
- Ephedra equisetina: This species, also known as Horsetail Ephedra, is native to Central Asia. It’s characterized by its slender, jointed stems that resemble horsetails. I appreciate its elegant appearance and its adaptability to a range of conditions.
- Ephedra distachya: This European species, known as Joint Pine, is another good option for home gardens. I’ve noticed it to be quite cold-hardy, making it suitable for gardeners in cooler climates.
Key Characteristics of Ephedra Species
| Characteristic | Ephedra viridis | Ephedra equisetina | Ephedra distachya |
| Native Region | Southwestern US | Central Asia | Europe |
| Stem Color | Green | Green | Green to yellowish |
| Growth Habit | Upright shrub | Spreading shrub | Low-growing shrub |
| Hardiness | Very hardy | Hardy | Cold-hardy |
| Preferred Climate | Arid, desert | Arid, temperate | Temperate |
When I first started growing Ephedra, I was overwhelmed by the sheer number of species available. I spent hours researching their different characteristics and trying to figure out which ones would thrive in my garden. I learned that understanding each species’ native environment is crucial for successful cultivation. For example, Ephedra viridis, native to arid regions, thrives in well-draining soil and plenty of sunlight. On the other hand, Ephedra distachya, adapted to cooler climates, can tolerate some shade and colder temperatures. By researching the specific needs of each species, you can ensure that your Ephedra plants receive the optimal conditions for growth.
Legal Considerations
Before you even think about planting, it’s absolutely crucial for you to understand the legal implications of growing Ephedra. Due to the presence of ephedrine in some species, Ephedra is regulated in many areas. I strongly advise you to research the specific laws in your region before acquiring any Ephedra plants or seeds. In some places, it may be legal to grow certain species for ornamental purposes, while in others, it may be restricted or even prohibited. I remember once encountering a gardener who was unaware of the regulations in their area. It caused them a lot of unnecessary stress and trouble. I don’t want you to experience the same thing.
Sourcing Your Ephedra Plants
Once you’ve chosen a species and confirmed the legality of growing it in your area, the next step is to source your plants. I recommend purchasing seeds or plants from reputable nurseries or seed suppliers. This will ensure that you’re getting healthy, correctly identified specimens. Avoid collecting plants from the wild, as this can harm native populations and may be illegal.
By understanding the different Ephedra species, their specific needs, and the legal considerations, you can set yourself up for success in growing these fascinating plants. This first step is crucial, and I encourage you to take your time and do your research. It will pay off in the long run.
How to Grow Ephedra from Seed: A Step-by-Step Guide
Growing Ephedra from seed can be a patient but rewarding process. I’ve found that it allows you to observe the entire life cycle of the plant, from the emergence of the first tiny leaves to the development of a mature shrub. If you’re up for the challenge, here’s a step-by-step guide to help you successfully grow Ephedra from seed:
Seed Stratification (If Required)
Some Ephedra species benefit from a process called stratification, which mimics the natural winter conditions that the seeds would experience in their native environment. This helps to break seed dormancy and improve germination rates. I’ve found that Ephedra viridis, for example, often benefits from stratification. Here’s how you can do it:
- Moisten: Place the Ephedra seeds in a damp paper towel or a small container filled with moist sand or vermiculite.
- Seal: Seal the paper towel or container in a plastic bag or airtight container.
- Chill: Place the bag or container in the refrigerator for 4-6 weeks.
Sowing the Seeds
Once the stratification period is over (if applicable), it’s time to sow the seeds. I recommend using a seed starting mix that is well-draining and sterile. This will help to prevent fungal diseases that can affect young seedlings. Here’s what I do:
- Fill: Fill small pots or a seed tray with the seed starting mix.
- Sow: Sow the Ephedra seeds about ¼ inch deep.
- Water: Gently water the soil until it’s moist but not waterlogged.
Creating the Ideal Environment
Ephedra seeds need warmth and light to germinate. I usually place the pots or seed tray in a warm, sunny location or under grow lights. Here are some key environmental factors to keep in mind:
- Temperature: Aim for a temperature of around 70-75°F (21-24°C).
- Light: Provide bright, indirect light.
- Moisture: Keep the soil consistently moist but not soggy.
Caring for the Seedlings
Once the seedlings emerge, it’s important to provide them with proper care to ensure their continued growth. Here are some tips that I’ve found helpful:
- Watering: Water the seedlings regularly, allowing the soil to dry out slightly between waterings.
- Light: Provide plenty of bright, indirect light.
- Fertilizing: Once the seedlings have developed a few sets of true leaves, you can start fertilizing them with a diluted liquid fertilizer.
Transplanting
Once the seedlings have grown large enough, you can transplant them into larger pots or directly into the garden. I usually wait until the seedlings are a few inches tall and have a well-developed root system.
Troubleshooting
Like any plant, Ephedra seedlings can sometimes encounter problems. Here are a few common issues and how to address them:
- Damping off: This fungal disease can cause seedlings to rot at the base. To prevent this, use a sterile seed starting mix and avoid overwatering.
- Leggy seedlings: This occurs when seedlings don’t receive enough light and become tall and spindly. To prevent this, provide plenty of bright light.
Growing Ephedra from seed requires patience and attention to detail, but it’s a truly rewarding experience. By following these steps, you can successfully cultivate your own Ephedra plants from the very beginning of their life cycle.
Propagating Ephedra Cuttings: A Quick and Easy Method
Propagating Ephedra from cuttings is a faster alternative to growing from seed. I’ve found it particularly useful for replicating desirable traits from specific plants. If you have a healthy Ephedra plant that you admire, propagating cuttings is a great way to create genetically identical copies. Here’s my approach:
Selecting the Right Cuttings
The key to successful cutting propagation is selecting healthy, vigorous stems. I look for stems that are about 4-6 inches long and free from any signs of disease or damage. Ideally, the cuttings should be taken from new growth. I recommend you take cuttings in the spring or early summer, when the plant is actively growing.
Preparing the Cuttings
Once you’ve selected your cuttings, it’s time to prepare them for rooting. Here’s what I do:
- Remove lower leaves: Carefully remove the leaves from the bottom 1-2 inches of the cutting. This will prevent them from rotting and improve the chances of rooting.
- Apply rooting hormone (optional): I sometimes use a rooting hormone to encourage root development, but it’s not always necessary. If you choose to use it, dip the cut end of the cutting into the hormone powder or liquid.
- Prepare the rooting medium: I use a well-draining rooting medium, such as a mix of perlite and vermiculite or coarse sand.
Rooting the Cuttings
Now it’s time to root the cuttings. Here’s how I do it:
- Plant the cuttings: Insert the cut end of the cutting into the rooting medium, about 1-2 inches deep.
- Water: Gently water the rooting medium until it’s moist but not waterlogged.
- Create a humid environment: I usually place the cuttings in a propagator or cover them with a plastic bag to create a humid environment. This helps to prevent the cuttings from drying out.
- Provide warmth and light: Place the cuttings in a warm, bright location, but avoid direct sunlight.
Caring for the Cuttings
It usually takes a few weeks for the cuttings to root. During this time, it’s important to keep the rooting medium moist and provide adequate humidity. Once the cuttings have developed a good root system, you can transplant them into individual pots.
Troubleshooting
Here are a few common problems that you might encounter when propagating Ephedra cuttings:
- Rotting: This can occur if the rooting medium is too wet or if the cuttings are not kept in a humid environment. To prevent this, ensure good drainage and provide adequate ventilation.
- Failure to root: This can occur if the cuttings are not healthy or if the rooting conditions are not optimal. To improve your chances of success, select healthy cuttings and provide them with warmth, light, and humidity.
Propagating Ephedra from cuttings is a relatively simple process that can be a great way to expand your collection of these fascinating plants. With a little patience and attention to detail, you can successfully create new Ephedra plants from cuttings.
Ideal Growing Conditions for Ephedra Herbs: Light, Soil, and Water
Ephedra plants, with their unique architectural forms and resilience, are well-suited to thrive in specific environmental conditions. Understanding and replicating these conditions is key to successfully cultivating these fascinating plants. From my experience, providing the right balance of light, soil, and water is crucial for their optimal growth.
Light: Embracing the Sun
Ephedra species are sun-loving plants, thriving in full sun exposure. I’ve observed that they require at least 6-8 hours of direct sunlight per day to maintain their vibrant green color and vigorous growth. When grown in shady conditions, they tend to become leggy and less robust.
Soil: Well-Drained and Nutrient-Poor
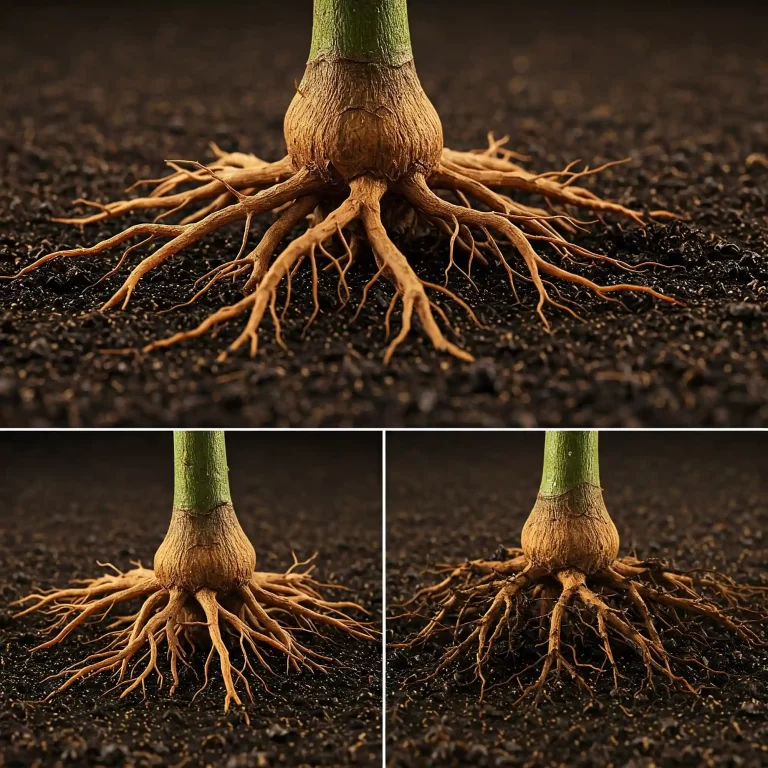
Ephedra plants are adapted to grow in arid and semi-arid environments, where the soil is typically well-drained and nutrient-poor. I’ve found that they prefer a sandy or gravelly soil mix that mimics their natural habitat. This type of soil allows for excellent drainage, preventing water from accumulating around the roots, which can lead to root rot.
Water: Less is More
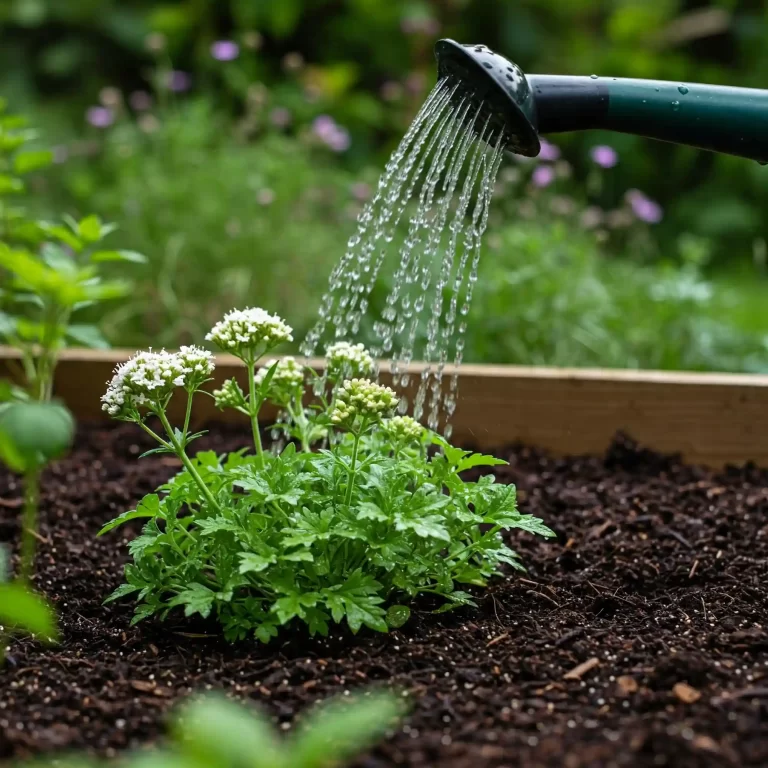
Ephedra plants are drought-tolerant, requiring minimal watering once established. I’ve learned that overwatering can be detrimental to their health, leading to root rot and other fungal diseases. During the growing season, I water them sparingly, allowing the soil to dry out completely between waterings. In the winter months, I reduce watering even further, as the plants enter a period of dormancy.
Additional Tips for Success:
- Mimic their natural habitat: Ephedra plants thrive in conditions that mimic their native arid environments. Consider adding rocks or gravel to the soil surface to further enhance drainage and create a more natural look.
- Avoid over-fertilizing: Ephedra plants are not heavy feeders and do not require frequent fertilization. I’ve found that excessive fertilization can lead to leggy growth and reduced flowering.
- Provide good air circulation: Good air circulation helps to prevent fungal diseases and promotes healthy growth. I recommend planting Ephedra in an open area with good airflow.
By carefully considering these ideal growing conditions, you can create an environment where your Ephedra plants will thrive, showcasing their unique beauty and resilience.
How to Plant Ephedra Seedlings and Cuttings
Once your Ephedra seedlings have developed a few sets of true leaves or your cuttings have established a healthy root system, it’s time to transplant them into their permanent homes. This is a crucial step in the growing process, and proper technique will ensure your plants continue to thrive. From my experience, careful handling and attention to detail are key to a successful transplant.
Choosing the Right Location
Ephedra plants thrive in sunny locations with well-draining soil. I recommend choosing a spot in your garden that receives at least 6-8 hours of direct sunlight per day. The soil should be sandy or gravelly, allowing for excellent drainage. Avoid areas where water tends to accumulate, as this can lead to root rot.
Preparing the Planting Hole
Before you transplant your Ephedra seedlings or cuttings, it’s important to prepare the planting hole properly. I usually dig a hole that is slightly larger than the root ball of the plant. This will allow the roots to spread out easily and establish themselves in the surrounding soil.
Transplanting Seedlings
When transplanting Ephedra seedlings, I handle them with extra care, as their root systems are still delicate. Here’s my method:
- Gently remove the seedling from its container, being careful not to damage the roots.
- Place the seedling in the center of the planting hole.
- Backfill the hole with soil, gently firming it around the base of the seedling.
- Water the seedling thoroughly.
Planting Cuttings
Planting Ephedra cuttings is a similar process to transplanting seedlings. Here’s what I do:
- Carefully remove the cutting from its rooting container.
- Plant the cutting in the prepared planting hole, ensuring the roots are well covered with soil.
- Gently firm the soil around the base of the cutting.
- Water the cutting thoroughly.
Post-Transplant Care
After transplanting, it’s important to provide your Ephedra plants with proper care to help them establish themselves in their new environment. Here are a few tips I’ve found helpful:
- Water regularly, allowing the soil to dry out slightly between waterings.
- Protect young plants from extreme weather conditions, such as frost or excessive heat.
- Fertilize sparingly, if needed, using a balanced fertilizer diluted to half strength.
With proper care and attention, your Ephedra seedlings and cuttings will quickly adapt to their new surroundings and continue to grow into healthy, thriving plants.
Caring for Your Ephedra Plants: Watering, Fertilizing, and Pruning
Once your Ephedra plants are established, providing proper care will ensure their continued health and vigor. From my experience, the key aspects of Ephedra care are watering, fertilizing, and pruning.
Watering: Finding the Right Balance
Ephedra plants are drought-tolerant, but they do require some watering, especially during their first year. I’ve found that the key is to water deeply but infrequently, allowing the soil to dry out completely between waterings. Overwatering can lead to root rot, so it’s1 always better to err on the side of underwatering.
Fertilizing: Less is More
Ephedra plants are not heavy feeders and generally do not require frequent fertilization. I recommend fertilizing only once or twice a year, in the spring and early summer, using a balanced fertilizer diluted to half strength. Avoid over-fertilizing, as this can lead to leggy growth and reduced flowering.
Pruning: Maintaining Shape and Encouraging Growth
Pruning is an important part of Ephedra care, as it helps to maintain the plant’s shape and encourage new growth. I usually prune my Ephedra plants in the late winter or early spring, before new growth begins. Here are a few tips for pruning Ephedra:
- Remove any dead, damaged, or diseased branches.
- Thin out crowded branches to improve air circulation.
- Shorten long, leggy branches to encourage bushier growth.
Additional Tips for Ephedra Care:
- Mulching: Applying a layer of mulch around the base of your Ephedra plants can help to conserve moisture and suppress weeds.
- Weeding: Regularly remove any weeds that grow around your Ephedra plants, as they can compete for water and nutrients.
- Pest and disease control: Ephedra plants are generally resistant to pests and diseases. However, it’s always a good idea to inspect your plants regularly for any signs of problems. If you notice any pests or diseases, take appropriate action to control them.
By following these care tips, you can ensure that your Ephedra plants remain healthy and vibrant for years to come.
Protecting Ephedra Herbs from Pests and Diseases
While generally resilient, Ephedra plants can occasionally encounter pests and diseases. Vigilance and early intervention are key to maintaining their health. In my experience, proactive care and regular inspection are the best defense.
Common Pests
- Spider mites: These tiny arachnids can infest Ephedra, causing stippling on the foliage. I’ve found that a strong jet of water or insecticidal soap can effectively control them.
- Aphids: These small, soft-bodied insects can suck sap from Ephedra, weakening the plant. I recommend using a natural insecticide or introducing beneficial insects like ladybugs.
- Scale insects: These armored pests attach themselves to stems and leaves, feeding on plant sap. I’ve had success removing them manually or using horticultural oil.
Common Diseases
- Root rot: This fungal disease can occur in waterlogged soil. I always ensure proper drainage and avoid overwatering to prevent this.
- Fungal leaf spot: This disease manifests as dark spots on the foliage. I recommend improving air circulation and applying a fungicide if necessary.
- Rust: This fungal disease appears as orange or reddish pustules on the plant. I’ve found that removing infected parts and applying a fungicide can help control it.
Preventive Measures
- Regular inspection: I make it a habit to inspect my Ephedra plants regularly for any signs of pests or diseases.
- Proper sanitation: I always use clean pruning tools and remove any fallen leaves or debris from around the plants.
- Good air circulation: I ensure good air circulation around my Ephedra plants to prevent fungal diseases.
- Healthy growing conditions: I provide my Ephedra plants with the ideal growing conditions to make them less susceptible to pests and diseases.
Additional Tips
- Early intervention: I always address pest and disease problems as soon as I notice them to prevent them from spreading.
- Natural remedies: I prefer using natural remedies whenever possible to minimize the impact on the environment.
- Professional help: If I’m unable to control a pest or disease problem on my own, I consult with a local nursery or gardening expert.
By taking these proactive steps, you can help protect your Ephedra plants from pests and diseases, ensuring their continued health and beauty.
How to Grow Ephedra Herbs in Pots
Growing ephedra herbs in pots offers a fantastic way to enjoy these unique plants, especially if you have limited garden space or live in an area with unsuitable growing conditions. From my experience, container gardening allows for greater control over the plant’s environment, making it easier to provide the specific conditions ephedra needs to thrive.
Choosing the Right Pot
When selecting a pot for your ephedra plant, drainage is paramount. I recommend choosing a pot with drainage holes to prevent water from accumulating around the roots. The pot should also be large enough to accommodate the plant’s root system, with extra room for growth.
Selecting the Right Soil
Ephedra plants thrive in well-draining soil. I recommend using a mix of cactus potting soil and perlite or coarse sand. This combination provides the drainage ephedra needs while retaining enough moisture to keep the plant hydrated.
Planting Your Ephedra
Once you’ve selected your pot and soil, it’s time to plant your ephedra. Here’s how I do it:
- Fill the pot with the soil mix, leaving about an inch of space at the top.
- Dig a hole in the center of the soil, slightly larger than the ephedra’s root ball.
- Gently remove the ephedra from its nursery pot and place it in the hole.
- Backfill the hole with soil, gently firming it around the base of the plant.
- Water the ephedra thoroughly.
Caring for Your Potted Ephedra
Caring for ephedra in pots is similar to caring for them in the ground. Here are a few tips:
- Watering: Water deeply but infrequently, allowing the soil to dry out completely between waterings.
- Fertilizing: Fertilize sparingly, if needed, using a balanced fertilizer diluted to half strength.
- Pruning: Prune as needed to maintain the plant’s shape and encourage new growth.
- Repotting: Repot your ephedra every few years, or when it outgrows its pot.
Additional Tips for Growing Ephedra in Pots
- Sunlight: Place your potted ephedra in a location that receives at least 6 hours of sunlight per day.
- Protection from frost: If you live in an area with harsh winters, protect your potted ephedra from frost by moving it indoors or to a sheltered location.
- Drainage: Ensure the pot drains well to prevent root rot.
- Air circulation: Provide good air circulation around your potted ephedra to prevent fungal diseases.
With proper care, your potted ephedra will thrive, bringing a touch of the desert to your living space.
Growing Ephedra in Different Climates: Hardiness and Adaptability
Ephedra’s resilience is truly remarkable, allowing it to thrive in a variety of climates. However, understanding its hardiness and adaptability is crucial for successful cultivation. From my experience, providing the right conditions for your specific climate is key to ensuring your ephedra thrives.
Understanding Hardiness Zones
Hardiness zones are geographical areas with similar climates, particularly regarding minimum winter temperatures. Knowing your hardiness zone can help you choose ephedra species that are well-suited to your area.
Ephedra’s Adaptability
Ephedra is native to arid and semi-arid regions, so it’s no surprise that it’s highly adaptable to dry climates. However, some species are more cold-hardy than others, making them suitable for colder regions.
Growing Ephedra in Different Climates
- Arid and semi-arid climates: Ephedra thrives in these conditions, requiring minimal watering and well-draining soil.
- Cold climates: Choose cold-hardy species like Ephedra distachya and provide winter protection.
- Humid climates: Ensure excellent drainage and air circulation to prevent fungal diseases.
Additional Tips for Different Climates
- Microclimates: Consider the specific conditions in your garden, such as sunlight exposure and wind protection.
- Soil amendments: Amend heavy clay soils with sand or gravel to improve drainage.
- Watering practices: Adjust your watering schedule based on your climate and the time of year.
By understanding ephedra’s hardiness and adaptability, you can successfully grow this unique plant in a variety of climates.
Frequently Asked Questions About Growing Ephedra Herbs
Growing ephedra herbs can be a rewarding experience, but it’s natural to have questions along the way. I’ve compiled a list of frequently asked questions to help you navigate the process and ensure your ephedra plants thrive.
Q: How do I start growing ephedra herbs?
A: You can start growing ephedra herbs from seeds or cuttings. Seeds require stratification before planting, while cuttings can be rooted directly in soil.
Q: What are the ideal growing conditions for ephedra herbs?
A: Ephedra herbs thrive in full sun and well-draining soil. They are drought-tolerant and prefer dry conditions.
Q: How often should I water my ephedra plants?
A: Water deeply but infrequently, allowing the soil to dry out completely between waterings.
Q: Do ephedra plants need fertilizer?
A: Ephedra plants are not heavy feeders and generally do not require fertilizer. However, you can fertilize once or twice a year with a balanced fertilizer diluted to half strength.
Q: How do I prune my ephedra plants?
A: Prune as needed to maintain the plant’s shape and encourage new growth. Remove any dead, damaged, or diseased branches.
Q: Are ephedra plants susceptible to pests and diseases?
A: Ephedra plants are generally resistant to pests and diseases. However, spider mites, aphids, and scale insects can occasionally be a problem. Root rot and fungal leaf spot can also occur in humid conditions.
Q: How do I protect my ephedra plants from frost?
A: If you live in an area with harsh winters, protect your ephedra plants from frost by moving them indoors or to a sheltered location.
Q: Can I grow ephedra herbs in pots?
A: Yes, ephedra herbs can be grown in pots. Choose a pot with drainage holes and use a well-draining potting mix.
Q: Where can I find more information about growing ephedra herbs?
A: You can find more information about growing ephedra herbs from your local nursery or gardening expert. You can also find helpful resources online, such as the Ephedra Resource Center.
Additional Tips
- Be patient: Ephedra plants can take time to establish and grow.
- Provide support: Young ephedra plants may need support until their root systems are established.
- Enjoy the unique beauty of your ephedra plants: Ephedra plants are a unique and beautiful addition to any garden.
