Do you dream of a garden filled with fragrant herbs, a haven for buzzing bees and fluttering butterflies? Are you captivated by the sweet, anise-like aroma that wafts through the air when you brush against the soft leaves of a unique and beautiful plant? Like many gardeners, you may dream of a thriving herb garden, but the prospect of cultivating less common herbs, such as anise hyssop, can feel overwhelming. Concerns about providing the correct growing conditions, fending off pests, and simply knowing where to begin are common. I empathize with this feeling. I’ve stood where you are now, seed packet in hand, wondering if I could truly nurture these plants to maturity. But I’m here to tell you: growing anise hyssop is surprisingly straightforward, and the rewards—both aesthetic and practical—are abundant. In this comprehensive guide, I will share my extensive experience and detailed knowledge, distilling the process into 7 manageable steps that will empower you to successfully cultivate anise hyssop herbs and create a beautiful and beneficial addition to your garden.
How to Grow Anise Hyssop Herbs: A Comprehensive Guide
1. Understanding Anise Hyssop: A Deep Dive
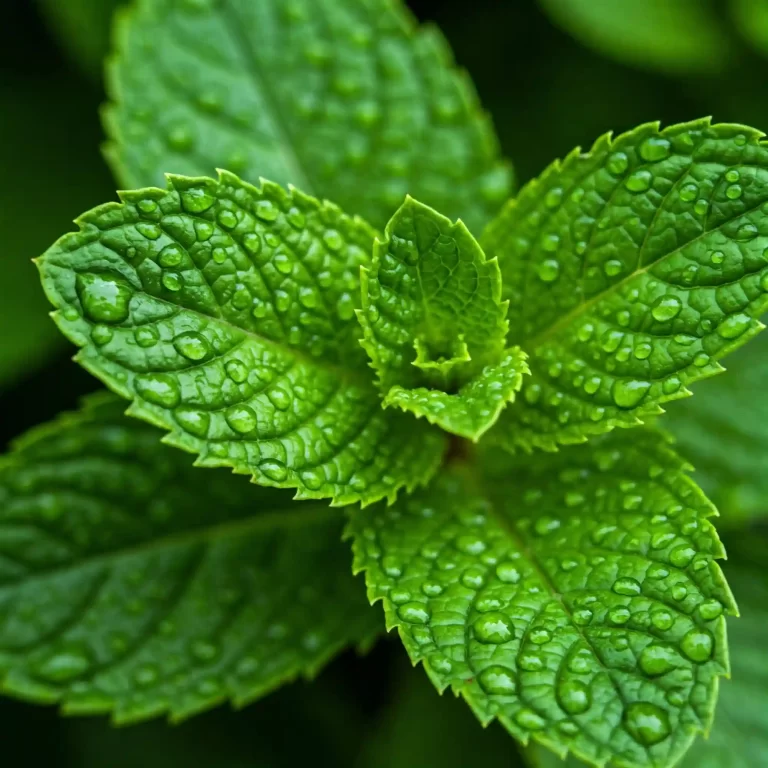
Before we embark on the practical aspects of cultivation, let’s delve deeper into the fascinating world of Agastache foeniculum, our star herb, commonly known as anise hyssop. This charming member of the mint family (Lamiaceae) is a true garden workhorse, offering beauty, fragrance, and ecological benefits. Its striking spikes of vibrant purple, blue, or pink blossoms are a feast for the eyes, while its foliage releases a captivating aroma reminiscent of anise or licorice, hence its common name.
Botanical Classification and Origins:
Anise hyssop is a perennial herbaceous plant, meaning it lives for more than two years and has non-woody stems. This perennial nature is a significant advantage for gardeners like you, as it eliminates the need for annual replanting. Native to North America, anise hyssop thrives in a range of habitats, from prairies and meadows to open woodlands. This natural adaptability contributes to its relative ease of cultivation in home gardens. The plant’s scientific name, Agastache foeniculum, provides further clues about its characteristics. “Agastache” is derived from the Greek words “agan” (much) and “stachys” (ear of grain), referring to the plant’s flower spikes. “Foeniculum” is Latin for fennel, highlighting the similarity in aroma.
Hardiness Zones and Climate Considerations:
Anise hyssop exhibits remarkable resilience, flourishing in USDA hardiness zones 4 through 9. This broad range encompasses a variety of climates, from regions with cold winters to those with warm summers. However, understanding your specific hardiness zone is crucial for successful cultivation. I recommend checking a local hardiness zone map to ensure anise hyssop is well-suited to your area. Even in borderline zones, I’ve found that providing winter protection, such as mulching around the base of the plant, can significantly improve its chances of survival.
A Magnet for Pollinators and Beneficial Insects:
One of the most compelling reasons to grow anise hyssop is its remarkable ability to attract pollinators. Bees, butterflies, hummingbirds, and other beneficial insects are irresistibly drawn to its nectar-rich flowers. By planting anise hyssop in your garden, you are not only creating a visually appealing space but actively contributing to the health of local ecosystems. I’ve observed firsthand how a patch of anise hyssop transforms into a vibrant hub of pollinator activity during the blooming season, a truly magical experience for any gardener.
Culinary and Ethnobotanical Uses:
Beyond its ornamental and ecological roles, anise hyssop possesses valuable culinary and ethnobotanical applications. Both the leaves and flowers are edible, offering a unique anise-like flavor that can enhance various dishes and beverages. The fresh leaves can be added to salads, fruit dishes, or used as a flavorful garnish. The flowers can be crystallized, used in baked goods, or infused into teas. Traditionally, various Native American tribes have utilized anise hyssop for its purported medicinal properties, using it to treat coughs, colds, and other ailments. While further research is needed to fully understand its medicinal potential, its historical use highlights its value as a versatile and beneficial plant.
Key Characteristics of Anise Hyssop Summarized:
- Fragrant Foliage: The leaves emit a distinct anise or licorice-like aroma.
- Vibrant Flower Spikes: The flowers bloom in shades of purple, blue, pink, and occasionally white.
- Pollinator Magnet: An essential plant for attracting bees, butterflies, and hummingbirds.
- Edible Components: Both leaves and flowers can be used in culinary preparations.
- Perennial Growth Habit: It returns year after year in suitable climates.
- Deer Resistance: Deer tend to avoid anise hyssop, making it suitable for gardens frequented by deer.
Detailed Characteristics of Anise Hyssop
| Characteristic | Description | Significance for Gardeners |
| Botanical Name | Agastache foeniculum | Provides precise identification and avoids confusion with similar plants. |
| Common Name | Anise Hyssop | Widely recognized and used in gardening contexts. |
| Plant Family | Lamiaceae (Mint Family) | Explains its aromatic properties and growth habits. |
| Hardiness Zones | 4-9 (Consult a local hardiness zone map for accurate information.) | Determines its suitability for different climates and guides winter protection strategies. |
| Growth Habit | Herbaceous Perennial | Indicates it will regrow each year from its root system. |
| Mature Height | 2-4 feet (60-120 cm) | Helps with garden planning and placement. |
| Mature Spread | 1-2 feet (30-60 cm) | Influences spacing between plants. |
| Light Requirements | Full Sun (at least 6 hours of direct sunlight daily) | Essential for optimal growth and flowering. |
| Soil Requirements | Well-drained soil; tolerates a range of soil types but prefers slightly acidic to neutral pH (6.0-7.0). | Prevents root rot and promotes healthy root development. Soil amendments may be necessary for clay soils. |
| Water Requirements | Moderate; water regularly, especially during dry periods, but avoid overwatering. Allow the soil to dry slightly between waterings. | Prevents root rot and ensures adequate hydration. |
| Flower Color | Typically purple or blue, but pink and white varieties exist. | Adds visual appeal to the garden and attracts specific pollinators. |
| Bloom Time | Summer to Fall (typically June to September in many regions.) | Provides a long period of color and fragrance in the garden. |
| Fragrance | Anise or licorice-like aroma, derived from the presence of compounds like methyl chavicol and anethole. | Enhances the sensory experience of the garden. |
| Pollinator Attraction | Highly attractive to bees, butterflies, hummingbirds, and other beneficial insects. | Supports local ecosystems and improves pollination of other garden plants. |
| Deer Resistance | Generally deer-resistant due to its strong fragrance. | A good choice for gardens in areas with deer pressure. |
| Culinary Uses | Leaves and flowers can be used fresh or dried in teas, salads, desserts, and other culinary applications. | Adds a unique flavor to various dishes and beverages. |
| Ethnobotanical Uses | Traditionally used by some Native American tribes for medicinal purposes. | Highlights its historical and cultural significance. |
Why Choose to Cultivate Anise Hyssop in Your Garden?
From my perspective, every garden, regardless of size or style, can benefit immensely from the inclusion of anise hyssop. Its combined beauty, captivating fragrance, and significant ecological contributions make it an invaluable addition to any outdoor space. You’ll find that it’s a remarkably low-maintenance herb, making it an excellent choice for both novice and seasoned gardeners.
Differentiating Anise Hyssop from Similar Plants:
It’s important to distinguish anise hyssop from other plants that might look similar, such as common hyssop (Hyssopus officinalis). While both belong to the mint family, they have distinct characteristics. Anise hyssop has a more pronounced anise or licorice scent, while common hyssop has a more camphor-like aroma. The flower spikes also differ slightly in appearance.
2. How to Plant Anise Hyssop: Choosing the Right Location and Soil
Now that you understand the wonderful attributes of anise hyssop, let’s discuss the practical steps of planting. Choosing the right location and preparing the soil are crucial for establishing a healthy and thriving plant. I’ve learned through experience that these initial steps can make all the difference in the long run.
Sunlight: The Key to Abundant Blooms
Anise hyssop is a sun-loving plant, thriving in full sun. This means it requires at least 6 hours of direct sunlight per day. I’ve noticed that plants grown in shadier locations tend to produce fewer flowers and may become leggy, stretching towards the light. Therefore, when selecting a planting site, prioritize an area that receives ample sunlight throughout the day. If you live in a particularly hot climate, a location that receives some afternoon shade can be beneficial, preventing the plant from becoming stressed by excessive heat.
Soil: Well-Drained is Essential
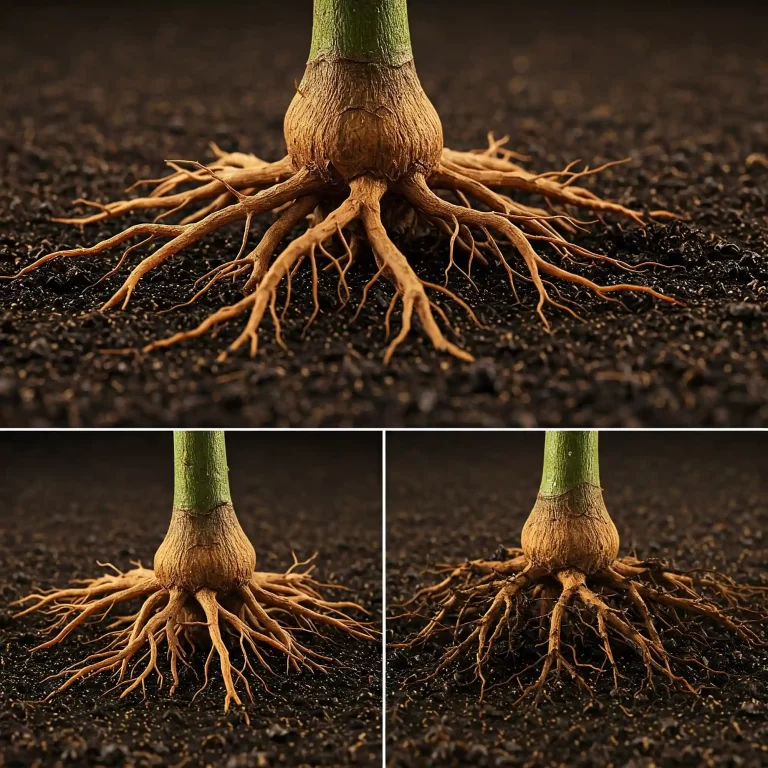
One of the most critical factors for successfully growing anise hyssop is well-drained soil. This herb is susceptible to root rot if its roots remain consistently wet. I’ve made this mistake myself in the past, planting anise hyssop in heavy clay soil that retained too much moisture. The result was a disappointing decline in plant health. To avoid this issue, ensure your soil drains well. If you have heavy clay soil, I recommend amending it with organic matter, such as compost or well-rotted manure, to improve drainage and aeration. Adding perlite or coarse sand can also help to improve drainage.
Starting from Seed: Indoor vs. Direct Sowing
There are two primary methods for starting anise hyssop: starting from seed indoors or direct sowing outdoors.
- Starting Seeds Indoors: If you want to get a head start on the growing season, starting seeds indoors is a great option. I typically start my anise hyssop seeds indoors about 6-8 weeks before the last expected frost in my area. This gives the seedlings ample time to develop before they are transplanted into the garden. To start seeds indoors, sow them ¼ inch deep in a seed-starting mix. Keep the soil moist but not soggy, and maintain a temperature of 70-75°F (21-24°C). Germination usually takes 10-14 days. Once the seedlings have developed a few sets of true leaves, they can be gradually acclimated to outdoor conditions (hardened off) before transplanting.
- Direct Sowing Outdoors: If you prefer a more straightforward approach, you can direct sow anise hyssop seeds directly into the garden after the last frost. Prepare the soil by loosening it and removing any weeds. Sow the seeds lightly and cover them with a thin layer of soil. Keep the soil moist until germination occurs.
Planting Seedlings: Proper Spacing is Key
When transplanting seedlings or planting purchased plants, proper spacing is essential. I recommend spacing anise hyssop plants 1-2 feet apart. This allows them adequate room to grow and prevents overcrowding, which can lead to poor air circulation and increase the risk of disease.
Container Growing: A Great Option for Small Spaces
If you have limited garden space or prefer container gardening, anise hyssop can thrive in containers as well. Choose a pot with good drainage holes and use a well-draining potting mix. Place the container in a sunny location that receives at least 6 hours of sunlight per day. Remember that container-grown plants tend to dry out more quickly than those grown in the ground, so you’ll need to water them more frequently.
Soil pH: Maintaining the Right Balance
Anise hyssop prefers a slightly acidic to neutral soil pH, ideally between 6.0 and 7.0. While it can tolerate a range of soil types, maintaining the proper pH ensures optimal nutrient availability. You can test your soil pH using a soil test kit, which is readily available at most garden centers. If your soil is too alkaline, you can amend it with sulfur or peat moss to lower the pH.
Preparing the Planting Bed: A Foundation for Success
Before planting, take the time to properly prepare the planting bed. This involves removing any weeds, loosening the soil, and amending it with organic matter if necessary. I often incorporate compost into the soil, as it improves drainage, aeration, and fertility. This creates a healthy foundation for your anise hyssop plants to thrive.
By carefully considering these factors—sunlight, soil, starting method, and spacing—you can ensure your anise hyssop gets off to a strong start, setting the stage for a season of fragrant blooms and abundant harvests.
3. How to Grow Anise Hyssop from Seed: A Step-by-Step Guide
While you can purchase anise hyssop plants from nurseries, starting from seed offers a cost-effective and rewarding way to expand your herb garden. I find it particularly satisfying to watch tiny seeds sprout and grow into thriving plants. Here’s a detailed guide to help you successfully grow anise hyssop from seed:
Seed Starting Indoors: Getting a Head Start
Starting seeds indoors is a fantastic way to get a jump start on the growing season, especially in regions with shorter summers. I recommend starting your anise hyssop seeds indoors about 6-8 weeks before the last expected frost in your area. This allows the seedlings to develop a strong root system before they are transplanted into the garden.
Here’s a step-by-step process for starting anise hyssop seeds indoors:
- Gather Your Supplies: You’ll need seed trays or small pots, a seed-starting mix (a fine-textured soil mix specifically designed for seed germination), and a spray bottle or gentle watering can.
- Sow the Seeds: Fill the seed trays or pots with the seed-starting mix, leaving about ½ inch of space at the top. Gently sow the anise hyssop seeds ¼ inch deep into the mix. You can sow a few seeds per cell or pot to increase your chances of successful germination.
- Moisten the Soil: Use a spray bottle or gentle watering can to moisten the soil. Avoid overwatering, as this can lead to fungal diseases. The soil should be consistently moist but not soggy.
- Provide Warmth and Light: Place the seed trays or pots in a warm location with consistent temperatures of 70-75°F (21-24°C). You can use a heat mat to provide bottom heat, which can improve germination rates. Once the seedlings emerge, provide them with plenty of light. A sunny windowsill or grow lights can work well.
- Thin the Seedlings: Once the seedlings have developed a few sets of true leaves (the second set of leaves that appear after the initial seed leaves), thin them out, keeping only the strongest seedling in each cell or pot.
- Harden Off the Seedlings: Before transplanting the seedlings into the garden, you’ll need to acclimate them to outdoor conditions. This process, known as hardening off, involves gradually exposing the seedlings to cooler temperatures and stronger sunlight over a period of 7-10 days. Start by placing the seedlings in a sheltered outdoor location for a few hours each day, gradually increasing the amount of time they spend outdoors.
Direct Sowing Outdoors: A Simpler Approach
If you prefer a more straightforward approach or live in a region with a long growing season, you can direct sow anise hyssop seeds directly into the garden after the last frost.
Here’s how to direct sow anise hyssop seeds:
- Prepare the Soil: Choose a sunny location with well-drained soil. Remove any weeds and loosen the soil with a garden fork or tiller.
- Sow the Seeds: Sow the anise hyssop seeds lightly over the soil surface. You can gently press them into the soil to ensure good contact.
- Cover with Soil: Lightly cover the seeds with a thin layer of soil.
- Keep the Soil Moist: Water the area gently to moisten the soil. Keep the soil consistently moist until germination occurs.
- Thin the Seedlings: Once the seedlings emerge, thin them out, spacing them 1-2 feet apart.
Germination and Early Growth:
Anise hyssop seeds typically germinate within 10-14 days, whether you start them indoors or direct sow them. The seedlings will initially be small and delicate, but they will quickly grow into sturdy plants with proper care.
Factors Affecting Germination:
Several factors can affect anise hyssop seed germination, including:
- Soil Temperature: Anise hyssop seeds germinate best in warm soil temperatures (70-75°F or 21-24°C).
- Moisture: Consistent moisture is essential for germination. Avoid letting the soil dry out completely.
- Light: While light is not required for germination, providing light once the seedlings emerge is crucial for their development.
- Seed Quality: Use fresh, high-quality seeds for the best germination rates.
By following these steps and considering these factors, you can successfully grow anise hyssop from seed and enjoy the beauty and benefits of this wonderful herb in your garden.
4. Anise Hyssop Care: Watering, Fertilizing, and Pruning
Once your anise hyssop plants are established, providing proper care is essential for their continued health and abundant blooms. I’ve found that anise hyssop is relatively low-maintenance, but a few key practices can make a significant difference.
Watering: Finding the Right Balance
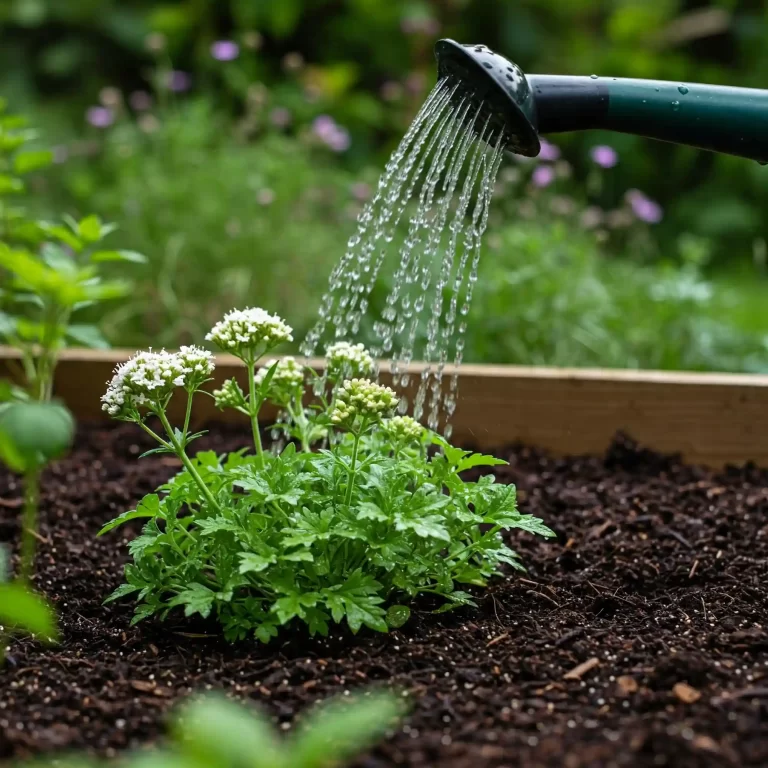
Anise hyssop prefers moderate watering. It’s important to water regularly, especially during dry periods, but avoid overwatering, which can lead to root rot. I recommend allowing the soil to dry slightly between waterings. A good rule of thumb is to water when the top inch of soil feels dry to the touch. When watering, water at the base of the plant to avoid wetting the foliage, which can increase the risk of fungal diseases.
Fertilizing: A Light Touch
Anise hyssop doesn’t require heavy fertilization. In fact, over-fertilizing can lead to excessive foliage growth at the expense of flowers. I typically apply a balanced fertilizer in the spring to give the plants a boost as they begin their new growth. Avoid using high-nitrogen fertilizers, as these can promote leafy growth and reduce flowering.
Pruning: Encouraging Continuous Blooms
Pruning is an important part of anise hyssop care. Deadheading spent flowers (removing faded blooms) encourages continuous blooming throughout the growing season. I usually deadhead my anise hyssop plants every few weeks, or as needed. This not only keeps the plants looking tidy but also promotes new flower production.
In late fall, after the plants have died back, you can cut them back to the ground. This helps to tidy up the garden for winter and encourages new growth in the spring.
Additional Care Tips:
- Mulching: Applying a layer of mulch around the base of the plants can help to retain moisture, suppress weeds, and regulate soil temperature.
- Pest and Disease Control: Anise hyssop is relatively pest and disease-free. However, it’s always a good idea to monitor your plants for any signs of problems. If you notice any pests, such as aphids or spider mites, you can treat them with insecticidal soap. Powdery mildew can sometimes be an issue, especially in humid conditions. Providing good air circulation can help to prevent this.
By following these care tips, you can ensure your anise hyssop plants thrive and provide you with beauty, fragrance, and enjoyment throughout the growing season.
5. How to Harvest Anise Hyssop Herbs for Culinary and Medicinal Use
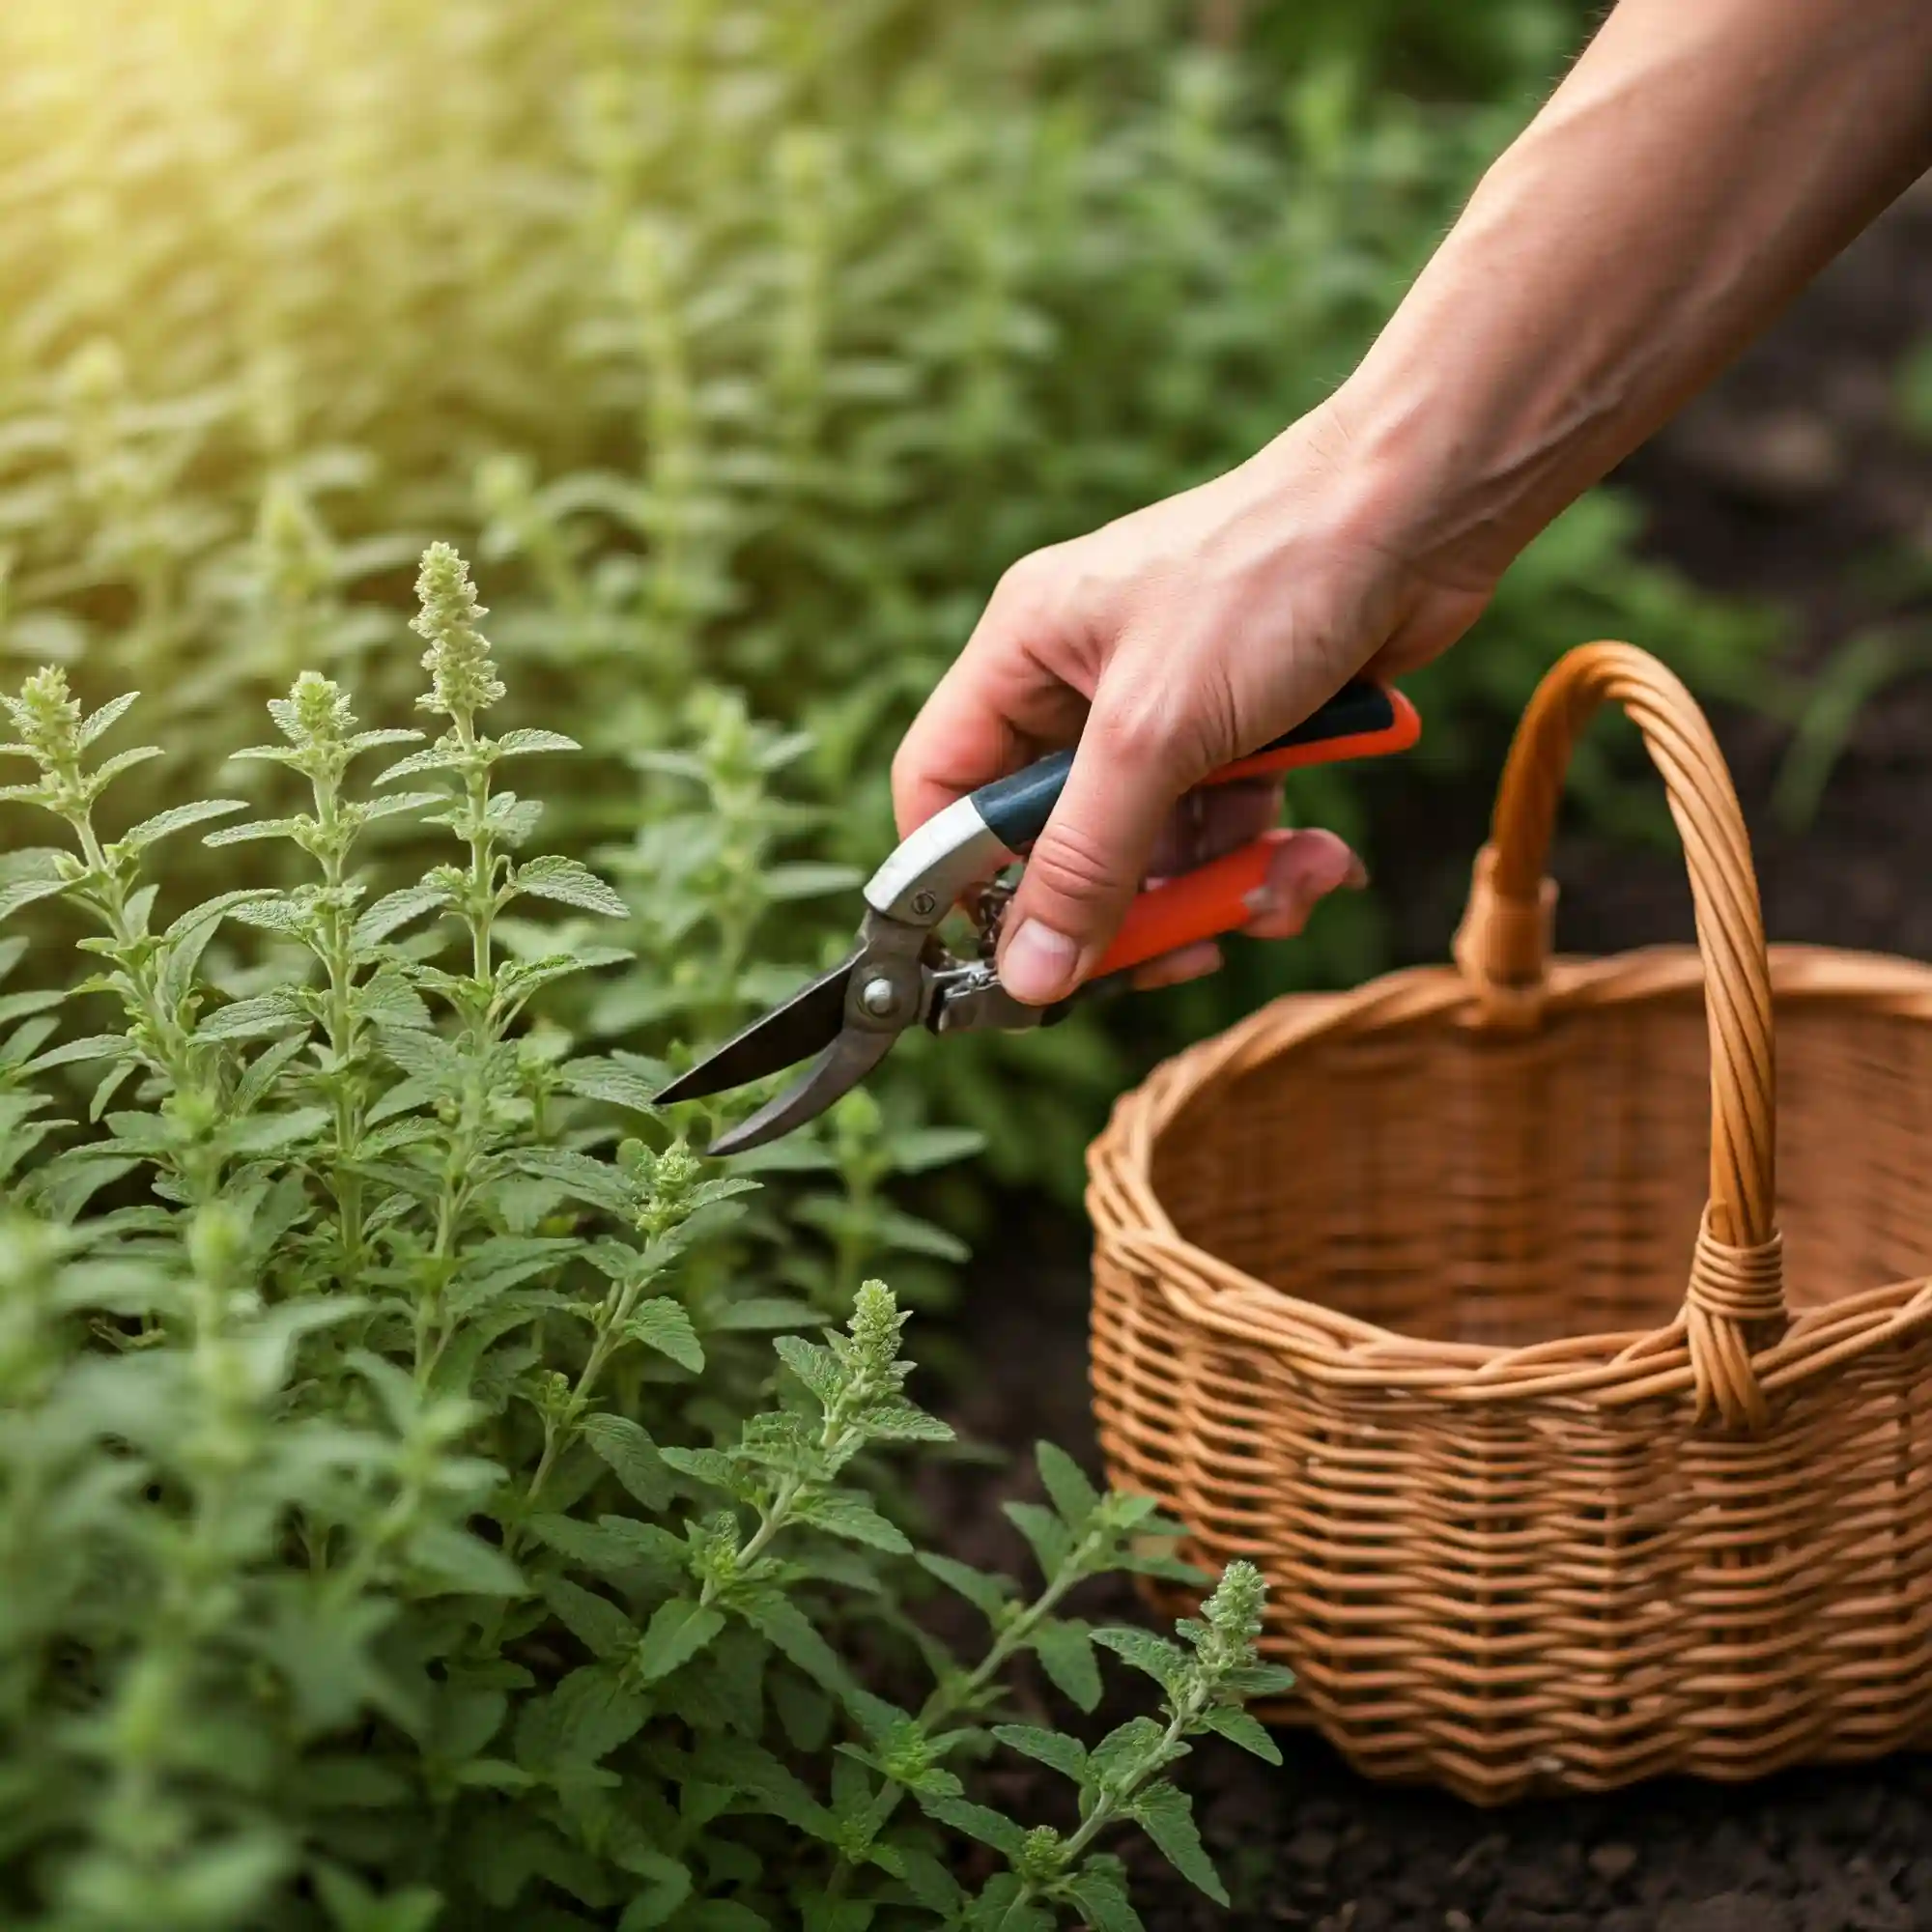
Now that your anise hyssop is flourishing, it’s time to reap the rewards of your gardening efforts. Harvesting anise hyssop is a simple process, and both the leaves and flowers can be used in a variety of ways. I’ve found that the best time to harvest is in the morning, after the dew has dried but before the sun gets too hot. This helps to preserve the essential oils that give anise hyssop its distinctive flavor and aroma.
Harvesting Leaves: A Continuous Supply
You can harvest anise hyssop leaves throughout the growing season, as needed. I usually pinch or snip off the leaves with my fingers or use a pair of scissors or pruning shears. It’s best to harvest leaves before the plant flowers, as they tend to become slightly bitter afterward. However, you can still use the leaves even after flowering, although the flavor may be less intense.
To encourage continuous leaf production, avoid removing more than one-third of the plant’s foliage at any one time. This allows the plant to continue growing and producing new leaves.
Harvesting Flowers: A Colorful and Flavorful Addition
Anise hyssop flowers are not only beautiful but also edible. You can harvest them when they are fully open and vibrant. I often use the flowers fresh in salads or as a garnish for desserts. You can also dry the flowers for later use in teas or other culinary applications.
Drying Anise Hyssop: Preserving the Flavor
To dry anise hyssop leaves and flowers, you can use several methods:
- Air Drying: Tie the stems together in small bundles and hang them upside down in a cool, dry, and well-ventilated place. You can also spread the leaves and flowers on a screen or tray in a single layer. It usually takes about 1-2 weeks for the herbs to dry completely.
- Dehydrator: If you have a food dehydrator, you can use it to dry anise hyssop more quickly. Follow the manufacturer’s instructions for drying herbs.
- Oven Drying: You can also dry anise hyssop in the oven on a very low heat (100-150°F or 38-66°C). Spread the leaves and flowers on a baking sheet and dry them for 1-2 hours, or until they are completely dry.
Once the herbs are dry, store them in airtight containers in a cool, dark place. Dried anise hyssop will retain its flavor and aroma for several months.
Using Anise Hyssop: Culinary and Medicinal Applications
Anise hyssop has a wide range of culinary and medicinal uses. The leaves and flowers can be used fresh or dried to make a delicious and refreshing tea. You can also add them to salads, fruit dishes, desserts, and other culinary creations.
Traditionally, anise hyssop has been used in herbal medicine for its potential health benefits. It is believed to have anti-inflammatory, antibacterial, and expectorant properties. However, it’s always advisable to consult with a healthcare professional before using any herb for medicinal purposes.
By harvesting and using anise hyssop, you can fully appreciate the versatility and value of this wonderful herb.
6. Common Pests and Diseases of Anise Hyssop (And How to Prevent Them)
Anise hyssop is known for its resilience and is generally resistant to many common garden pests and diseases. However, like any plant, it can occasionally encounter some problems. I’ve found that proactive prevention is the best approach to keeping your anise hyssop healthy and thriving.
Potential Pests:
While anise hyssop is not typically a target for many pests, here are a few that you might encounter:
- Aphids: These small, soft-bodied insects can sometimes infest anise hyssop, sucking sap from the leaves and stems. They are often found on new growth and under the leaves.
- Spider Mites: These tiny mites are difficult to see with the naked eye, but their presence is often indicated by fine webbing on the leaves. They can cause the leaves to become speckled and dry.
Preventing Pest Problems:
- Encourage Beneficial Insects: Attract beneficial insects, such as ladybugs, lacewings, and hoverflies, to your garden. These natural predators can help to control aphid and spider mite populations.
- Monitor Your Plants Regularly: Regularly inspect your anise hyssop plants for any signs of pests. Early detection is key to preventing infestations from becoming severe.
- Use Insecticidal Soap: If you do find pests on your anise hyssop, you can treat them with insecticidal soap. This is a natural and effective way to control many common garden pests.
Potential Diseases:
- Powdery Mildew: This fungal disease can sometimes affect anise hyssop, especially in humid conditions. It appears as a white or grayish powdery coating on the leaves and stems.
Preventing Disease Problems:
- Provide Good Air Circulation: Ensure that your anise hyssop plants have good air circulation by spacing them adequately and avoiding overcrowding.
- Water at the Base of the Plant: When watering, water at the base of the plant to avoid wetting the foliage. This can help to prevent fungal diseases.
- Remove Infected Leaves: If you notice any leaves with powdery mildew, remove them promptly to prevent the disease from spreading.
Maintaining Healthy Growing Conditions:
The best way to prevent pest and disease problems is to provide your anise hyssop with healthy growing conditions. This includes:
- Planting in Well-Drained Soil: Ensure that your anise hyssop is planted in well-drained soil to prevent root rot.
- Providing Adequate Sunlight: Plant your anise hyssop in a location that receives at least 6 hours of sunlight per day.
- Watering Regularly: Water your anise hyssop regularly, especially during dry periods, but avoid overwatering.
By following these preventive measures, you can keep your anise hyssop plants healthy and free from pests and diseases, allowing them to thrive and provide you with their beauty and benefits.
7. Attracting Pollinators with Anise Hyssop: Benefits for Your Garden
One of the most rewarding aspects of growing anise hyssop is its ability to attract pollinators to your garden. These busy creatures, including bees, butterflies, hummingbirds, and other beneficial insects, play a vital role in the ecosystem, helping to pollinate flowers and ensure the production of fruits and vegetables. I’ve always been fascinated by the intricate dance between plants and pollinators, and anise hyssop is a true star in this regard.
A Magnet for Pollinators:
Anise hyssop’s vibrant flowers and nectar-rich blooms make it an irresistible magnet for pollinators. The plant’s long bloom time, which typically extends from summer to fall, provides a continuous source of food for these important creatures.
Supporting Local Bee Populations:
Bees are essential pollinators, and their populations have been declining in recent years. By planting anise hyssop, you can help to support local bee populations and provide them with a valuable food source.
Enhancing Pollination in Your Garden:
The presence of pollinators in your garden not only benefits the anise hyssop itself but also enhances the pollination of other plants, including fruits, vegetables, and flowers. This can lead to increased yields and a more vibrant and productive garden.
Creating a Pollinator-Friendly Habitat:
To further enhance your garden’s appeal to pollinators, consider companion planting anise hyssop with other pollinator-friendly plants, such as:
- Bee balm
- Coneflower
- Lavender
- Salvia
- Sunflower
You can also provide additional resources for pollinators, such as:
- A shallow dish of water with pebbles for bees to land on
- A butterfly house or other shelter
- Avoid using pesticides, which can harm pollinators
By creating a pollinator-friendly habitat in your garden, you can contribute to the health of the ecosystem and enjoy the beauty and activity of these fascinating creatures.
Conclusion:
Growing anise hyssop is a truly rewarding experience for any gardener. From its fragrant foliage and vibrant blooms to its ability to attract pollinators and its versatile culinary and medicinal uses, this herb offers a wealth of benefits. I’ve found that by following a few simple steps, anyone can successfully cultivate anise hyssop and enjoy its many charms.
A Recap of the Key Steps:
- Understanding Anise Hyssop: Familiarize yourself with the plant’s characteristics and needs.
- Choosing the Right Location and Soil: Select a sunny spot with well-drained soil.
- Starting from Seed: Start seeds indoors or direct sow after the last frost.
- Providing Proper Care: Water regularly, fertilize lightly, and deadhead spent flowers.
- Harvesting and Using: Harvest leaves and flowers for culinary and medicinal purposes.
- Preventing Pests and Diseases: Maintain healthy growing conditions and monitor for any problems.
- Attracting Pollinators: Plant anise hyssop to support local bee populations and enhance pollination in your garden.
I encourage you to give anise hyssop a try in your own garden. You’ll be delighted by its beauty, fragrance, and the many benefits it brings. Happy gardening!
