Are you dreaming of fresh, crisp green beans straight from your garden but unsure where to begin? I know that feeling of wanting to grow your own food but feeling overwhelmed by the process. It can be frustrating to put in the effort and not see the results you’re hoping for, whether it’s poor germination, pest problems, or just a disappointing harvest. But don’t worry! I’ve been there, and I’m here to tell you that growing beans is easier than you think. In this guide, I’ll share 10 simple steps that will take you from seed to a thriving bean harvest. You’ll learn everything you need to know, from selecting the right bean variety to protecting your plants from pests and diseases. Let’s get started!
Choosing the Right Bean Variety for Your Garden
Choosing the right bean variety is the first crucial step in ensuring a successful harvest. Just like people, different bean varieties have different preferences and thrive in different conditions. Understanding these differences will set you up for success. I’ve learned from experience that trying to force a variety to grow in unsuitable conditions leads to disappointment.
There are three main categories of beans you’ll encounter:
- Bush Beans: These are compact plants that grow in a bush-like form, typically reaching about two feet tall. They are ideal for smaller gardens or containers and tend to produce a concentrated harvest over a shorter period. I often recommend bush beans to beginner gardeners because they require less maintenance.
- Pole Beans: These are climbing vines that can grow several feet tall, requiring support structures like trellises or stakes. They produce a continuous harvest over a longer period, making them a great choice for maximizing space and extending your harvest season. If you have vertical space, pole beans are a fantastic option.
- Dry Beans: These are grown specifically for their dried seeds, which are used in soups, stews, and other dishes. They require a longer growing season and are typically harvested when the pods are dry and the beans inside are mature. I find growing dry beans particularly satisfying because you can save the seeds for future plantings.
Here’s a quick comparison:
| Feature | Bush Beans | Pole Beans | Dry Beans |
| Growth Habit | Compact, bush-like | Climbing vines | Bush or vine, grown to maturity and drying |
| Size | 1-2 feet tall | Several feet tall | Varies |
| Support | Not required | Required (trellis, stakes) | Sometimes (if vining type) |
| Harvest Period | Concentrated, shorter period | Continuous, longer period | Single harvest when pods are dry |
| Best For | Small gardens, containers, beginners | Maximizing space, extending harvest season | Storage, seed saving |
Some popular varieties I’ve grown and recommend include:
- Blue Lake Bush Beans: A classic bush bean variety known for its high yields and excellent flavor. I’ve found these to be very reliable and easy to grow.
- Kentucky Wonder Pole Beans: A vigorous climbing variety with long, flavorful pods. These are a favorite of many gardeners, including myself.
- Provider Bush Beans: Known for its disease resistance and early maturity, making it a great choice for shorter growing seasons.
- Romano Beans: Flat, wide pods with a distinctive flavor, great for Italian dishes.
- Kidney Beans: A popular dry bean variety used in chili and other dishes. I enjoy the process of watching these mature and dry on the vine.
When choosing a bean variety, consider your local climate, available space, and personal preferences. If you live in an area with a short growing season, choose early-maturing varieties. If you have limited space, bush beans are a better option. And if you enjoy cooking with dried beans, consider growing a dry bean variety.
Preparing the Soil for Planting Beans
Just like a good foundation is essential for a sturdy house, proper soil preparation is crucial for a successful bean harvest. Beans, like most vegetables, thrive in well-drained soil that is rich in organic matter. I’ve found that taking the time to prepare the soil properly makes a significant difference in the health and productivity of my bean plants.
Understanding Soil Composition
Soil is composed of three main components: sand, silt, and clay. The ideal soil for growing beans is a loam, which is a balanced mix of these components. Loam soil provides good drainage, aeration, and water retention, creating the perfect environment for bean roots to thrive.
- Sand: Sand particles are large and coarse, providing good drainage but poor water retention.
- Silt: Silt particles are medium-sized, offering a balance of drainage and water retention.
- Clay: Clay particles are small and tightly packed, retaining water well but often leading to poor drainage.
Amending Your Soil
If your soil is heavy clay or sandy, you’ll need to amend it to improve its structure and fertility. I recommend adding compost or other organic materials like well-rotted manure or leaf mold. These amendments will improve drainage in clay soils and increase water retention in sandy soils. They also provide essential nutrients for your bean plants.
Testing Soil pH
Soil pH is a measure of its acidity or alkalinity. Beans prefer a slightly acidic to neutral soil pH between 6.0 and 7.0. You can test your soil pH using a home test kit or by sending a sample to your local extension office. If your soil pH is too high or too low, you can amend it with sulfur to lower the pH or lime to raise it.
Preparing the Garden Bed
Once you’ve amended your soil, it’s time to prepare the garden bed. I like to start by loosening the soil with a garden fork or tiller to a depth of about 12 inches. This will improve drainage and allow the bean roots to penetrate the soil easily. Then, I rake the soil smooth and create raised rows or hills for planting.
No-Till Gardening
If you prefer a no-till approach, you can amend the soil with compost and other organic materials without tilling. This method helps to preserve soil structure and beneficial soil organisms.
Additional Tips for Soil Preparation
- Remove any rocks, weeds, or debris from the garden bed.
- Incorporate a slow-release organic fertilizer into the soil before planting.
- Consider adding beneficial soil microbes to improve nutrient uptake.
By taking the time to prepare your soil properly, you’ll create a welcoming environment for your bean plants to thrive. This will lead to healthier plants, higher yields, and a more enjoyable gardening experience.
How to Plant Bean Seeds Correctly
Now that your soil is prepped and ready, it’s time for the exciting part: planting your bean seeds! I always find this stage particularly rewarding because it’s when you start to see the fruits of your labor (or should I say, vegetables!).
Direct Sowing vs. Starting Indoors
Beans are typically direct sown, meaning you plant the seeds directly into the garden bed. This is because bean seedlings don’t transplant well. However, in areas with very short growing seasons, you can start seeds indoors in biodegradable pots a few weeks before the last frost.
When to Plant
The best time to plant beans is after the last frost when the soil has warmed to at least 60°F (15°C). I usually wait until the soil is consistently warm to ensure good germination. You can check the soil temperature with a soil thermometer.
Planting Depth and Spacing
- Planting Depth: Plant bean seeds about 1 inch deep.
- Spacing: Space seeds 2-4 inches apart within rows.
- Row Spacing: Space rows 18-24 inches apart for bush beans and 3-4 feet apart for pole beans.
Planting Methods
- Direct Sowing: Make a furrow in the soil with your finger or a tool. Drop the seeds into the furrow and cover them with soil. Gently firm the soil over the seeds.
- Hilling: For heavy clay soils, you can plant beans on raised hills to improve drainage. Create small mounds of soil about 6 inches high and plant 4-6 seeds on each hill.
Watering After Planting
After planting, water the soil gently but thoroughly. Keep the soil consistently moist until the seeds germinate, which usually takes 7-10 days.
Additional Tips for Planting Bean Seeds
- Soak Seeds: Soaking bean seeds in water for a few hours before planting can improve germination rates.
- Succession Planting: Plant beans in succession every 2-3 weeks to extend your harvest season.
- Companion Planting: Plant beans with companion plants like corn, carrots, or cucumbers to improve growth and deter pests.
By following these simple steps, you’ll be well on your way to a successful bean harvest. Remember to be patient and enjoy the process of watching your bean plants grow and thrive.
Providing Proper Support for Climbing Beans
If you’ve chosen to grow pole beans or other climbing varieties, providing proper support is essential for their growth and productivity. These vigorous vines can reach impressive heights, and without adequate support, they’ll sprawl across the ground, making them susceptible to pests, diseases, and rot. I’ve found that providing sturdy support not only keeps the plants healthy but also makes harvesting much easier.
Types of Support Structures
There are several options for supporting climbing beans:
- Trellises: These are freestanding structures made of wood, metal, or plastic. They come in various shapes and sizes and can be purchased or built at home. I prefer using trellises because they are sturdy and provide ample space for the beans to climb.
- Stakes: Individual stakes can be used to support each bean plant. This method is suitable for smaller gardens or if you’re growing only a few pole bean plants. I recommend using stakes that are at least 6 feet tall.
- Netting: Netting can be stretched between posts or attached to a fence to create a climbing surface for beans. This is a cost-effective option, but it may not be as sturdy as trellises or stakes.
- Tepees: A fun and decorative option is to create a tepee using bamboo poles or branches. This provides a unique vertical element in your garden and can also be used to grow other climbing vegetables like cucumbers or squash.
Setting Up Support Structures
- Trellises: Position the trellis in a sunny location with good drainage. Make sure it’s securely anchored to the ground to prevent it from tipping over, especially in windy areas.
- Stakes: Insert the stakes into the ground near each bean plant, making sure they are deep enough to provide stability. As the beans grow, gently guide the vines up the stakes and tie them loosely with twine or plant ties.
- Netting: Attach the netting to sturdy posts or a fence, ensuring it’s taut and secure. You can use clips or ties to attach the bean vines to the netting as they grow.
- Tepees: Arrange the poles or branches in a circle and tie them together at the top to form a tepee shape. Plant the bean seeds around the base of the tepee.
Training Bean Vines
As your bean plants grow, you may need to train them to climb the support structure. Gently guide the vines up the trellis, stakes, netting, or tepee, and tie them loosely if needed. Avoid tying them too tightly, as this can damage the vines.
Additional Tips for Supporting Climbing Beans
- Choose a support structure that is appropriate for the size and type of bean you’re growing.
- Position the support structure before planting the bean seeds to avoid disturbing the roots later on.
- Check the support structure regularly and make any necessary adjustments as the plants grow.
Providing proper support for your climbing beans will not only improve their growth and yield but also make your garden more visually appealing. It’s a simple step that can make a big difference in your bean-growing success.
Watering Your Bean Plants Effectively
Proper watering is essential for healthy bean growth and a bountiful harvest. Beans need consistent moisture, especially during germination, flowering, and pod development. I’ve learned that finding the right balance is key – too little water can stress the plants and reduce yield, while too much water can lead to root rot and other problems.
Watering Frequency
The frequency of watering will depend on several factors, including the weather, soil type, and stage of plant growth.
- Germination: Keep the soil consistently moist but not waterlogged until the seeds germinate.
- Seedling Stage: Water regularly to encourage strong root development.
- Flowering and Pod Development: Increase watering frequency during these critical stages to support pod formation and growth.
- Hot and Dry Weather: Water more frequently during hot, dry periods to prevent the plants from wilting.
- Rainy Weather: Reduce watering frequency during rainy periods to avoid overwatering.
Watering Techniques
- Water at the Base of the Plant: Water the soil at the base of the plant to avoid wetting the foliage, which can promote fungal diseases.
- Deep Watering: Water deeply and less frequently to encourage deep root growth. This will make the plants more drought-tolerant.
- Avoid Overhead Watering: Overhead watering can spread fungal diseases and cause the bean pods to rot.
- Water in the Morning: Water in the morning so that the foliage has time to dry before nightfall.
Signs of Overwatering and Underwatering
- Overwatering: Wilting leaves, yellowing leaves, and root rot are signs of overwatering.
- Underwatering: Wilting leaves, dry soil, and stunted growth are signs of underwatering.
Additional Tips for Watering Bean Plants
- Use a Soaker Hose or Drip Irrigation: These methods deliver water directly to the roots, minimizing water waste and reducing the risk of fungal diseases.
- Mulch Around the Plants: Mulch helps to retain soil moisture and suppress weeds.
- Check the Soil Moisture: Before watering, check the soil moisture by inserting your finger about an inch into the soil. If the soil is dry, it’s time to water.
By following these watering tips, you can ensure that your bean plants receive the moisture they need to thrive and produce a bountiful harvest. Remember to observe your plants closely and adjust your watering schedule as needed based on the weather and growing conditions.
Fertilizing Your Bean Plants for Optimal Growth
While beans, as legumes, have the remarkable ability to fix nitrogen from the atmosphere, providing them with the right nutrients can significantly boost their growth, health, and ultimately, your harvest. I’ve observed firsthand how a little extra care in terms of fertilization can lead to more vigorous plants and a more abundant yield.
Understanding Bean Nutrient Needs
Beans primarily require three macronutrients: nitrogen (N), phosphorus (P), and potassium (K).
- Nitrogen (N): Essential for leafy green growth and overall plant vigor. Although beans fix nitrogen, a small initial boost can be beneficial, especially in nitrogen-deficient soils.
- Phosphorus (P): Crucial for root development, flowering, and pod formation. Adequate phosphorus ensures strong roots and abundant blooms, which translate to more beans.
- Potassium (K): Plays a vital role in overall plant health, disease resistance, and fruit/pod development. Potassium helps the plants withstand stress and produce high-quality beans.
Types of Fertilizers
There are two main types of fertilizers: organic and synthetic.
- Organic Fertilizers: These are derived from natural sources, such as compost, manure, bone meal, and rock phosphate. I prefer using organic fertilizers whenever possible because they improve soil health and provide a slow-release source of nutrients.
- Synthetic Fertilizers: These are manufactured fertilizers that contain specific ratios of N-P-K. They provide a quick release of nutrients but can be harmful to the environment if used improperly.
Fertilizing Methods
- Soil Amendment: Before planting, I like to amend the soil with compost or well-rotted manure. This provides a slow-release source of nutrients and improves soil structure.
- Side Dressing: During the growing season, you can side dress your bean plants with fertilizer by applying it along the sides of the rows. Be careful not to get fertilizer on the foliage, as it can burn the leaves.
- Foliar Feeding: You can also apply fertilizer as a foliar spray, which is absorbed directly through the leaves. This is a quick way to provide nutrients to the plants, especially if they are showing signs of nutrient deficiency.
Fertilizing Schedule
- At Planting: If your soil is particularly poor, you can add a small amount of balanced organic fertilizer at planting time.
- During Flowering: Once your bean plants start to flower, you can side dress them with a fertilizer that is higher in phosphorus and potassium to promote pod development.
- Avoid Over-Fertilizing: Over-fertilizing can lead to excessive foliage growth and reduced pod production. It can also harm beneficial soil microorganisms.
Additional Tips for Fertilizing Bean Plants
- Test Your Soil: A soil test can help you determine the specific nutrient needs of your soil.
- Use a Balanced Fertilizer: A balanced fertilizer with an N-P-K ratio of 10-10-10 or 5-10-10 is generally suitable for beans.
- Consider Using Mycorrhizal Fungi: These beneficial fungi form a symbiotic relationship with plant roots, improving nutrient uptake.
By providing your bean plants with the right nutrients at the right time, you can help them reach their full potential and enjoy a bountiful harvest of delicious beans.
Protecting Bean Plants from Common Pests and Diseases
Just like any other garden crop, beans can be susceptible to various pests and diseases. I’ve learned that vigilance and proactive measures are key to keeping my bean plants healthy and productive. By understanding the common threats and implementing preventative strategies, you can minimize damage and ensure a successful harvest.
Common Bean Pests
- Aphids: These small, soft-bodied insects suck sap from plant leaves, causing them to curl, yellow, and distort. I often find them clustered on new growth and undersides of leaves.
- Bean Beetles (Mexican Bean Beetles): Both the adults and larvae of these beetles feed on bean leaves, creating lacy, skeletonized foliage. They can quickly defoliate plants if left unchecked.
- Spider Mites: These tiny mites are difficult to see with the naked eye but can cause significant damage. They suck plant sap, causing leaves to become speckled, bronze, and eventually drop off.
- Leafhoppers: These small, wedge-shaped insects feed on plant sap and can transmit diseases. Their feeding can cause stippling or discoloration on leaves.
Common Bean Diseases
- Bean Rust: This fungal disease causes small, orange-red pustules on leaves and pods. It can significantly reduce yield if severe.
- Powdery Mildew: This fungal disease appears as a white, powdery coating on leaves, stems, and pods. It thrives in humid conditions.
- Anthracnose: This fungal disease causes dark, sunken lesions on pods, stems, and leaves. It can be particularly problematic in wet weather.
- Bacterial Blight: This bacterial disease causes water-soaked spots on leaves that eventually turn brown and dry. It can spread quickly in wet conditions.
Organic Pest and Disease Control Strategies
- Handpicking: For larger pests like bean beetles, handpicking and destroying them can be effective, especially for small infestations.
- Insecticidal Soap: This natural insecticide can be effective against aphids, spider mites, and leafhoppers. Be sure to follow the instructions on the product label.
- Neem Oil: This natural oil derived from the neem tree can be used to control a variety of pests and diseases.
- Companion Planting: Planting beans with companion plants like marigolds, nasturtiums, or rosemary can help repel certain pests.
- Crop Rotation: Rotating your bean crops each year can help prevent the buildup of soilborne diseases.
- Good Air Circulation: Ensure good air circulation around your bean plants by spacing them properly and pruning if necessary. This can help prevent fungal diseases.
- Watering Practices: Avoid overhead watering and water in the morning to allow the foliage to dry before nightfall. This can help prevent fungal diseases.
- Disease-Resistant Varieties: Choose disease-resistant bean varieties whenever possible.
Additional Tips for Pest and Disease Management
- Regularly Inspect Plants: Regularly inspect your bean plants for signs of pests or diseases. Early detection is key to effective control.
- Remove Infected Plants: If you find infected plants, remove them from the garden to prevent the spread of disease.
- Use Organic Fungicides and Bactericides: If necessary, you can use organic fungicides or bactericides to control diseases. Be sure to follow the instructions on the product label.
By implementing these preventative and control strategies, you can protect your bean plants from common pests and diseases and ensure a healthy and productive harvest.
When and How to Harvest Your Bean Crop
The moment you’ve been waiting for: harvest time! Knowing when and how to harvest your beans is crucial for enjoying their peak flavor and texture. I’ve learned that timing is everything – harvesting too early or too late can result in tough, stringy, or flavorless beans.
Determining Ripeness
The signs of ripeness vary depending on the type of bean you’re growing:
- Snap Beans (Green Beans, String Beans): Harvest these when the pods are young, tender, and firm, before the beans inside have fully developed. The pods should snap easily when bent.
- Pole Beans: Similar to snap beans, harvest pole beans when the pods are young and tender. Regular harvesting encourages continued production.
- Dry Beans: Allow the pods to dry completely on the plant. The pods will turn brown and brittle, and the beans inside will be hard and dry.
Harvesting Techniques
- Snap Beans and Pole Beans: Gently snap or cut the pods from the plant, being careful not to damage the vines. I prefer to harvest in the morning after the dew has dried.
- Dry Beans: Once the pods are dry, you can pull up the entire plant and hang it upside down in a dry, well-ventilated area to finish drying. Once the pods are completely dry and brittle, you can shell the beans.
Harvest Frequency
- Snap Beans and Pole Beans: These beans should be harvested regularly, every few days, to encourage continuous production.
- Dry Beans: These are typically harvested once, when the pods are fully dry.
Additional Tips for Harvesting Beans
- Use Sharp Tools: Use sharp scissors or pruning shears to harvest beans to avoid damaging the plants.
- Handle with Care: Handle the bean pods gently to avoid bruising or damaging them.
- Harvest in Dry Weather: If possible, harvest beans in dry weather to prevent the spread of diseases.
By following these harvesting tips, you can enjoy a bountiful harvest of fresh, delicious beans throughout the growing season.
Storing Your Harvested Beans for Later Use
After the excitement of harvesting your beans, the next important step is proper storage to maintain their freshness and flavor. I’ve experimented with various storage methods over the years, and I’ve found that the best approach depends on the type of bean and how you plan to use it.
Storing Fresh Beans
- Refrigeration: Fresh snap beans and pole beans can be stored in the refrigerator for up to a week. Place them in a plastic bag or container and store them in the crisper drawer.
Preserving Beans
- Freezing: Freezing is a great way to preserve fresh beans for longer periods. Blanch the beans in boiling water for a few minutes, then immediately plunge them into ice water to stop the cooking process. Drain the beans and then freeze them in freezer bags or containers.
- Canning: Canning is another effective method for preserving beans. Use a pressure canner to ensure food safety. Follow proper canning procedures and processing times according to your altitude.
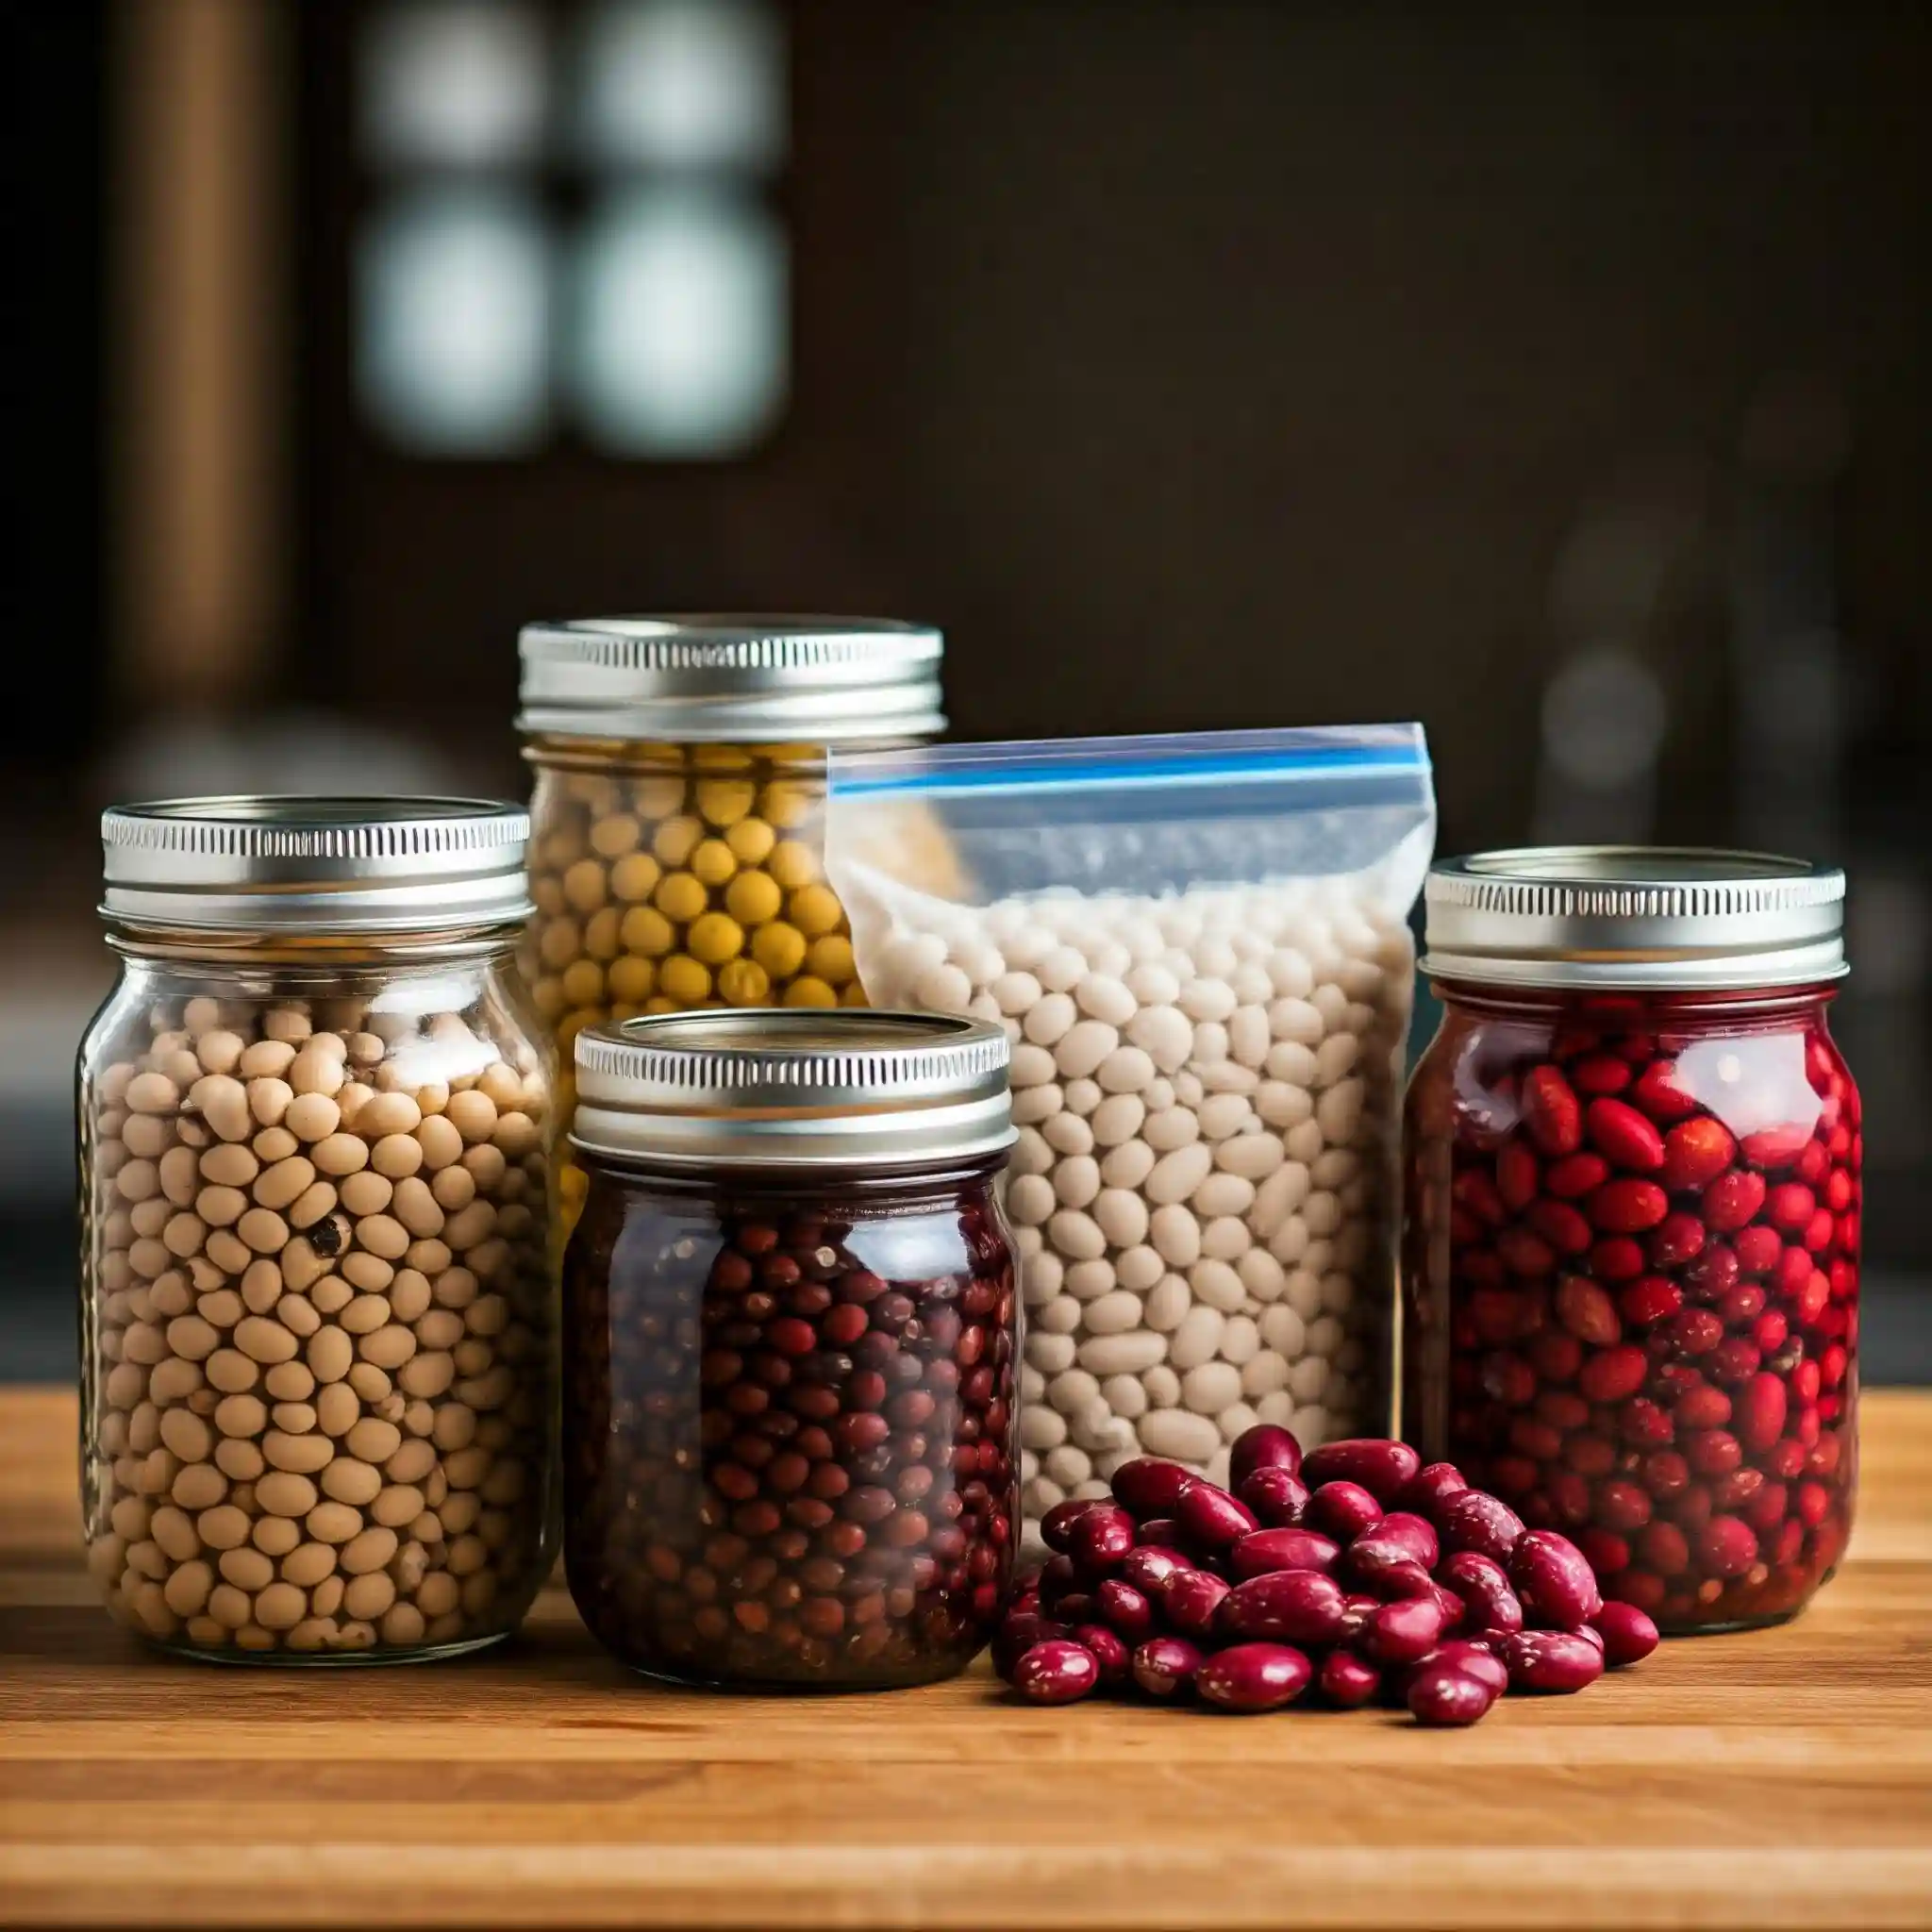
- Drying: Dry beans, such as kidney beans and pinto beans, are specifically grown for drying. Allow the pods to dry completely on the plant, then shell the beans and store them in airtight containers in a cool, dry place.
Additional Tips for Storing Beans
- Label and Date: Label and date your stored beans so you know when they were harvested and how long they’ve been stored.
- Inspect Regularly: Regularly inspect your stored beans for any signs of spoilage. Discard any beans that show signs of mold or discoloration.
- Use Proper Containers: Use airtight containers for storing dried beans to prevent moisture and pests from getting in.
By following these storage tips, you can enjoy the fruits of your labor long after the growing season has ended.
Growing Beans in Containers: A Guide for Small Spaces
Limited garden space doesn’t mean you have to miss out on the joy of growing your own beans. I’ve successfully grown beans in containers for years, and it’s a fantastic option for those with balconies, patios, or small yards. With a few adjustments to the growing process, you can enjoy a bountiful bean harvest even in a limited space.
Choosing the Right Container
- Size: Select a container that is at least 12 inches deep and 12 inches in diameter for bush beans. For pole beans, choose a larger container that is at least 18 inches deep and wide.
- Material: Containers can be made from various materials, including plastic, terracotta, or wood. Ensure the container has drainage holes to prevent waterlogging.
Selecting Bean Varieties for Containers
- Bush Beans: Bush beans are generally better suited for containers due to their compact growth habit.
- Dwarf Pole Beans: Some dwarf pole bean varieties are also suitable for containers, but they will still require some support.
Potting Mix
- Use a high-quality potting mix that is well-draining and rich in organic matter. Avoid using garden soil, as it can become1 compacted in containers.
Providing Support
- If you’re growing pole beans in containers, provide them with a trellis or other support structure. You can insert a small trellis or bamboo stakes directly into the container.
Watering and Fertilizing
- Containers tend to dry out more quickly than garden beds, so you’ll need to water your bean plants more frequently.
- Fertilize your bean plants regularly with a balanced fertilizer or compost tea.
Additional Tips for Growing Beans in Containers
- Place the container in a sunny location: Beans need at least 6 hours of sunlight per day.
- Protect from wind: If you live in a windy area, place the container in a sheltered location.
- Monitor for pests and diseases: Regularly inspect your plants for signs of pests or diseases.
By following these tips, you can successfully grow beans in containers and enjoy a fresh and delicious harvest, no matter how limited your space may be.
Frequently Asked Questions About Growing Beans
I’ve compiled a list of frequently asked questions to further assist you in your bean-growing journey.
Growing green beans in containers is a great option for those with limited space. Choose a container that is at least 12 inches deep and 12 inches in diameter, and fill it with a high-quality potting mix. Plant the seeds 1 inch deep and 2-4 inches apart. Place the container in a sunny location and water regularly. Provide support for climbing varieties.
Pole beans are vigorous climbers and require support. A small backyard trellis is an ideal solution. Plant the seeds at the base of the trellis, spacing them 4-6 inches apart. As the beans grow, gently guide them up the trellis and tie them loosely with twine or plant ties.
Bush beans are an excellent choice for beginner gardeners due to their compact size and ease of care. Plant the seeds 1 inch deep and 2-4 inches apart in a sunny location with well-drained soil. Water regularly and fertilize as needed.
Growing beans organically involves using natural methods to control pests and diseases. Companion planting, crop rotation, and handpicking pests are effective strategies. You can also use organic insecticides and fungicides if necessary.
Lima beans prefer warm weather and well-drained soil. In hot and humid climates, it’s essential to provide adequate air circulation and avoid overhead watering to prevent fungal diseases. Choose heat-tolerant varieties and plant them in a location that receives morning sun and afternoon shade.
Beans are typically planted in the spring after the last frost. Direct sow the seeds into the garden bed or start them indoors a few weeks before the last frost. Keep the soil moist and provide support for climbing varieties. Harvest the beans when the pods are young and tender.
Vertical gardening techniques are ideal for growing climbing beans in small spaces. Use trellises, stakes, or netting to provide support for the vines. Plant the seeds at the base of the support structure and train the vines to climb.
Raised beds provide excellent drainage and are ideal for growing various bean varieties. Amend the soil with compost or other organic matter before planting. Plant the seeds according to the recommended spacing for each variety.
Common bean pests include aphids, bean beetles, and spider mites. You can protect your plants by using organic pest control methods, such as handpicking pests, using insecticidal soap or neem oil, and companion planting.
To maximize bean yields for a large family, choose high-yielding varieties and plant them in a sunny location with fertile soil. Provide adequate support for climbing varieties and water and fertilize regularly. Succession planting can also help extend the harvest season.
Conclusion: Reap the Rewards of Your Bean-Growing Efforts
Growing your own beans can be a truly fulfilling experience, connecting you with nature’s cycle and providing you with fresh, homegrown produce. By following these simple steps, you can cultivate a thriving bean patch, whether you have a sprawling garden or just a small balcony. Remember, each bean variety has its unique characteristics, so choose the ones that best suit your climate, space, and culinary preferences.
From planting the first seed to savoring the crisp, tender pods, each stage of the bean-growing process offers its own rewards. With a little patience and care, you’ll be harvesting baskets full of beans in no time, ready to be enjoyed in a variety of delicious dishes. So, get out there, get your hands dirty, and experience the joy of growing your own beans!
Happy Gardening!
