

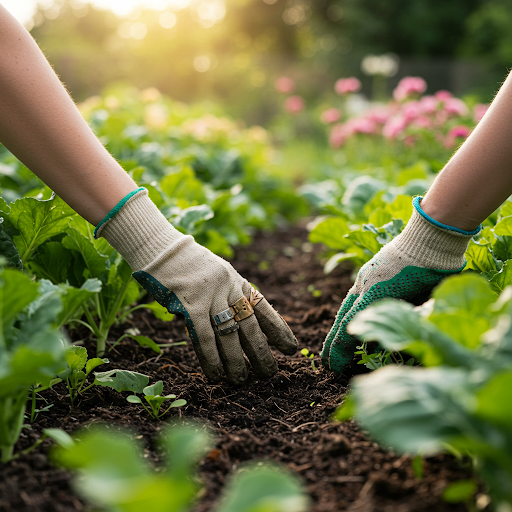
Are you tired of seeing your delicate spring seedlings wither, despite your best efforts? Does the thought of overwatering or underwatering your precious plants fill you with dread? I understand the frustration. You’ve poured your heart into preparing your garden, and now, the simple task of watering seems to be the biggest hurdle. The solution? Mastering the art of using a watering can. As a seasoned gardener, I’ve learned that proper watering, especially in spring, can make all the difference. Let’s dive into simple tips that will make a big difference in your spring garden.
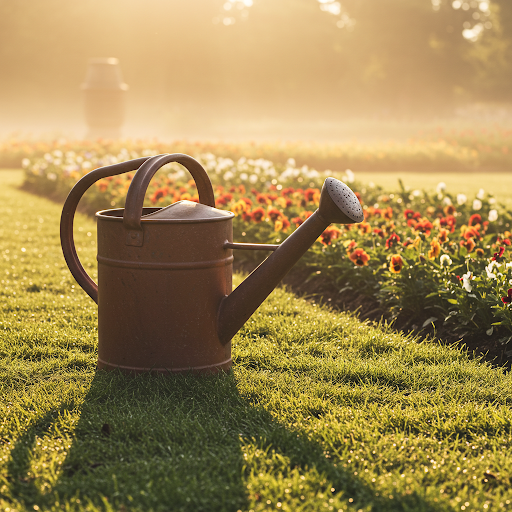
1. Choose the Right Watering Can for Your Spring Garden
When it comes to watering your spring garden, the tool you use is just as important as the technique. You might think, “It’s just a watering can,” but trust me, there’s more to it than meets the eye. The right watering can can make a significant difference in how effectively you water your plants, and ultimately, in their overall health and growth.
Material Matters
Watering cans are typically made from two primary materials: plastic and metal. Each material has its own set of advantages and disadvantages.
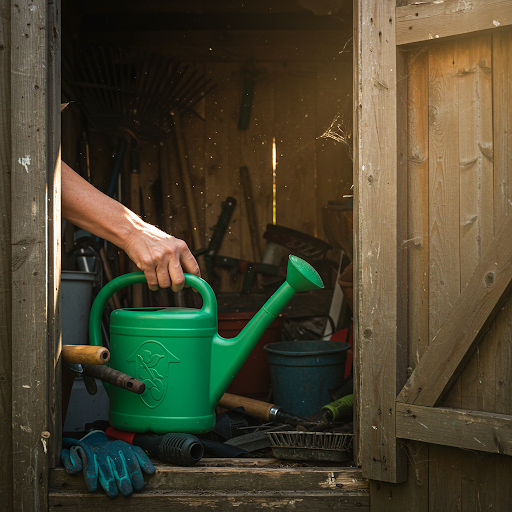
- Plastic Watering Cans: These are a popular choice among gardeners due to their lightweight and durable nature. They are easy to maneuver around the garden and are resistant to rust, making them a practical option for outdoor storage. Plastic watering cans are also generally more affordable than their metal counterparts. However, they may not be as durable as metal cans and can become brittle in extreme temperatures.
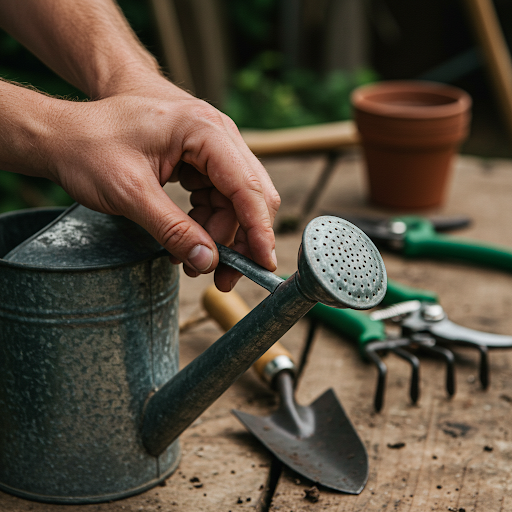
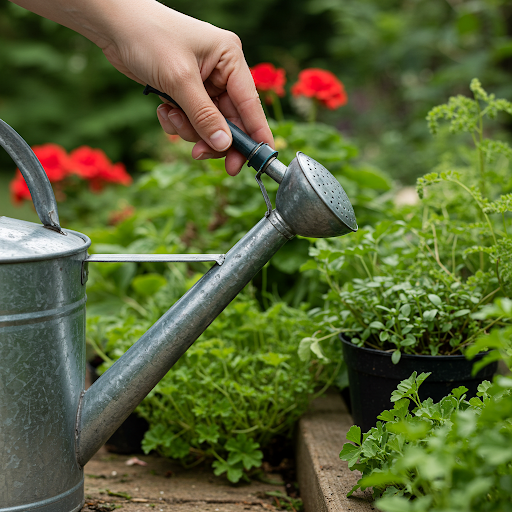
- Metal Watering Cans: Metal watering cans, often made from galvanized steel or copper, offer a classic and sturdy option. They are typically more durable than plastic cans and can withstand more wear and tear. Metal cans also tend to have a longer lifespan. However, they are heavier than plastic cans, which can be a drawback for some gardeners. Additionally, metal cans are susceptible to rust, especially if left outdoors in damp conditions. Regular maintenance, such as drying the can thoroughly after each use, can help prevent rust formation.
Capacity Considerations
The capacity of your watering can should be determined by the size of your garden. For small gardens or container gardens, a smaller watering can (around 1-2 gallons) will likely suffice. However, if you have a larger garden, you’ll want a larger capacity (2-3 gallons) to minimize the number of trips you need to make to the water source.
Spout Design and Rose Heads
The spout design plays a crucial role in how you water your plants. A long, narrow spout is ideal for reaching plants in tight spaces, such as those tucked away beneath larger plants or in hanging baskets. For delicate seedlings and young plants, a rose head attachment is invaluable. This attachment creates a gentle, shower-like spray that minimizes the risk of damaging fragile stems and leaves.
I highly recommend choosing a watering can with a detachable rose head. This gives you the flexibility to switch between a direct stream for watering established plants and a gentle spray for more delicate ones.
Ergonomics and Comfort
Don’t underestimate the importance of ergonomics when selecting a watering can. You’ll be carrying and lifting the can, so it’s essential to choose one that is comfortable to handle. Look for a can with a well-balanced design and a comfortable handle. Some watering cans even feature a dual handle, which can make pouring easier and reduce strain on your wrists.
My Personal Experience
When I first started gardening, I used a basic plastic watering can that I purchased from a local hardware store. It was lightweight and did the job, but as my garden grew, I realized that it wasn’t the most efficient tool. The small capacity meant I was constantly refilling it, and the lack of a rose head attachment made it difficult to water delicate seedlings without damaging them.
Frustrated with the limitations of my old watering can, I decided to invest in a higher-quality model. I chose a metal watering can with a detachable rose head and a comfortable, well-balanced handle. The difference was immediately noticeable. The larger capacity reduced the number of trips to the water source, and the rose head attachment allowed me to water my plants with precision and care. The ergonomic design made watering a more enjoyable experience, and I could focus on tending to my garden without straining my back or wrists.
The Importance of Proper Watering
Choosing the right watering can is just the first step. Proper watering techniques are essential for ensuring your plants receive the hydration they need to thrive. Overwatering can lead to root rot and other fungal diseases, while underwatering can cause plants to wilt and stunt their growth.
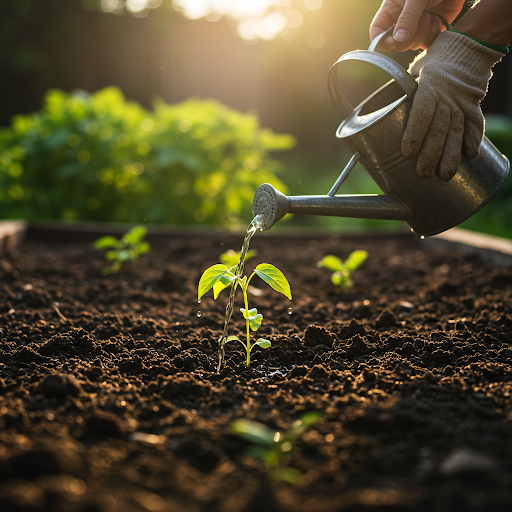
2. How to Properly Water Delicate Spring Seedlings with a Watering Can
Watering seedlings can feel like a delicate dance. These tiny plants are incredibly fragile, and overwatering or underwatering can have a significant impact on their survival. The key is to provide them with consistent moisture without drowning them.
Gentle Touch is Key
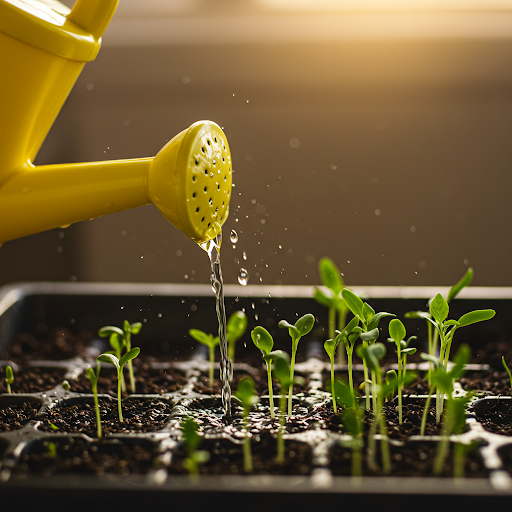
When it comes to watering seedlings, a gentle approach is essential. Avoid using a strong jet of water from the hose, as this can easily dislodge the seedlings or damage their delicate roots. Instead, opt for a watering can with a rose head attachment. This creates a fine mist or gentle spray that minimizes the risk of disturbing the seedlings.
Water at the Base
Always water the base of the seedlings, rather than the leaves. Wet leaves can encourage the growth of fungal diseases, which can be devastating to young plants. By watering the soil directly, you ensure that the water reaches the roots where it’s needed most.
Control the Flow
Adjust the flow of water from the watering can to suit the needs of your seedlings. For very young seedlings, a light mist is usually sufficient. As the seedlings grow, you can gradually increase the amount of water. However, it’s always better to err on the side of caution and water less rather than more.
Observe and Adjust
Pay close attention to the moisture levels in the seed tray. Allow the top inch of soil to dry out slightly between waterings. If the soil feels too dry, it’s time to water again. However, if the soil remains consistently moist or if you notice any signs of mold or mildew, you may be overwatering.
Signs of Overwatering and Underwatering
- Overwatering: * Seedlings may appear wilted or yellowed.
- The soil may remain consistently damp or soggy.
- The seedlings may develop root rot, which can cause them to collapse and die.
- Underwatering:
- Seedlings may wilt or droop during the day and recover at night.
- The soil may feel dry to the touch.
- The seedlings may experience stunted growth and appear stunted.
Watering Frequency
The frequency of watering will depend on several factors, including:
- Weather conditions: Hot, sunny weather will dry out the soil more quickly than cool, cloudy weather.
- Type of soil: Sandy soil dries out more quickly than clay soil.
- Size of the seed tray: Larger trays will hold more moisture than smaller trays.
As a general rule, it’s best to water seedlings in the morning, allowing the excess water to evaporate throughout the day. This helps to prevent fungal diseases, which thrive in damp conditions.
My Personal Experience
I remember the first time I tried to grow seedlings from seed. I was so excited to see the tiny sprouts emerge from the soil, but I quickly realized that watering them was a delicate art. I initially overwatered my seedlings, and they quickly succumbed to root rot.
After that experience, I learned to be more cautious with my watering. I started by using a gentle mist from the watering can and monitored the soil moisture closely. I also learned to adjust my watering frequency based on the weather conditions and the size of the seedlings.
By following these tips and paying close attention to the needs of my seedlings, I’ve been able to successfully grow a wide variety of plants from seed.
3. Best Techniques for Even Watering Container Spring Gardens Using a Can
Container gardens add a touch of greenery to balconies, patios, and even small spaces indoors. However, watering container gardens can be a bit trickier than watering in-ground plants. The soil in containers tends to dry out more quickly due to factors like exposure to sunlight and wind, and the limited amount of soil can make it challenging to maintain consistent moisture levels.
The Challenges of Watering Container Gardens
One of the main challenges of watering container gardens is the risk of overwatering or underwatering. Overwatering can lead to root rot, while underwatering can cause plants to wilt and become stressed. The limited amount of soil in containers also means that they can dry out quickly, especially during hot, dry weather.
Tips for Even Watering
Here are some tips to ensure even watering in your container gardens:
- Water Thoroughly: When you do water, water deeply. Water until you see water draining from the bottom of the pot. This ensures that the entire root ball is thoroughly moistened.
- Check Soil Moisture Regularly: Stick your finger into the soil to check the moisture level. If the top inch of soil feels dry, it’s time to water.
- Consider the Container Material: Different container materials retain moisture differently. For example, terracotta pots tend to dry out more quickly than plastic pots. Adjust your watering schedule accordingly.
- Water in the Morning or Evening: Avoid watering during the hottest part of the day, as this can lead to excessive evaporation. Watering in the morning or evening allows the water to soak into the soil slowly and minimizes water loss.
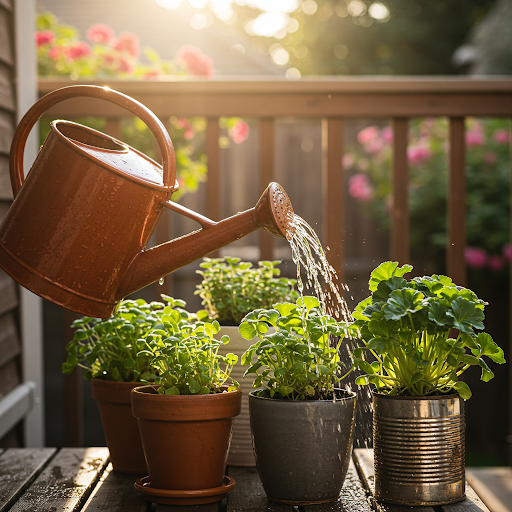
- Use a Watering Can with a Rose Head Attachment: A rose head attachment creates a gentle spray that helps to distribute water evenly throughout the container. Avoid using a strong jet of water, as this can dislodge the soil and damage the roots.
- Water Slowly and Gently: Pour water slowly and gently around the base of the plants, allowing the water to soak into the soil gradually. Avoid overwatering, as this can lead to root rot.
My Personal Experience
I’ve learned from experience that consistent and thorough watering is crucial for container gardens. In my early gardening days, I often neglected to water my container plants adequately, leading to wilting and even plant loss.
Now, I make a conscious effort to check the soil moisture regularly and water deeply when needed. I’ve also found that using a watering can with a rose head attachment helps to distribute water evenly and minimize the risk of overwatering.
By following these tips and paying close attention to the needs of your container plants, you can ensure that they receive the hydration they need to thrive.
4. Tips for Choosing the Right Watering Can for Your Spring Garden Needs
Choosing the right watering can for your spring garden is an important step in ensuring that your plants receive the proper hydration they need to thrive. There are a variety of factors to consider when making your selection, including the size of your garden, the types of plants you are growing, and your personal preferences.
Consider the Size of Your Garden
The size of your garden will play a significant role in determining the capacity of the watering can you need. For small gardens or container gardens, a smaller watering can (around 1-2 gallons) will likely be sufficient. However, if you have a larger garden, you will need a larger capacity watering can (2-3 gallons or more) to minimize the number of trips you need to make to the water source.
Types of Plants
The types of plants you are growing will also influence your choice of watering can. For example, if you are growing delicate seedlings, you will need a watering can with a fine mist setting or a rose head attachment to avoid damaging the plants. On the other hand, if you are growing larger plants, such as shrubs or trees, you may need a watering can with a wider spout to deliver a larger volume of water.
Personal Preferences
Your personal preferences should also be taken into account when choosing a watering can. Consider the weight of the watering can when it is full. If you have back problems or other physical limitations, you may want to choose a lightweight plastic watering can rather than a heavier metal one. You should also consider the handle of the watering can. Make sure it is comfortable to hold and that it does not slip or rotate in your hand.
Additional Tips
- Detachable Rose Head: A detachable rose head is a versatile feature that allows you to switch between a direct stream and a gentle spray, depending on the needs of your plants.
- Long Spout: A long spout can be helpful for reaching plants in tight spaces, such as those tucked away beneath larger plants or in hanging baskets.
- Comfortable Handle: Choose a watering can with a comfortable handle that is easy to grip and does not slip in your hand.
- Durability: Consider the durability of the watering can. If you plan to use it frequently, you may want to choose a metal watering can, which is typically more durable than plastic.
By carefully considering these factors, you can choose the right watering can for your spring garden and ensure that your plants receive the proper hydration they need to thrive.
5. What is the Ideal Watering Frequency for New Spring Plants with a Can?
Determining the ideal watering frequency for your spring plants is crucial for their health and growth. Overwatering can lead to root rot, while underwatering can cause stress and stunted growth. The key is to find a balance that provides your plants with the moisture they need without drowning them.
Checking Soil Moisture
The best way to determine if your plants need water is to check the soil moisture. Stick your finger about an inch into the soil. If the soil feels dry to the touch, it’s time to water. However, if the soil feels consistently damp or soggy, you may be overwatering.
Factors Affecting Watering Frequency
Several factors can influence how often you need to water your spring plants, including:
- Weather conditions: Hot, sunny weather will dry out the soil more quickly than cool, cloudy weather.
- Soil type: Sandy soils tend to dry out more quickly than clay soils.
- Plant type: Some plants, such as succulents, require less frequent watering than others.
- Container size: Plants in smaller containers will dry out more quickly than those in larger containers.
Signs of Overwatering and Underwatering
Pay close attention to your plants for signs of overwatering or underwatering.
- Overwatering:
- Wilting or yellowing leaves
- Soggy or waterlogged soil
- Root rot, which can cause the plant to collapse
- Underwatering:
- Wilting during the day, but recovering at night
- Dry, crumbly soil
- Stunted growth
Watering in the Morning
I recommend watering your plants in the morning. This allows the excess water to evaporate throughout the day, reducing the risk of fungal diseases that thrive in damp conditions.
My Personal Experience
When I first started gardening, I struggled to find the right balance when it came to watering my spring plants. I often overwatered my seedlings, which resulted in root rot and significant plant loss. However, I learned from my mistakes and adjusted my watering schedule accordingly.
Now, I check the soil moisture regularly and water my plants only when necessary. I also pay close attention to the weather conditions and adjust my watering schedule accordingly. By carefully monitoring my plants and following these tips, I have been able to successfully grow healthy and vibrant spring gardens.
6. How to Prevent Overwatering Spring Flowers When Using a Watering Can
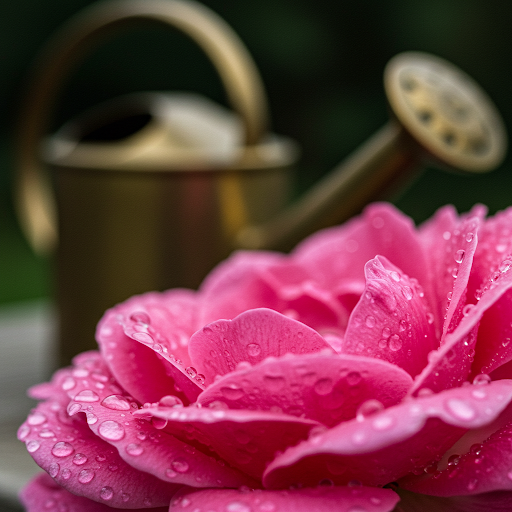
Overwatering is a common problem for many gardeners, especially during the spring season when plants are actively growing. Overwatering can lead to a number of problems, including root rot, fungal diseases, and stunted growth.
Understanding the Risks of Overwatering
When you overwater your plants, the soil becomes saturated with water, which can deprive the roots of oxygen. This can lead to root rot, a condition where the roots of the plant begin to decay. Root rot can be fatal to plants, as the roots are responsible for absorbing water and nutrients from the soil.
In addition to root rot, overwatering can also create an environment that is conducive to the growth of fungal diseases. Many fungal diseases thrive in moist conditions, and overwatering can provide the perfect environment for these pathogens to flourish.
Tips for Preventing Overwatering
Here are some tips to help you prevent overwatering your spring flowers:
- Water at the Base of the Plant: When watering your plants, be sure to water the base of the plant, rather than the leaves. Wet leaves can create a humid environment that encourages the growth of fungal diseases.
- Check the Soil Moisture: Before watering, stick your finger into the soil to check the moisture level. If the top inch of soil feels dry, it’s time to water. However, if the soil feels consistently damp or soggy, you may be overwatering.
- Avoid Watering During the Hottest Part of the Day: Watering during the hottest part of the day can lead to excessive evaporation and can also cause water droplets to magnify sunlight, which can burn the leaves of your plants. It’s best to water in the morning or evening when the sun is less intense.
- Improve Drainage: Ensure that your plants are planted in well-drained soil. If the soil is too compacted, water will not be able to drain properly, which can lead to overwatering. You can improve drainage by adding organic matter such as compost to the soil.
- Use a Watering Can with a Rose Head Attachment: A rose head attachment creates a gentle spray that helps to distribute water evenly around the base of the plant. This can help to prevent overwatering and ensure that the water reaches the roots effectively.
My Personal Experience
I’ve learned from experience that overwatering can be a serious problem, especially for delicate spring flowers. In my early gardening days, I often overwatered my plants, which resulted in significant plant loss. However, I learned from my mistakes and adjusted my watering habits accordingly.
Now, I always water my plants at the base and avoid watering during the hottest part of the day. I also check the soil moisture regularly and only water when necessary. By following these tips, I have been able to significantly reduce the risk of overwatering and ensure that my spring flowers thrive.
7. Simple Ways to Conserve Water When Watering Spring Vegetables with a Can

In addition to watering efficiently, it’s also important to be mindful of water conservation. Here are a few simple ways to conserve water when watering your spring vegetable garden:
- Use Rainwater: Rainwater is a natural and free source of water that is perfect for watering your garden. Consider installing a rain barrel to collect rainwater and use it to fill your watering can.
- Mulch Your Garden: Mulching your garden helps to retain soil moisture, reducing the need for frequent watering. Mulch also helps to suppress weeds, which can compete with your plants for water.
- Water in the Morning or Evening: Avoid watering your garden during the hottest part of the day, as this can lead to significant water loss through evaporation. Water in the morning or evening when temperatures are cooler.
- Water Deeply but Infrequently: Instead of frequent, shallow watering, water deeply and less often. This encourages deep root growth, which makes your plants more drought-tolerant.
- Use a Watering Can with a Rose Head Attachment: A rose head attachment creates a gentle spray that helps to distribute water evenly and minimize water loss through runoff.
My Personal Experience
I have always been a strong advocate for water conservation. In my own garden, I use a rain barrel to collect rainwater and use it to water my plants whenever possible. I also mulch my garden beds heavily with organic matter, such as wood chips or straw, to help retain soil moisture.
By incorporating these water-saving practices into my gardening routine, I have been able to significantly reduce my water usage while still ensuring that my plants receive the hydration they need to thrive.
8. Effective Watering Can Methods for Newly Transplanted Spring Garden Plants
Transplanting can be stressful for plants. Their root systems are disrupted, and they need time to establish themselves in their new home. Proper watering is crucial during this critical period to help them recover and thrive.
Immediate Watering After Transplanting
As soon as you transplant your plants, water them thoroughly. This will help to settle the soil around the roots and provide them with the moisture they need to recover from the transplant shock. Use a gentle stream of water from your watering can to avoid disturbing the roots further.
Maintaining Consistent Moisture
In the days and weeks following transplanting, it’s important to maintain consistent soil moisture. Water your plants regularly, but avoid overwatering, which can lead to root rot. Check the soil moisture regularly and water when the top inch of soil feels dry.
Mulching to Retain Moisture
Mulching around the base of your newly transplanted plants can help to retain soil moisture and reduce the frequency of watering. Mulch also helps to suppress weeds, which can compete with your plants for water and nutrients.
Signs of Success
If your plants are recovering well from transplanting, you’ll notice signs of new growth. They should appear healthy and vigorous, with lush green leaves and strong stems. If you notice any signs of stress, such as wilting or yellowing leaves, adjust your watering schedule accordingly.
My Personal Experience
I’ve learned from experience that proper watering is essential for the success of newly transplanted plants. In my early gardening days, I often neglected to water my transplants adequately, which resulted in stunted growth and even plant death.
Now, I make sure to water my transplants thoroughly immediately after planting and continue to monitor their water needs closely. I also mulch around the base of the plants to help retain moisture and suppress weeds. By following these practices, I’ve been able to successfully transplant a wide variety of plants, from delicate seedlings to mature shrubs.
9. When is the Best Time of Day to Water Spring Gardens with a Can?
The time of day you choose to water your garden can significantly impact the effectiveness of your watering efforts. Watering at the wrong time can lead to increased water loss through evaporation and can even stress your plants.
Watering in the Morning
Watering in the early morning is generally considered the best time to water your spring garden. During the morning, temperatures are cooler, and the sun is not as intense. This allows the water to soak into the soil slowly, minimizing runoff and evaporation. Watering in the morning also gives the plants ample time to dry off before the sun reaches its peak intensity, reducing the risk of fungal diseases.
Watering in the Evening
Watering in the late evening, after the sun has begun to set, is another good option. Similar to watering in the morning, watering in the evening minimizes evaporation and reduces the risk of sunburn on the leaves. However, it’s important to ensure that the leaves have time to dry completely before nightfall to prevent fungal diseases.
Avoiding the Midday Sun
Avoid watering your garden during the hottest part of the day, typically between 10:00 AM and 4:00 PM. Watering during this time can lead to significant water loss through evaporation. Additionally, water droplets on the leaves can act like tiny magnifying glasses, focusing sunlight and burning the leaves.
My Personal Experience
I’ve found that watering my garden in the early morning or late evening works best for me. I typically water my plants around 7:00 AM or 8:00 AM, which gives them plenty of time to dry off before the sun gets too intense. I’ve noticed a significant difference in the health and vigor of my plants since I started watering at these times.
By choosing the optimal time of day to water your spring garden, you can maximize water efficiency and ensure that your plants receive the hydration they need to thrive.
10. How to Adjust Watering Can Pressure for Different Spring Plant Types
Just as different plants have varying water needs, they also require different watering techniques. Adjusting the pressure of your watering can is key to ensuring that your plants receive the right amount of water without damaging them.
Understanding Plant Needs
Seedlings and young plants are particularly delicate and require gentle watering. A strong jet of water can easily dislodge them or damage their fragile roots. For these plants, use a gentle mist setting on your watering can. You can achieve this by using a rose head attachment or by adjusting the nozzle to produce a fine spray.
Established plants, such as mature shrubs and trees, can withstand a stronger stream of water. However, it’s still important to avoid overwatering. Water deeply and slowly, allowing the water to soak into the soil gradually.
Adjusting the Nozzle
Most watering cans have adjustable nozzles that allow you to control the flow of water. Experiment with different settings to find the right pressure for each type of plant. For delicate seedlings, use a gentle mist setting. For larger plants, you can increase the pressure to provide a more forceful stream of water.
My Personal Experience
I’ve found that adjusting the water pressure on my watering can has made a significant difference in the health and vigor of my plants. By using a gentle mist for seedlings and a stronger stream for established plants, I’ve been able to provide each plant with the specific type of watering it needs.
FAQ
Q: How to properly water delicate spring seedlings with a watering can?
- A: Use a watering can with a rose head attachment to provide a gentle, even spray. Water at the base of the seedlings, and avoid strong streams that can damage young plants.
Q: Best techniques for even watering container spring gardens using a can?
- A: Water slowly and thoroughly, moving the watering can around the container to ensure all soil is moistened. Water until water drains from the bottom of the pot.
Q: Tips for choosing the right watering can for your spring garden needs?
- A: Consider the size of your garden, the types of plants you’re growing, and the weight of the watering can when full. Choose a can with a comfortable handle and a spout that suits your watering needs.
Q: What is the ideal watering frequency for new spring plants with a can?
- A: Check the soil moisture daily. Water when the top inch of soil feels dry. Newly planted seedlings and transplants may need daily watering, especially in warm, sunny weather.
Q: How to prevent overwatering spring flowers when using a watering can?
- A: Ensure your soil has good drainage, and water only when the soil feels dry. Avoid watering too frequently, and allow the soil to dry out slightly between waterings.
I hope this FAQ section addresses some of your common questions about using a watering can in your spring garden. Remember, the key to success is to observe your plants closely and adjust your watering techniques accordingly. Happy gardening!


