Starting seeds can be a daunting task for many gardeners. You might be wondering why your seeds aren’t germinating, or why your seedlings are weak and spindly. These challenges can be frustrating, especially when you’re eager to get your garden growing.
It’s disheartening to invest time and effort into seed starting, only to see poor results. You might feel like you’re doing everything right, but still, your seeds aren’t thriving. This can lead to wasted resources and a delayed growing season, making it harder to achieve the lush, productive garden you envision.
Don’t worry, I’ve got you covered. This comprehensive seed starting guide will walk you through every step of the process, from selecting the right seeds to transplanting your seedlings into the garden. With detailed instructions, tips, and insights, you’ll be well-equipped to start seeds successfully and enjoy a bountiful garden.
Understanding Seed Starting
What is Seed Starting?
Seed starting is the process of germinating seeds and growing them into seedlings before transplanting them into the garden. This method allows you to get a head start on the growing season, especially for plants that require a longer growing period. By starting seeds indoors, you can control the growing conditions, ensuring that your plants have the best possible start.
Why Start Seeds Indoors?
Starting seeds indoors offers several advantages:
- Extended Growing Season: By starting seeds indoors, you can begin the growing process earlier, giving your plants more time to mature.
- Controlled Environment: Indoor seed starting allows you to control temperature, light, and moisture levels, which can be more challenging to manage outdoors.
- Stronger Plants: Seedlings started indoors are often stronger and healthier, as they are protected from pests and harsh weather conditions during their early stages of growth.
- Cost-Effective: Growing plants from seeds is generally more cost-effective than purchasing mature plants from a nursery.
Overview of the Seed Germination Process
Seed germination is the process by which a seed develops into a new plant. This process involves several stages:
- Imbibition: The seed absorbs water, swelling and softening the seed coat.
- Activation: Water activates enzymes that begin the growth process.
- Germination: The seed’s radicle (root) emerges, followed by the shoot.
- Seedling Development: The seedling grows leaves and begins photosynthesis.
Understanding these stages can help you provide the right conditions for successful seed starting.
Choosing the Right Seeds
Factors to Consider When Selecting Seeds
Choosing the right seeds is crucial for successful seed starting. Here are some factors to consider:
- Climate: Select seeds that are suitable for your local climate. Some plants thrive in cooler temperatures, while others need warmth to grow.
- Growing Season: Consider the length of your growing season. Choose seeds that will have enough time to mature before the first frost.
- Plant Type: Decide whether you want to grow vegetables, herbs, flowers, or a combination. Each type of plant has different requirements.
- Seed Quality: Purchase seeds from reputable sources to ensure high germination rates and healthy plants.
Best Seeds for Beginners
If you’re new to seed starting, consider starting with these easy-to-grow seeds:
- Tomatoes: They are relatively easy to start indoors and transplant well.
- Basil: This herb germinates quickly and is forgiving of minor mistakes.
- Marigolds: These flowers are hardy and can tolerate a range of conditions.
- Lettuce: Lettuce seeds germinate quickly and can be grown in a variety of conditions.
Where to Buy Quality Seeds
You can purchase seeds from various sources, including:
- Local Nurseries: These often carry seeds that are well-suited to your local climate.
- Online Retailers: Websites like Burpee, Johnny’s Selected Seeds, and Seed Savers Exchange offer a wide variety of seeds.
- Seed Catalogs: Many seed companies offer catalogs that you can order from.
- Garden Centers: Larger garden centers often have a good selection of seeds.
Gathering Supplies
Essential Seed Starting Supplies
To start seeds successfully, you’ll need the following supplies:
Seed Trays and Containers
Seed trays and containers come in various sizes and materials. Choose ones that suit your space and the number of seeds you plan to start. Ensure they have drainage holes to prevent waterlogging.
Seed Starting Mix vs. Potting Soil
A good seed starting mix is light, well-draining, and sterile. Avoid using garden soil, as it can be too heavy and may contain pests or diseases. Seed starting mix is specifically formulated to provide the right conditions for germination.
Labels and Markers
Labeling your seeds is essential to keep track of what you’ve planted. Use waterproof markers and sturdy labels that won’t fade or disintegrate over time.
Watering Tools
A gentle watering can or spray bottle is ideal for watering seedlings. Avoid using a strong stream of water, which can displace seeds or damage delicate seedlings.
Optional but Helpful Tools
While not essential, these tools can make seed starting easier and more successful:
Heat Mats
Heat mats provide consistent bottom heat, which can speed up germination and improve success rates, especially for seeds that require warm temperatures to germinate.
Grow Lights
If you don’t have a sunny window, grow lights can provide the necessary light for seedlings. Look for full-spectrum lights that mimic natural sunlight.
Humidity Domes
Humidity domes help maintain high humidity levels, which can be beneficial for germination. They also protect seedlings from drafts and temperature fluctuations.
Preparing Your Seed Starting Area
Choosing the Right Location
Select a location in your home that provides the right conditions for seed starting. A south-facing window is ideal, as it receives the most sunlight. If natural light is insufficient, consider using grow lights.
Setting Up Grow Lights
If you’re using grow lights, set them up so they are close to the seedlings, about 2-4 inches above the plants. Adjust the height as the seedlings grow to maintain the optimal distance. Use a timer to ensure the seedlings receive 12-16 hours of light per day.
Ensuring Proper Ventilation
Good air circulation is important to prevent mold and fungal diseases. Use a small fan to provide gentle airflow around the seedlings. This also helps strengthen the seedlings by mimicking outdoor conditions.
Planting Your Seeds
When to Start Seeds Indoors
The timing for starting seeds indoors depends on the type of plant and your local climate. Check the seed packet for specific recommendations. Generally, seeds are started 6-8 weeks before the last expected frost date.
How to Read Seed Packets
Seed packets contain valuable information, including:
- Planting Depth: How deep to plant the seeds.
- Spacing: How far apart to plant the seeds.
- Germination Time: How long it takes for seeds to sprout.
- Days to Maturity: How long it takes for the plant to reach harvest.
Step-by-Step Planting Guide
- Filling Containers with Seed Starting Mix: Fill your containers with seed starting mix, leaving about 1/2 inch of space at the top.
- Planting Depth and Spacing: Plant the seeds at the depth recommended on the seed packet. For small seeds, sprinkle them on the surface and lightly press them into the mix. For larger seeds, make a small hole and cover them with mix.
- Watering After Planting: Gently water the seeds using a spray bottle or a fine mist from a watering can. Keep the soil moist but not waterlogged.
Caring for Your Seedlings
Light Requirements for Seedlings
Seedlings need plenty of light to grow strong and healthy. Place them in a sunny window or under grow lights for 12-16 hours a day. Rotate the trays regularly to ensure even light exposure.
Watering Tips to Avoid Overwatering
Keep the soil consistently moist but not soggy. Overwatering can lead to root rot and other issues. Water from the bottom by placing the trays in a shallow dish of water, allowing the soil to absorb moisture through the drainage holes.
Maintaining the Right Temperature and Humidity
Most seeds germinate best at temperatures between 65-75°F (18-24°C). Use a thermometer to monitor the temperature and adjust as needed. Maintain high humidity during germination by covering the trays with a humidity dome or plastic wrap.
Fertilizing Young Plants
Once the seedlings have developed their first true leaves, you can start feeding them with a diluted liquid fertilizer. Use a balanced fertilizer and follow the manufacturer’s instructions for dilution and application frequency.
Troubleshooting Common Problems
Identifying and Solving Germination Issues
If your seeds aren’t germinating, consider these potential issues:
- Old Seeds: Seeds lose viability over time. Use fresh seeds for the best results.
- Incorrect Temperature: Ensure the temperature is within the optimal range for germination.
- Overwatering or Underwatering: Keep the soil consistently moist but not waterlogged.
Dealing with Damping-Off Disease
Damping-off is a fungal disease that affects seedlings, causing them to collapse and die. To prevent damping-off:
- Use Sterile Seed Starting Mix: Avoid using garden soil.
- Provide Good Air Circulation: Use a fan to improve airflow.
- Avoid Overwatering: Keep the soil moist but not soggy.
Managing Pests and Diseases
Keep an eye out for common pests like aphids and fungus gnats. Use organic pest control methods, such as neem oil or insecticidal soap, to manage infestations. Remove any affected seedlings to prevent the spread of the disease. Ensure your seedlings are healthy by maintaining proper watering and ventilation practices.
Transplanting Seedlings
When and How to Transplant Seedlings
Transplanting seedlings at the right time is crucial for their survival and growth. Look for these signs to determine when your seedlings are ready:
- True Leaves: Seedlings should have at least two sets of true leaves.
- Strong Roots: Check the root system to ensure it’s well-developed but not root-bound.
- Outdoor Conditions: Ensure the outdoor temperature is suitable for the plants you’re growing.
Hardening Off Process
Hardening off is the process of gradually acclimating seedlings to outdoor conditions. This helps prevent transplant shock. Follow these steps:
- Start Indoors: Begin by placing seedlings in a sheltered outdoor location for a few hours each day.
- Increase Exposure: Gradually increase the time they spend outside over 7-10 days.
- Monitor Conditions: Protect seedlings from strong winds, direct sunlight, and cold temperatures during this period.
Preparing Your Garden Bed
Before transplanting, prepare your garden bed to ensure it’s ready for the seedlings:
- Soil Preparation: Loosen the soil and amend it with compost or organic matter to improve fertility and drainage.
- Spacing: Plan the layout of your garden bed, ensuring adequate spacing between plants to allow for growth.
- Watering: Water the garden bed thoroughly before transplanting to provide a moist environment for the seedlings.
Transplanting Techniques
Follow these steps to transplant your seedlings successfully:
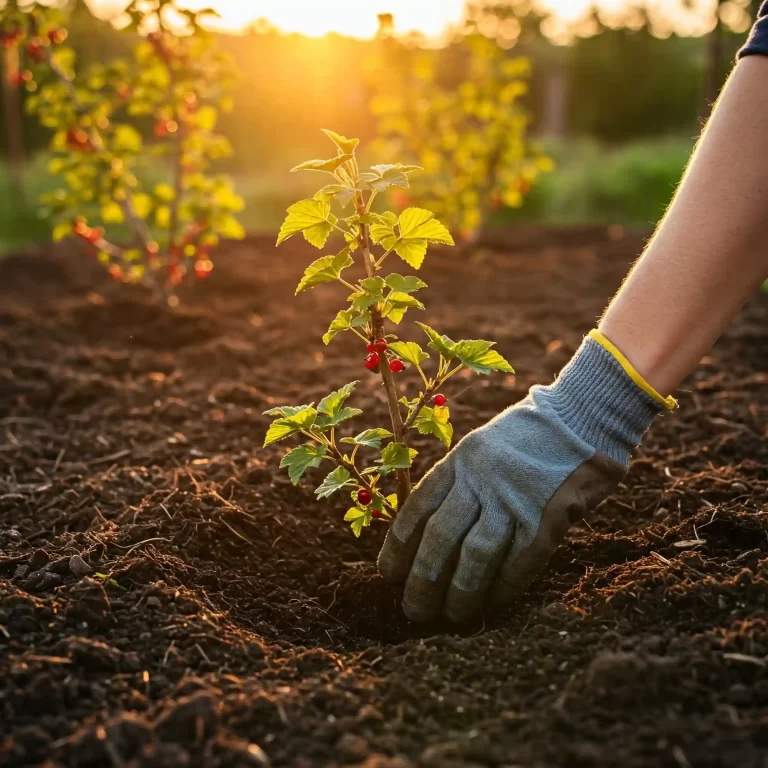
- Dig Holes: Dig holes in the garden bed that are slightly larger than the root ball of each seedling.
- Remove Seedlings: Gently remove seedlings from their containers, being careful not to damage the roots.
- Plant Seedlings: Place each seedling in a hole, ensuring the root ball is covered with soil. Firm the soil around the base of the plant.
- Water: Water the seedlings immediately after transplanting to help them settle into their new environment.
Advanced Seed Starting Tips
Using Soil Blocks for Seed Starting
Soil blocks are an eco-friendly alternative to plastic seed trays. They promote healthy root development and reduce transplant shock. Here’s how to use them:
- Mixing Soil: Use a soil block mix that holds together well when moistened.
- Forming Blocks: Use a soil block maker to form blocks of the desired size.
- Planting Seeds: Plant seeds directly into the soil blocks and care for them as you would with traditional seed trays.
Starting Seeds in a Greenhouse
A greenhouse provides a controlled environment for seed starting, extending the growing season and protecting seedlings from harsh weather. Consider these tips:
- Temperature Control: Use heaters and fans to maintain optimal temperatures.
- Light Management: Ensure seedlings receive adequate light, either from natural sunlight or supplemental grow lights.
- Ventilation: Provide good air circulation to prevent mold and mildew.
Saving Seeds from Your Garden
Saving seeds from your garden can be a rewarding and cost-effective way to grow plants. Follow these steps:
- Selecting Seeds: Choose healthy, mature plants to collect seeds from.
- Harvesting Seeds: Allow seeds to fully mature on the plant before harvesting.
- Cleaning and Drying: Clean seeds to remove any debris and dry them thoroughly to prevent mold.
- Storing Seeds: Store seeds in a cool, dry place in labeled containers.
FAQs
How to Start Seeds Indoors Successfully?
Starting seeds indoors successfully involves several key steps:
- Choose the Right Seeds: Select seeds that are suitable for indoor starting and your local climate.
- Use Quality Supplies: Invest in good seed starting mix, containers, and grow lights.
- Provide Proper Care: Ensure seedlings receive adequate light, water, and temperature control.
What are the Best Practices for Indoor Seed Starting?
Best practices for indoor seed starting include:
- Timing: Start seeds at the right time based on your local frost dates.
- Light: Provide 12-16 hours of light per day using grow lights if necessary.
- Watering: Keep the soil consistently moist but not waterlogged.
What are Common Mistakes in Seed Starting and How to Avoid Them?
Common mistakes in seed starting include:
- Overwatering: Leads to root rot and damping-off disease. Water seedlings carefully.
- Insufficient Light: Causes leggy, weak seedlings. Use grow lights if natural light is inadequate.
- Planting Too Early: Results in seedlings outgrowing their space before it’s safe to transplant them outdoors. Follow recommended planting times.
How to Choose the Right Seed Starting Mix?
Choosing the right seed starting mix is crucial for healthy seedlings:
- Light and Well-Draining: Use a mix specifically formulated for seed starting.
- Sterile: Avoid garden soil to prevent pests and diseases.
- Nutrient-Rich: Some mixes include added nutrients to support early growth.
What are the Light Requirements for Seedlings?
Seedlings require plenty of light to grow strong and healthy:
- Natural Light: Place seedlings in a south-facing window if possible.
- Grow Lights: Use full-spectrum grow lights to provide 12-16 hours of light per day.
- Adjustable Height: Keep lights close to the seedlings and adjust as they grow.
Conclusion
Starting seeds can be a rewarding and cost-effective way to grow a variety of plants in your garden. By following this comprehensive guide, you’ll be well-equipped to start seeds successfully and enjoy a bountiful garden. Remember to choose the right seeds, gather quality supplies, and provide proper care for your seedlings. Happy gardening!


